Berry Pink Starry Gel Nail Art — Step-by-Step Tutorial
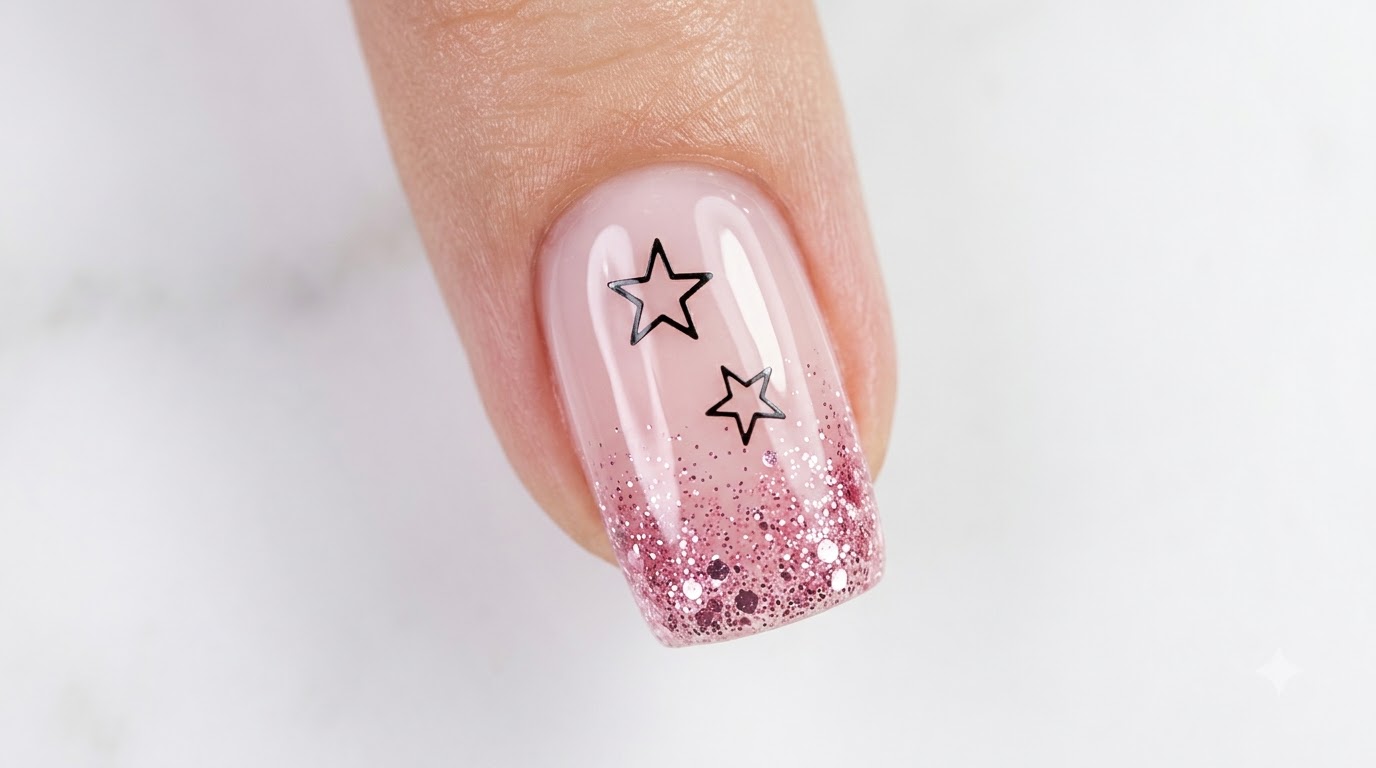
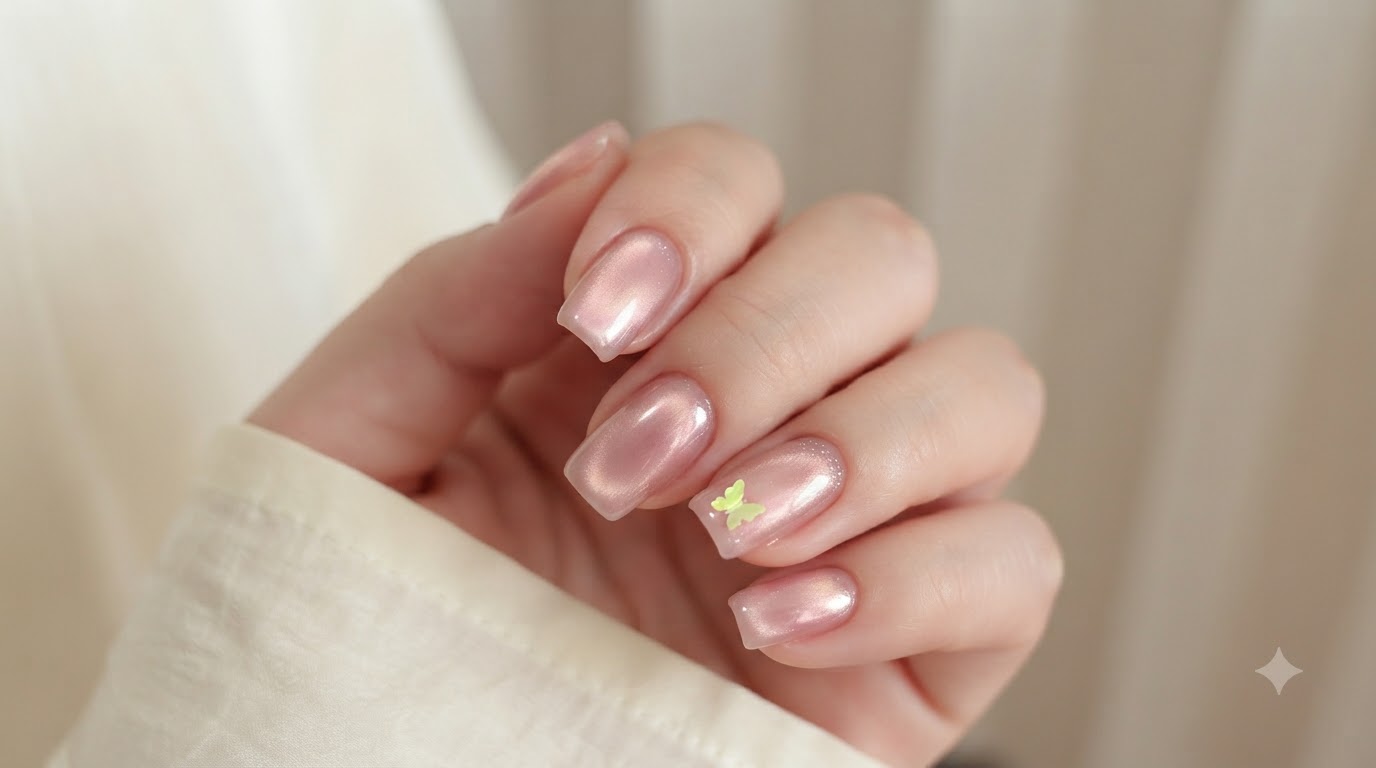
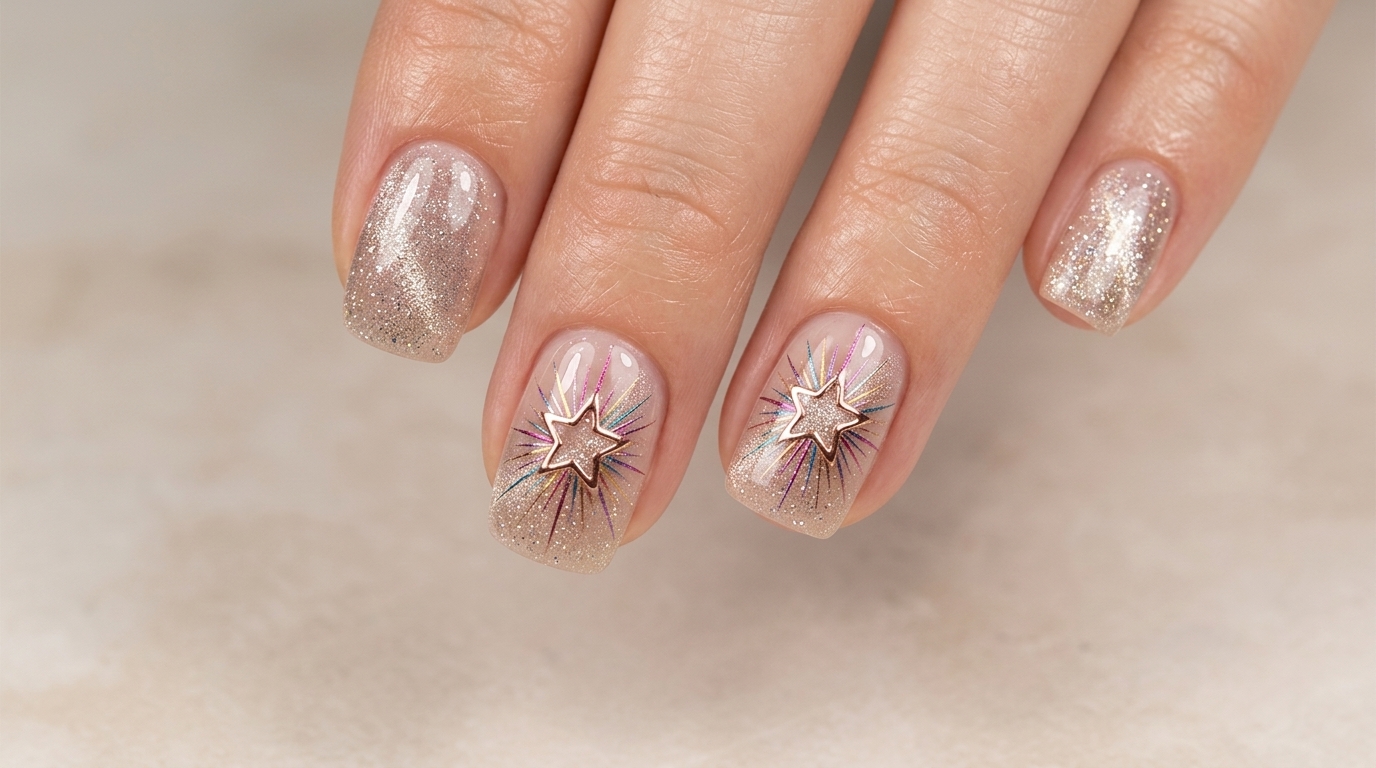
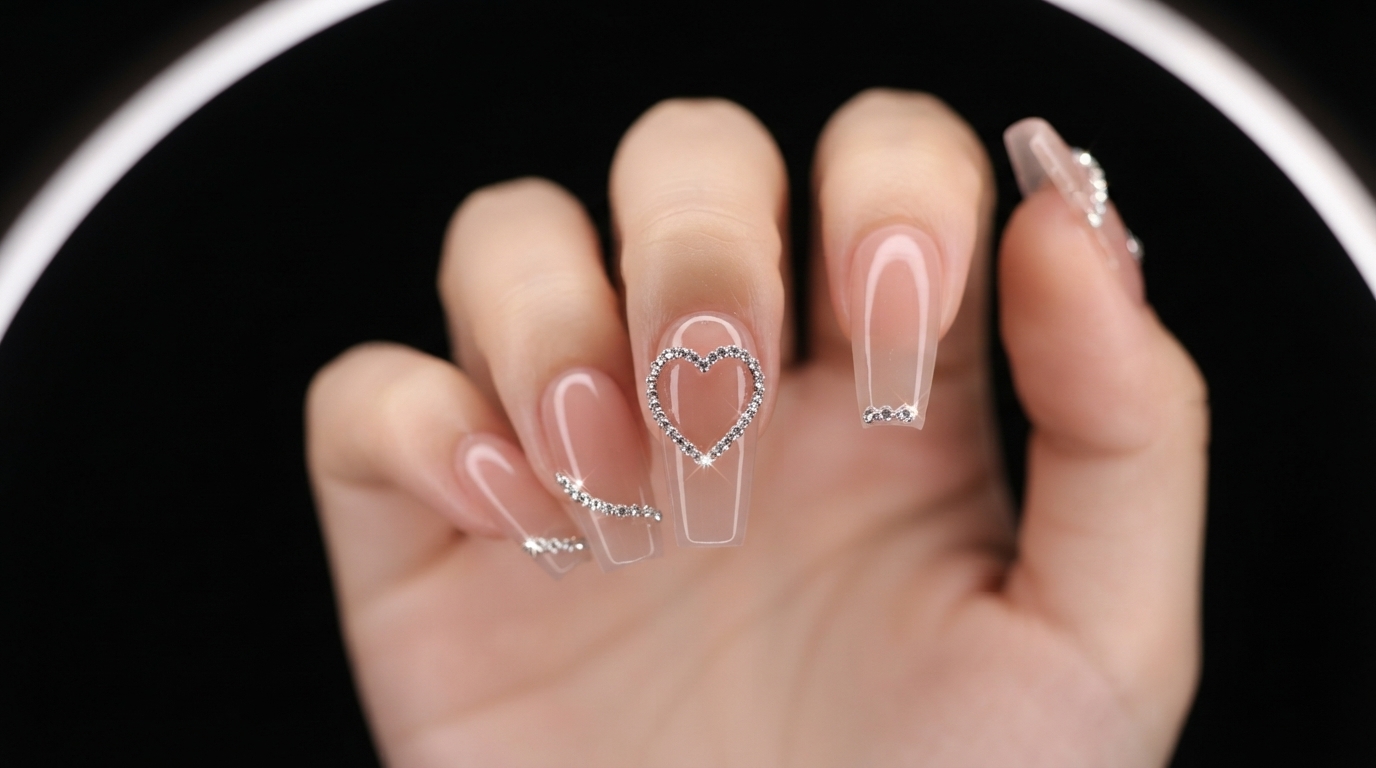
Create low-key yet gentle berry pink starry gel nails featuring metallic chrome stars and delicate rhinestone accents for a dreamy finish.
Starry nail designs continue to charm nail enthusiasts with their subtle yet magical aesthetic. This tutorial guides you through layering translucent milky bases with metallic chrome powder stars and fine rhinestones to achieve a gorgeous salon-quality look right at home.
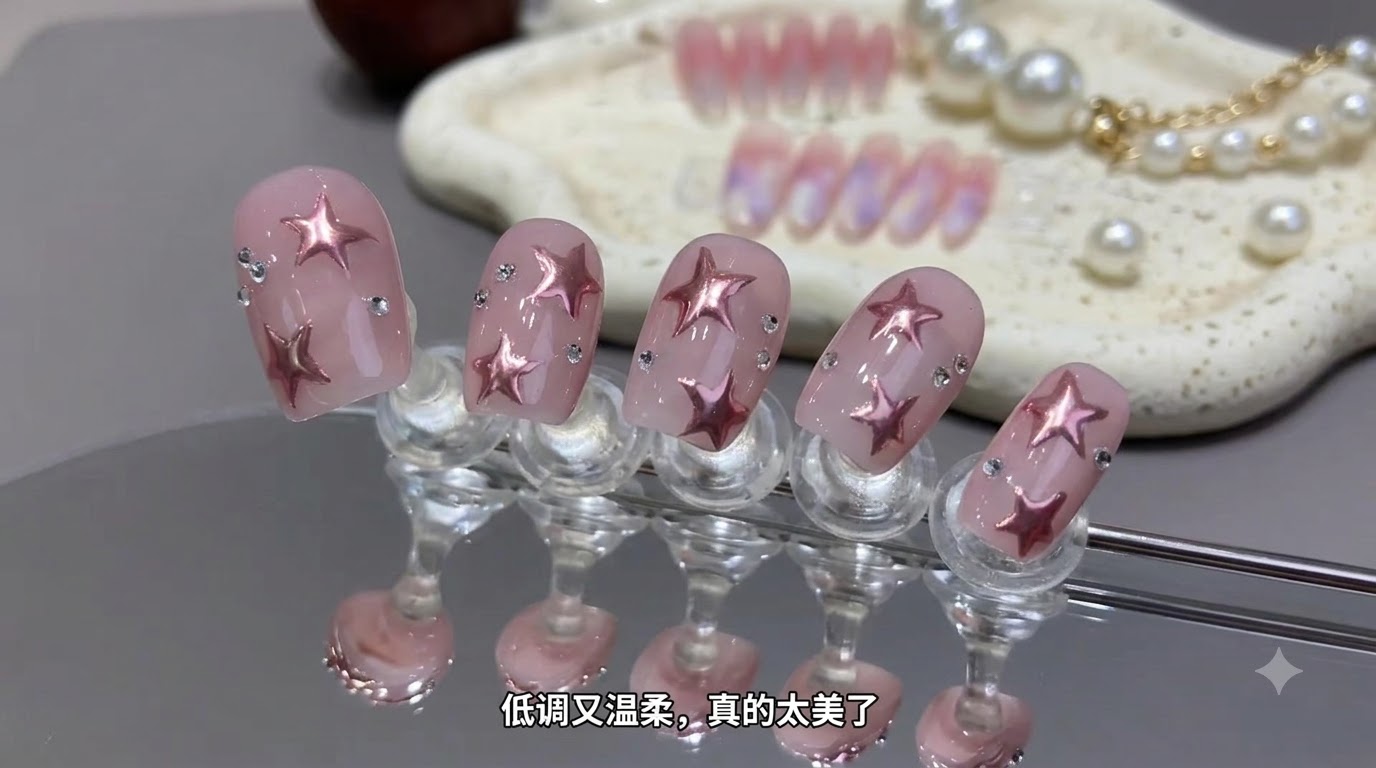
Steps
- 1Apply first coat of sculpting gel base
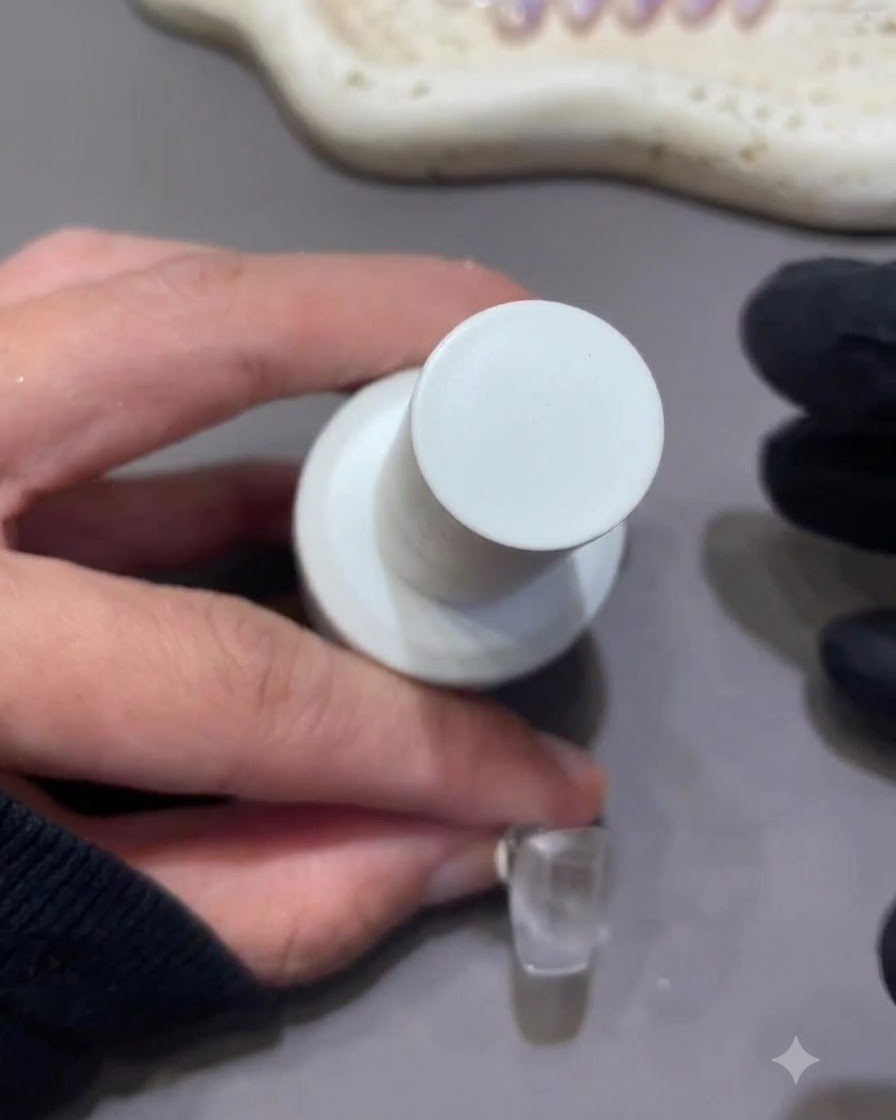
Take the bottle of number 6 sculpting gel and apply a thin first coat onto the nail surface using the brush. Ensure even coverage across the nail plate while avoiding the cuticles.
Tip: Apply in thin strokes to prevent pooling near the edges. - 2Apply second coat of sculpting gel base
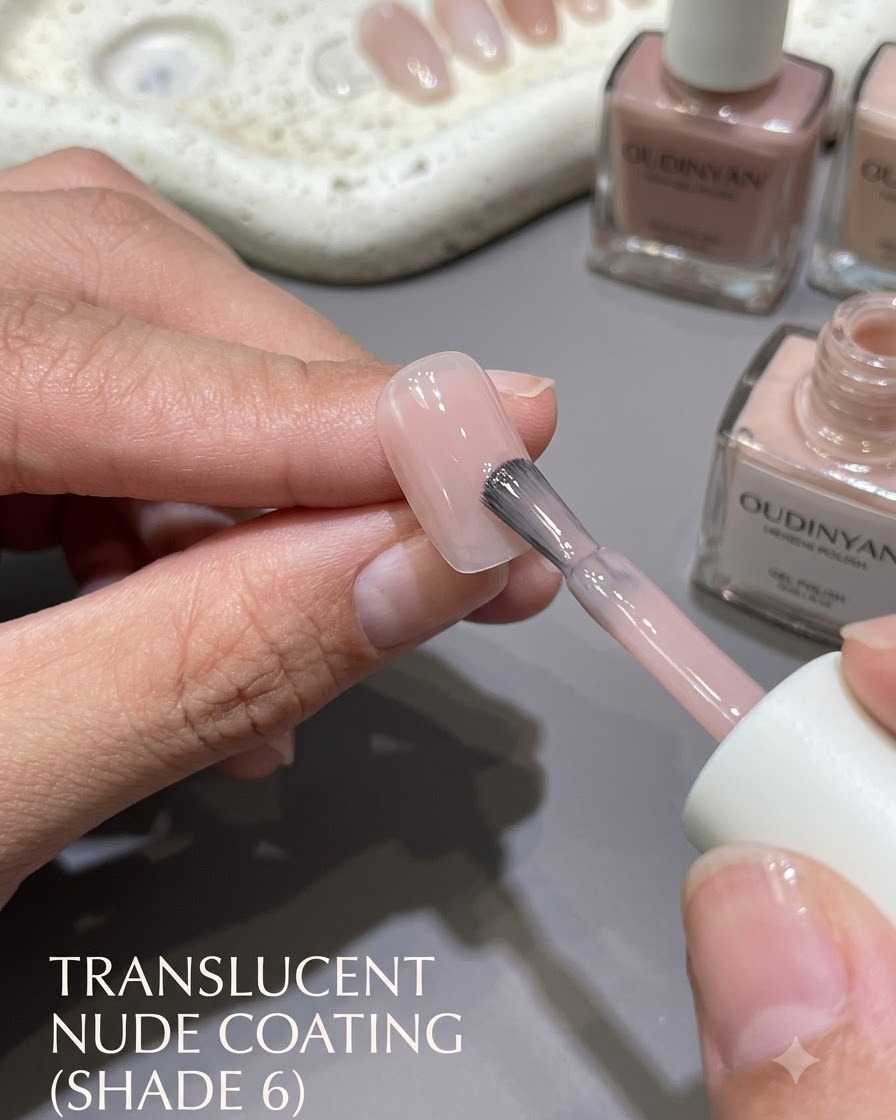
Apply a second coat of the number 6 translucent nude sculpting gel to build up rich, even color coverage on the nail surface. This deepens the gentle tone.
Tip: Make sure the second layer covers any thin patches from the first coat. - 3Cure the base coat
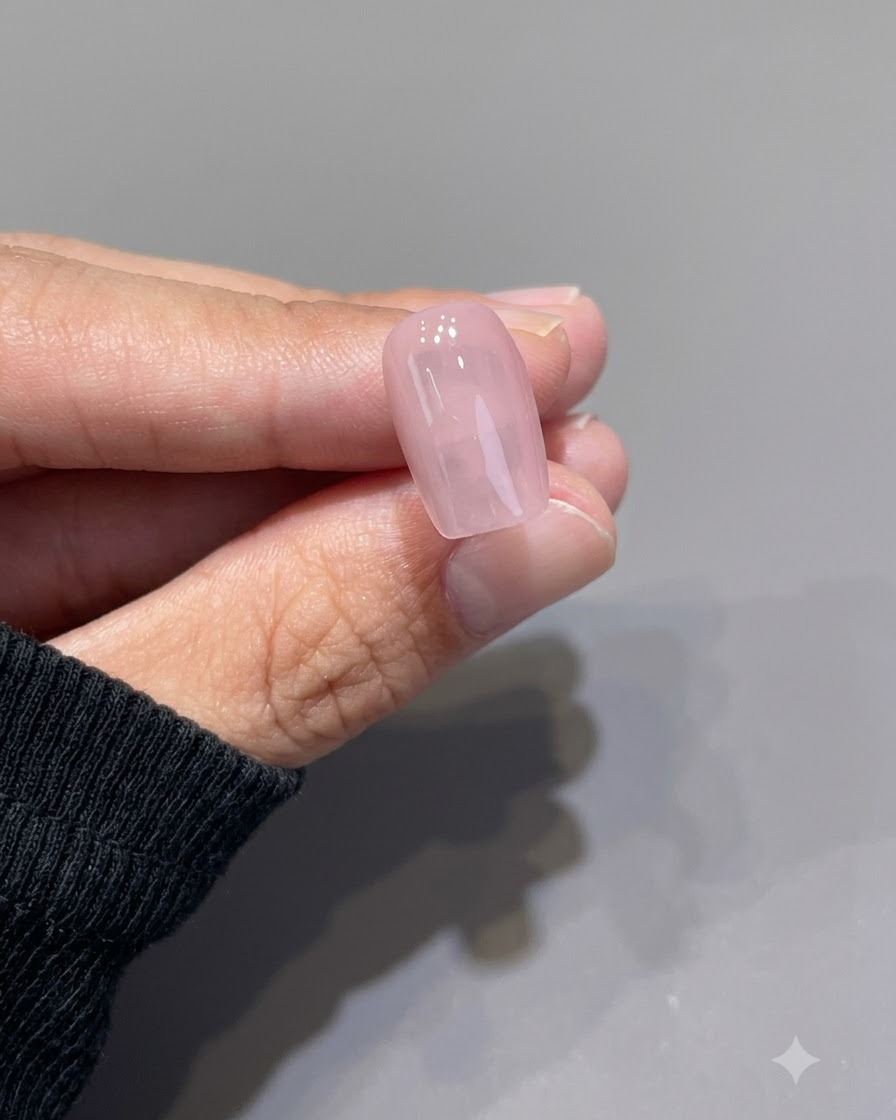
Place the nail under a UV/LED nail lamp to cure the applied sculpting gel layers until fully hardened and set.
Tip: Follow standard curing times to ensure the gel hardens completely without shifting. - 4Apply milky pink top coat
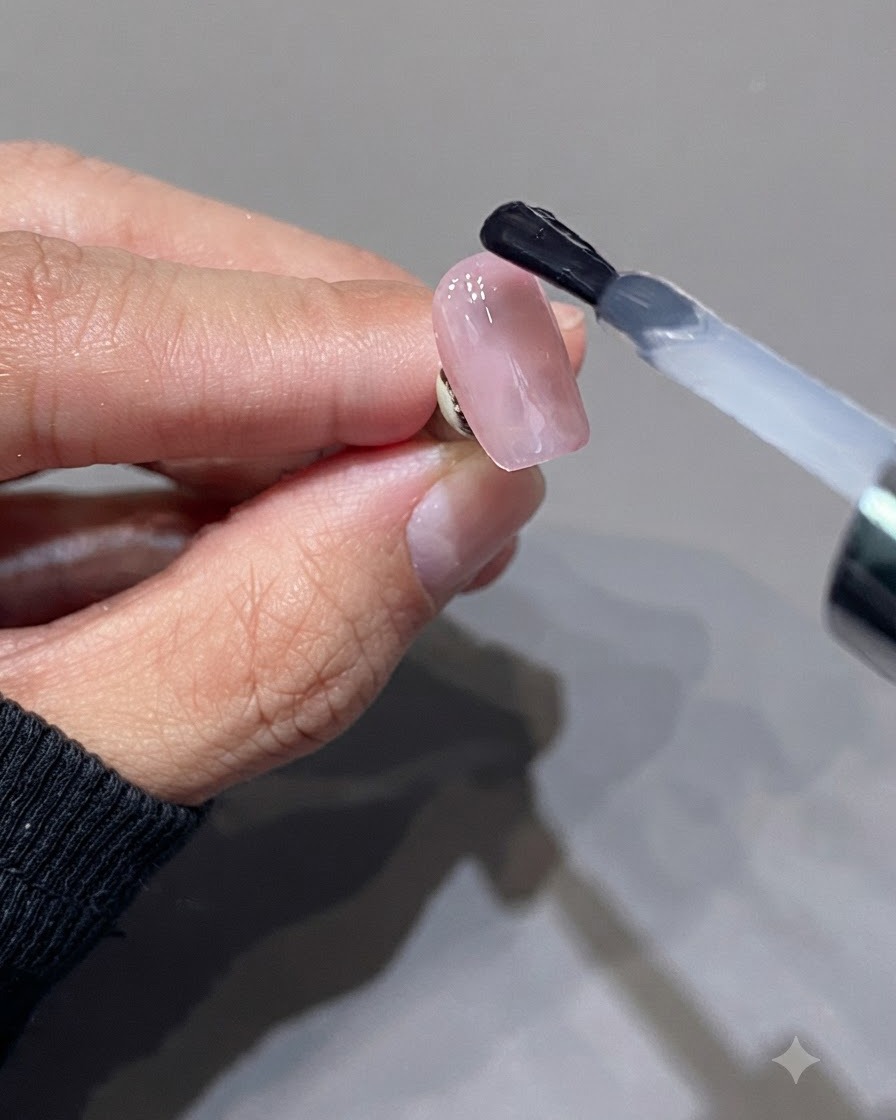
Brush a smooth layer of milky pink top coat evenly over the entire surface of the cured nail to create a soft, uniform background filter.
Tip: Keep the brush strokes light and fluid to avoid streaks in the milky finish. - 5Prepare translucent white chrome top coat
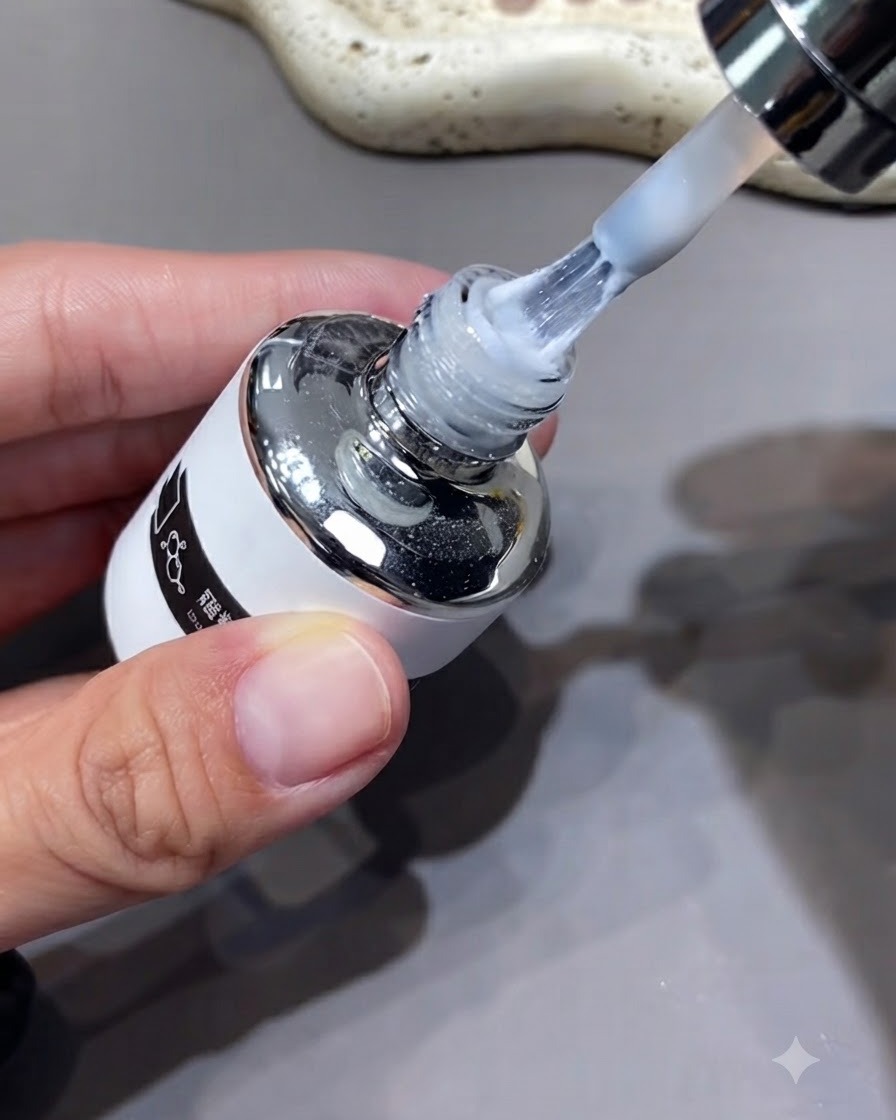
Open the translucent white chrome powder top coat and load a fine liner brush with the product in preparation for drawing detailed star motifs.
Tip: Wipe excess product off the brush tip to keep the liner lines sharp and precise. - 6Paint star shapes
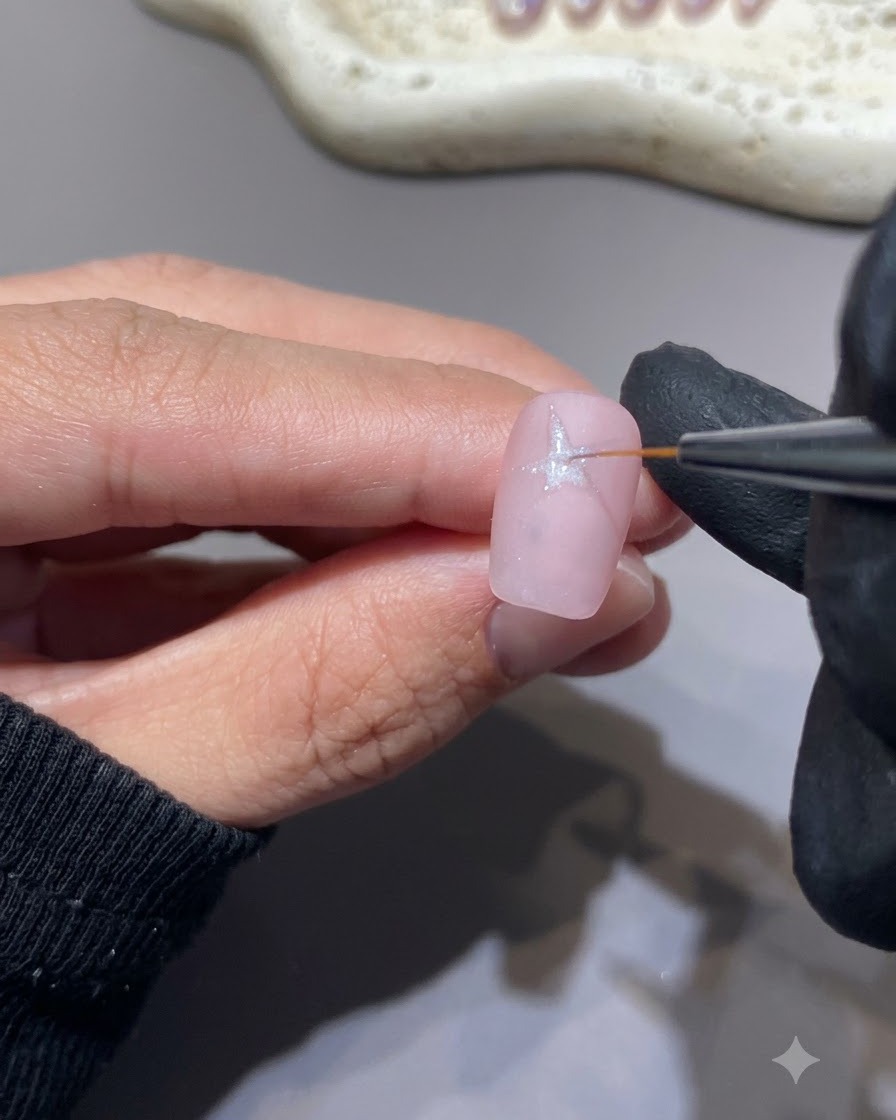
Using a fine liner brush with the translucent white chrome top coat, carefully paint delicate star shapes directly onto the nail surface.
Tip: Draw the intersecting lines first, then pull out the sharp points of the stars. - 7Apply berry pink chrome powder to stars
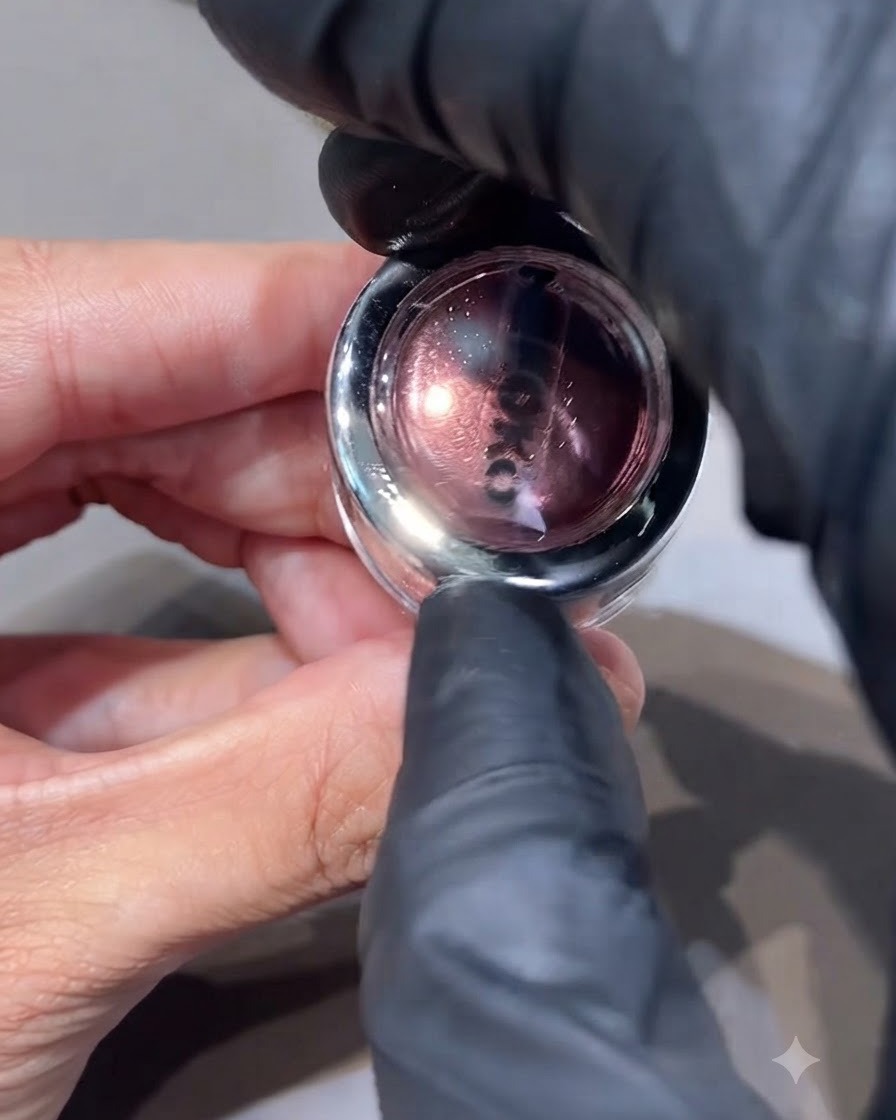
Take a berry pink chrome powder using a sponge cotton swab and dab it directly onto the previously painted and cured star shapes on the nail surface. This method deposits the pigment precisely where the tacky base is located, building up the rich metallic berry pink color for the nail art design.
Tip: Use a light dabbing motion to control where the powder lands and avoid smudging outside the painted star outlines. - 8Press pink chrome powder onto stars
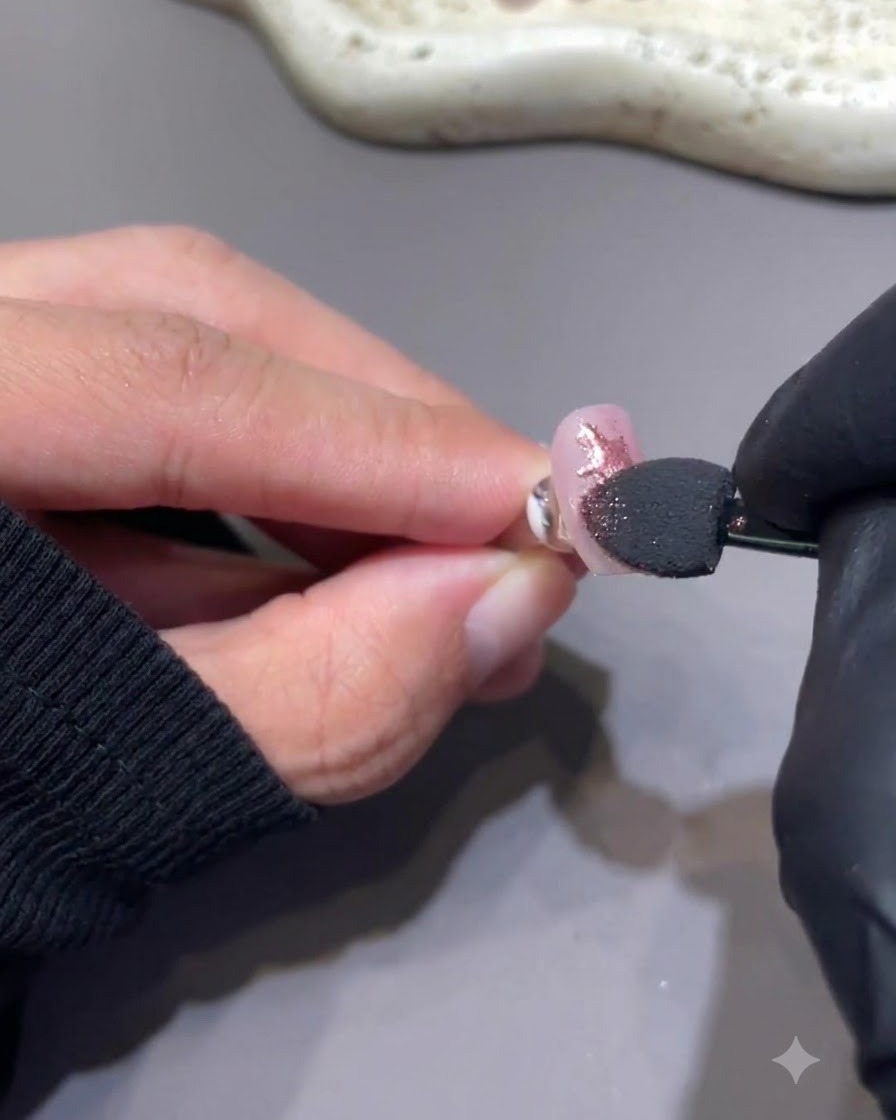
Apply gentle and consistent pressure using the sponge applicator to press the pink chrome powder firmly onto the star patterns. Pressing down ensures the pigment bonds tightly with the uncured or sticky layer of the painted design, giving it a smooth, reflective, and long-lasting finish.
Tip: Firm pressure ensures the powder embeds properly into the surface rather than just sitting loosely on top. - 9Brush away excess loose powder
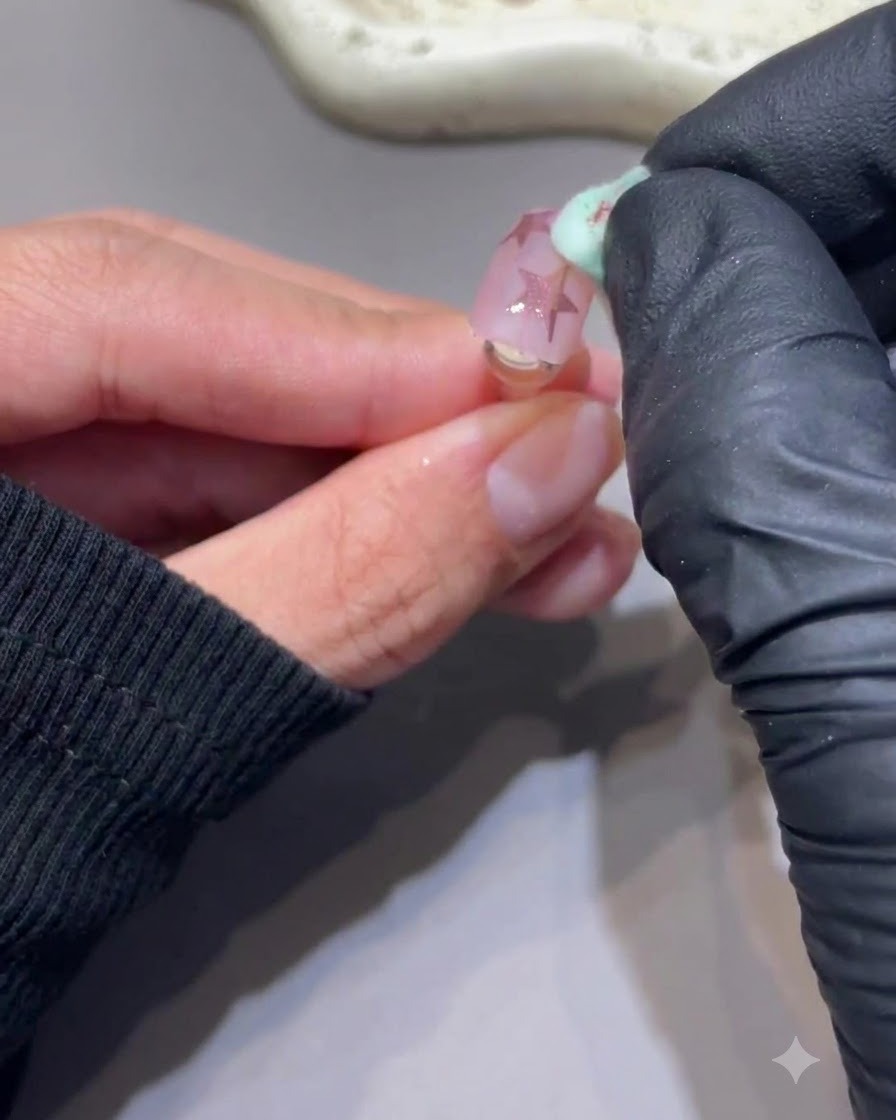
Take a clean piece of sponge or a soft brush to gently sweep away any excess loose powder remaining on the nail surface. This cleans up the surrounding area, leaving only the sharp, clean metallic star shapes visible against the milky pink base coat.
Tip: Gently dust away loose particles before applying top coat to prevent stray glitter or powder from clouding the clear background. - 10Apply non-sticky gel top coat
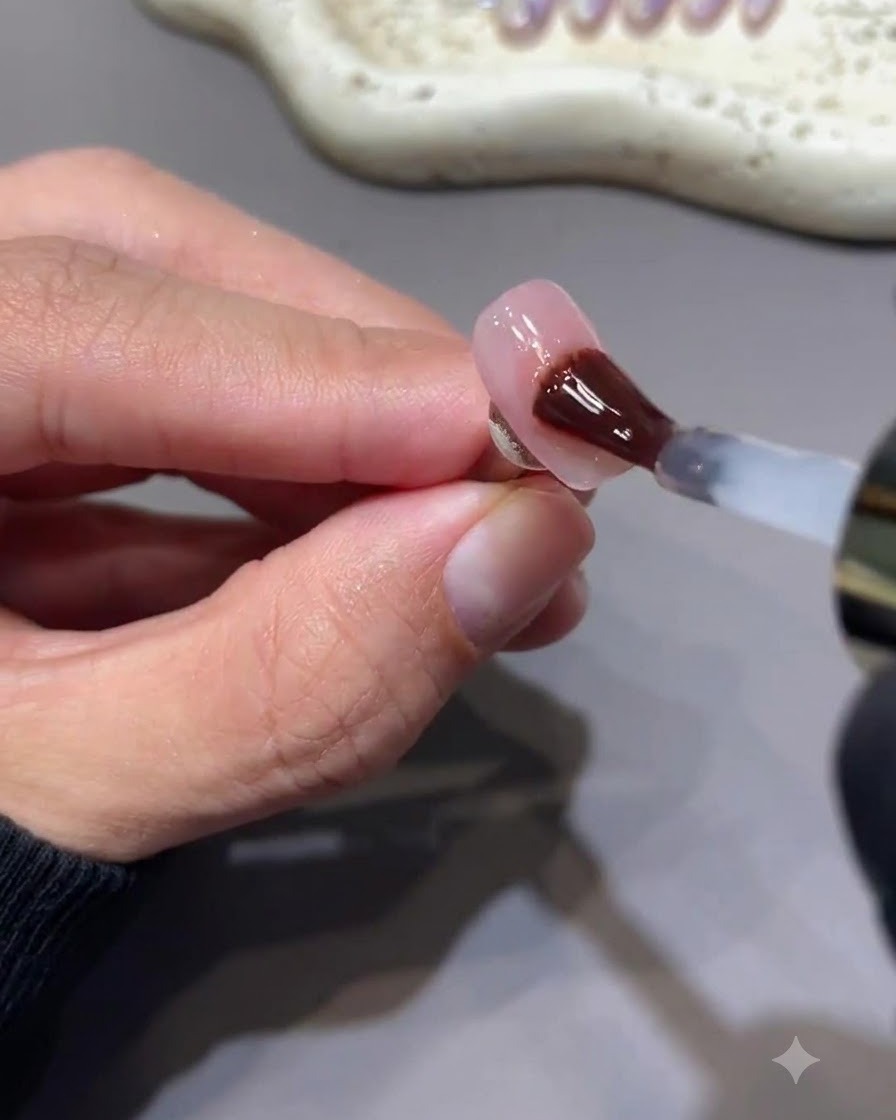
Apply a layer of non-sticky gel top coat evenly over the entire nail surface, covering the decorated star designs completely. This seals in the chrome powder effect, provides a smooth protective barrier, and gives the nail a high-gloss finish without leaving any tacky inhibition layer after curing.
Tip: Cap the free edge carefully with the top coat to prevent chipping and seal the nail art design completely. - 11Apply standard sealing top coat layer
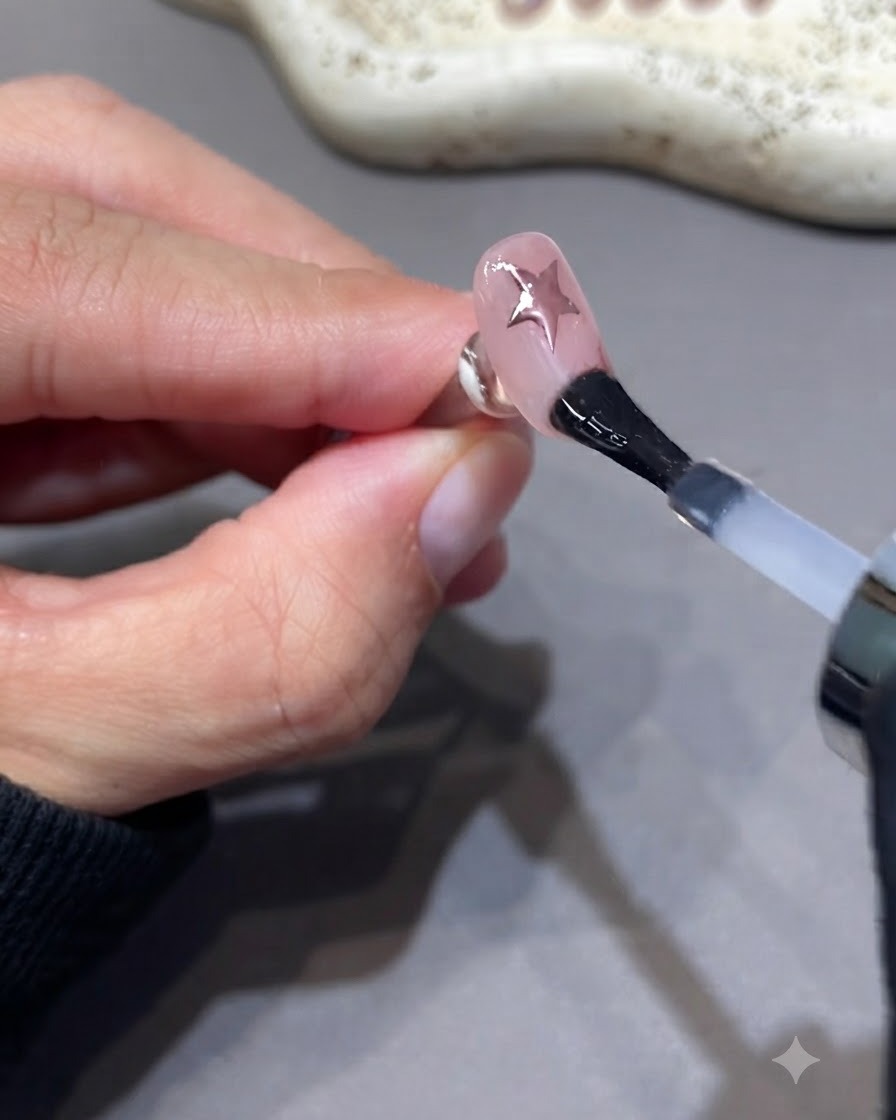
Apply an additional standard sealing top coat layer over the nail to ensure maximum durability, strength, and protection for the underlying nail art. This extra layer secures the design elements and creates a plump, professional-looking structure over the nail.
Tip: Apply in thin, smooth strokes to avoid pooling around the cuticles and side walls. - 12Place small rhinestones onto the nail
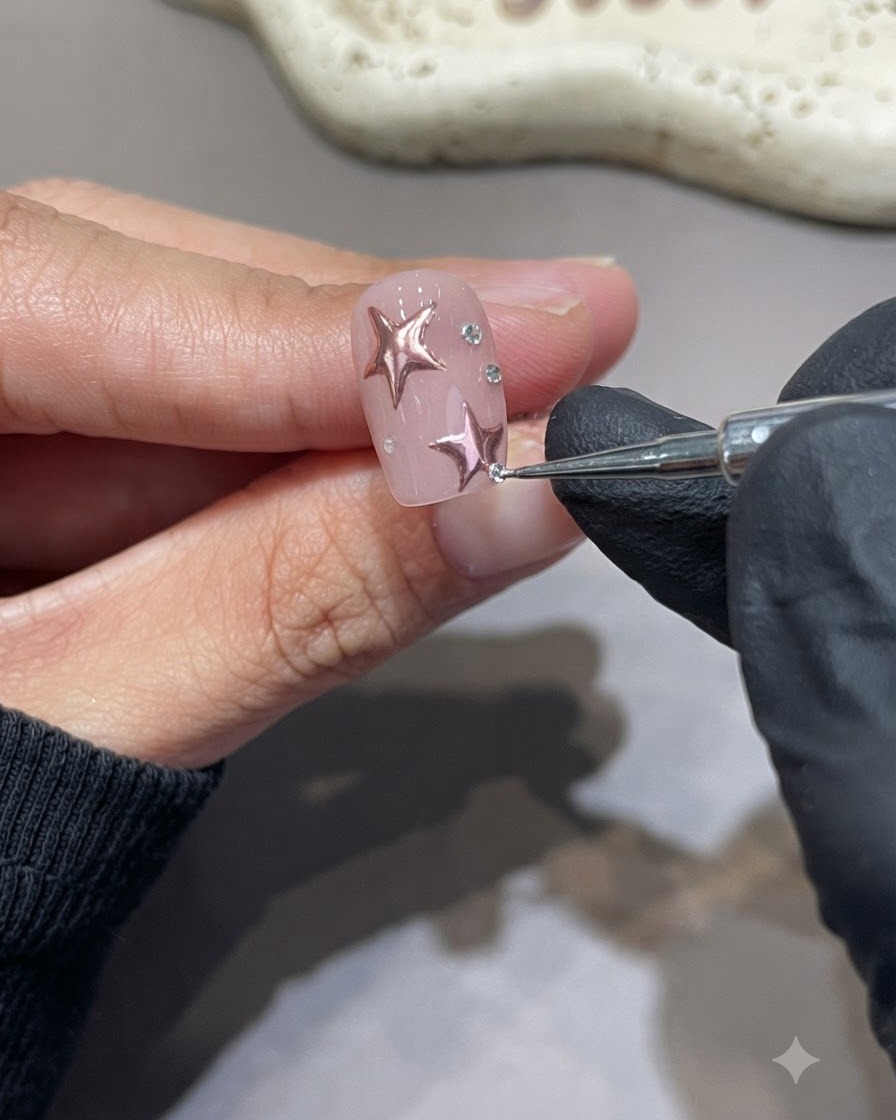
Pick up and precisely place several small rhinestones onto the nail surface using a fine detailing tool or wax pencil. Position them strategically around the star elements to add a touch of sparkle and elegance, then cure under the lamp to lock them securely in place.
Tip: Dab a tiny bit of clear gel or top coat where each rhinestone will sit to act as an adhesive before placing them. - 13Cure top coat and rhinestones
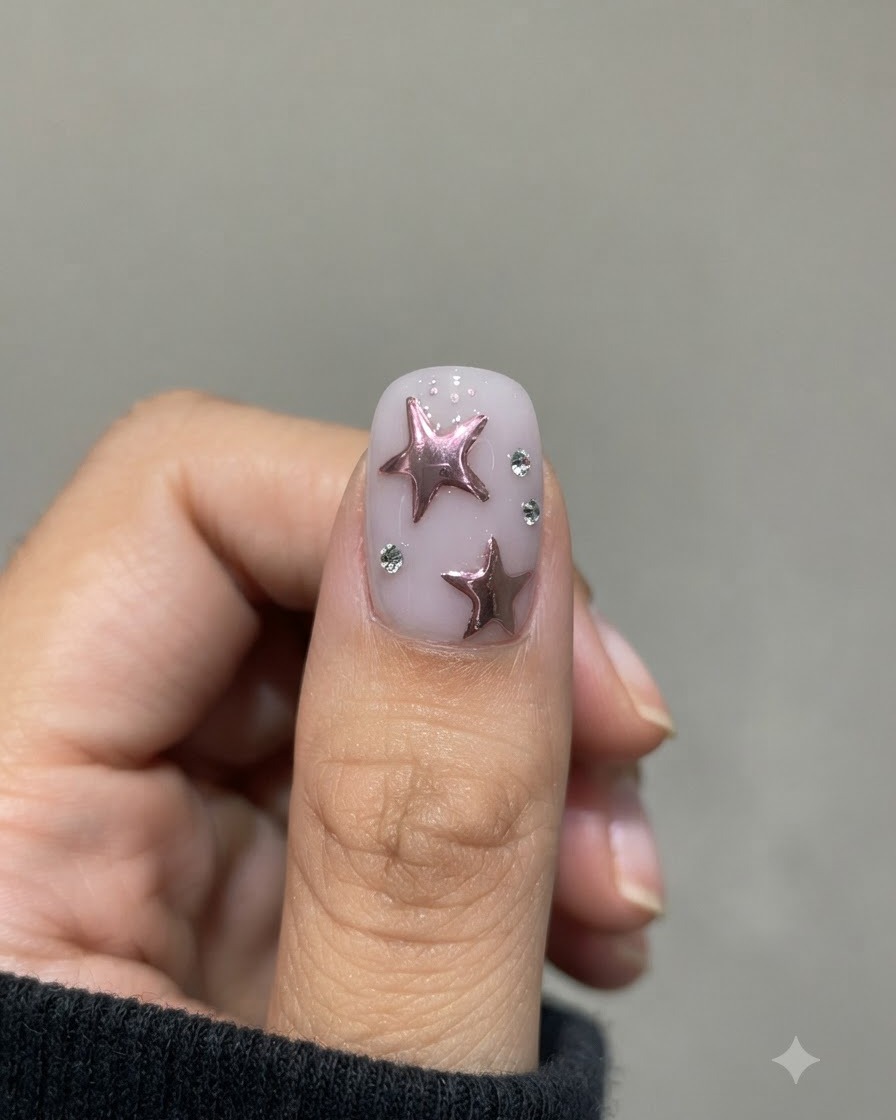
Place the hand under the UV or LED lamp and cure for the full recommended time to securely set the non-sticky gel top coat and lock the rhinestones in place. Ensure the light covers all angles of the nail so that the encapsulation is completely hardened.
Tip: Do not remove the hand prematurely, as incomplete curing can cause the top coat to wrinkle or the rhinestones to loosen over time. - 14Seal rhinestone edges and finish
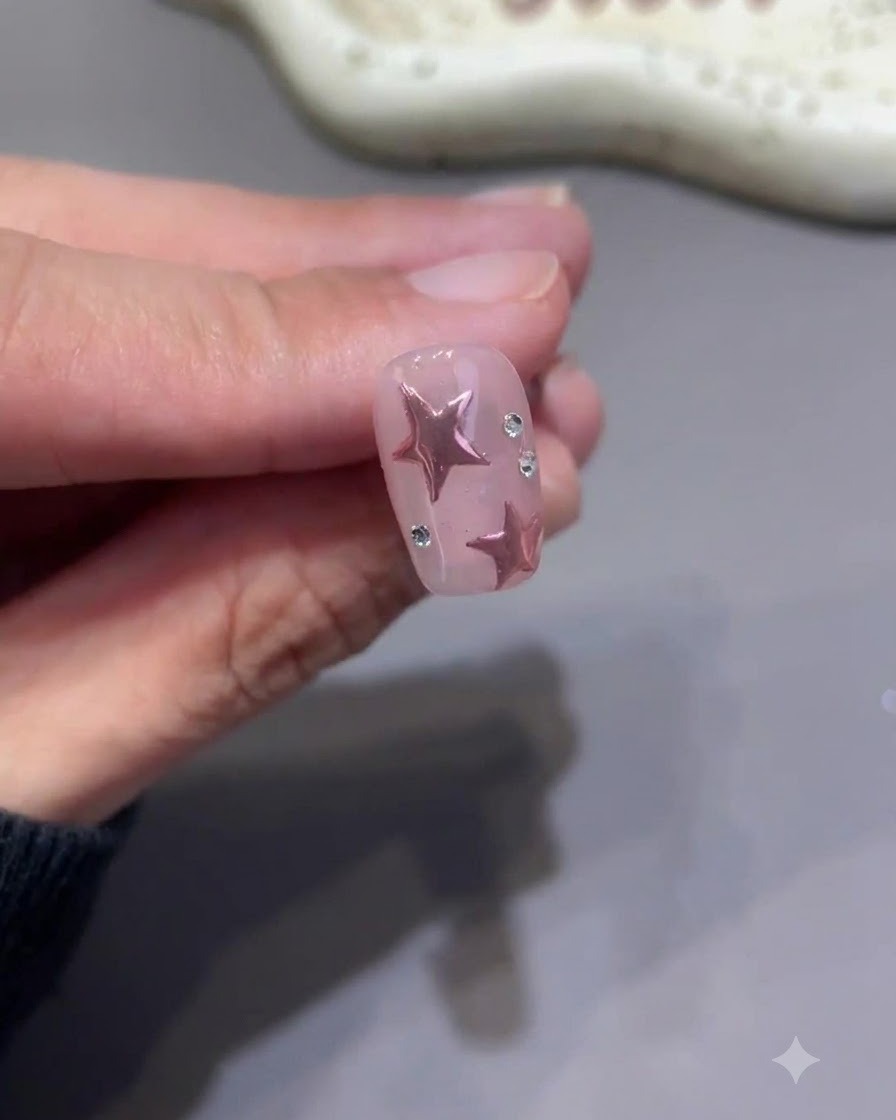
Carefully apply a small amount of top coat around the perimeter of the rhinestones to seal them down and prevent catching or falling off. Give the nail a final cure under the lamp to complete the entire look, ensuring a smooth and long-lasting finish.
Tip: Use a fine detail brush to apply top coat strictly around the base of the gems without covering their facets, preserving their brilliant sparkle.