Hollow Rainbow Star Gel Nails — Step-by-Step Tutorial
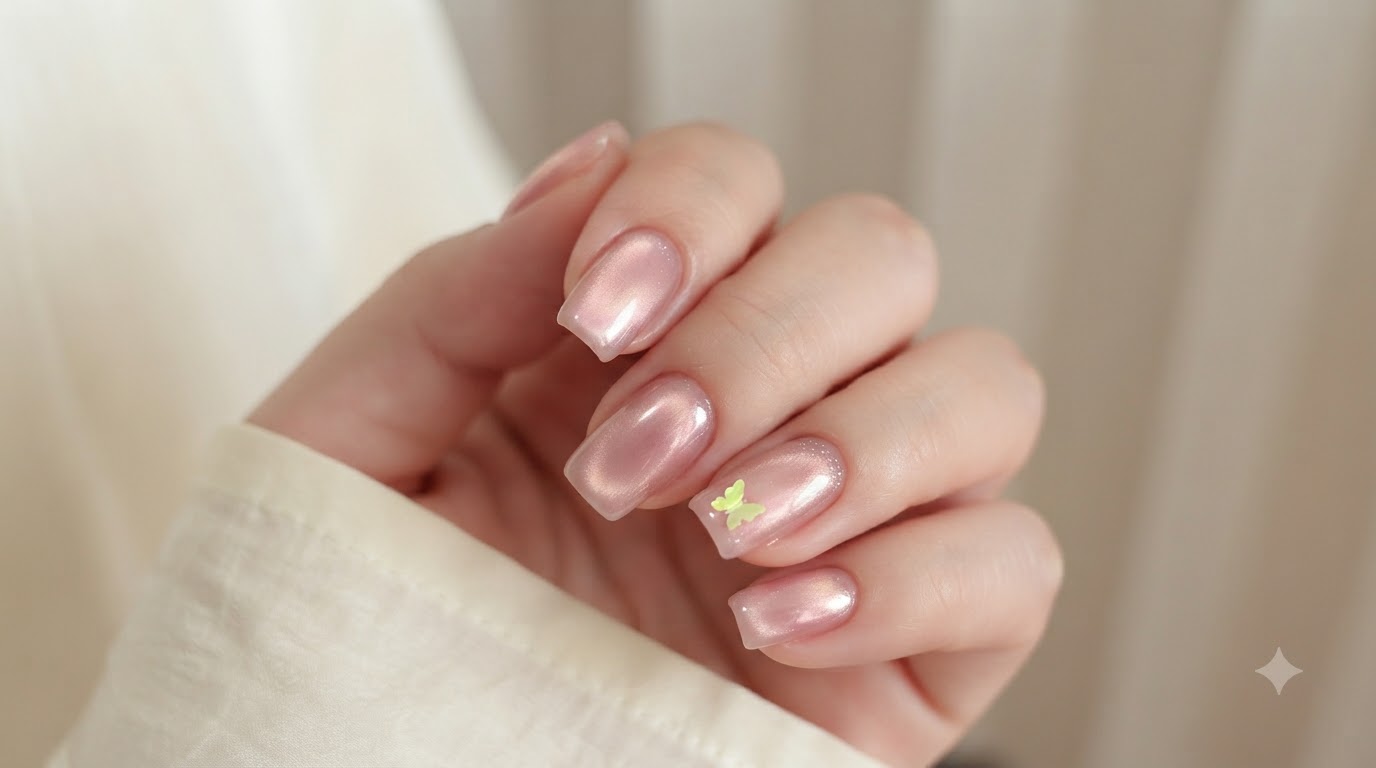
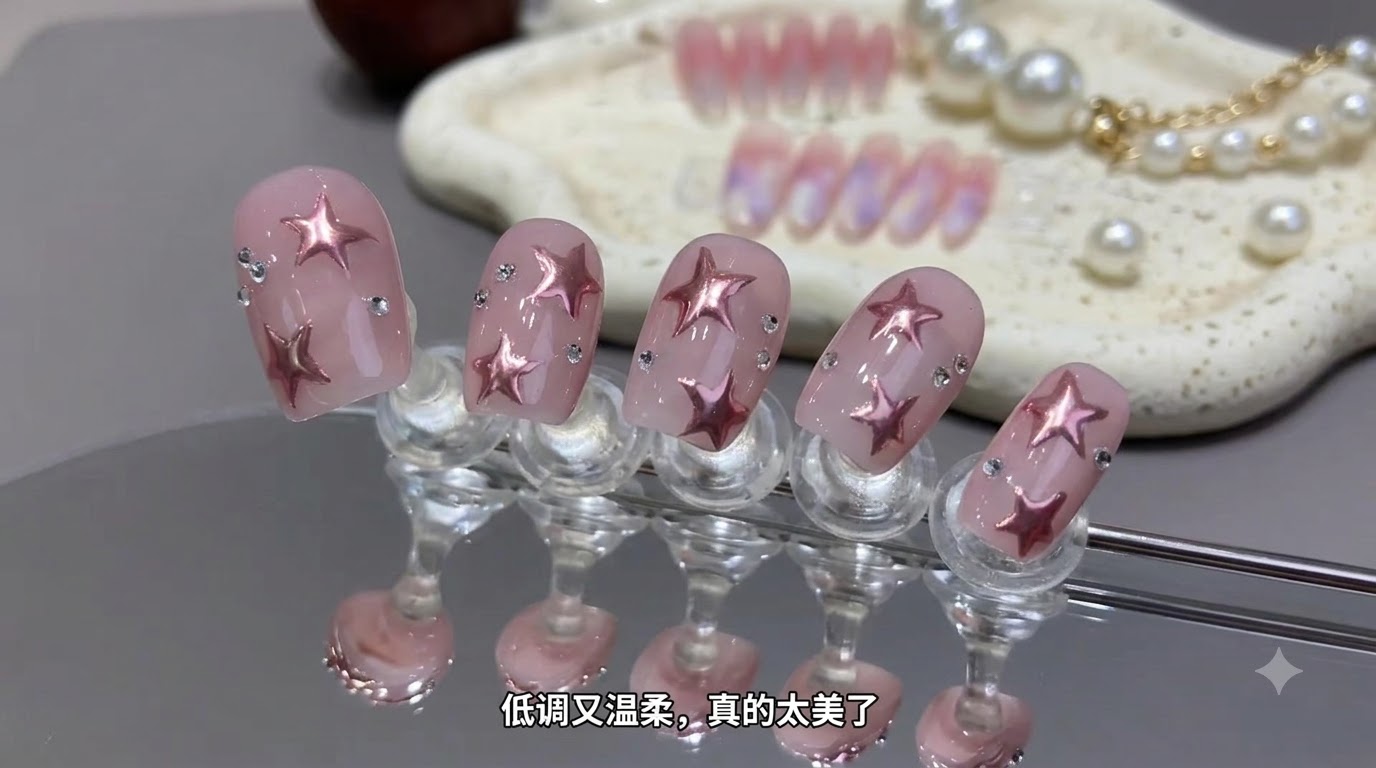
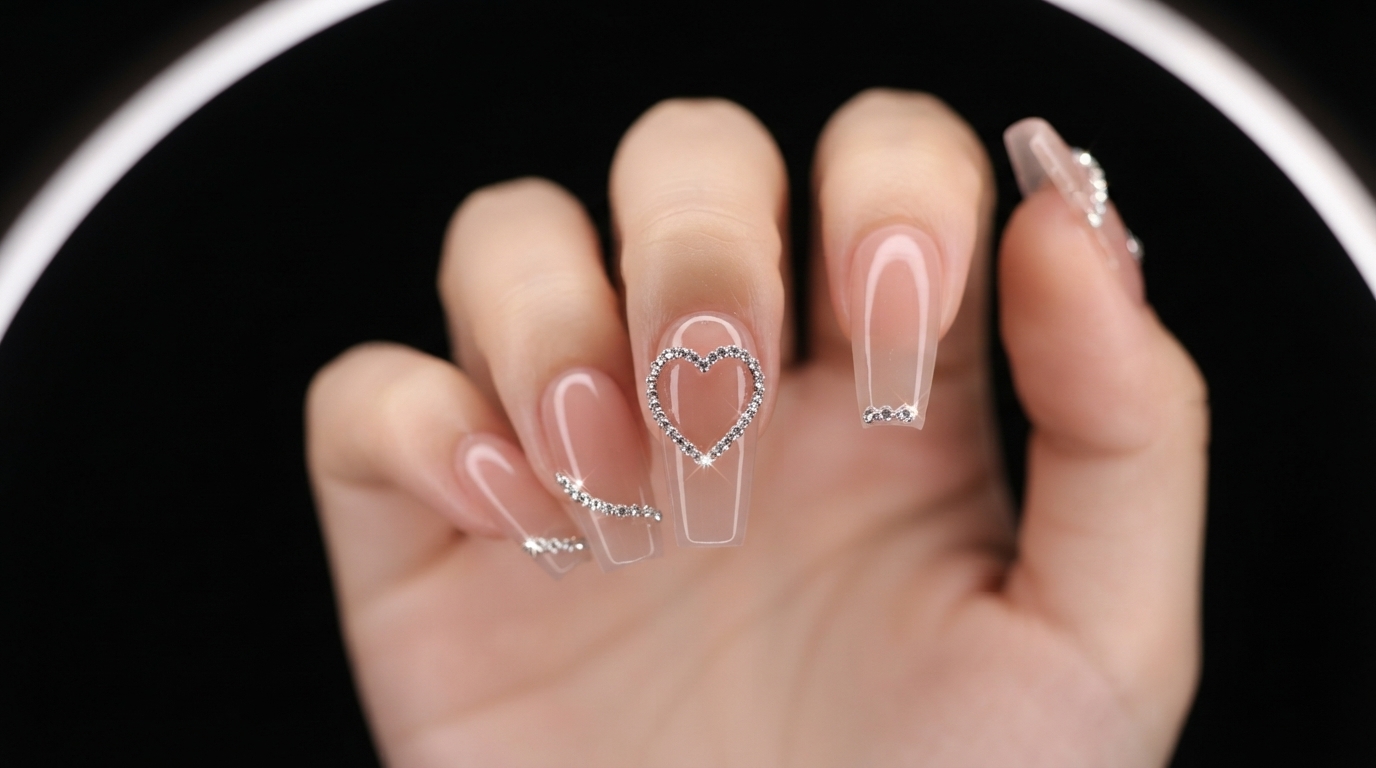
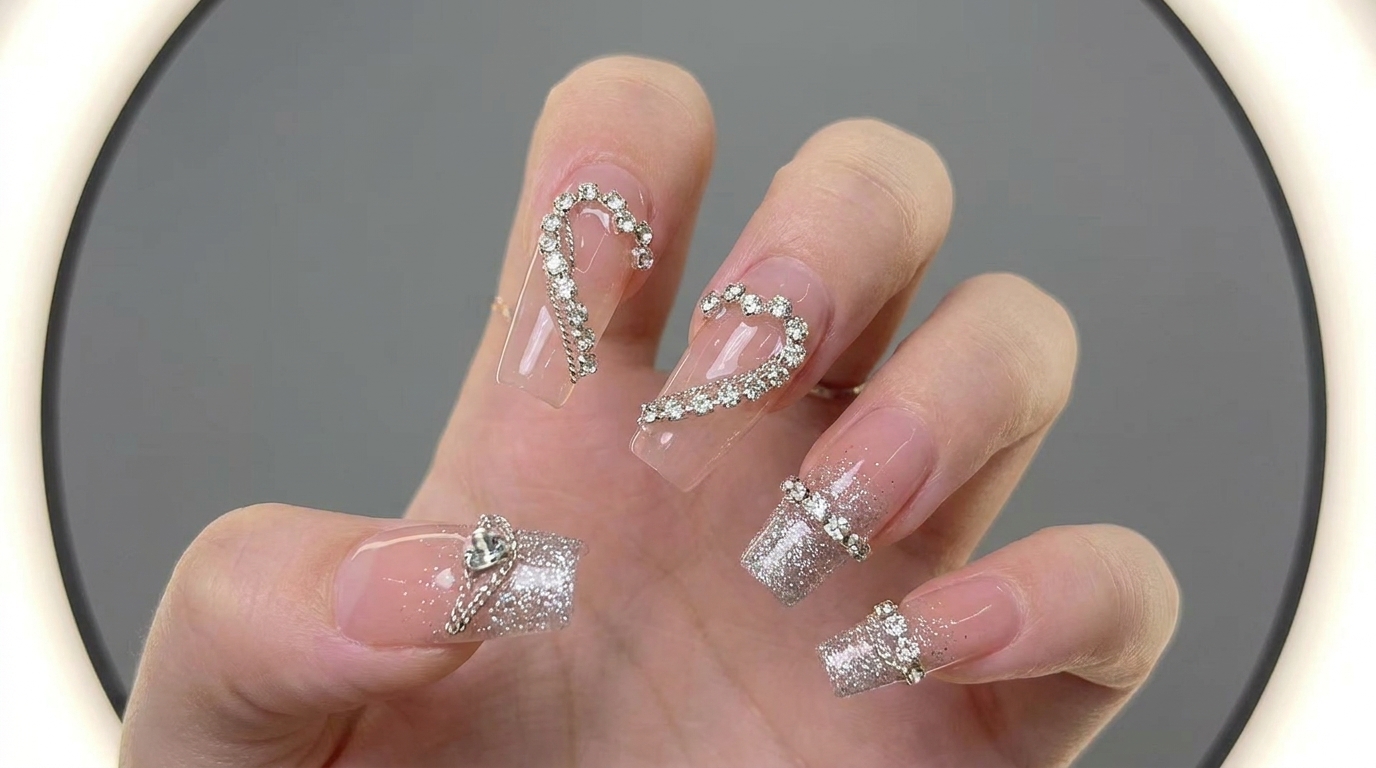
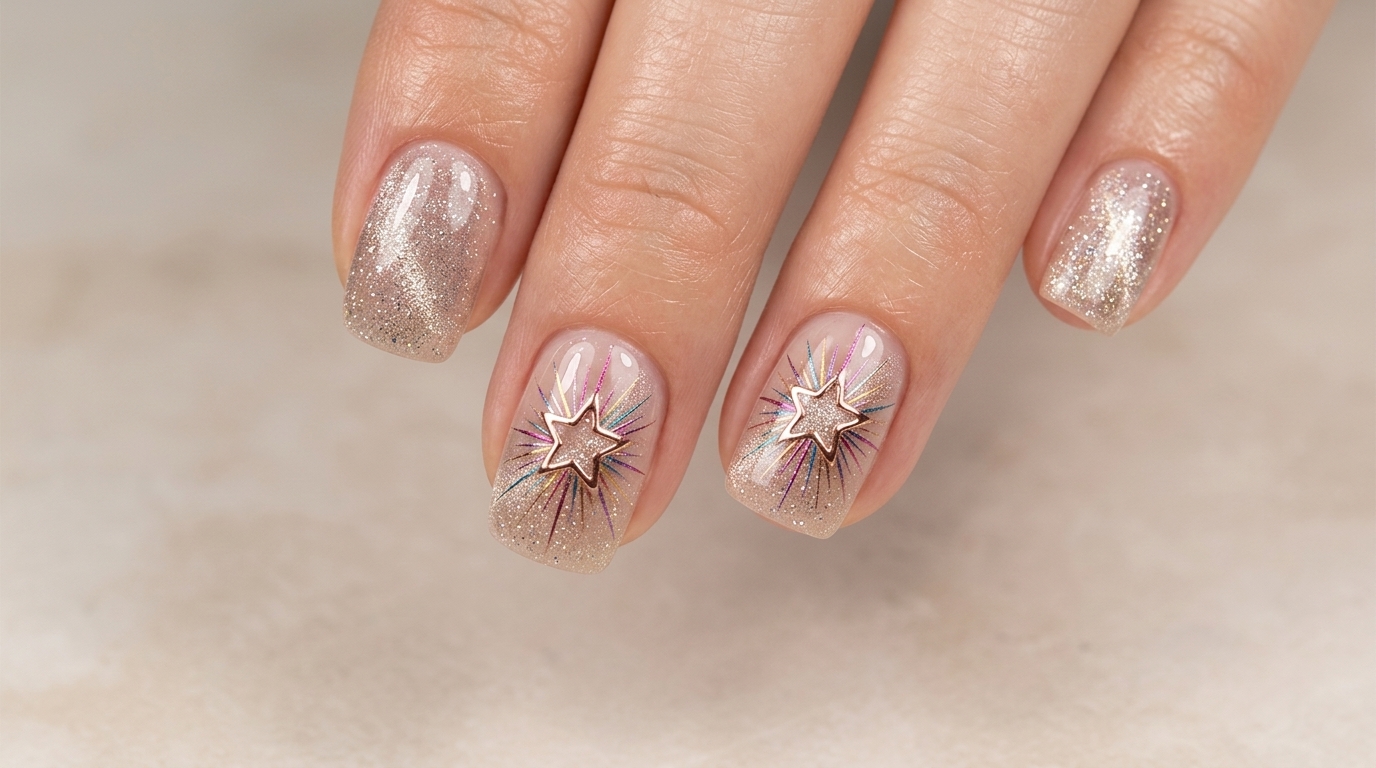
Create enchanting hollow rainbow star gel nails featuring sheer cat-eye shimmer and delicate multi-toned radiant lines for a magical, dimensional finish.
Celestial nail art continues to captivate trendsetters, and this hollow rainbow star look elevates the trend by combining shimmering cat-eye gel with precise, colorful radiant lines. The interplay between the sheer nude base and the vibrant burst effect creates a dazzling display that catches the light from every angle. Whether you are prepping for a special event or looking to elevate your everyday manicure, this step-by-step tutorial guides you through achieving salon-quality results at home.
Steps
- 1Load fine brush with color gel
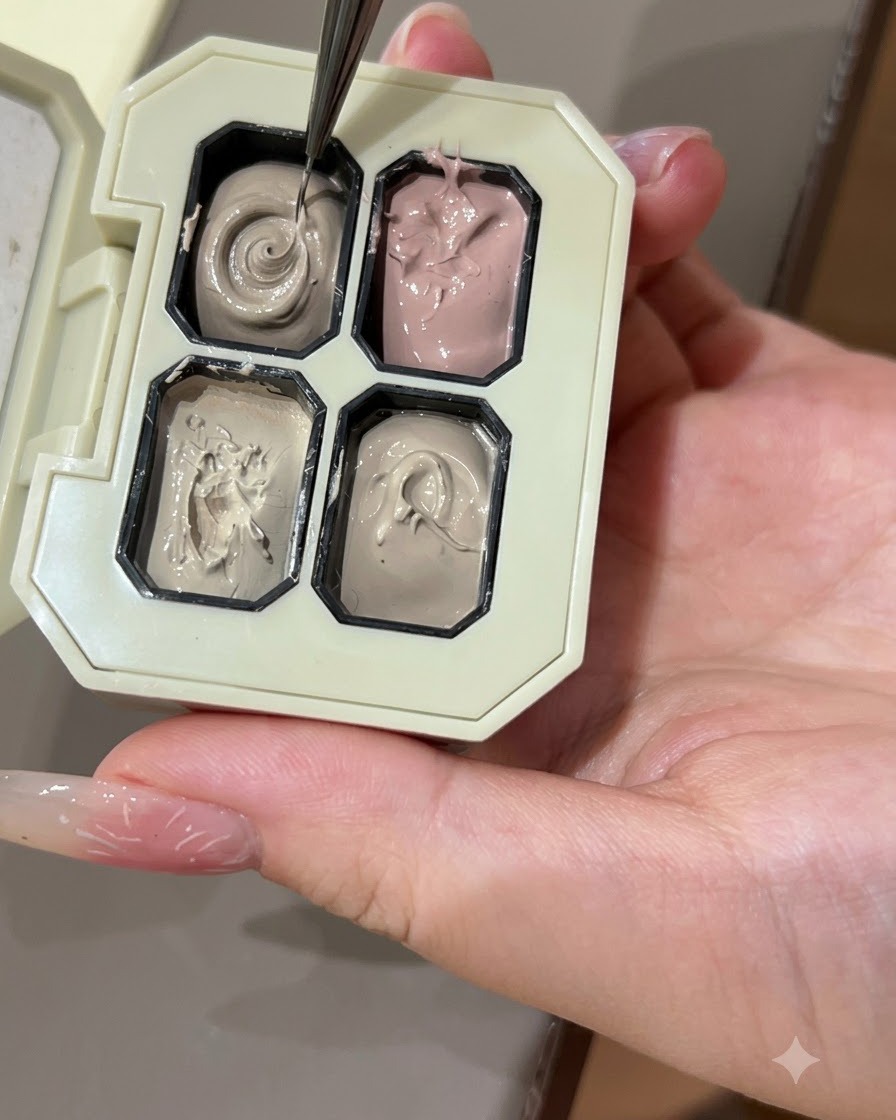
Dip the tip of a fine nail art brush gently into the palette well to pick up a small, controlled amount of color gel. Ensure the bristles are evenly coated without excess pooling at the ferrule to keep your linework crisp.
Tip: Twirl the brush slightly as you lift it from the palette to form a sharp, clean tip. - 2Apply black practice strip
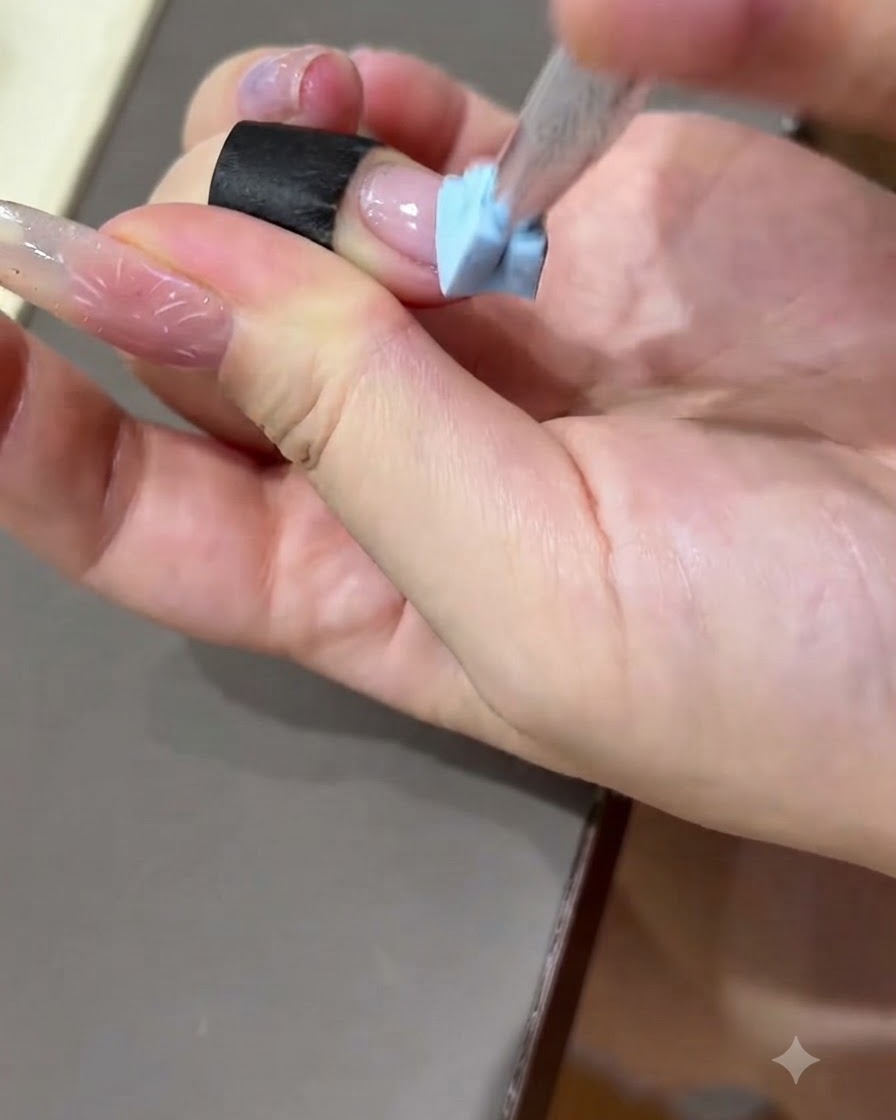
Carefully take a black practice strip and position it flat onto the surface of the practice nail plate. Smooth it down firmly to ensure there are no air bubbles or wrinkles underneath before starting your design.
Tip: Press from the center outward to smooth down the strip evenly. - 3Apply nude base color
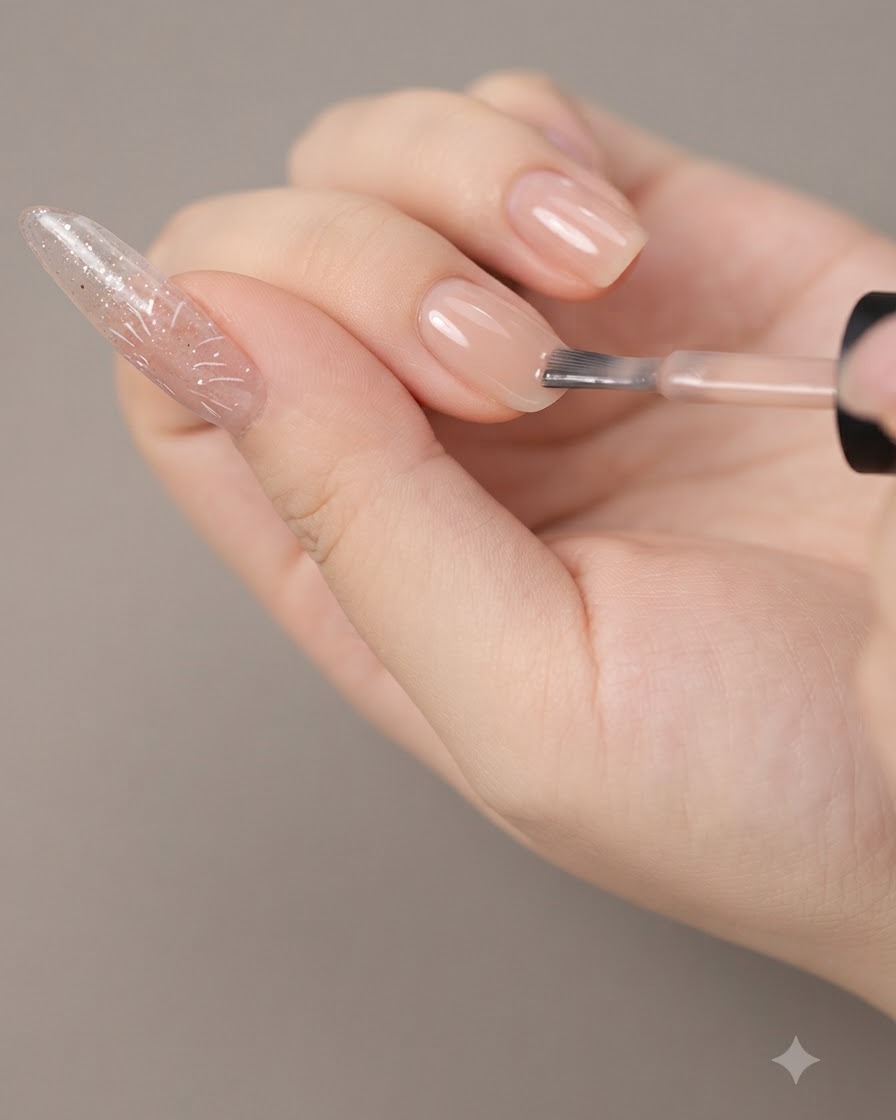
Using a brush, apply an even layer of nude base color over the prepped nail surface, ensuring smooth coverage from the cuticle to the free edge without pooling. Cap the edge and cure under the lamp according to the product guidelines to secure the base layer before adding further nail art details.
Tip: Apply thin, consistent coats to avoid wrinkling or uneven curing under the UV/LED lamp. - 4Apply sheer cat eye gel
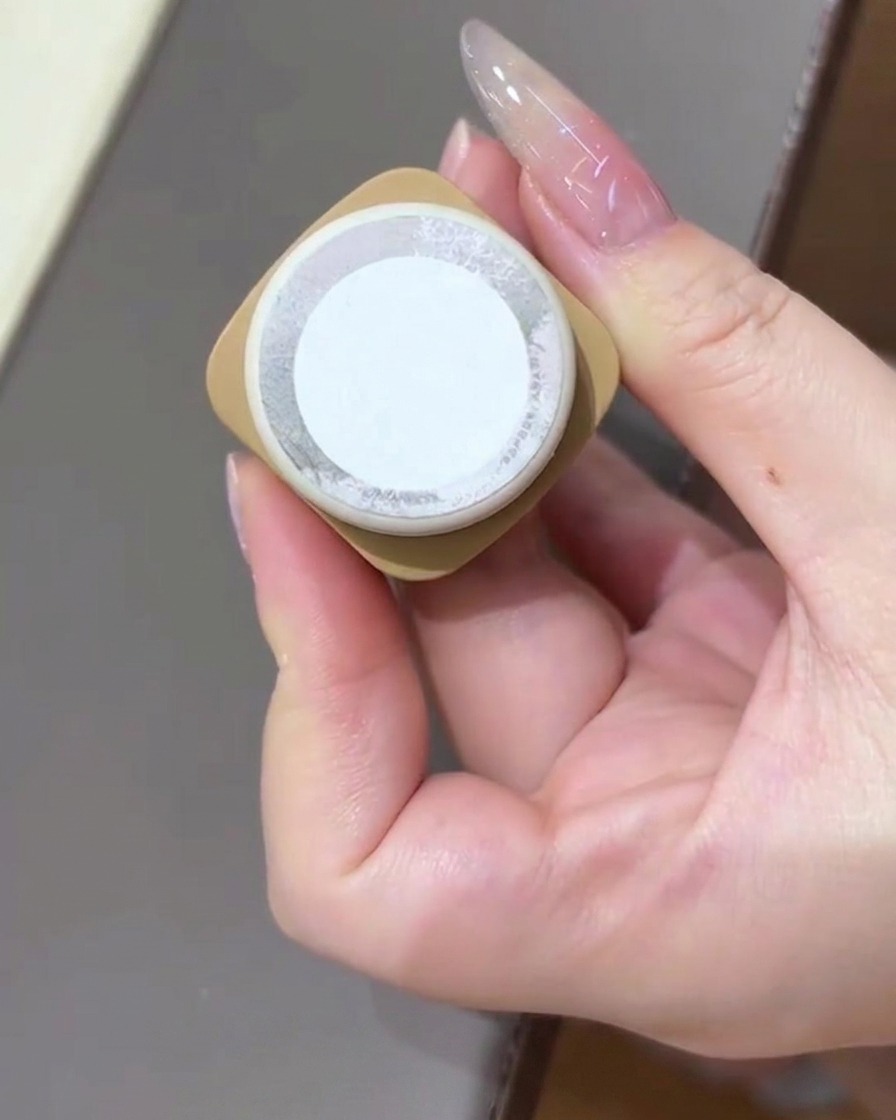
Apply a coat of sheer cat eye gel evenly across the nail surface over your cured base color. Do not cure yet, as you will need the gel to remain wet and mobile in order to manipulate the magnetic particles in the next step.
Tip: Keep the layer uniform so the magnetic glass bead effect disperses evenly across the entire nail. - 5Create glass bead cat eye effect
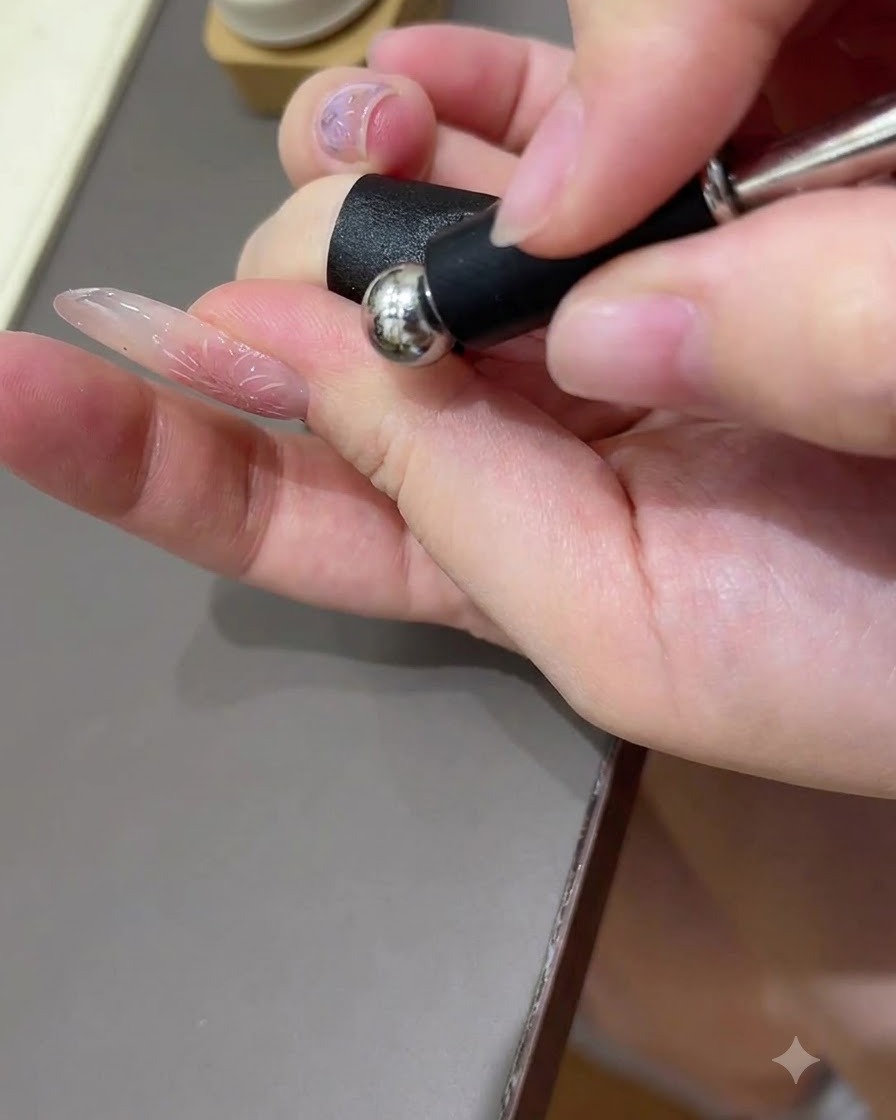
Hover a magnetic tool or a magnetic ball close to the uncured cat eye gel surface. Move it in circular or swirling motions to pull the magnetic particles into a concentrated glass bead effect, then immediately cure under the lamp to lock the pattern in place.
Tip: Hold the magnet steady once you achieve the desired reflection before curing to prevent the particles from shifting back. - 6Select hollow star sticker
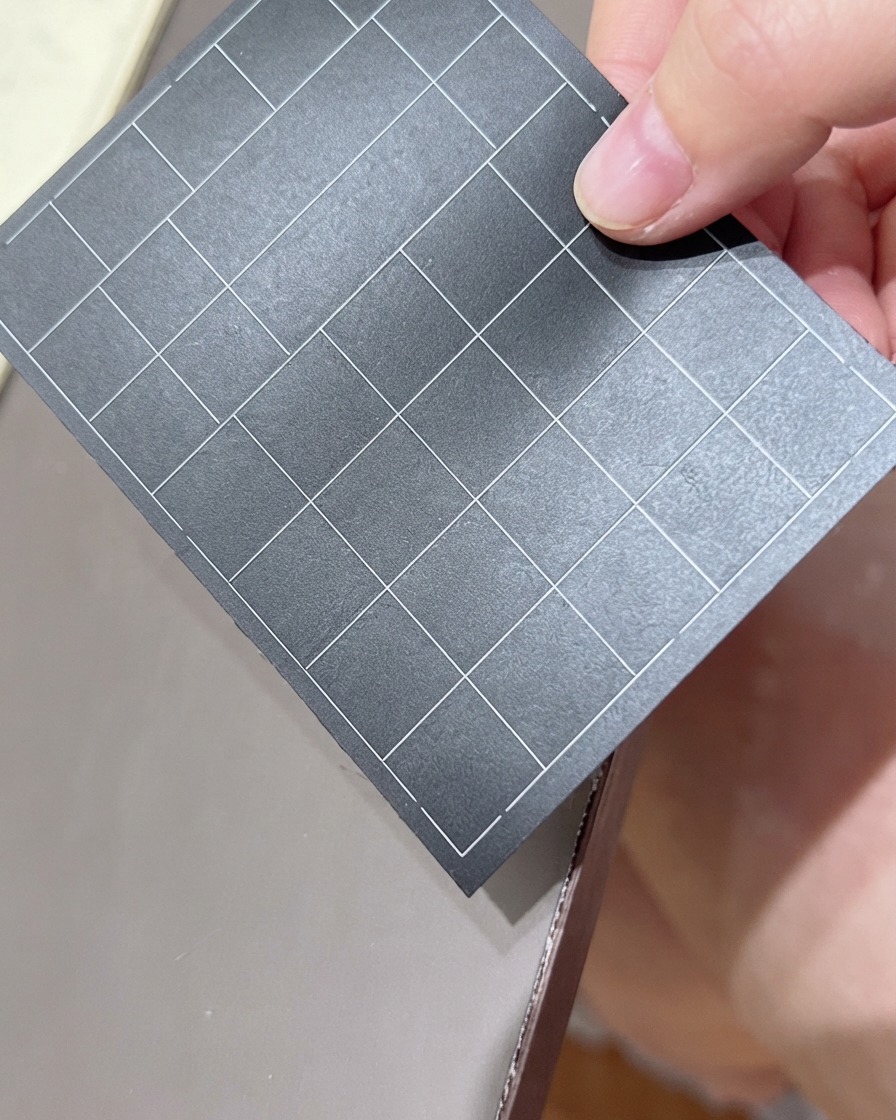
Examine the sheet of nail stickers and select a clean, well-cut hollow star outline sticker. Ensure the edges are sharp and ready to be peeled off cleanly for placement.
Tip: Use fine-tipped tweezers to lift stickers off the sheet without bending the delicate outlines. - 7Place hollow star sticker
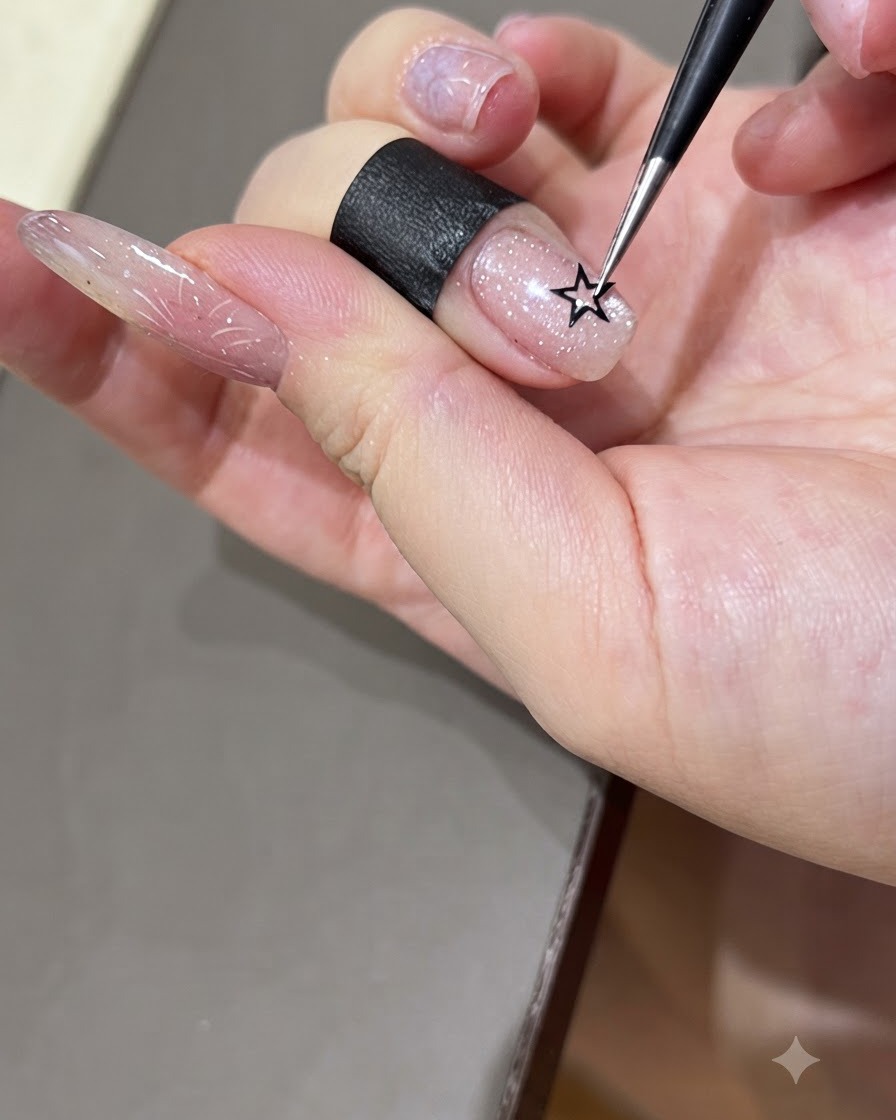
Position the hollow star sticker onto the center of the prepped and glitter-finished nail plate. Press down gently along all the points of the star to secure it flush against the nail surface.
Tip: Make sure all edges of the sticker are firmly adhered so paint doesnt bleed underneath. - 8Pick up pink palette gel
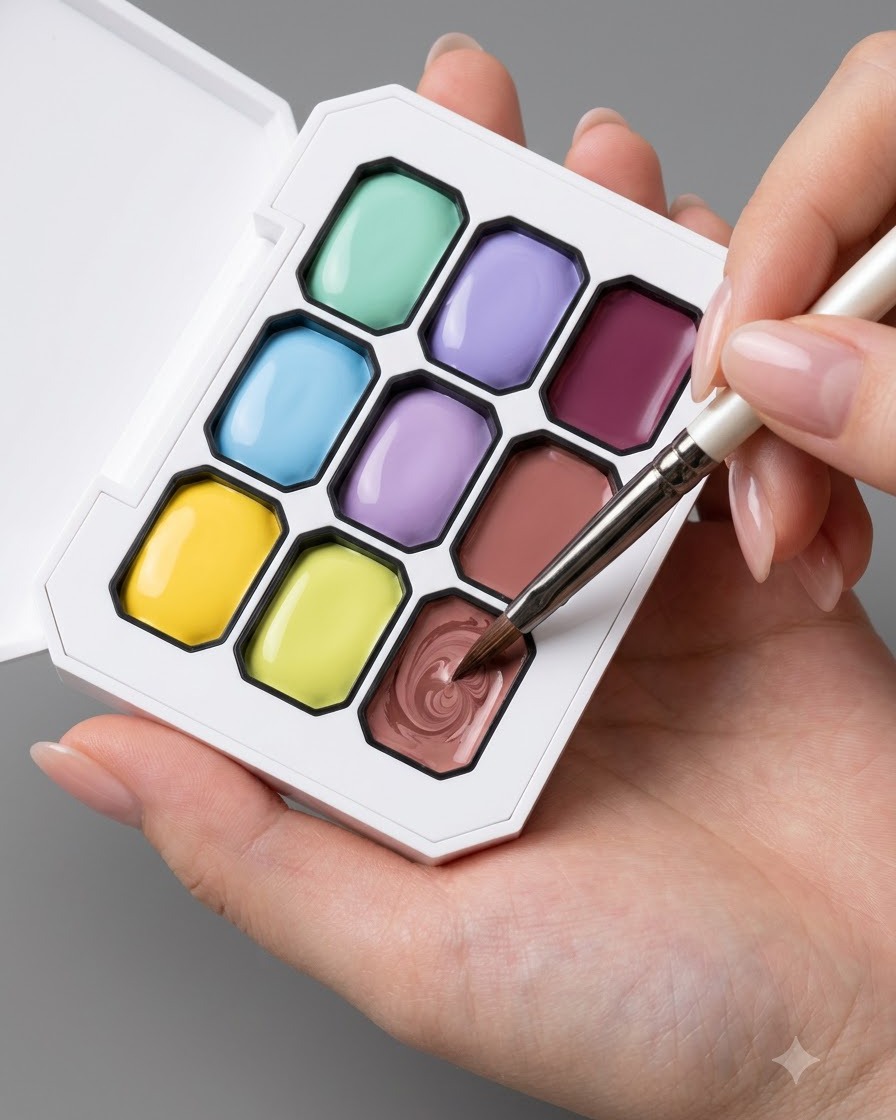
Use a detail brush to gather a small amount of pink palette gel from its compartment. Swirl the brush lightly in the gel to load the bristles evenly for application.
Tip: Load only the tip of the brush to maintain precision during application. - 9Pat pink gel inside star shape
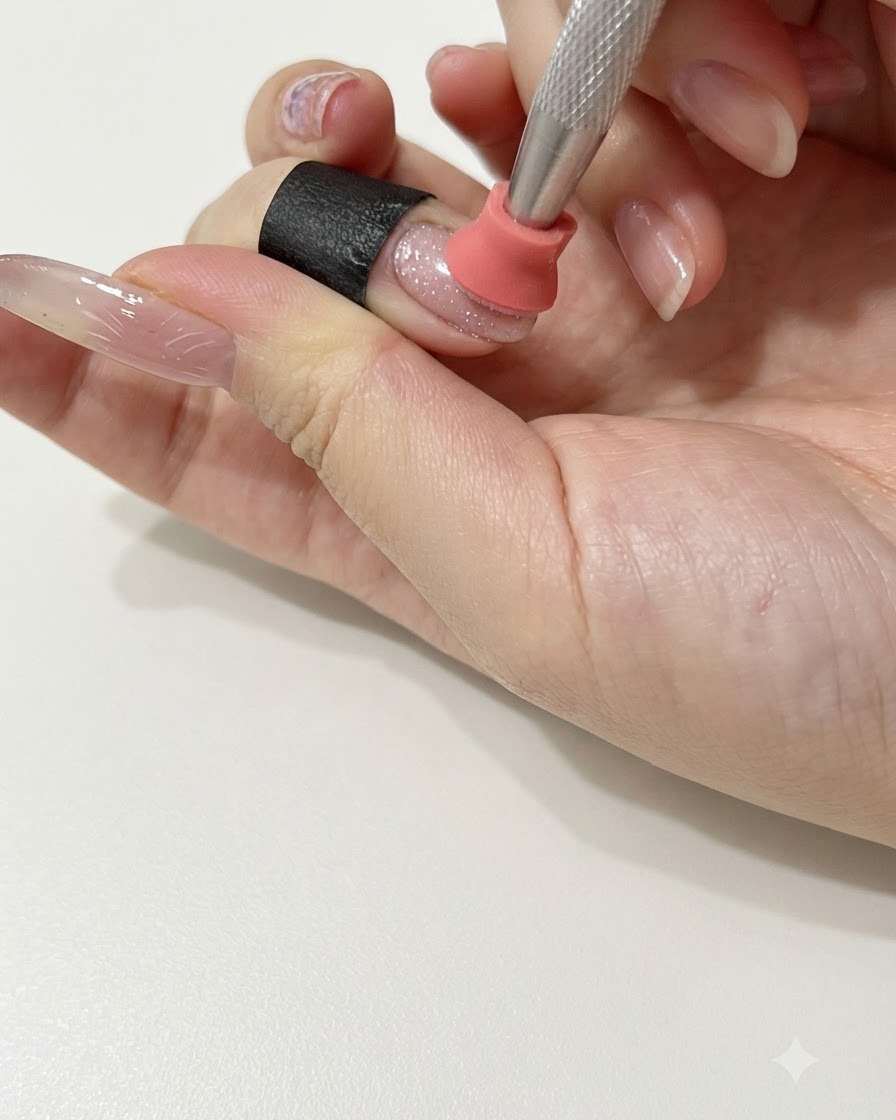
Using a sponge or specialized patting tool, gently dab the pink gel inside the cutout area of the hollow star sticker on the nail. Build up the color lightly with dabbing motions to keep the edges contained within the star outline.
Tip: Use a light tapping motion rather than dragging to keep the sticker boundaries sharp. - 10Peel off the star sticker
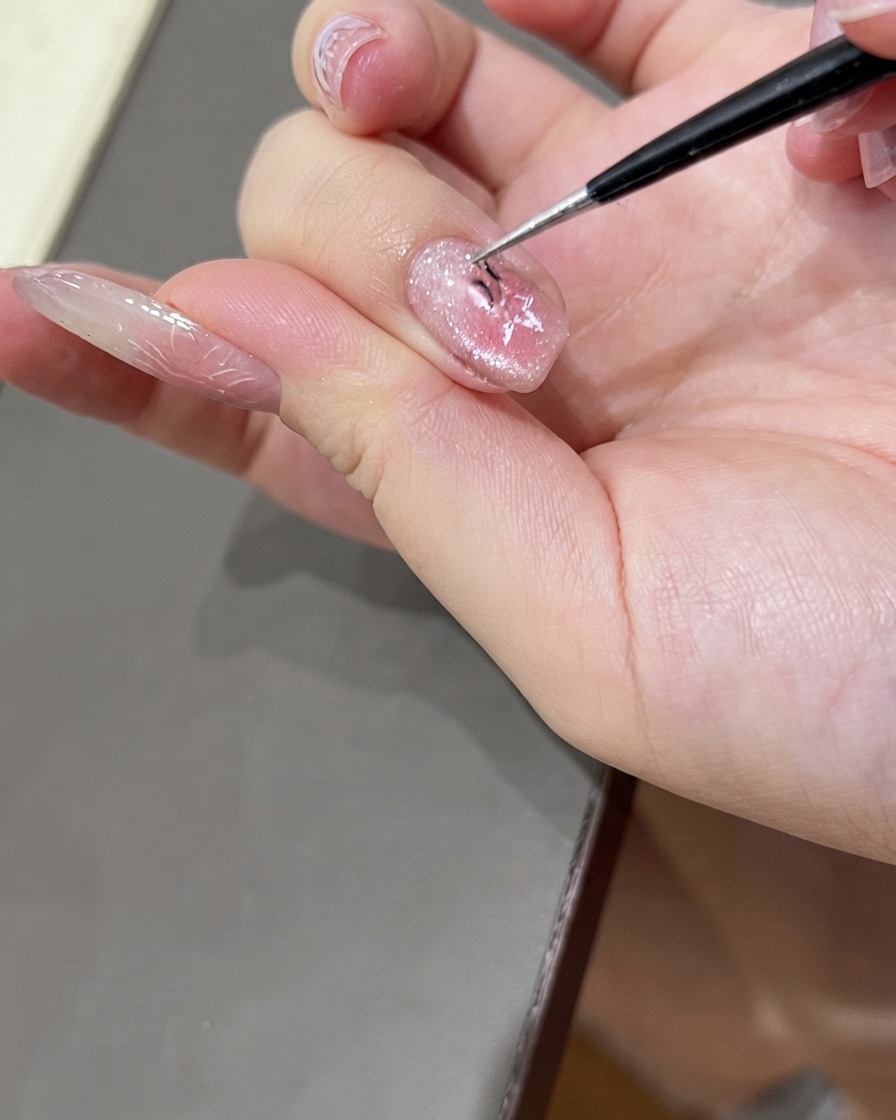
Carefully peel off the star sticker using fine tweezers to reveal the clean, hollow star shape left on the nail surface. Take your time to lift the sticker gently without disturbing the surrounding cured cat eye gel or background design.
Tip: Lift the sticker smoothly at an angle to prevent smudging any tacky gel layers underneath. - 11Pick up patting gel with a fine brush
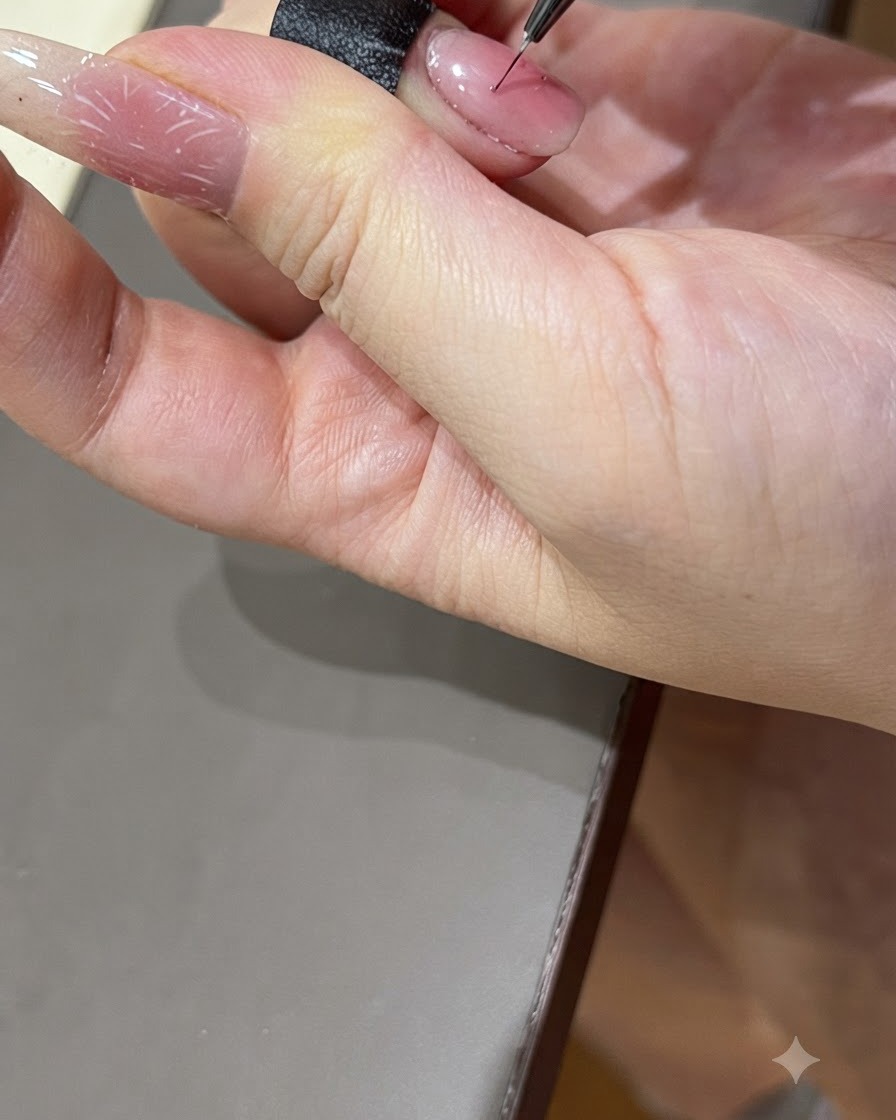
Pick up pink, yellow, and white patting gel using a fine nail art brush. Ensure the bristles are evenly coated with a small amount of product to maintain precision when drawing delicate lines around the star motif.
Tip: Keep the brush tip sharp and clean to ensure crisp, precise lines during the subsequent nail art drawing phase. - 12Draw radiant lines from the star
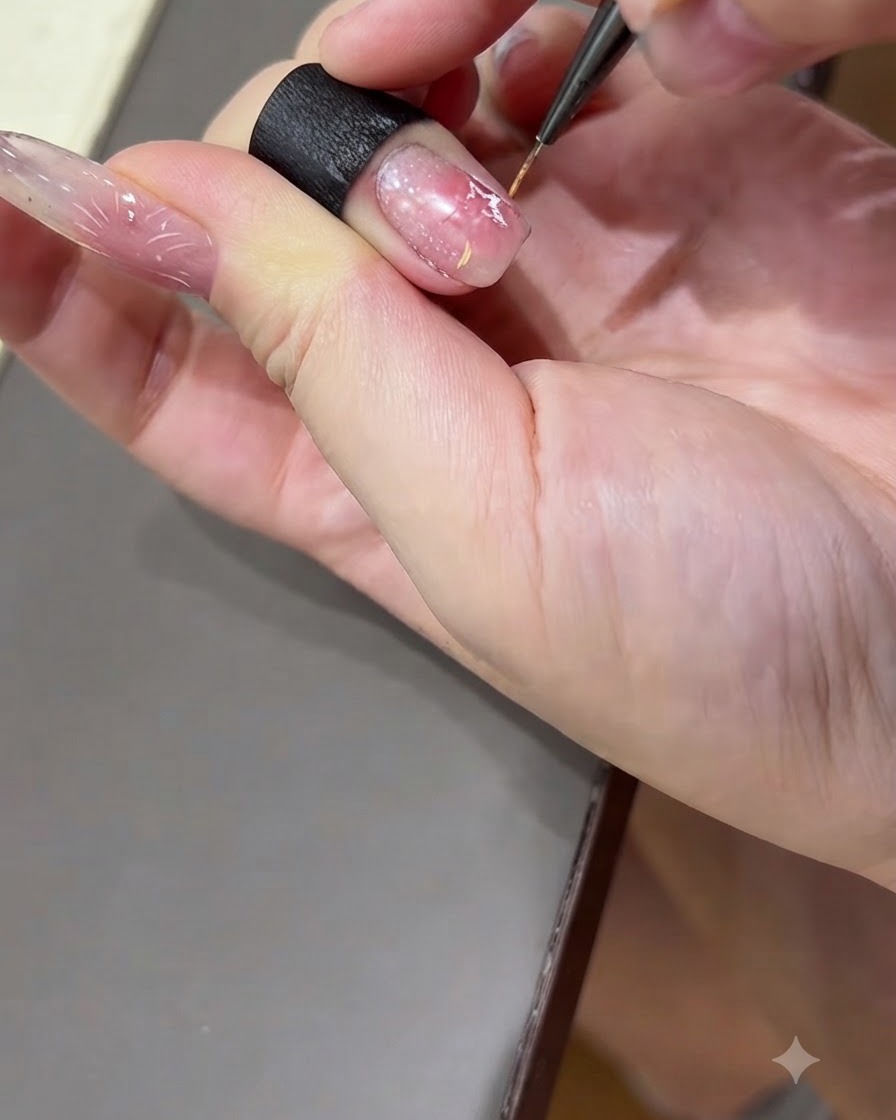
Draw radiant lines originating outward from the star shape using the loaded fine brush with pink, yellow, and white gel. Extend these delicate lines outward to create a glowing, burst-like rainbow star effect surrounding the hollow center.
Tip: Vary the lengths and colors of the radiant lines slightly to give the star design a dynamic, dimensional look. - 13Cure the nail under a UV/LED lamp
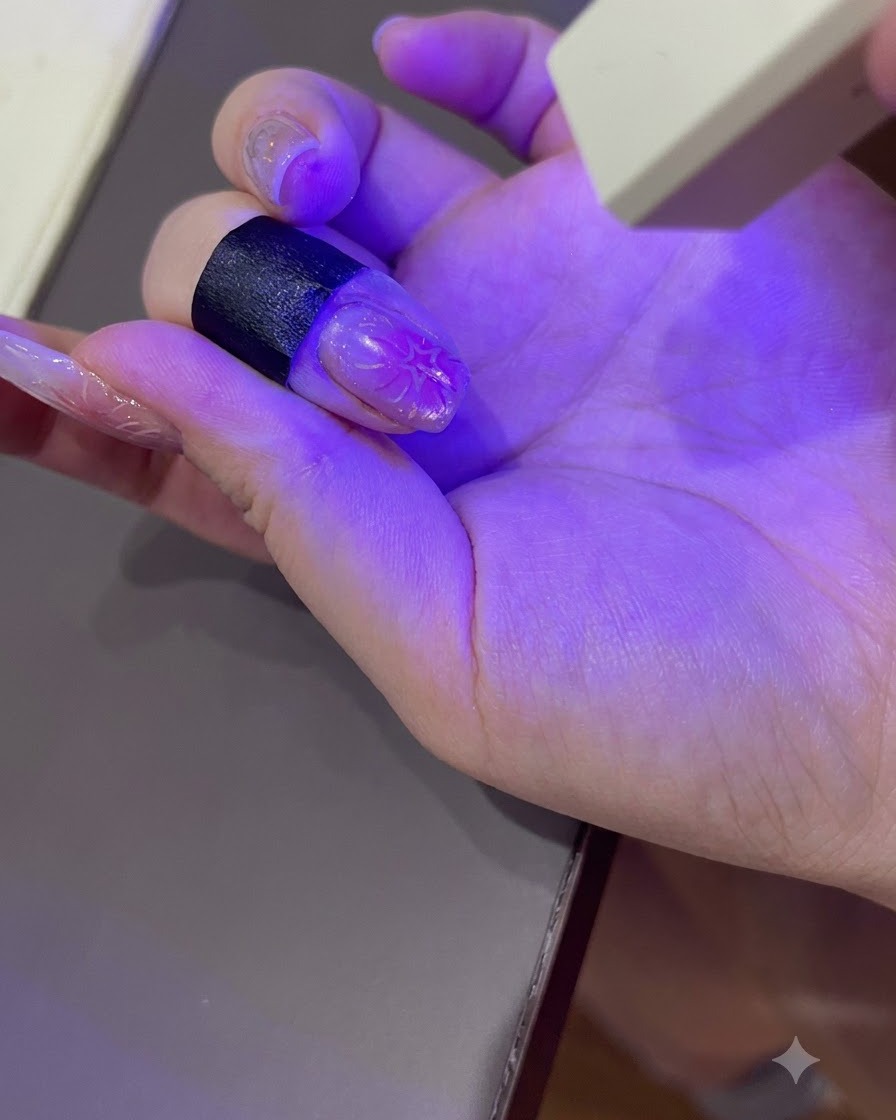
Place the finger under a UV or LED lamp and cure the newly painted radiant lines and details. Ensure proper exposure time so that the colorful gel pigments lock securely into place without shifting.
Tip: Double-check that the hand is positioned correctly under the lamp light source to cure all edges evenly. - 14Apply a final functional top coat layer
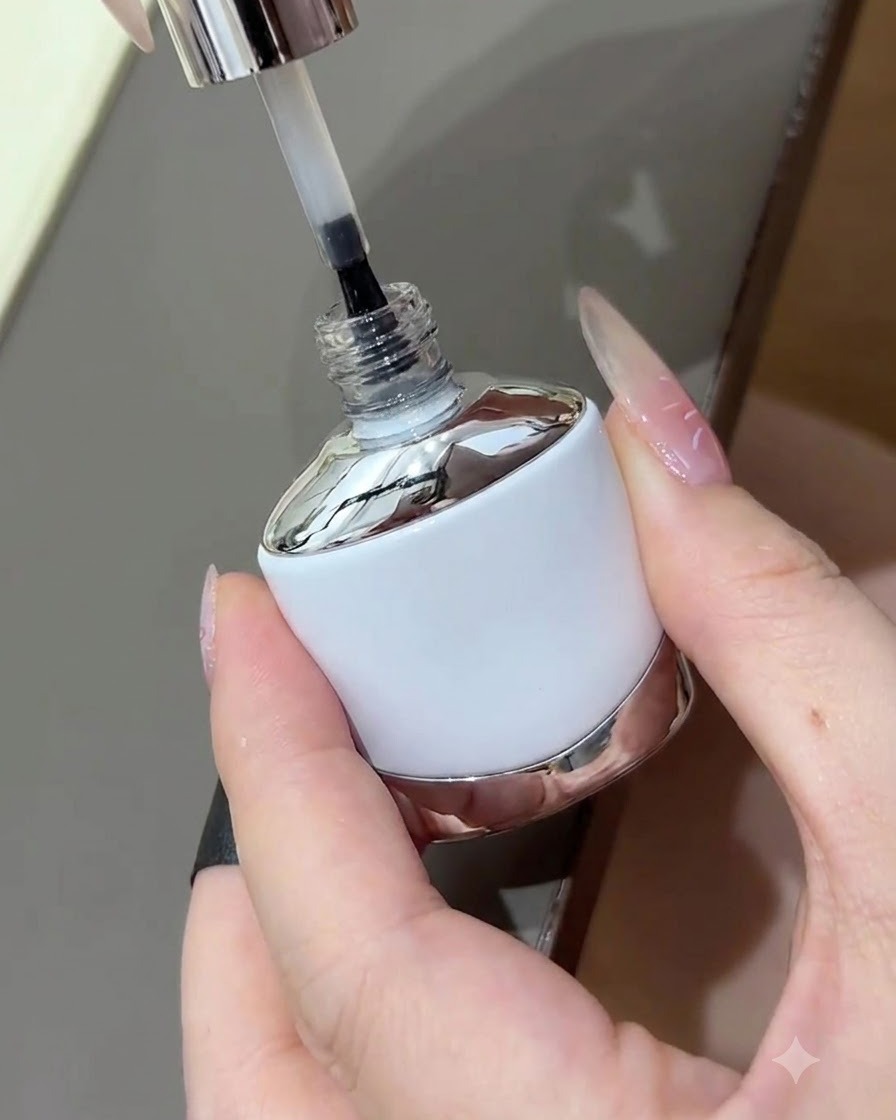
Apply a final functional top coat layer over the entire nail surface, sealing in the rainbow star design and radiant line artwork. Cap the free edge neatly to prevent chipping and ensure long-lasting durability for the manicure.
Tip: Apply a smooth, even layer of top coat to level out any minor textures from the hand-drawn lines. - 15Cure the top coat to finish the manicure
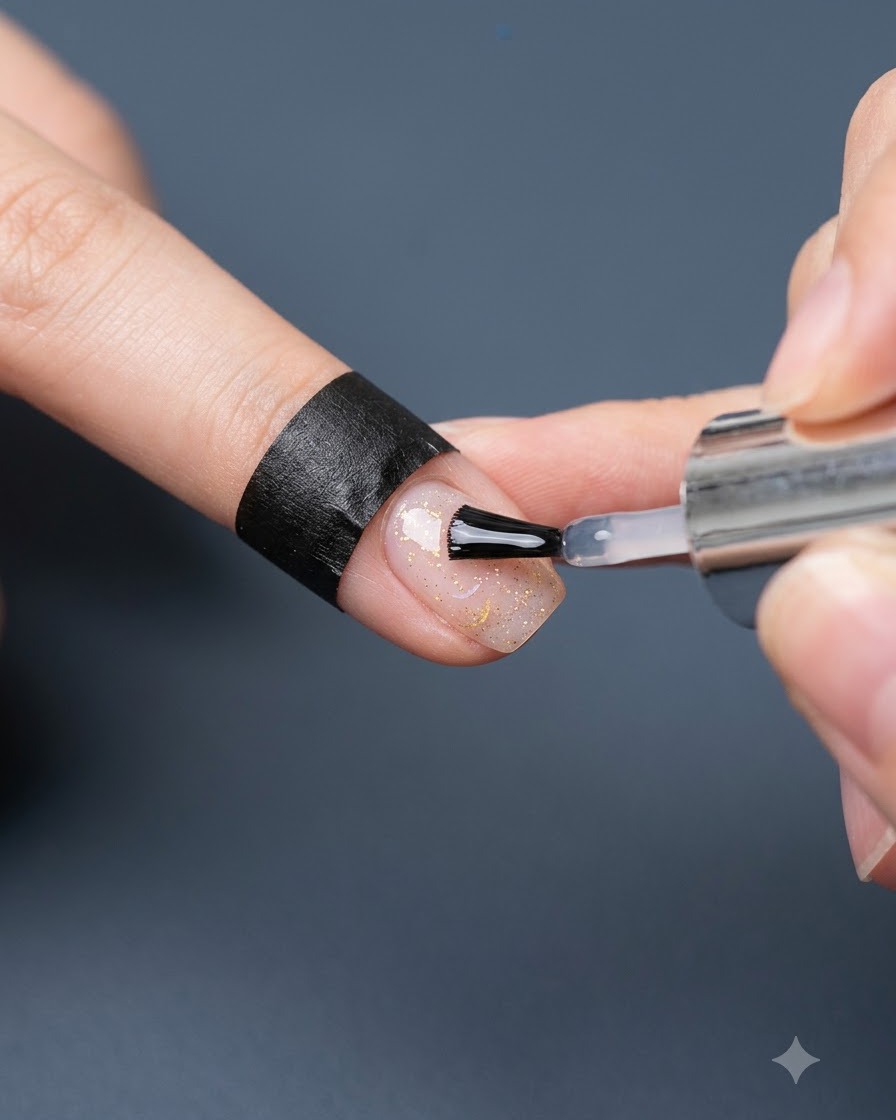
Cure the top coat under the UV/LED lamp to fully harden the protective layer and complete the manicure. Once cured, the hollow rainbow star gel nails are fully set with a glossy, polished finish ready to display.
Tip: Ensure a complete cure cycle to leave a high-shine, tacky-free finish if using a no-wipe top coat formula.