Pink Nude Gel Nails
Rhinestone Heart Outlines and Silver Chain Art — Step-by-Step Tutorial
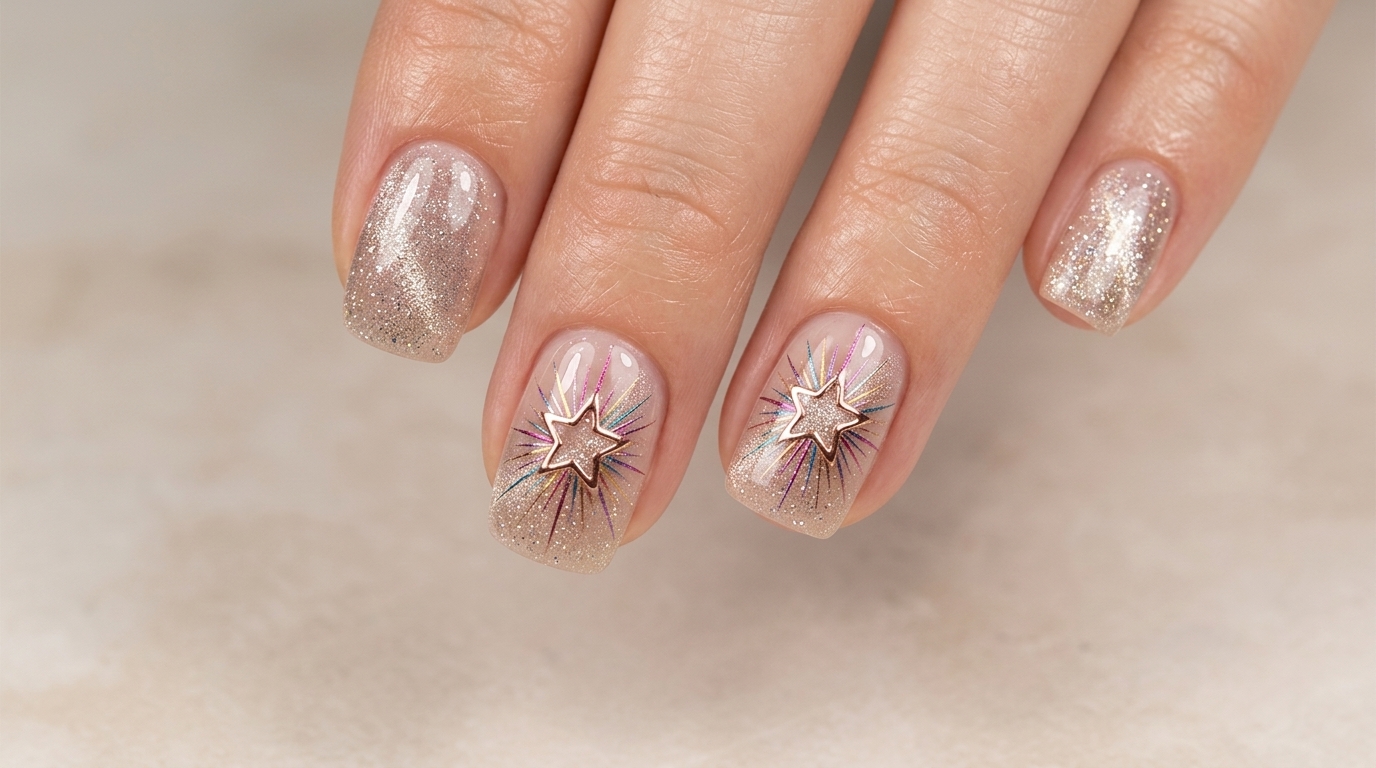
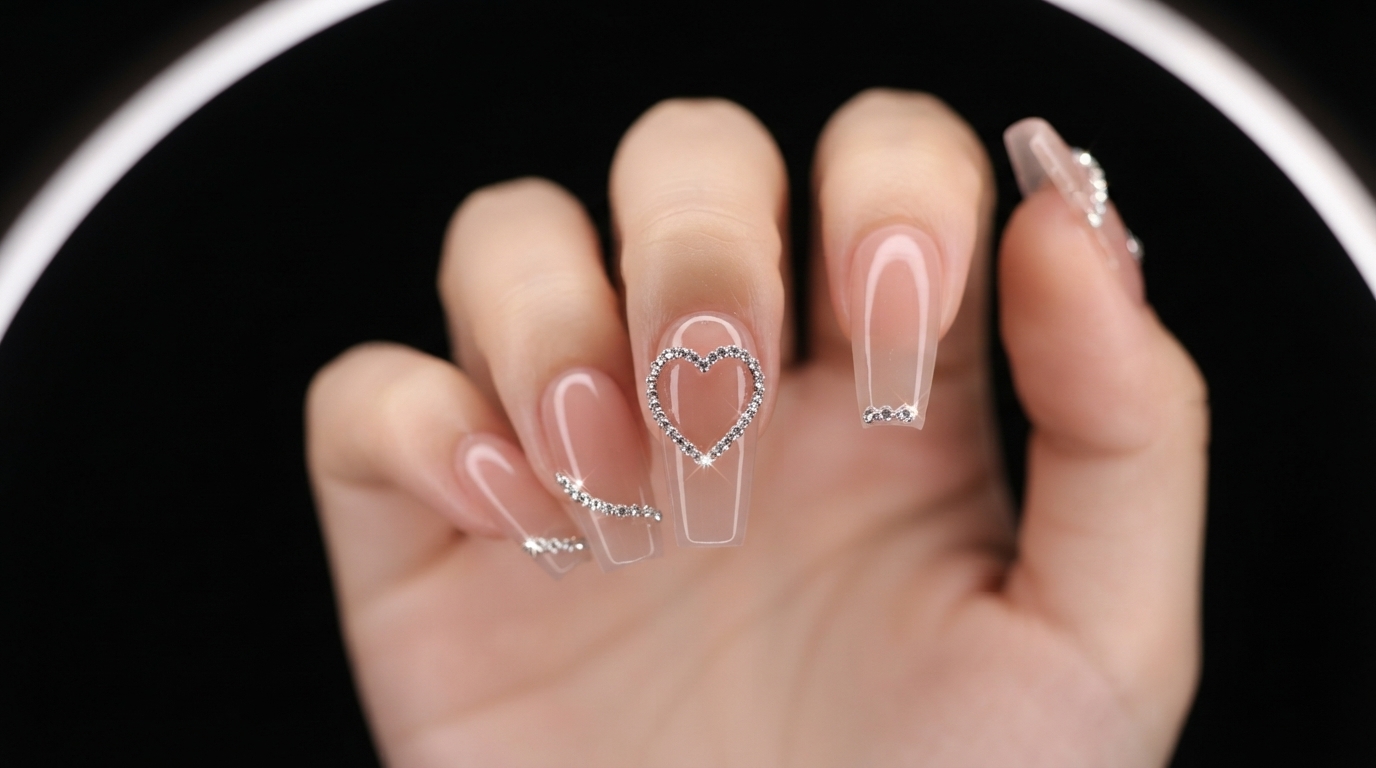
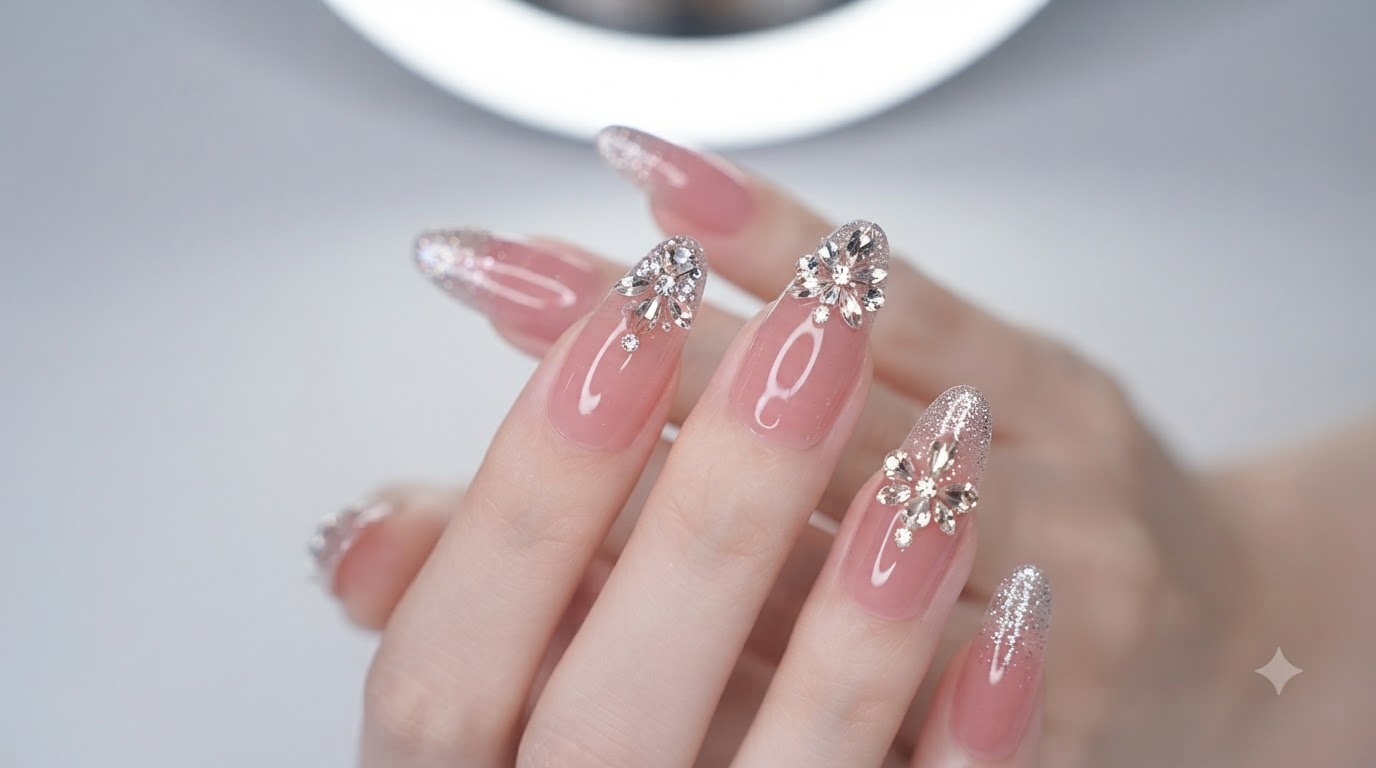
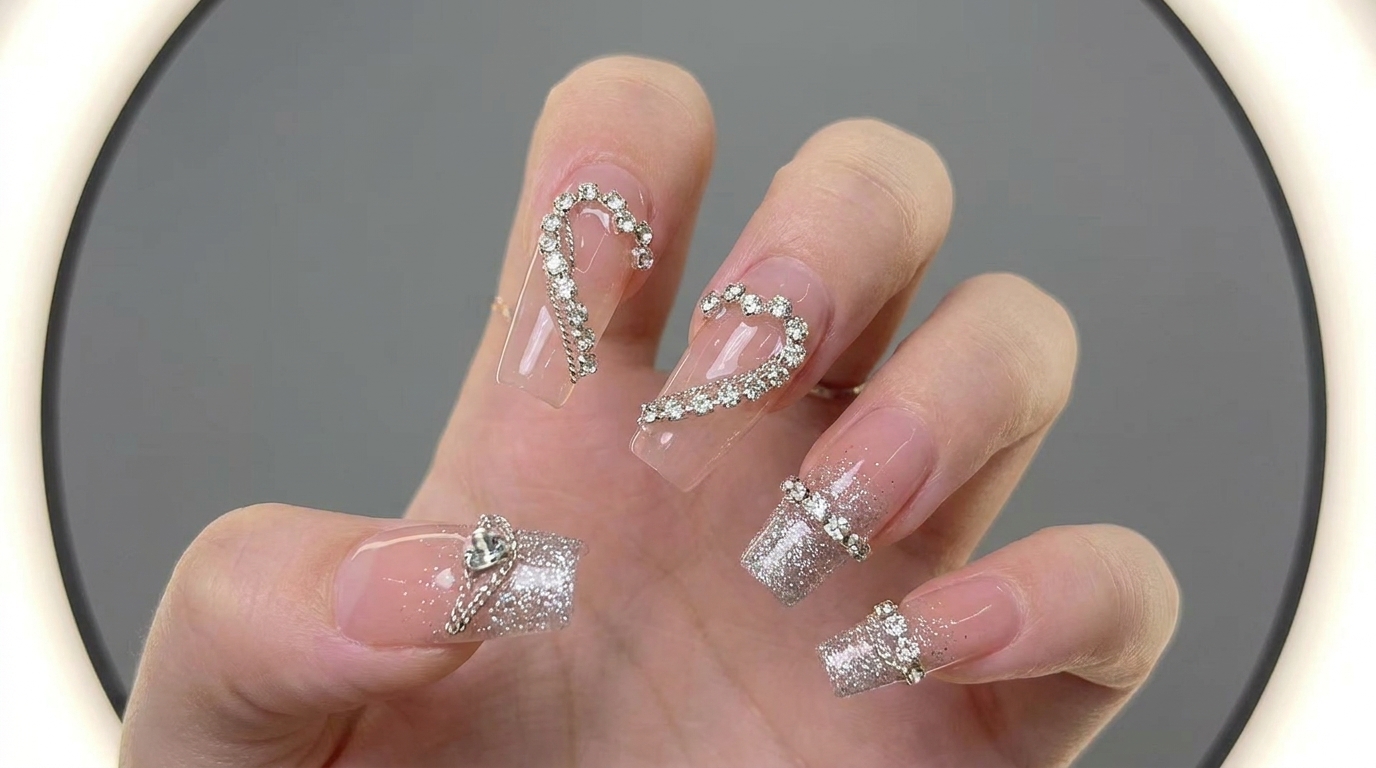
Create stunning pink nude gel nails featuring delicate rhinestone and silver chain heart outlines alongside sparkling silver gradient tips.
Combining translucent pink nude bases with intricate metallic chains and shimmering rhinestone heart outlines creates a high-fashion manicure that turns heads. This detailed tutorial guides you through each step of building dimensional charm and glitter gradients right at home.
Steps
- 1Apply ice translucent pink base
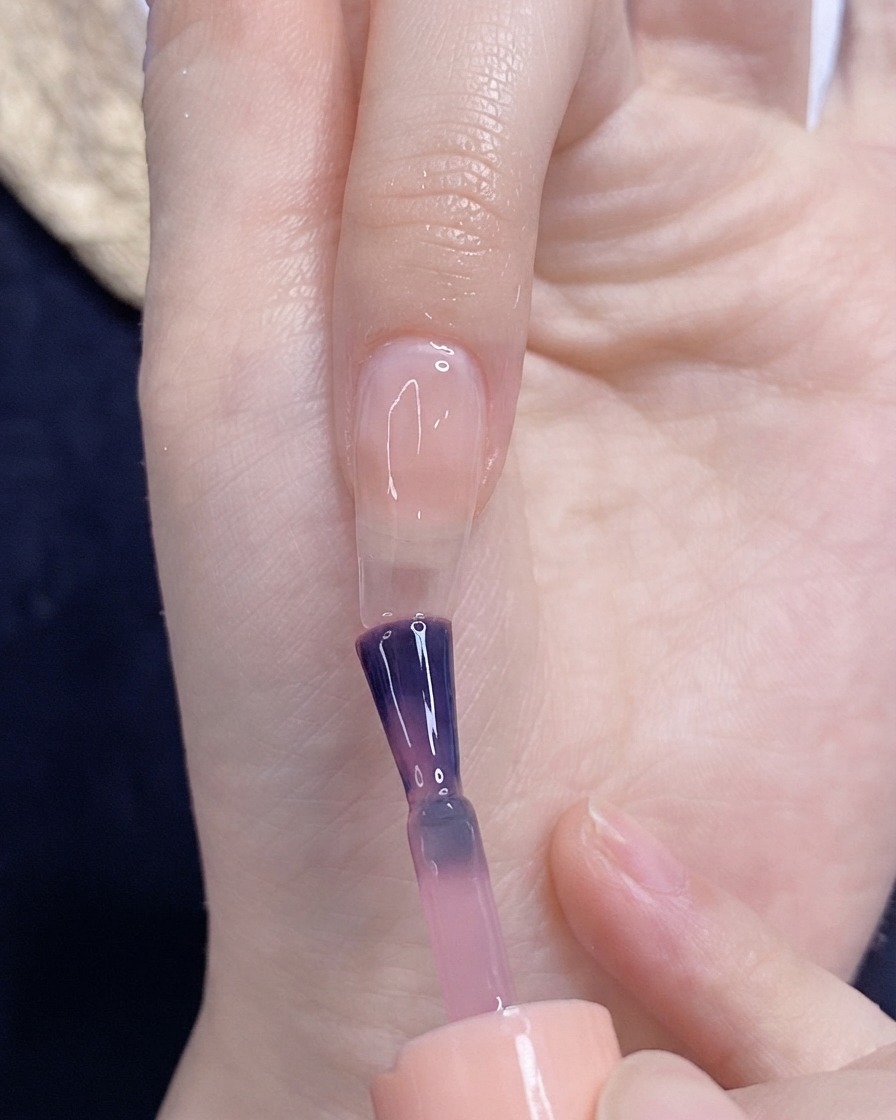
Apply a coat of ice translucent pink gel polish evenly across the nail surface to create a subtle, glossy foundation for the design.
Tip: Apply in thin, even strokes to avoid pooling near the edges and ensure a smooth cure. - 2Draw half heart outline
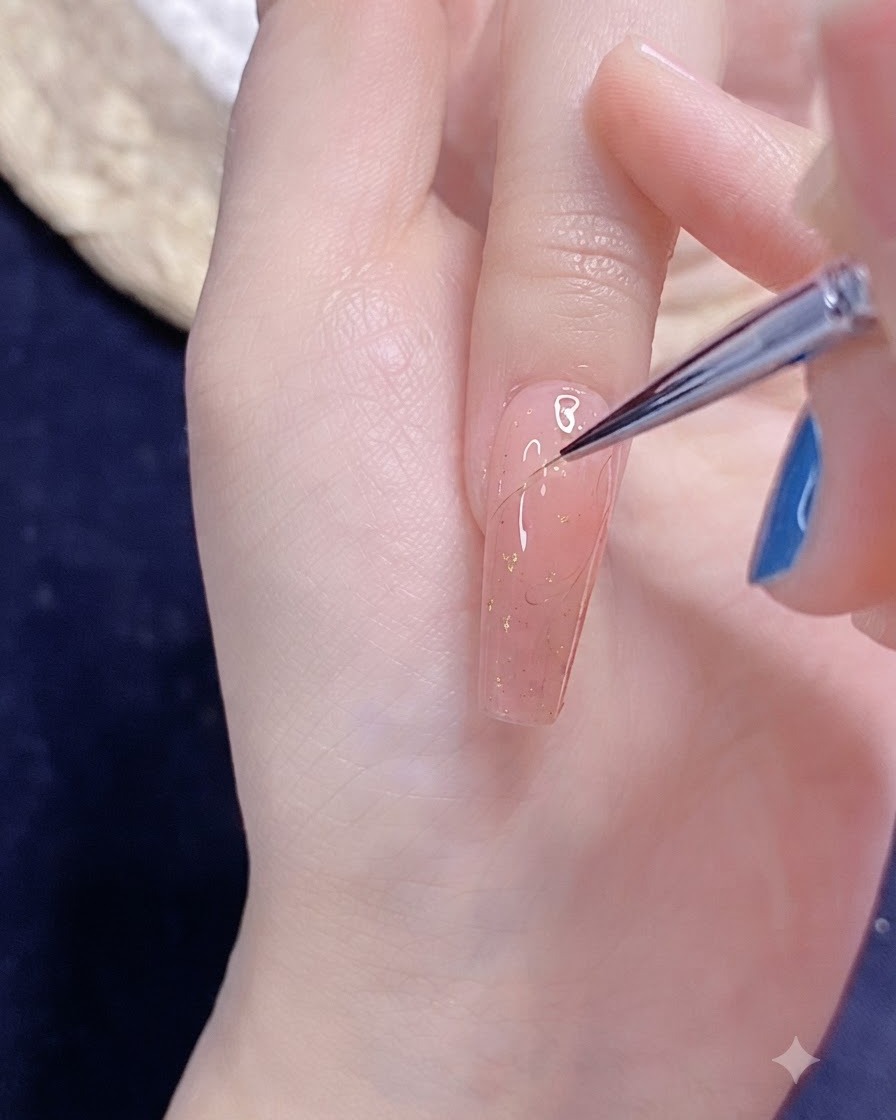
Using a fine detail brush and liner gel, carefully draw the outline of a half heart shape on the prepped nail surface. Keep your lines steady and thin to ensure a refined and clean look for the subsequent nail art embellishments.
Tip: Wipe your brush lightly on a lint-free pad with alcohol to keep the tip sharp and precise before drawing. - 3Cut golden chain strip
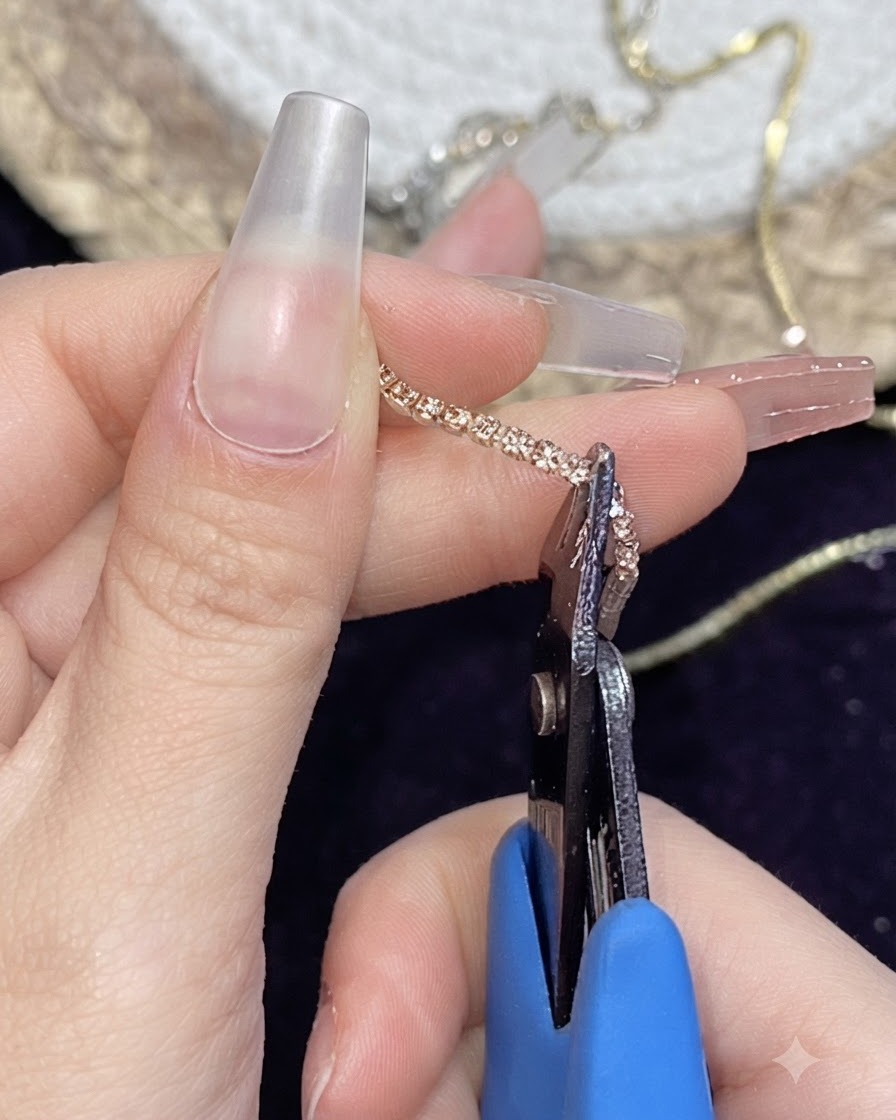
Measure the chain strip against the drawn heart outline on the nail to determine the correct length. Use a pair of small nippers to cleanly cut the golden chain strip to fit precisely along the curved guideline.
Tip: Hold the ends of the chain securely while cutting to prevent individual links from flying off or unraveling. - 4Place chain strip on nail
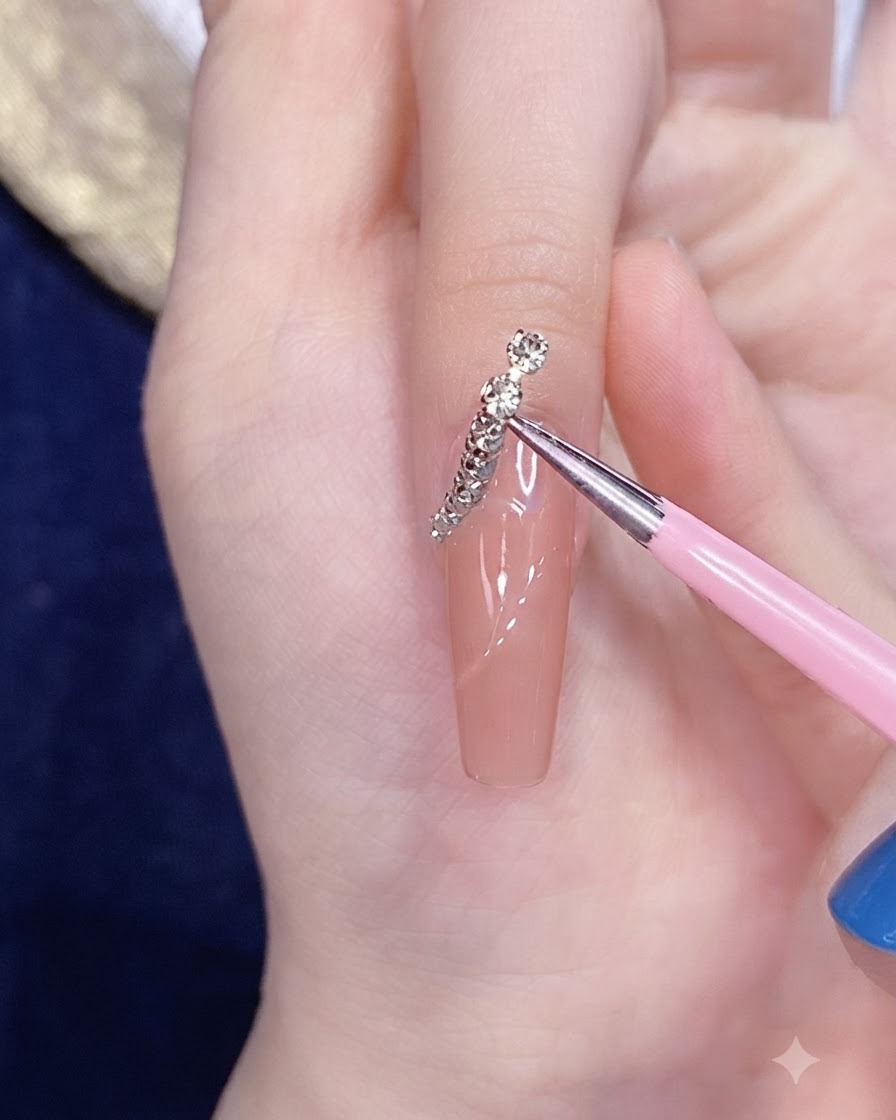
Using a fine tool or tweezers, carefully pick up the cut golden chain strip and place it directly onto the drawn half-heart outline on the nail surface. Adjust its position gently so it follows the curve precisely before curing or sealing.
Tip: Work quickly if placing on uncured tacky gel, or use a tiny drop of clear gel to anchor the chain securely. - 5Seal and wrap the chain outline
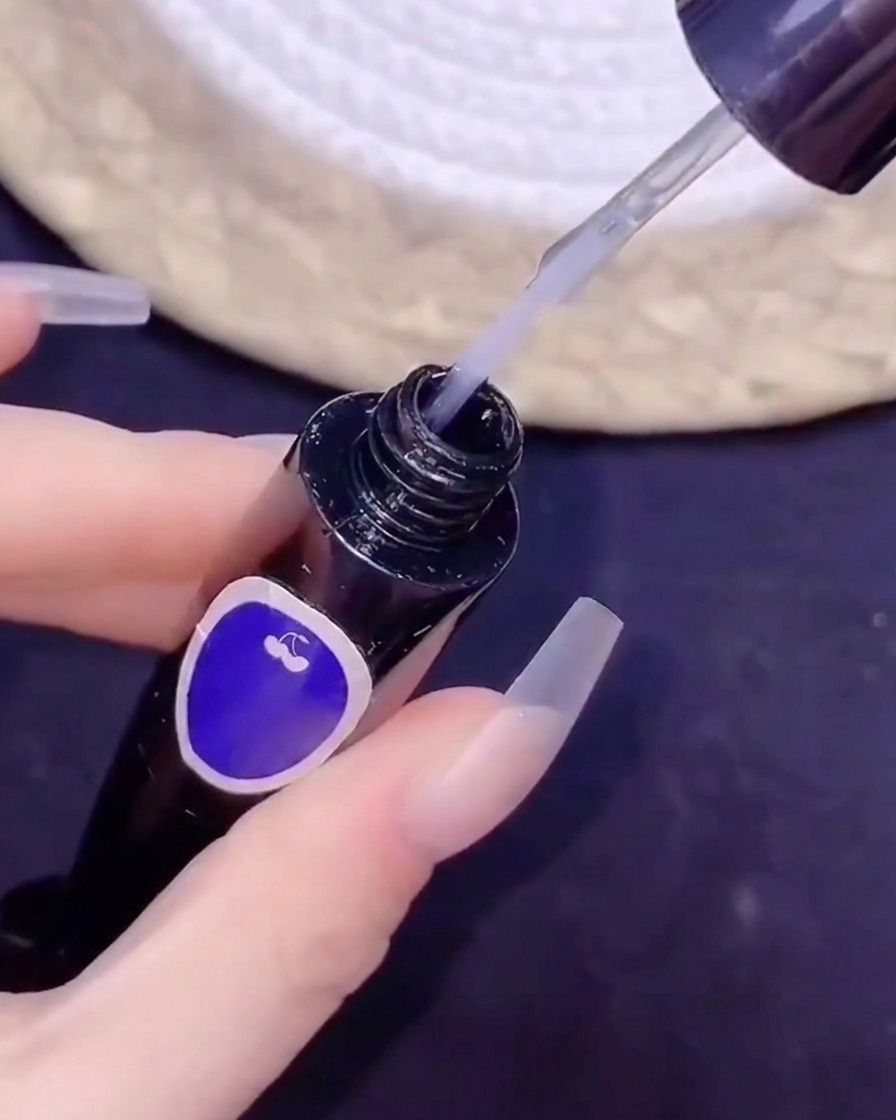
Apply a no-wipe top coat using a fine brush head, carefully wrapping and sealing around the embedded chain outline to secure all elements in place. Cure thoroughly under the lamp to lock the design.
Tip: Take extra care to seal all edges of the chain so it does not catch on clothing or lift over time. - 6Cure top coat under lamp
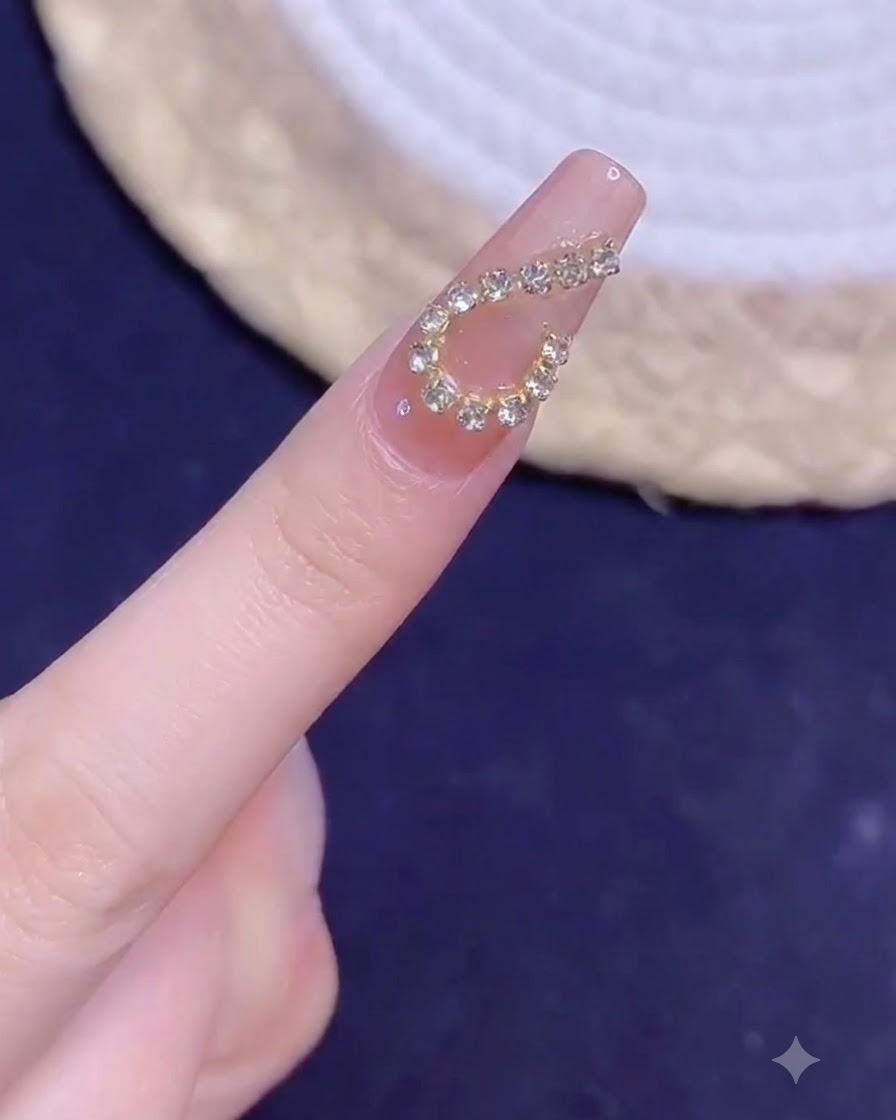
Place the hand under a UV or LED curing lamp to fully set the top coat and securely lock the embedded chain decoration in place. Cure for the full recommended time specified by your gel product manufacturer.
Tip: Ensure the finger is placed flat under the light source so the top coat cures evenly across all edges of the chain. - 7Draw complementary half heart outline
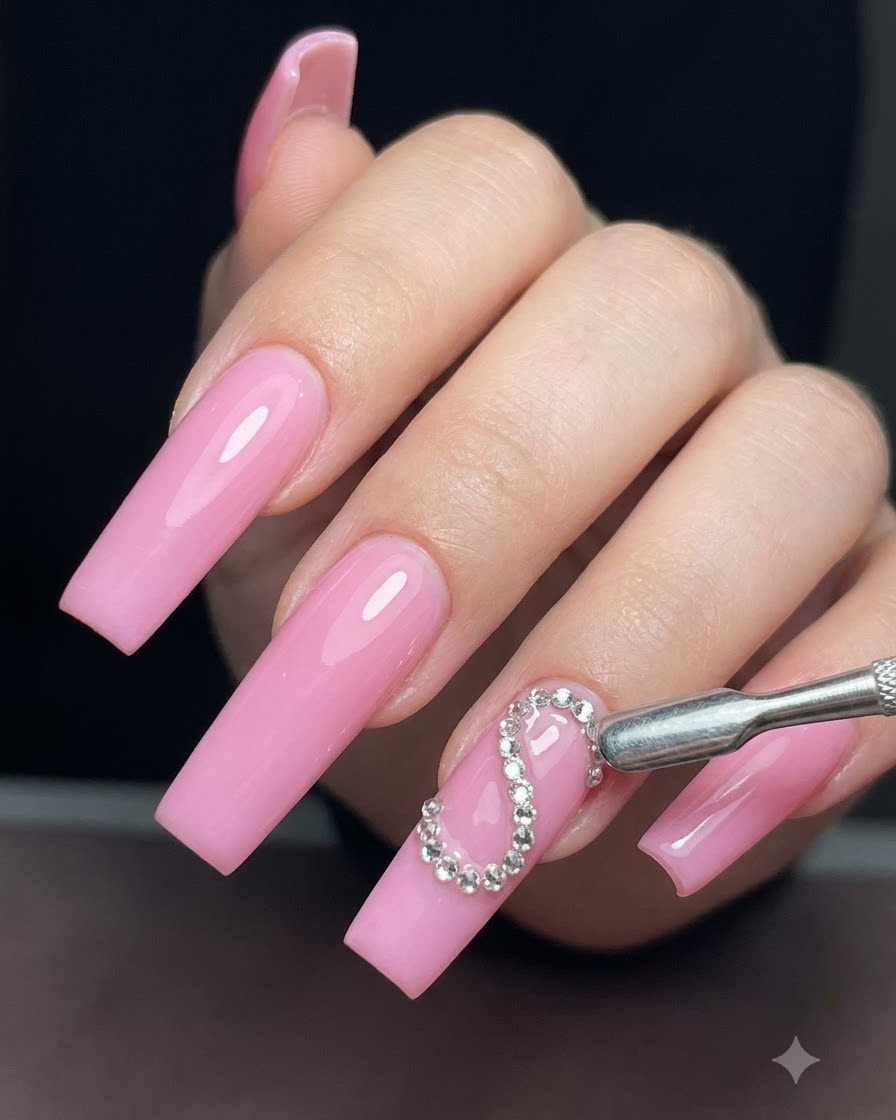
Using a fine liner gel brush, carefully draw the second half of the heart outline on the index finger to complement the previous design. Follow the natural curves of the nail shape to ensure both halves align symmetrically when viewed together. Once the outline is positioned correctly, cure briefly or proceed directly to placing the embellishments.
Tip: Keep your hand steady and use only the tip of the liner gel brush for clean, sharp line work. - 8Attach chain strip to second half heart
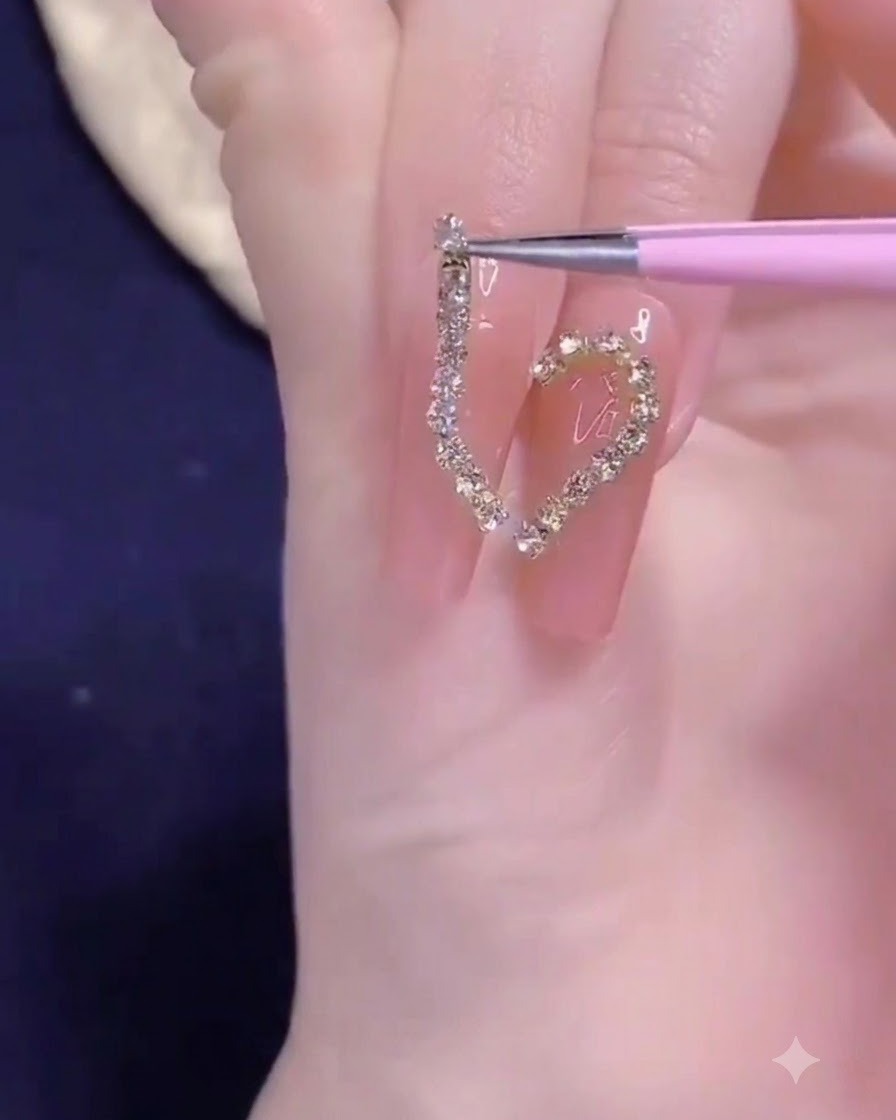
Using precision tweezers, pick up a matching length of gold chain strip and place it precisely along the second half-heart outline drawn on the nail. Press gently to embed it into the tacky layer or uncured gel.
Tip: Cut the chain strip slightly shorter than needed if it tends to overlap at the corners for a cleaner fit. - 9Seal chain elements with top coat
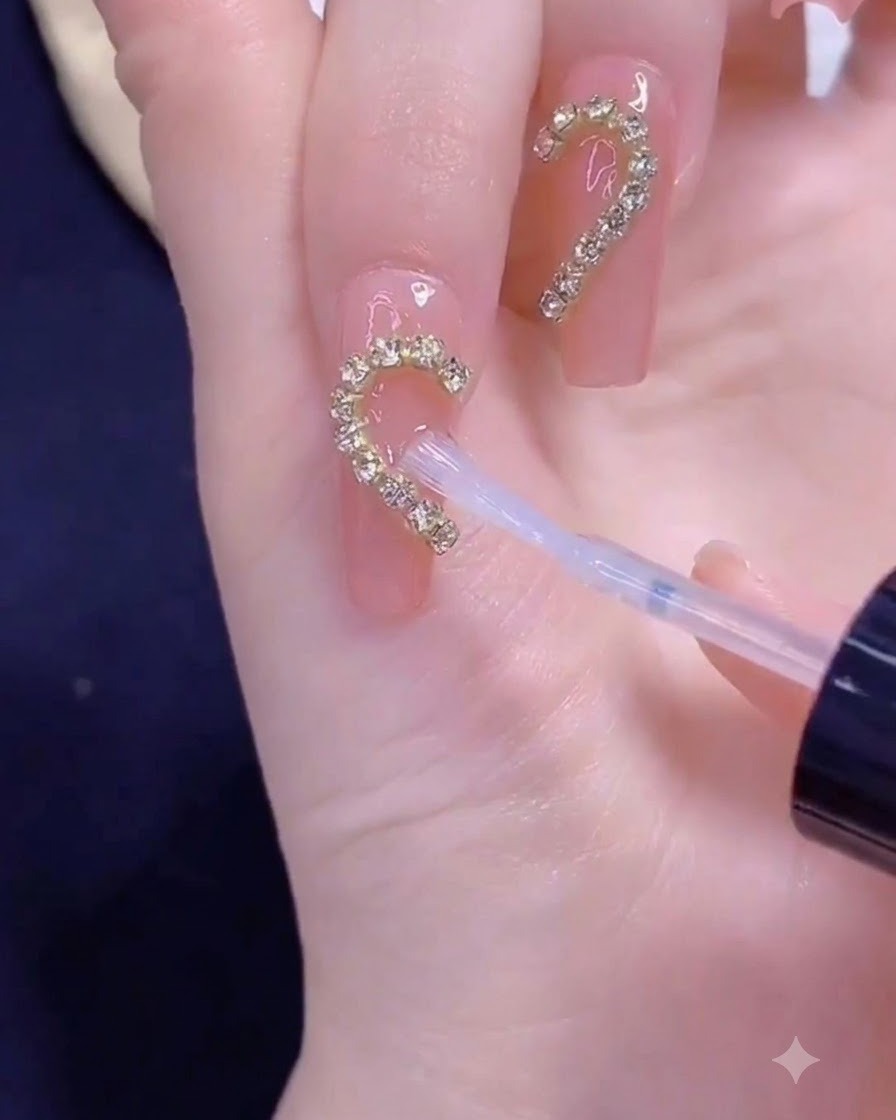
Carefully apply a no-wipe top coat directly over and around the chain strip on the index finger using a fine brush head. Ensure the top coat thoroughly wraps under and over the chain links to lock them securely in place. Cure completely under the UV or LED lamp to harden the protective coating.
Tip: Be sure to encapsulate the edges of metallic chains completely with top coat to prevent snagging or peeling. - 10Apply silver glitter gradient at the tip
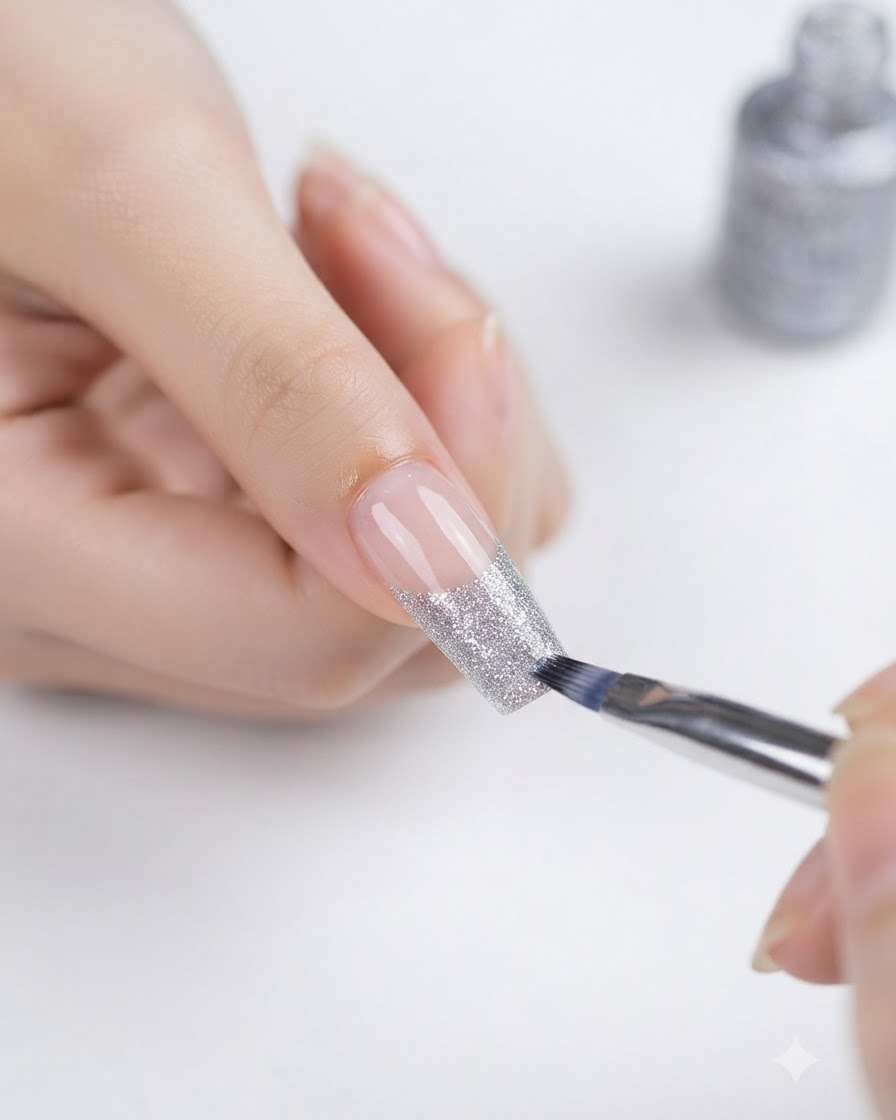
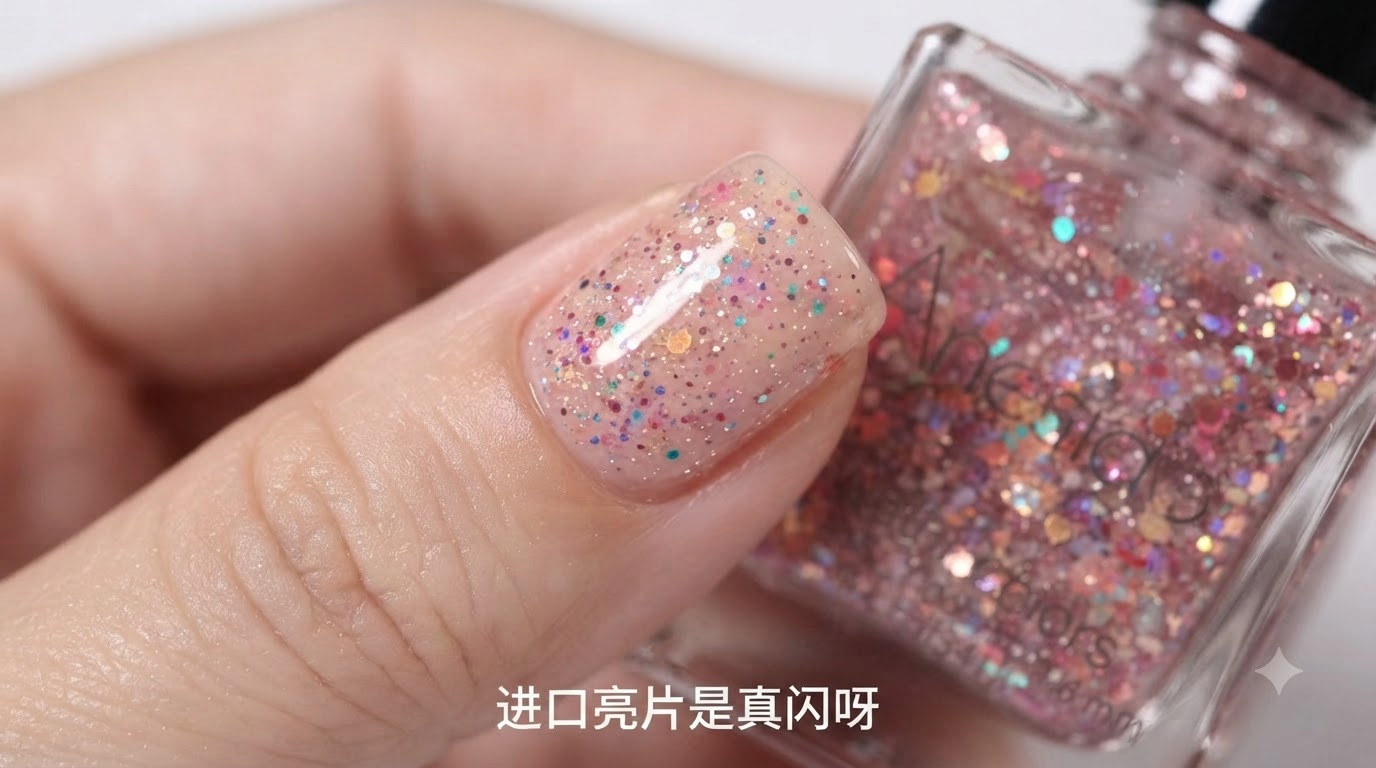
Apply silver glitter gel polish at the tip of the ring finger using a brush to feather it downward and create a smooth gradient French tip effect. Cure under the lamp when finished.
Tip: Tap the glitter gently with the brush tip to disperse the particles evenly across the fade zone. - 11Place horizontal chain on ring finger
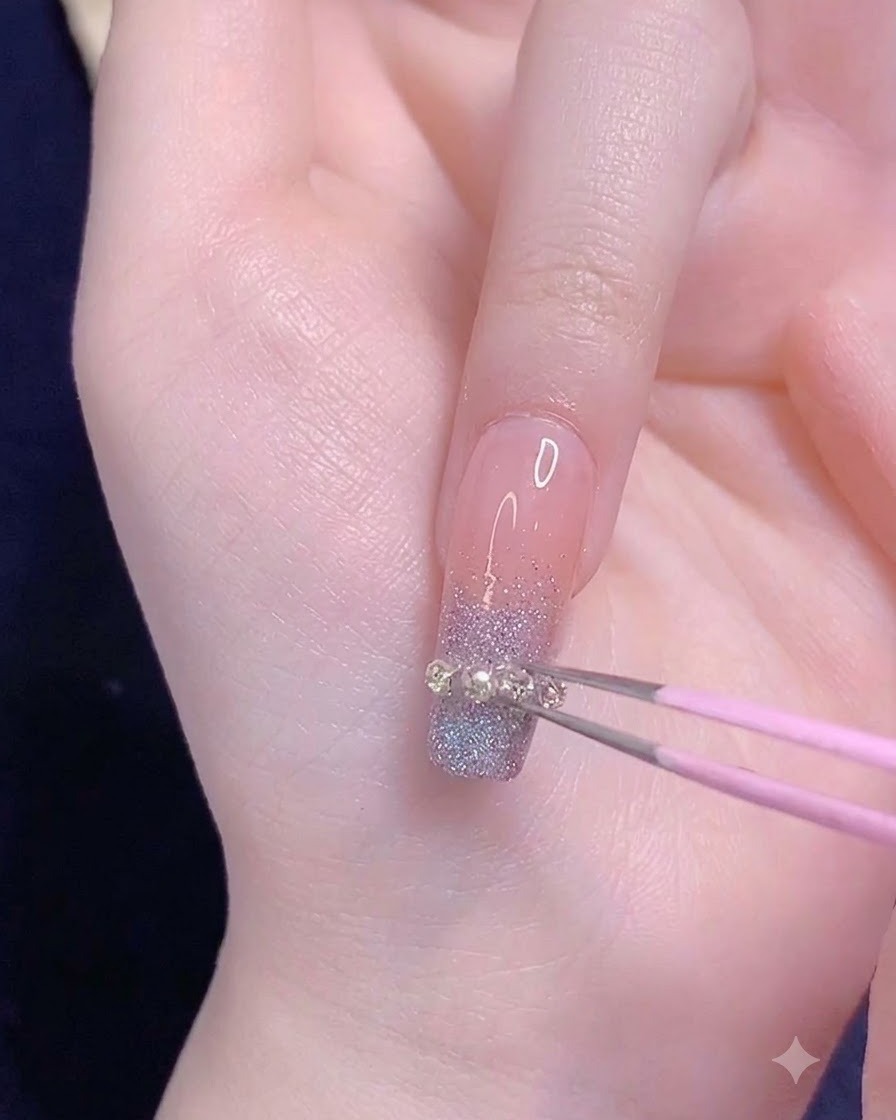
Using precision tweezers, pick up a pre-measured segment of chain strip and place it horizontally across the transition area of the ring finger tip. Press gently into the tacky gel layer to secure its position straight across the nail surface. Adjust the alignment carefully before curing or sealing.
Tip: Fine tweezers give you maximum control when placing small metal chains or studs onto sticky gel layers. - 12Apply final top coat
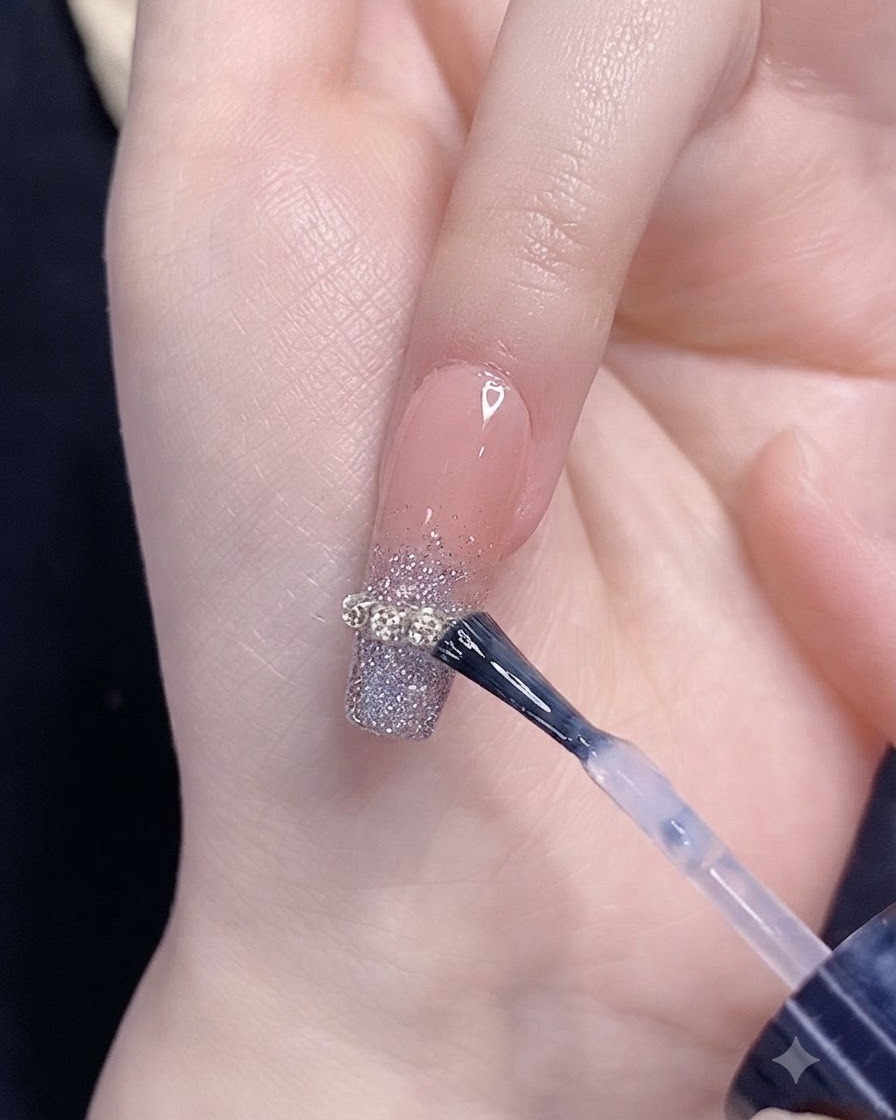
Apply a final layer of no-wipe top coat over the ring finger design, carefully sealing the chain strip and glitter gradient, then cure under the UV or LED lamp to finish the manicure.
Tip: Cap the free edge with top coat to prevent chipping and ensure the decorative chain stays securely in place.