Sweet Pink Sparkly Press-On Nails
Crystal Embellishments — Step-by-Step Guide
Discover how to inspect, align, and test luxurious sweet pink sparkly press-on nails featuring fine glitter gradients and 3D crystal clusters for a flawless salon look.
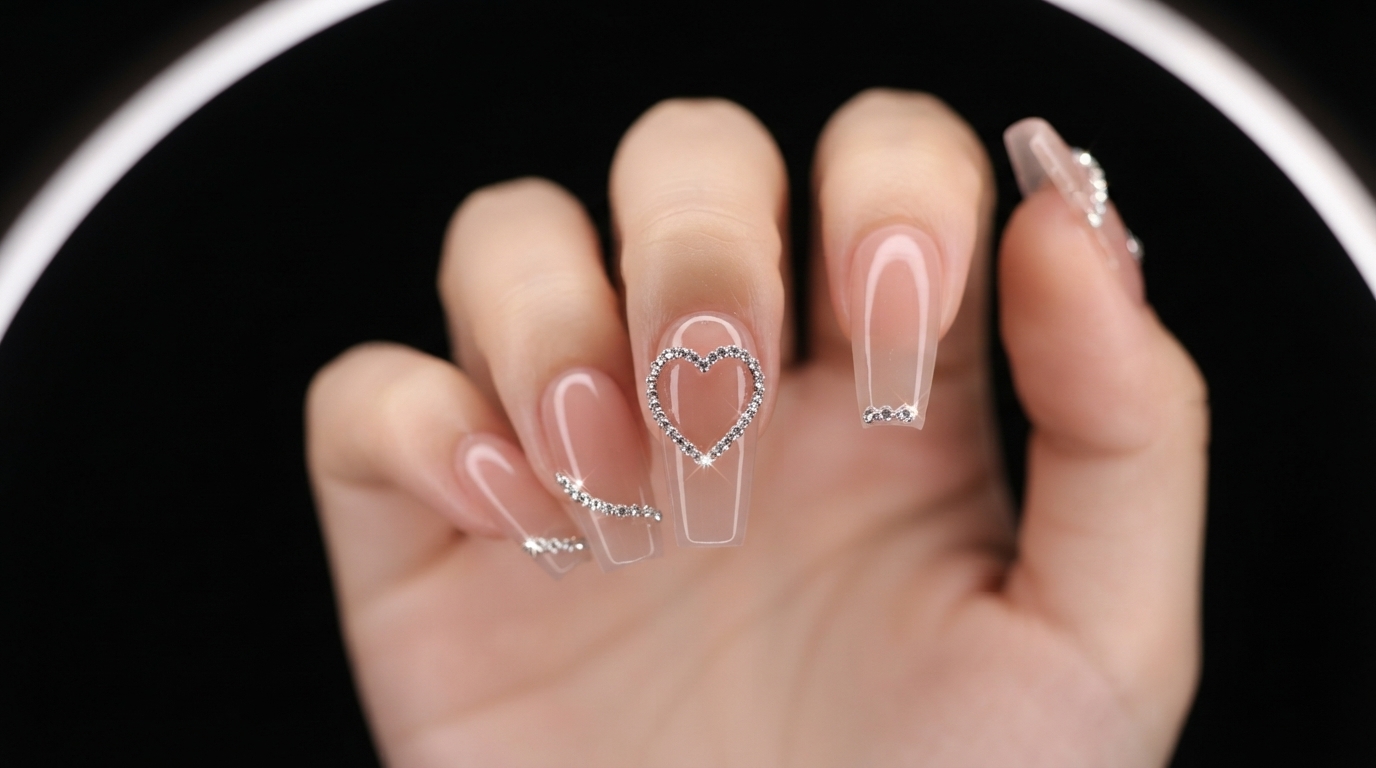
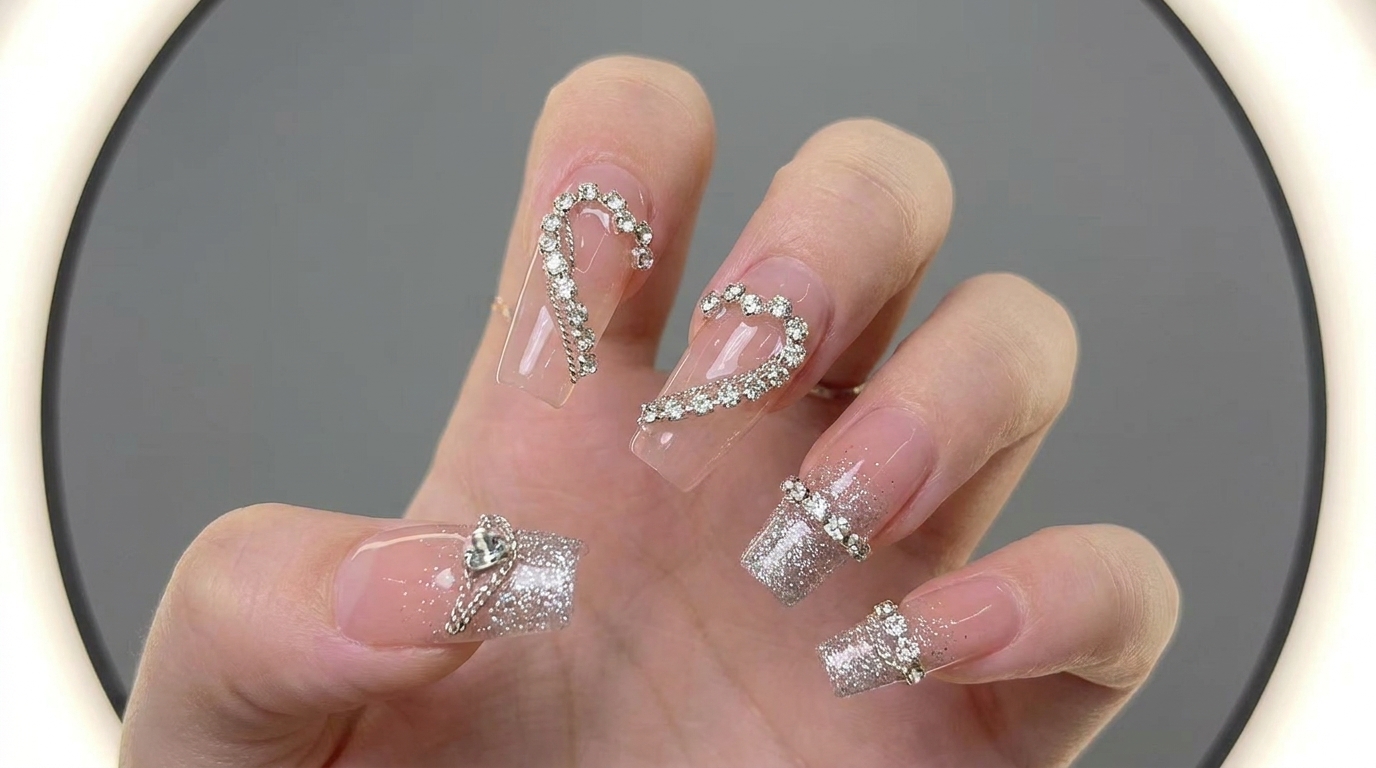
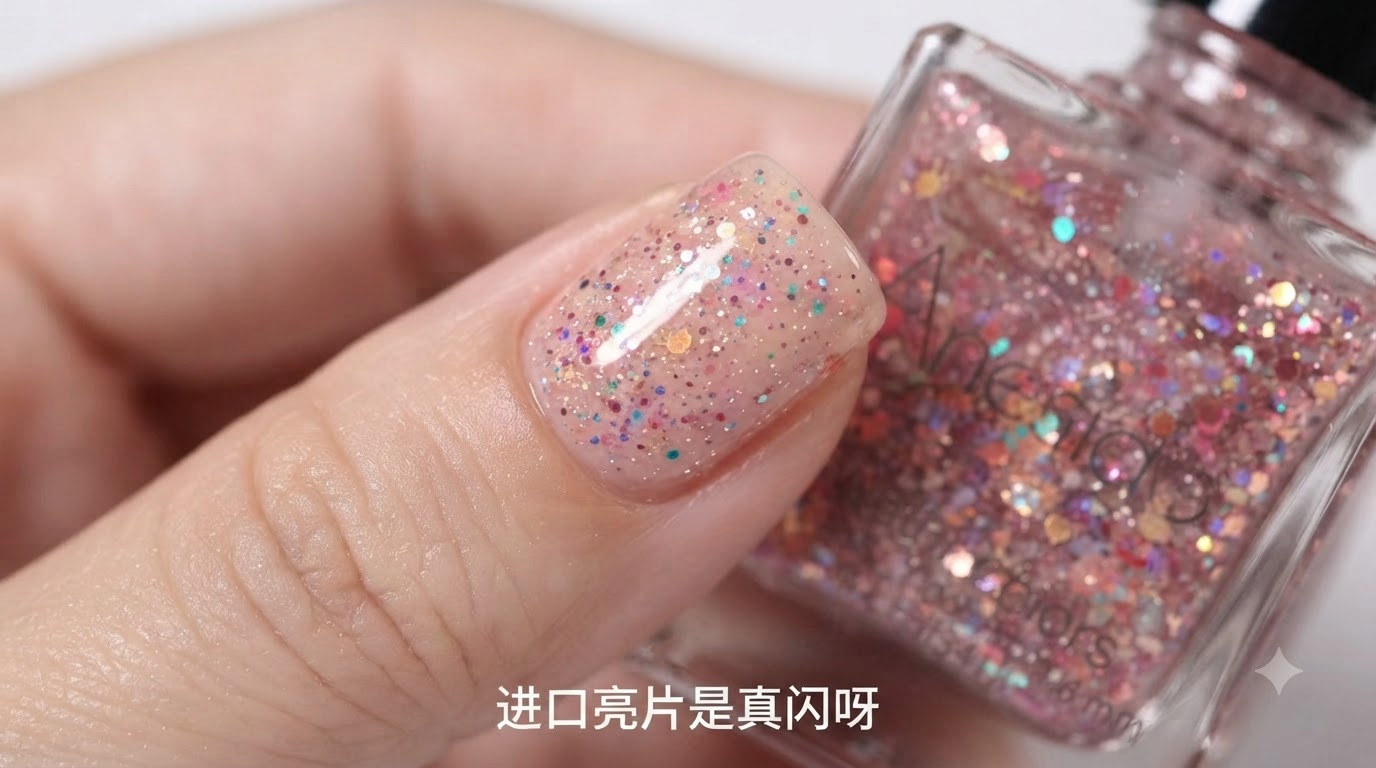
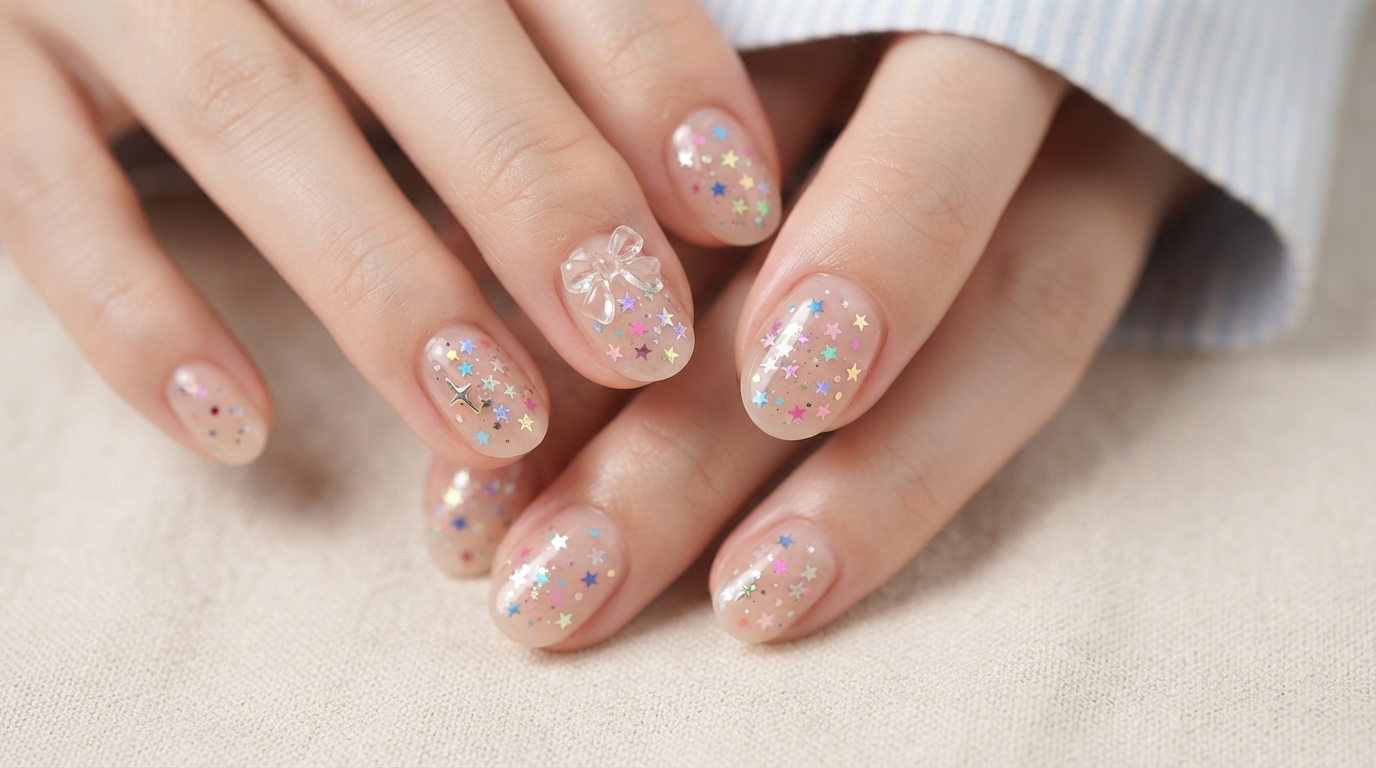
Sparkling like crazy, this ethereal rhinestone nail look combines gentle nude translucent bases with dazzling fine glitter and intricate crystal clusters. Whether you are prepping for a special event or elevating your everyday style, these sweet pink press-on nails offer a stunning, professional finish without the hassle of a traditional salon visit.
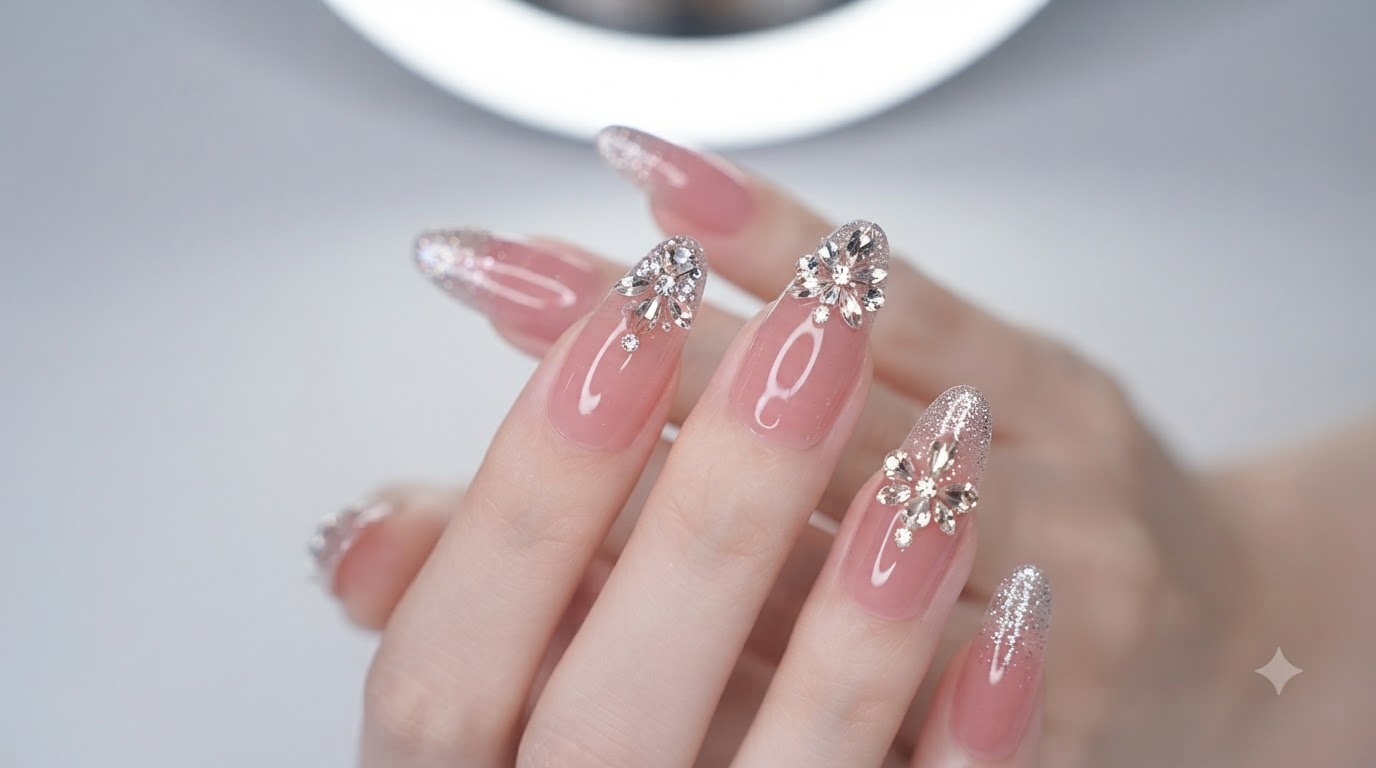
Steps
- 1Inspect glitter gradient and crystal placement
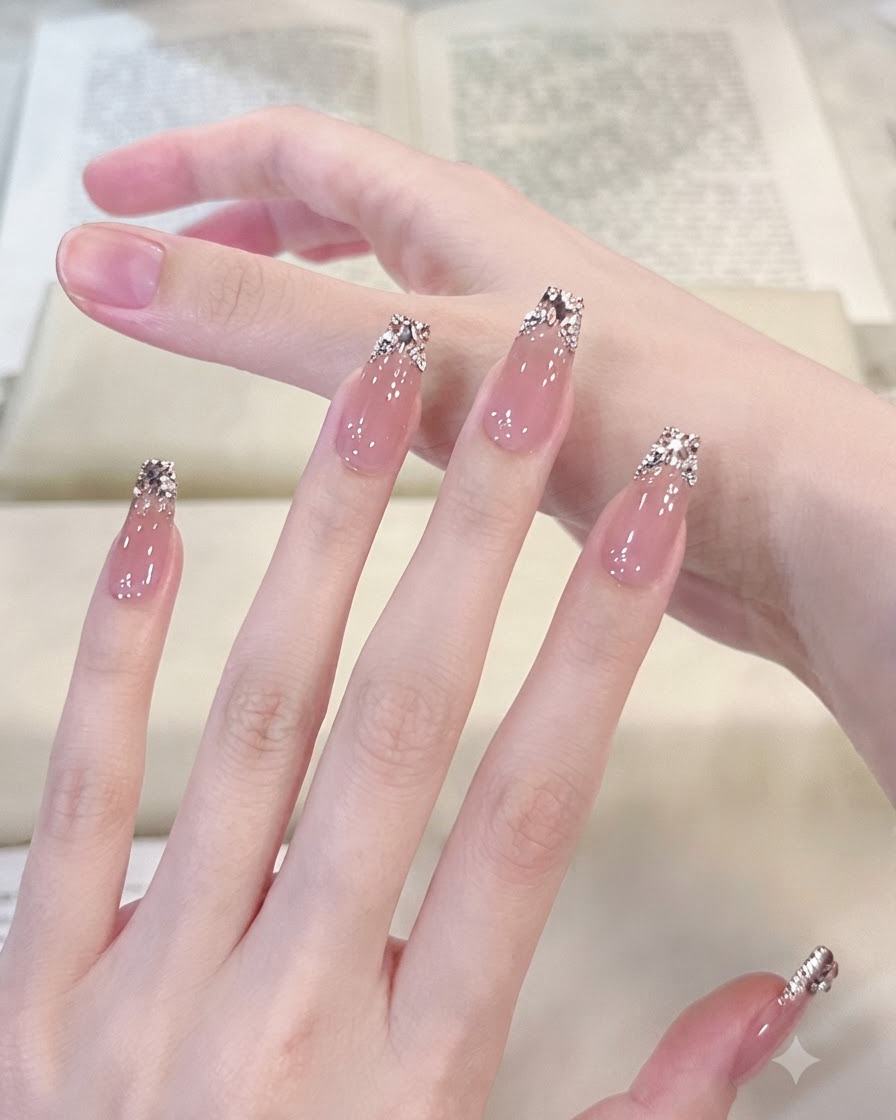
Examine the thumb and index fingers closely to ensure the fine silver glitter gradient distributes evenly toward the tip and the rhinestones are securely fastened at the base. The delicate placement catches the light to enhance the ethereal quality of the pink translucent gel base.
Tip: Check that all crystal edges are sealed completely with top coat to prevent hair snagging and ensure long-term wear. - 2Review overall glossy finish and base tone
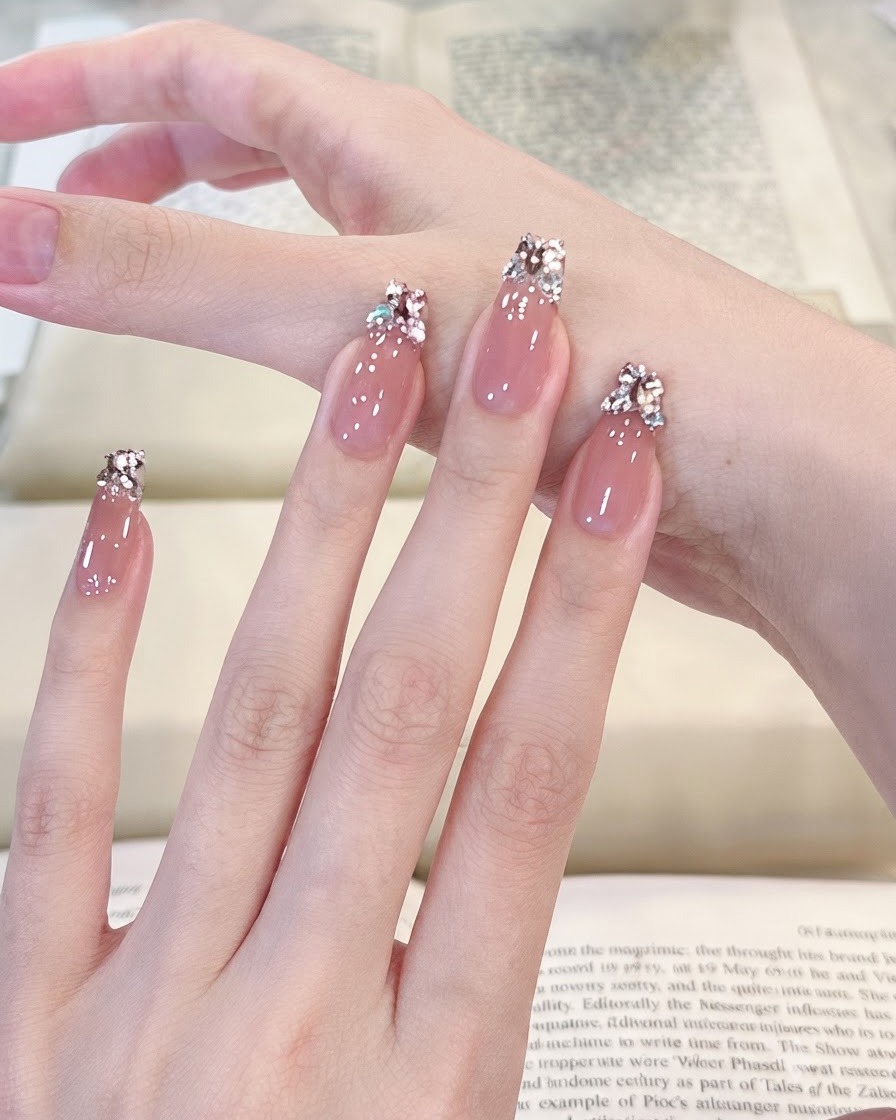
Gently pan across the fingers to verify the consistency of the light pink translucent gel base and the smooth, reflection-heavy glossy top coat. Every nail should exhibit uniform thickness and a crystal-clear shine that accentuates the book pages in the background.
Tip: A uniform top coat layer ensures that light bounces evenly across all fingers, emphasizing the clean nude gradient. - 3Check almond nail alignment and structure
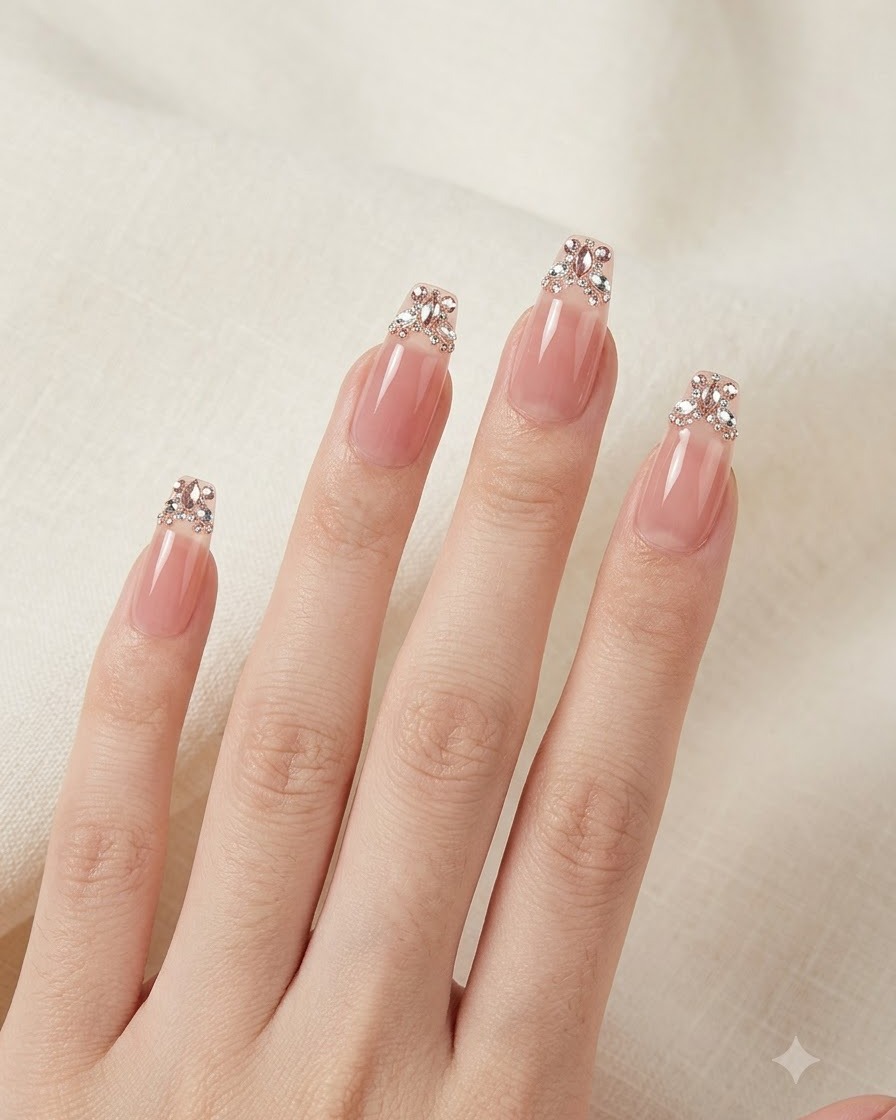
Inspect the structural integrity and symmetry of the almond-shaped nail extensions as they align along the hand. Verify that each extension sits squarely on the natural nail bed without tilting or leaving gaps at the sidewalls.
Tip: Proper alignment during application prevents lifting and ensures the extensions mimic natural nail growth lines. - 4Test flexibility and fit on the thumb
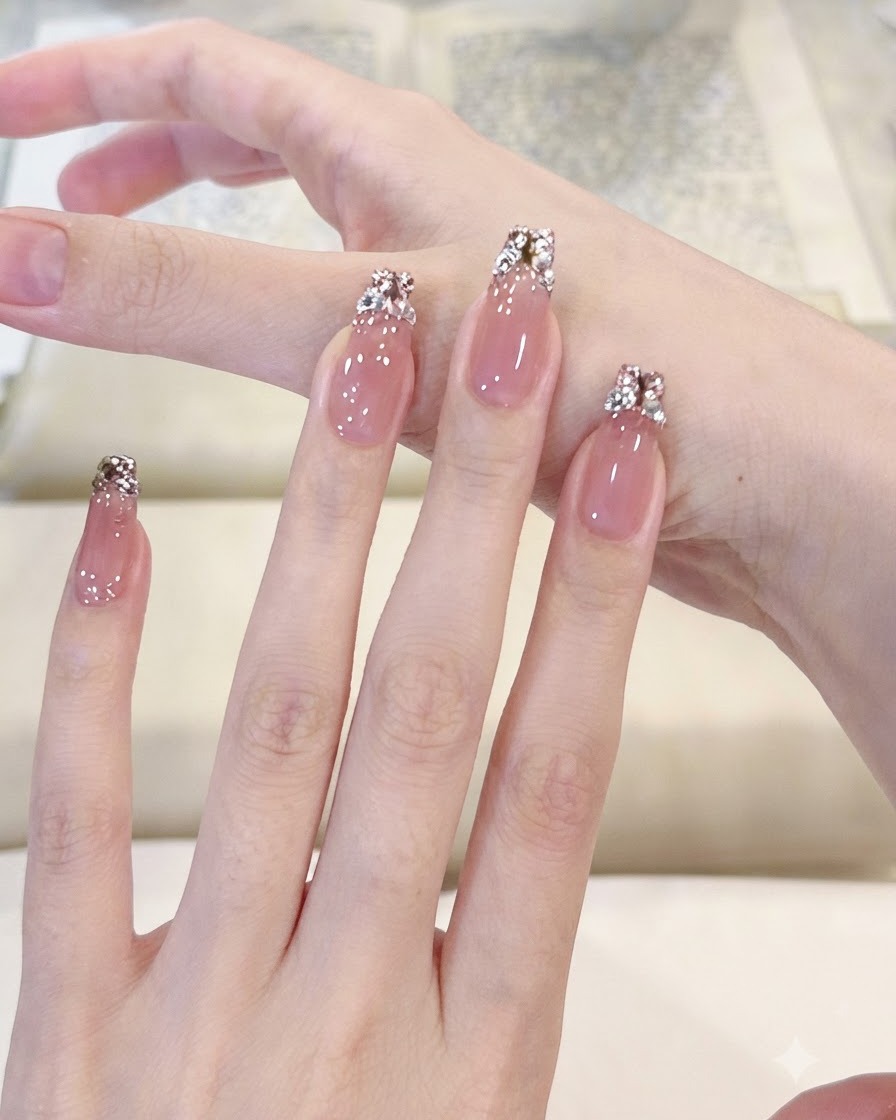
Gently press down on the thumb nail plate to demonstrate the flexibility and secure fit of the press-on adhesive layer. The material should flex slightly under pressure without popping off or lifting at the cuticle boundary.
Tip: Pressing firmly from the center outward during initial application removes air pockets and maximizes adhesion strength. - 5Examine 3D crystal sparkle under light
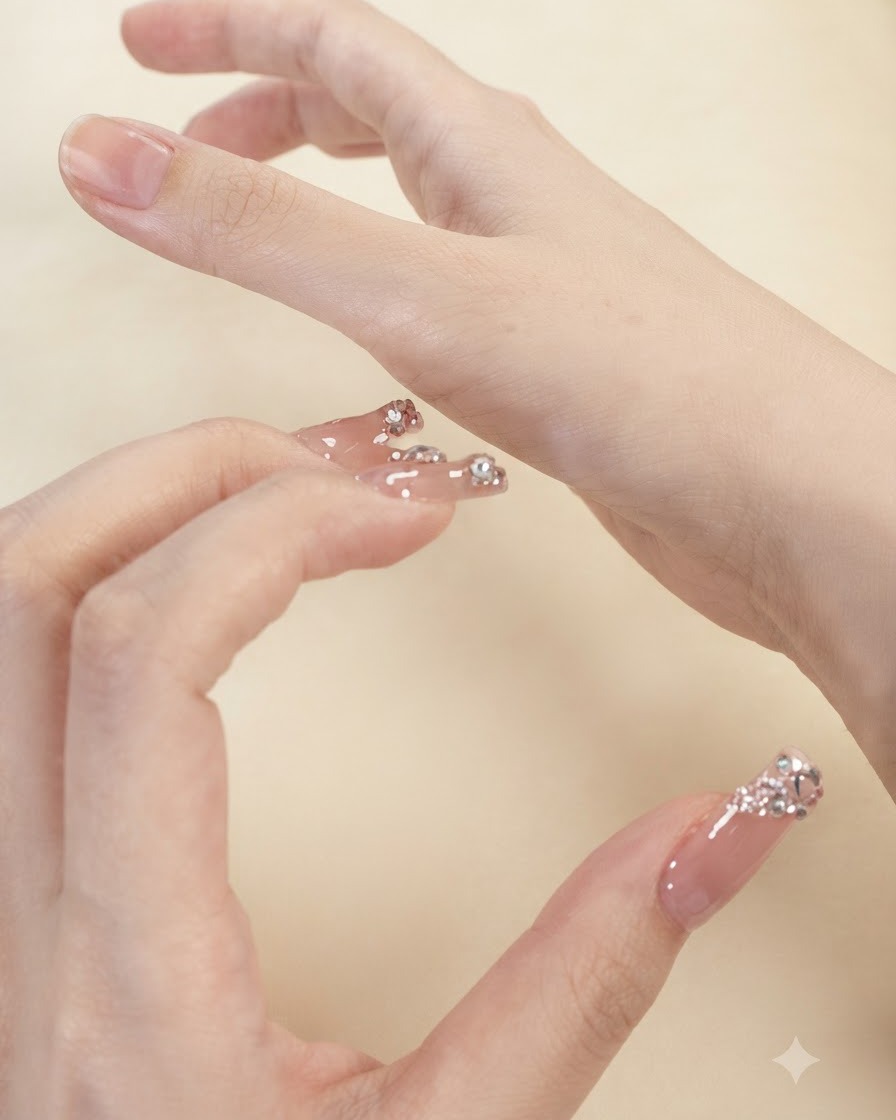
Focus closely on the thumb nail to admire how the 3D crystal embellishments catch and refract the light. Ensure that the surrounding gel holds the cluster securely while allowing maximum facets to remain exposed for high brilliance.
Tip: Avoid covering rhinestone facets directly with top coat, as this dulls their natural sparkle and multi-colored reflection.