Glitter Flakes Nail Polish Application Technique — Step-by-Step Guide
Master the art of applying dense multicolored glitter flakes smoothly without scratching or clumping using this expert pushing technique.
Applying glitter flake polish can often be frustrating when the pieces clump together or drag awkwardly across the nail plate. This specialized technique shows you how to center your glitter concentration and guide it outward for an even, high-gloss finish that truly sparkles.
Steps
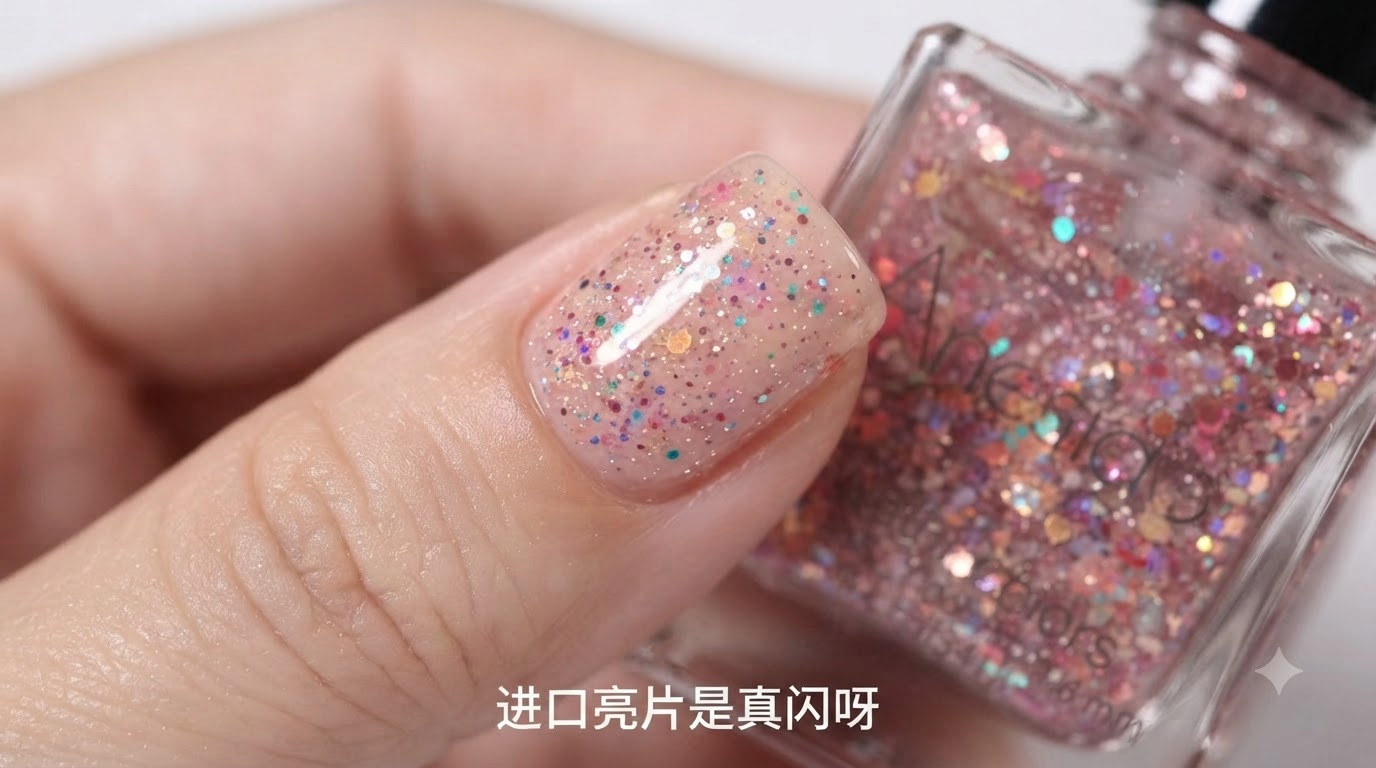
- 1Load the brush with glitter flakes
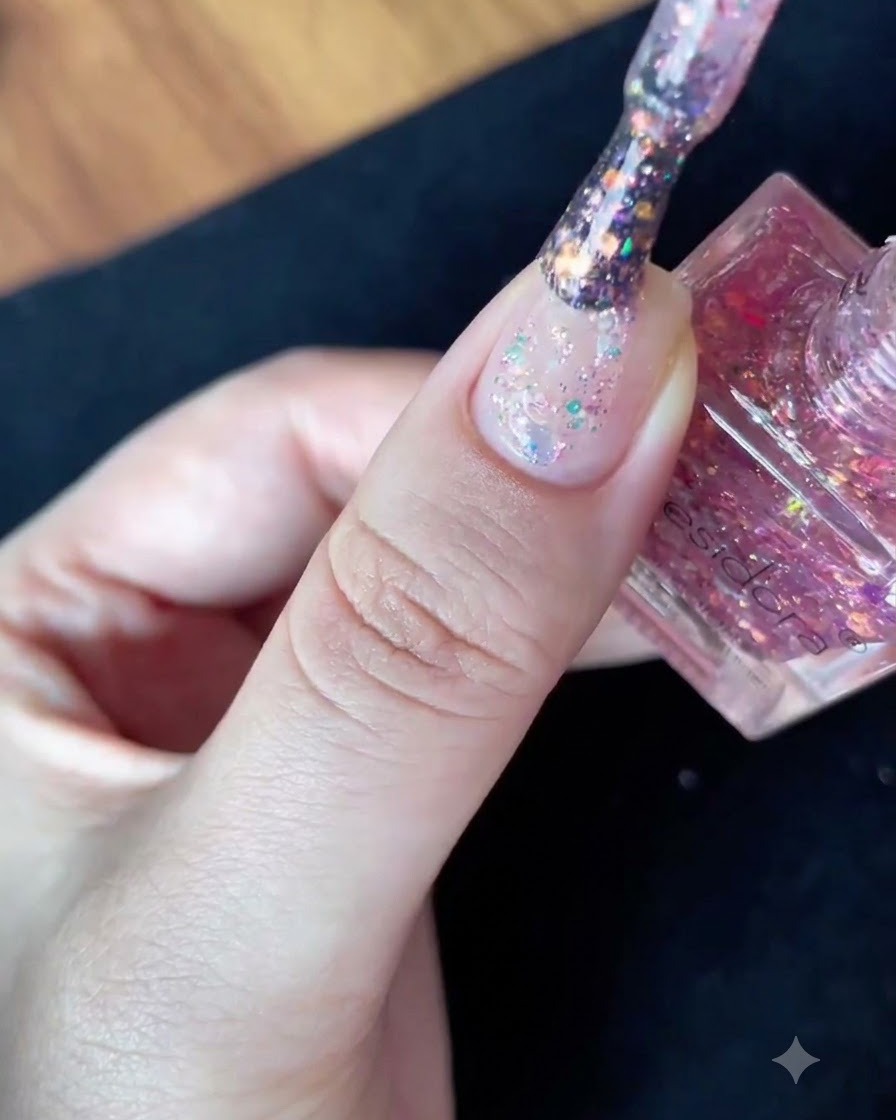
Pull the brush applicator straight out of the glitter polish bottle, ensuring a dense collection of multicolored flakes is visible and loaded evenly on the bristles.
Tip: Check the brush to ensure you have enough flakes loaded before touching the nail surface. - 2Inspect the nude base and initial glitter
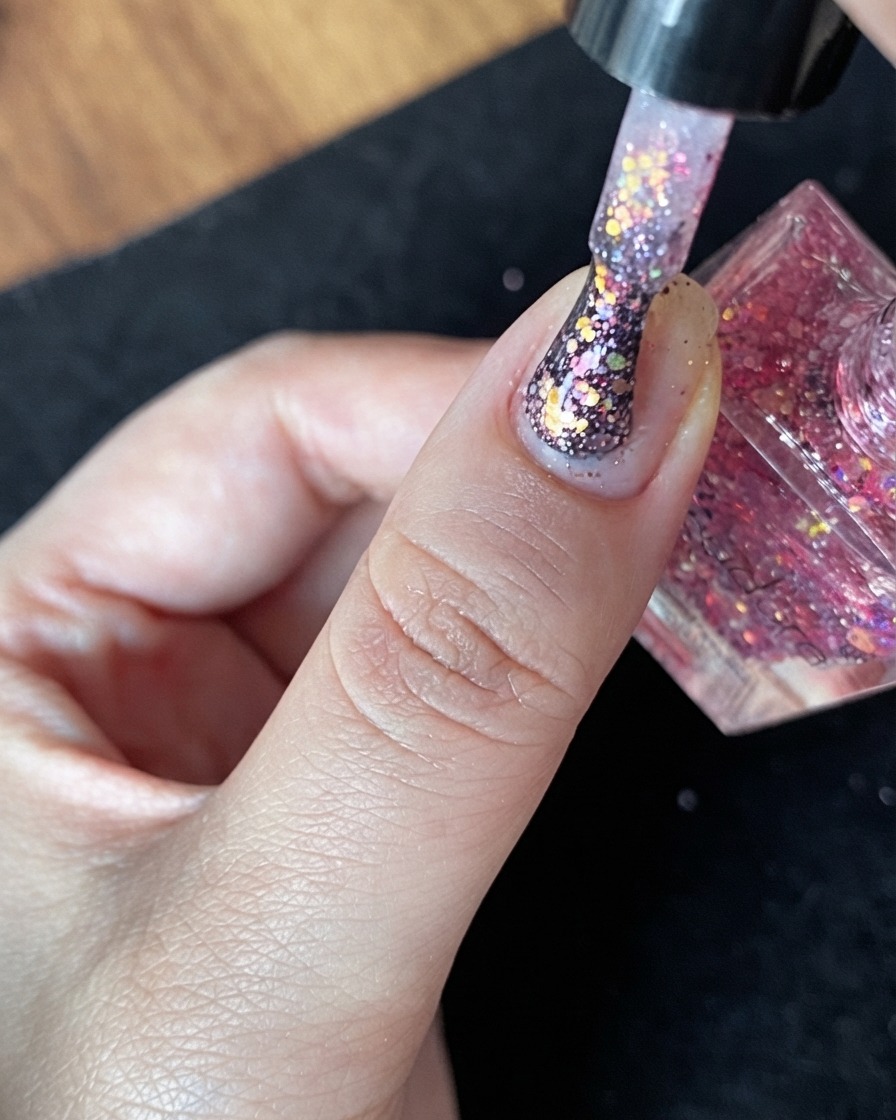
Observe the current nail appearance featuring the previous nude base coat alongside a few scattered glitter flakes.
Tip: Make sure your base is completely dry and set before applying heavy glitter layers. - 3Position the brush above the nail
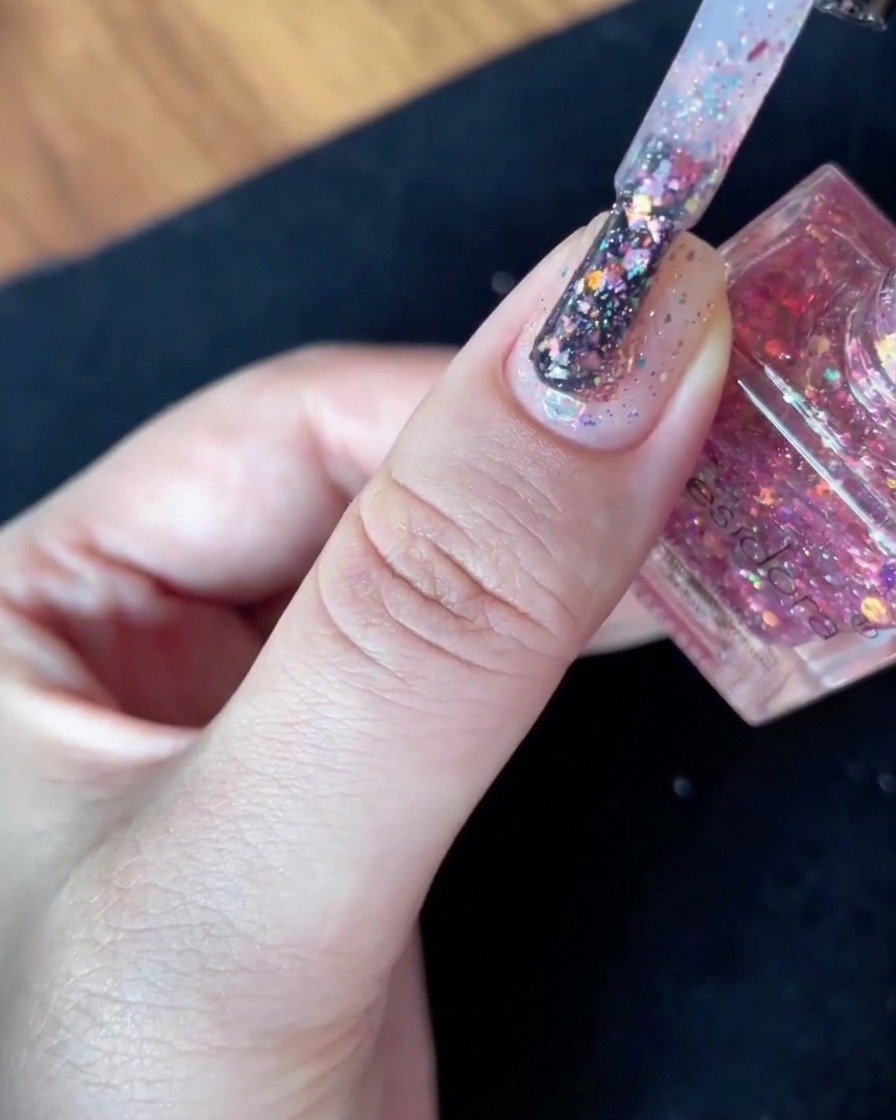
Hold the glitter polish brush carefully loaded with flakes directly above the center of the nail plate, preparing for precise placement.
Tip: Keep your hand steady to avoid accidental drips or premature smudging on the skin. - 4Apply glitter to the center
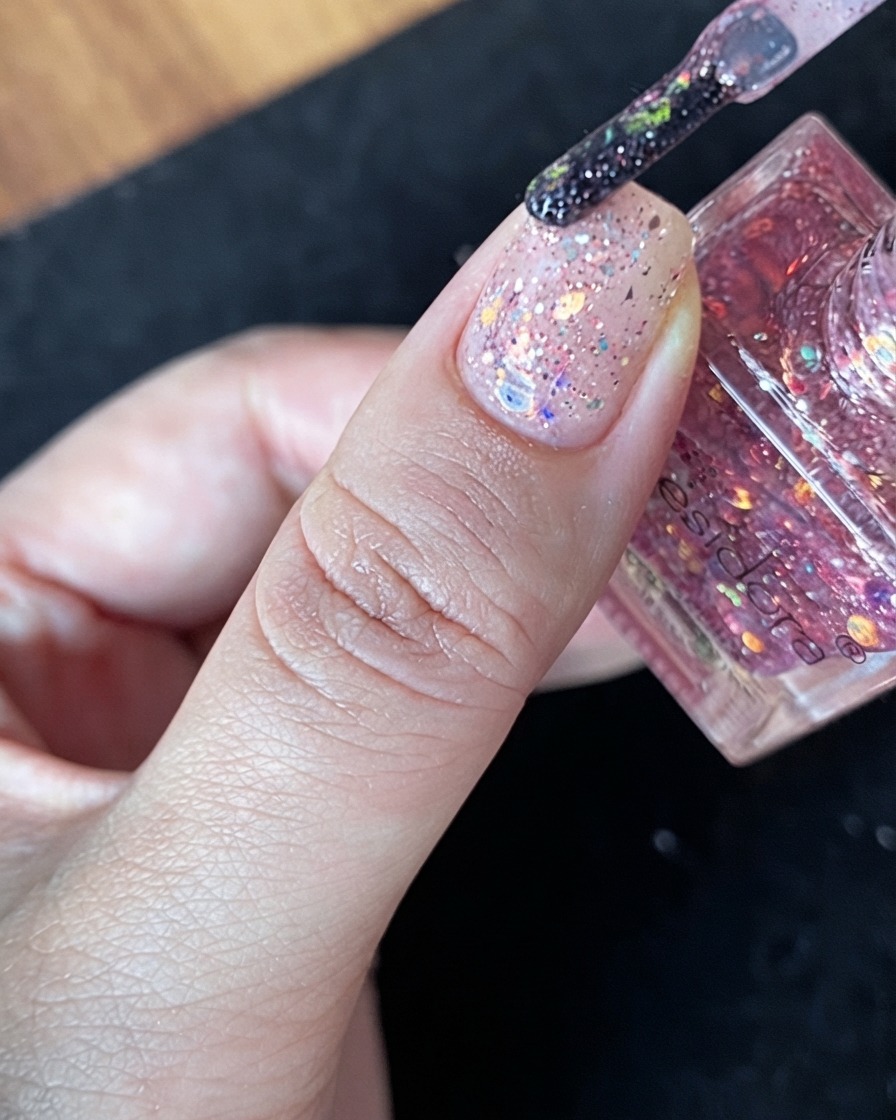
Place a generous amount of glitter flakes directly in the middle of the nail plate to anchor the heavy concentration of product.
Tip: Never start applying glitter at the cuticles or free edge; depositing it in the center gives you the best control for distribution. - 5Distribute flakes outward
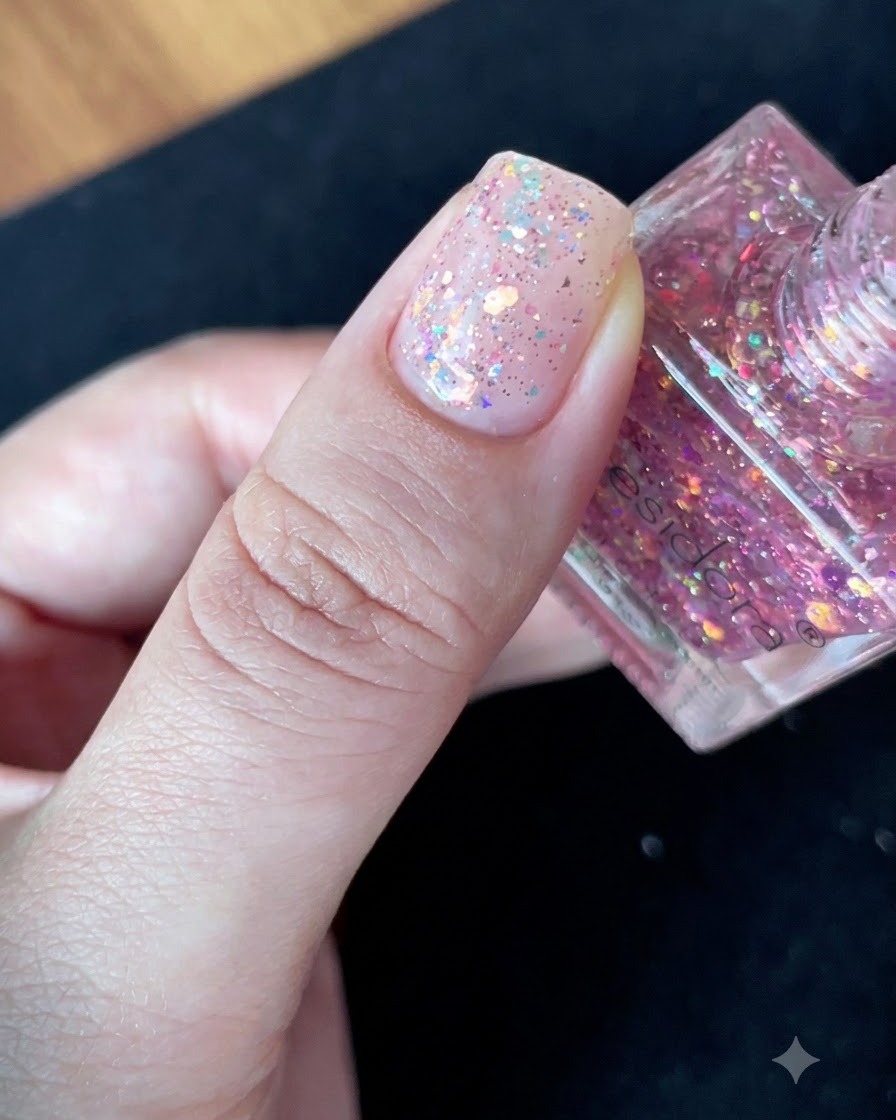
Use the tip of the brush to gently push and spread the glitter flakes outward across the nail surface, ensuring no scraping motion is used.
Tip: Always push the flakes smoothly rather than dragging or scraping them to prevent scratching the base coat. - 6Smooth out the glitter layer
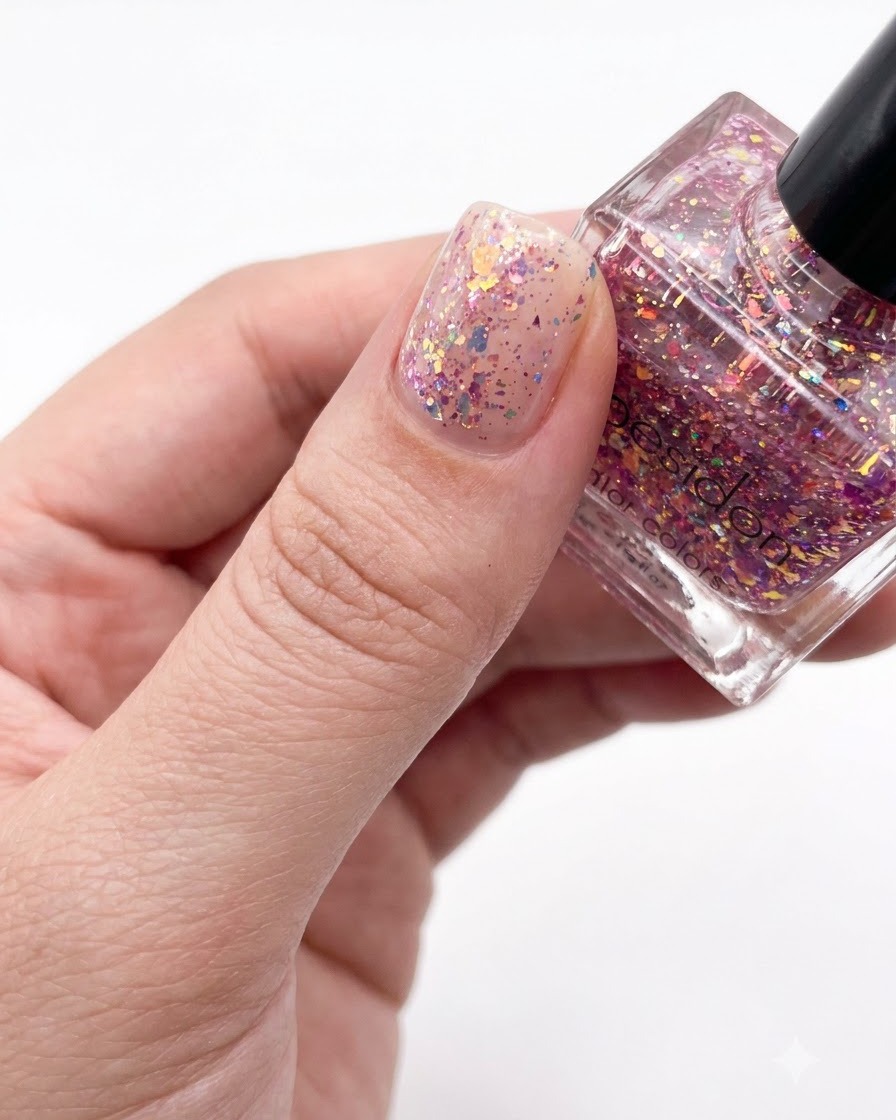
Gently smooth out the entire glitter layer so it lays completely flat across the entire nail plate, creating a uniform and dimensional finish.
Tip: Let it sit briefly after smoothing to allow the suspension base to self-level before drying. - 7Let the glitter level out
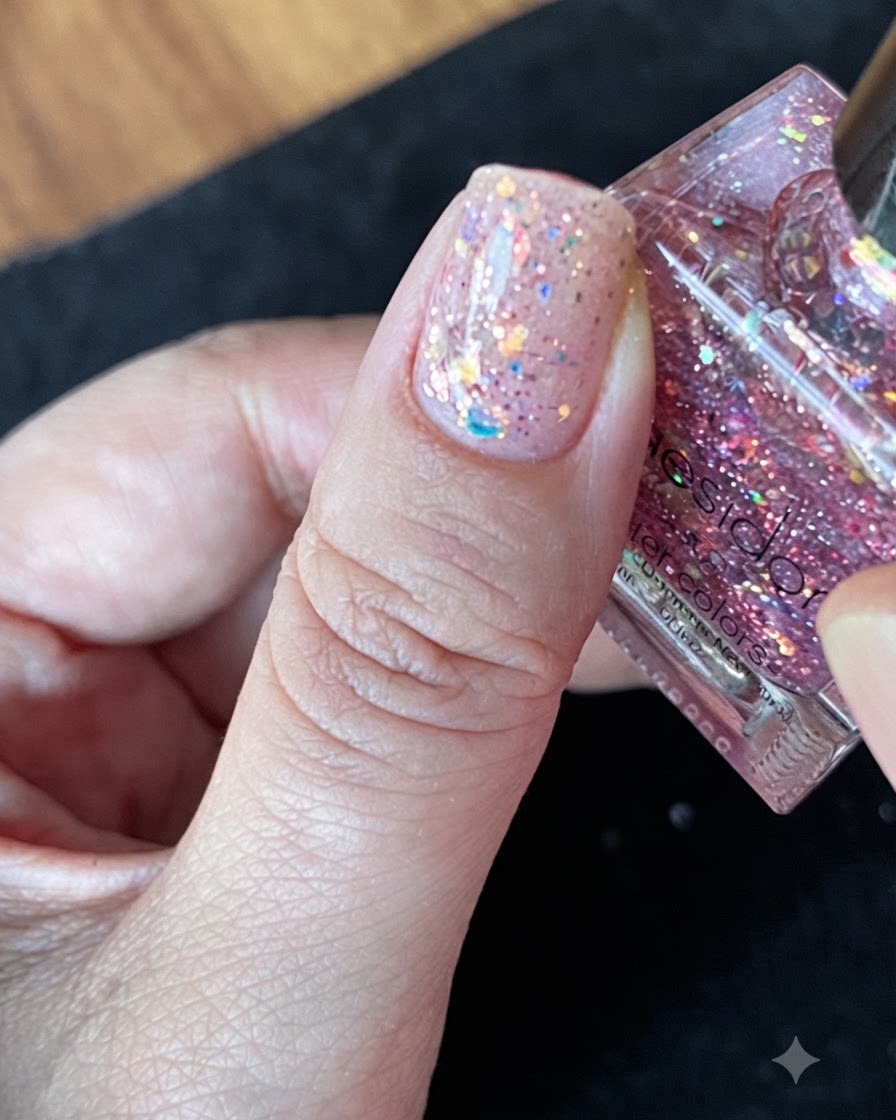
Allow the nail to sit undisturbed for thirty seconds. This brief waiting period gives the suspended flakes time to self-level and settle smoothly into the polish base before drying.
Tip: Do not rush this settling window; letting it rest naturally prevents uneven bumps and texture buildup. - 8Dry with cool air
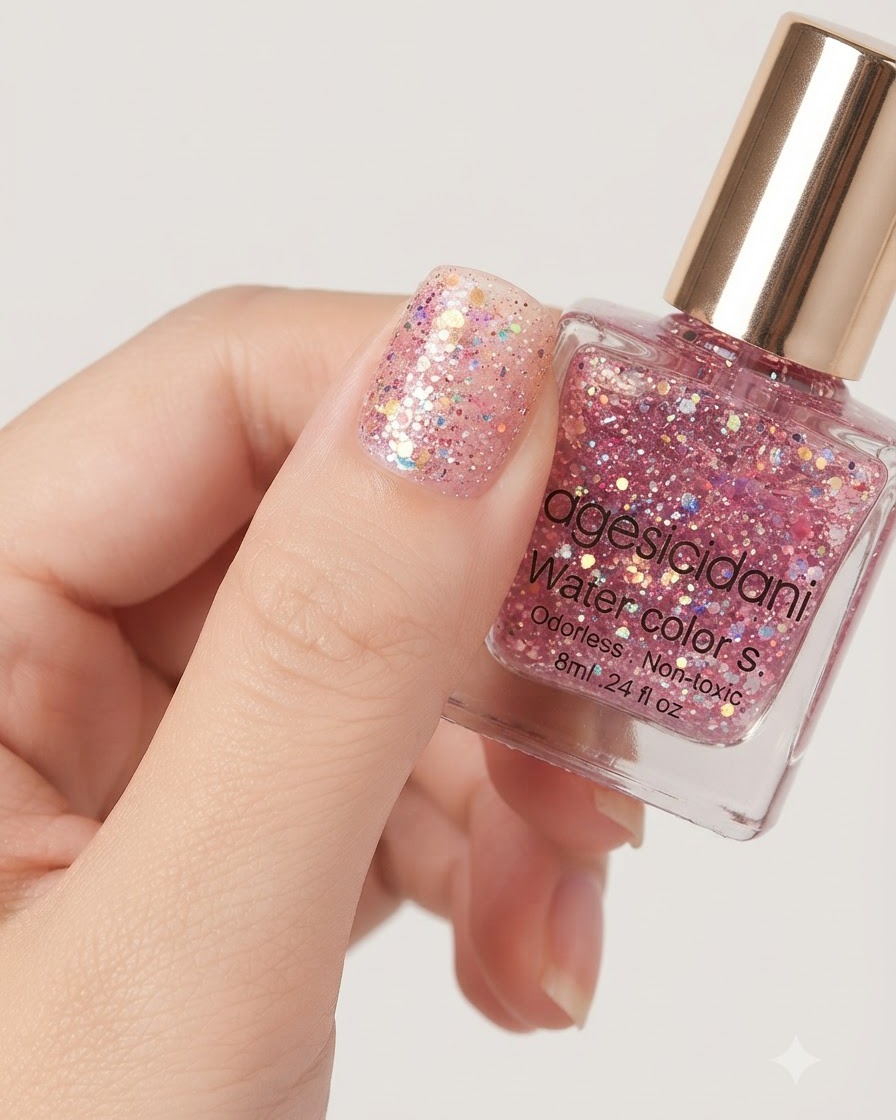
Hold a hairdryer at a distance and use the cool air setting to gently accelerate the drying process of the glitter polish without bubbling or shifting the flakes.
Tip: Always maintain distance and use cool air only, as heat can warp or wrinkle water-based and specialty glitter polishes.