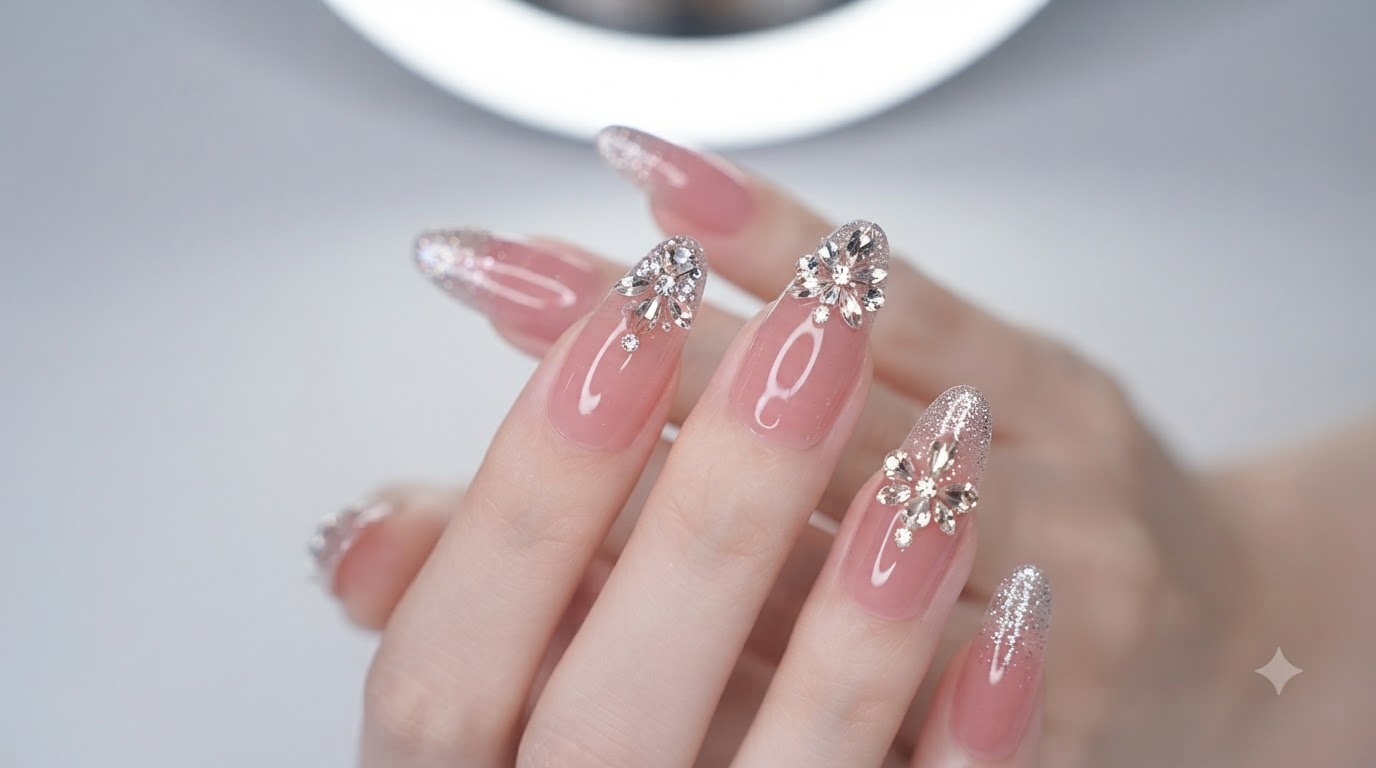
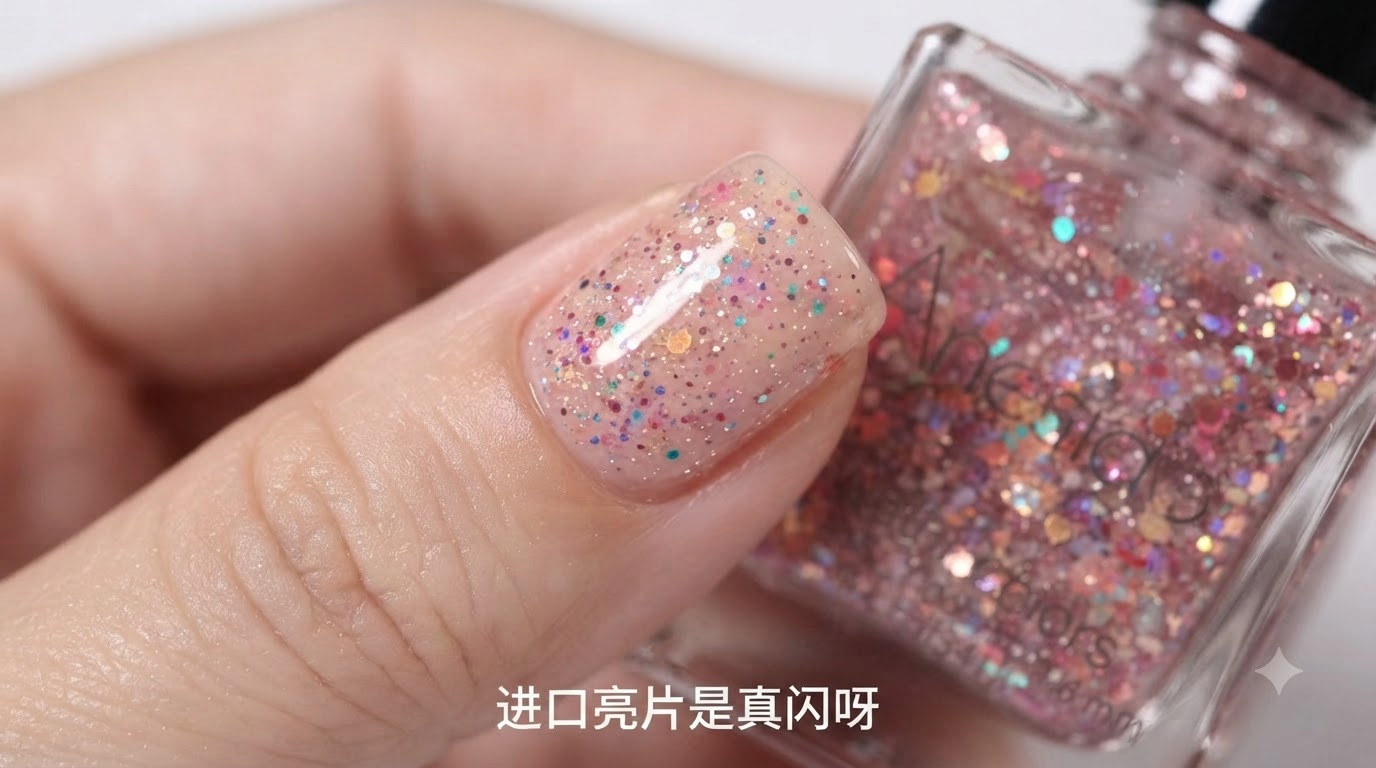
Glitter Star Confetti Accent Nail Application — Easy Step-by-Step Tutorial
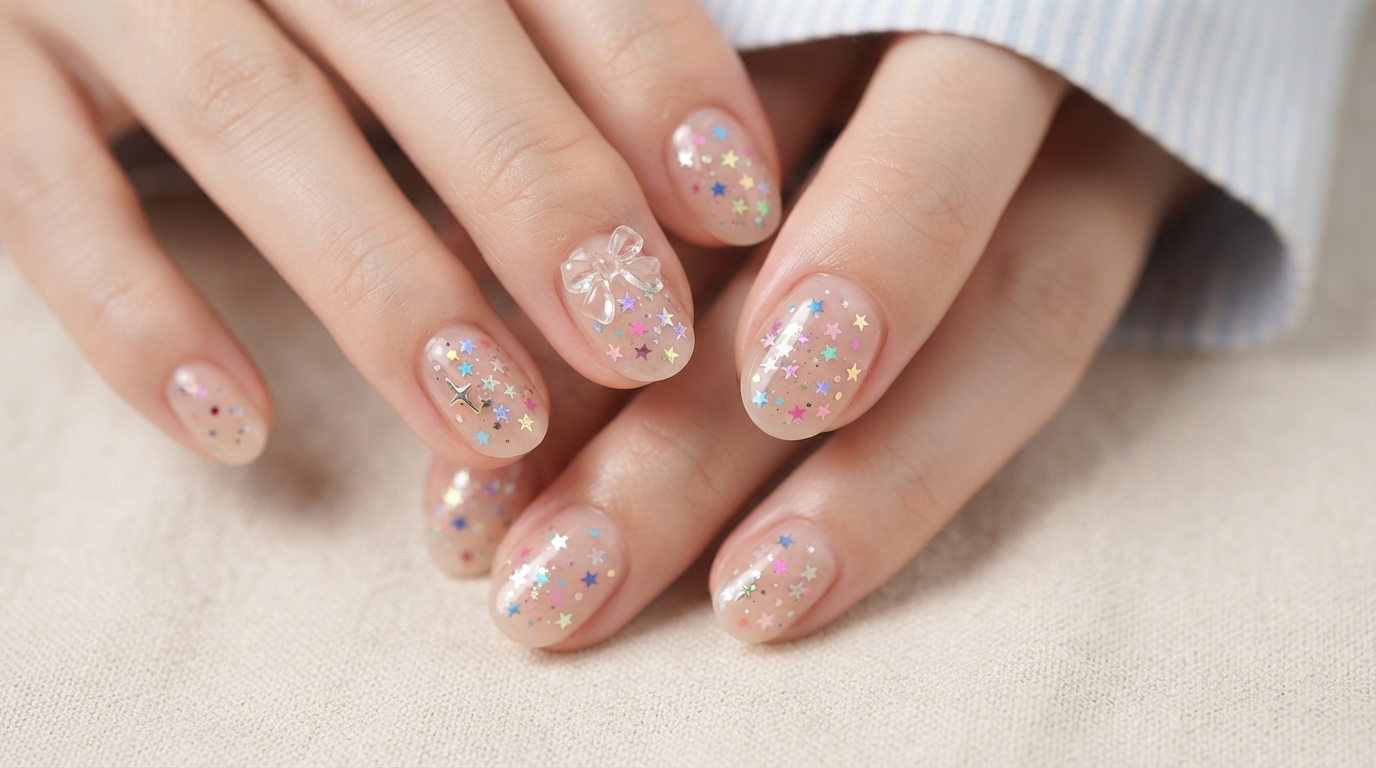
Learn how to pre-curve holographic star confetti and apply it seamlessly onto gel nails without plastic wrap for a flat, catch-free finish.
Embedding larger glitter shapes and sequins into manicures often presents a challenge when they refuse to lie flat against the natural nail contour. Traditional methods often require wrestling with plastic wrap or dealing with raised edges that catch on clothing and hair. This tutorial demonstrates a clever pre-shaping technique using your thumb pad to naturally curve metallic and thick plastic star sequins before application, ensuring a sleek, flush, and professional look every time.
Steps
- 1Display star confetti glitter container
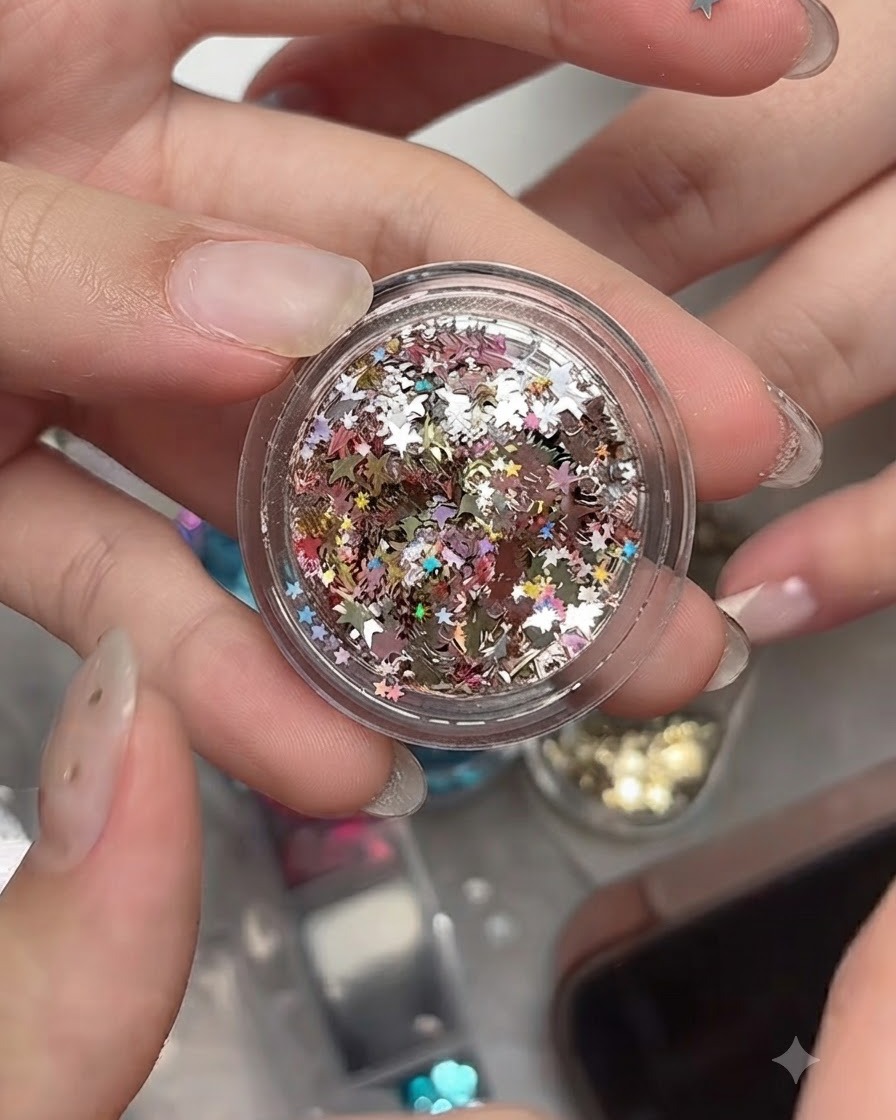
Present a small jars container filled with assorted multi-colored holographic star confetti glitterscite: 1. These larger decorative pieces add dimension and visual interest to your nail art designscite: 1. Ensure the container is open and easily accessible before starting the application process.
Tip: Keep a variety of sizes and colors nearby so you can easily select pieces that complement your base design. - 2Place glitter on thumb pad
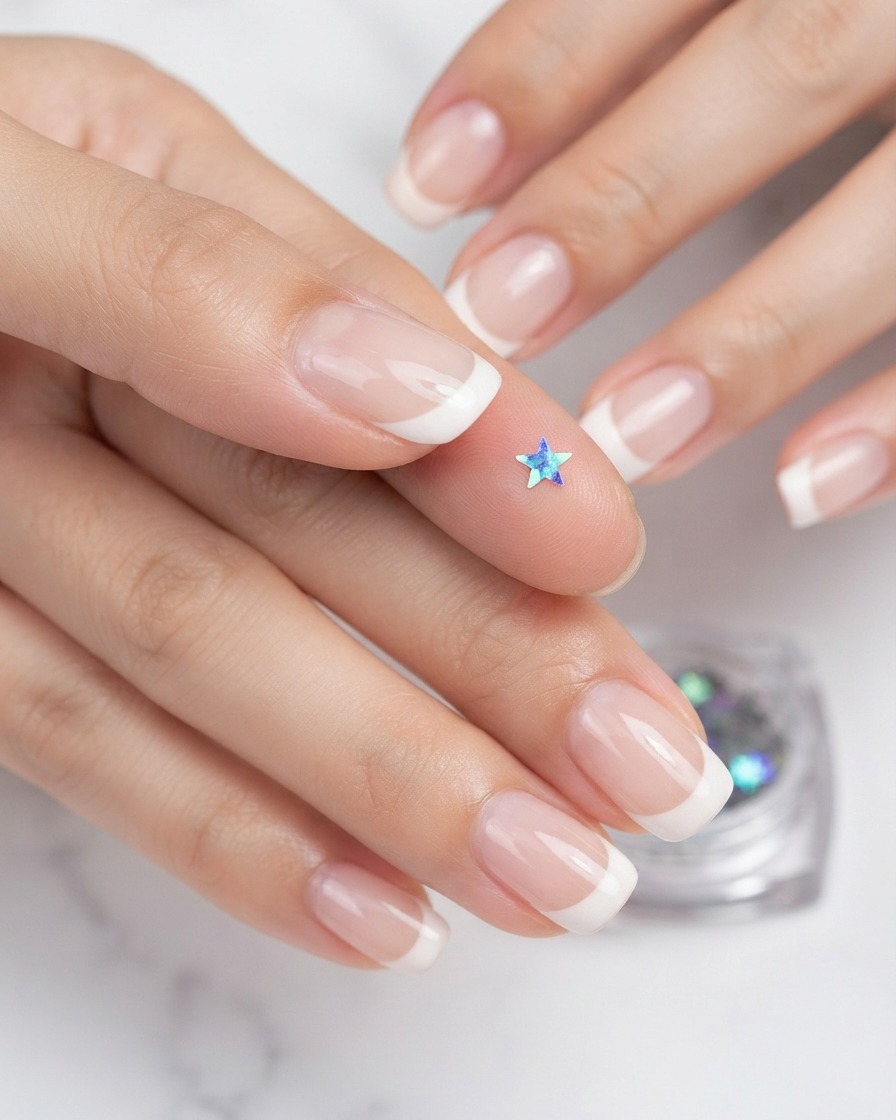
Select a relatively large star glitter piece from the container and place it flat onto your thumb padcite: 1. This acts as a clean, temporary working surface to prepare the sequin before transferring it to the nailcite: 1.
Tip: Using your thumb pad gives you tactile control to position and bend the flat glitter piece easily. - 3Curve the glitter piece
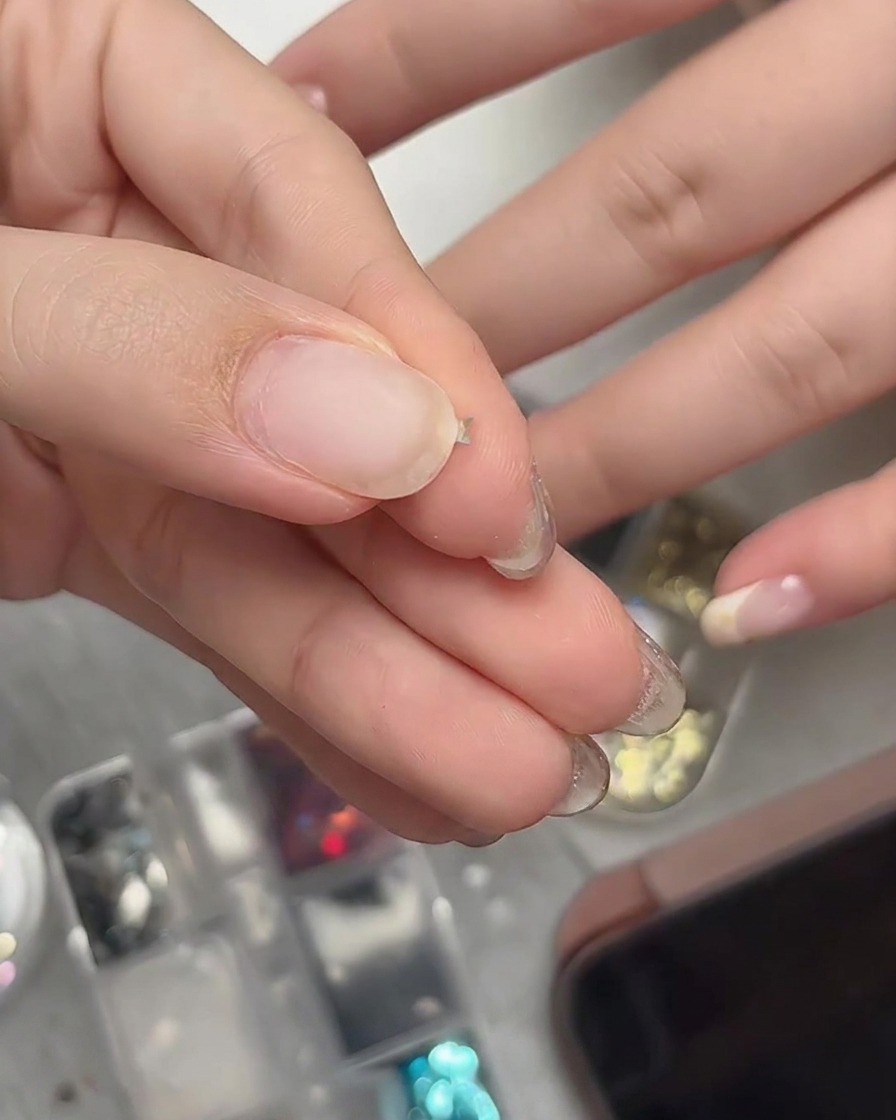
Pinch the star glitter piece firmly between your fingers to give it a curved shapecite: 1. Pre-shaping the flat sequin allows it to conform and fit extremely well over the natural curvature of the nail surface without lifting at the edgescite: 1.
Tip: A gentle pinch is all it takes to curve metal or thick plastic glitter pieces to match the nail plate contour. - 4Pick up pre-curved glitter with tweezers
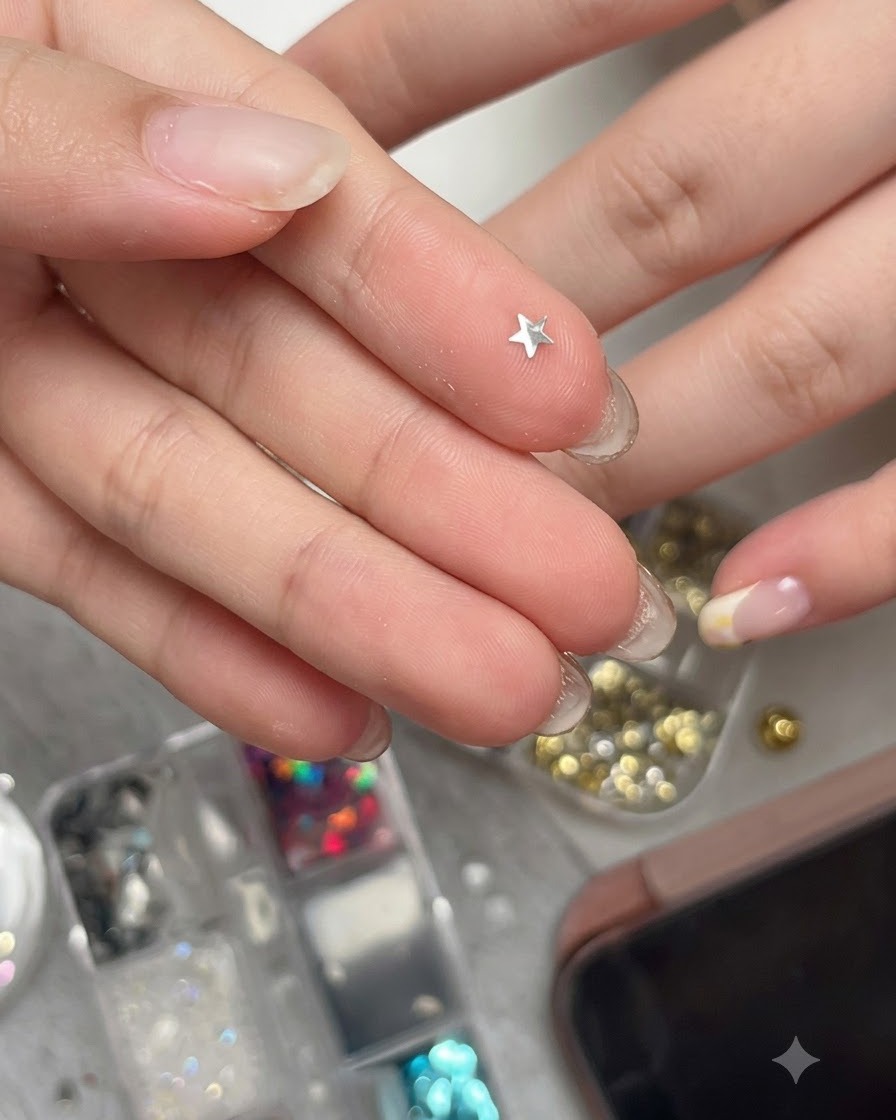
Use precision tweezers to pick up the pre-curved star glitter piece directly from your finger pad. Handle it carefully to maintain its newly formed curved shape as you prepare to transfer it onto the nail.
Tip: Fine-tipped tweezers offer the best control for picking up and placing tiny nail art embellishments. - 5Place glitter on the nail plate
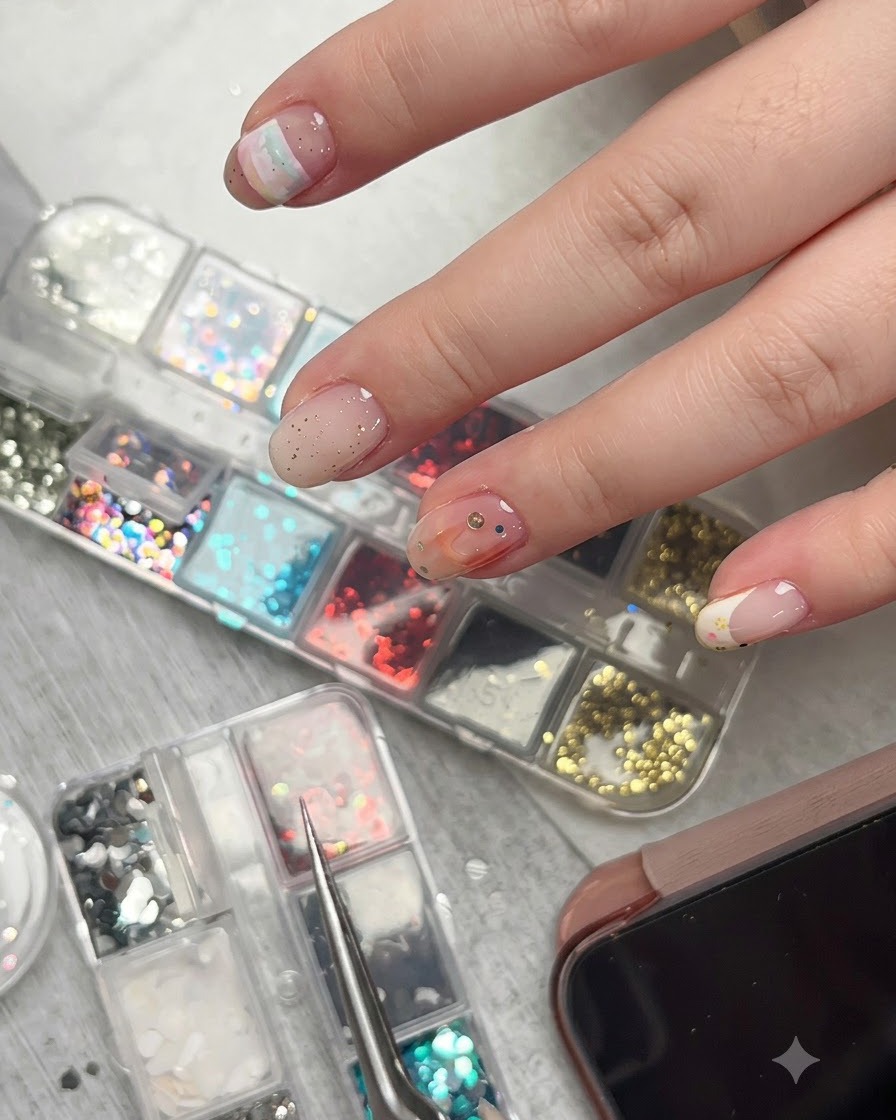
Place the curved star glitter piece down onto the prepared nail plate that has a wet base gel or glue layercite: 1. The pre-curved shape allows it to sit completely flat and conform seamlessly to the nail surface without needing plastic wrapcite: 1.
Tip: Drop the glitter onto uncured base gel so it locks securely into position when cured. - 6Press and adjust glitter
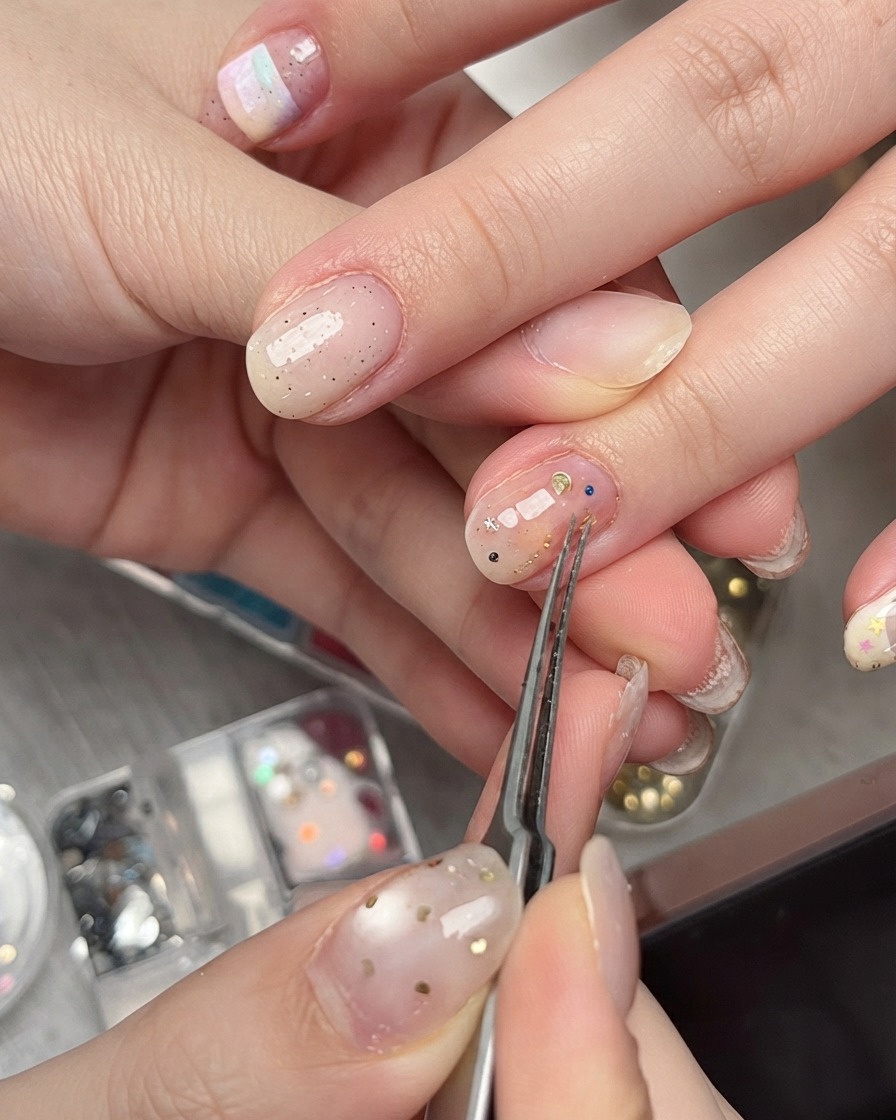
Press down lightly on the star glitter piece using your tweezers to ensure it sits completely flush and flat on the nail surfacecite: 1. Because it is pre-curved, it will not look too bulky, and the edges will not catch or liftcite: 1. Finish by wrapping a top coat layer over itcite: 1.
Tip: Press gently so you do not displace the base gel layer underneath the glitter. - 7Show the smooth surface from another angle
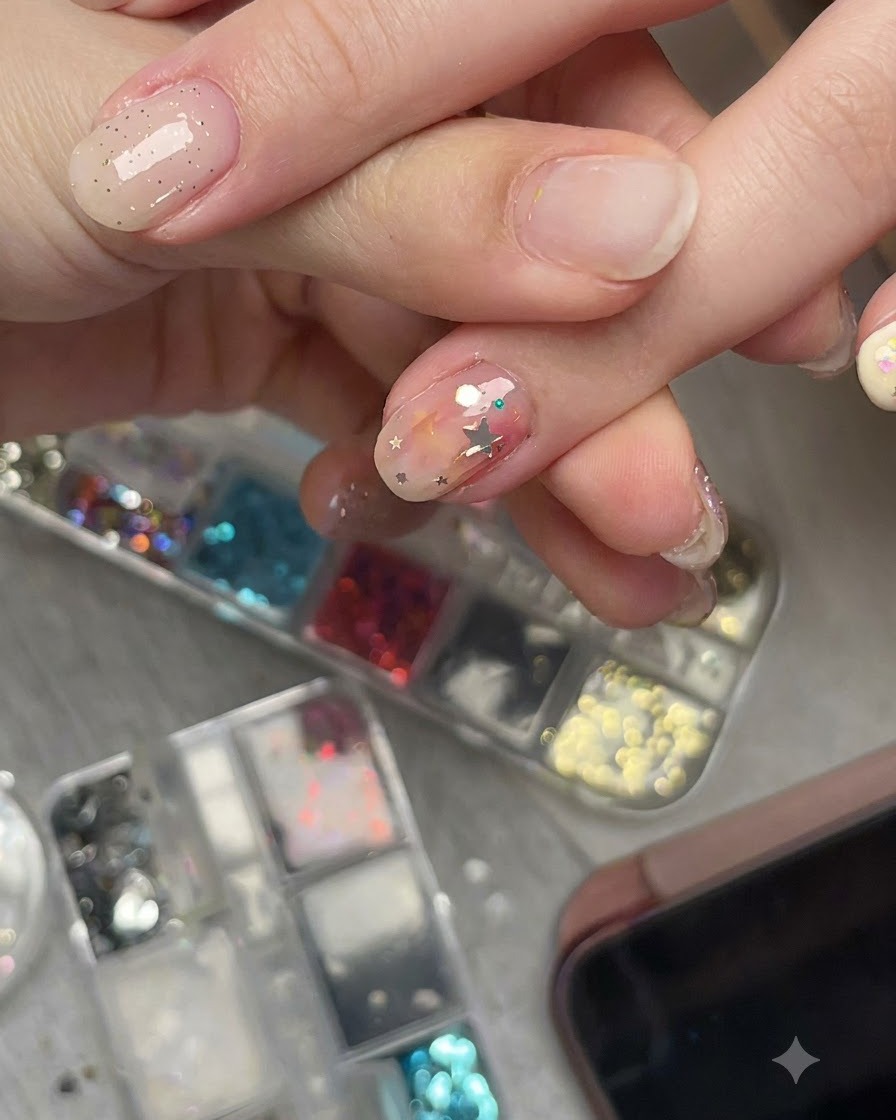
Displaying the nail from another angle clearly highlights how smoothly the curved star fits on the natural nail surface without the need for plastic wrap. The pre-curved shape conforms effortlessly to the nail contour, laying completely flat without lifting at the edges. This angle confirms that the application remains neat and secure even before sealing.
Tip: Checking multiple angles helps ensure there are no sharp edges or raised corners that could catch on clothing or hair later. - 8Seal the glitter with a top coat layer
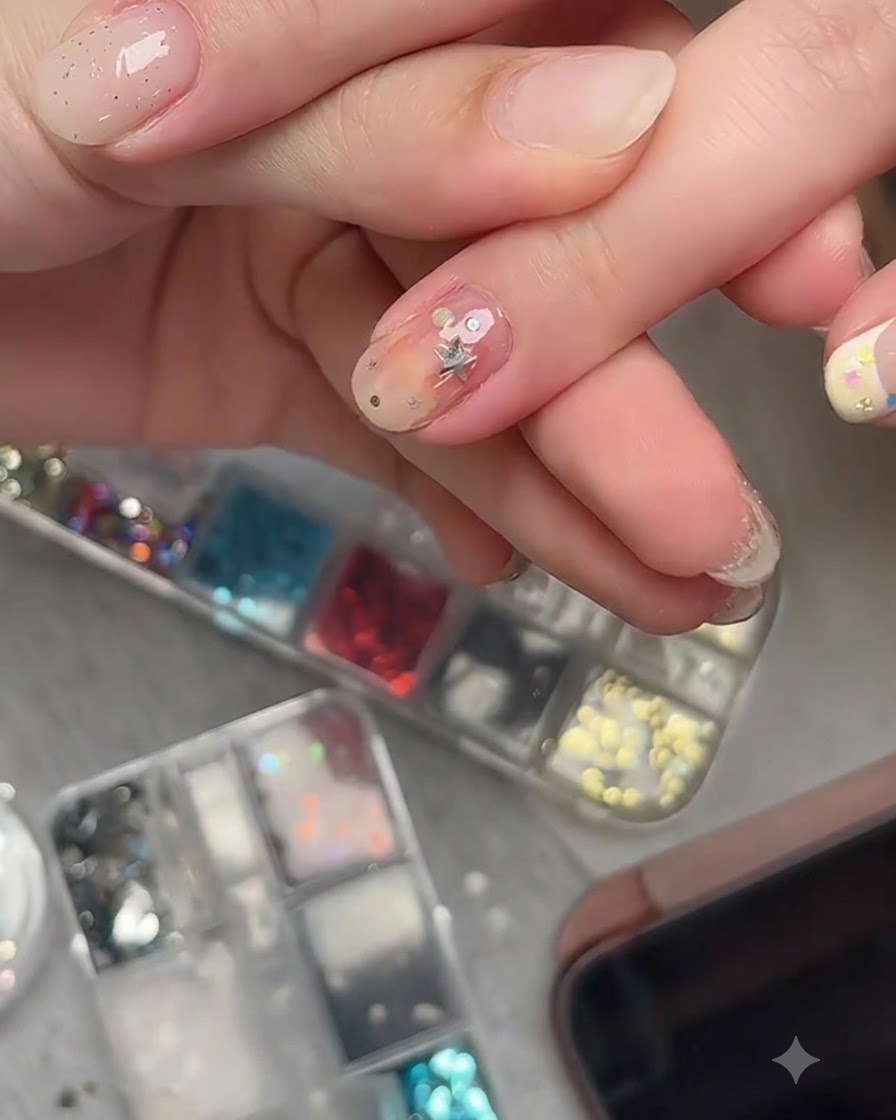
Apply a generous layer of top coat over the entire nail to fully encase and seal the star glitter elements securely. This final sealing step smooths out any minor texture differences and locks the decorations in place for long-lasting wear. Cure the top coat under a UV or LED lamp to finish the look.
Tip: Make sure to encapsulate the edges of the glitter completely with top coat to prevent chipping and ensure a seamless finish.