Nude Pink Gradient
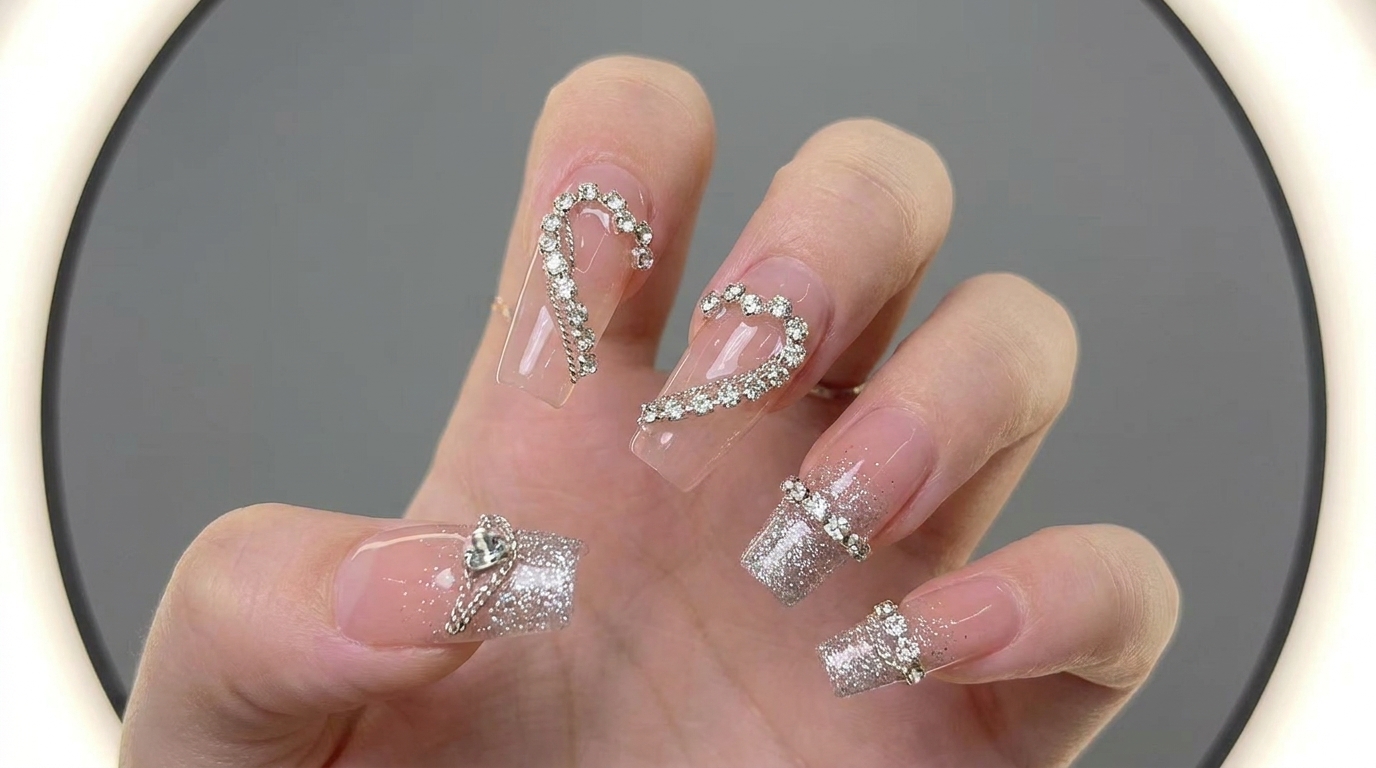
Rhinestone Chain Heart Nail Art Design
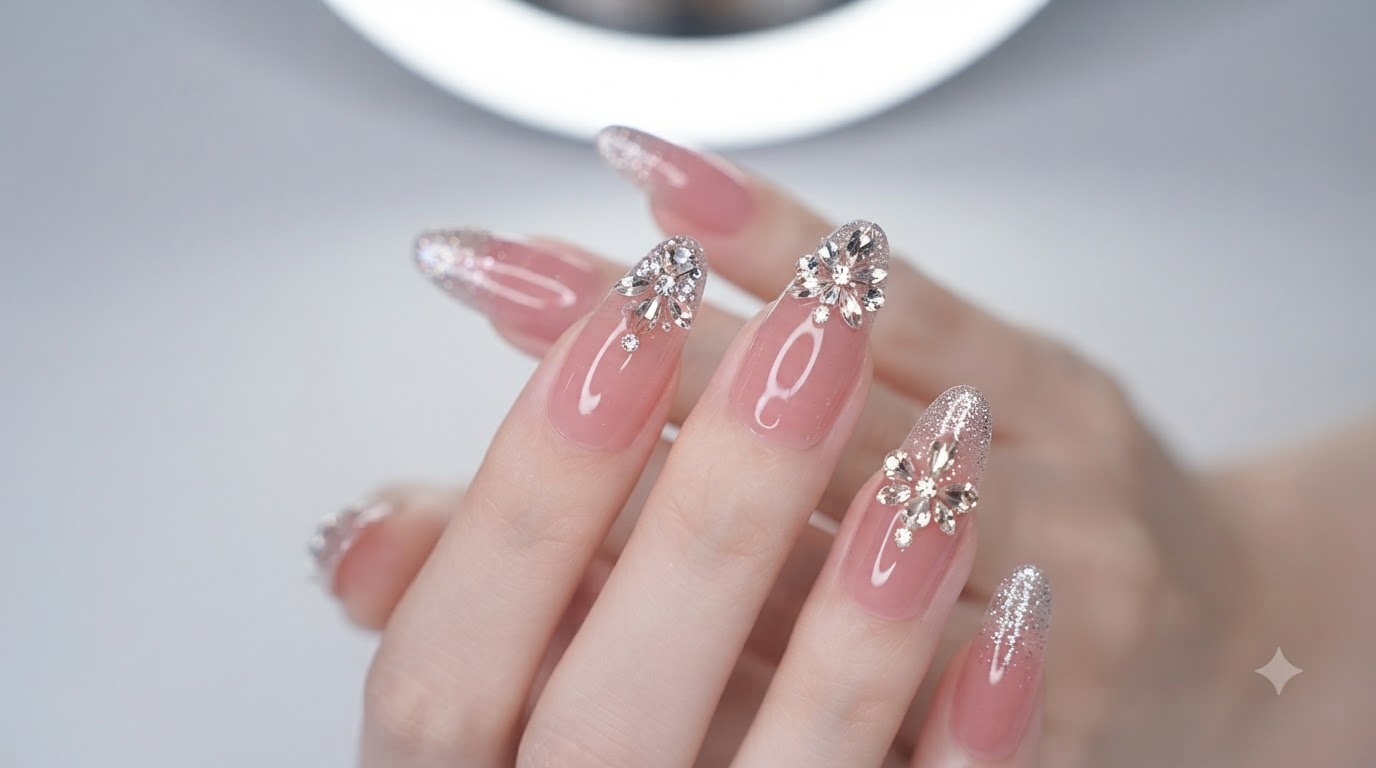
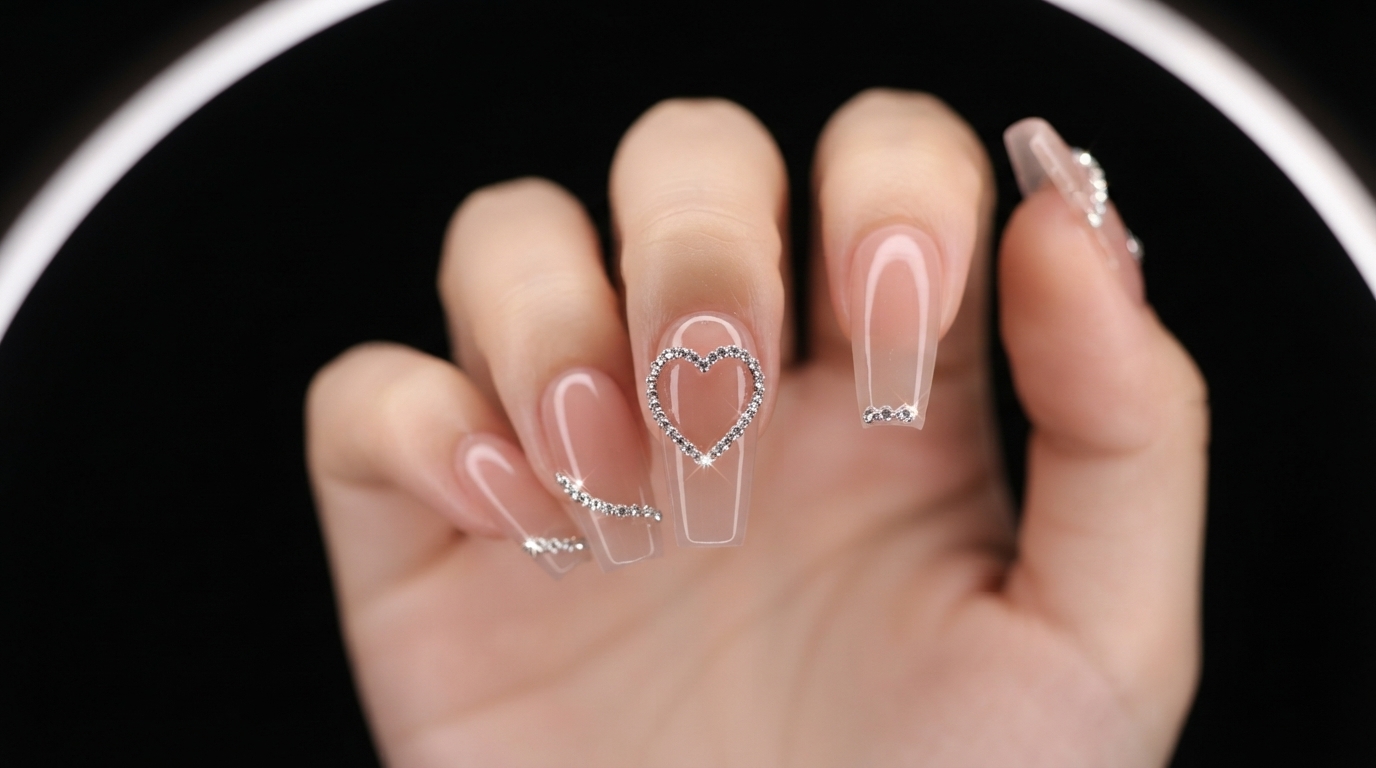
Create an elegant manicure featuring nude pink base, disco gradient accents, and a stunning rhinestone chain heart outline.
Combining delicate nude tones with high-shine disco glitter and sparkling rhinestone details creates an eye-catching yet sophisticated look. This step-by-step tutorial guides you through achieving symmetrical rhinestone chain placement and smooth gradient blending.
Steps
- 1Apply nude pink base gel
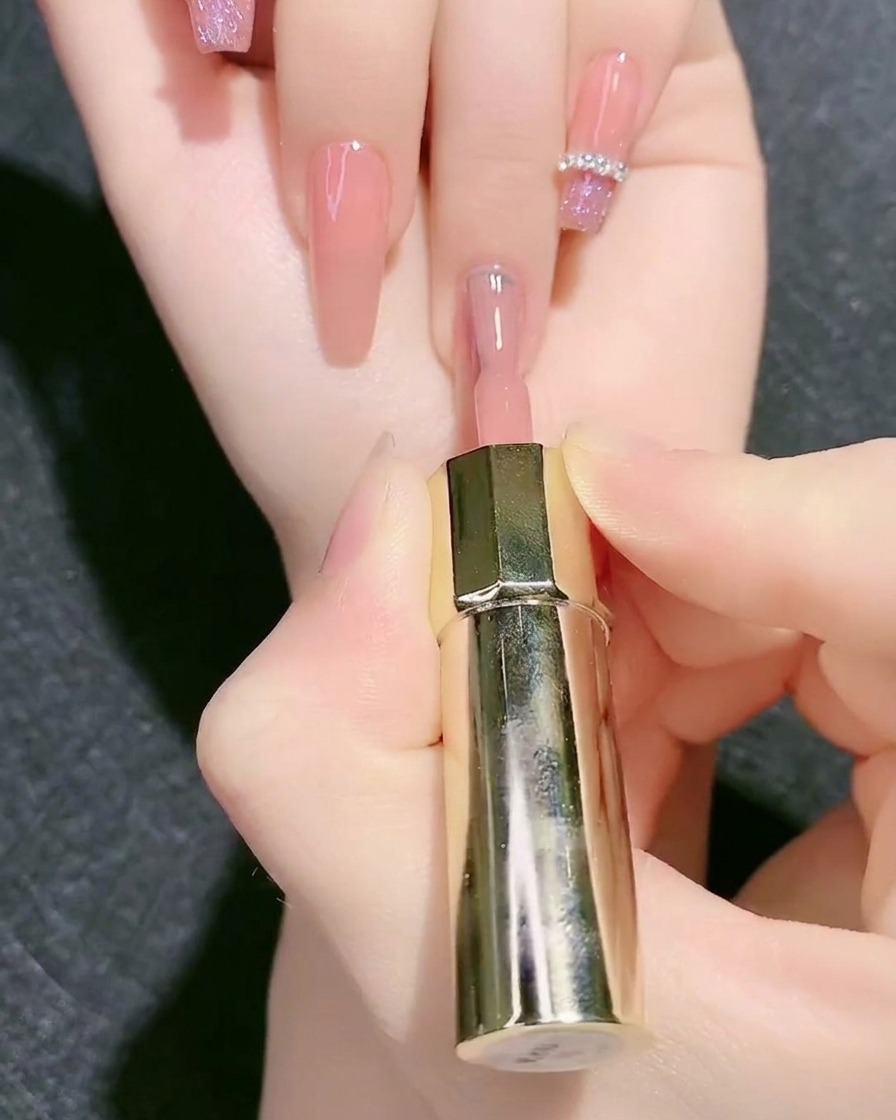
Apply the first coat of nude pink base gel color smoothly onto the nail plate using the polish brush, ensuring even coverage from the cuticle to the free edge. Cap the edge of the nail to seal the product before curing under a UV or LED lamp.
Tip: Keep the first coat thin to prevent any wrinkling or uneven curing under the lamp. - 2Apply second coat of nude pink base gel
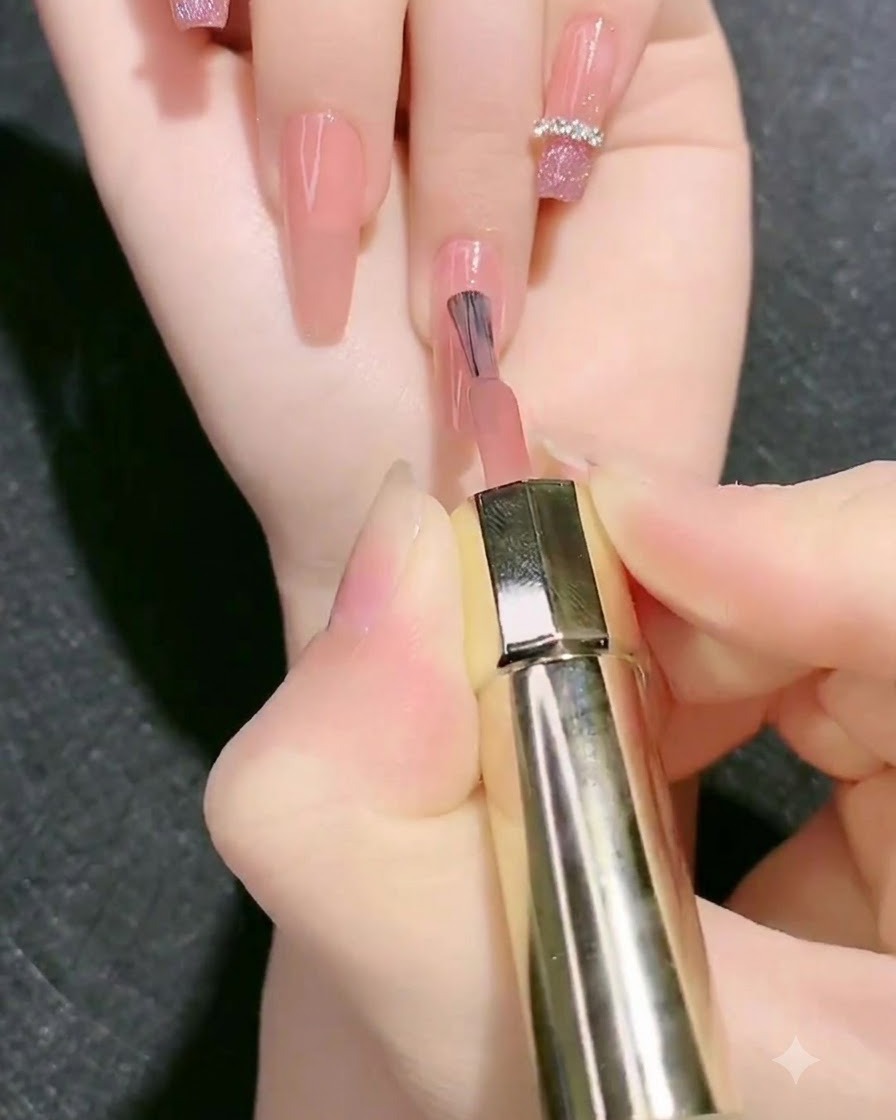
Apply the second coat of nude pink base gel to build full opacity and achieve an even, flawless coverage over the nail plate. Ensure the color is distributed smoothly and cure thoroughly under the lamp.
Tip: Applying two thin coats is always better than one thick coat for color consistency and longevity. - 3Draw heart outline with clear builder gel
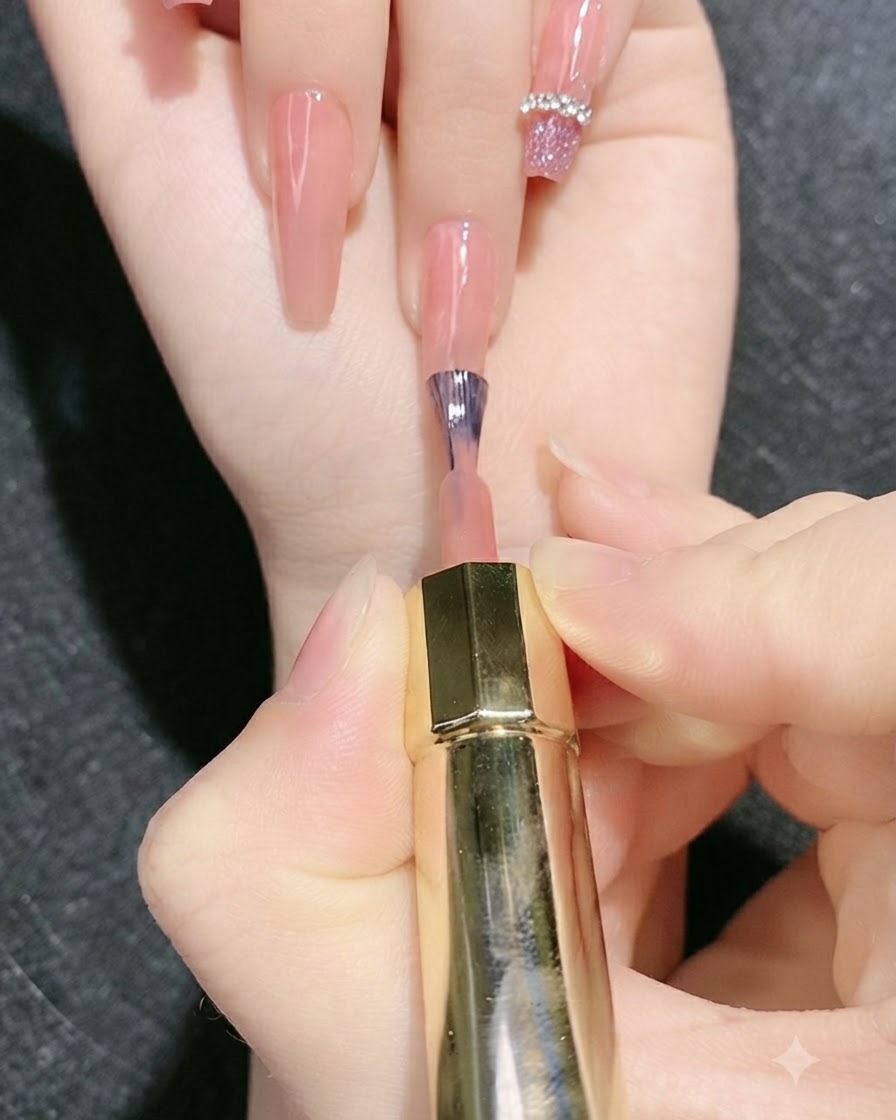
Dip a fine liner brush into thick clear builder gel and carefully draw the outline of a half-heart or full heart shape directly onto the nail surface. Do not cure yet so the tacky gel can act as an adhesive for the rhinestones.
Tip: Work slowly with the fine liner brush to keep the lines crisp and defined. - 4Cut and measure rhinestone chains
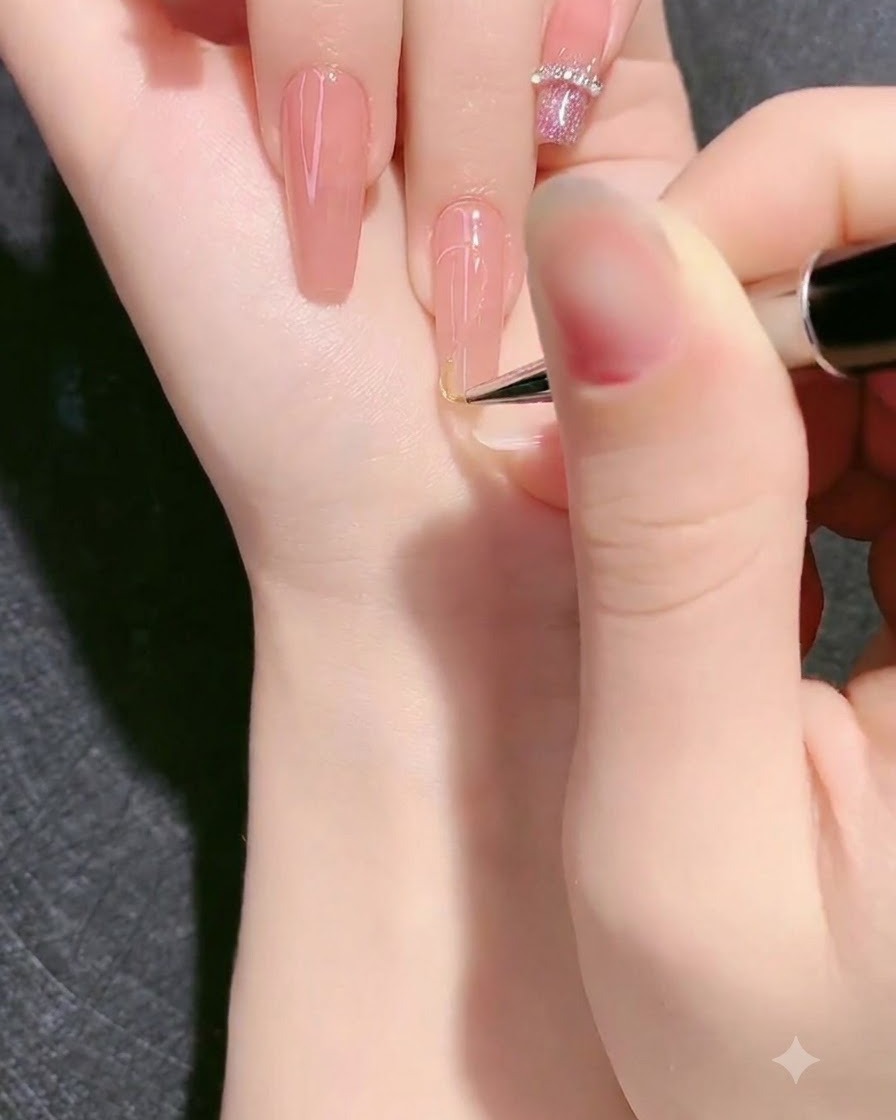
Use nail clippers to cut the rhinestone chain strips to the desired length, carefully counting the individual links to ensure both sides of the nail design are perfectly symmetrical. Accurate counting prevents uneven placement.
Tip: Count the links twice before cutting to guarantee symmetry on both sides of the nail. - 5Place rhinestone chains on the heart outline
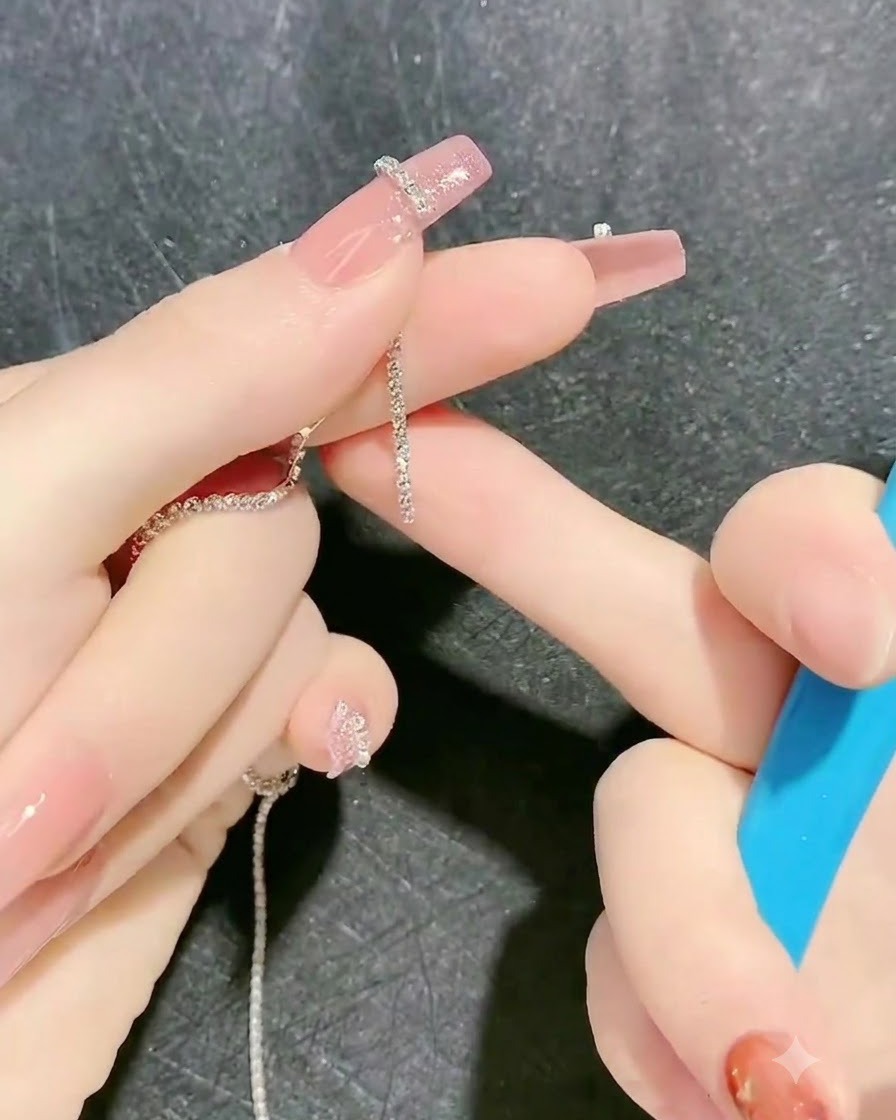
Pick up the cut rhinestone chain strips using a wax picker or tweezers, and place them carefully along the tacky heart-shaped gel outline on the nail. Press gently to secure them into the wet gel before curing.
Tip: Use a detailing tool or orange wood stick to adjust the placement of the chain so it follows the curve precisely. - 6Apply fairy disco gradient gel
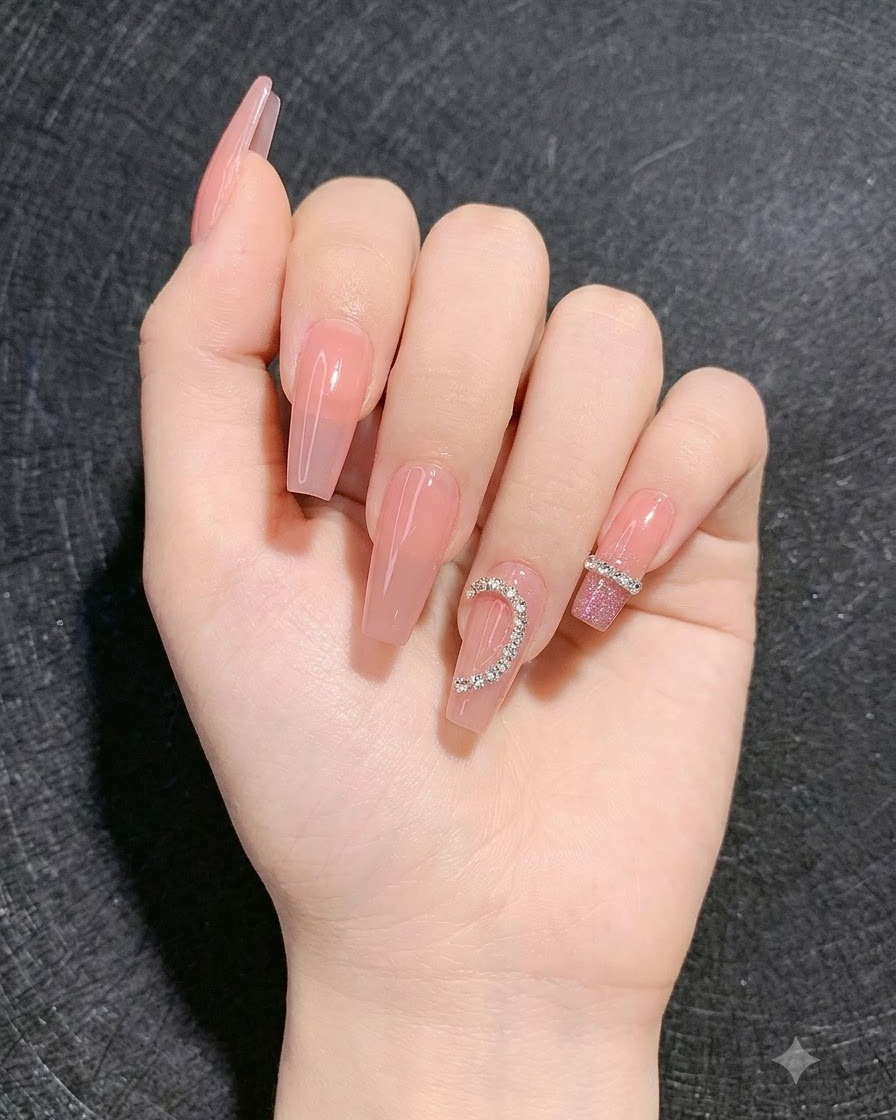
Apply fairy disco gel color shade 04 onto the remaining three fingers to create a sparkling gradient effect that complements the rhinestone nail art. Blend the color smoothly and cure under the UV or LED lamp.
Tip: Dab the glitter gel gently to distribute the reflective particles evenly across the nail surface. - 7Embed rhinestone chain strips
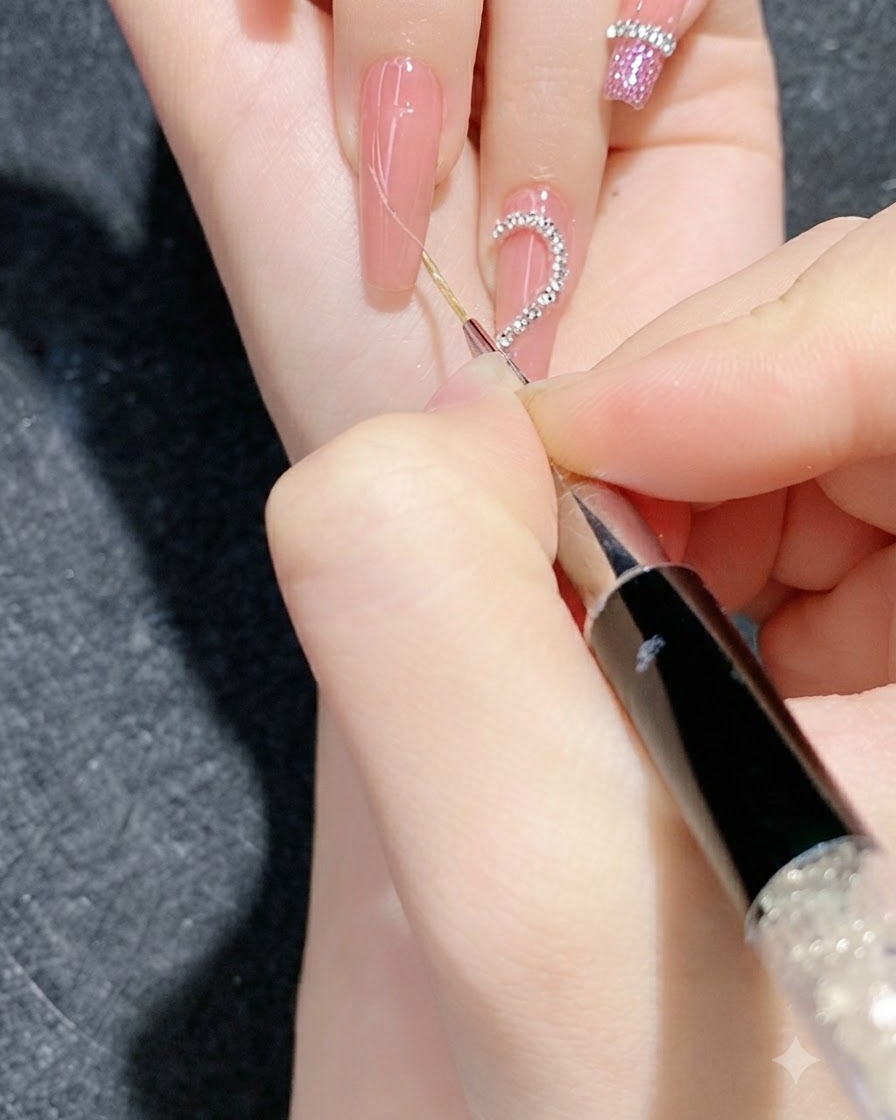
Carefully place and embed the measured rhinestone chain strips onto the gradient accented fingers along your planned design lines. Press them gently into the tacky layer or uncured gel to ensure they adhere properly before setting them under the UV or LED lamp.
Tip: Use a silicone tool or wax pencil to handle and position tiny rhinestone chains precisely without misplacing them. - 8Secure rhinestone chains with clear gel
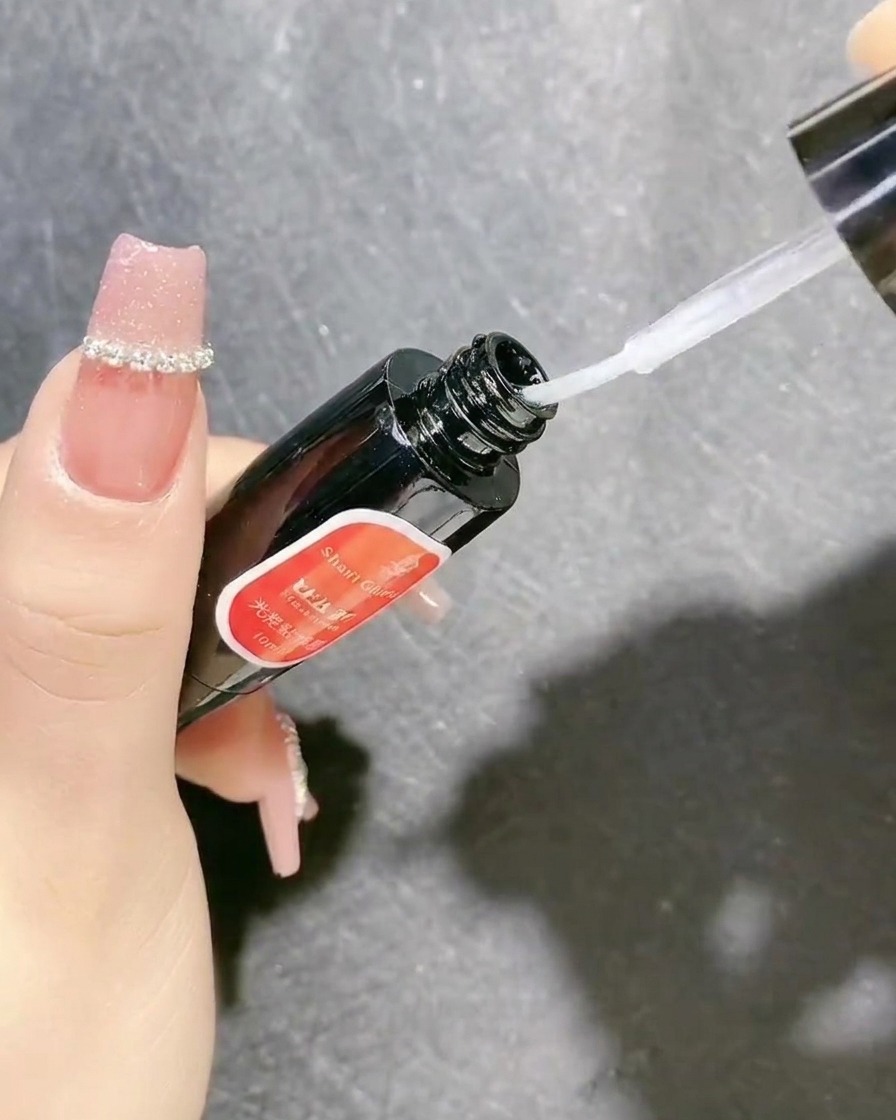
Using a fine detail brush dipped in clear sealing gel or builder gel, carefully fill the gaps around the edges of the rhinestone chains. This locks the stones in place, prevents snagging, and ensures the embellishments remain extremely secure during daily wear.
Tip: Do not flood the top of the rhinestones with gel, or you will dull their sparkle; keep the sealing gel strictly along the outer edges and base. - 9Apply final glossy top coat
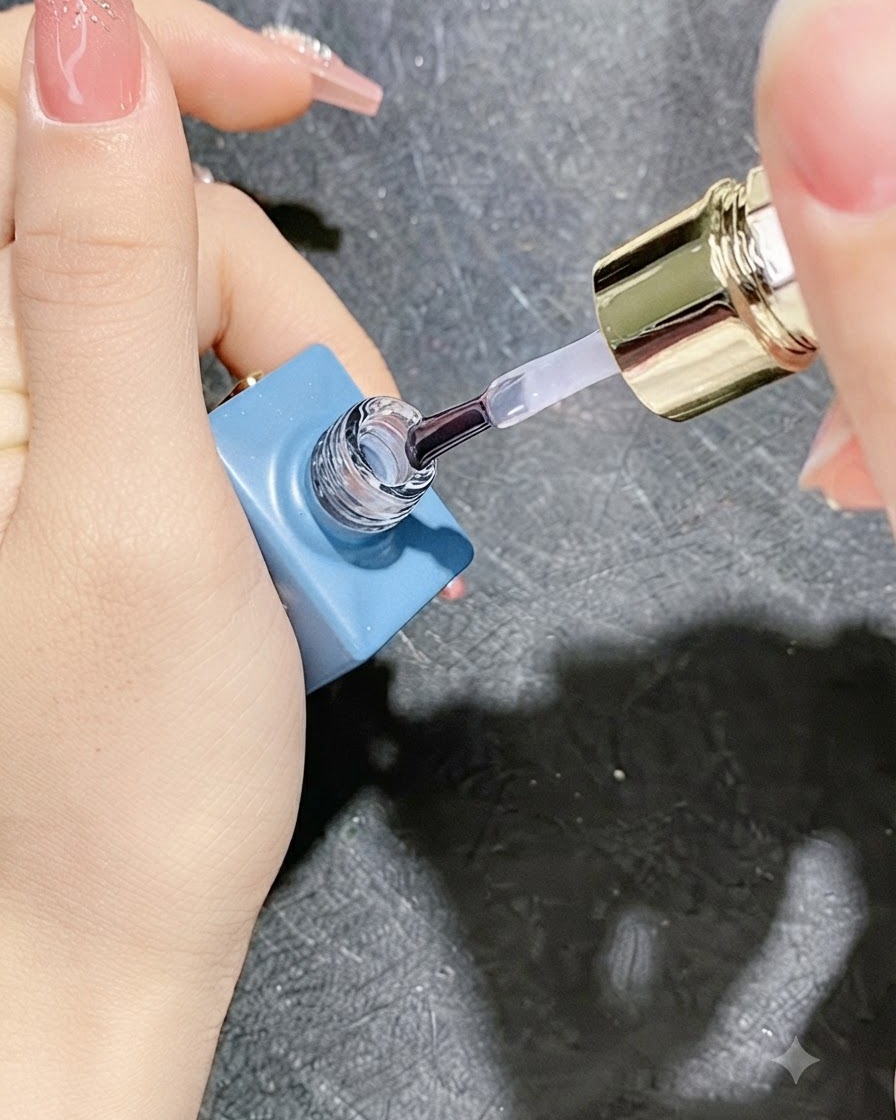
Apply a final layer of glossy crystal top coat over all the finished nails to encapsulate the entire design and provide a brilliant, long-lasting shine. Ensure you cap the free edges securely, then cure completely under the UV or LED lamp.
Tip: Capping the free edge with top coat is crucial to prevent premature chipping and lifting of the entire manicure.