Halo Butterfly Cat-Eye Gel Nails — Step-by-Step Tutorial
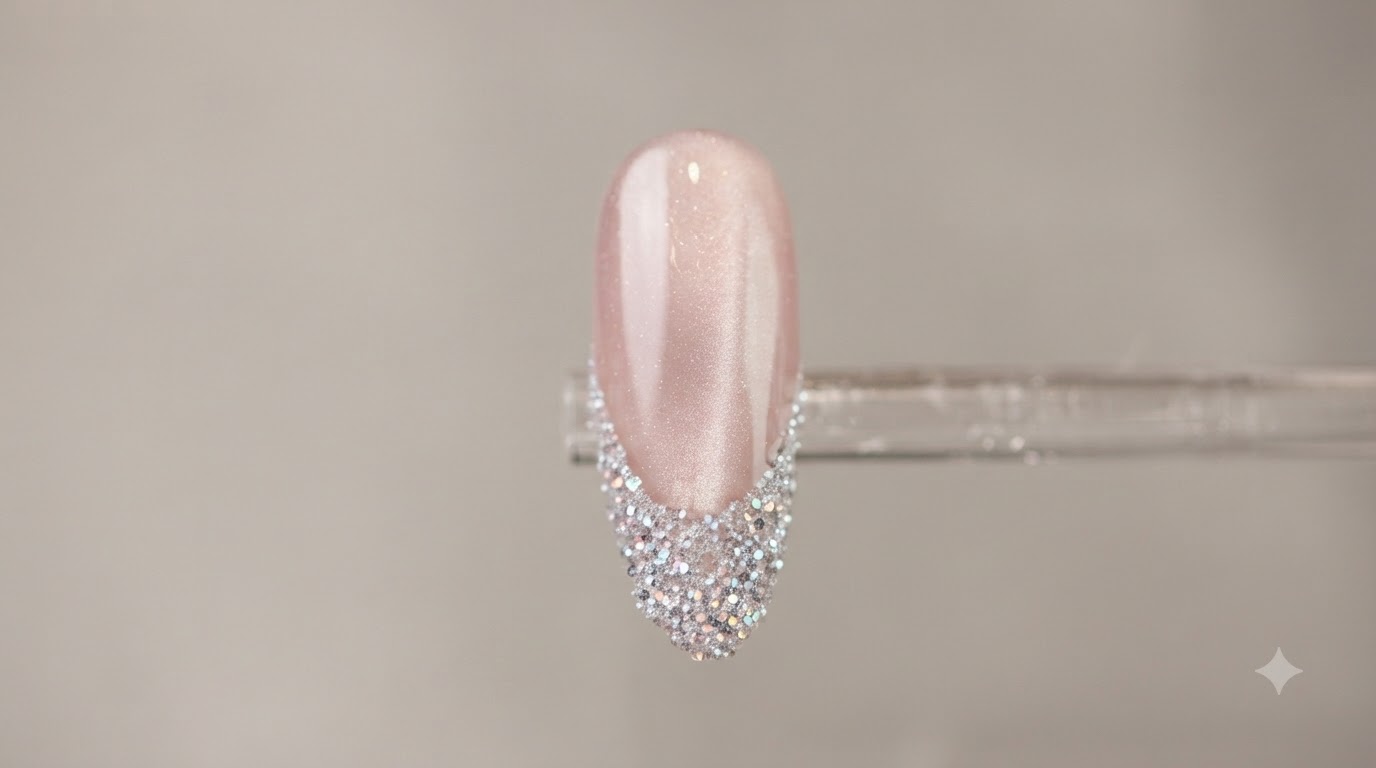
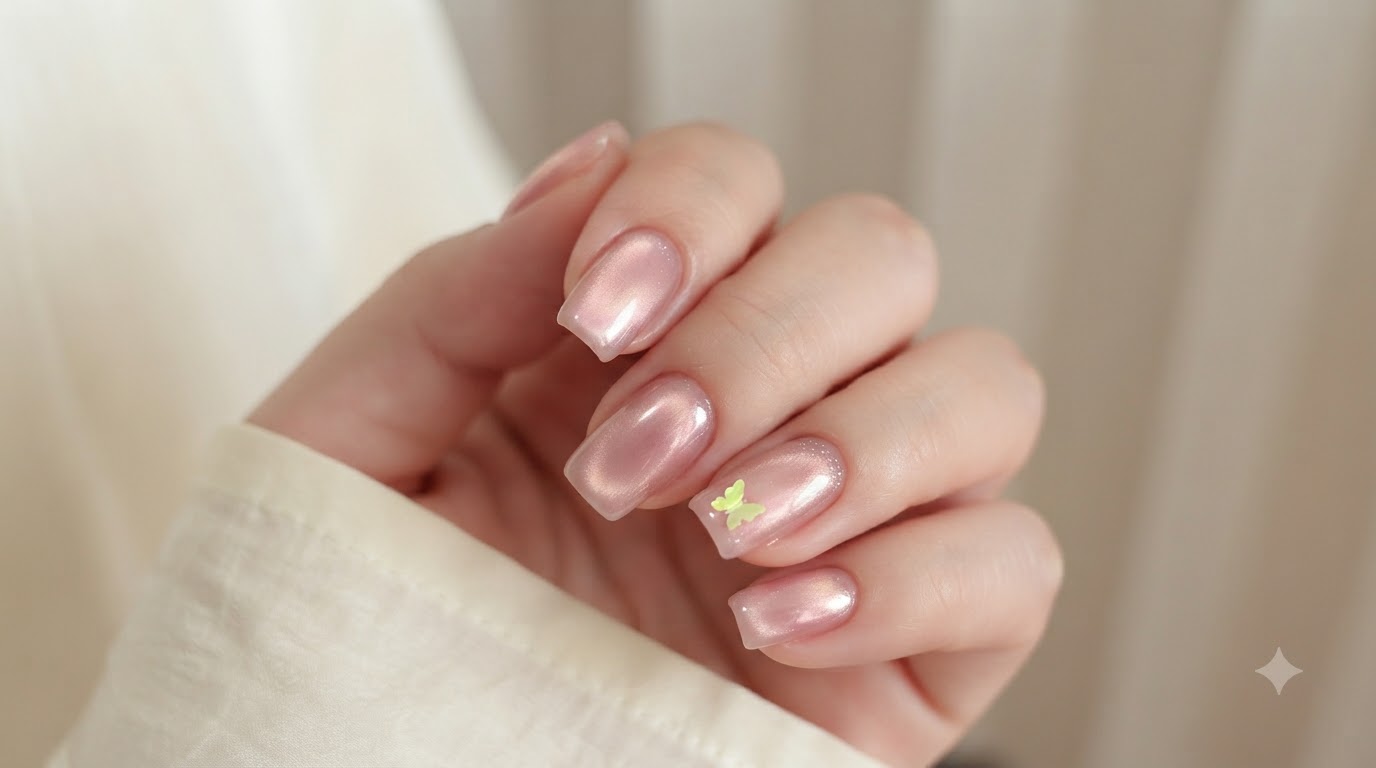
Create an ethereal halo butterfly manicure featuring translucent pink cat-eye layers, magnetic bead effects, and delicate embedded sequins.
Cat-eye gel nails continue to captivate with their mesmerizing, multidimensional shimmer, and this halo butterfly look takes the trend to the next level. By layering translucent pink shades with precise magnetic ring and cylinder techniques, you can achieve a glowing glass bead effect. Complete with a shimmering iridescent butterfly sequin and a protective blue-tinted builder top coat, this style delivers a dreamy, dimensional finish.
Steps
- 1Select the base color
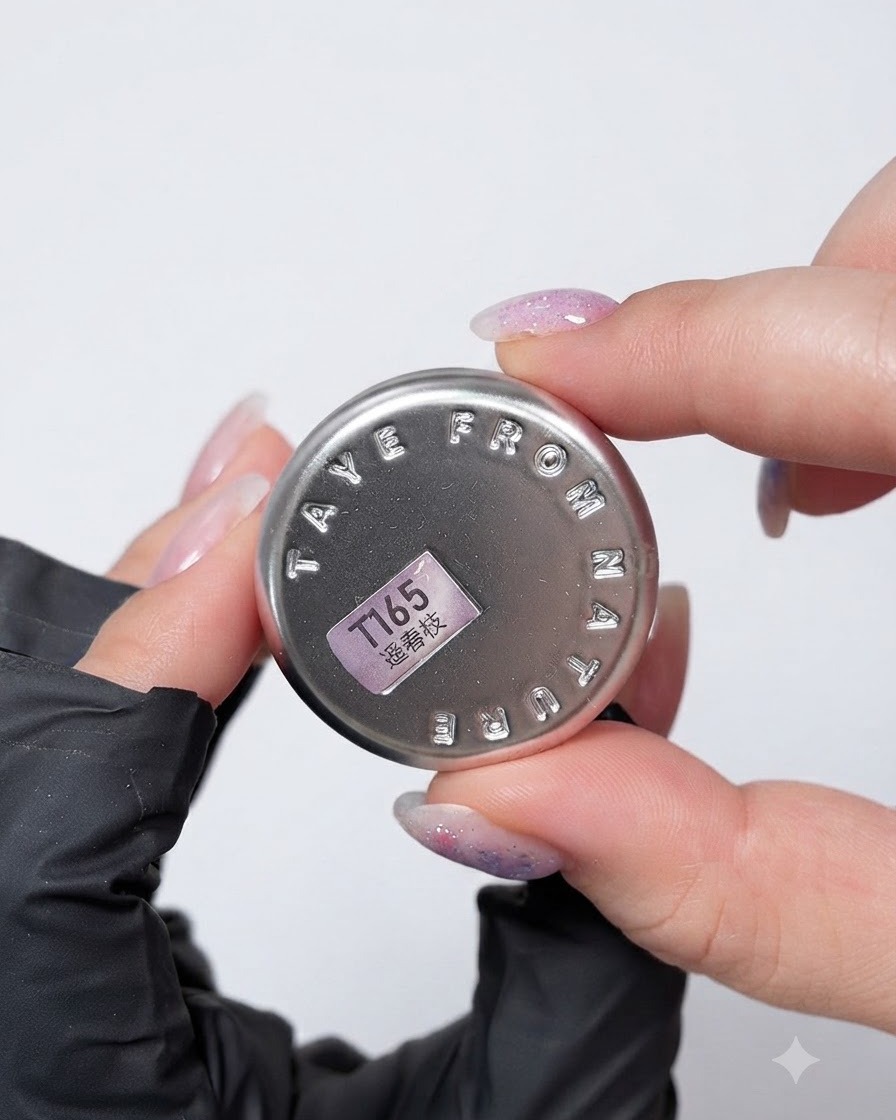
Begin the halo butterfly look by selecting a pale pink cat-eye gel that features a champagne-colored shimmer. This shade provides a translucent background that makes the upcoming magnetic effects stand out beautifully.
Tip: Ensure your nails are completely prepped and a base coat has been applied and cured before opening your color gels. - 2Apply pale pink champagne cat-eye gel
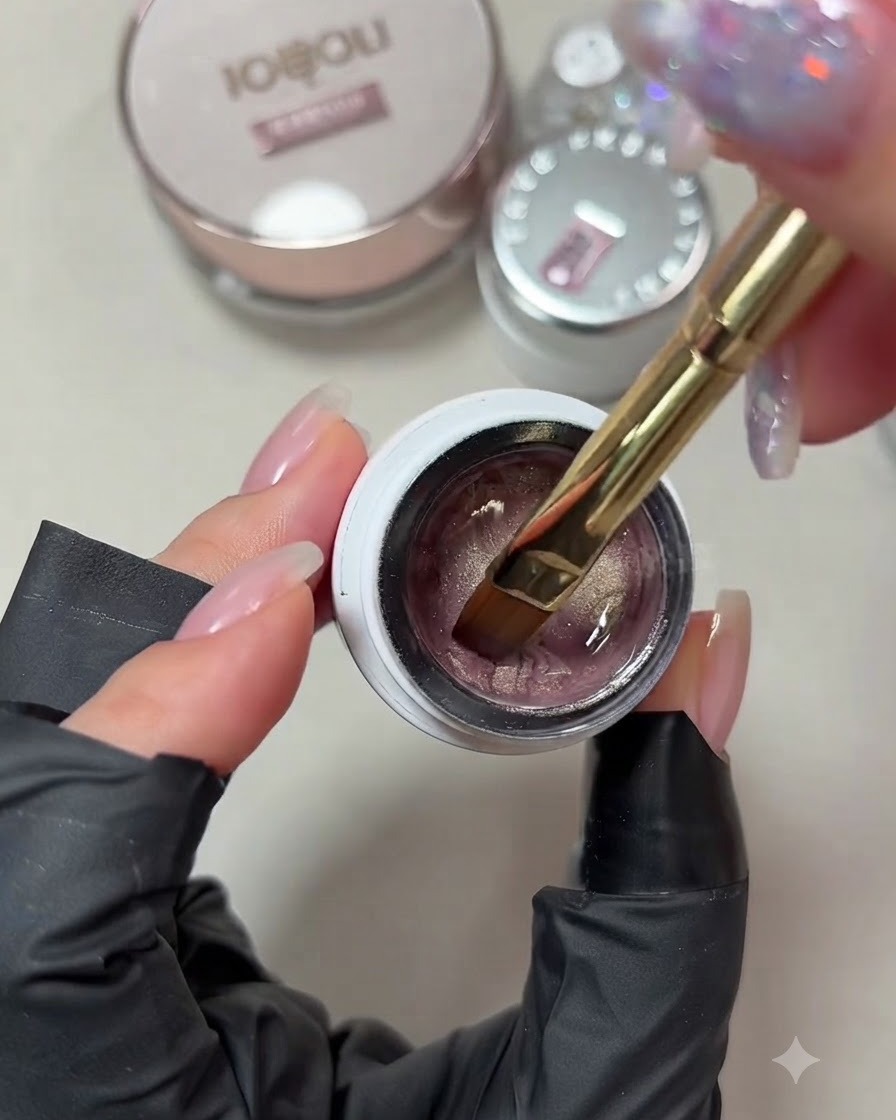
Using a flat gel brush, pick up a moderate amount of Tayes cat-eye gel in Spring Branch, which features a pale pink base with champagne cat-eye shimmer. Apply an even layer across the entire nail plate, ensuring smooth coverage from the cuticle to the free edge without flooding the sidewalls.
Tip: Keep the gel layer thin and consistent to allow the magnetic shimmer particles to move freely when you create the cat-eye effect. - 3Create a glass bead effect
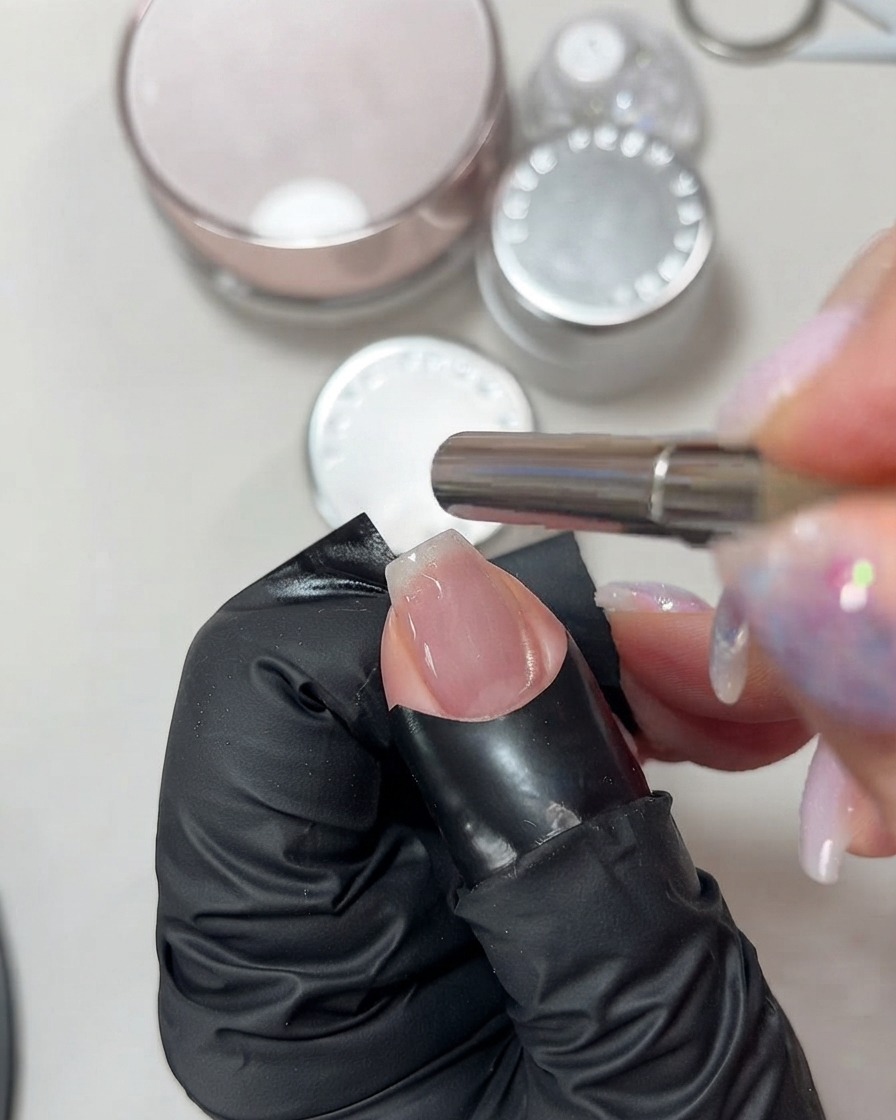
While the first layer of pale pink cat-eye gel is still wet, take a cylindrical magnet and swirl it in gentle circular motions over the nail surface. This pulls the magnetic champagne shimmer away from the edges and concentrates it into the center, creating a clear, round glass bead effect.
Tip: Keep the magnet as close to the nail surface as possible without touching the wet gel to achieve the sharpest pull. - 4Cure the first layer
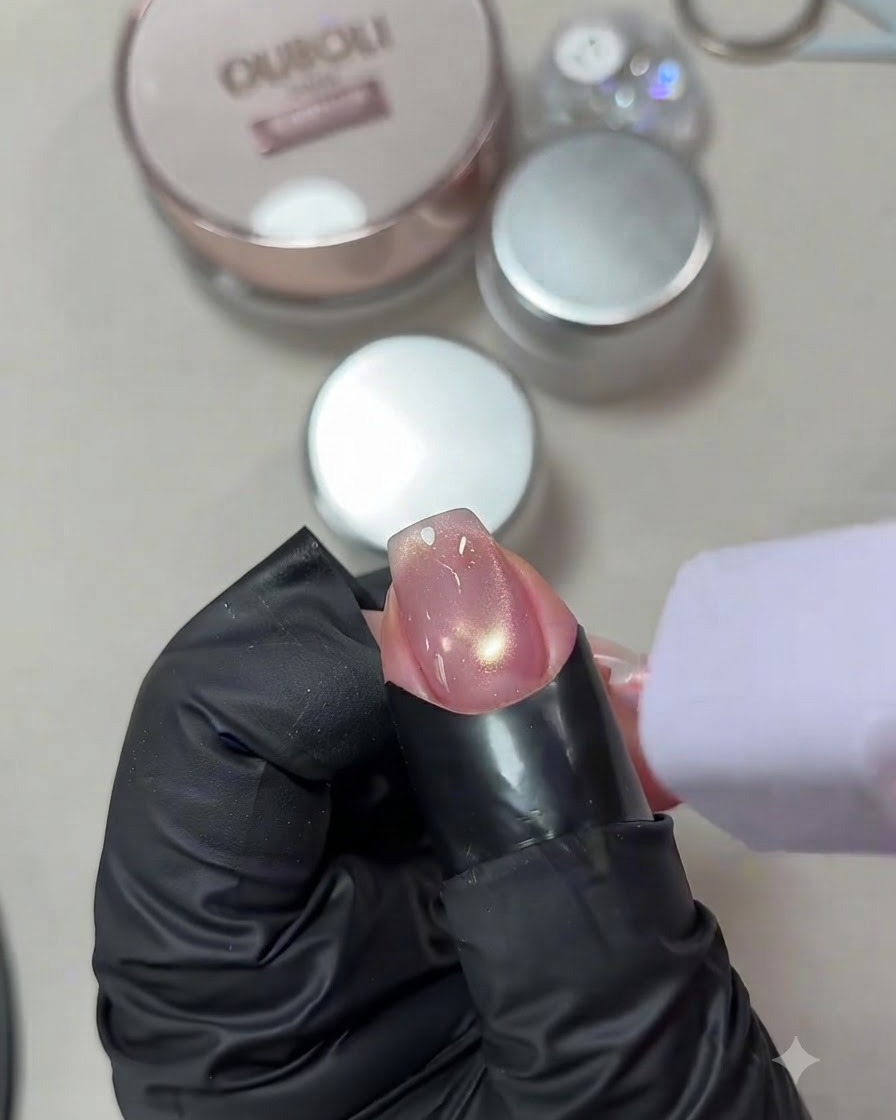
Once you are satisfied with the magnetic glass bead design, immediately cure the nail under your UV or LED lamp. A portable mini lamp is excellent for this step, as it freezes the magnetic particles in place before they have a chance to disperse.
Tip: Flash curing each nail individually immediately after using the magnet is highly recommended to preserve the exact design. - 5Display second cat-eye gel pot
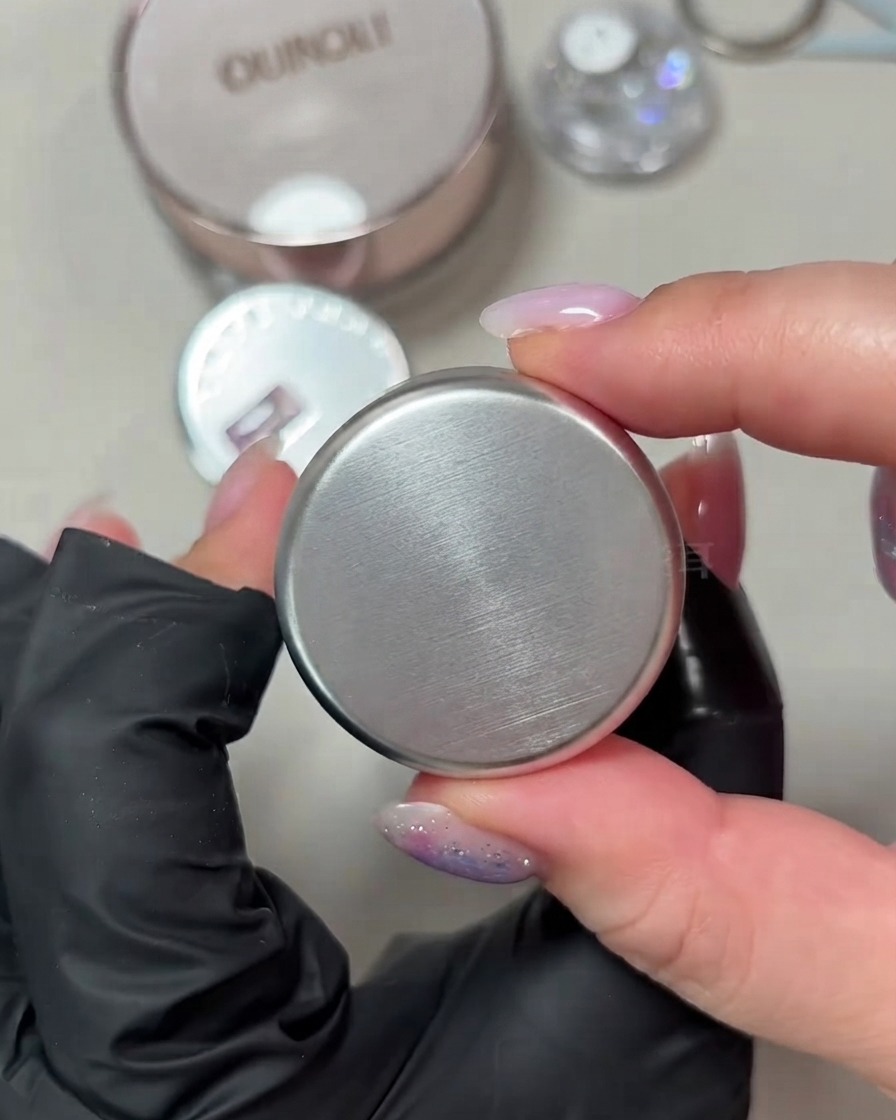
Hold up and display the second pot of cat-eye gel polish from Taye in the shade Rose Rain. This gel features a translucent pink base with subtle micro-shimmer and a porcelain white magnetic cat-eye effect, preparing you for the next layer of the design.
Tip: Always check product labels before application to ensure you are using the correct shade and formula sequence specified in the tutorial. - 6Apply the second cat-eye layer
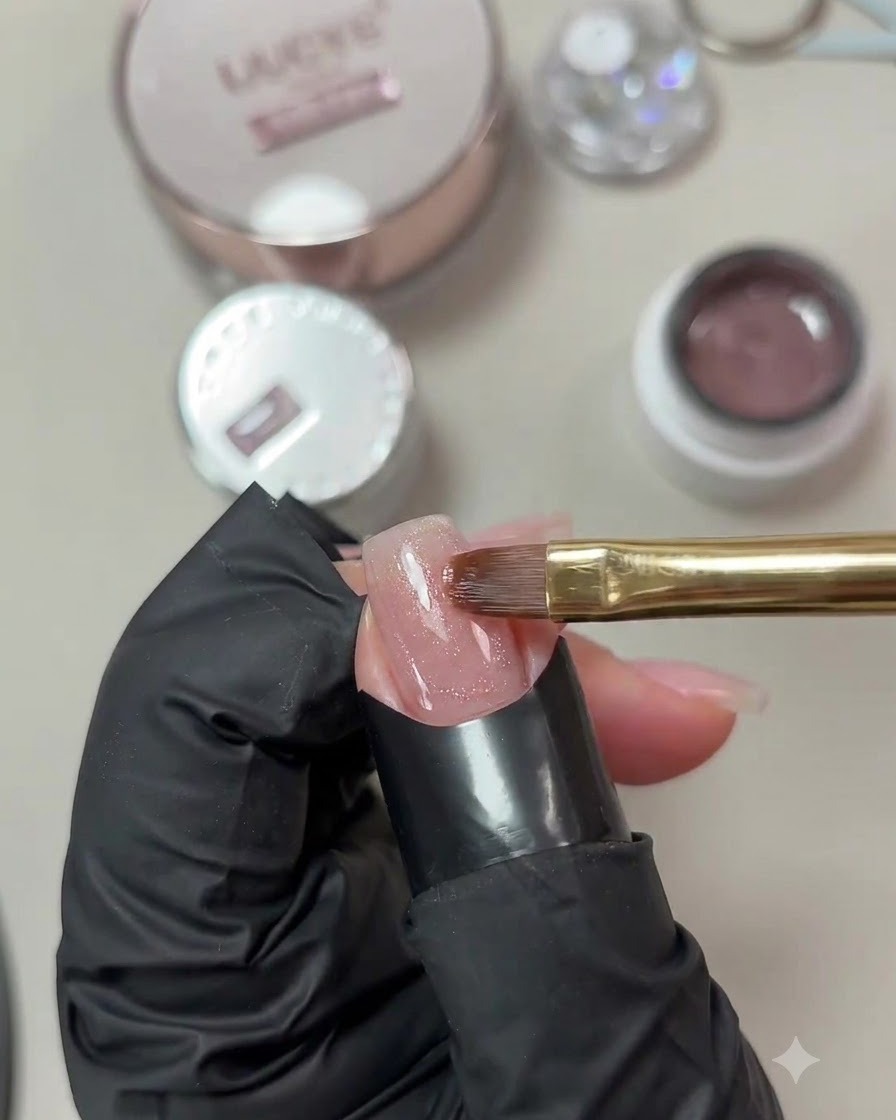
Using a flat gel brush, apply a thin, even layer of the second translucent pink cat-eye gel directly over the previously cured layer. Make sure the application is completely smooth so the new porcelain white shimmer can be manipulated cleanly in the next step.
Tip: Keep this second layer relatively thin to avoid adding too much bulk to the nail before encapsulating the sequins. - 7Create wide light band with cylindrical magnet
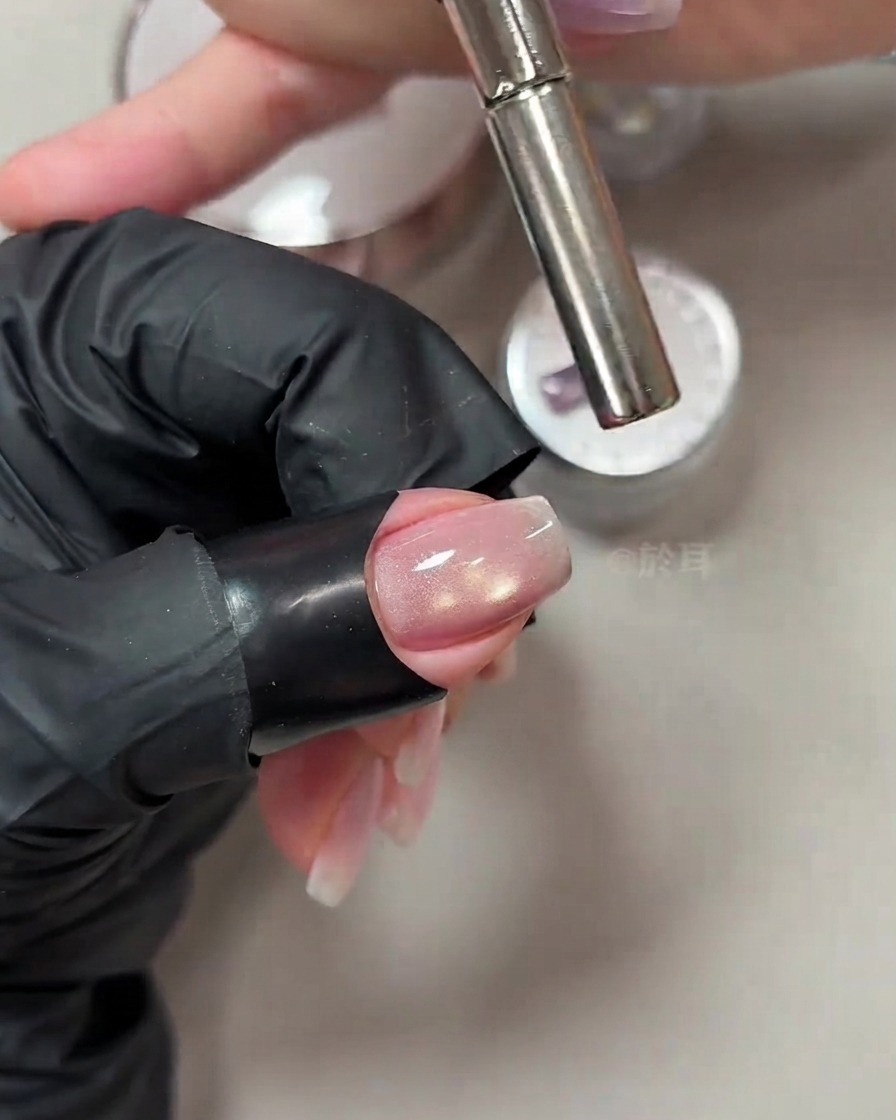
Take a cylindrical magnet and hold it near the tip of the freshly painted nail. Use the magnetic field to push and concentrate the magnetic particles, pulling out a wide, luminous band of light across the center of the nail surface before curing.
Tip: Hold the magnet steady for a few seconds to let the particles fully shift into place before moving it away or curing. - 8Form halo ring effect with circular magnet
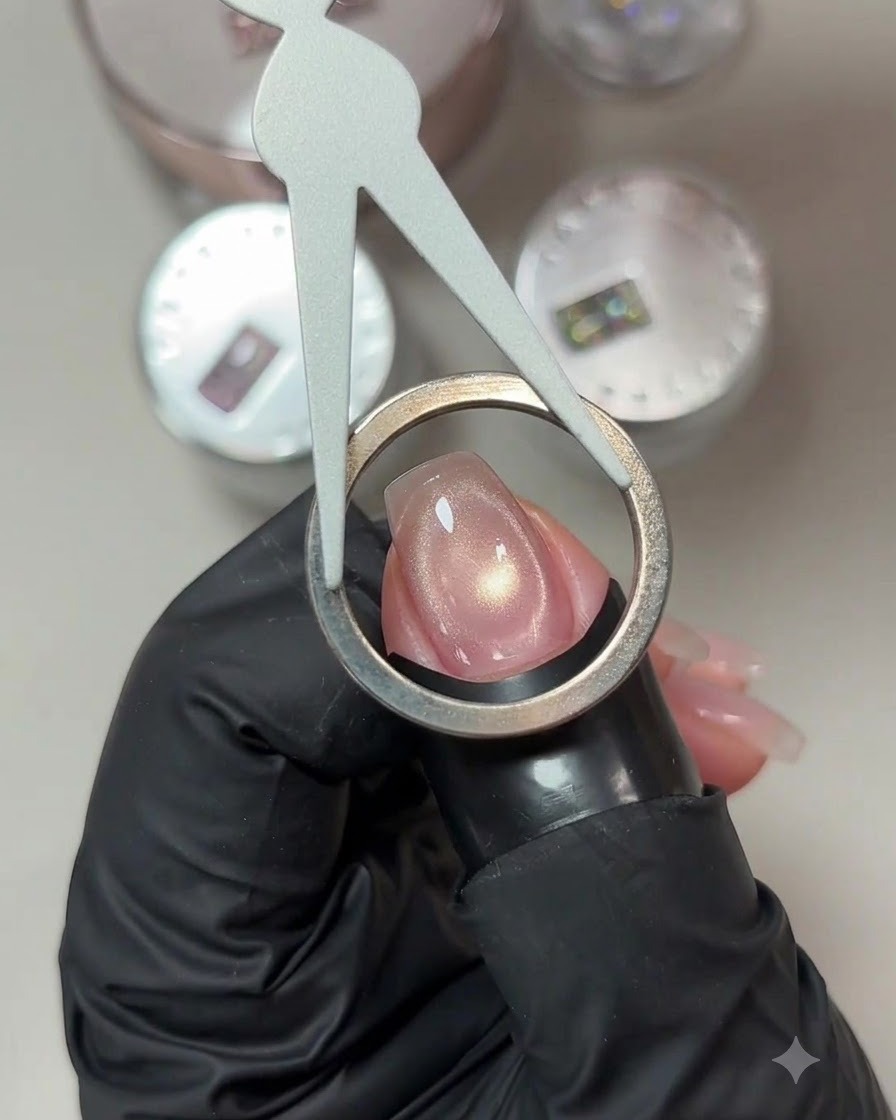
Position a circular ring magnet completely over and around the nail perimeter. This specialized placement draws the magnetic shimmer particles outward, creating a distinctive glowing halo ring effect on the nail surface.
Tip: Ensure the ring magnet is centered evenly around the nail to achieve a balanced, symmetrical halo reflection. - 9Cure second layer under mini UV/LED lamp
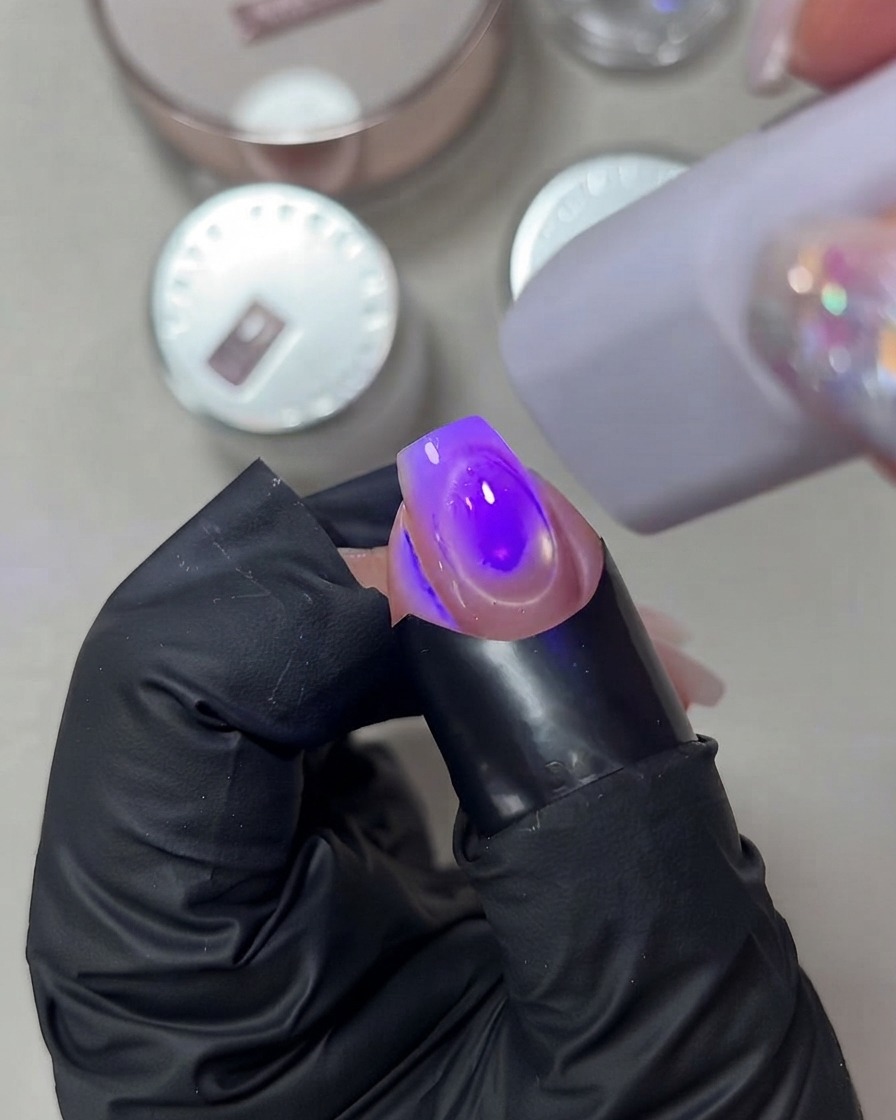
Position a portable mini UV or LED lamp directly over the nail to flash-cure or fully cure the styled cat-eye layer. Hold the lamp steady for the required duration to lock the halo magnetic effect in place without letting the shimmer shift.
Tip: Flash-cure for 10 to 15 seconds if you need to lock the design quickly before adding more elements, preventing any unwanted movement. - 10Apply uncured clear builder gel layer
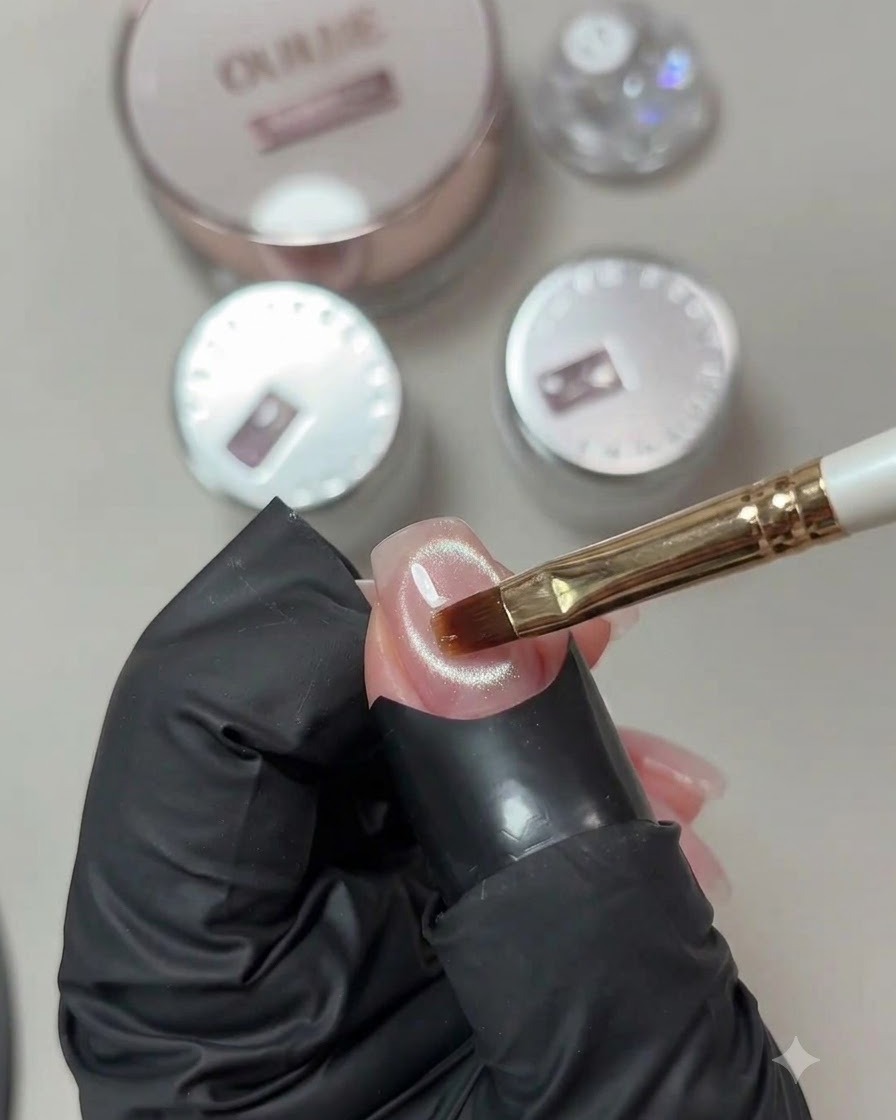
Using a gel brush, apply a thin layer of clear builder or reinforcement gel directly over the cured cat-eye design. Do not cure this layer yet, as it will act as a wet adhesive bed for placing nail art decorations.
Tip: Keep this layer thin and even so that decorative elements do not shift or slide around too much before placement. - 11Place the butterfly sequin
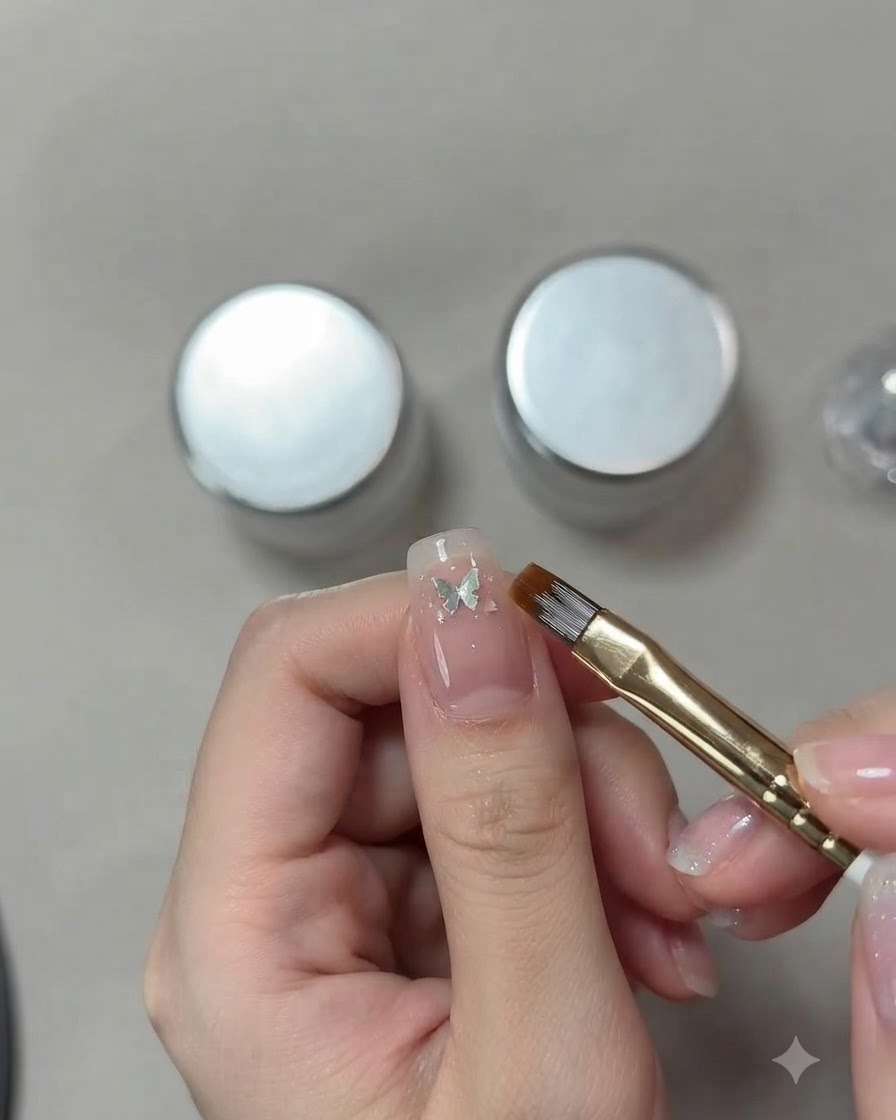
Using the tip of your brush, carefully pick up a small, iridescent butterfly sequin and place it onto the uncured gel near the cuticle area. Gently press it down so it adheres flatly to the nail surface before curing.
Tip: Position the sequin slightly above the cuticle line to prevent it from catching or lifting prematurely. - 12Cure the sequin in place
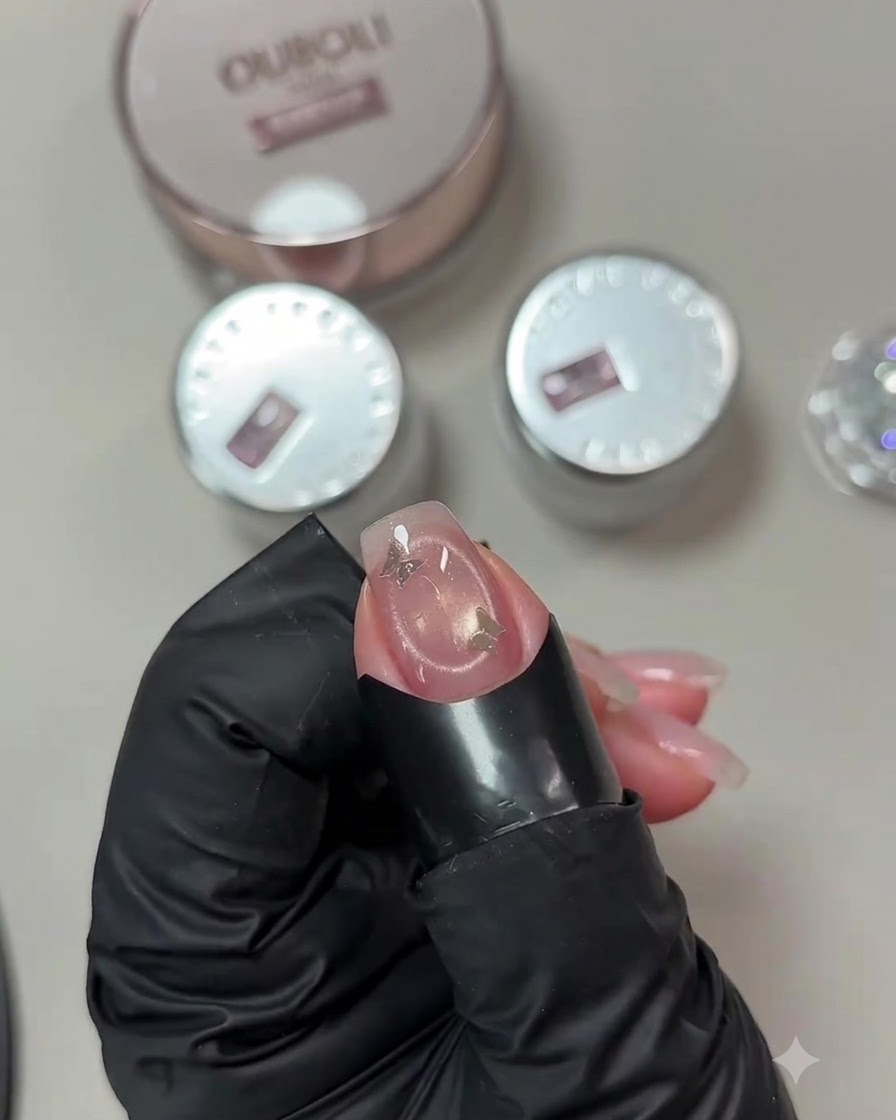
Position a portable mini UV/LED lamp over the nail to cure the wet gel and lock the butterfly sequin securely in place. Flash cure for a few seconds to ensure the decoration does not shift during the upcoming structural overlay step.
Tip: A flash cure with a mini lamp is ideal for holding loose nail art elements steady before applying top coat. - 13Apply blue-tinted builder top coat
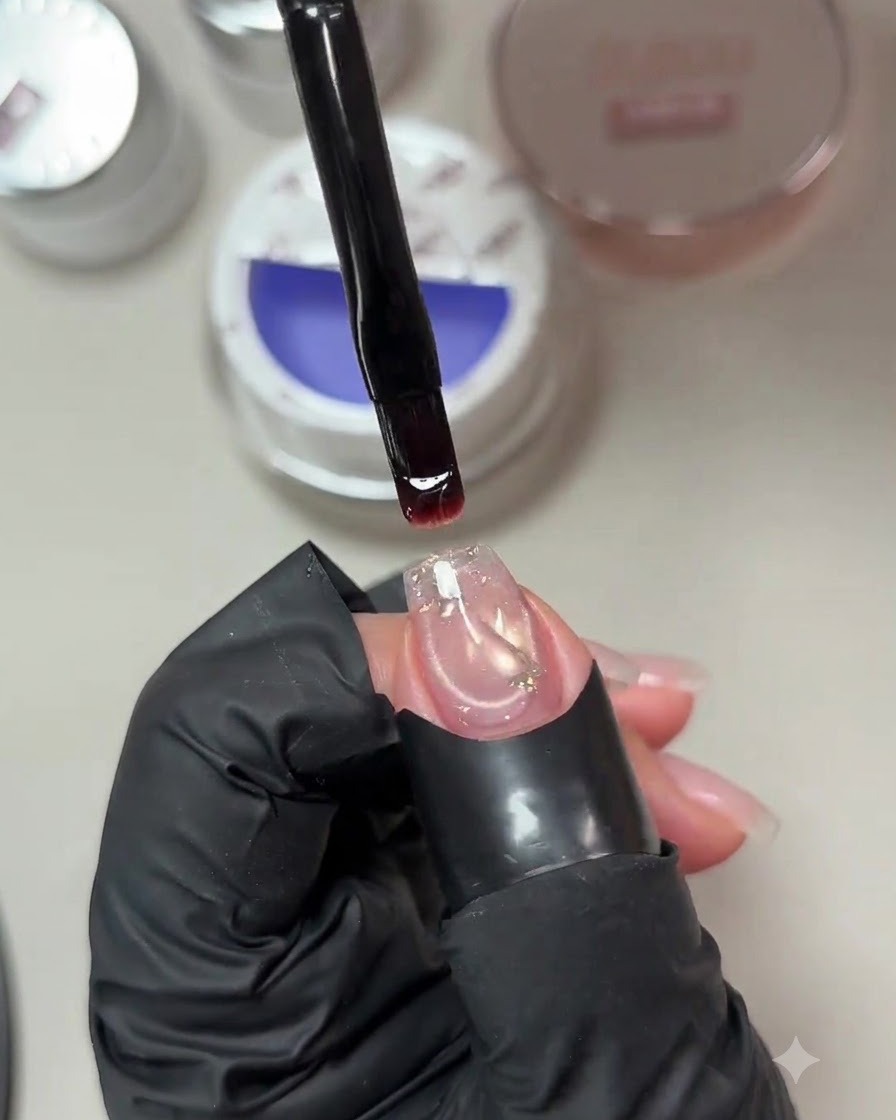
Apply a thicker layer of Oubolis blue-tinted clear builder top coat over the nail surface to completely encapsulate the butterfly sequin. Build a proper structural apex to add strength and create a glass-like finish over the design.
Tip: The blue tint helps neutralize yellowing and adds a subtle, ethereal depth to translucent pink manicures. - 14Refine builder gel details
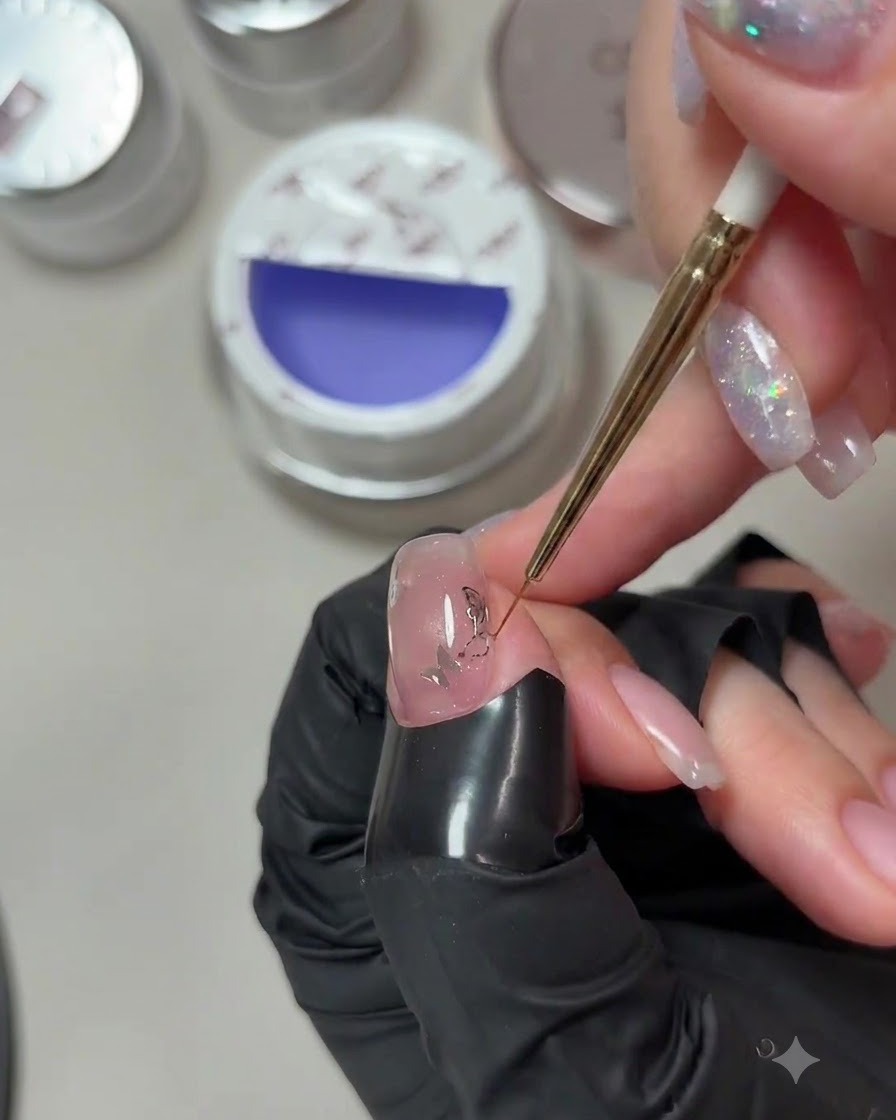
Take a fine liner brush to meticulously adjust the wet builder gel around the cuticle and sidewalls. Perfect the shape, smooth out any uneven spots, and ensure complete, even encapsulation of the sequin before final curing.
Tip: Work quickly with the liner brush to smooth out pooling gel before placing the hand under the lamp. - 15Cure the final top coat
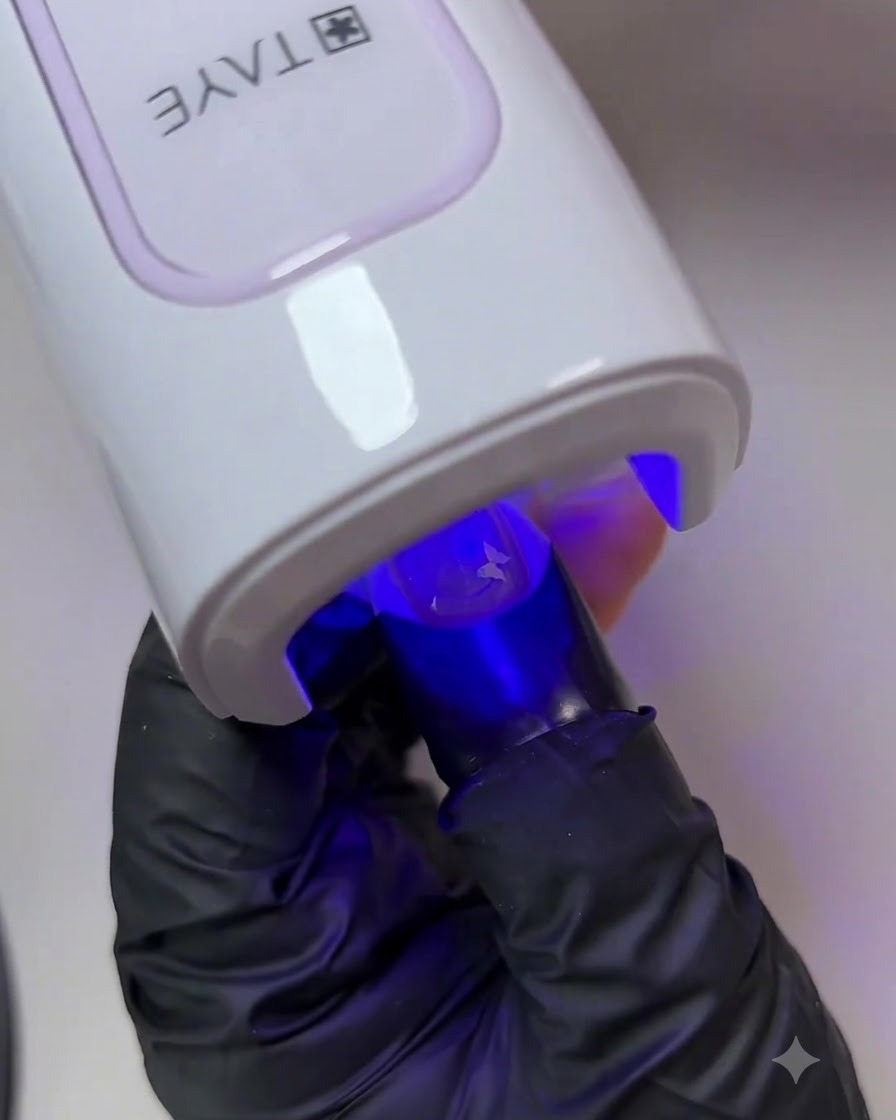
Place the nail under a full-sized UV/LED lamp and cure the encapsulating top coat for a full minute. This ensures the builder gel is completely hardened, glossy, and durable for long-term wear.
Tip: Always follow the recommended full-minute cure time for thick builder gels to prevent uncured layers underneath.