Pink Flashy Cat-Eye French Nails
Sparkling Glitter — Step-by-Step Tutorial
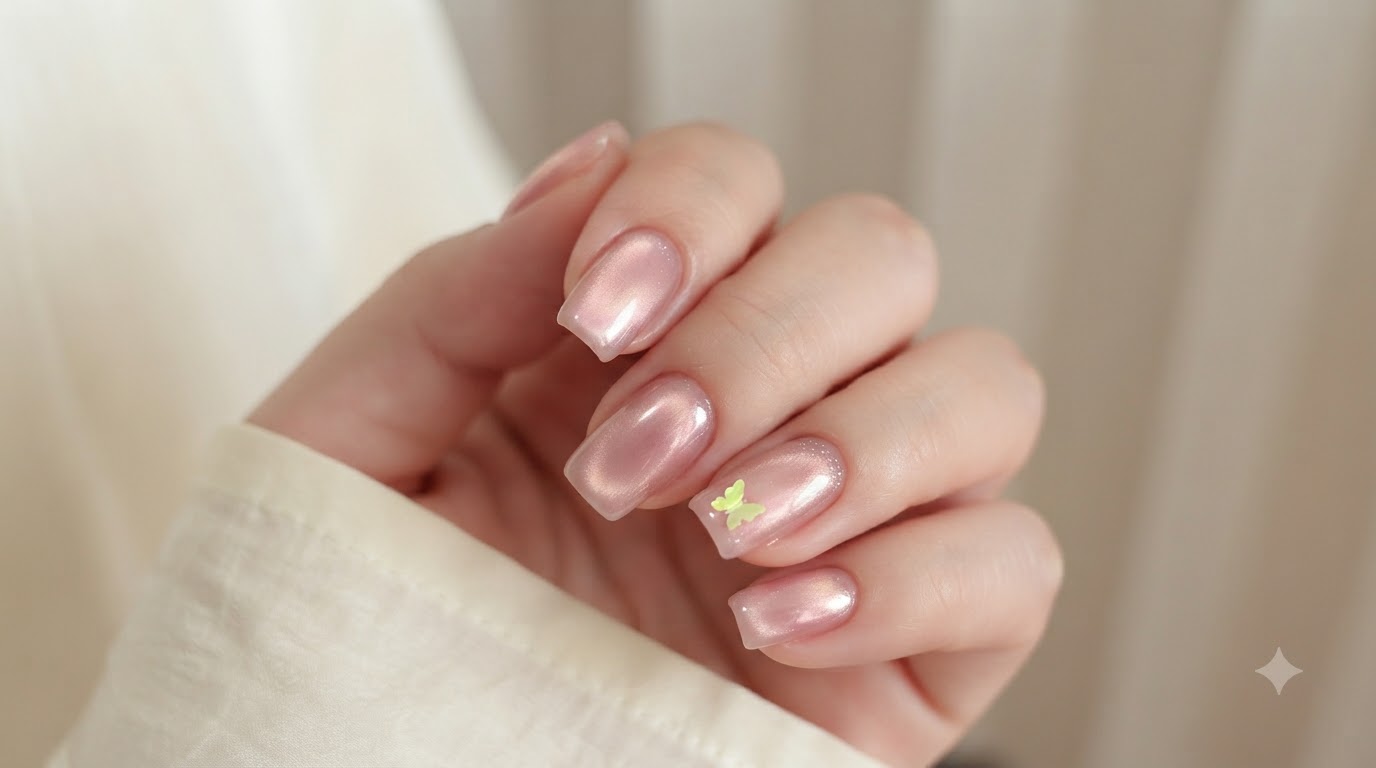
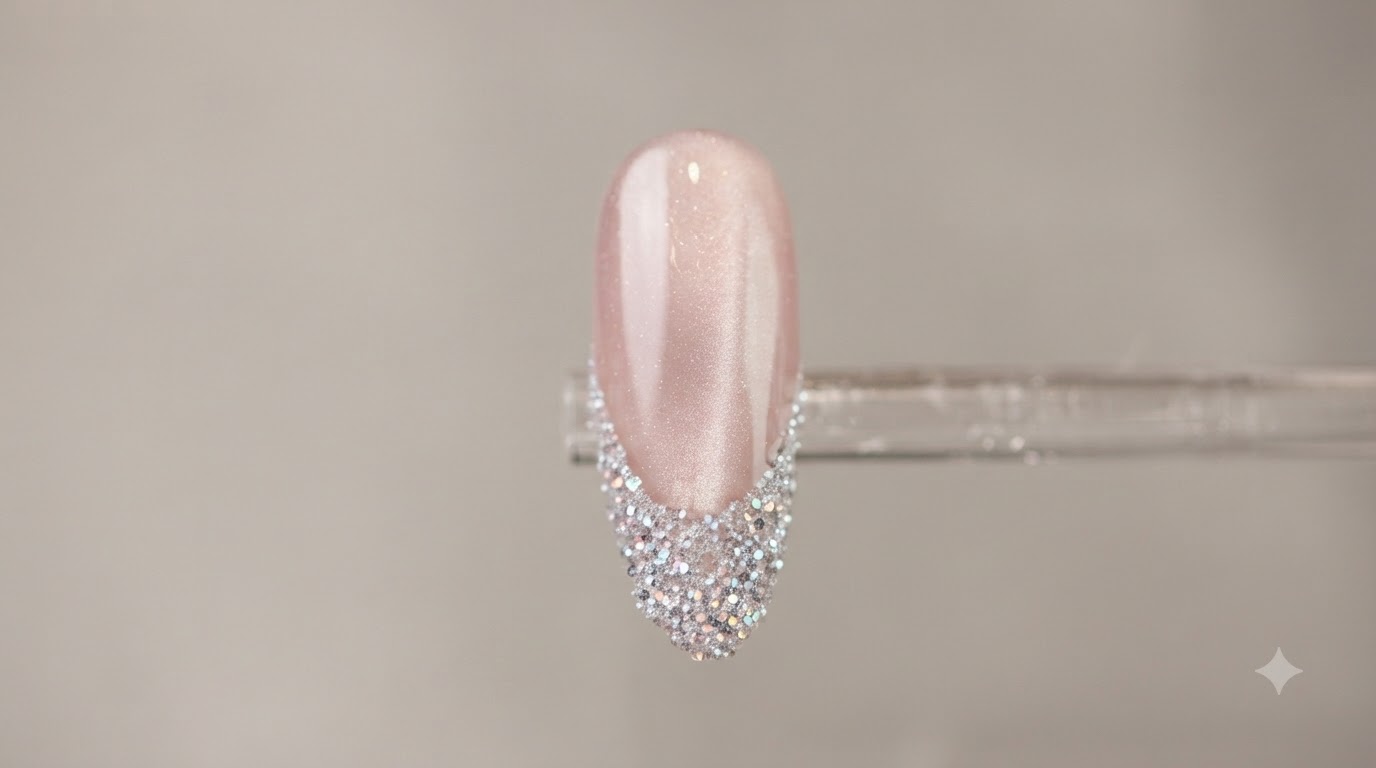
Create stunning pink flashy cat-eye French nails featuring a translucent glass-like base, magnetic light beam, and a heavily textured sparkling silver glitter tip.
Flashy cat-eye nails paired with textured glitter French tips create a breathtaking, multidimensional look that catches the light from every angle. By combining a water-gloss translucent pink base with precision magnetic placement and a dazzling sugar-glitter tip, this design elevates standard French manicures into a true work of art. Perfect for special occasions or whenever you want your fingertips to stand out with effortless glamour.
Steps
- 1View the water-gloss cat-eye color chart
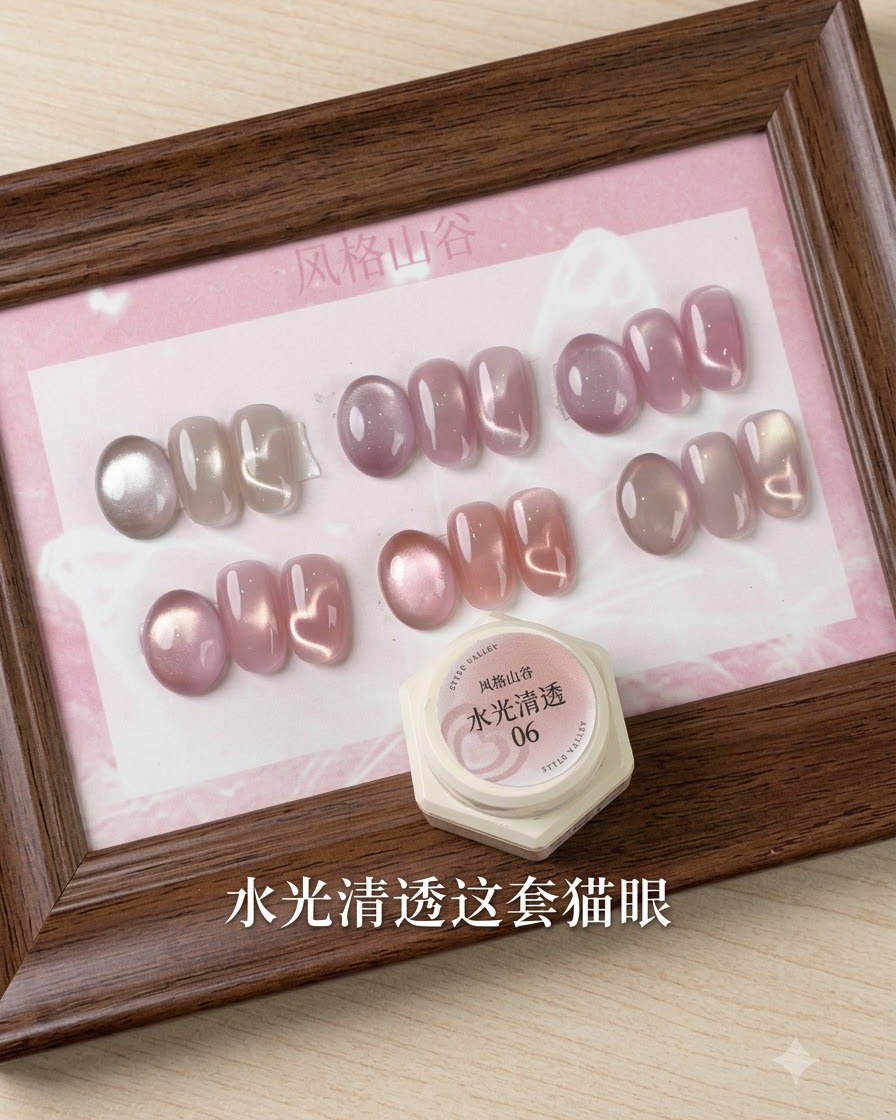
Examine the sample color chart wheel displaying various shades of water-gloss translucent cat-eye gel, including shade number 06. This helps visualize the glass-like texture and depth of the cat-eye effect before application.
Tip: Pay close attention to how the magnetic shimmer shifts under different angles to choose the right shade for your design. - 2Apply translucent cat-eye gel
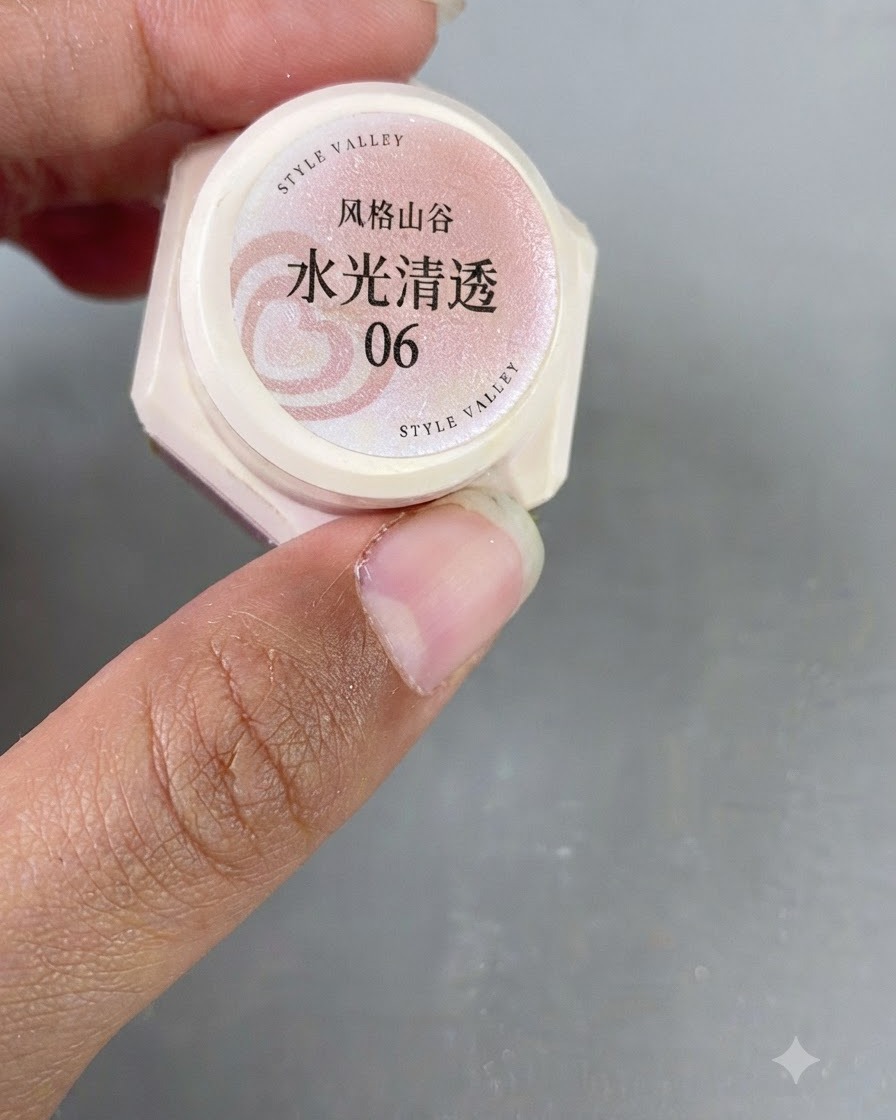
Brush water-gloss translucent cat-eye gel number 06 evenly across the entire surface of the practice nail. Ensure a smooth, uniform layer to provide a clean base for the magnetic cat-eye light beam effect.
Tip: Apply a consistent amount of product to avoid streaks or uneven pooling before using the magnet. - 3Magnetize the cat-eye gel
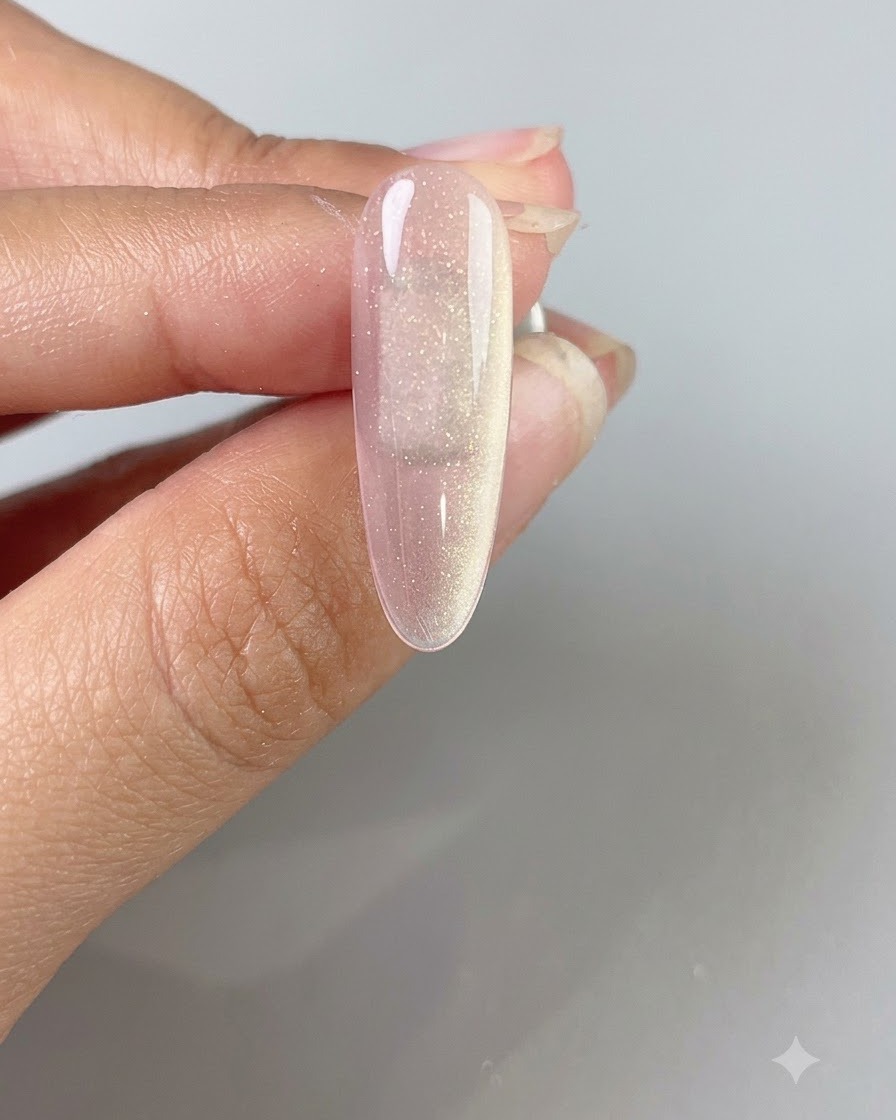
Take a cylindrical magnetic wand and sweep it back and forth over the uncured water-gloss translucent cat-eye gel. This movement guides the magnetic particles within the polish to align and form a wide, glowing light beam with a deep glass-like effect.
Tip: Keep the magnet close to the nail surface without touching the wet gel to achieve a sharp, defined light reflection. - 4Shape the cat-eye light beam
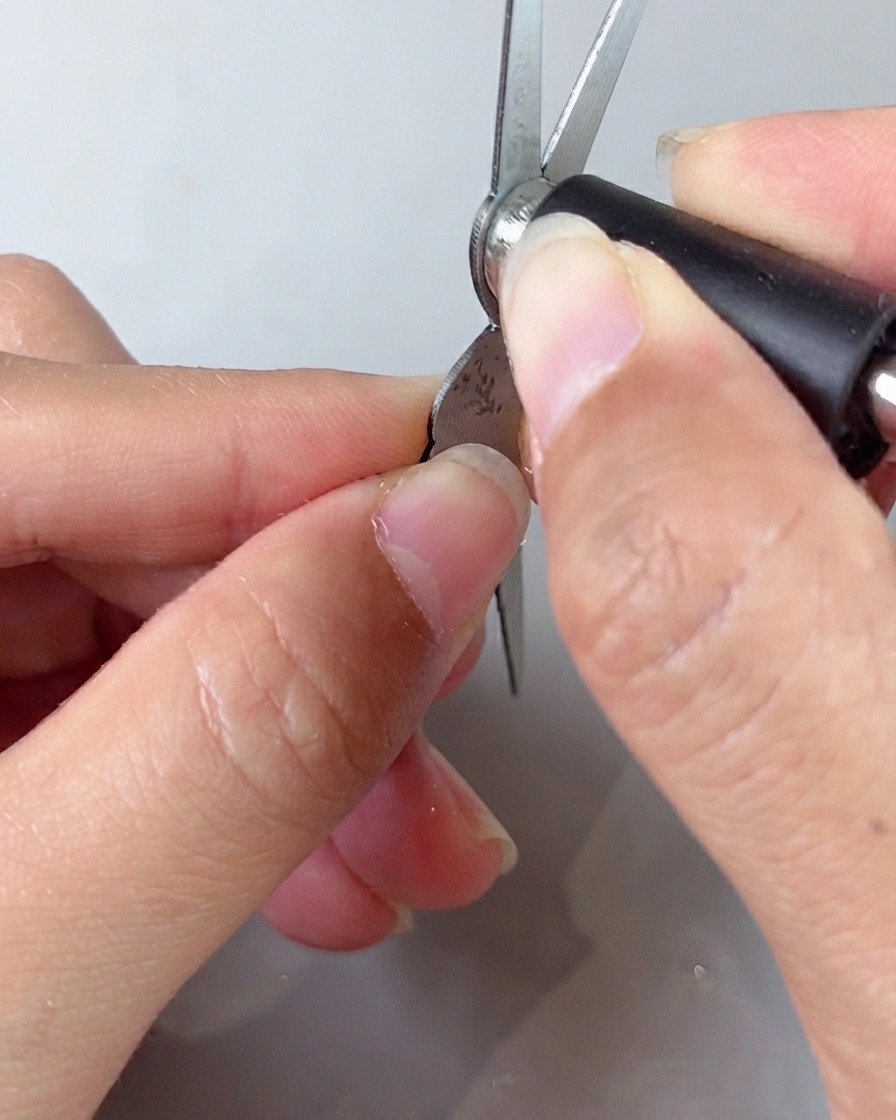
Using a specialized multi-pronged magnetic cat-eye tool held close to the fingertip, carefully adjust and refine the magnetic particles in the gel. Move the magnet gently to pull out a wide, bright light beam and create the signature cat-eye effect.
Tip: Keep the magnet steady and close to the surface without touching the wet gel to prevent smudging. - 5Apply top coat over cat-eye base
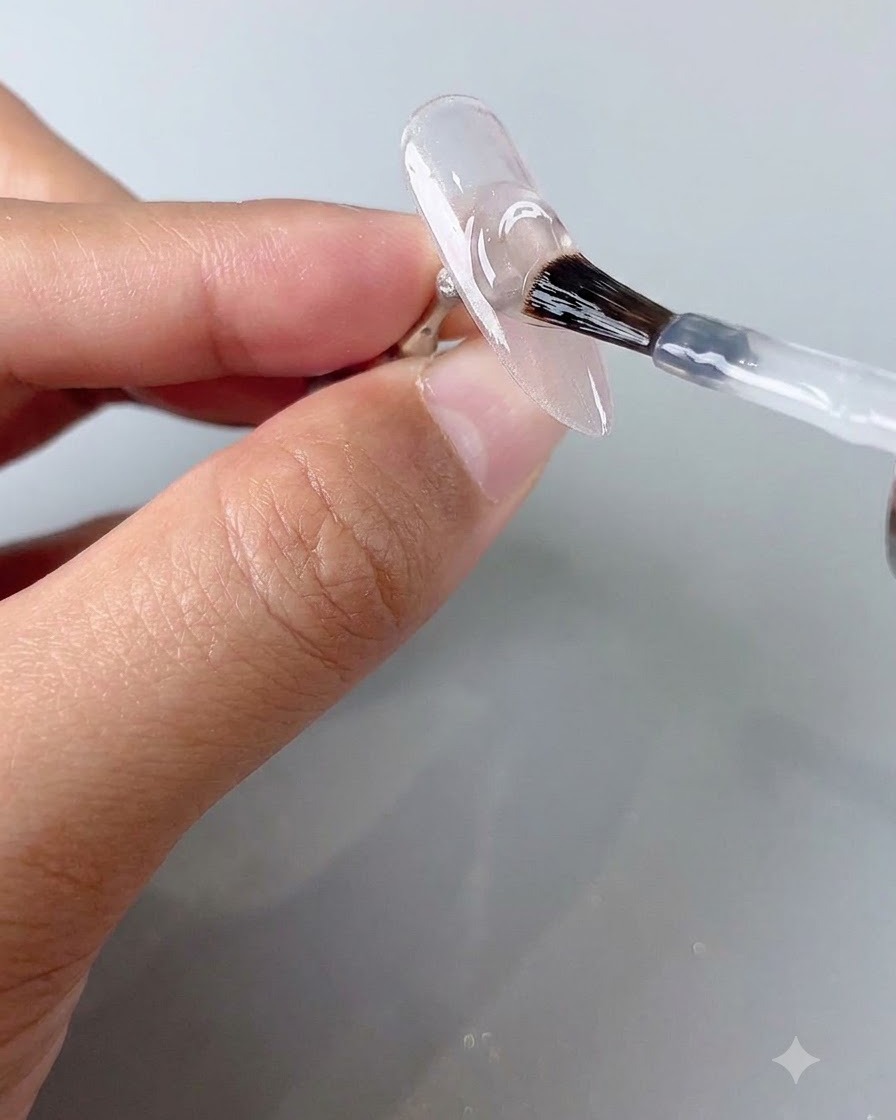
After curing the cat-eye gel base, apply a layer of no-wipe top coat gel evenly over the nail surface. This seals in the magnetic effect and provides a glossy protective layer before adding stickers and glitter powder.
Tip: Cap the free edge with top coat to prevent chipping and ensure long-lasting wear. - 6Apply French tip guide sticker
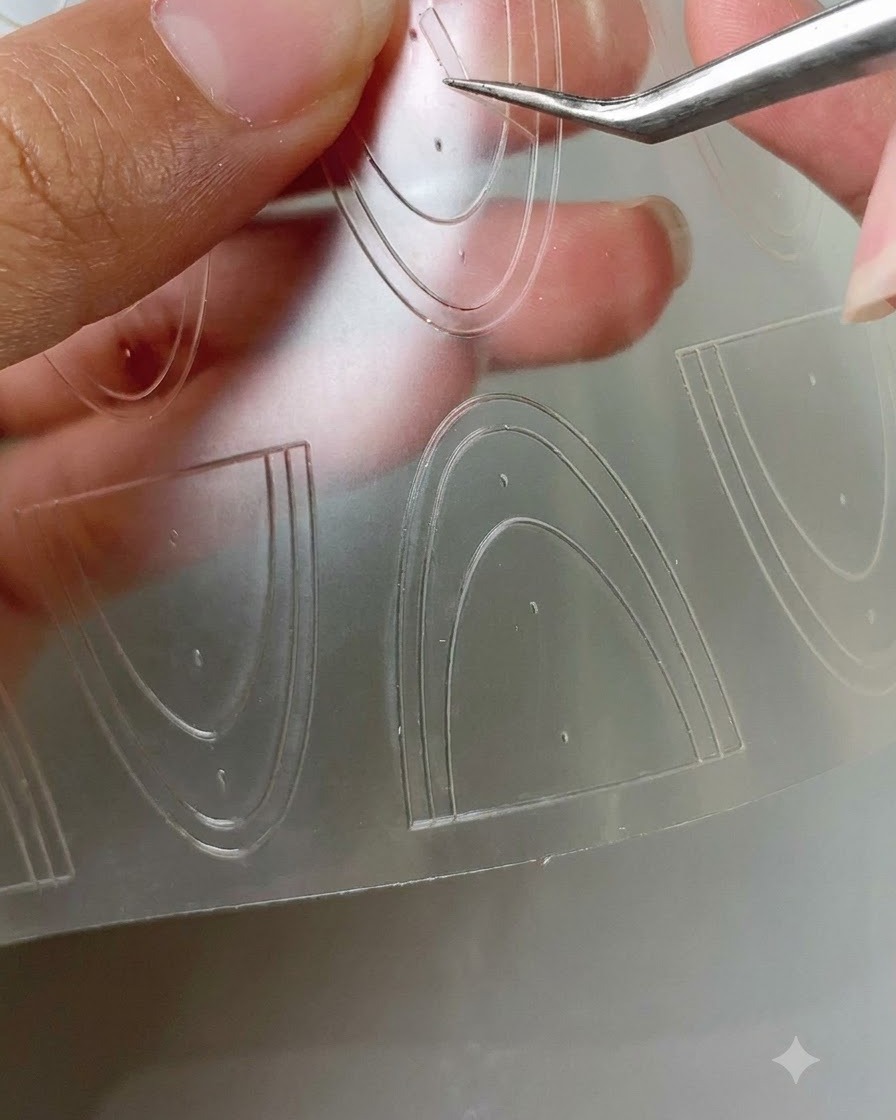
Using a pair of precision tweezers, pick up a curved French tip guide sticker from the sheet and place it accurately onto the upper portion of the nail. Smooth it down flat using a silicone nail pen to ensure clean lines for the French tip application.
Tip: Ensure the edges of the sticker are pressed down firmly so that glitter or glue does not bleed underneath. - 7Press and smooth the French sticker
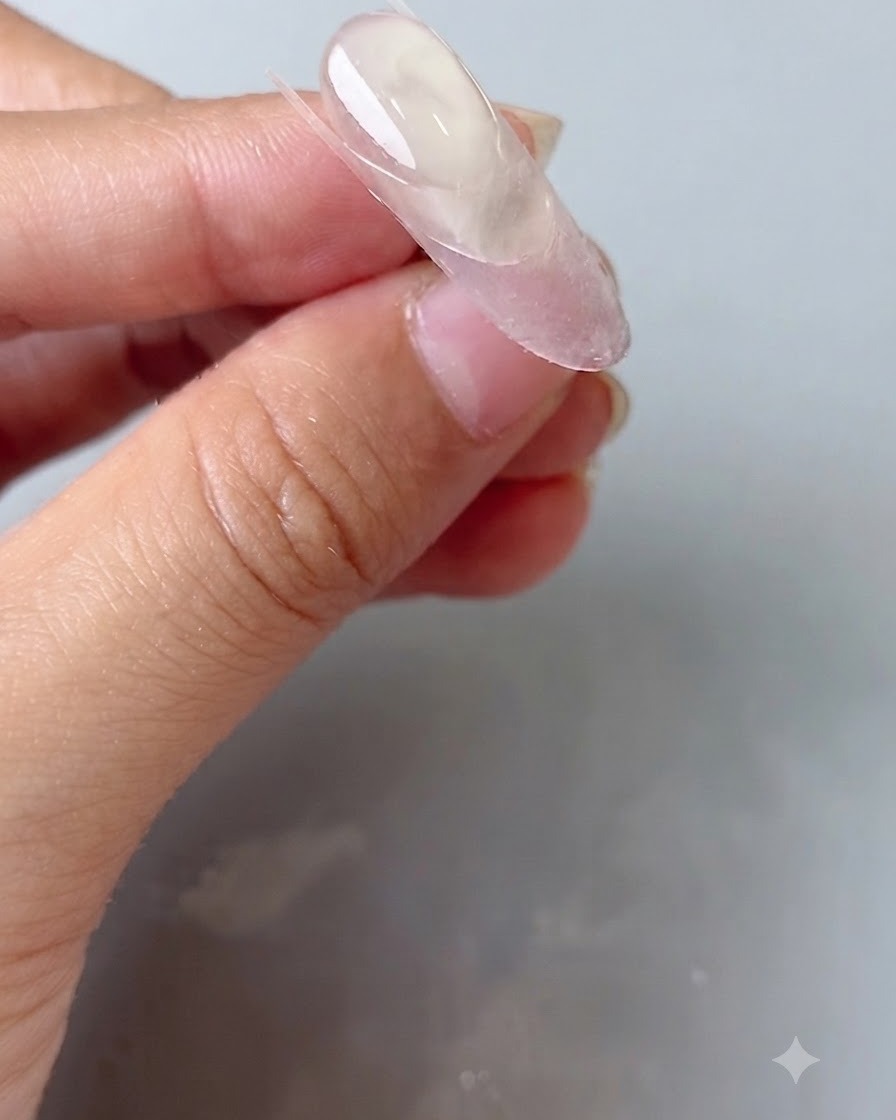
Using a silicone shaping pen, gently press and smooth the French guide sticker so that it adheres completely flat against the nail surface without any air bubbles or lifted edges. This ensures a clean and precise line when applying products around the tip area.
Tip: Make sure all edges of the sticker are firmly pressed down to prevent product from bleeding underneath. - 8Apply sticky diamond gel to the tip
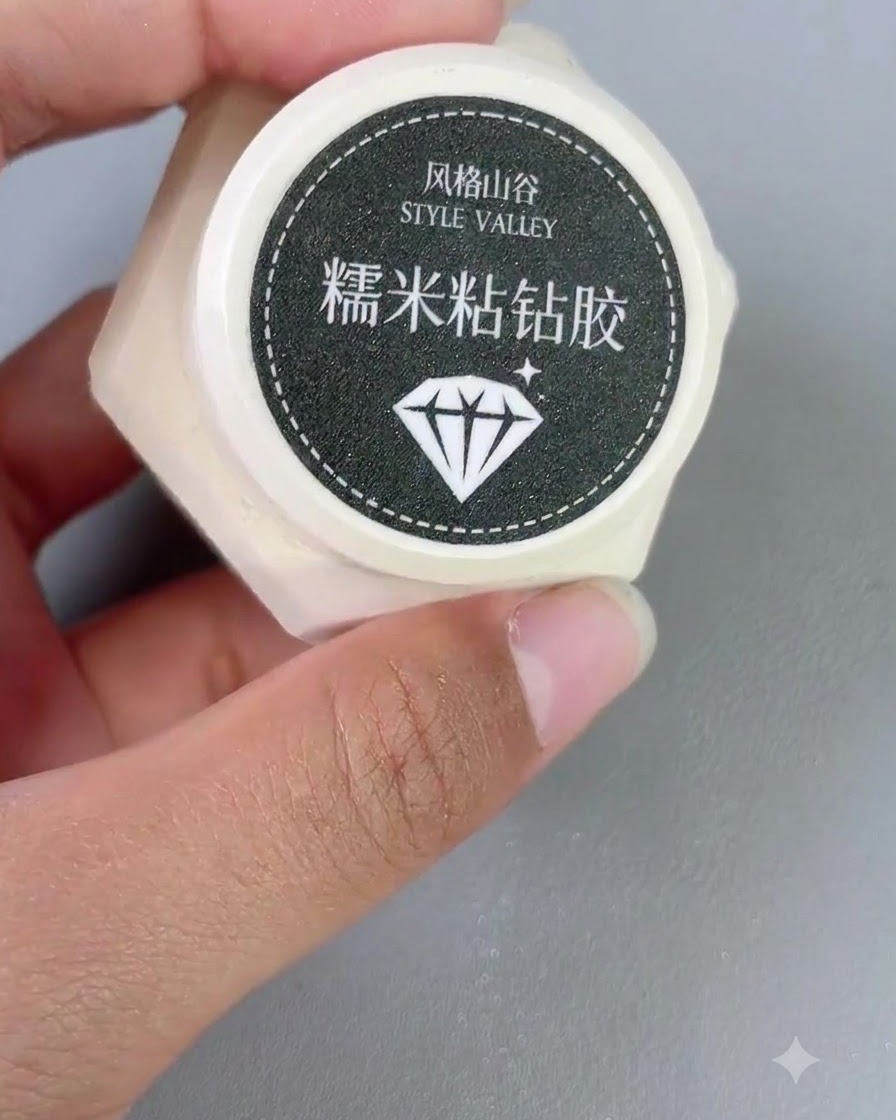
Using a fine nail art brush, apply an even layer of sticky diamond gel onto the exposed nail tip area above the guide sticker. Ensure the gel coats the entire tip section evenly to properly hold the sparkling powder.
Tip: Apply a moderate amount of sticky gel — too thick will cause overflow, and too thin will not hold enough powder. - 9Remove the French sticker guide
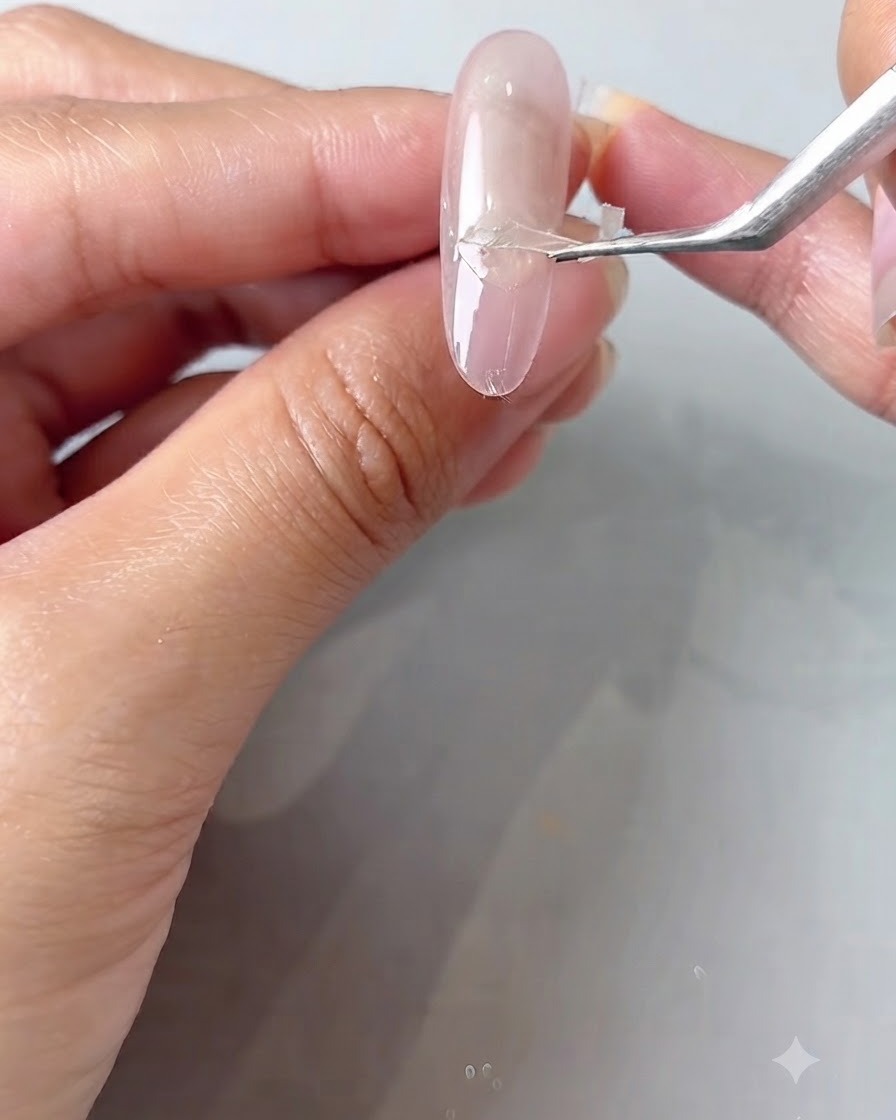
Carefully peel off the French guide sticker using a pair of tweezers while the sticky gel is still uncured. Lift it gently from one side to maintain a sharp and clean boundary line at the edge of the French tip.
Tip: Peel the sticker off slowly and at a low angle to avoid disturbing the wet gel boundary. - 10Apply high-transparent glitter powder
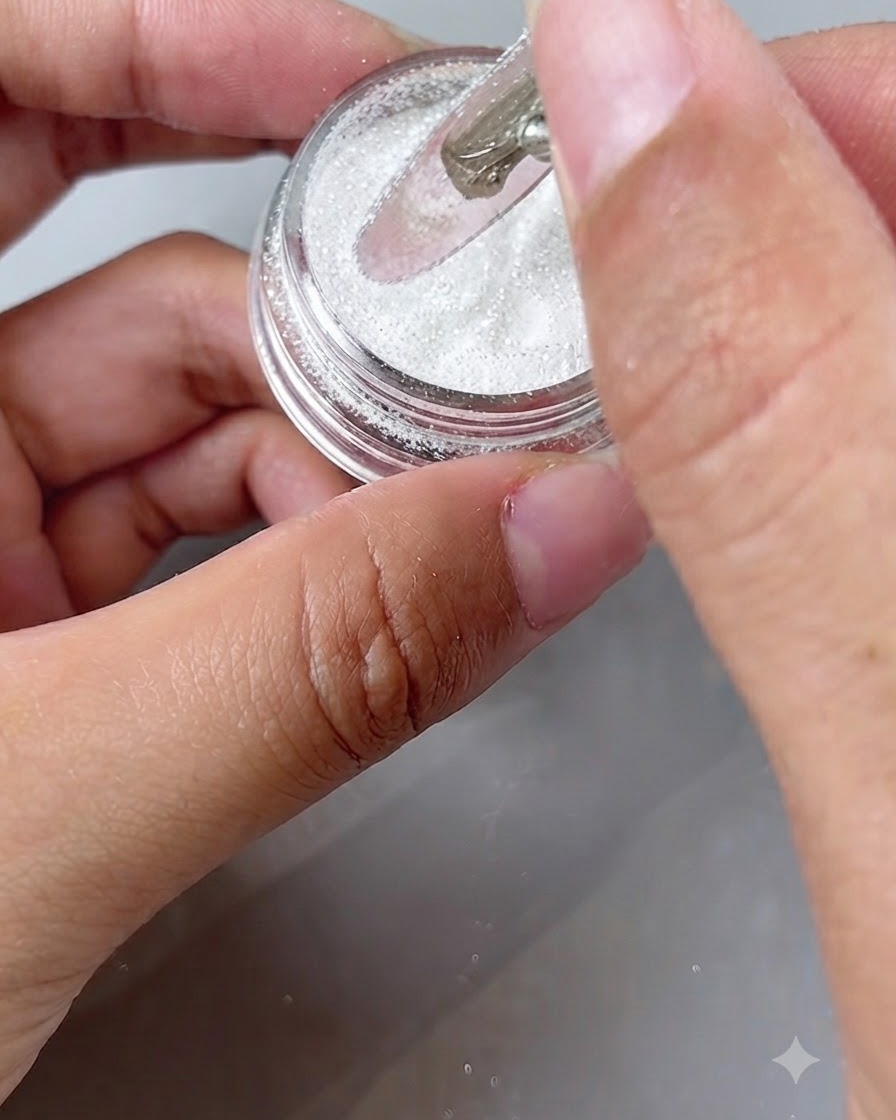
Using a flat nail tool or a small nail piece, gently dab and sprinkle high-transparent flashing powder over the wet sticky gel tip. Ensure the entire French tip area is fully coated and densely covered with the sparkling powder.
Tip: Dab gently rather than scraping to keep the glitter distribution even and thick. - 11Inspect the glitter coverage
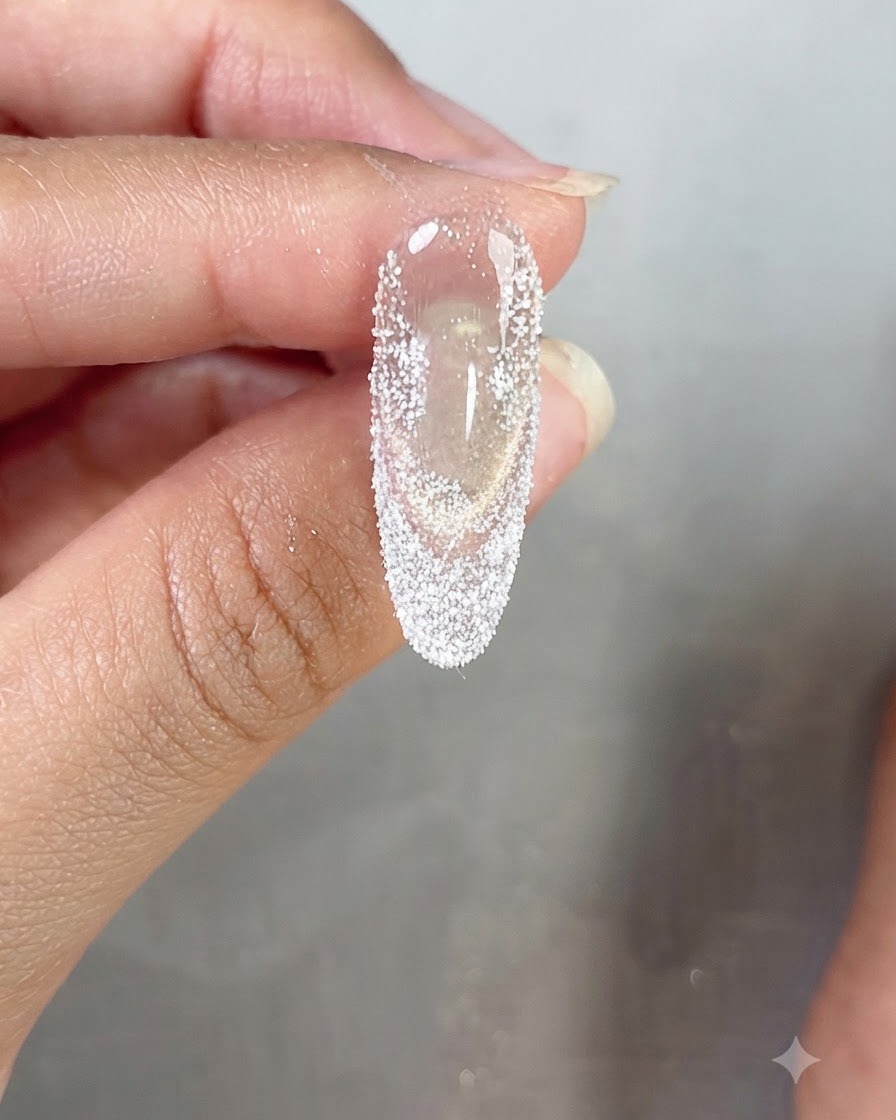
Carefully inspect the French tip to make sure it is completely and evenly covered with the sparkling glitter powder. Check for any bare spots or patchy areas and touch them up with a little extra powder if needed before curing.
Tip: Check under good lighting to ensure the glitter density looks uniform across the entire tip. - 12Brush away excess glitter powder
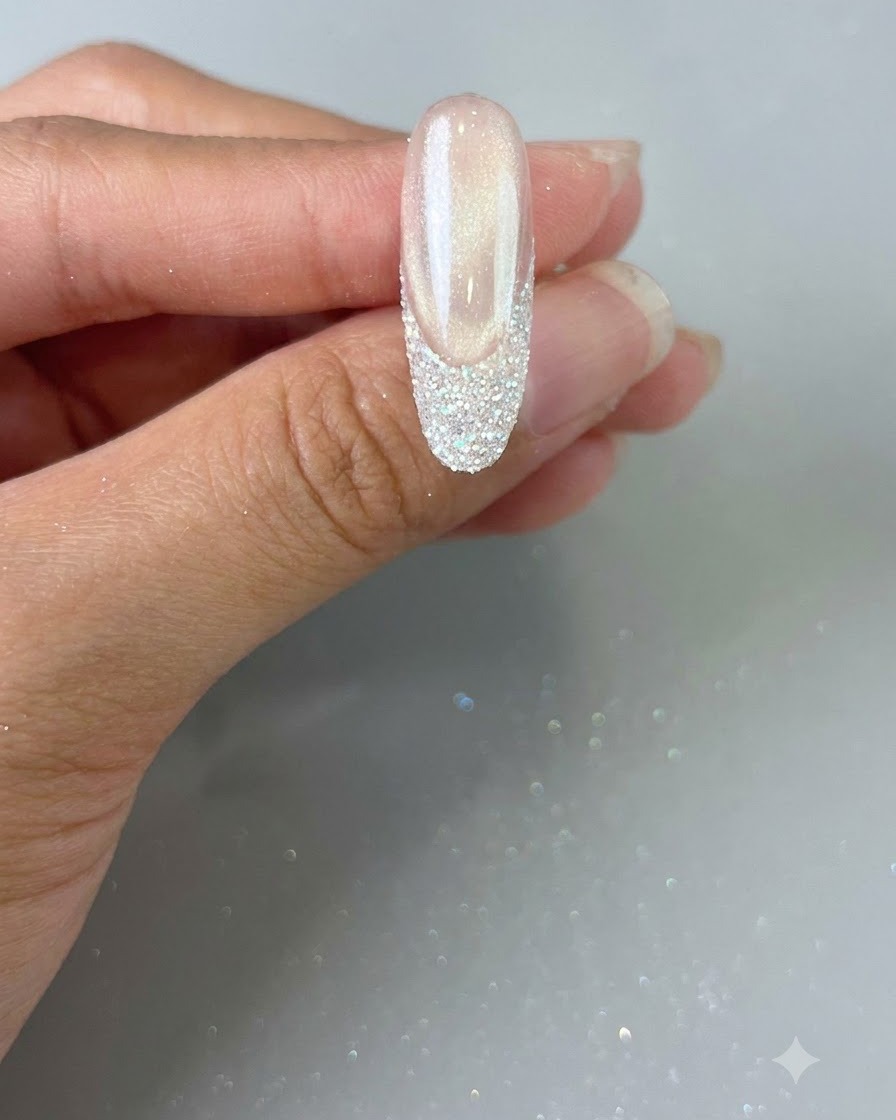
Using a soft dusting brush, gently sweep away excess loose glitter powder from the nail surface and surrounding skin before final curing. This keeps the nail bed clean and ensures only the French tip retains the glitter design.
Tip: Brush lightly in an outward motion away from the tip to avoid disturbing the glitter pattern.