Polarized Pink Fog Star Nail Art — Summer Milky Jelly Tutorial
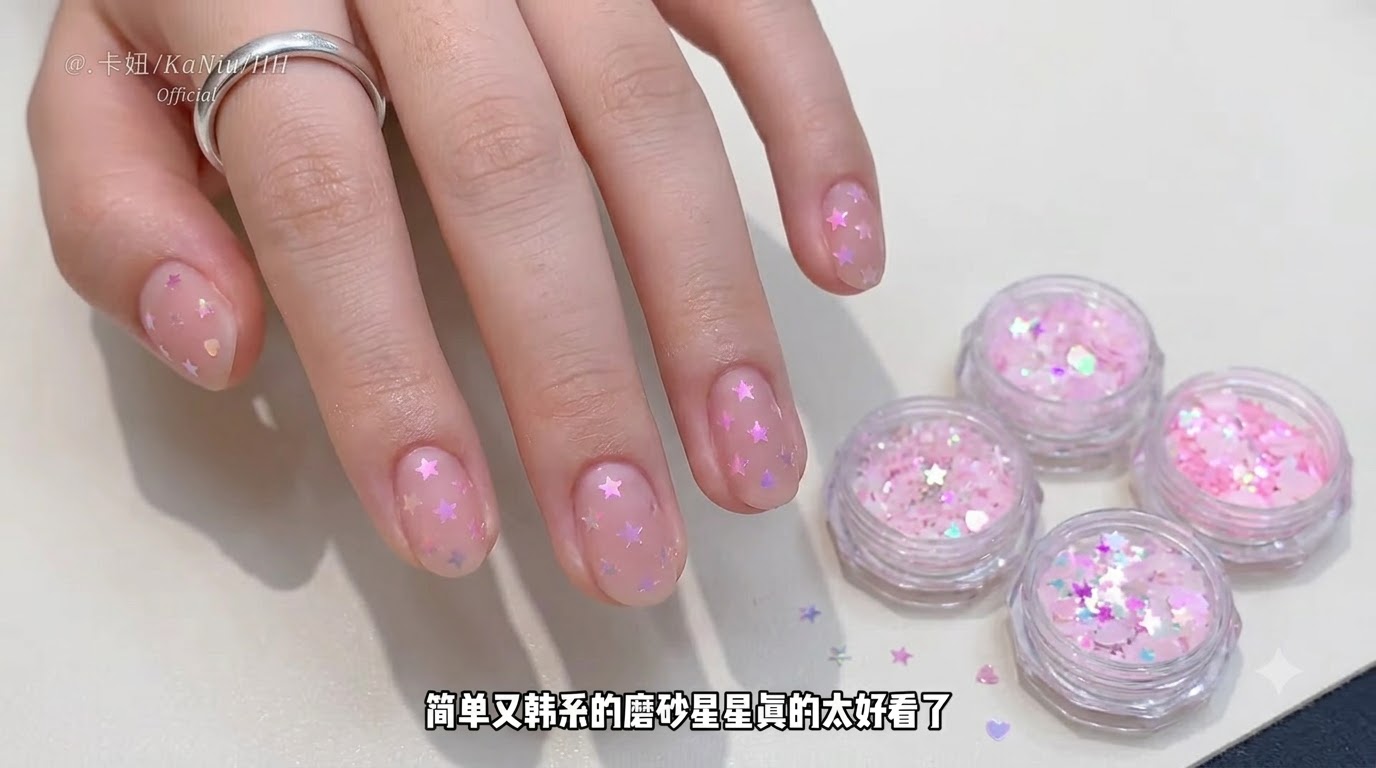
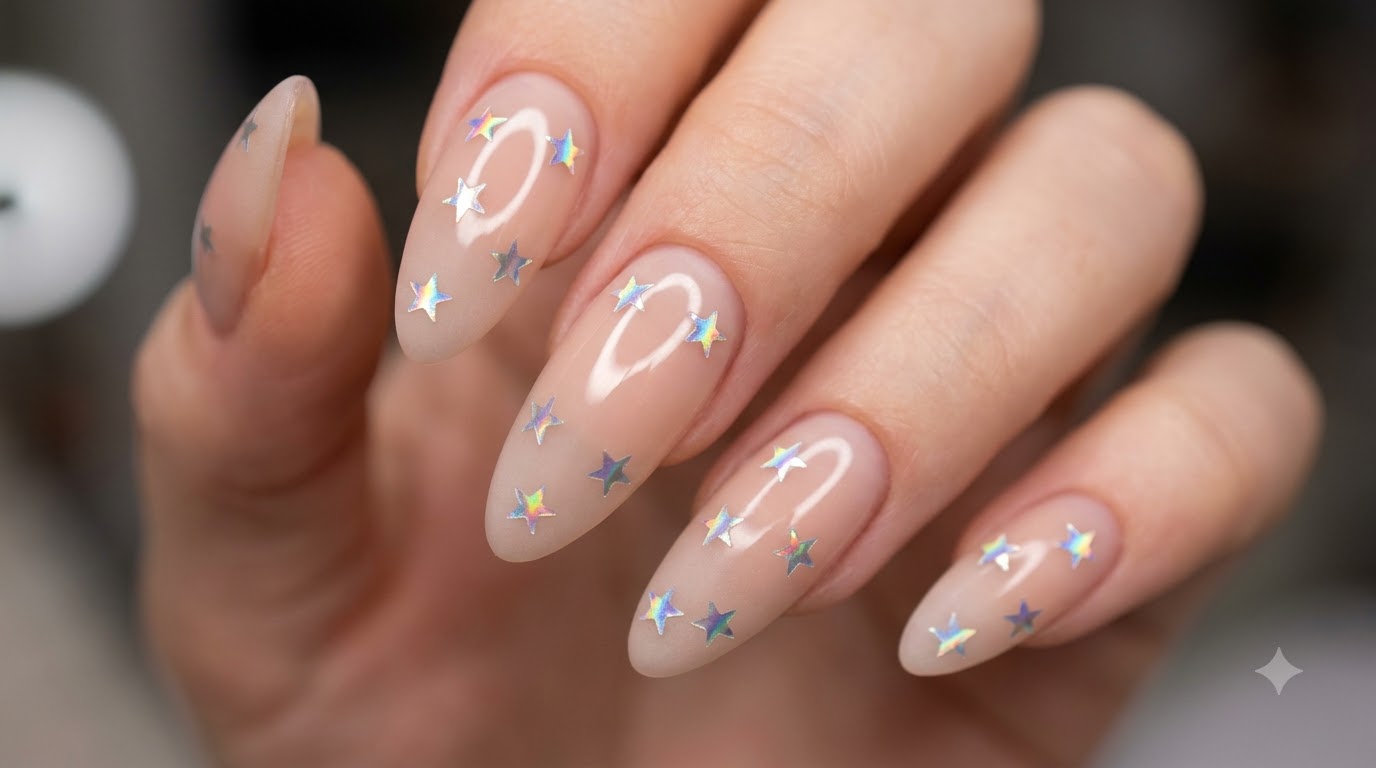
Create dreamy summer nails featuring a milky nude jelly base accented with iridescent holographic star sequins and a soft matte velvety finish.
Milky jelly textures combined with holographic elements create a uniquely ethereal style that captures the light with every movement. This tutorial walks you through applying a soft honey peach pink base and layering cloud-like polarized stars sealed under a chic matte top coat, making it an ideal choice for a sophisticated summer manicure.
Steps
- 1Select the nail polish colors
Displaying the color palette swatch stick showing nude and pink gel polish options against a colorful backdrop to choose your desired shades.
Tip: Check your colors against natural lighting to ensure the nude and pink tones match your skin undertones. - 2Select the base color polish
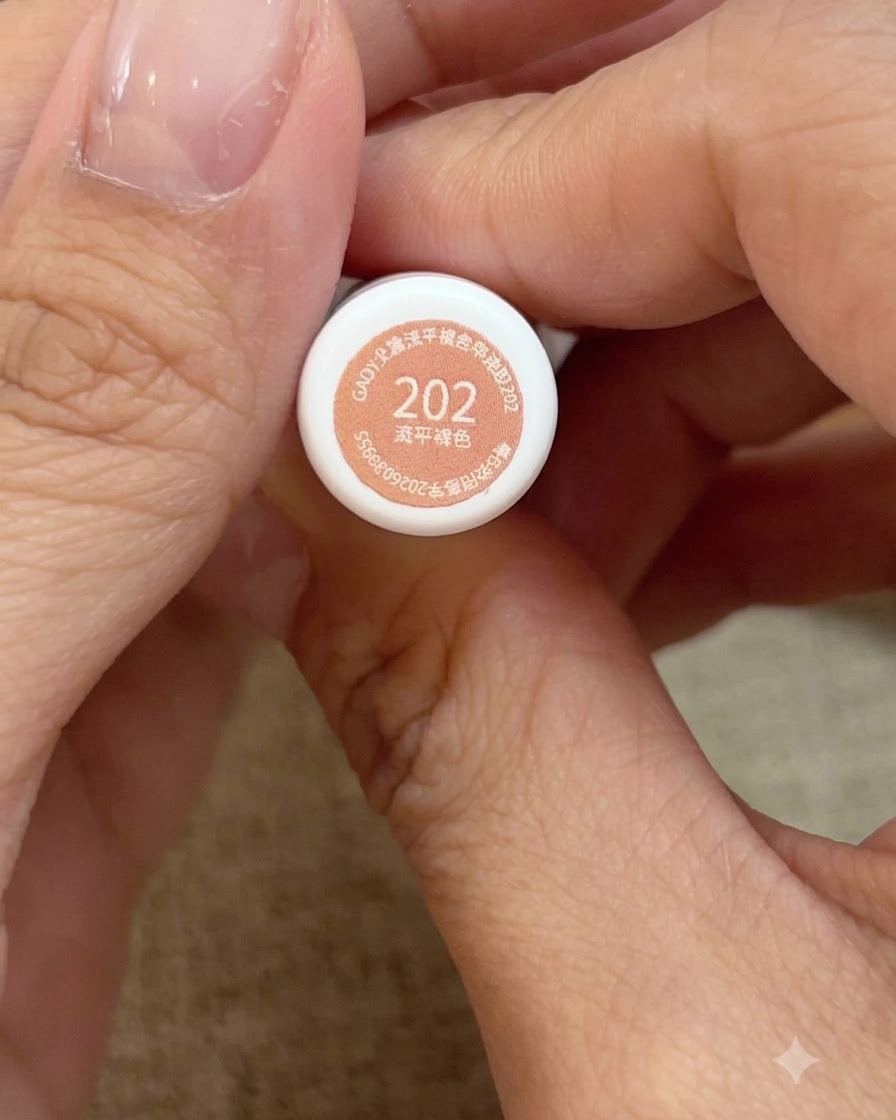
Select bottle number 202 honey peach pink nude gel polish, which provides a milky and moisturizing look for the base of the nail art. Uncap the bottle and prepare the brush applicator to apply the first color layer.
Tip: Check the bottle number carefully to ensure you are using the correct shade specified in the tutorial. - 3Apply first layer of nude pink gel polish
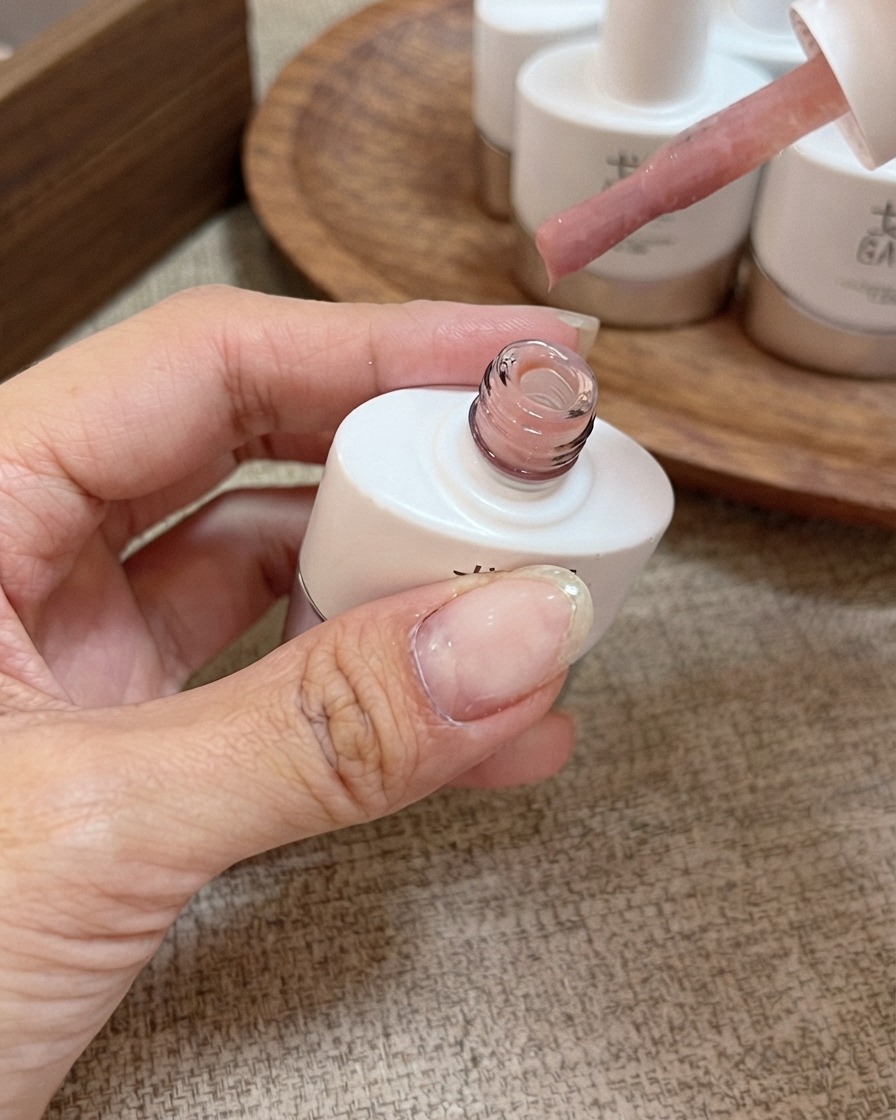
Take color number 202 honey peach pink and apply the first layer onto the natural nail plate. Two layers are applied in total without creating a harsh cuticle border line effect to maintain a milky and moisturizing appearance.
Tip: Keep the brush strokes smooth and avoid overloading product near the cuticle line to achieve a natural gradient look. - 4Apply uncured base gel layer
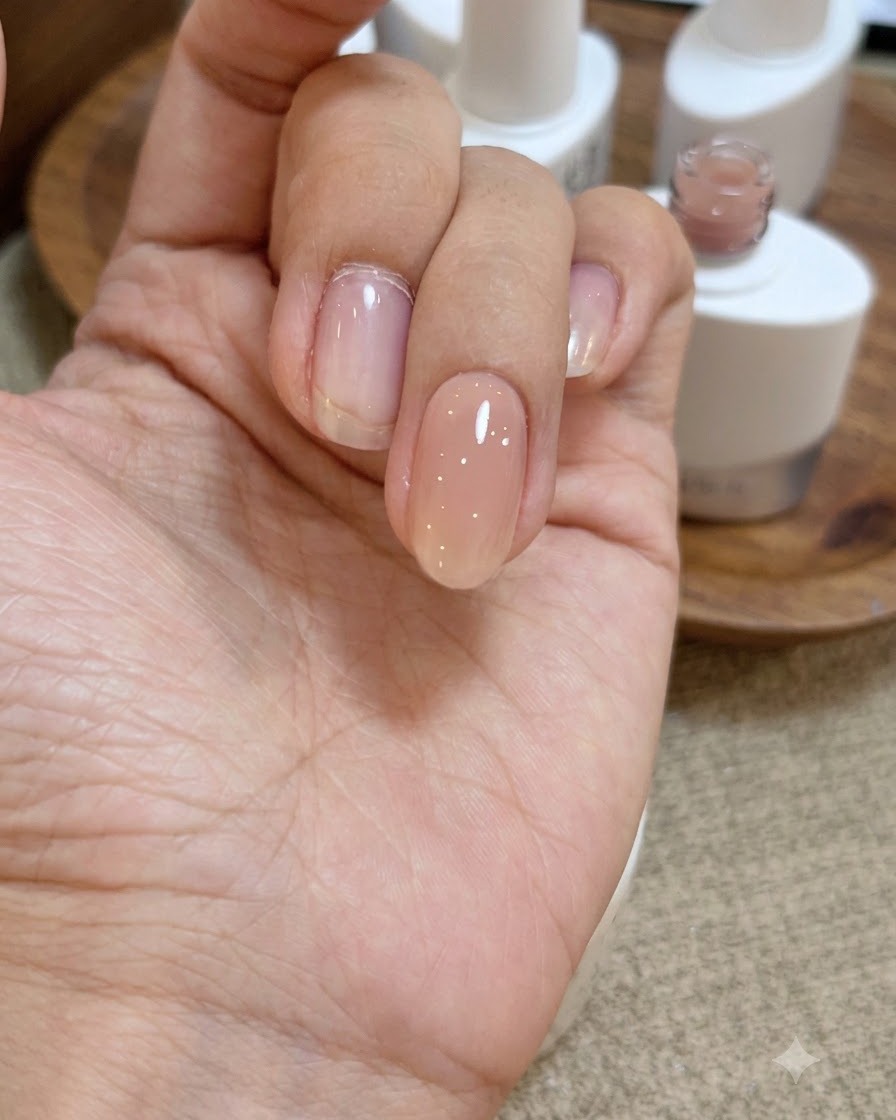
Apply a layer of clear base gel onto the nail surface without curing it under the UV or LED lamp. Leaving this layer wet allows you to place embellishments directly onto the surface so they adhere securely before the final cure.
Tip: Do not cure this base gel layer yet, as it acts as the adhesive bed for your star decorations. - 5Place polarized star sequins
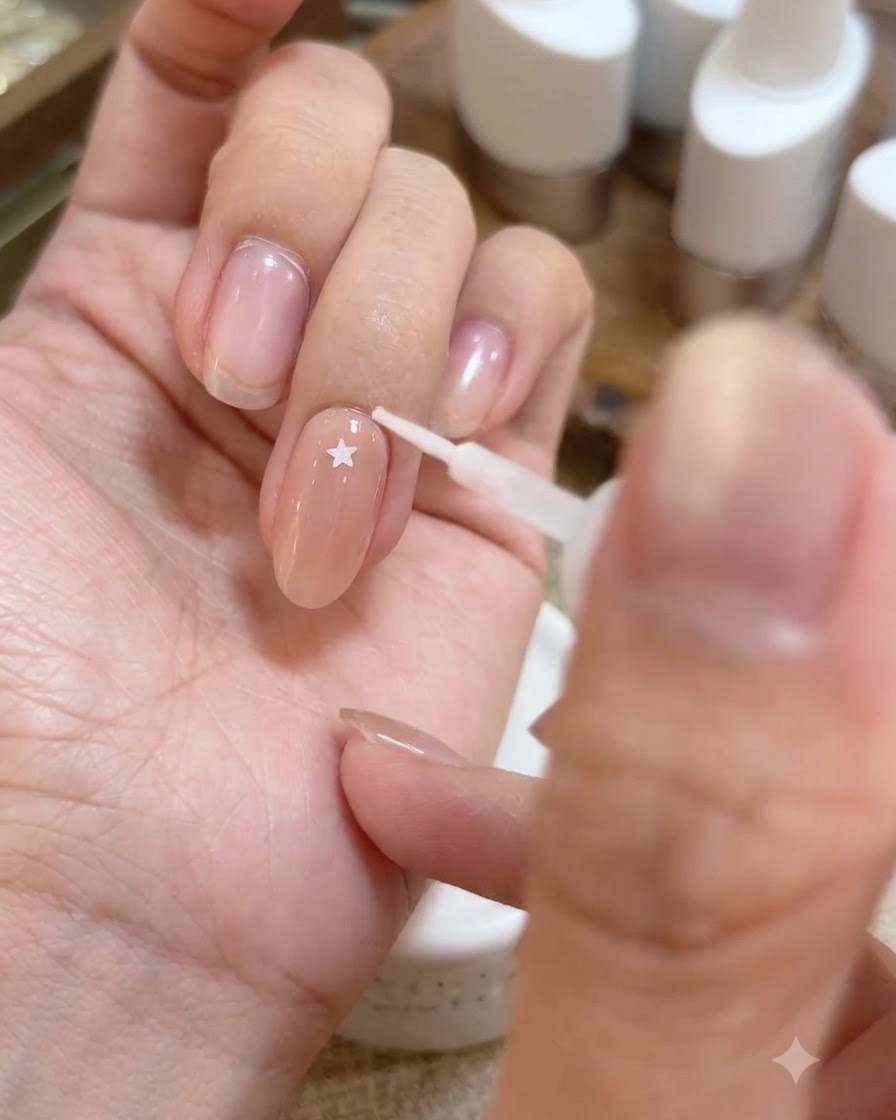
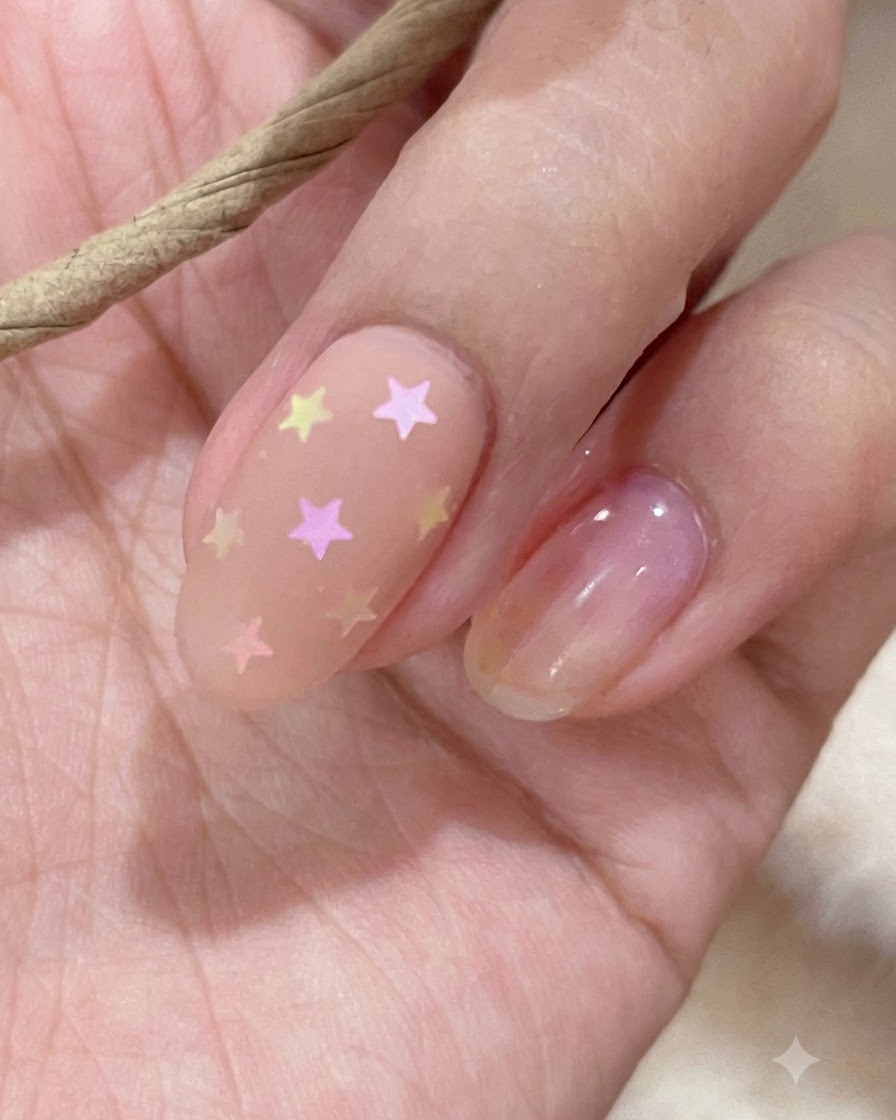
Using a fine tool or stick, pick up and carefully arrange polarized holographic star sequins onto the uncured base gel layer. These cloud-like polarized stars create a special effect that looks unique after applying a matte finish.
Tip: Press the stars gently into the wet base gel so they lie flat and wont lift up under subsequent layers. - 6Apply matte top coat
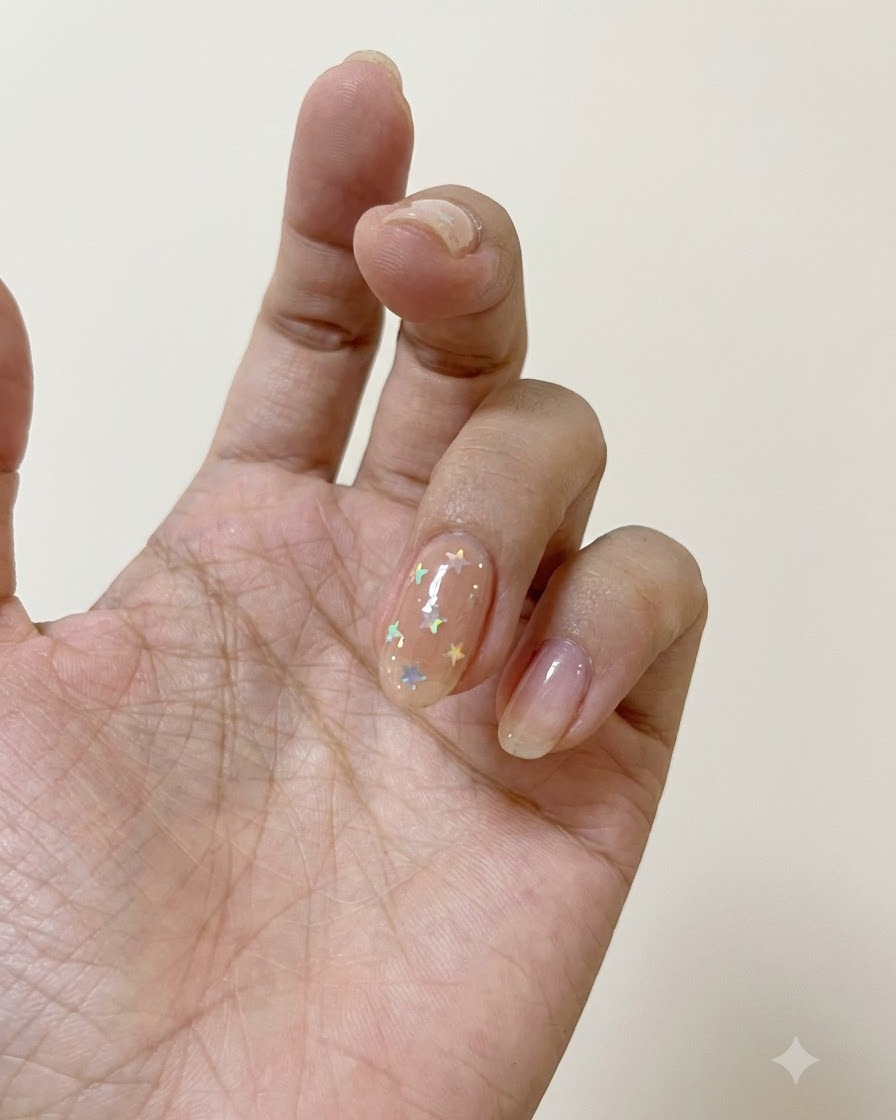
Apply a final coat of matte top coat evenly over the entire nail surface to seal in the design and create the desired textured finish. Cure the top coat under a UV or LED lamp to complete the process.
Tip: Ensure full coverage with the matte top coat to give the polarized stars their unique appearance.