Matte Pink Star Glitter Nail Art — Korean Style Tutorial
Create trendy Korean-style matte pink nails using self-curved holographic star and heart glitter for a seamless, lifted-edge-free finish.
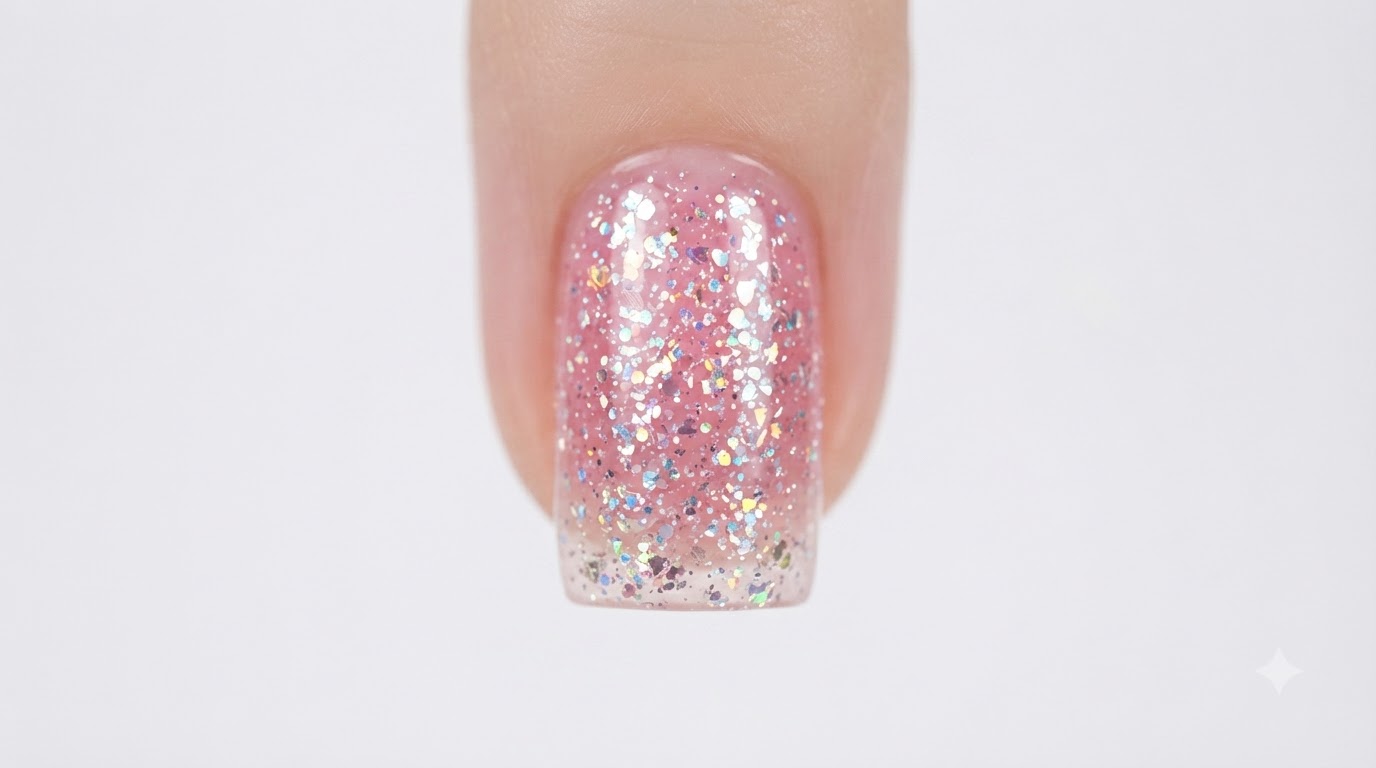
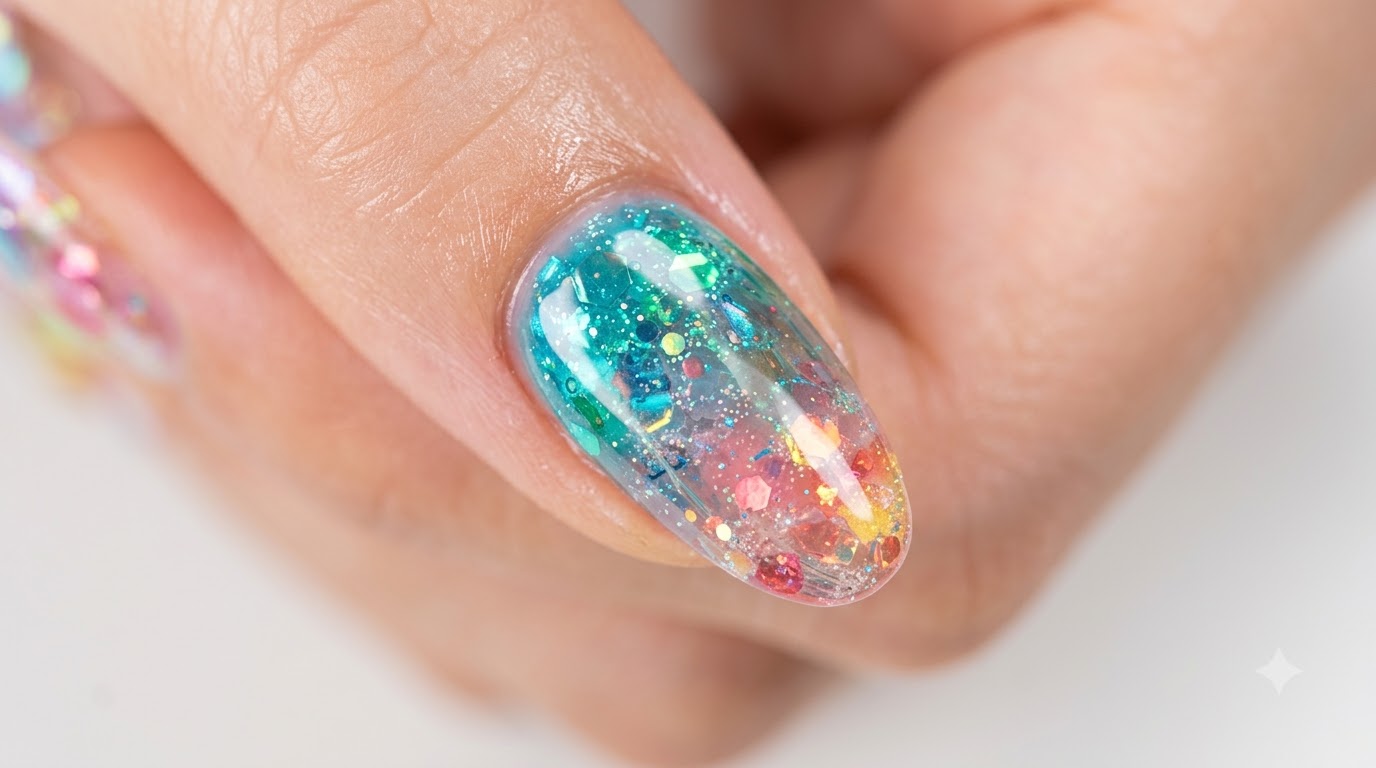
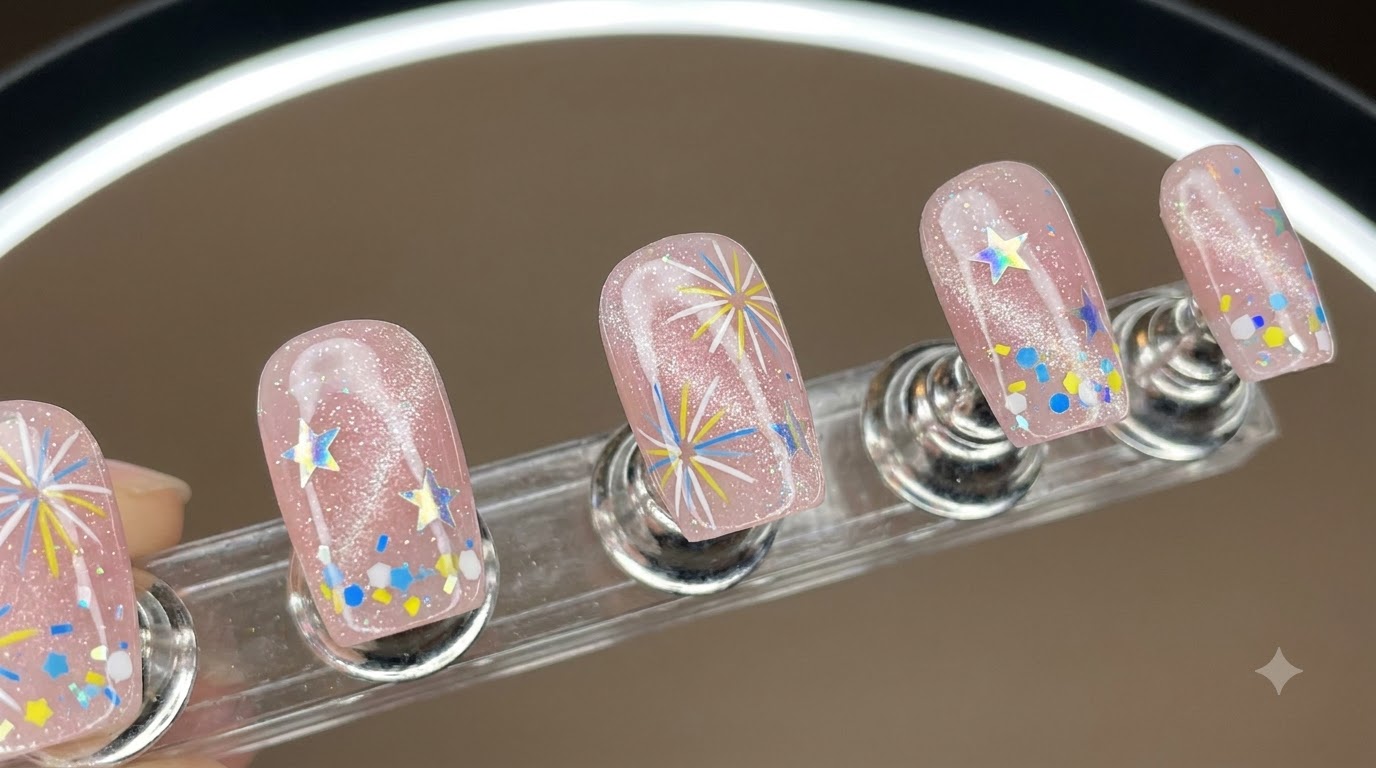
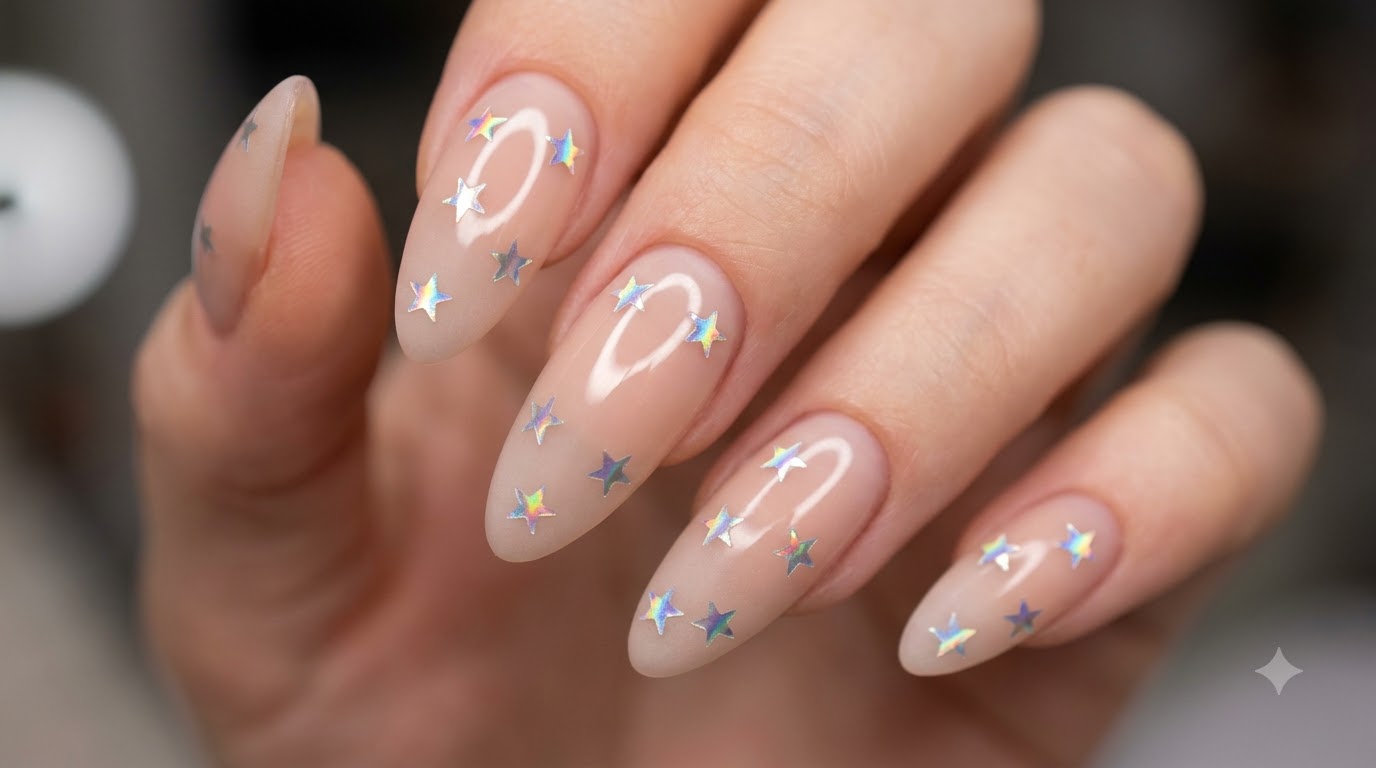
Polarized matte star glitter is currently a massive trend in nail art. This look pairs a gorgeous nude base coat with self-curved holographic glitter pieces shaped like stars, hearts, dots, and butterflies, finished off with a velvety matte top coat for an effortless chic style.
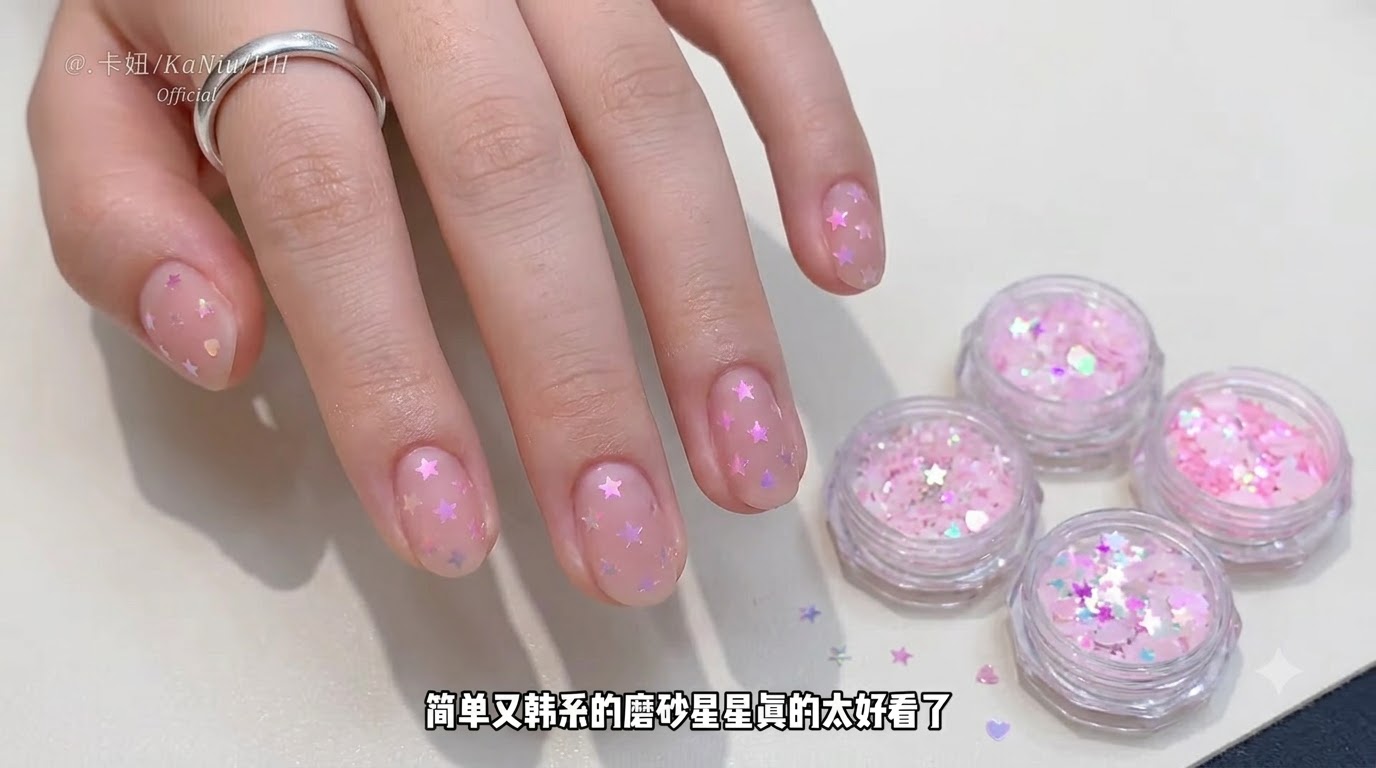
Steps
- 1Showcase Holographic Star and Heart Glitter Materials
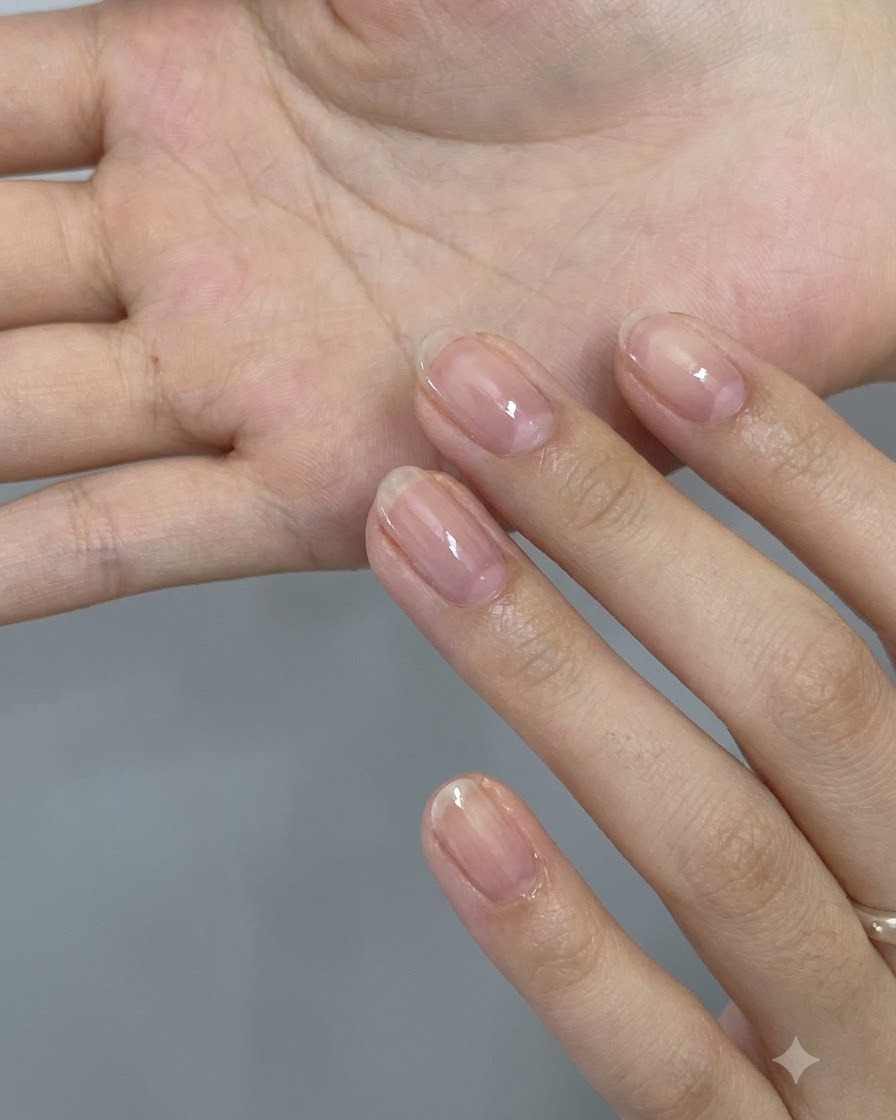
Display the holographic pink star, heart, dot, and butterfly shaped glitter pieces on the palm of your hand to showcase the decorative materials that will be used for the manicure design.
Tip: Having your glitter options laid out and visible makes it much easier to select shapes during the placement stage. - 2Apply First Thin Coat of Nude Base Color
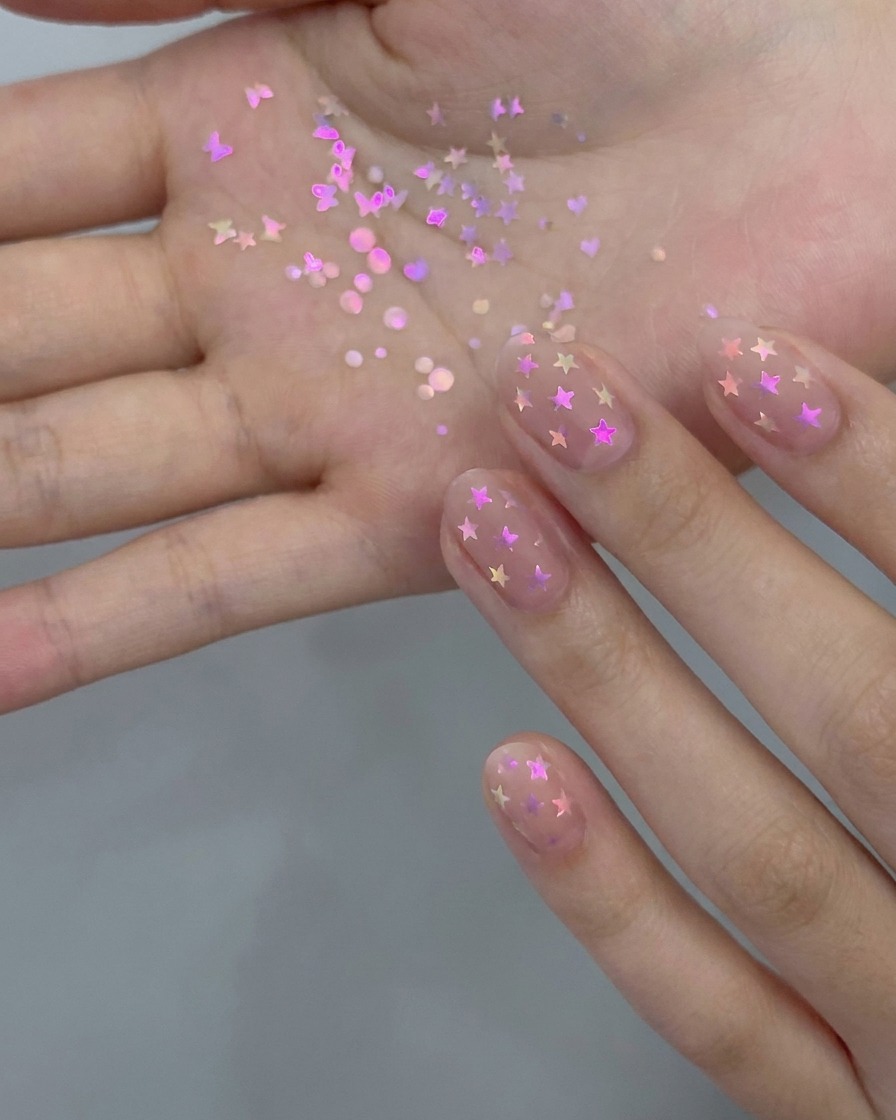
Apply a good-looking nude base color polish thinly and evenly onto the nail plate using a nail brush, covering the entire surface smoothly.
Tip: Applying thin coats prevents pooling around the cuticles and ensures a streak-free, even finish. - 3Apply Second Thin Coat of Nude Base Color
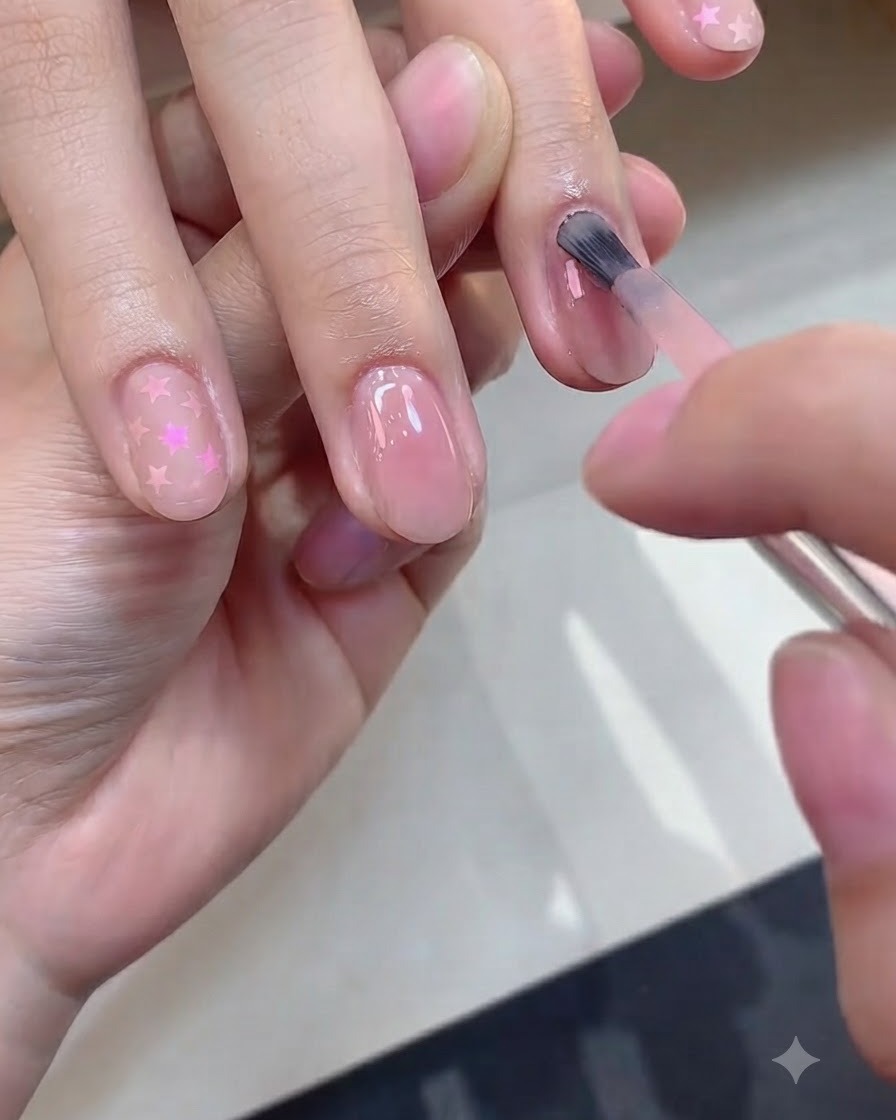
Apply a second thin coat of the nude base color to build up the opacity and create a rich, uniform background for the glitter art.
Tip: Two thin coats provide better durability and color depth than one thick coat. - 4Prepare Self-Curved Glitter Jars
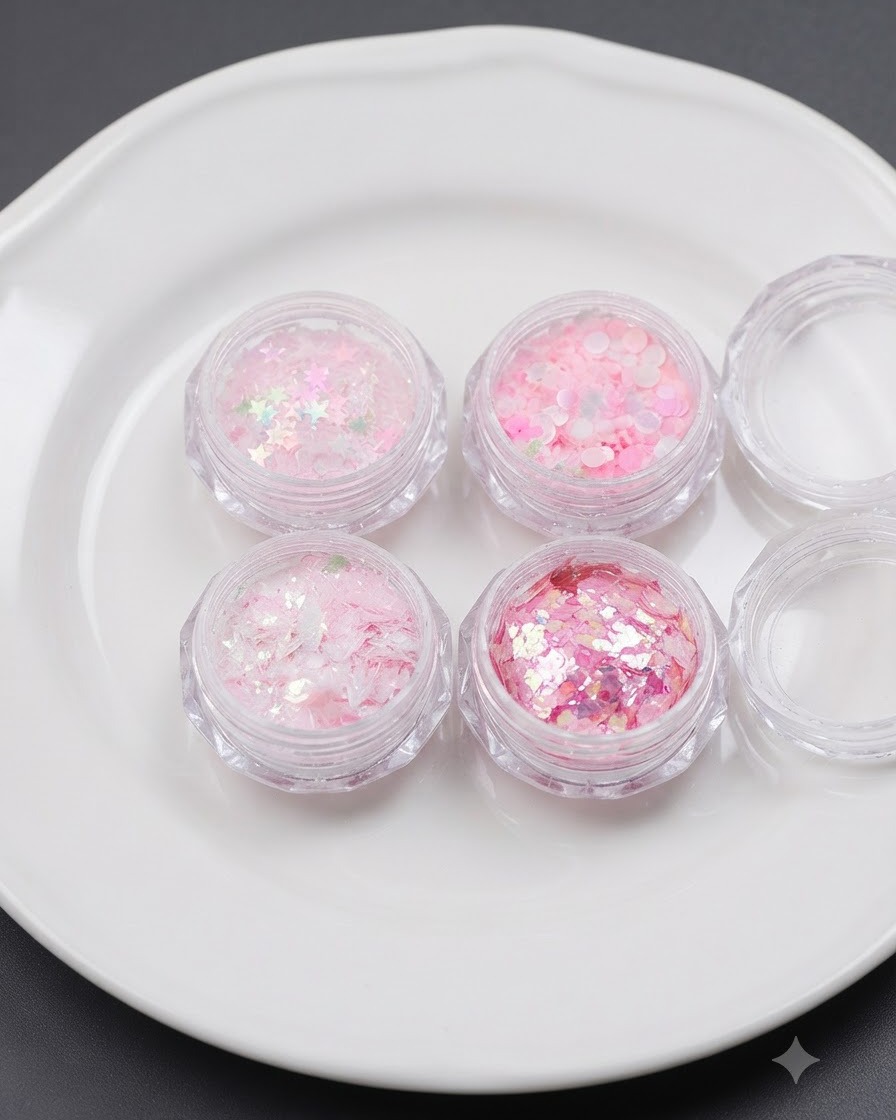
Organize and display four small jars containing self-curved star, heart, dot, and butterfly shaped glitters neatly on a white plate for easy access during the design process.
Tip: Self-curved glitters conform better to the natural curve of the nail surface, preventing edge lifting. - 5Apply Clear Base Gel to Nail Surface
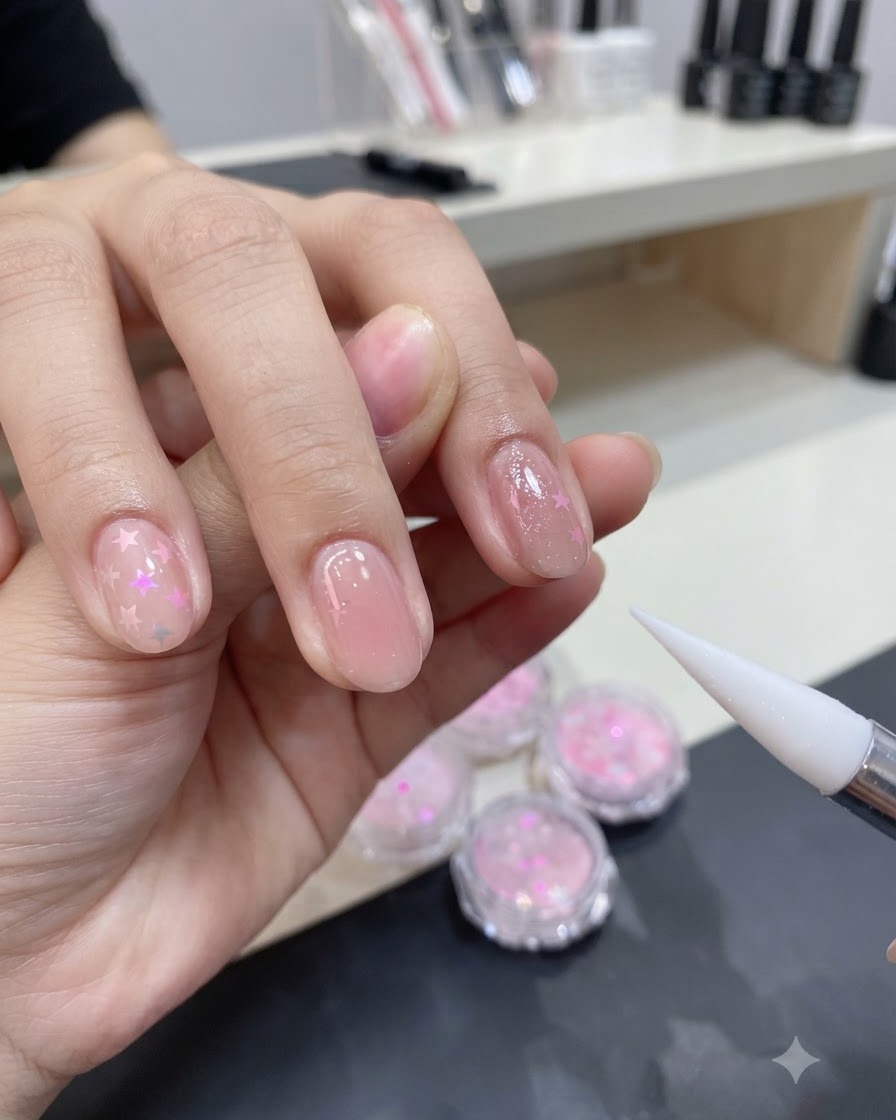
Apply a layer of clear base gel or rhinestone glue onto the nail surface using a detail brush to create an adhesive layer for placing the decorations.
Tip: Apply just enough gel to anchor the pieces without flooding the surrounding skin. - 6Place Star Glitter Pieces
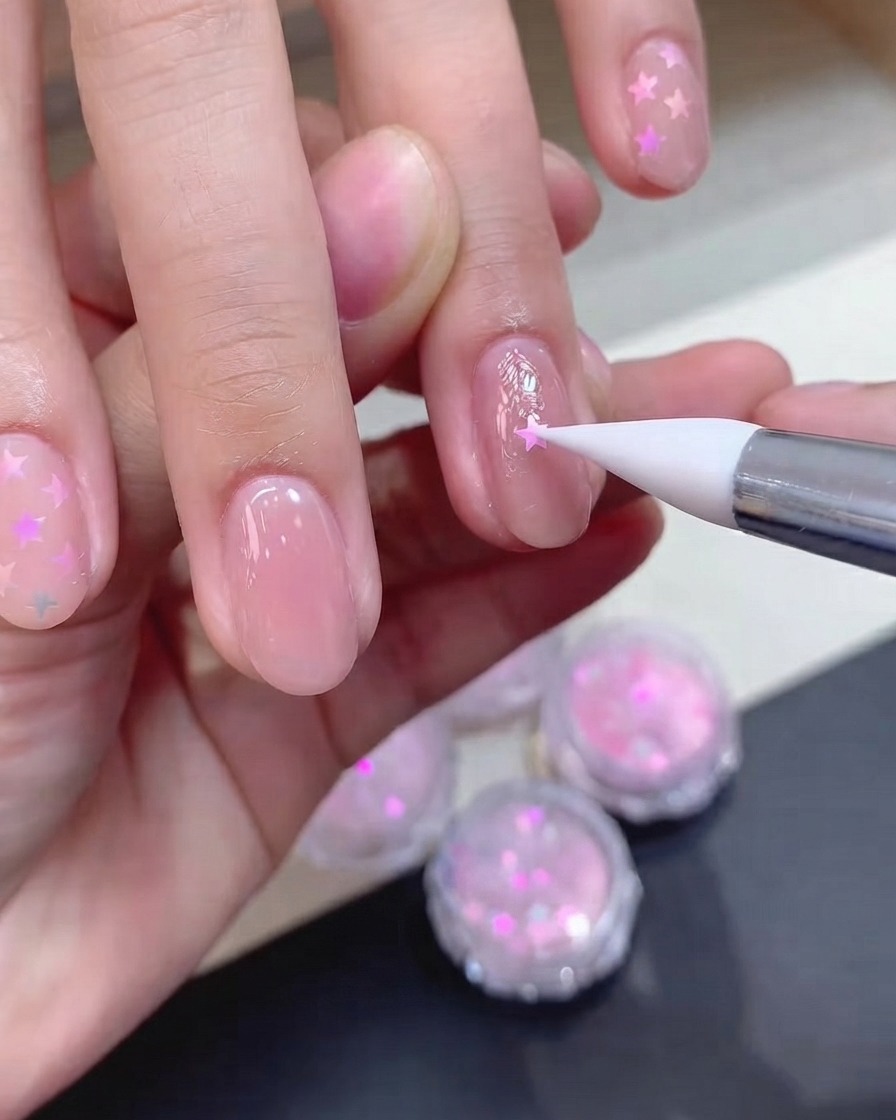
Pick up and place individual holographic pink star glitter pieces onto the wet gel surface using a silicone tool, pressing them gently so they adhere securely.
Tip: Since the glitter is self-curved, pressing it into the wet gel allows it to sit flush against the nail without edge lifting. - 7Check glitter flatness
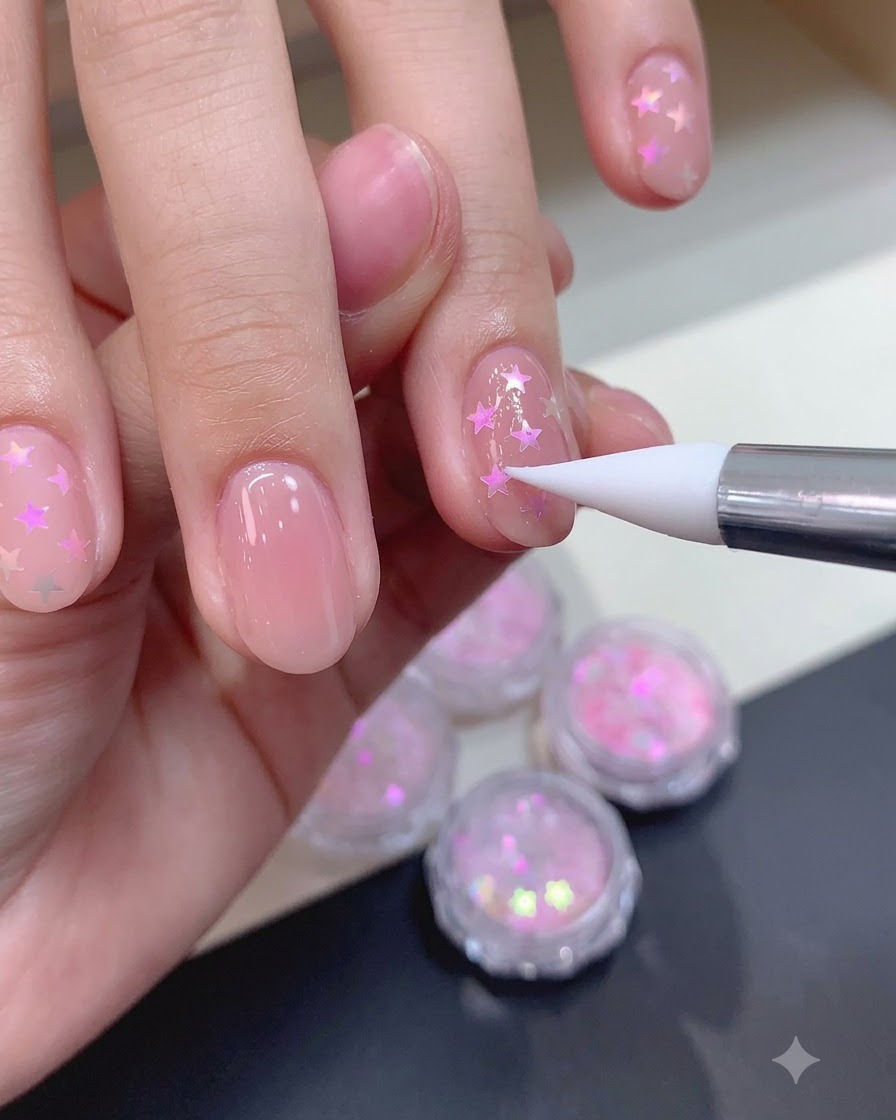
Carefully inspect the nail surface using a silicone tool to gently press down and ensure the curved star glitter pieces lie completely flat against the nail, preventing any edge-lifting issues before top coating.
Tip: Gently pressing the edges ensures secure adhesion and a smooth finish under the top coat. - 8Apply matte top coat
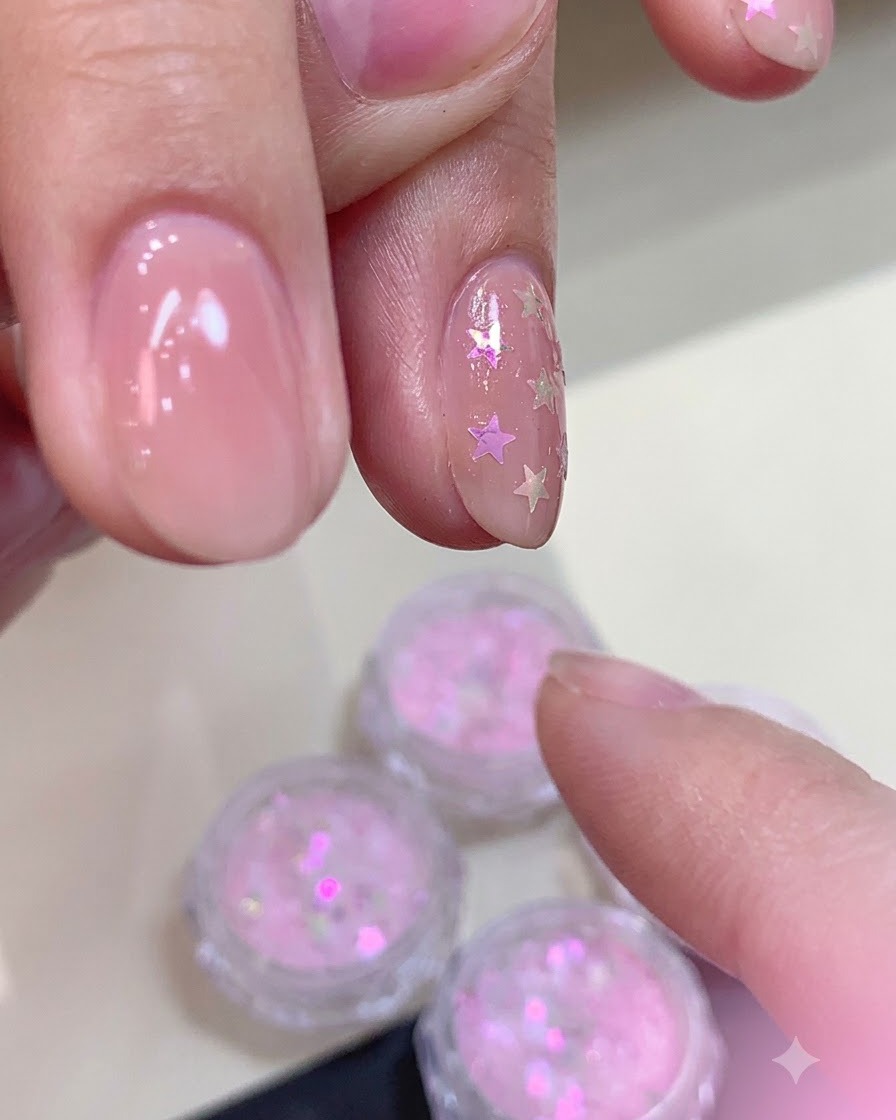
Apply a thick layer of matte top coat over the entire nail surface, allowing it to self-level evenly. This step encapsulates the star glitter pieces securely while delivering a smooth, trendy Korean-style matte finish.
Tip: Allow the thick layer of matte top coat to self-level for a few seconds before curing to eliminate any brush strokes or uneven texture.