Heart Light-Wave Glaze Nail Art — Beginner Step-by-Step Tutorial
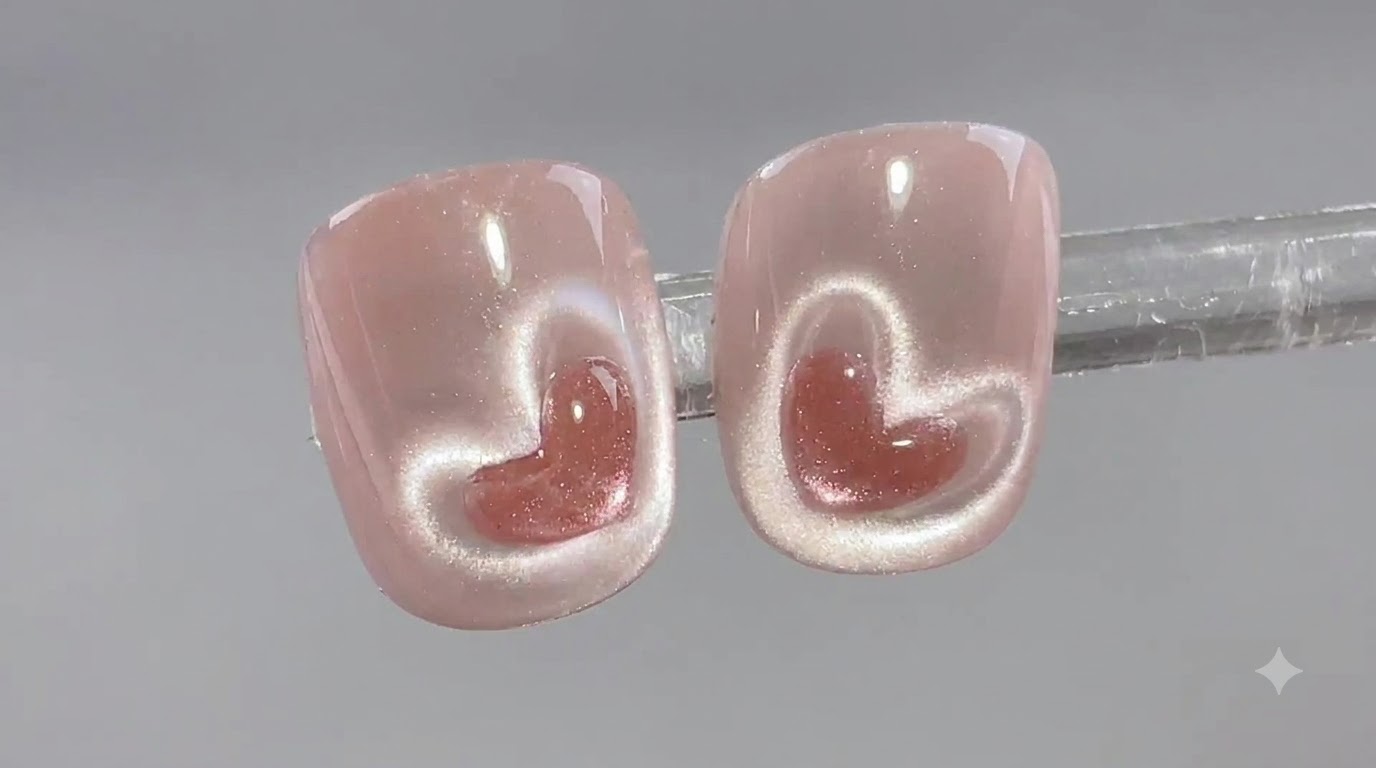
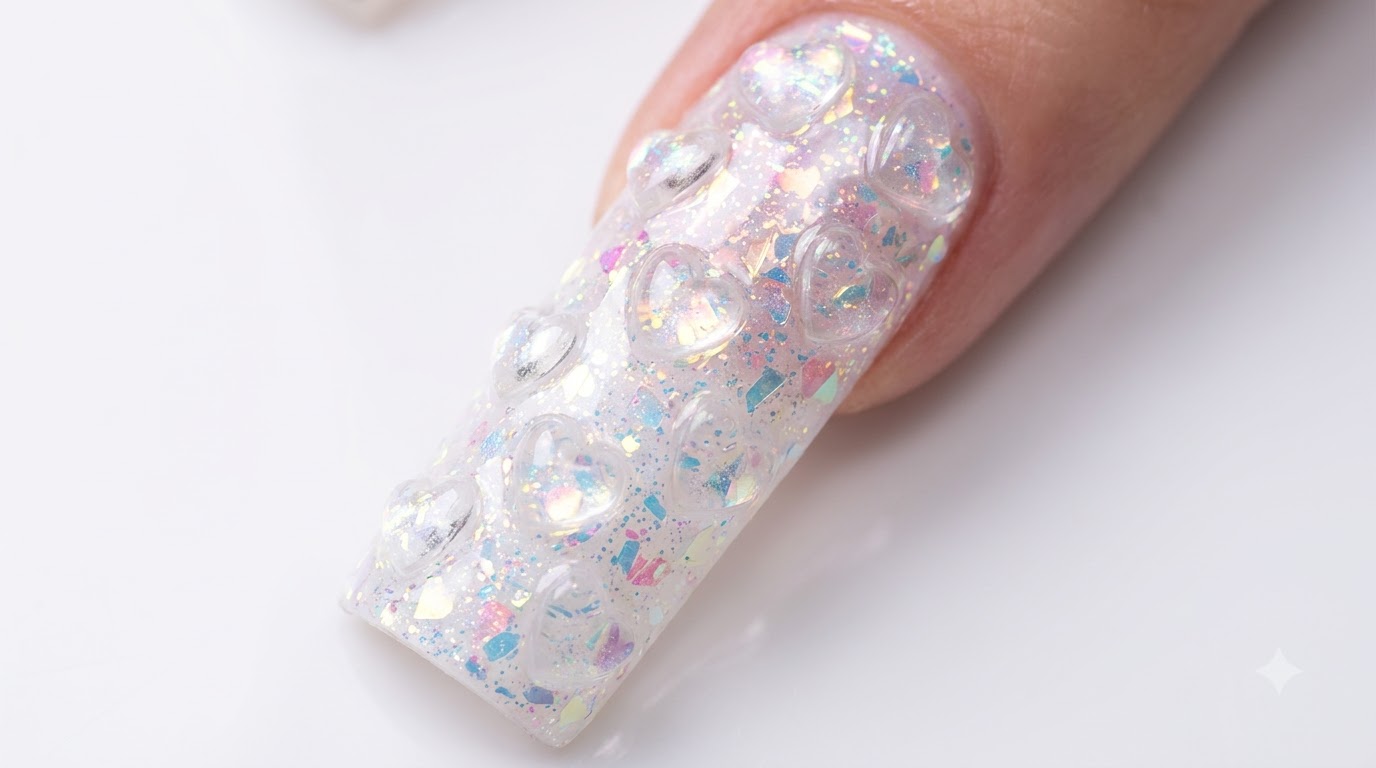
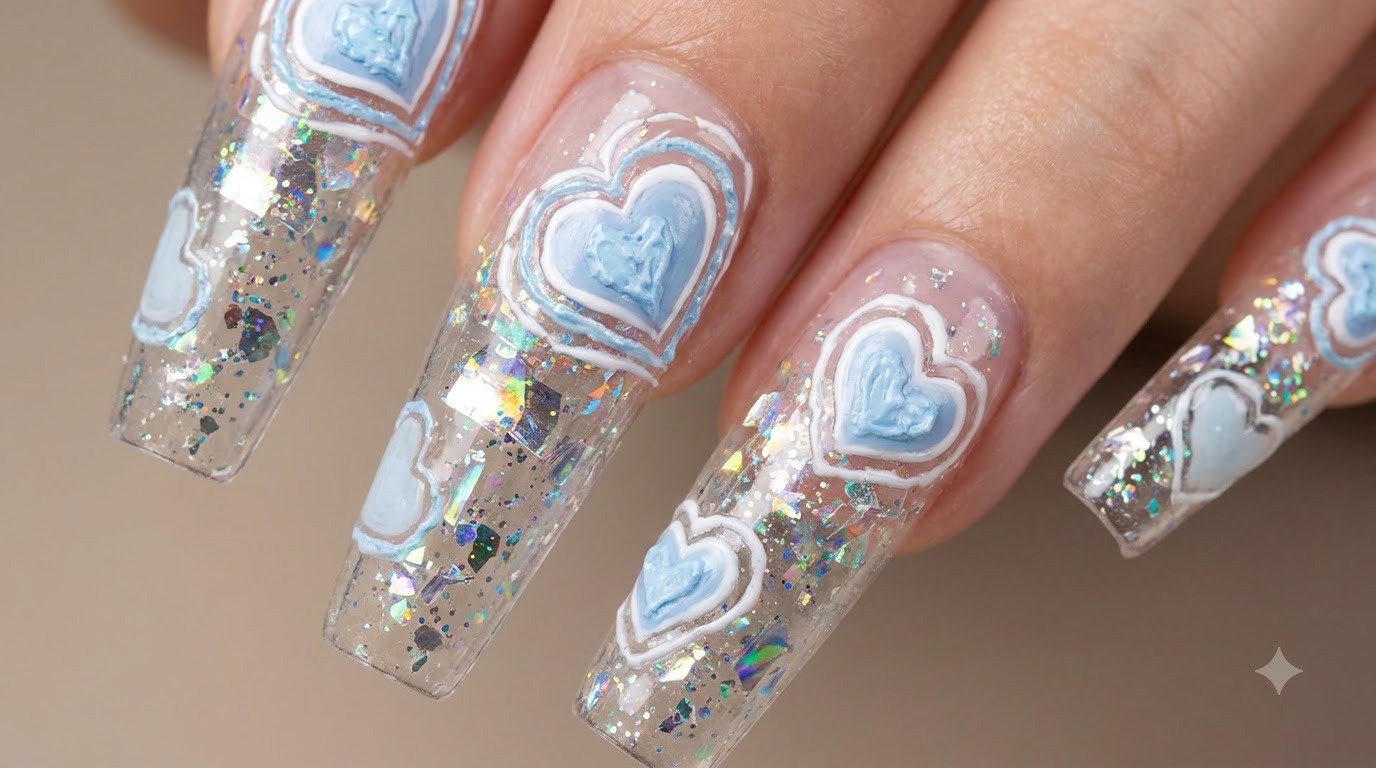
Create an adorable sweet-style heart light-wave nail art look at home with pink cat-eye gel, fine shimmer, and a 3D sculpted heart center.
The super popular light wave heart nail trend is here, offering a sweet style tailored for short nails that is soft, skin-whitening, and features a gorgeous fine shimmer. This beginner-friendly tutorial guides you through simple steps to achieve a glowing cat-eye effect and a dimensional 3D heart center.
Steps
- 1Apply Pink Glitter Base Gel
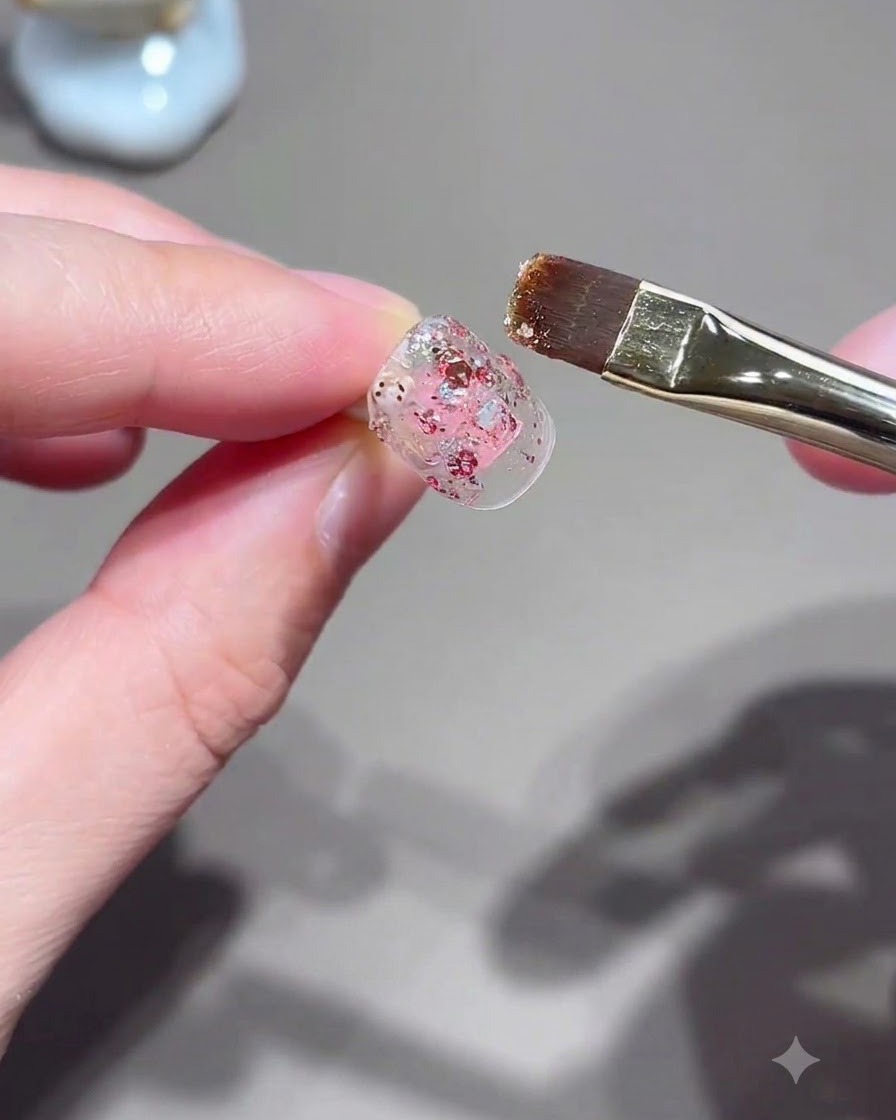
Apply pink glitter gel onto the nail plate using a flat brush, ensuring you place a bit more product in the center to create dimension. This builds the foundational sparkle and texture for the light wave effectcite: 1.
Tip: Concentrating more glitter in the center helps establish a glowing focal point. - 2Apply Pink Cat-Eye Gel
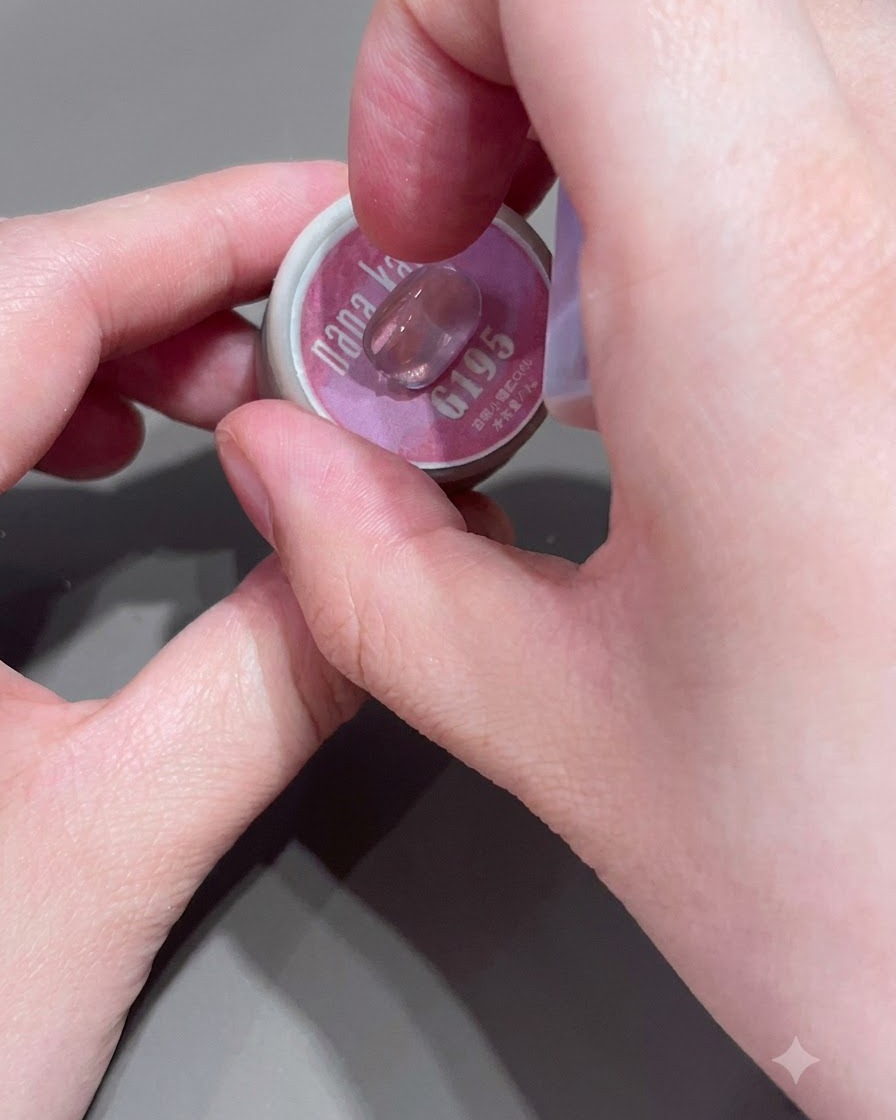
Apply pink cat-eye gel evenly over the cured glitter base coat. This special magnetic gel creates the signature shimmering light wave reflection when activatedcite: 1.
Tip: Apply an even coat to ensure the magnetic particles move fluidly. - 3Gather Cat-Eye Light
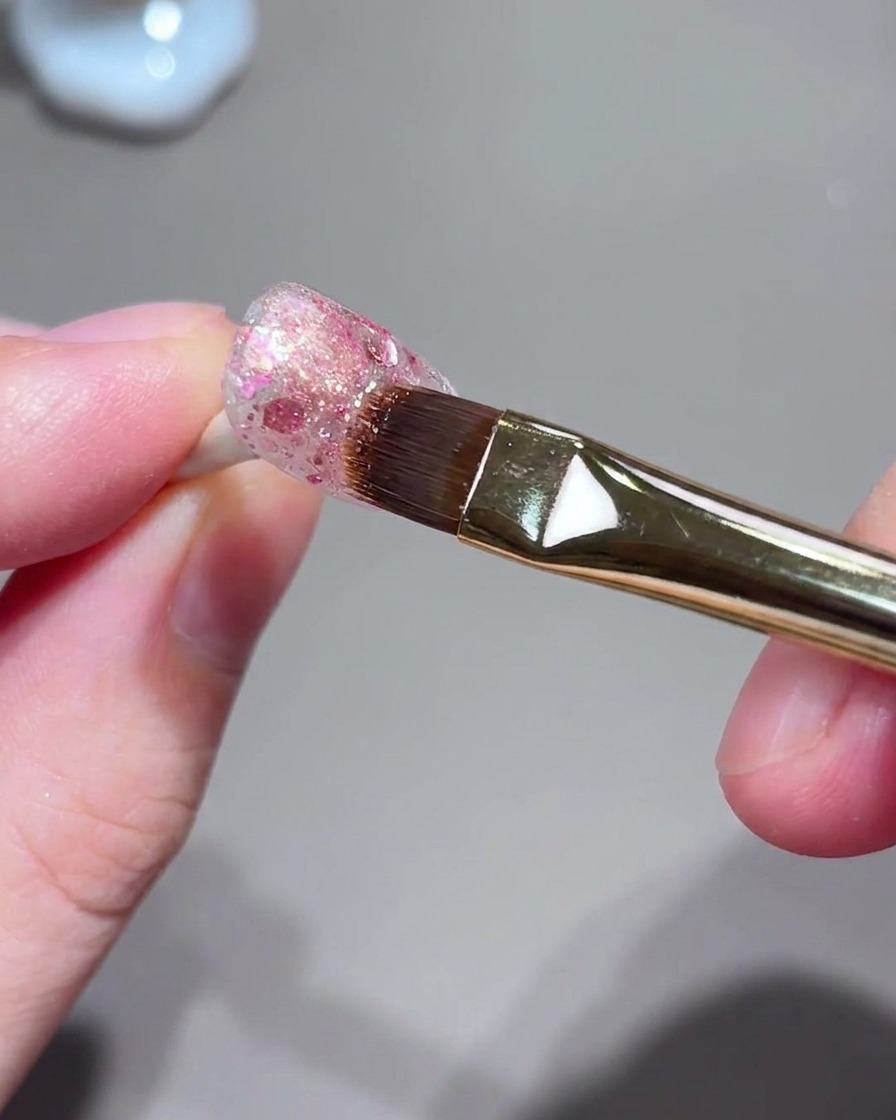
Use a magnet tool close to the nail surface to pull and gather the cat-eye light particles toward the center of the nailcite: 1. This produces a concentrated, luminous streak that gives the design its signature look.
Tip: Hold the magnet steady for a few seconds until the desired light line forms clearly. - 4Apply Matte Top Coat
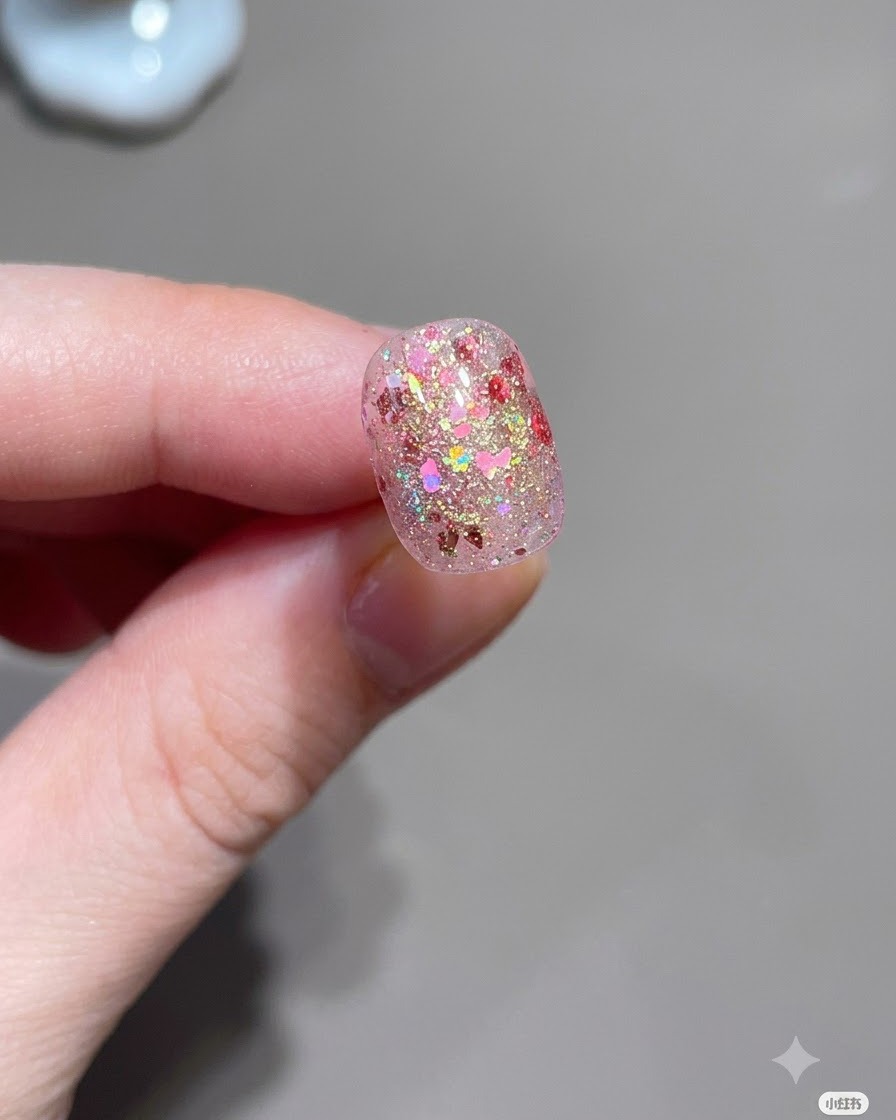
Apply a layer of matte top coat over the cured cat-eye base and cure itcite: 1. The matte finish creates a soft, frosted texture that contrasts beautifully with the subsequent glossy details.
Tip: Ensure full coverage with the matte top coat to create the correct velvety base texture. - 5Place Heart Sticker
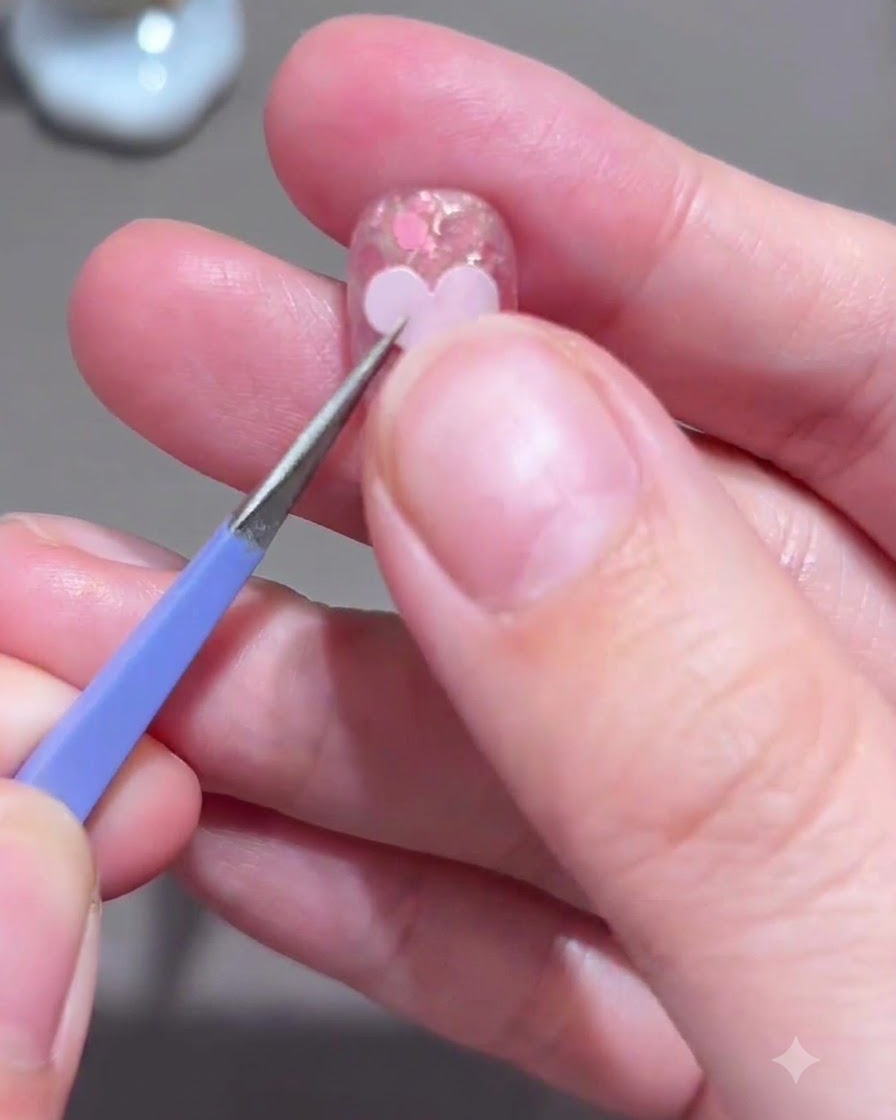
Use precision tweezers to pick up a heart sticker and place it right in the center of the nail over the matte surfacecite: 1. Press down gently to ensure the edges adhere flatly.
Tip: Use tweezers for precise placement to avoid wrinkling or misaligning the sticker. - 6Apply First Very Light Pink Coat
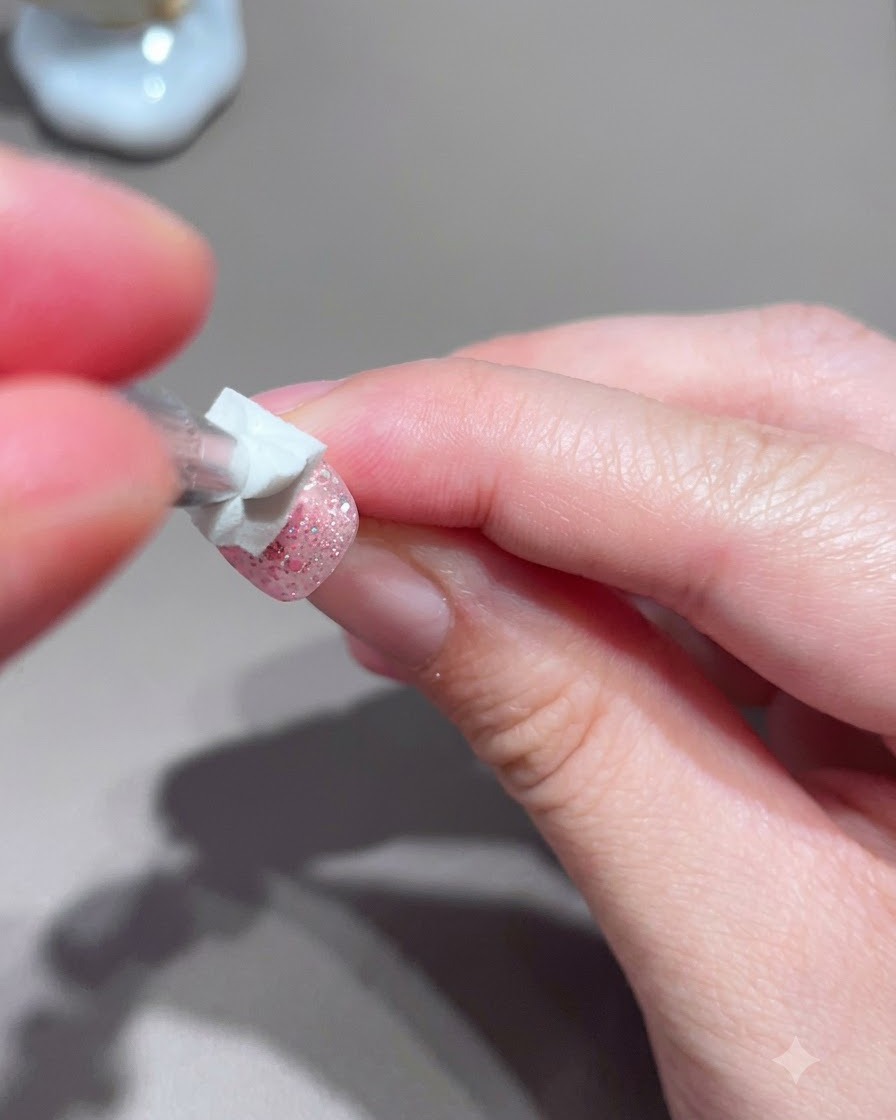
Paint a very, very light pink color coat over the entire design, performing the first of two applicationscite: 1. This semi-transparent layer softens the sticker and background elements for a dreamy look.
Tip: Keep this layer thin and translucent so the underlying elements remain softly visible. - 7Apply Second Color Coat
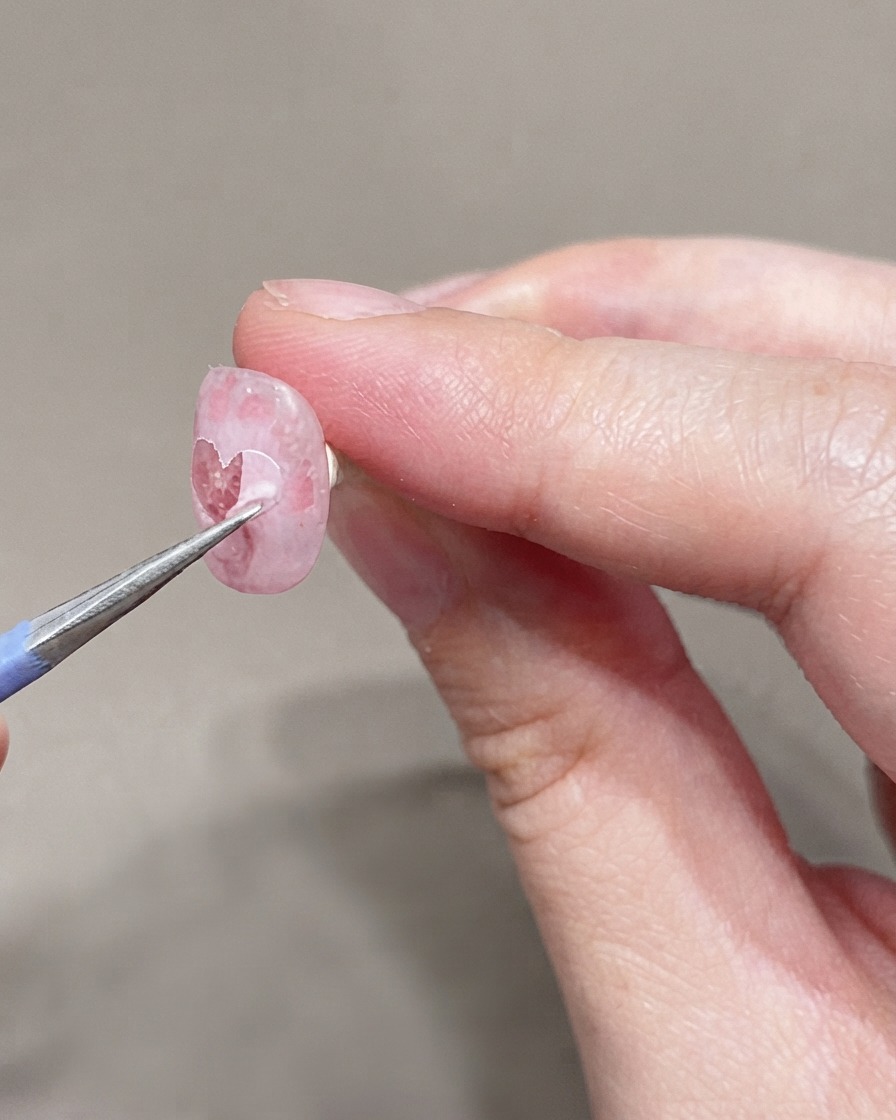
Apply a second layer of the very light pink color over the nail surface to ensure an even, opaque, and soft background tone.
Tip: Keep each color layer thin to prevent the gel from wrinkling during the curing process. - 8Outline the Heart Border
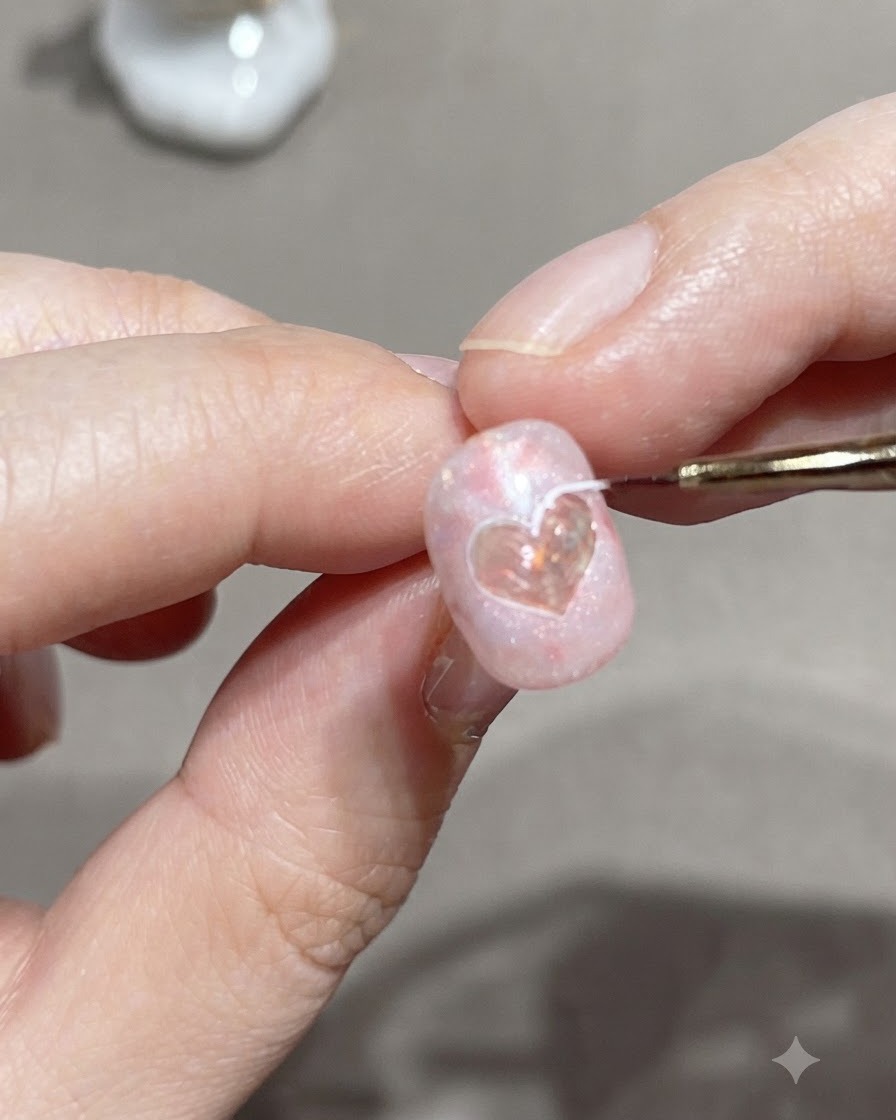
Take a fine liner brush dipped in light pink gel and carefully trace along the border of the central heart sticker to define its shape.
Tip: Use a very light touch with the tip of the liner brush to create crisp, clean lines. - 9Paint Radial Lines
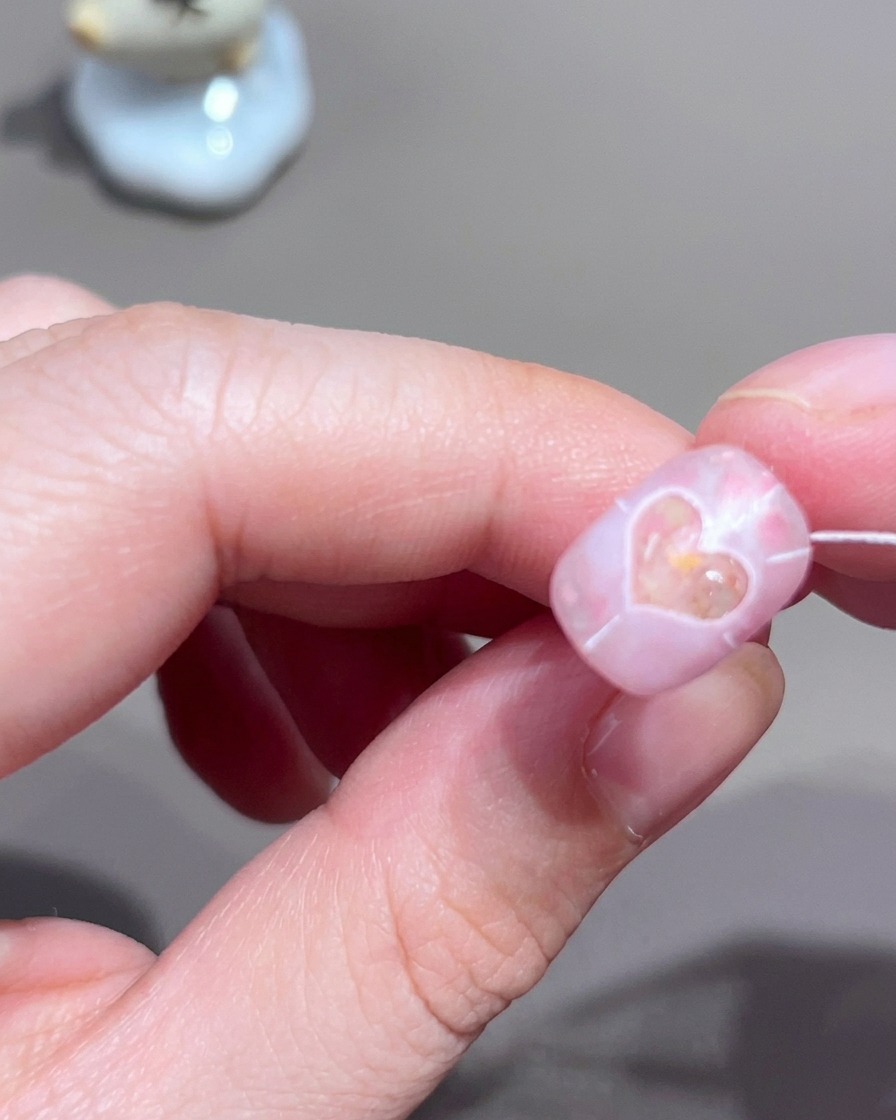
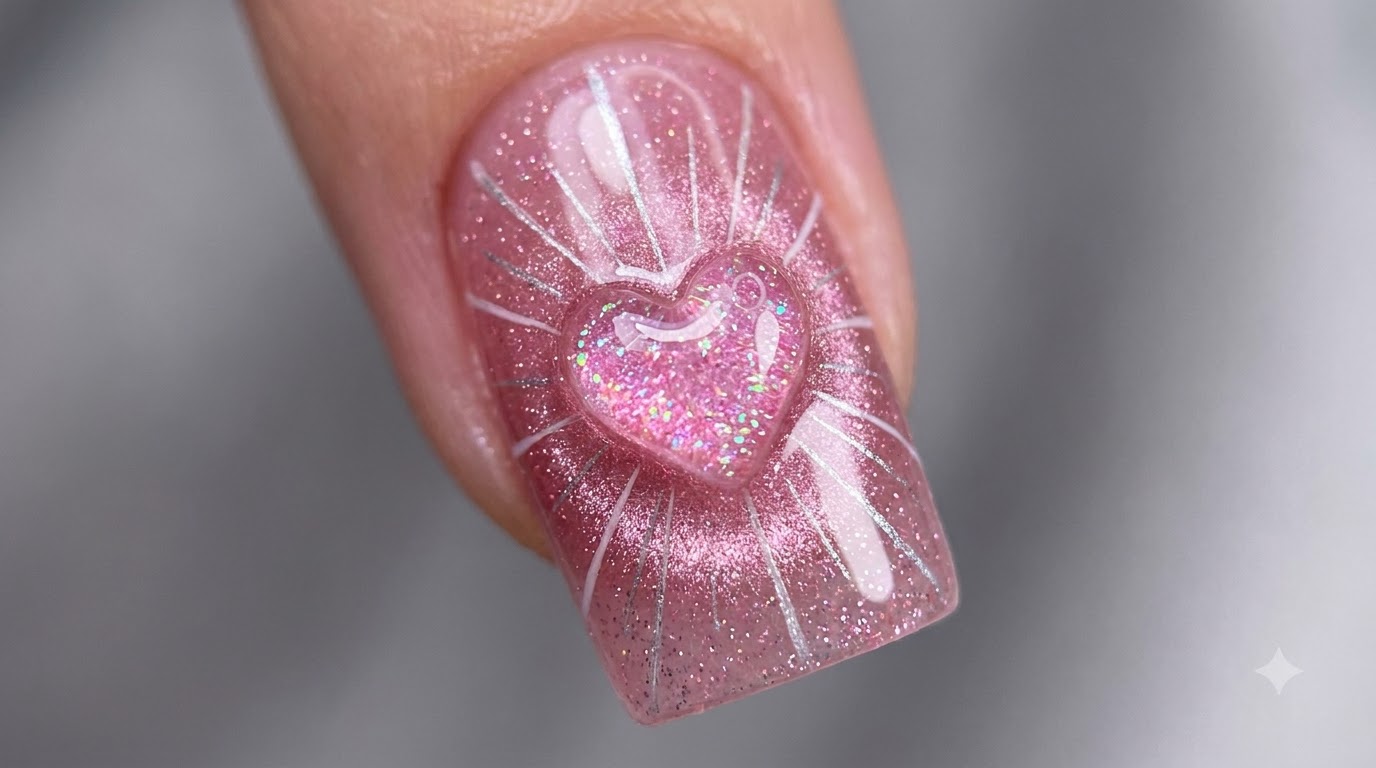
Using the fine liner brush, draw delicate radial lines extending outward from the center heart toward the edges of the nail to create a light wave pattern.
Tip: Space the radial lines evenly to achieve a balanced, sunburst-like light wave design. - 10Add Silver Details
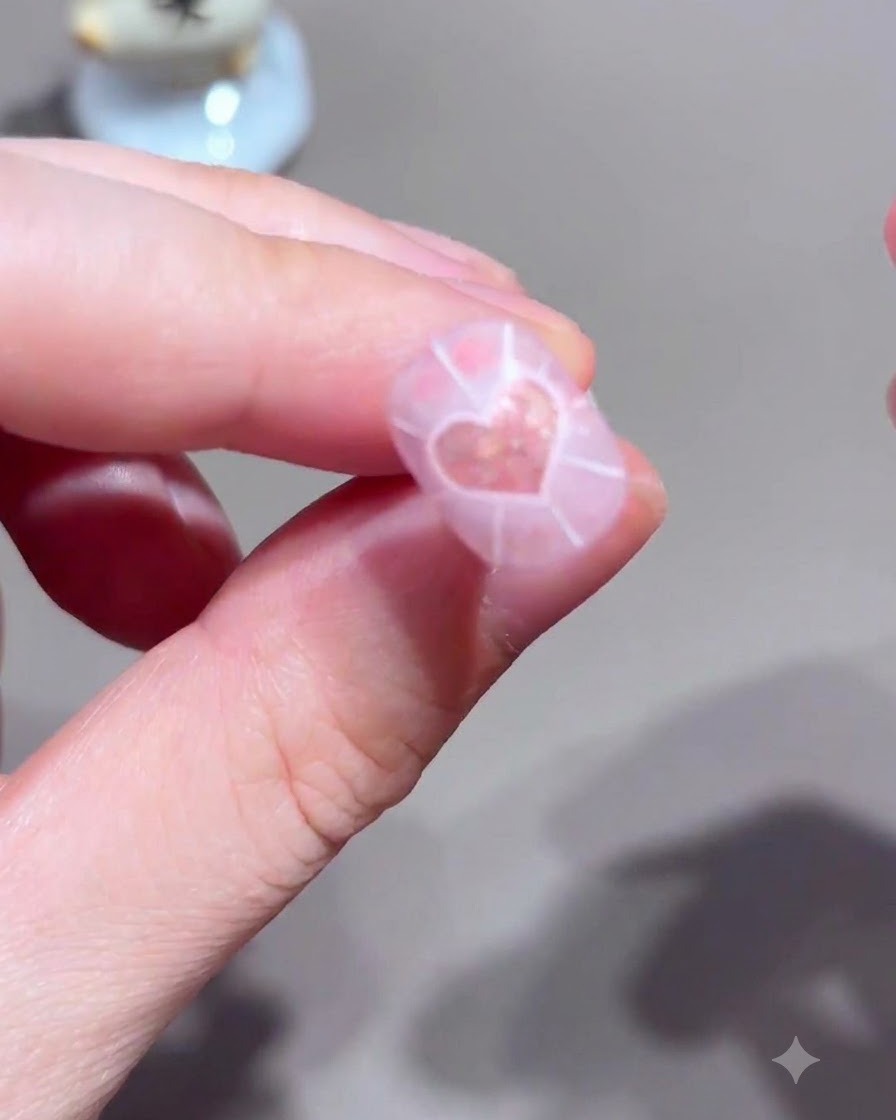
Incorporate thin silver lines directly alongside or interspersed within the radial pattern to add a touch of shimmer and dimension.
Tip: Work quickly or cure partially if needed to keep the fine metallic lines from running together. - 11Apply Sealing Top Coat
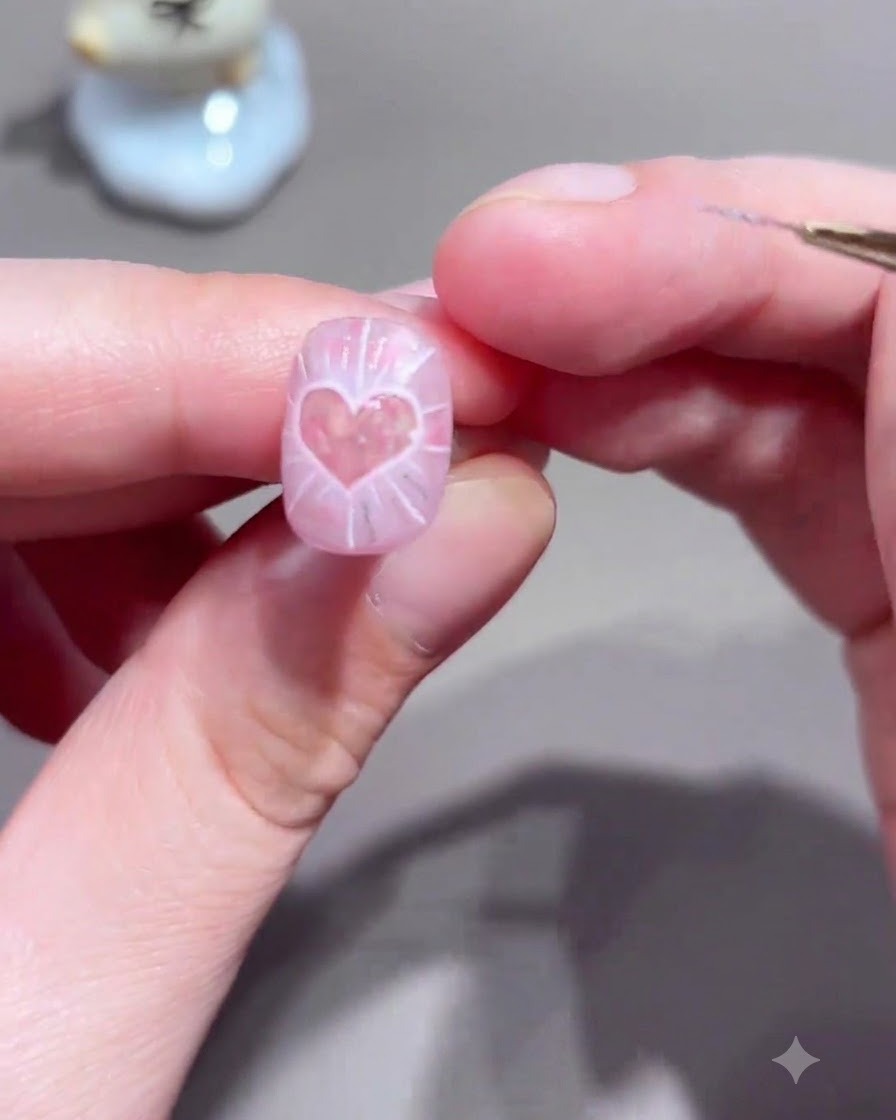
Apply a smooth layer of sealing top coat over the entire nail surface to protect the nail art and lock in all the painted details before curing.
Tip: Cap the free edge of the nail with top coat to prevent chipping and peeling. - 12Create 3D Raised Heart
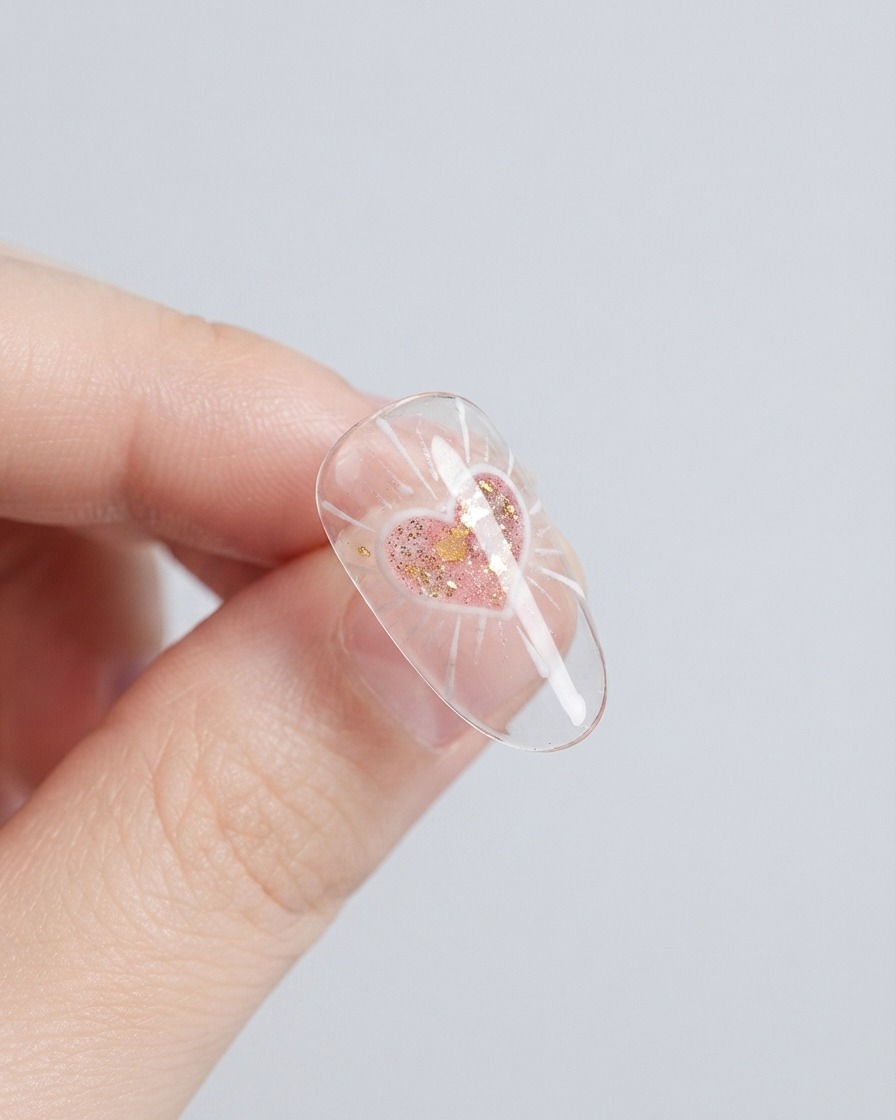
Using a hard sculpting top coat or building gel, draw and build a 3D raised heart shape right in the center of the nail for a trendy, dimensional effect, then cure.
Tip: Flash cure the 3D heart briefly if it tends to sag, ensuring the raised shape holds its volume before final full cure.