Pink Bling Glitter Negative Space Star Nails — Step-by-Step Tutorial
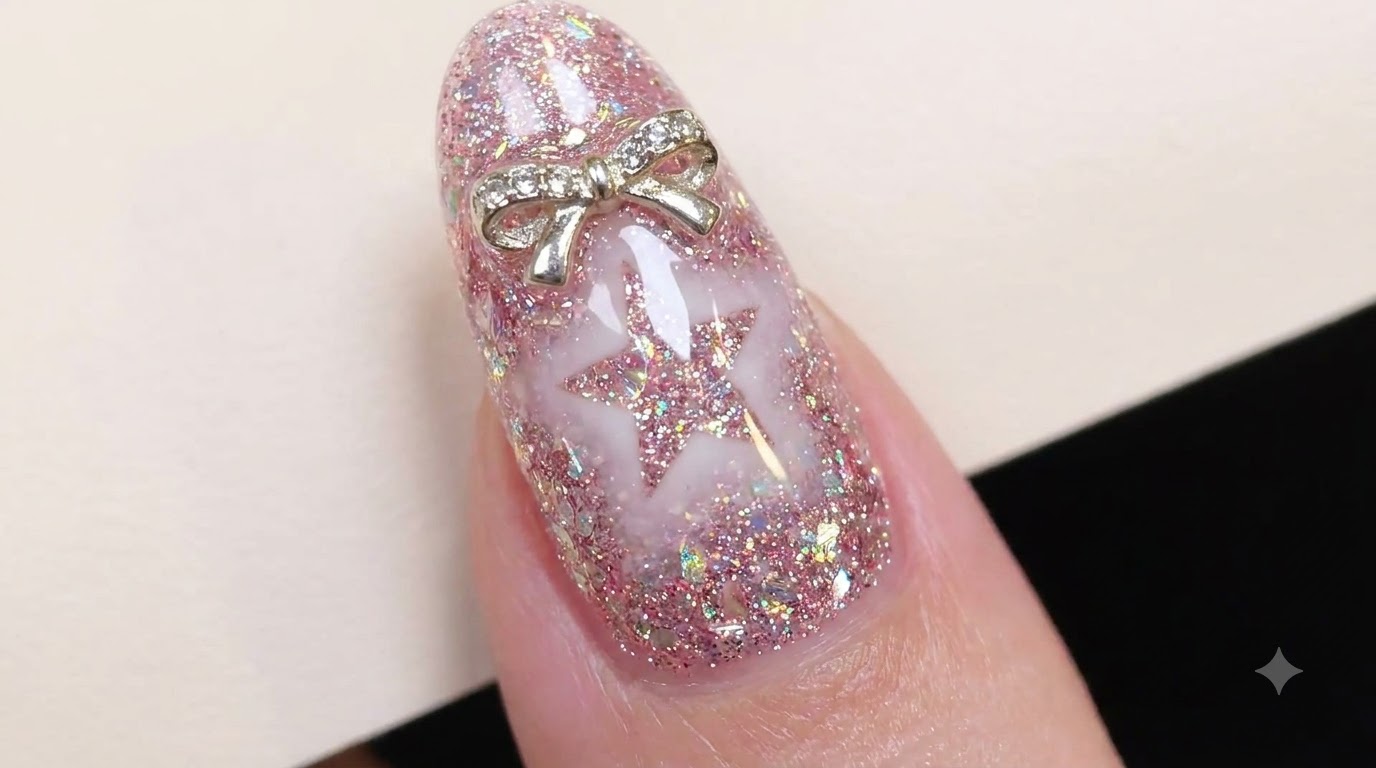
Create a dazzling pink and silver glitter gradient look featuring a crisp negative space star and a dainty rhinestone bow charm.
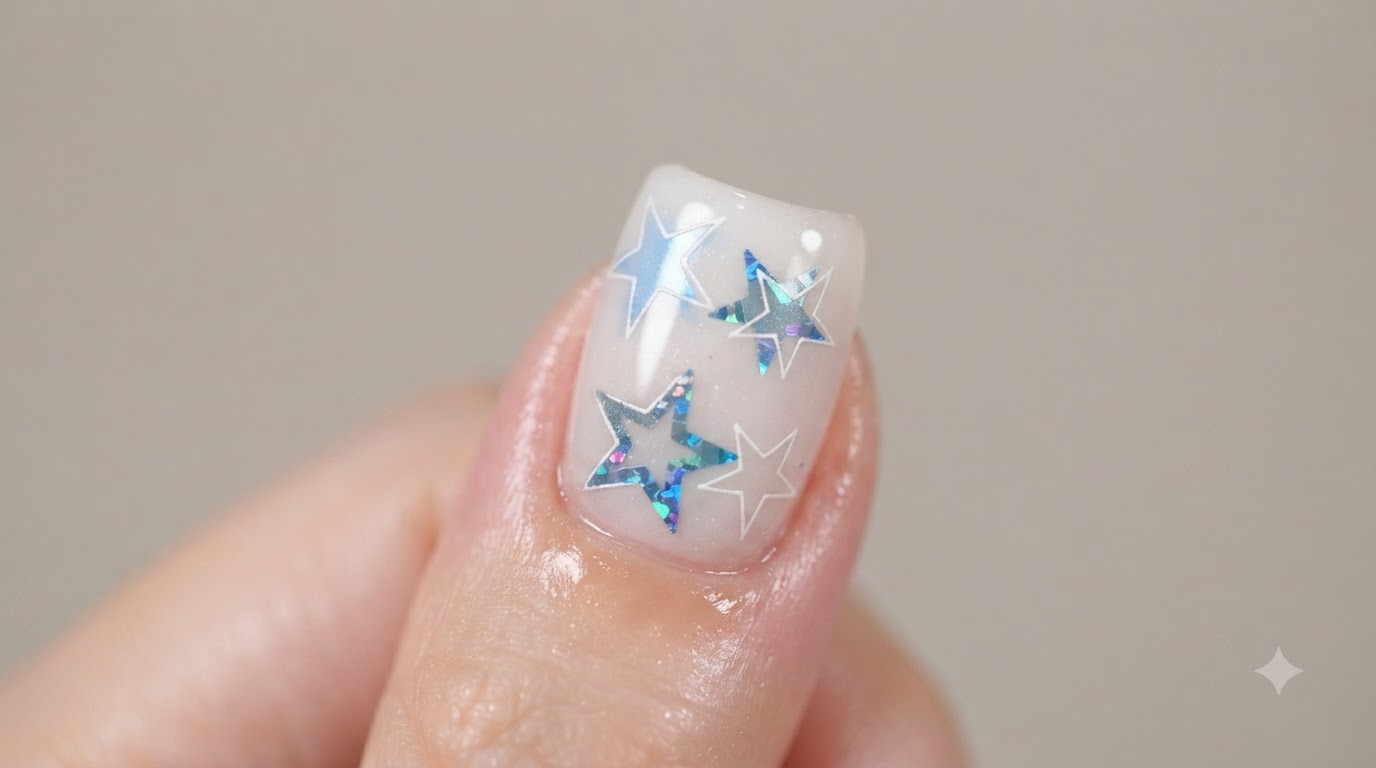
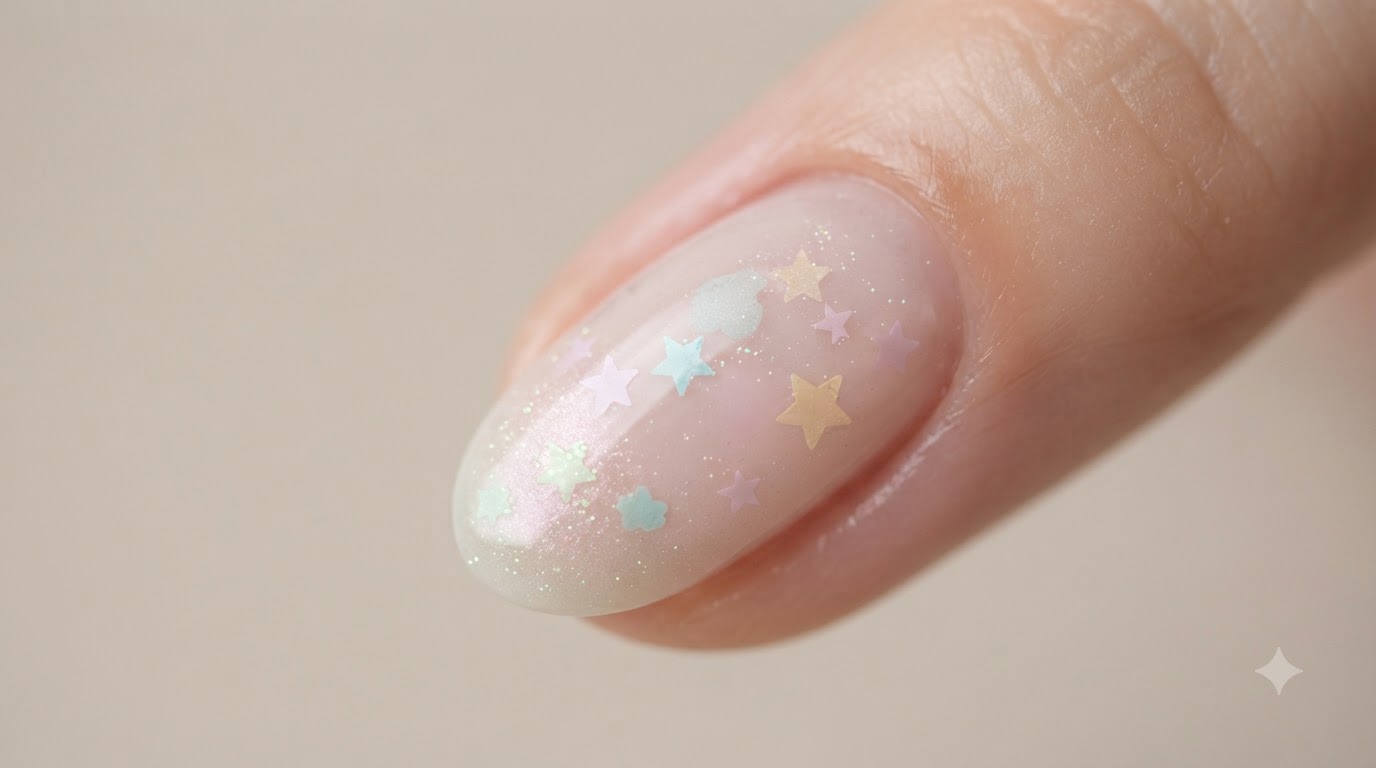
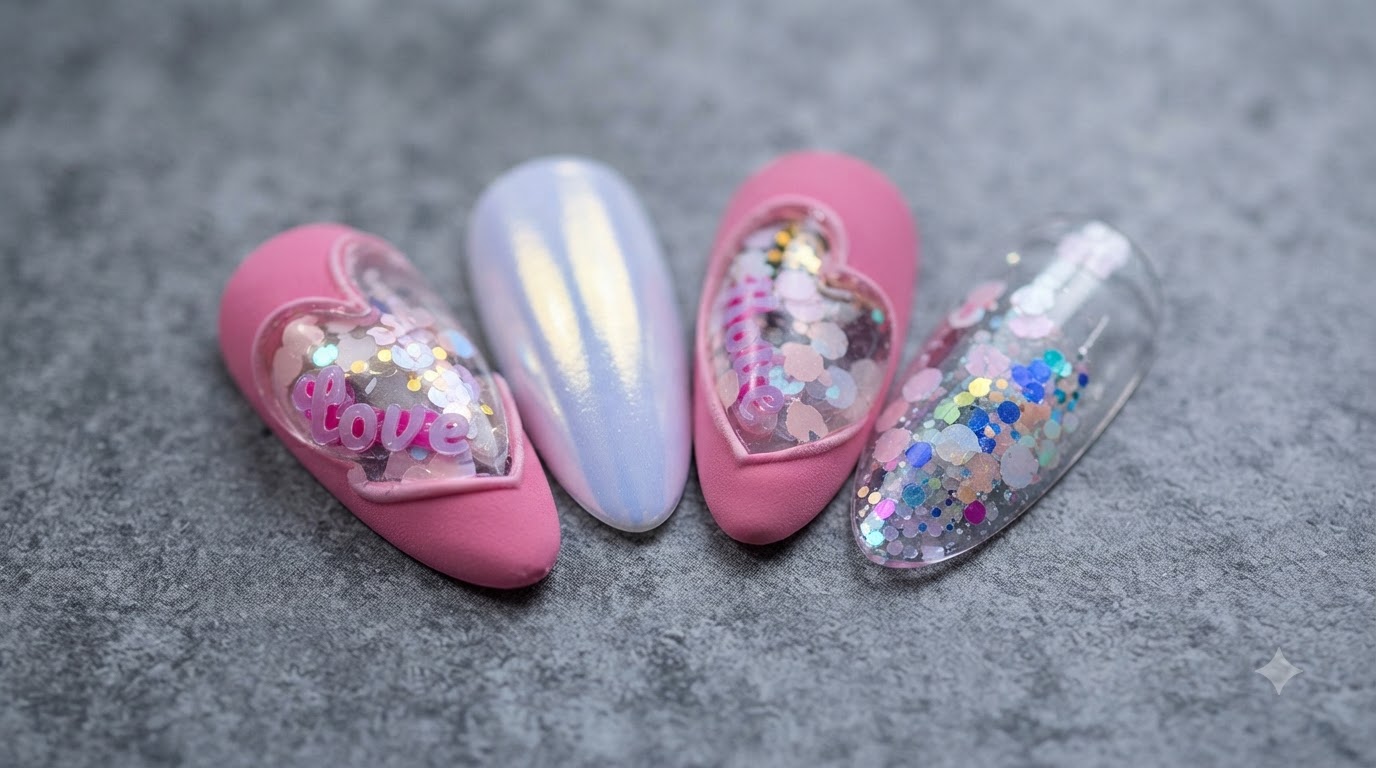
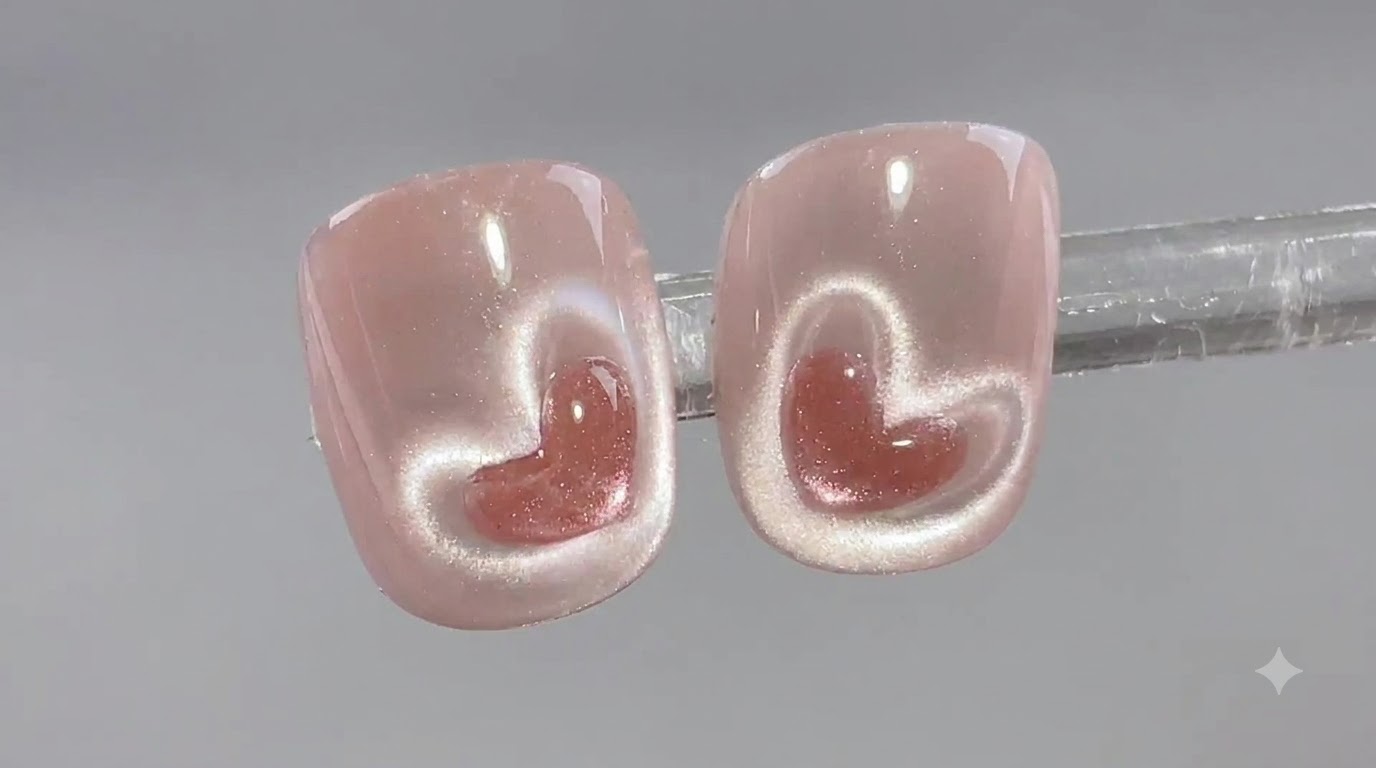
Negative space star designs combined with sparkling holographic glitters create a stunning dimensional effect that catches the light from every angle. This tutorial guides you through layering glitter gels, using sticker masks for clean negative space shapes, and accentuating your manicure with a delicate crystal bow charm.
Steps
- 1Apply chunky pink glitter gel to nail tip
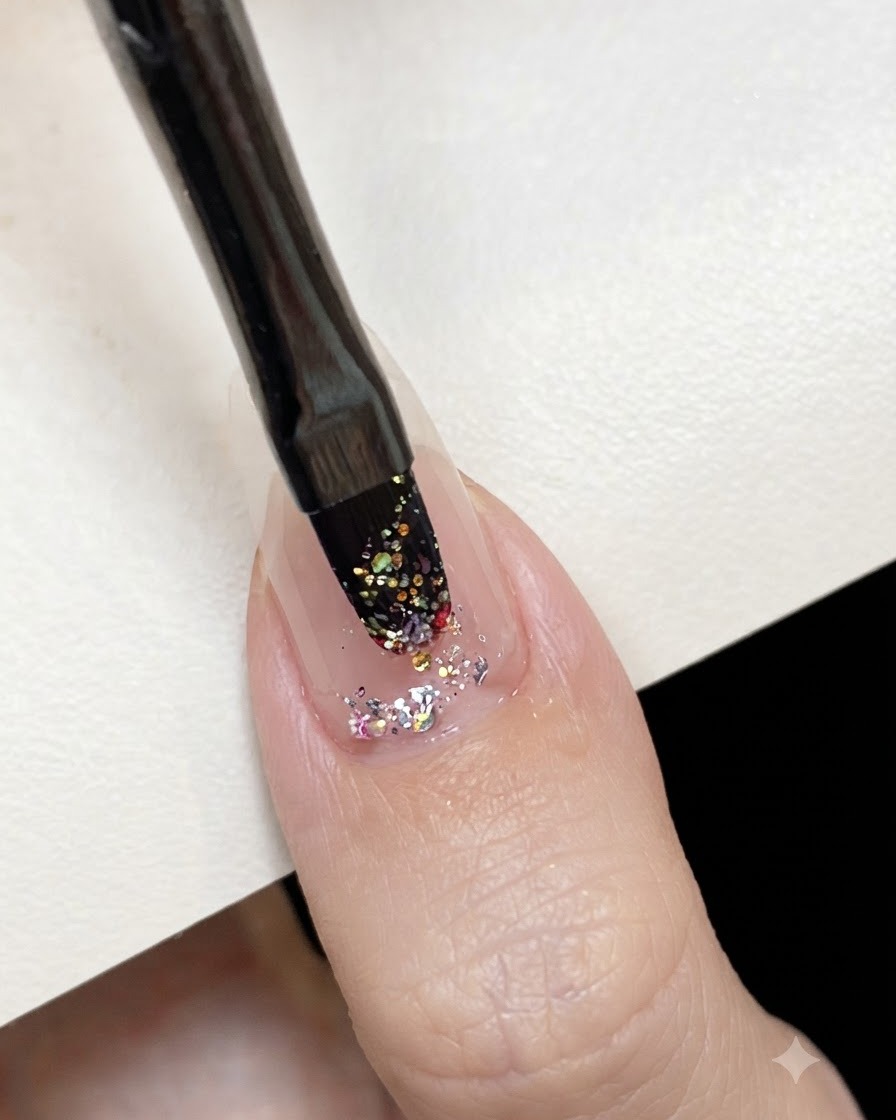
Using a flat gel brush, pick up a small amount of the chunky pink and gold holographic glitter gel. Apply it to the tip of the nail and gently blend it downward toward the cuticle to create a gradient sparkle effect.
Tip: Keep the application thinner near the middle of the nail to achieve a smooth fade into the glitter gradient. - 2Prepare fine reflective glitter gel
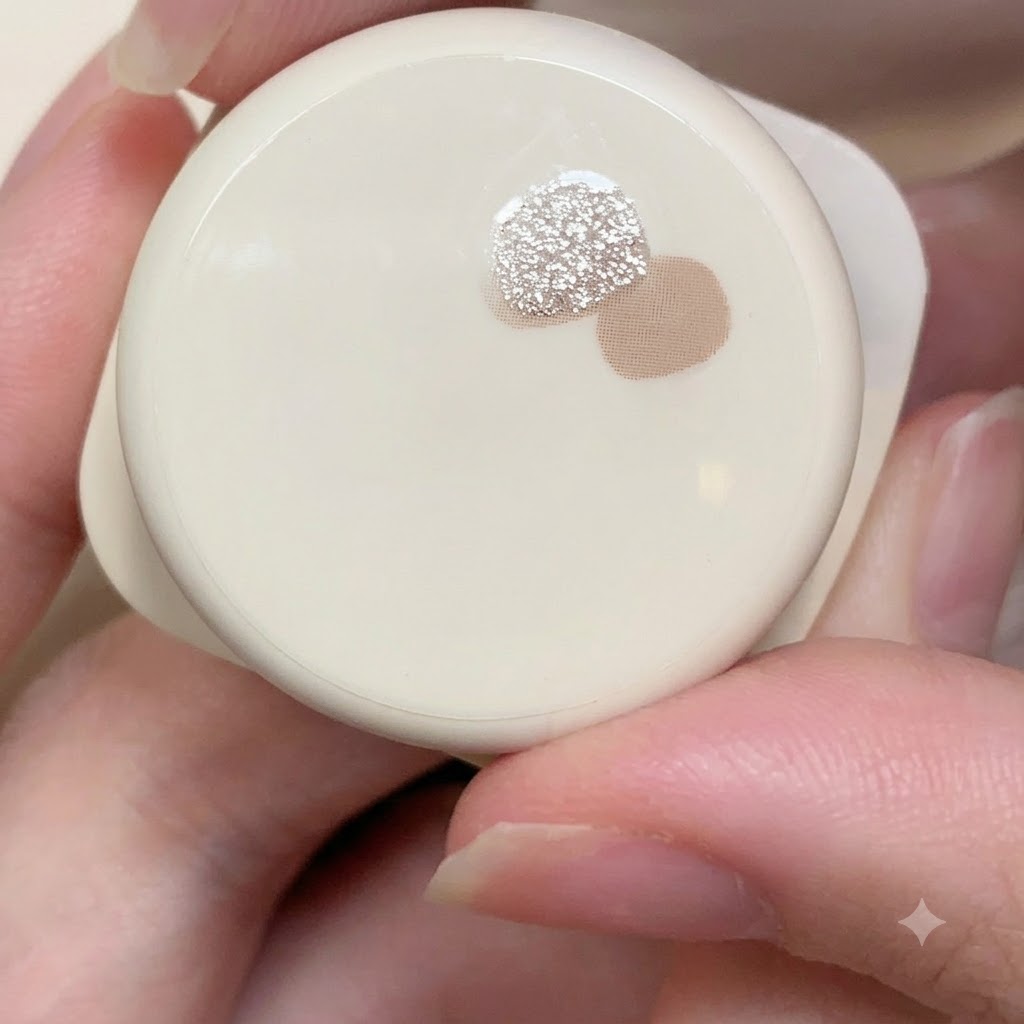
Present the second jar containing a finer light pink and silver reflective glitter gel, which will be used to layer over the center and base of the nail to complement the chunky glitter.
Tip: Check product consistency to ensure smooth distribution during the layering process. - 3Apply fine pink glitter gel
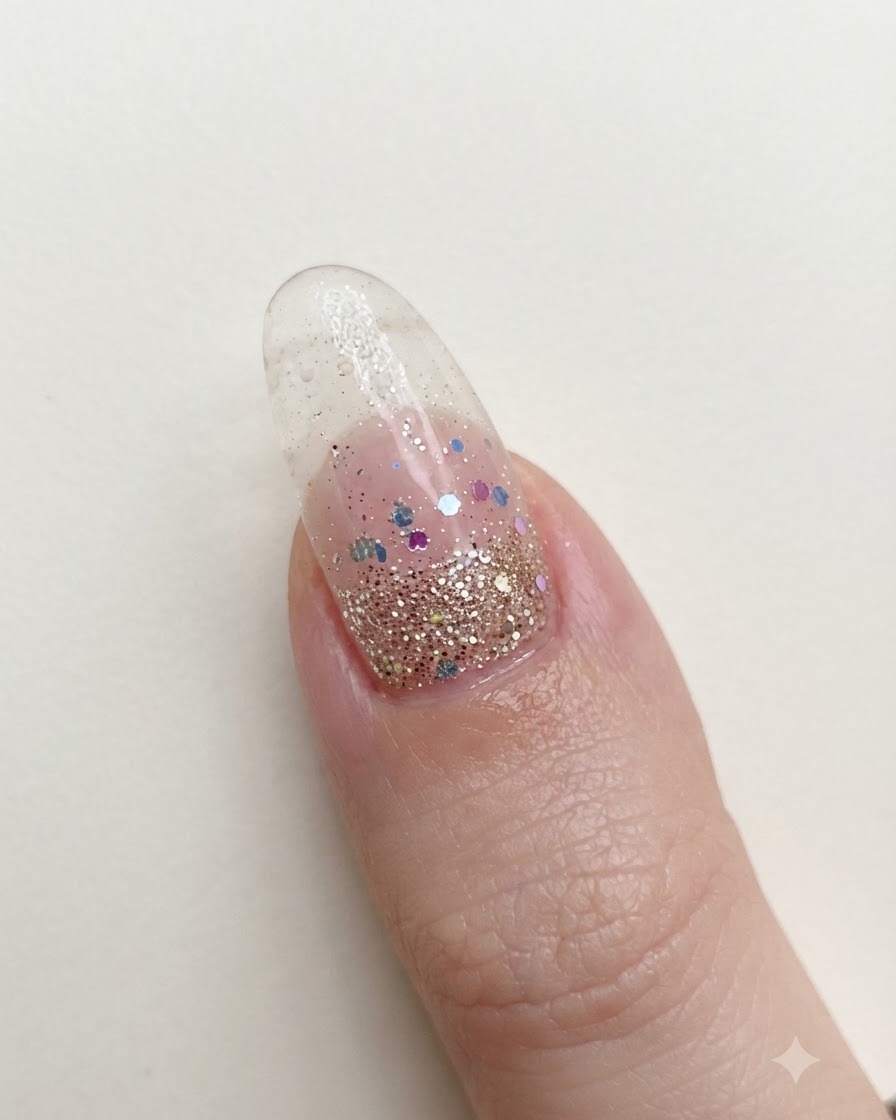
Using a brush, apply the fine pink glitter gel over the center and base of the nail, carefully blending it into the existing chunky glitter gradient for added depth and texture.
Tip: Lightly feather the brush strokes where the two glitter types meet to create a seamless transition. - 4Layer chunky glitter at the nail tip
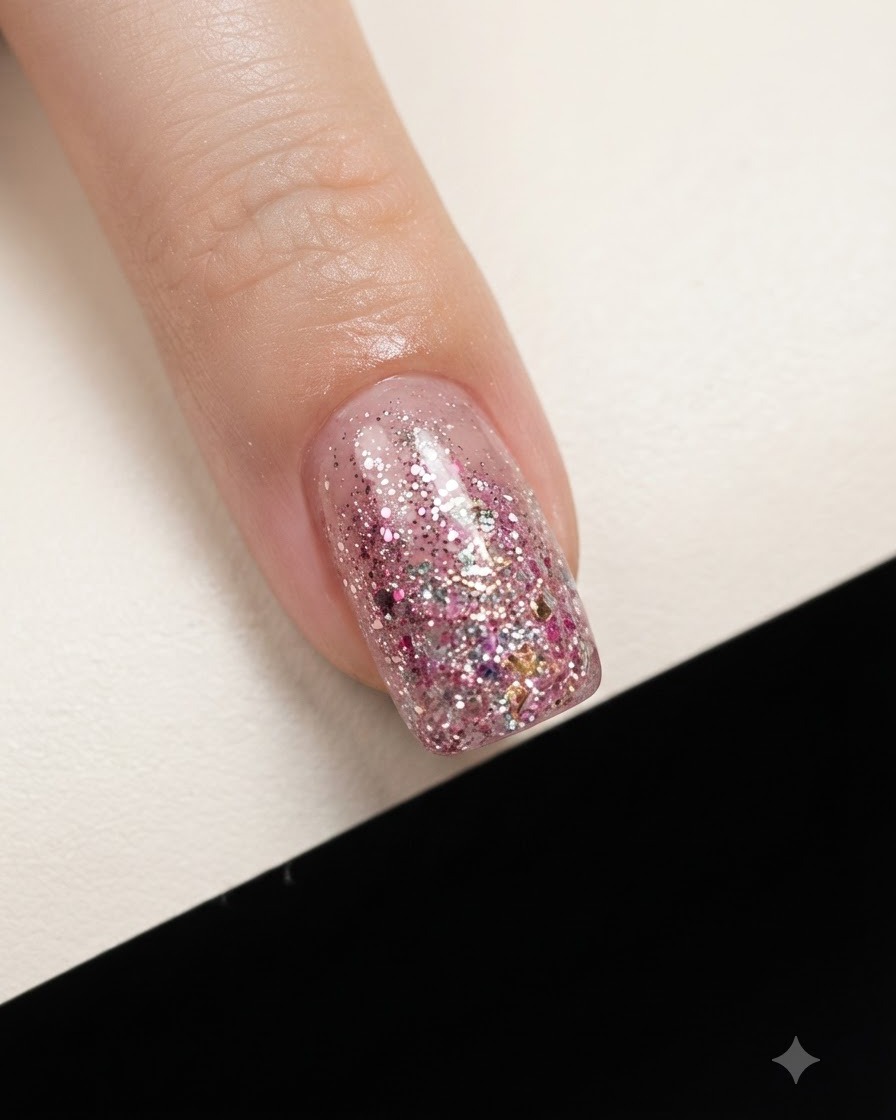
Apply a concentrated second layer of chunky glitter flakes at the very tip of the nail to intensify the sparkle gradient and give the design a richer, more dimensional look.
Tip: Focus the densest concentration of glitter flakes right at the free edge. - 5Encapsulate glitter with clear builder gel
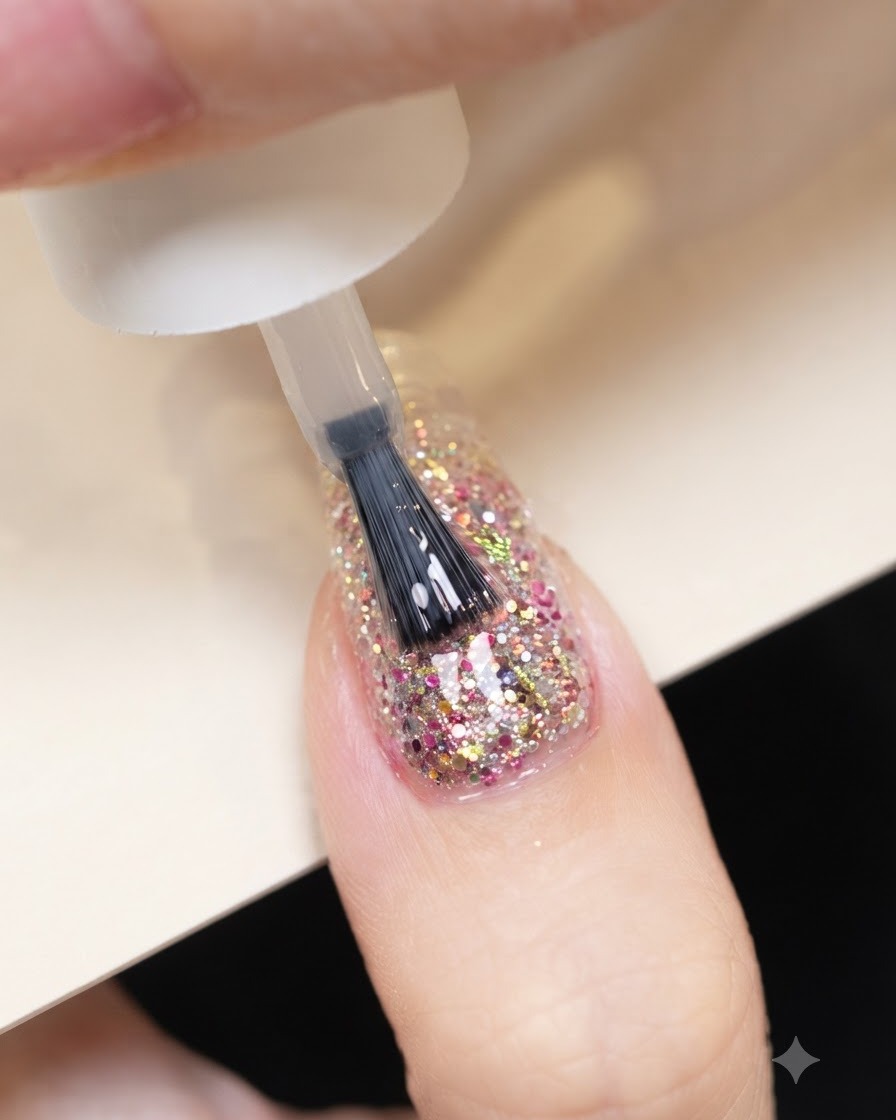
Coat the entire nail with a clear self-leveling base or builder gel to completely encapsulate the textured glitter and create a smooth, even surface ready for final finishing.
Tip: Allow the self-leveling gel a few seconds to level out naturally before curing to ensure a flawless, lump-free finish. - 6Select solid cream gel
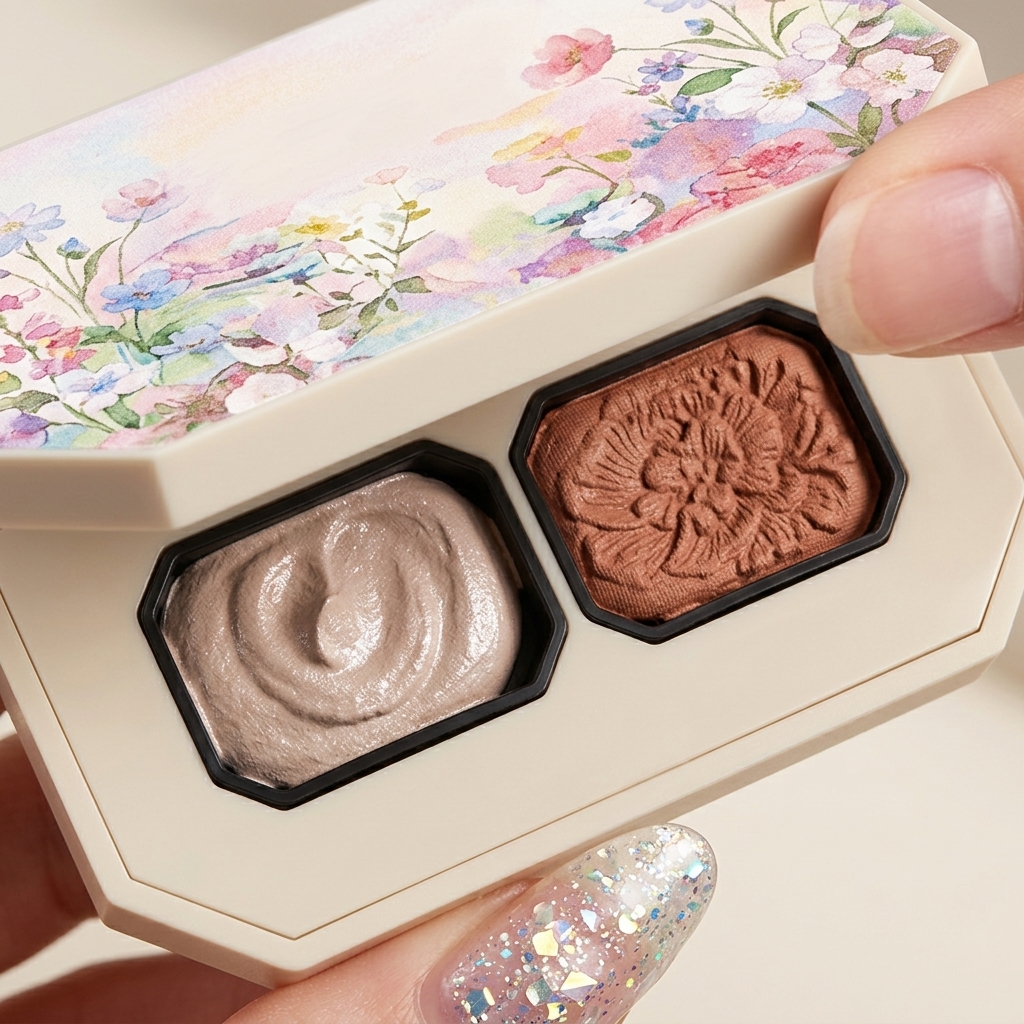
Open your solid cream gel palette to select the colors for your design. Solid gel polishes are highly pigmented and perfect for creating gradients or precise nail art without running.
Tip: Keep your cream gel palette away from direct UV or sunlight to prevent the colors from curing in the pan. - 7Prepare star nail stickers
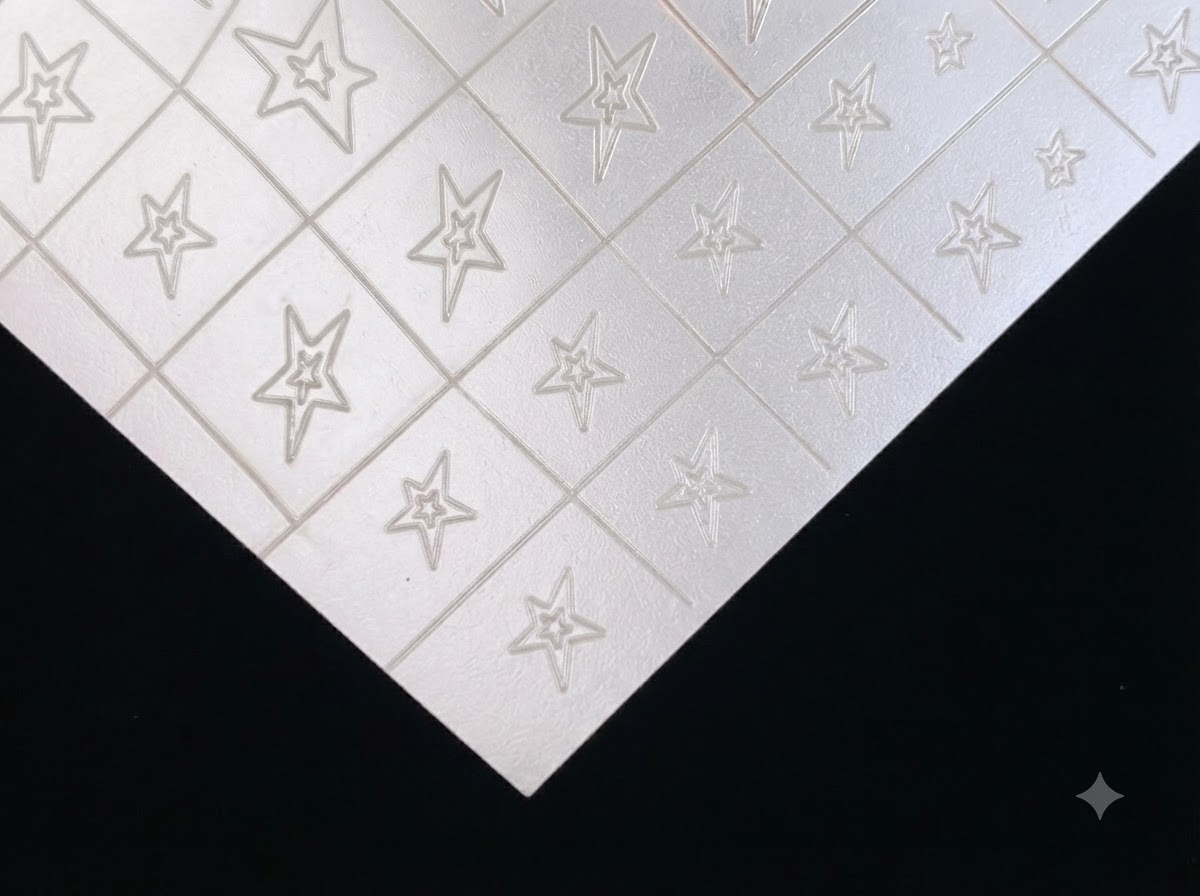
Select a sheet of hollow star nail stickers for the negative space design. These stickers will act as a temporary mask over your glitter base to create the star silhouette.
Tip: Use fine-tipped tweezers to lift the stickers from the backing sheet so they dont fold or tear. - 8Place the hollow star sticker
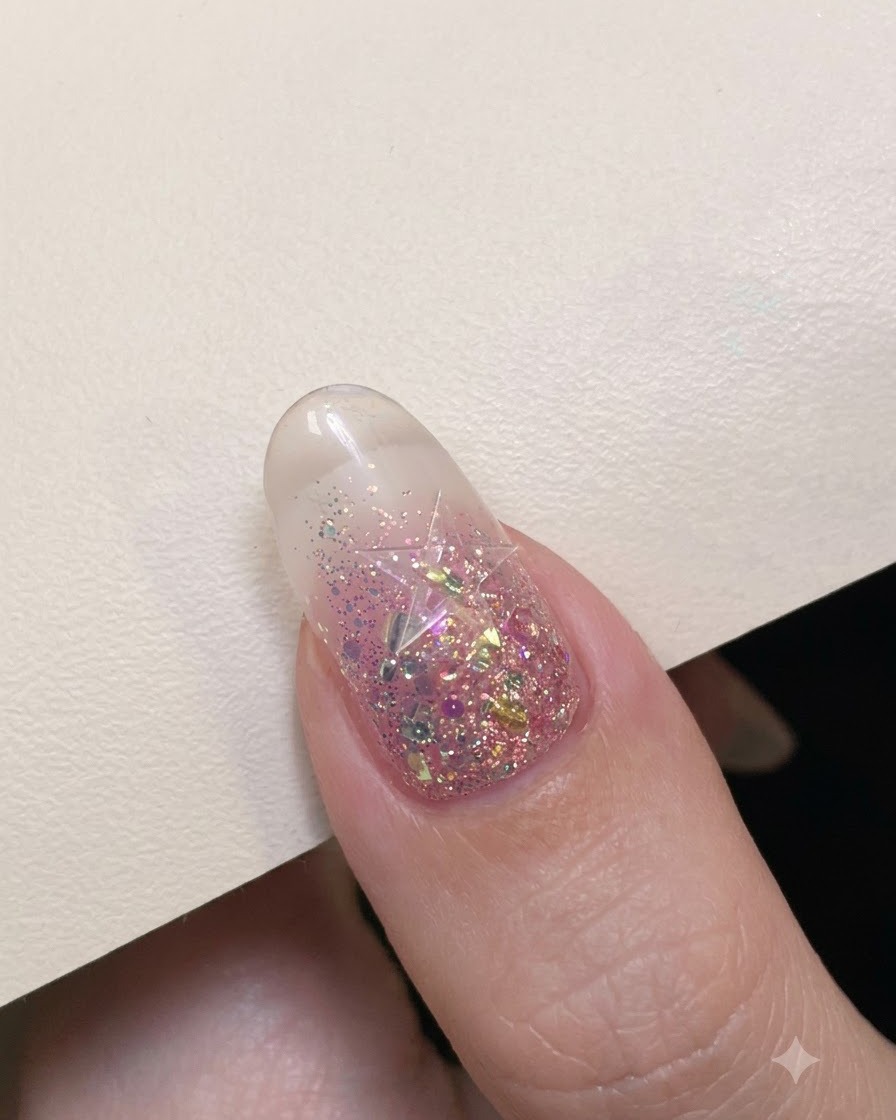
Using fine-tipped tweezers, pick up a hollow star sticker and position it precisely in the center of the nail directly over the encapsulated glitter layer. Press down gently along the edges of the sticker to ensure it adheres flatly to the gel surface without any lifting or air bubbles before applying the next coat.
Tip: Press the sticker firmly in the center and edges so that the subsequent gel layer seals it completely. - 9Create a milky white vignette gradient
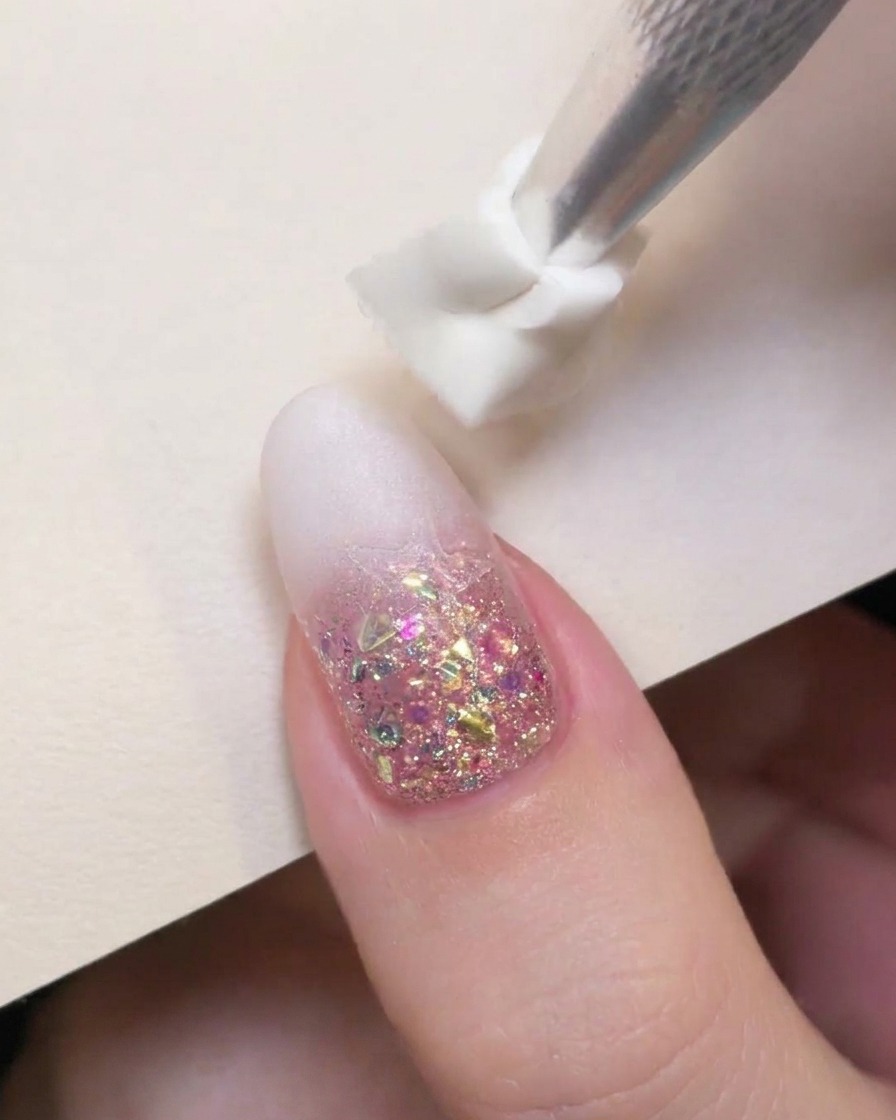
Using a sponge-tipped tool, dab milky white cream gel polish lightly around the outer edges of the nail and partially over the star sticker to build a soft, hazy white vignette effect. Diffuse the edges smoothly so the white fades seamlessly into the translucent pink glitter base beneath.
Tip: Tap lightly with the sponge to avoid heavy texture and maintain a smooth, gradient airbrushed look. - 10Remove the star sticker
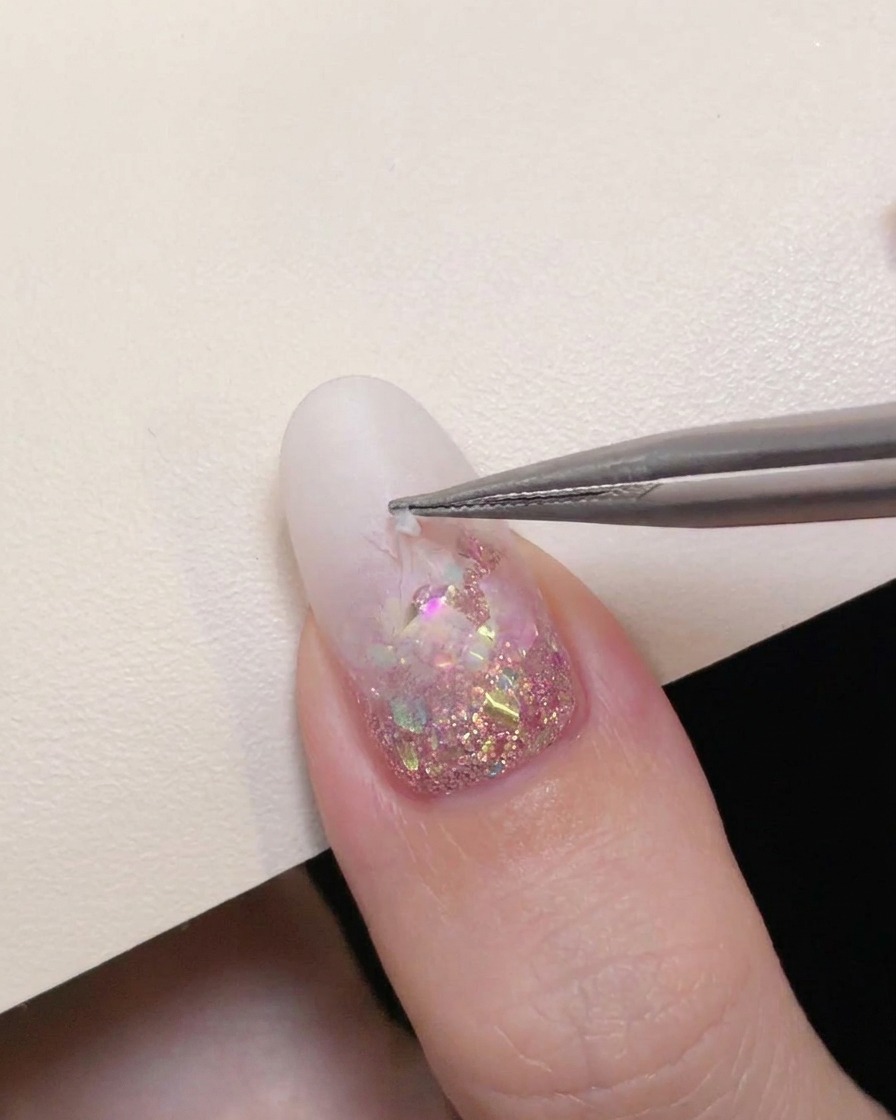
Using a pair of precision tweezers, carefully catch the edge of the star sticker and peel it away from the nail. This reveals the sparkling glitter underneath, creating a crisp negative space star against the milky white gradient.
Tip: Peel the sticker off in one smooth motion to keep the edges of your negative space design sharp and clean. - 11Apply glossy top coat
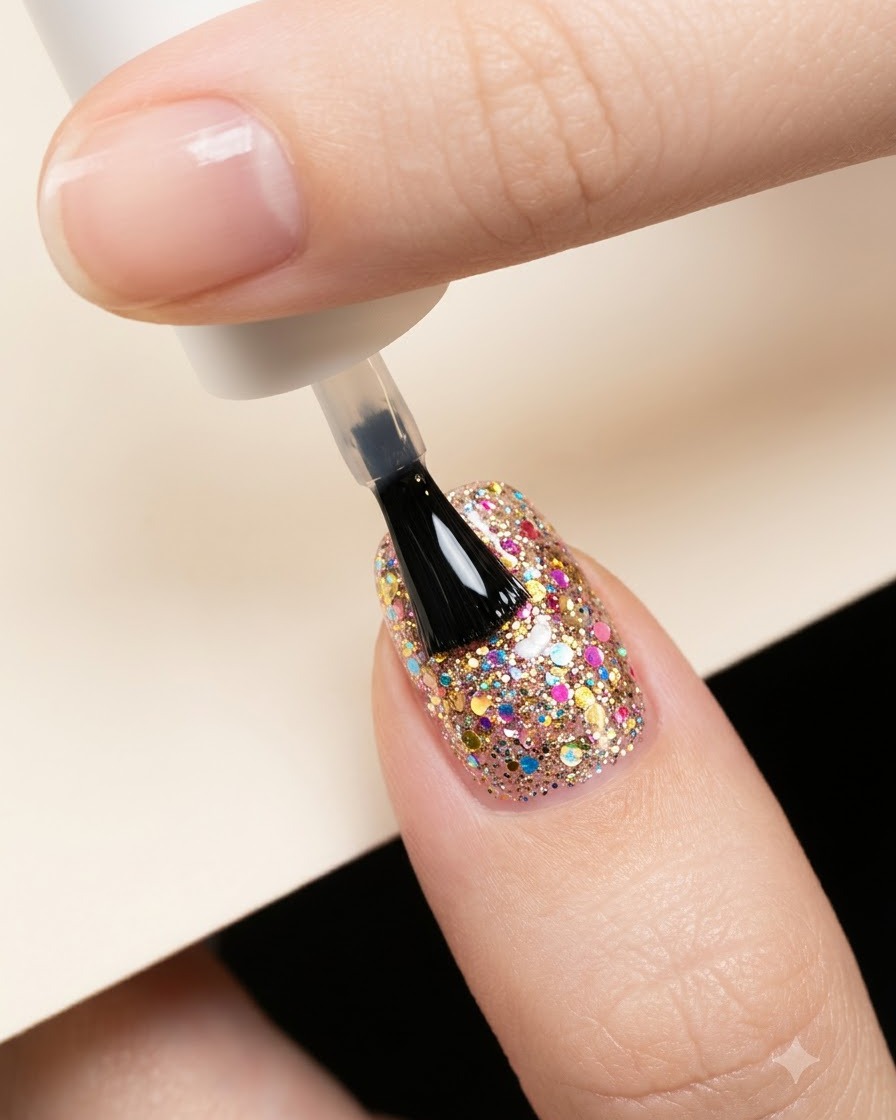
Seal the entire nail design with a generous layer of glossy top coat. Make sure to cover the negative space star and the white gradient evenly, capping the free edge to prevent chipping. Cure fully under your LED or UV lamp.
Tip: A self-leveling top coat works best here to smooth out any tiny ridges left by the sticker removal. - 12Add a silver rhinestone bow charm
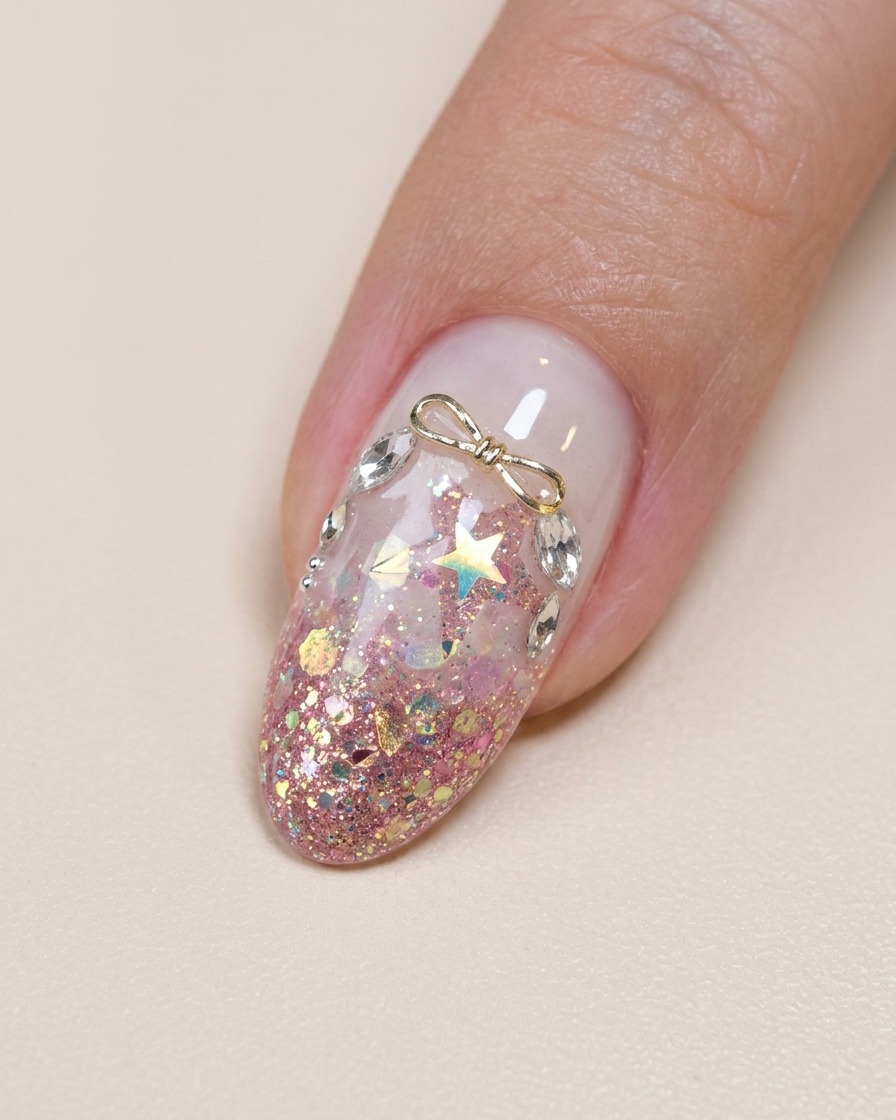
Using precision tweezers, carefully place a small silver bow charm adorned with tiny sparkling rhinestones right near the cuticle base of the nail. Position it securely into a dab of builder gel or top coat, framing the top edge of the design before conducting the final UV or LED cure.
Tip: Place a tiny drop of clear gel under the charm to anchor it securely before curing so it will not snag or detach.