Space-Themed Holographic Star Nail Art — Step-by-Step Tutorial
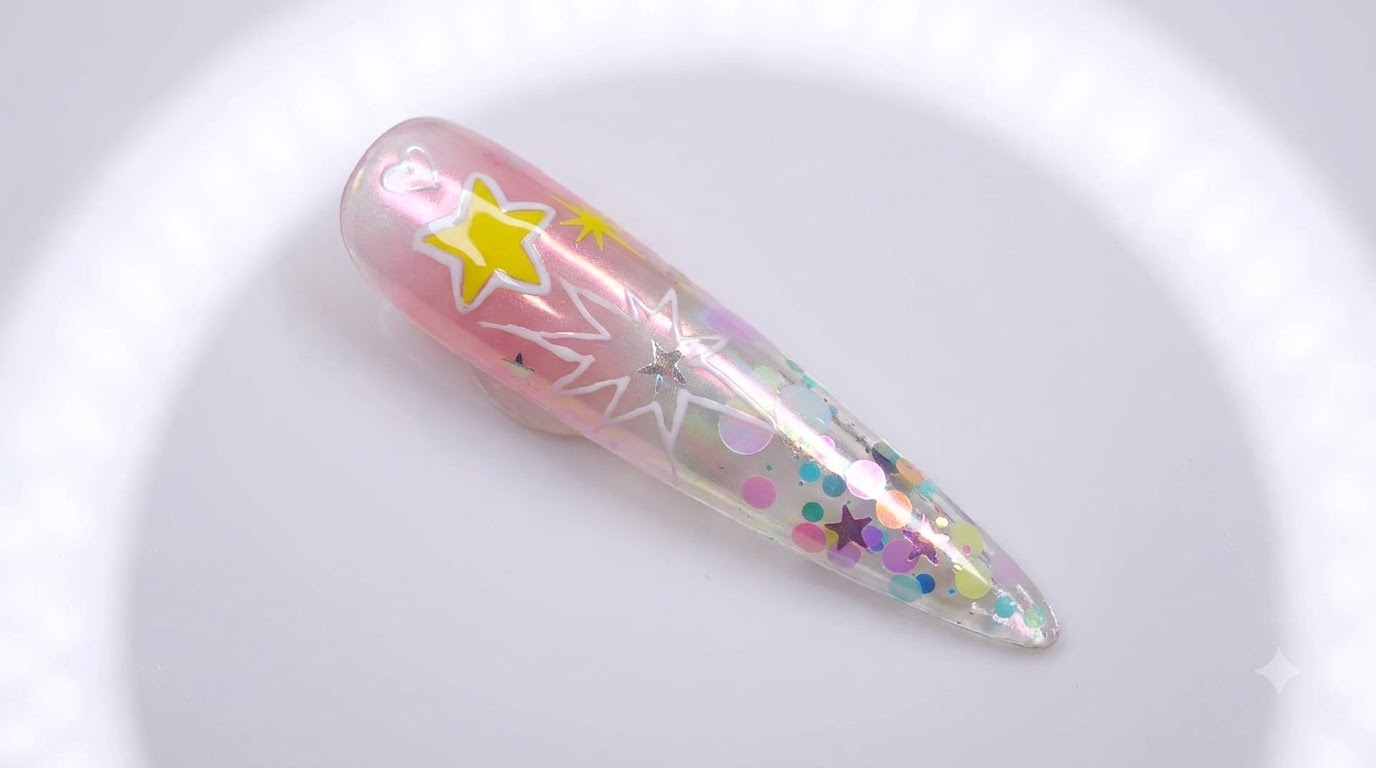
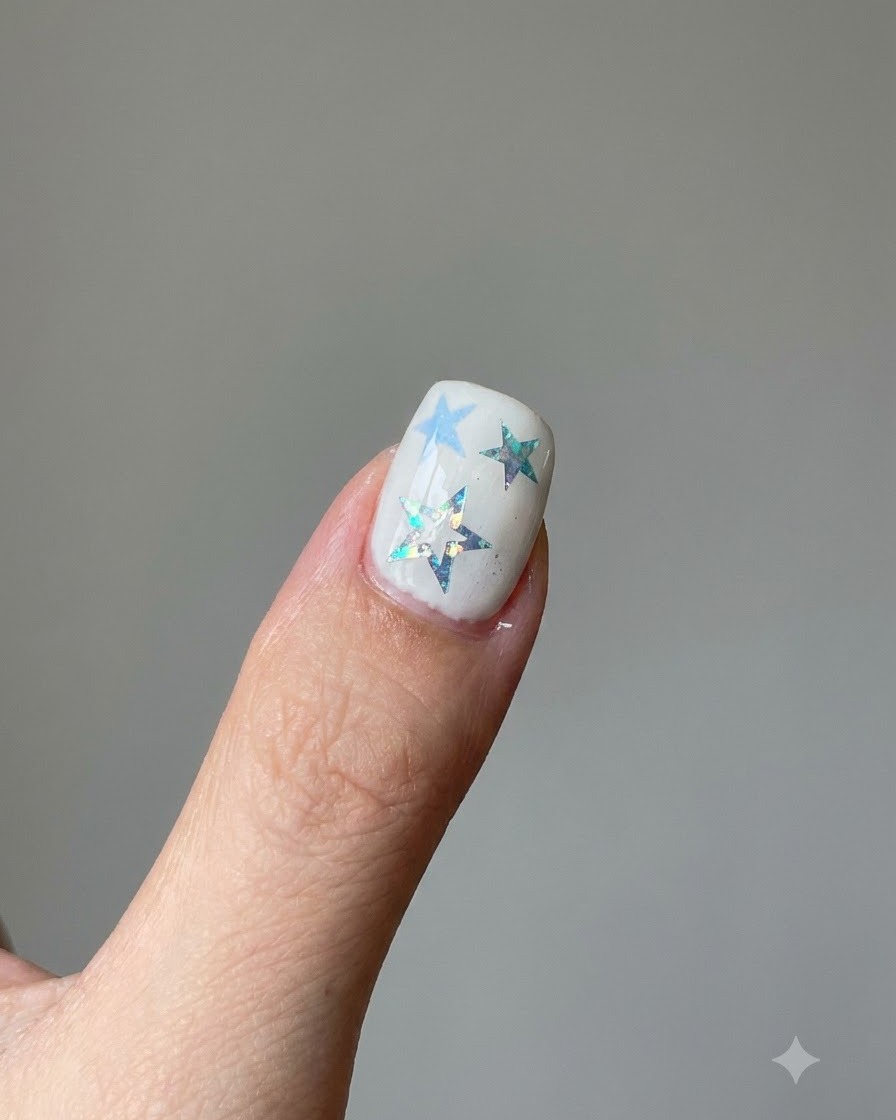
Create an ethereal space-themed manicure featuring milky-blue gel, iridescent holographic glitter, and delicate hand-drawn star outlines.
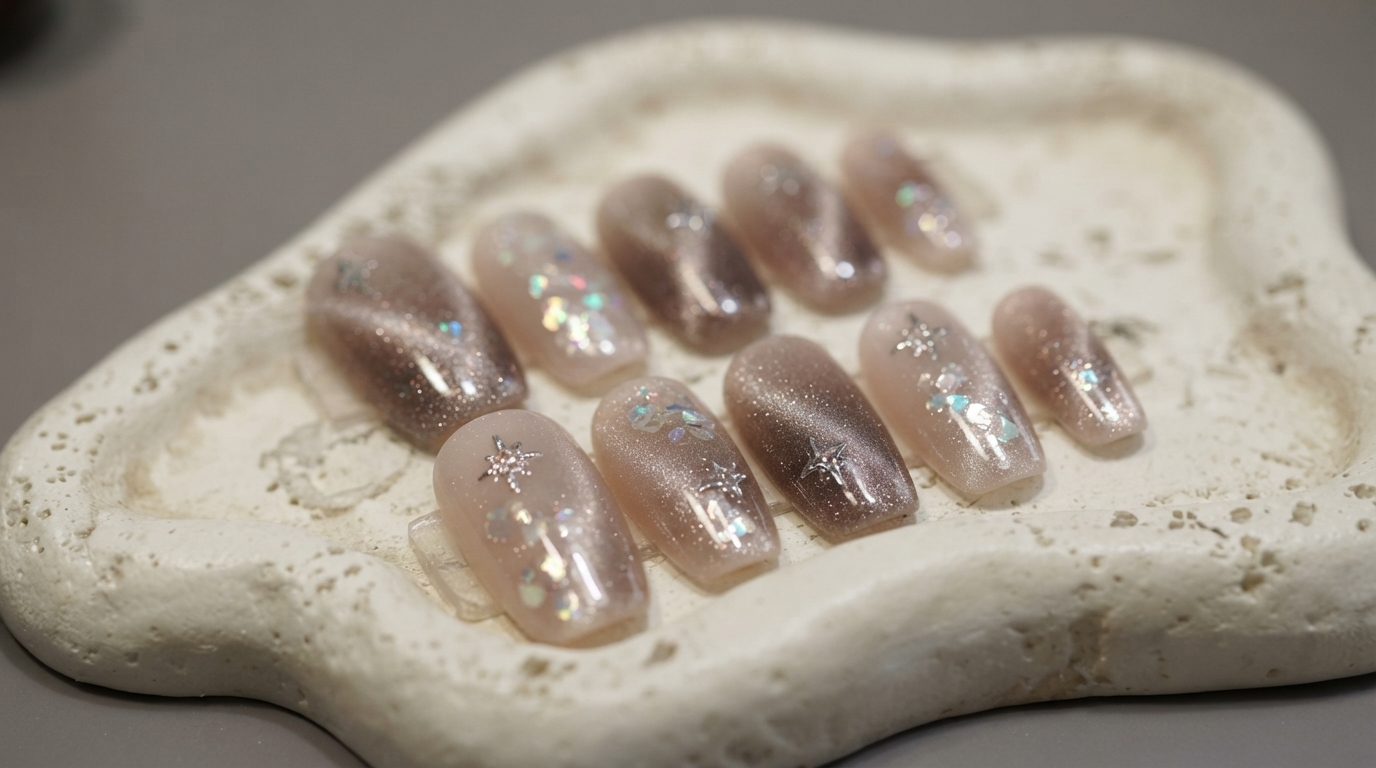
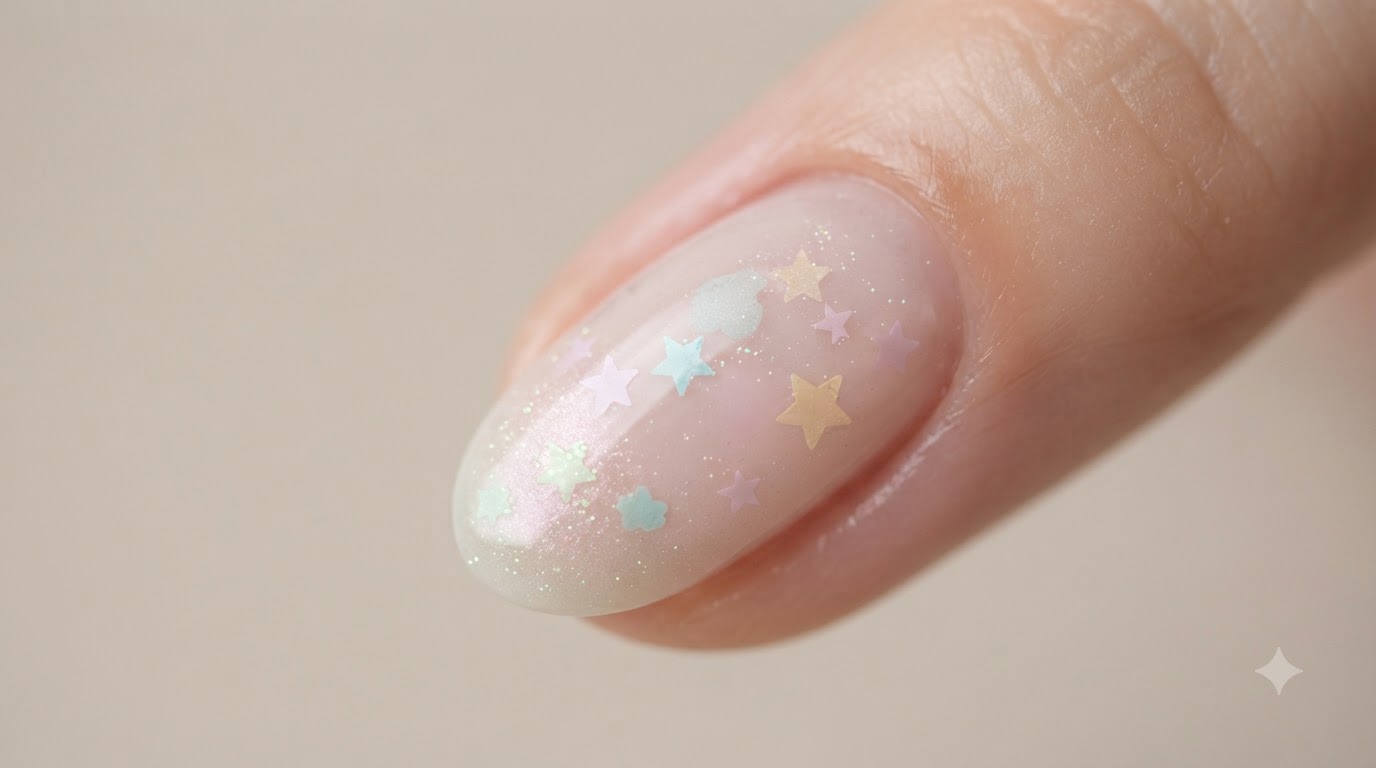
Celestial nail art continues to capture imaginations with its dreamy, cosmic vibe. This look combines a translucent milky-blue base with sparkling holographic star sequins and precise hand-drawn outlines for a layered, three-dimensional effect that shines from every angle.
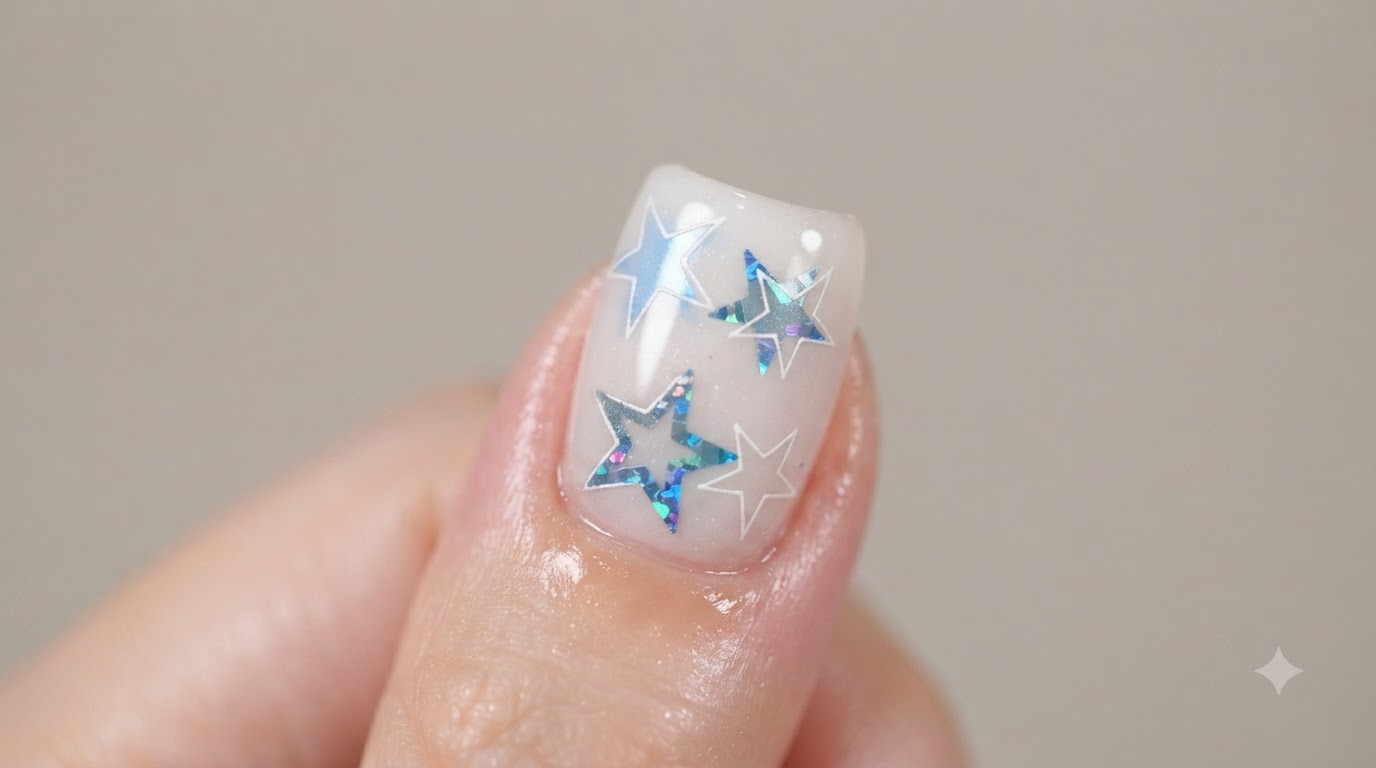
Steps
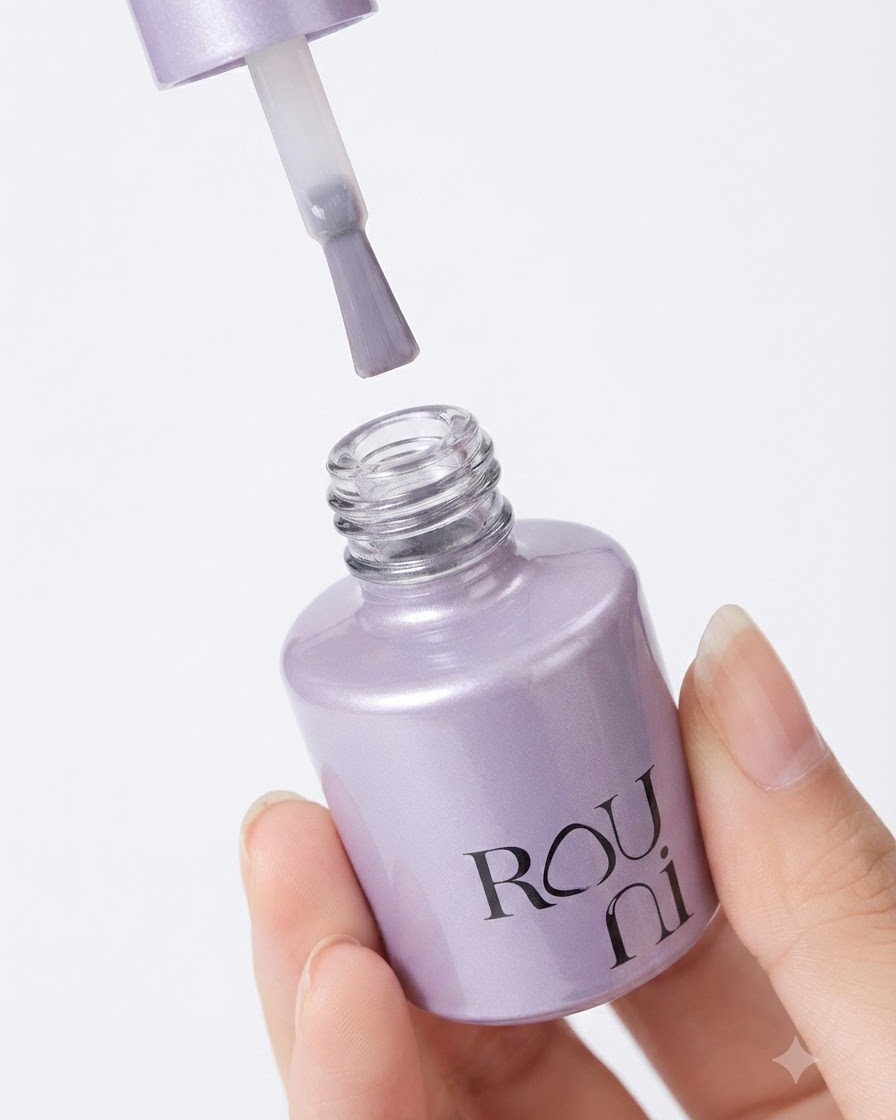
- 1Unscrew the base gel bottle
Unscrew the cap of the pink-purple bottle containing the nail base gel and carefully pull out the brush applicator, ensuring excess product is wiped against the inner rim if necessary.
Tip: Keep the bottle neck clean by wiping away excess gel to prevent the cap from sticking shut. - 2Apply base coat gel
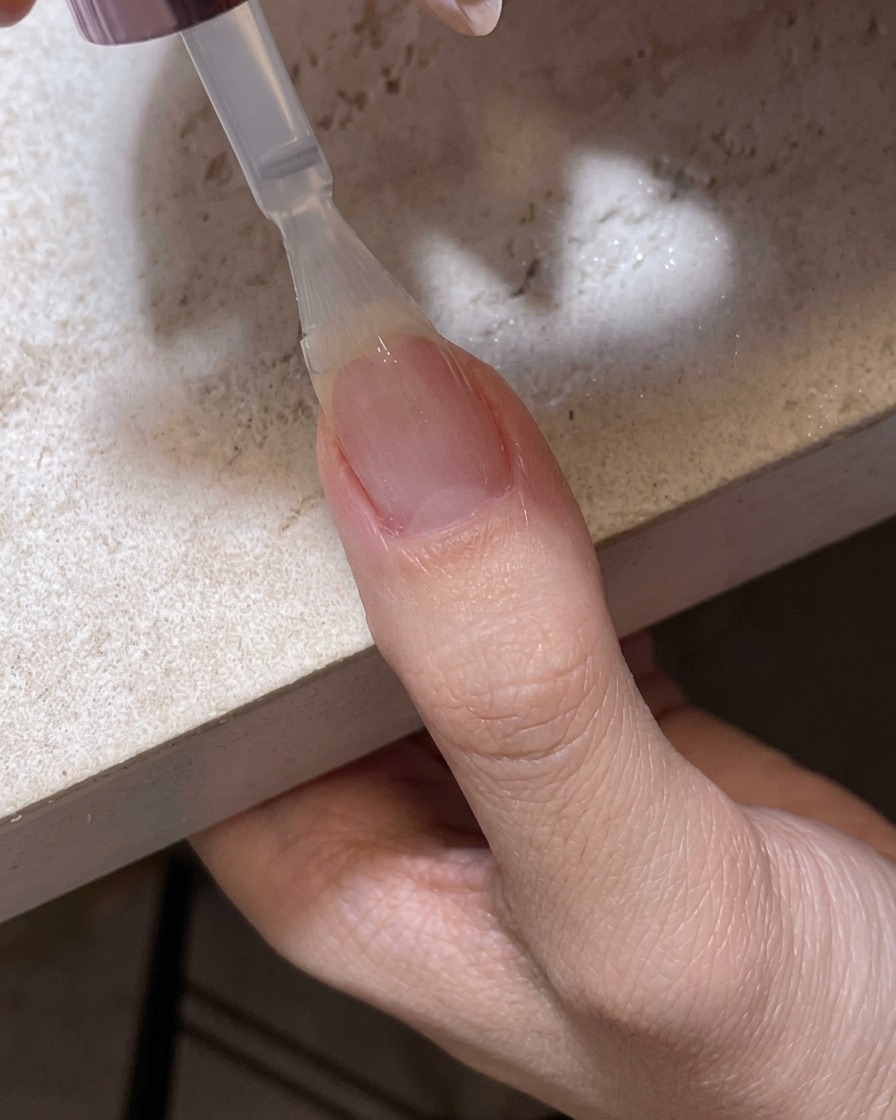
Apply a base coat of medium-consistency gel onto the bare nail plate, ensuring smooth coverage across the surface to prepare for subsequent layers.
Tip: Apply a slightly thicker layer if needed to fully cover buffed areas and ensure long-lasting adhesion. - 3Cure base coat under lamp
Place the freshly coated nail under a mini portable UV/LED nail lamp to cure the base layer thoroughly.
Tip: Position the finger directly under the light source to ensure even curing across the entire nail surface. - 4Build nail structure with base gel
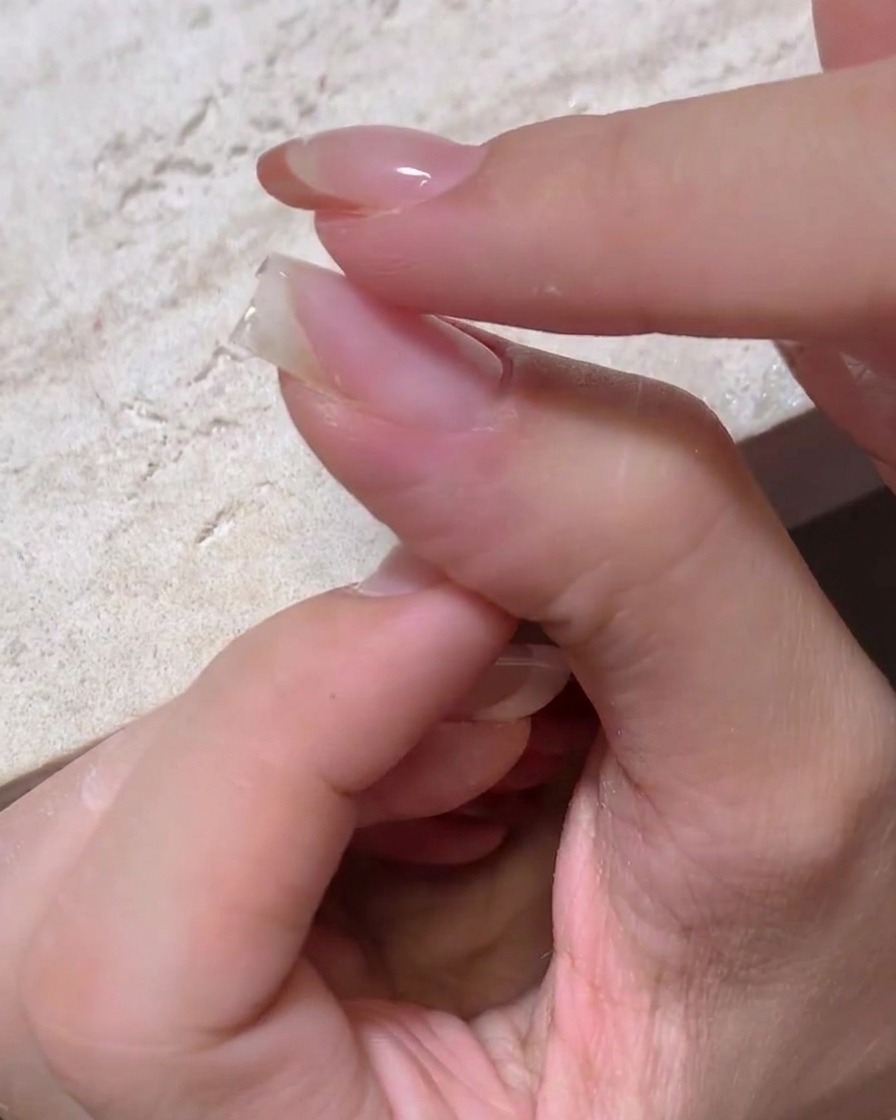
Apply an additional layer of base gel to build structure and achieve proper leveling on the nail surface.
Tip: Adjust the gel carefully to avoid any flowing ridges or pooling in the nail grooves. - 5Apply blue holographic glitter
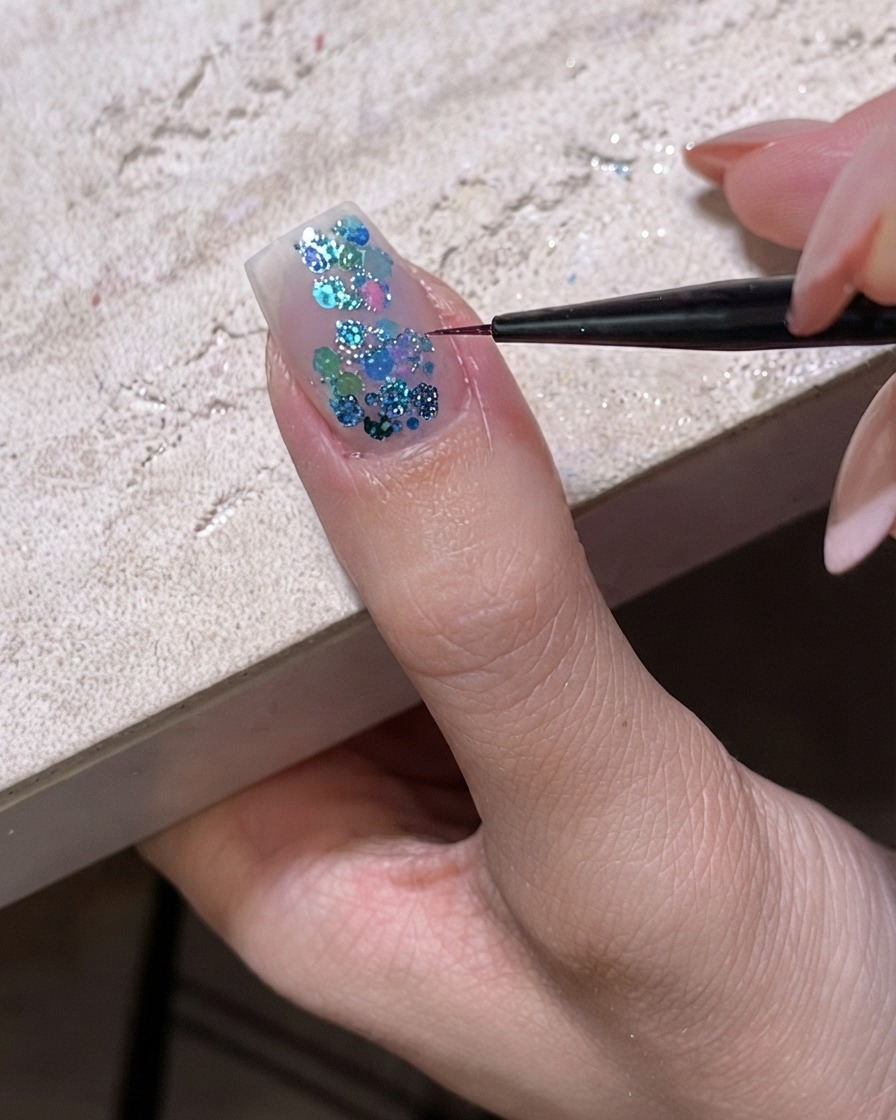
Use a fine detail brush dipped in clear gel to pick up and place blue holographic glitter pieces onto the nail surface in a desired arrangement.
Tip: Tap gently to settle the glitter flat into the uncured gel layer before curing. - 6Embed hollow star sequins
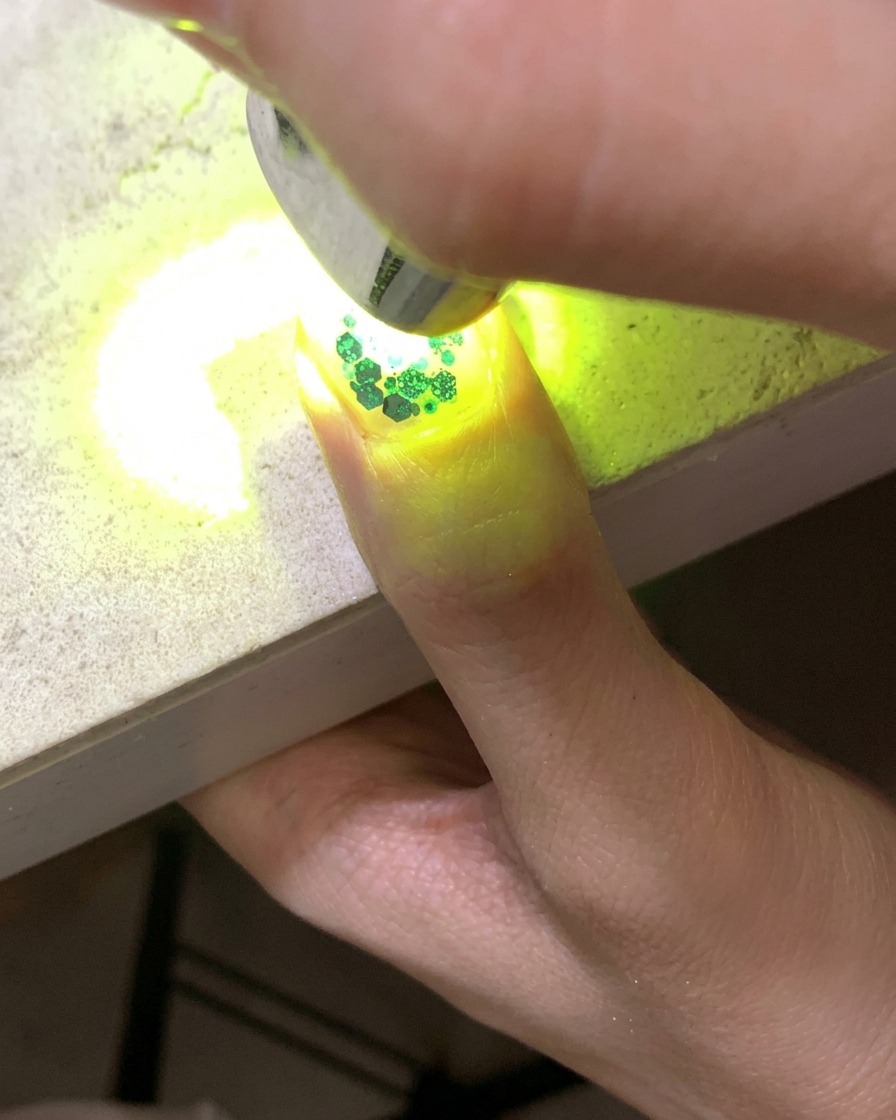
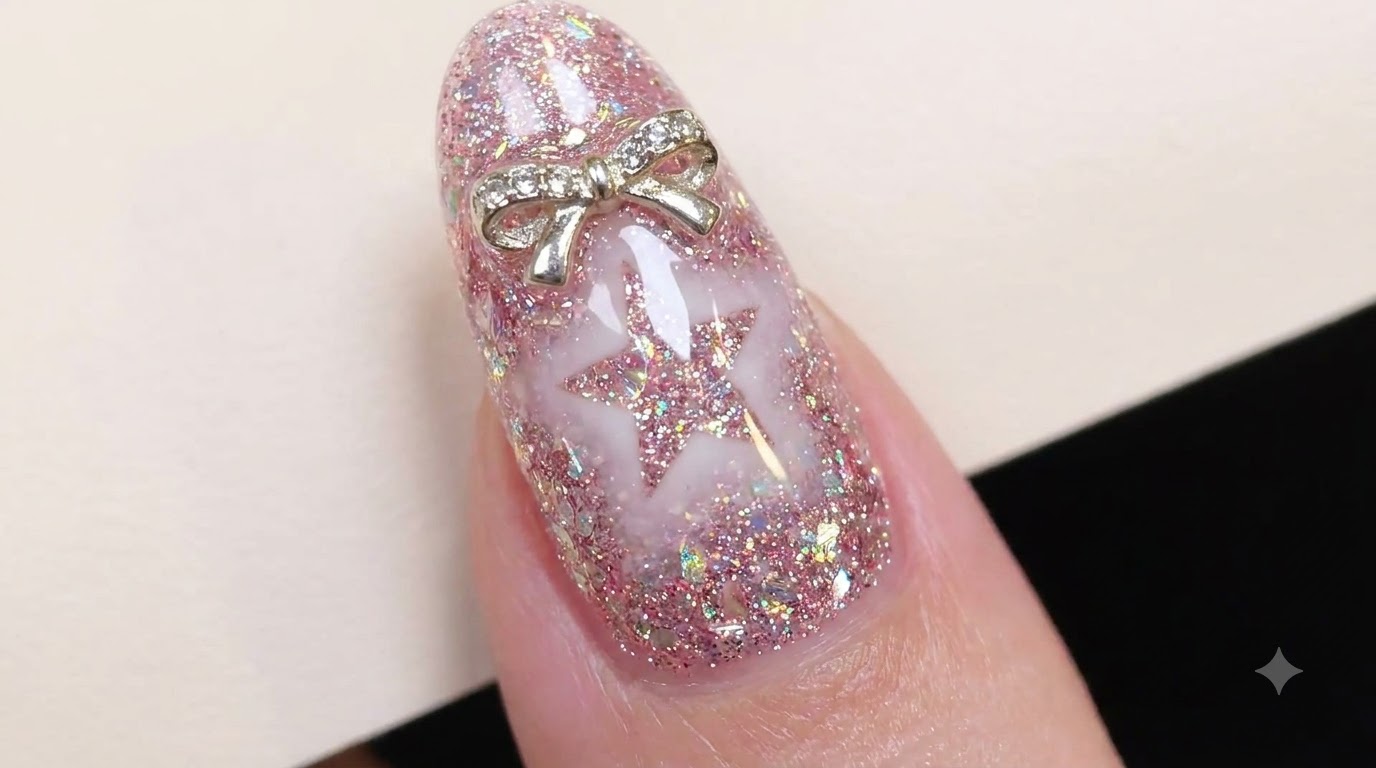
Carefully press and embed hollow star-shaped sequins into the wet gel layer on the nail, then cure under the lamp.
Tip: Use tweezers to position each star precisely before curing to prevent shifting. - 7Place additional star sticker
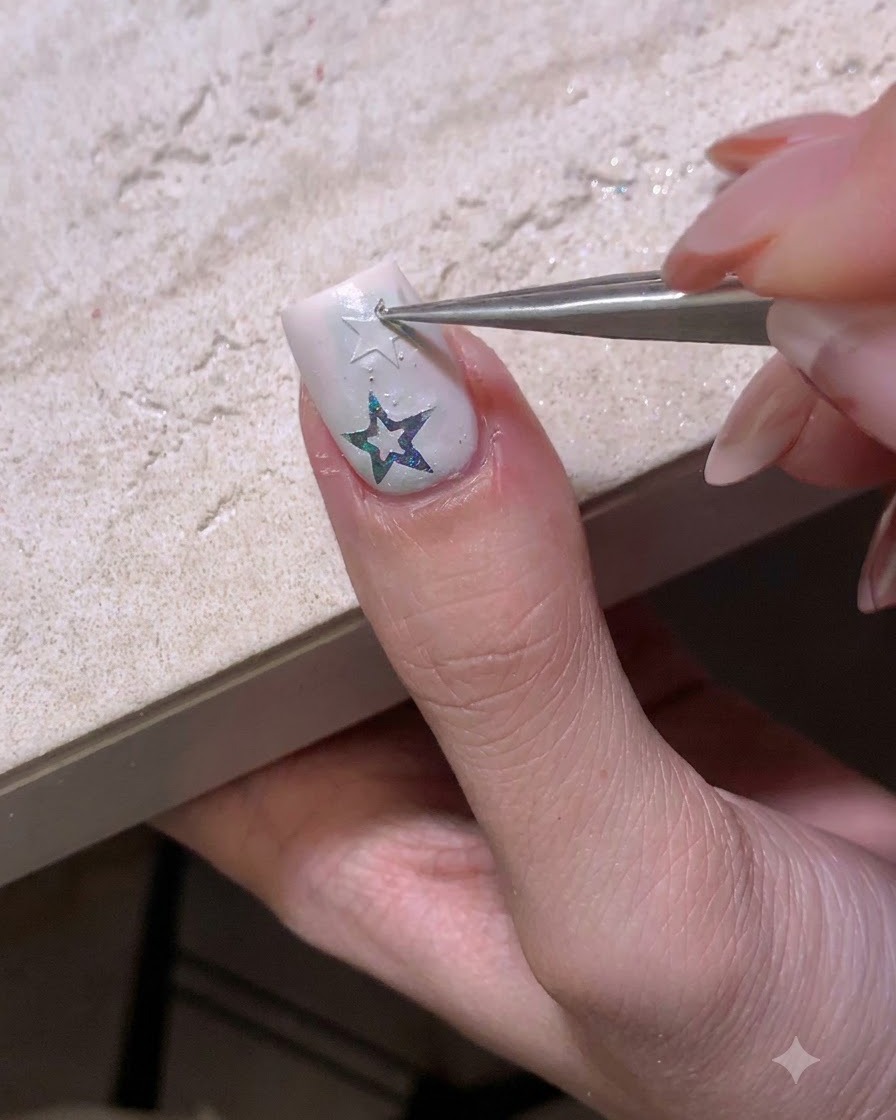
Using a pair of precision tweezers, carefully pick up another star sticker and place it onto the nail surface next to the existing elements. Adjust its position precisely before pressing it down firmly onto the tacky gel layer.
Tip: Use the tip of your tweezers to gently press down all the points of the sticker so it lays completely flat without lifting edges. - 8Cure glitter and stars
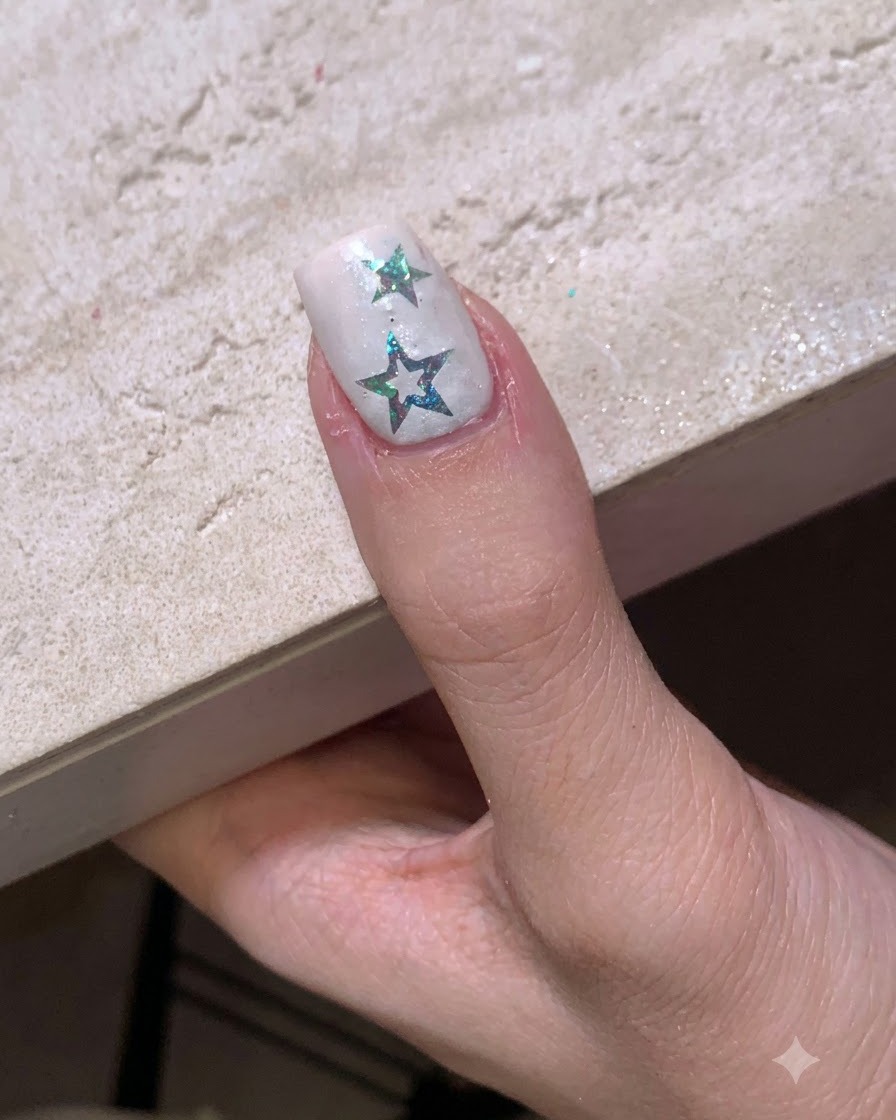
Place the finger under a mini LED curing lamp to cure the gel and secure the newly positioned glitter and star decorations in place. Follow standard curing times to ensure everything is locked down firmly.
Tip: Flash cure for 10 to 15 seconds if needed to prevent stickers from shifting before a full cure. - 9Hand-draw star outline
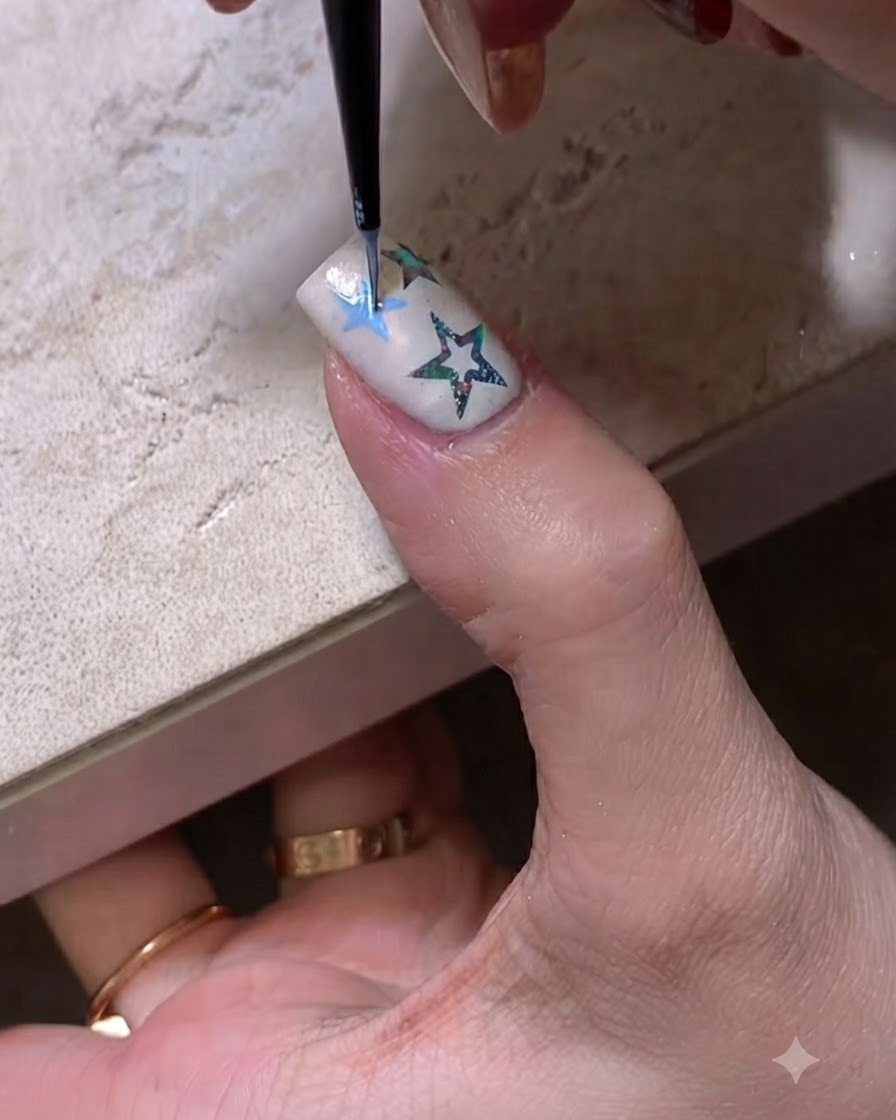
Dip a fine liner detail brush into blue gel polish and carefully draw an outline of a star onto the nail surface. Take your time to keep the lines clean and symmetrical for a polished artistic touch.
Tip: Keep a light hand and use only the very tip of the fine brush to maintain sharp, thin lines. - 10Cure hand-drawn star outlines
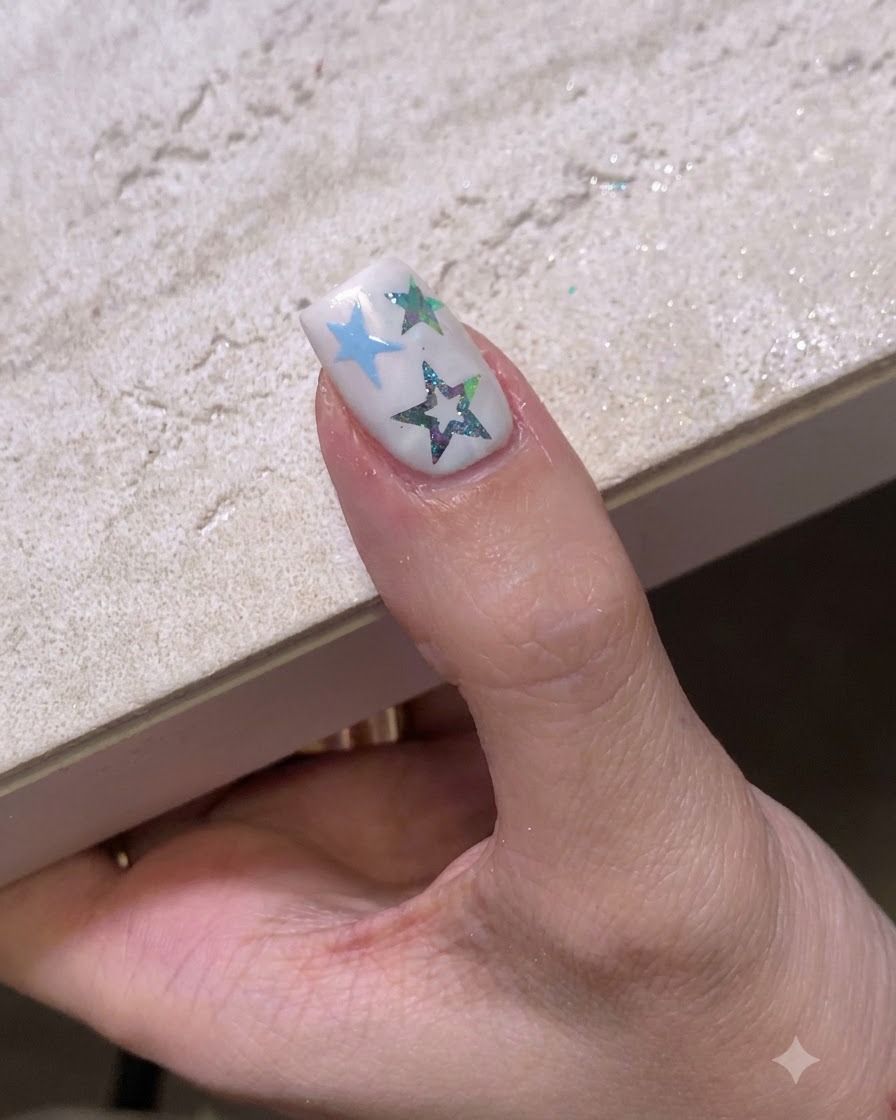
Place the nail under the UV/LED lamp to fully cure the hand-drawn star outlines. This sets the pigmented gel design so it will not smudge during subsequent layers.
Tip: Ensure proper curing time for pigmented detail gels to prevent wrinkling or uncured product underneath. - 11Apply sealing top coat
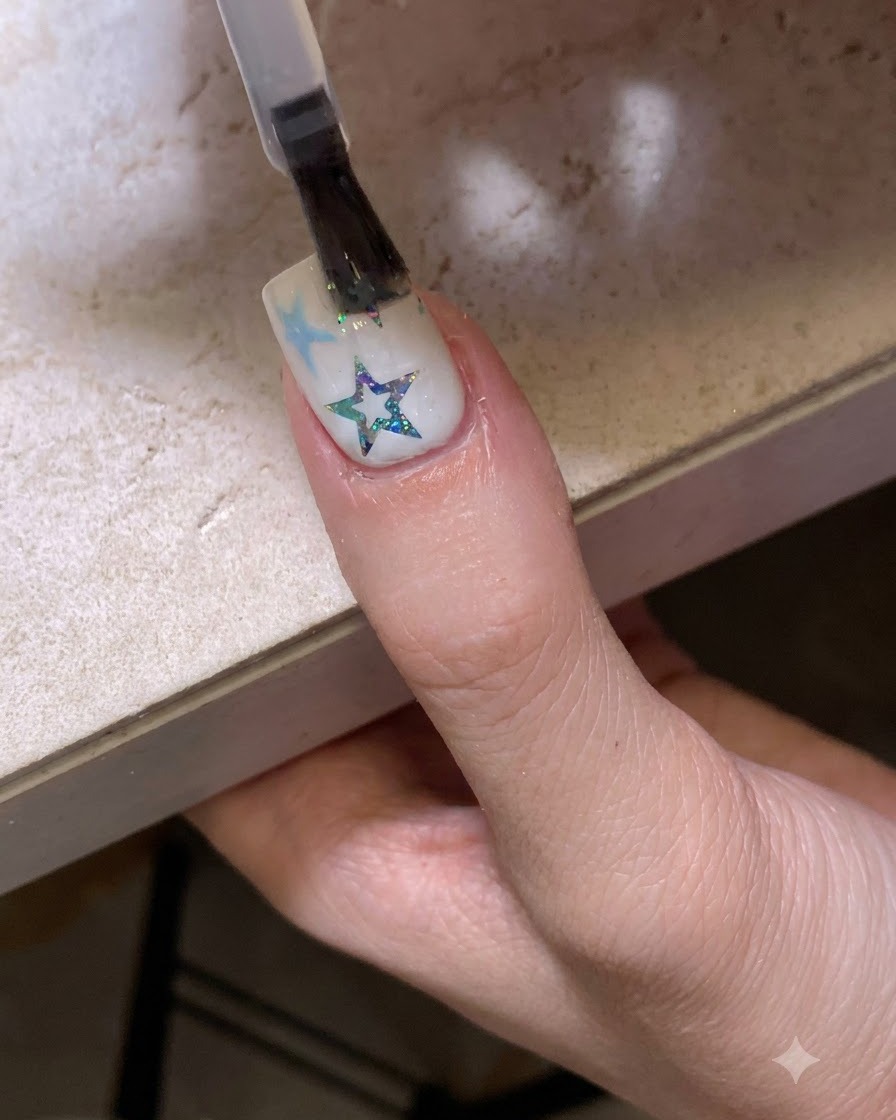
Apply a final sealing top coat evenly over the entire nail surface, covering all the embedded stickers and hand-drawn art. Cap the free edge securely to protect the manicure from chipping and wear.
Tip: Float the top coat over the nail art rather than pressing hard with the brush to avoid dragging or smudging your design. - 12Cure final top coat
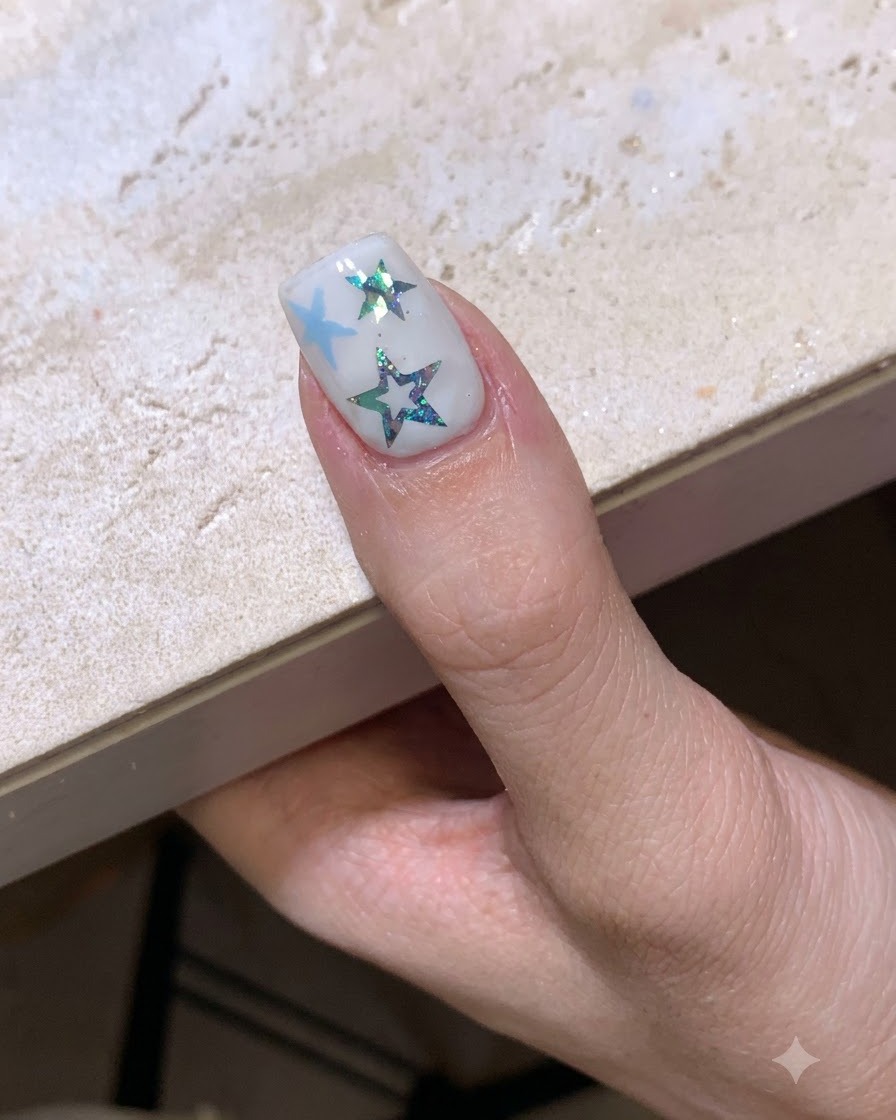
Cure the final top coat layer completely under the UV or LED lamp to harden the surface and lock in the high-gloss shine. Once cured, wipe away any inhibition layer if necessary to reveal the completed look.
Tip: Let the nails cool for a few seconds after curing before applying cuticle oil to ensure maximum shine.