Hailey Bieber Style Pearl Chrome Nails — Step-by-Step Tutorial
Achieve the iconic glazed donut pearl chrome look at home with our detailed guide to layering nude gel, gradient sponge effects, and mirror shine powder.
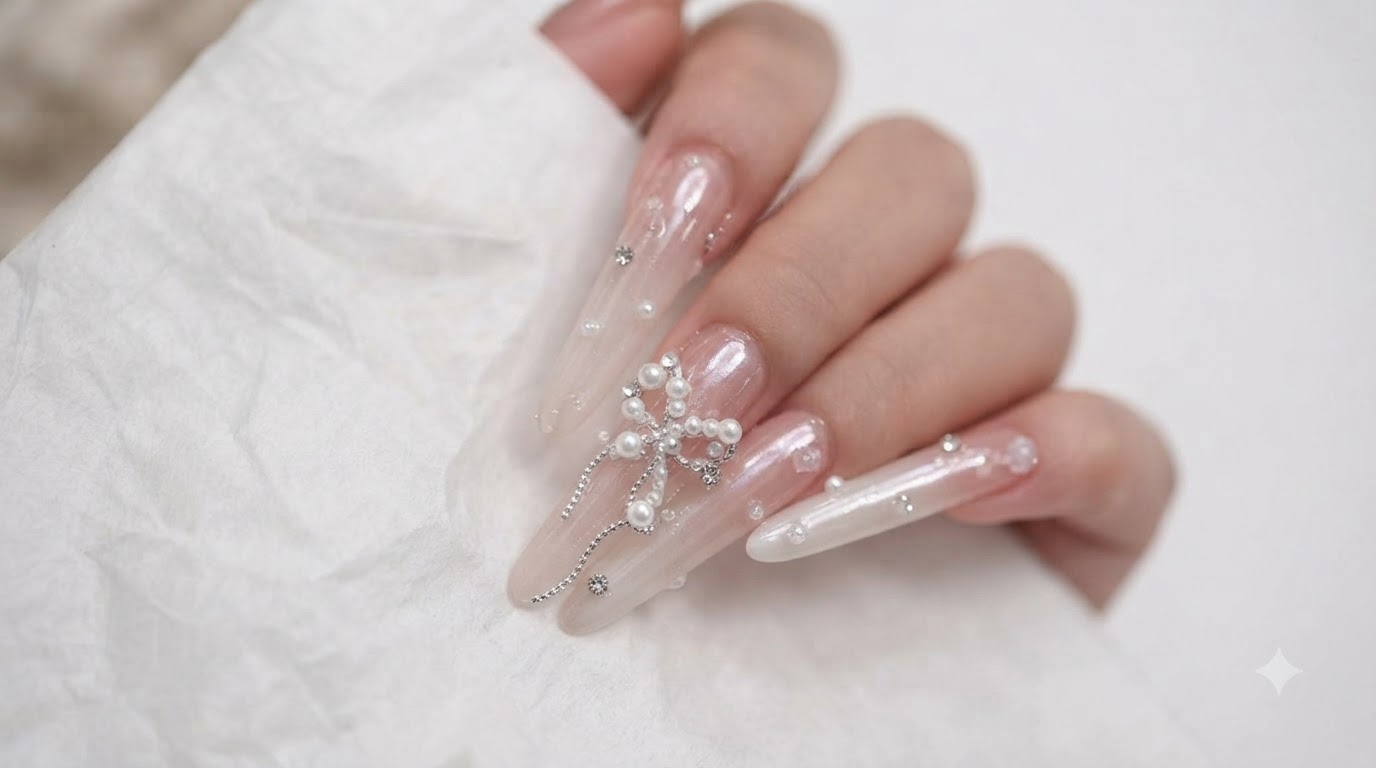
The pearlescent glazed donut manicure popularized by Hailey Bieber has taken the beauty world by storm, offering an understated yet incredibly luminous finish. This look combines a neutral, semi-transparent base with a ultra-fine pearl chrome powder to create a chic, light-reflecting sheen. By following the proper technique of layering, buffing, and sealing, you can easily replicate this signature salon-quality style on natural or enhanced nails.
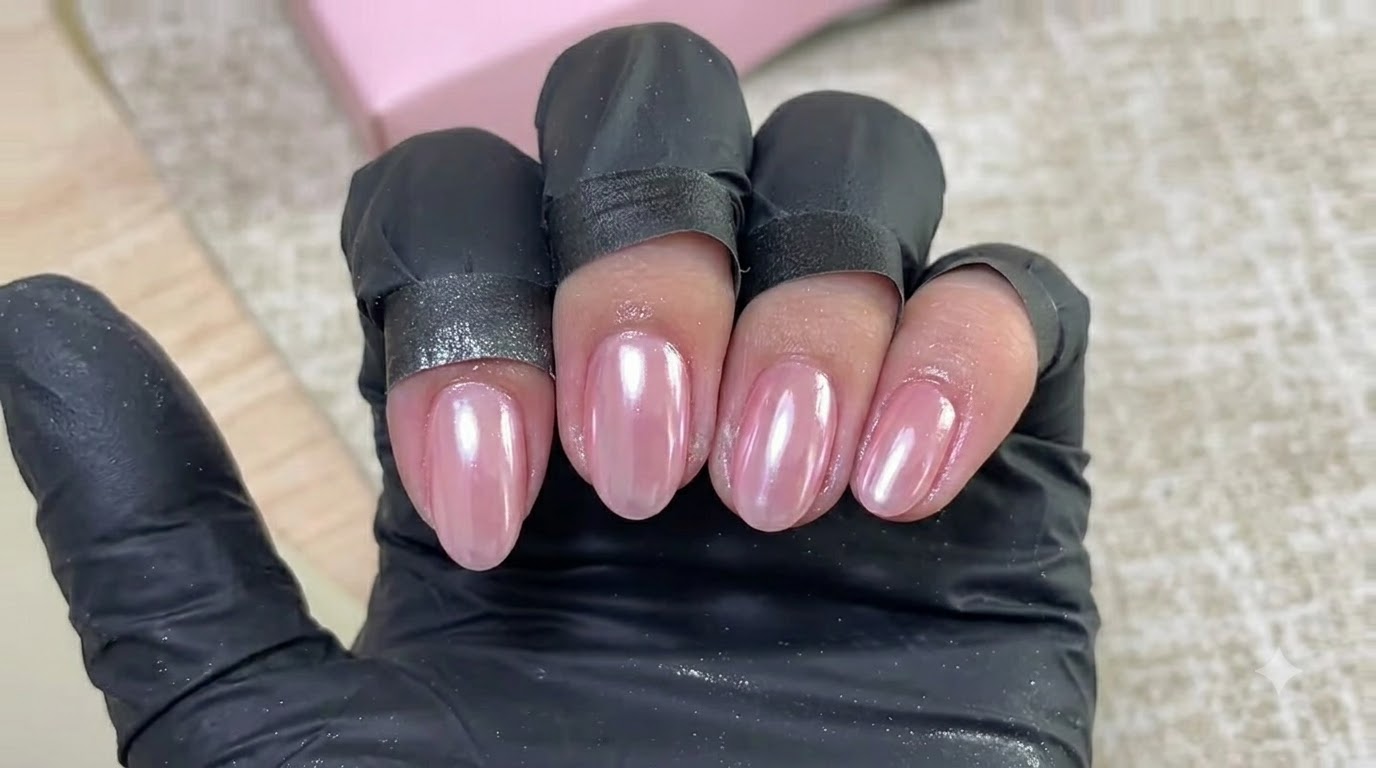
Steps
- 1Apply base coat
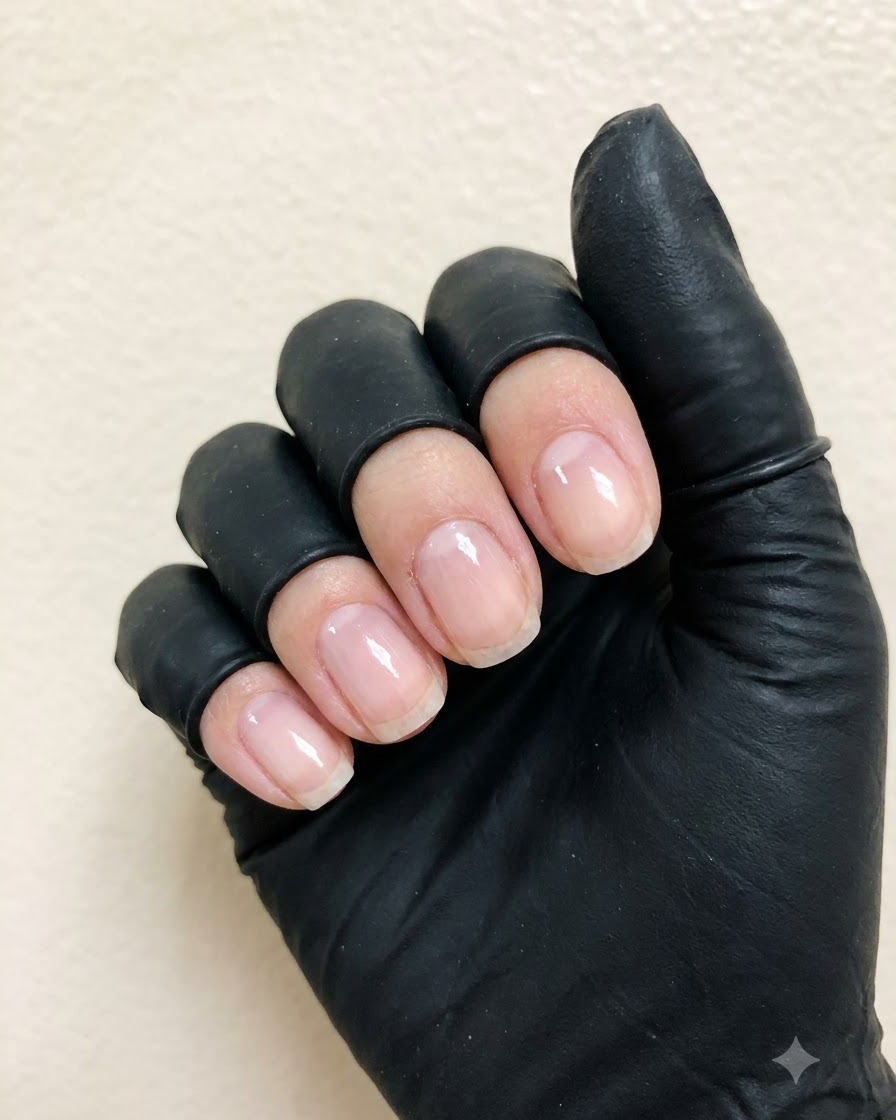
Apply a thin layer of base coat evenly over the prepped nail structure using a flat gel brush. This creates an essential adhesive foundation that anchors subsequent gel layers to the natural nail plate and prevents premature lifting.
Tip: Keep the layer thin to prevent pooling around the cuticles and ensure proper curing. - 2Apply first layer of nude gel polish
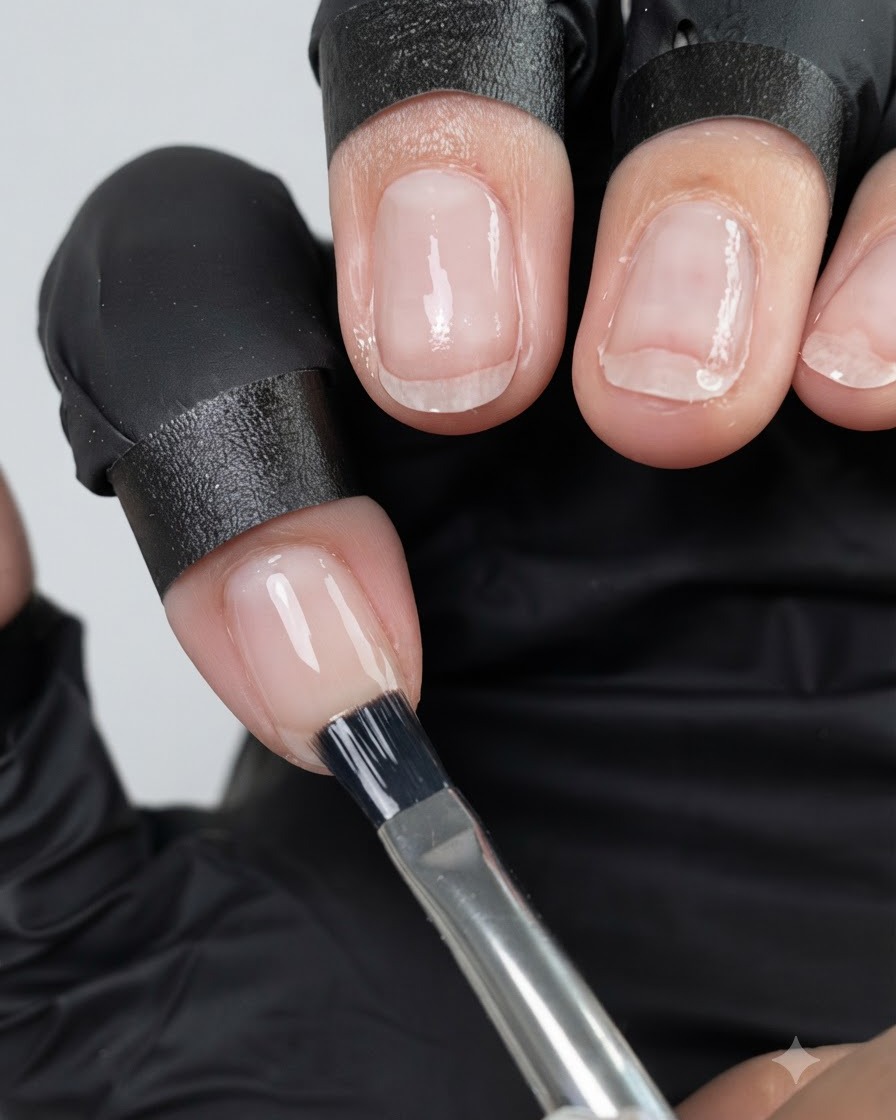
Carefully apply the first layer of nude gel polish across the nail plate, working smoothly from the cuticle down to the free edge. Ensure even coverage without creating streaks or bulk before curing under the lamp.
Tip: Cap the free edge of the nail with color to seal the tip and prevent chipping. - 3Create gradient effect with sponge
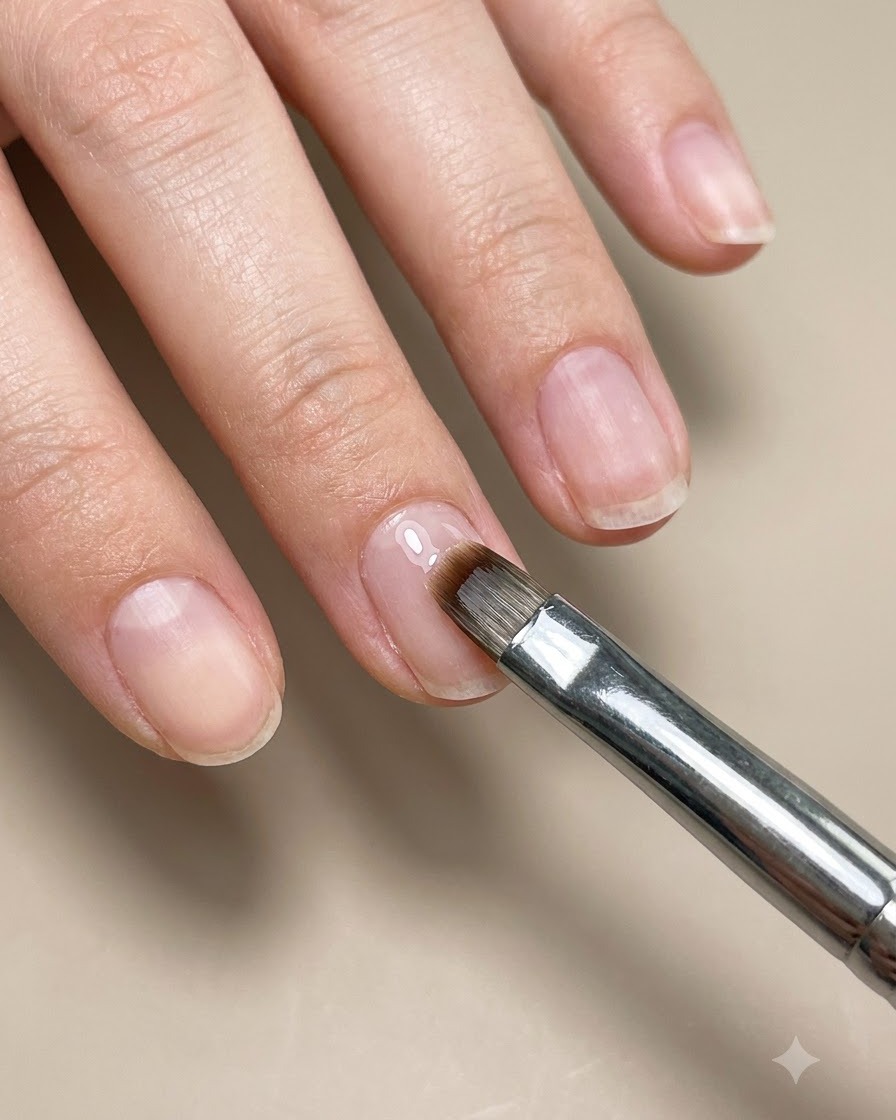
Gently dab a sponge tool loaded with polish onto the nail tip to begin building a soft gradient effect. Light, tapping motions help blend the colors seamlessly into the base shade.
Tip: Use light pressure when dabbing to avoid creating heavy texture or harsh lines on the nail surface. - 4File side and free edges
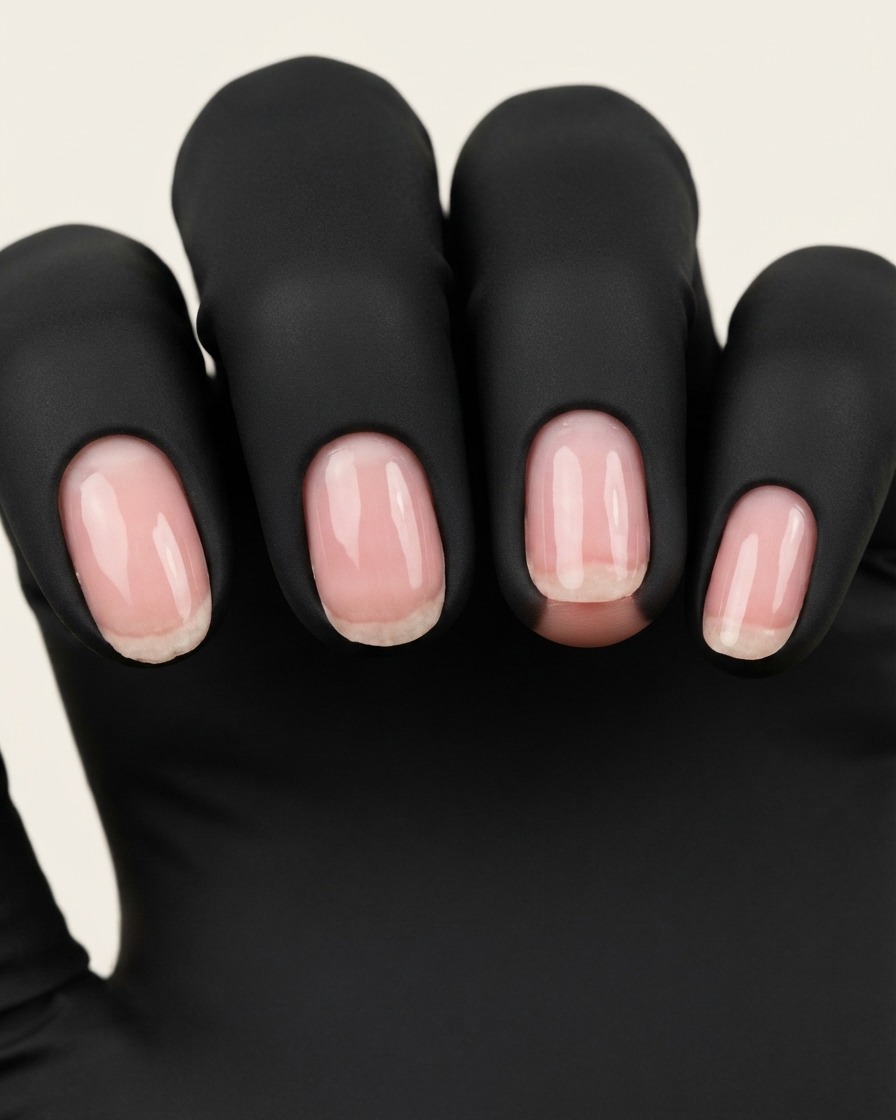
File the side edges and free edge of the nail to clean up any excess product buildup and refine the final shape. Precision filing ensures clean lines and a symmetrical silhouette.
Tip: Maintain a steady angle with your file to keep the sidewalls crisp and even. - 5Wipe nail surface with cleanser
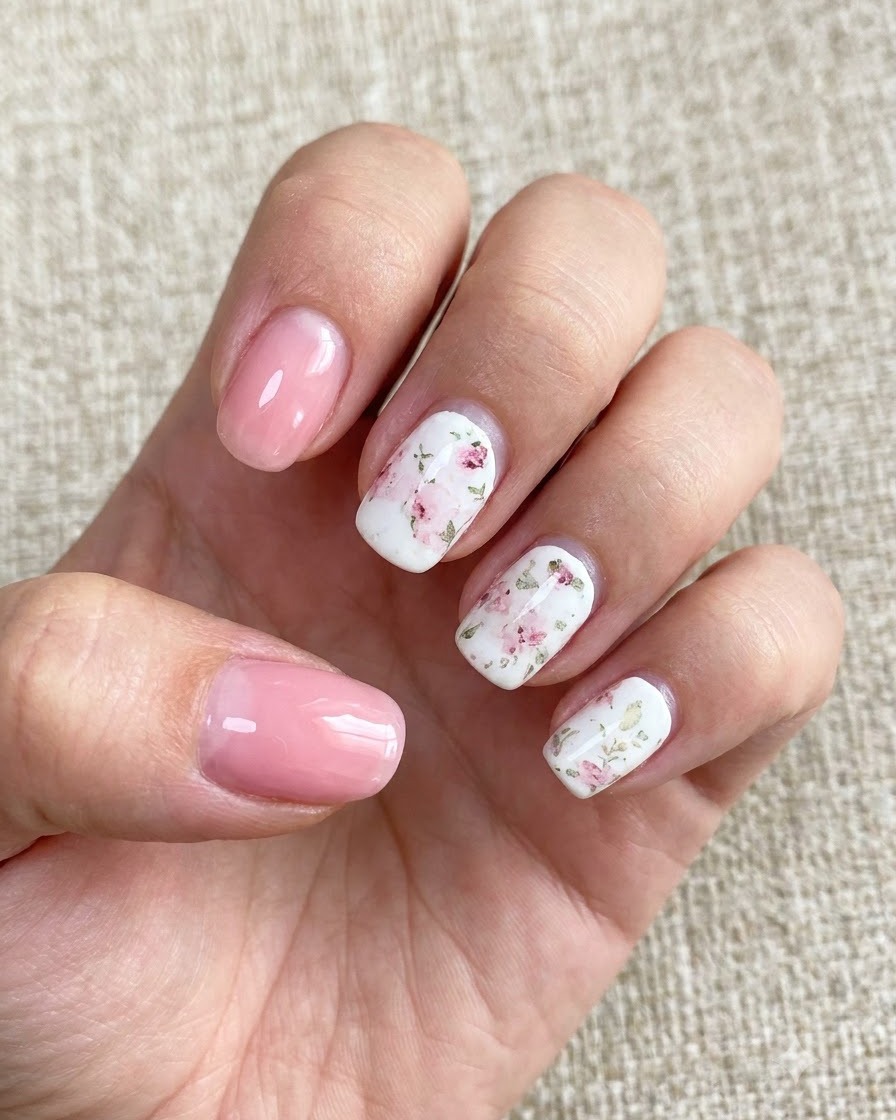
Thoroughly wipe down the nail surface using a lint-free wipe saturated with cleanser to remove any inhibition layer, dust, or residue. This leaves a clean, pristine surface ready for subsequent styling steps.
Tip: Ensure the wipe is completely lint-free to avoid leaving stray fibers trapped on the tacky gel surface. - 6Apply base gel layer
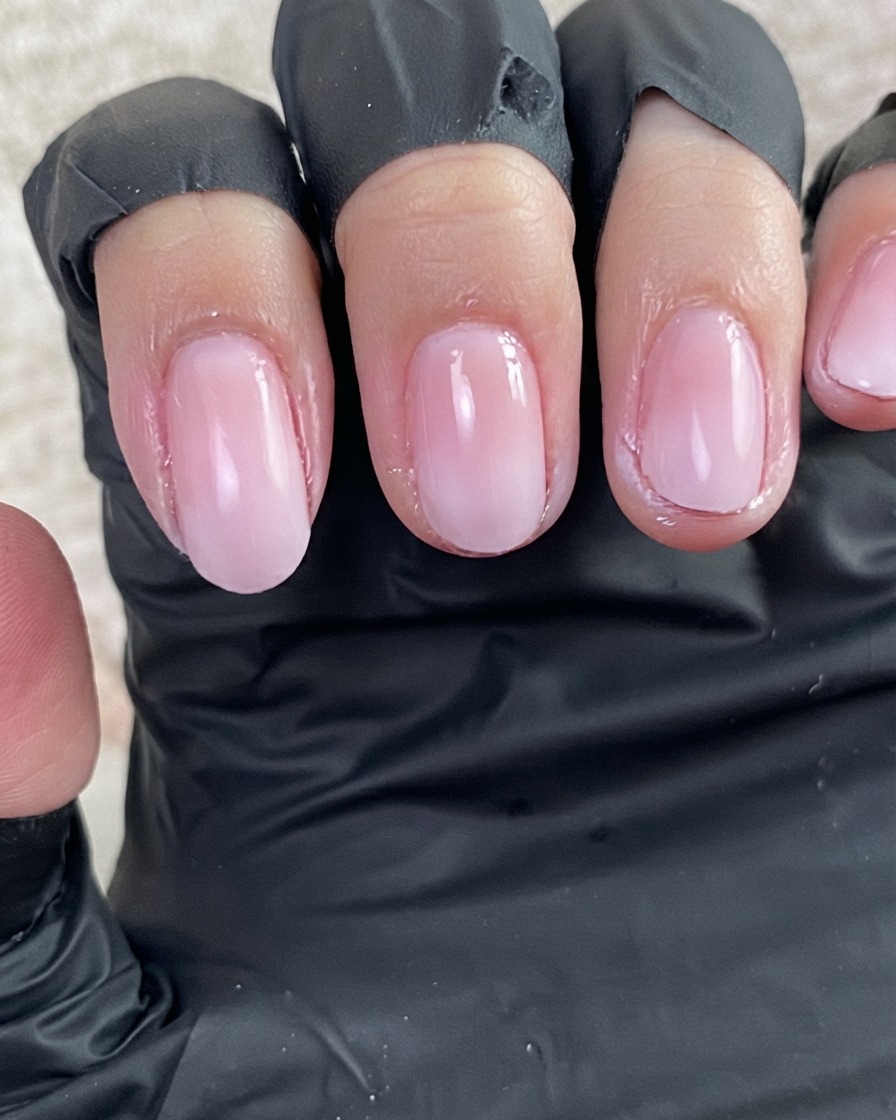
Apply a smooth coat of base gel directly onto the nail plate to prepare the surface for upcoming detailing or powder application. Ensure complete coverage across the entire nail structure.
Tip: Double-check the cuticle boundaries to make sure no base gel touches the surrounding skin. - 7Apply specialized mirror effect top coat
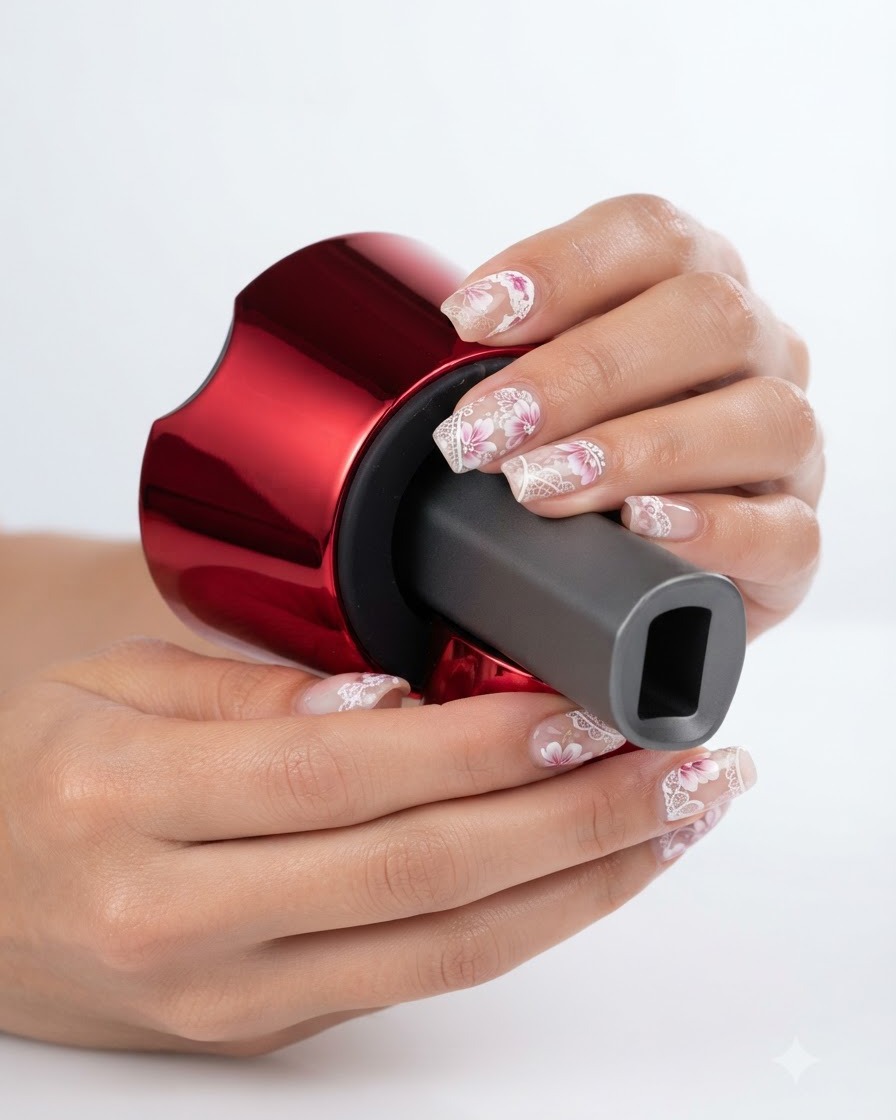
Apply a specialized top coat designed for chrome powder over the cured nail surface. This product provides a smooth, tacky base formulated to grab and hold the powder while ensuring a bright, transparent finish.
Tip: Ensure the top coat is cured for the exact time required by the manufacturer so the chrome powder adheres evenly without dulling. - 8Apply pearl chrome powder
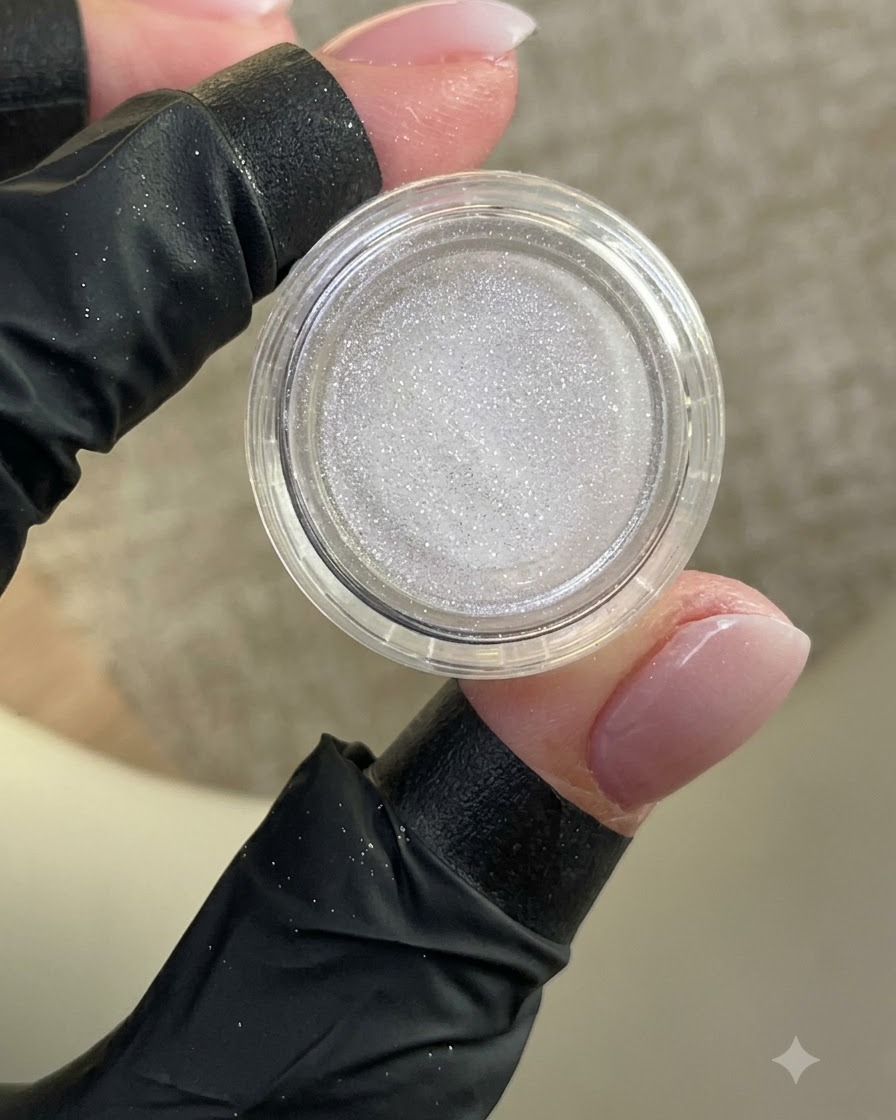
Using a silicone applicator, gently rub the pearl chrome powder onto the cured top coat surface. Buff the powder in thoroughly until a smooth, luminous pearl sheen appears across the entire nail.
Tip: A small amount of powder goes a long way; tap off excess powder before buffing to ensure a smooth, streak-free finish. - 9Buff Chrome Powder to Mirror Finish
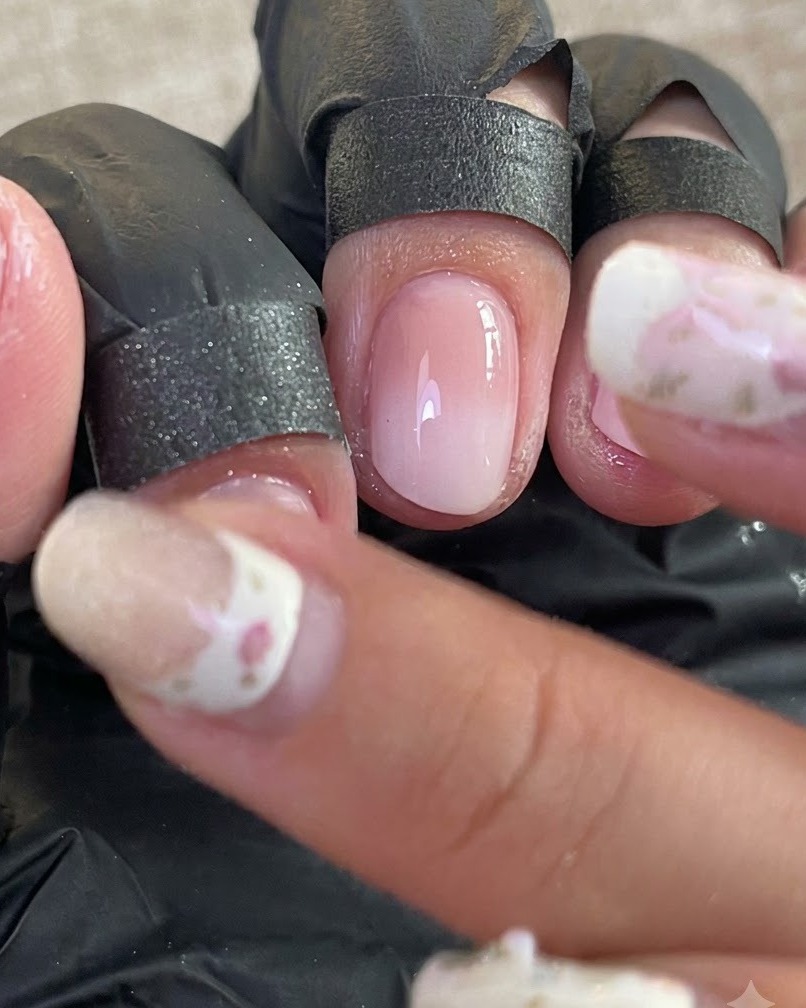
Continue buffing the pearl powder firmly into every part of the nail surface until the texture disappears and a flawless, high-shine pearl finish is revealed. Ensure the entire nail bed from cuticle to free edge is evenly covered.
Tip: Use a lint-free wipe or a soft brush to gently dust away any excess loose chrome powder flakes before sealing it in. - 10Refine Nail Edges
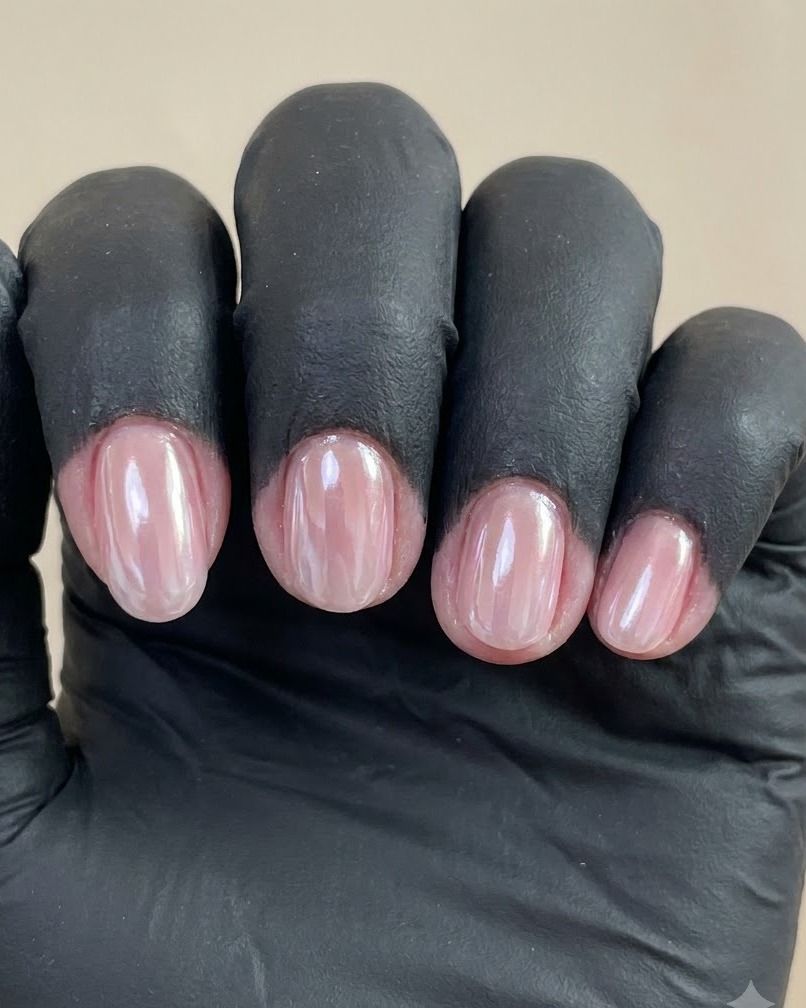
Lightly file the three sides and free edge of each nail again to clean up any excess powder buildup and smooth out any micro-chips along the border. This step prevents the chrome layer from chipping prematurely at the tips.
Tip: Be extremely gentle during this filing step so you do not accidentally scratch or scrape off the newly buffed chrome finish on the flat surface of the nail. - 11Apply Strengthening Gel
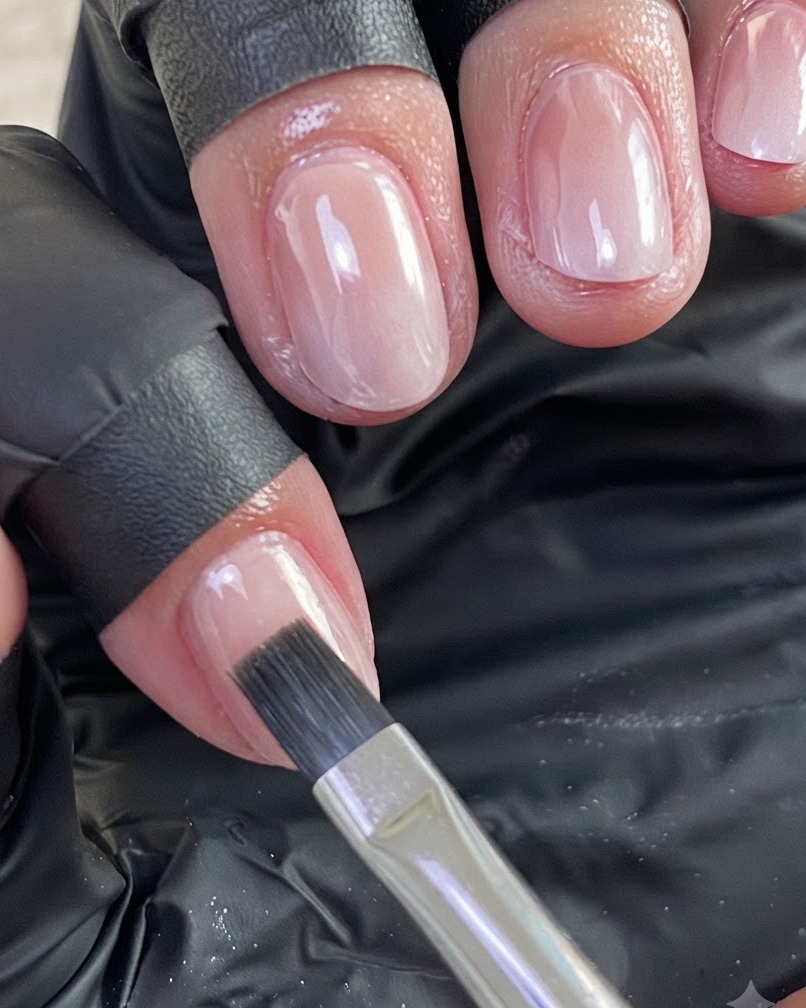
Apply a thicker, non-powder-dissolving strengthening gel over the entire nail structure to encapsulate the chrome finish, protect the manicure against wear, and build a strong apex. Cure thoroughly under your UV/LED lamp.
Tip: Make sure to cap the free edge completely with the strengthening gel to lock in all preceding layers and prevent edge lifting. - 12Apply final glossy top coat
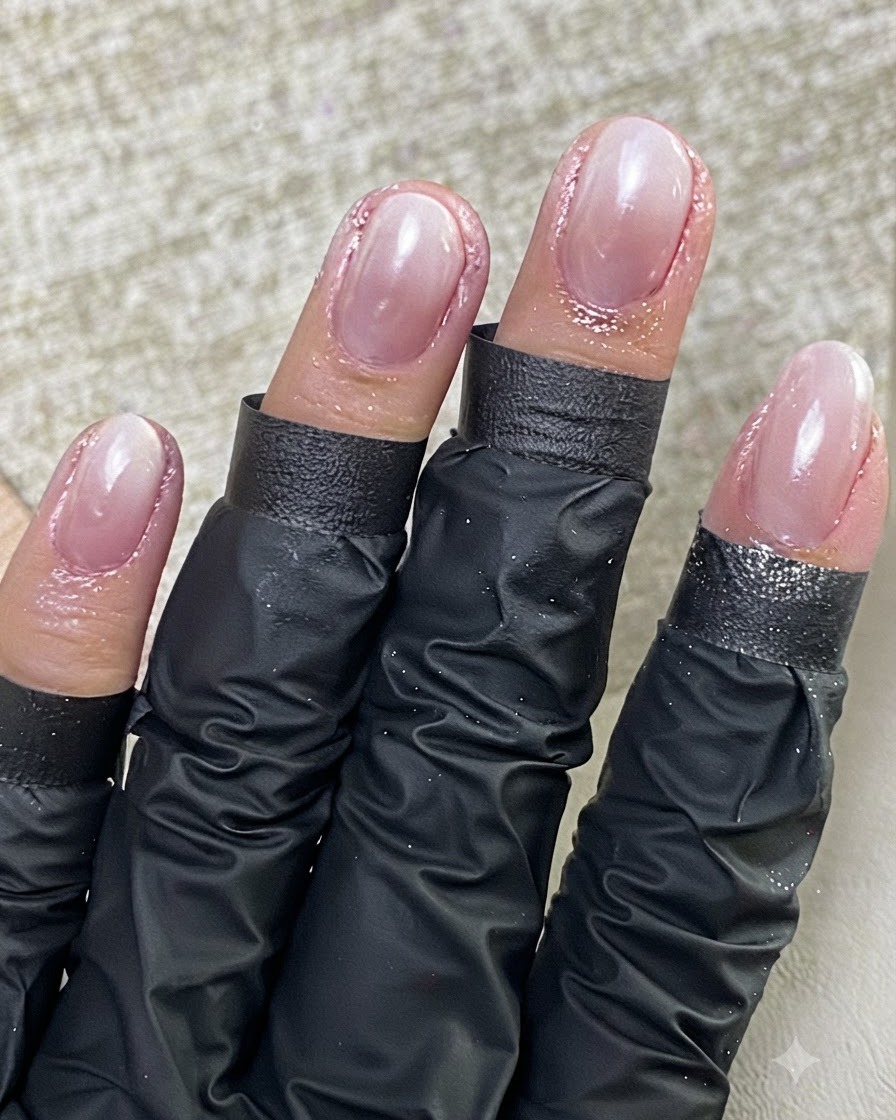
Apply a final, even layer of glossy top coat over the entire nail structure to seal the manicure, protect the layers underneath, and provide a brilliant shine. Ensure you cap the free edge completely to prevent chipping and wear.
Tip: Cap the free edge carefully with top coat to lock in the layers and extend the longevity of your manicure.