Dreamy Cool-Toned Pearl Calla Lily Nail Art — Step-by-Step Tutorial
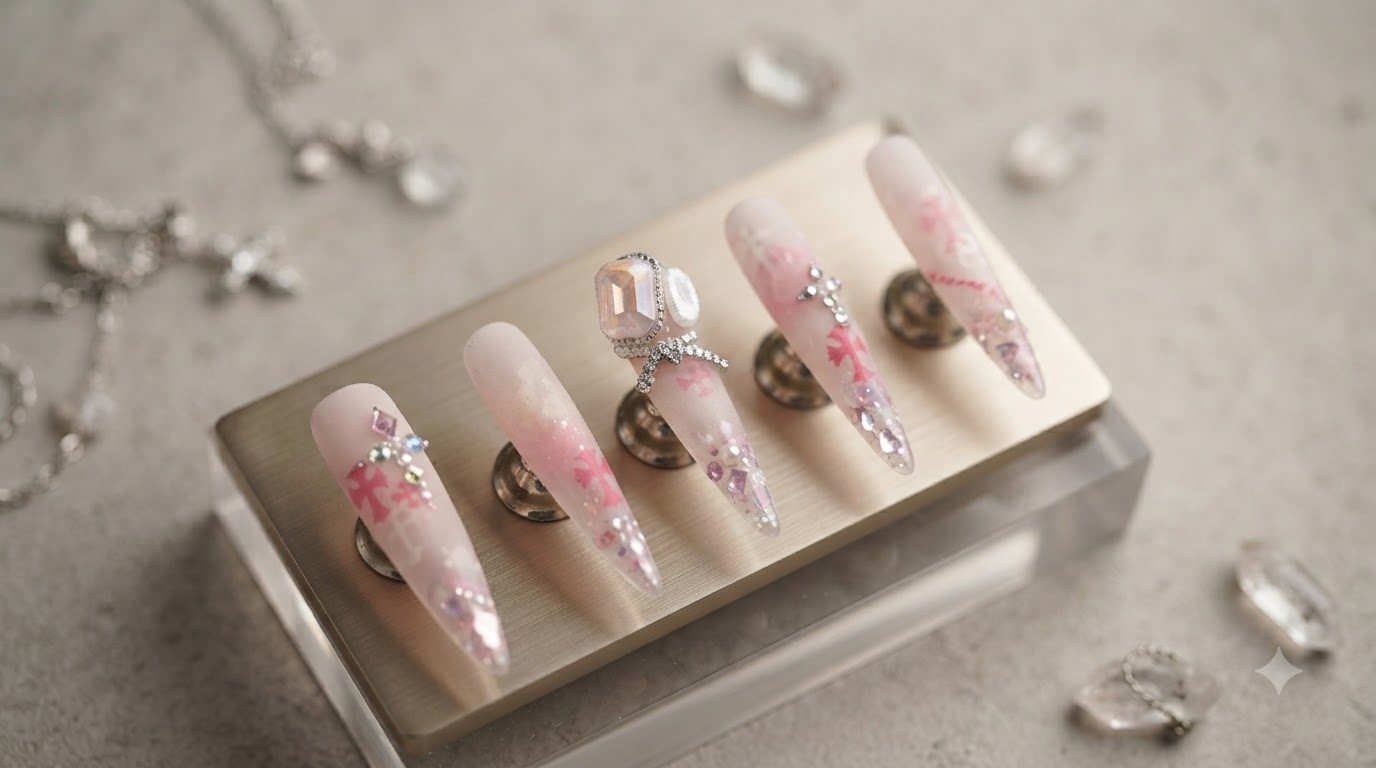
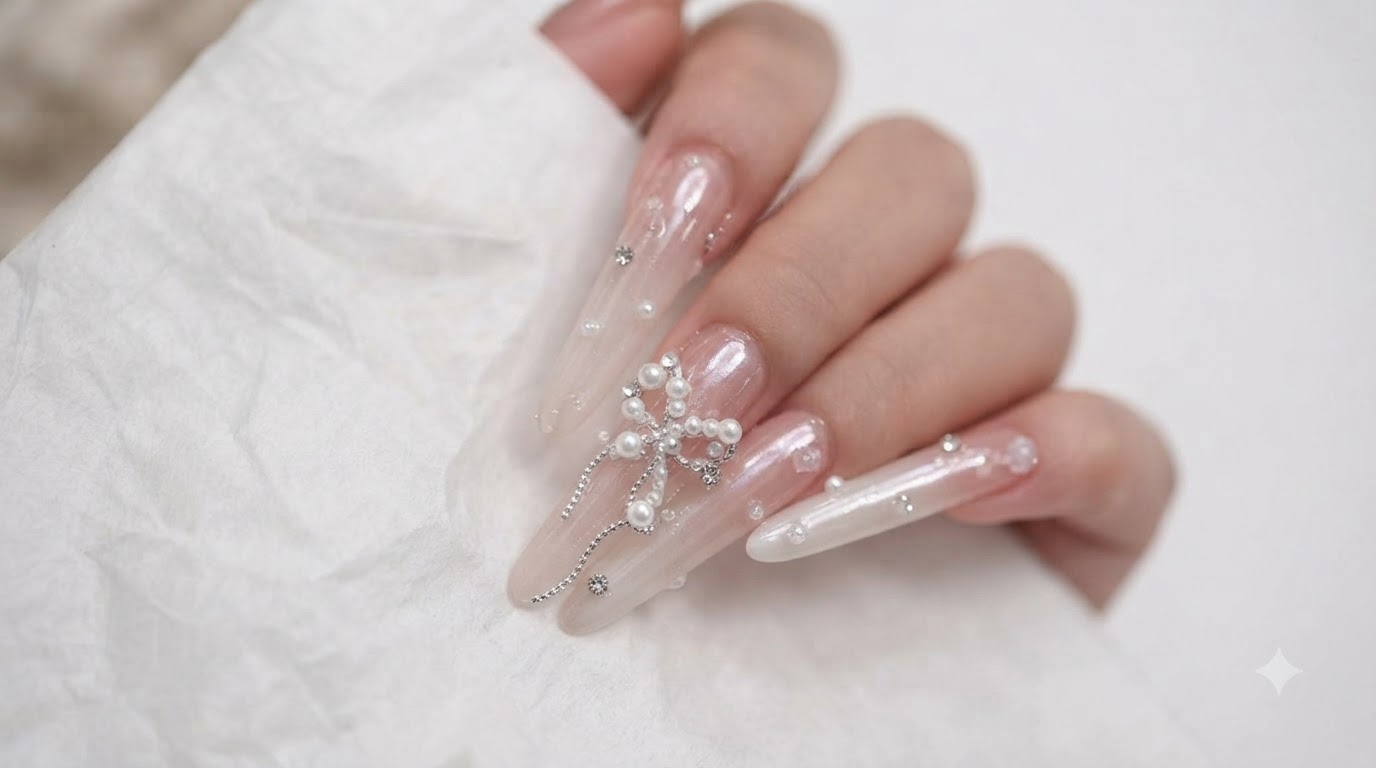
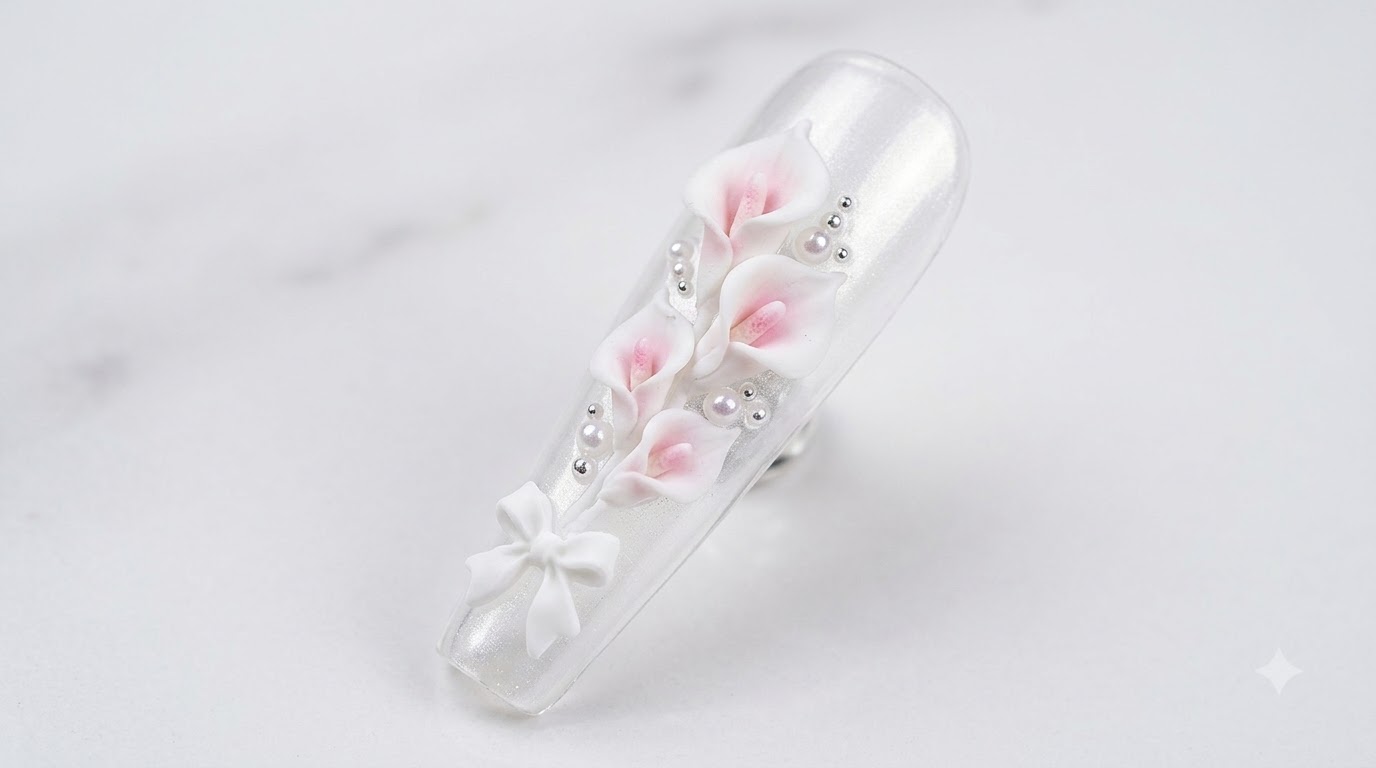
Create enchanting 3D calla lily and pearl nail art with delicate pink gradients, shimmering textures, and an elegant bow accent.
Pearls and calla lilies create a timeless, romantic combination that exudes gentle elegance. This step-by-step tutorial guides you through crafting luminous cool-toned pearl backgrounds paired with intricate 3D sculpted floral details and delicate bows.
Steps
- 1Dab pearl white onto the edges
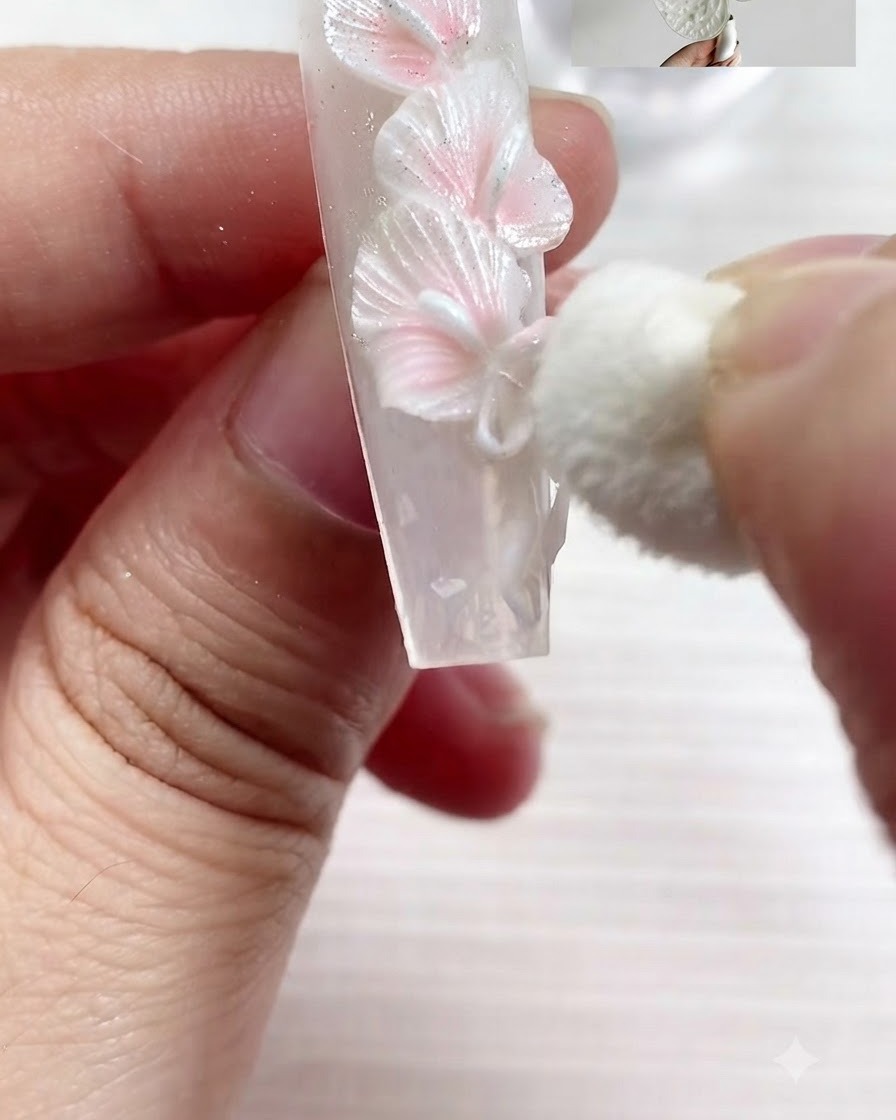
Using a makeup sponge, gently dab pearl white pigment onto the edges of the bow and calla lily petals to add dimension and highlight the sculptural details.
Tip: Use a light tapping motion with the sponge to avoid disturbing the uncured or delicate gel layers underneath. - 2Apply and blend pearl texture gel
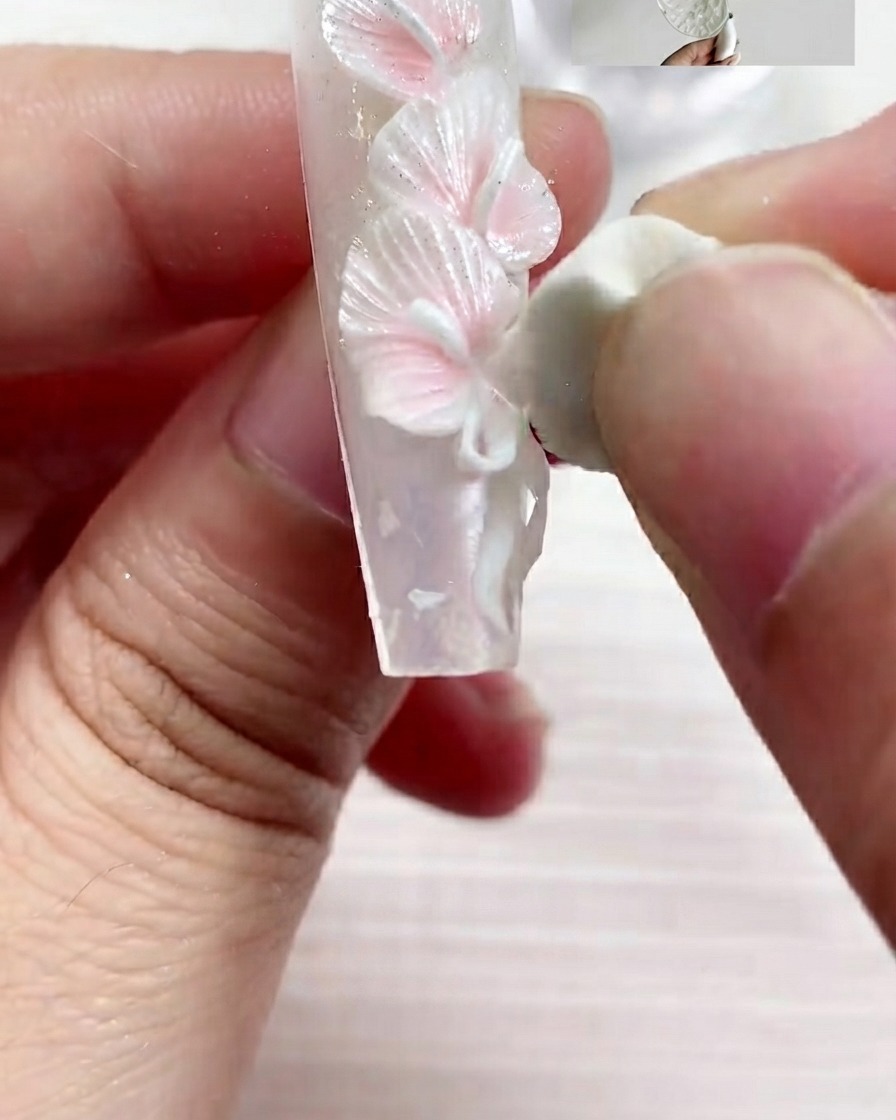
Take the S03 pearl texture gel and apply it onto the nail surface, blending smoothly using a flat brush to create a luminous, cool-toned base effect.
Tip: Keep the application thin and even to maintain a delicate pearl shimmer. - 3Add fine details with S01 gel
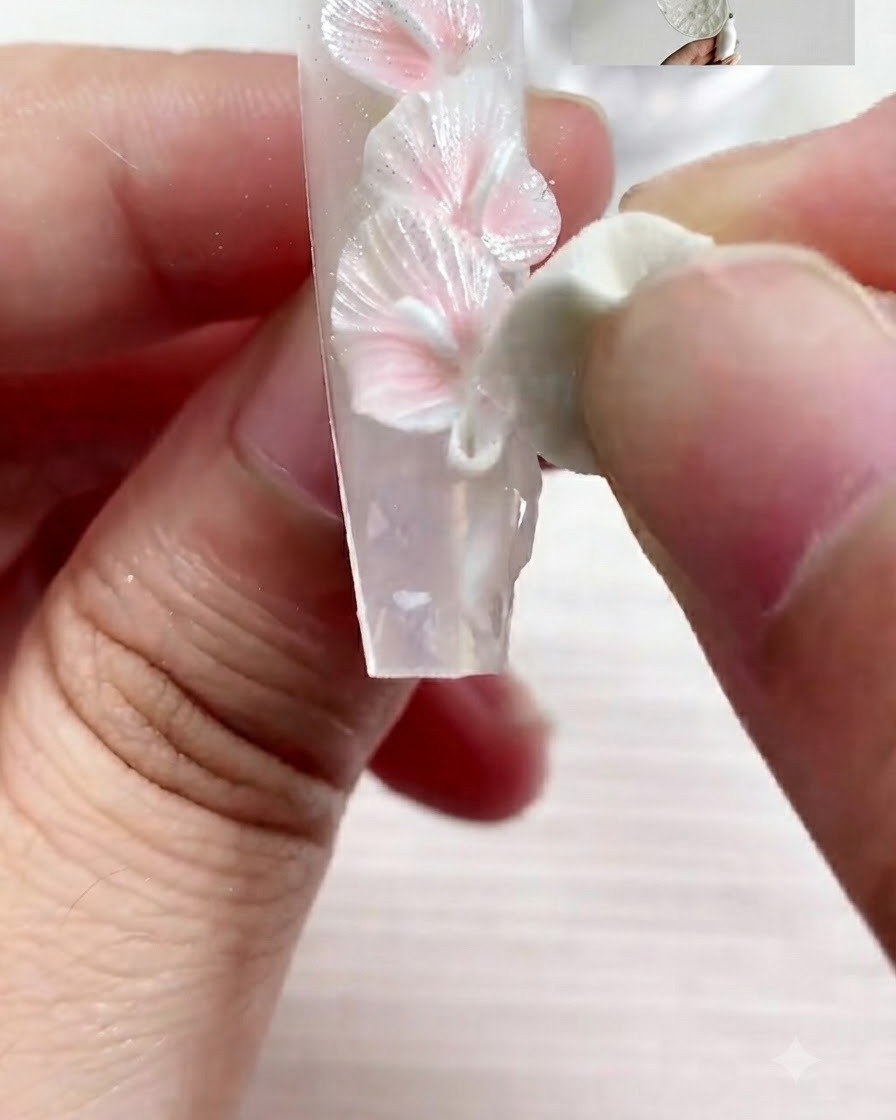
Using a fine detail brush with S01 gel, paint delicate point-like accents and fine details over the pearl texture to enhance dimension.
Tip: Use a light touch with the fine brush for precise, crisp accent lines. - 4Shape the calla lily petal
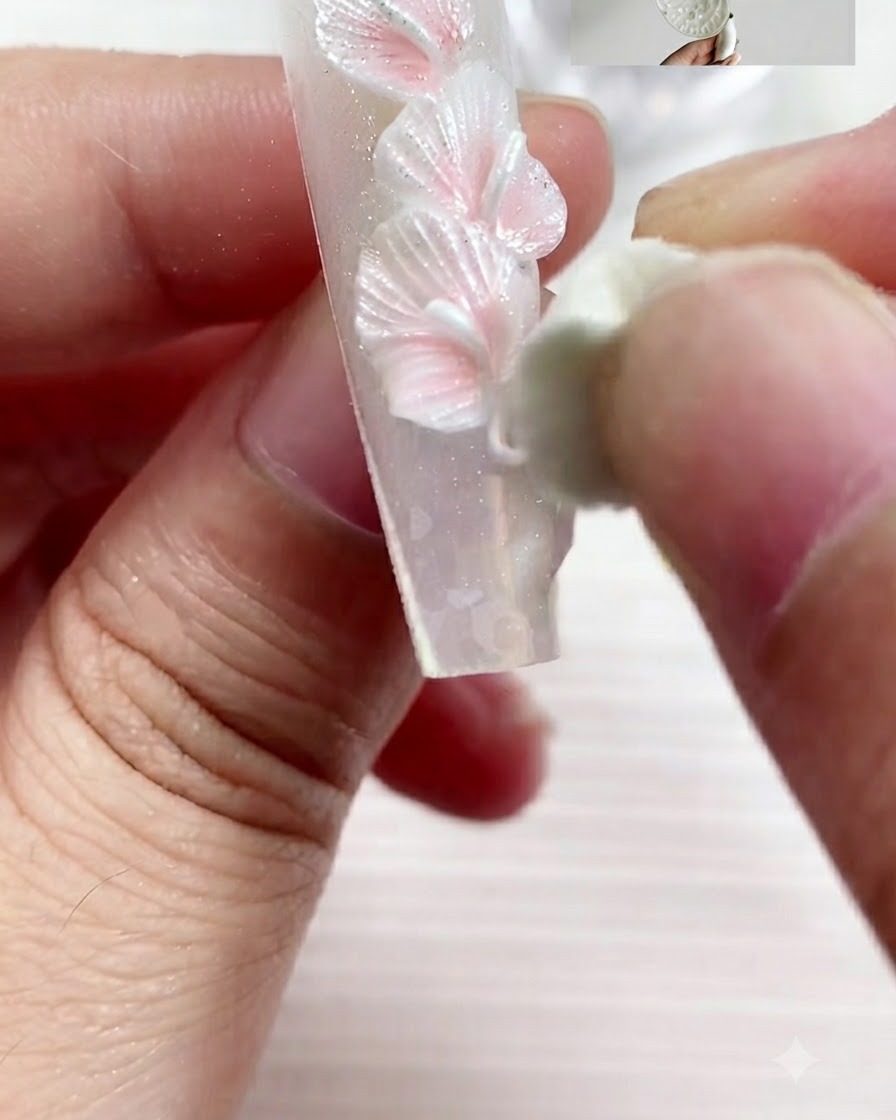
Take a small bead of sculpting gel, shape it into a flattened petal form suitable for the calla lily, and position it carefully on the nail.
Tip: Flatten the sculpting gel evenly so the petal looks delicate and natural. - 5Create leaf vein textures
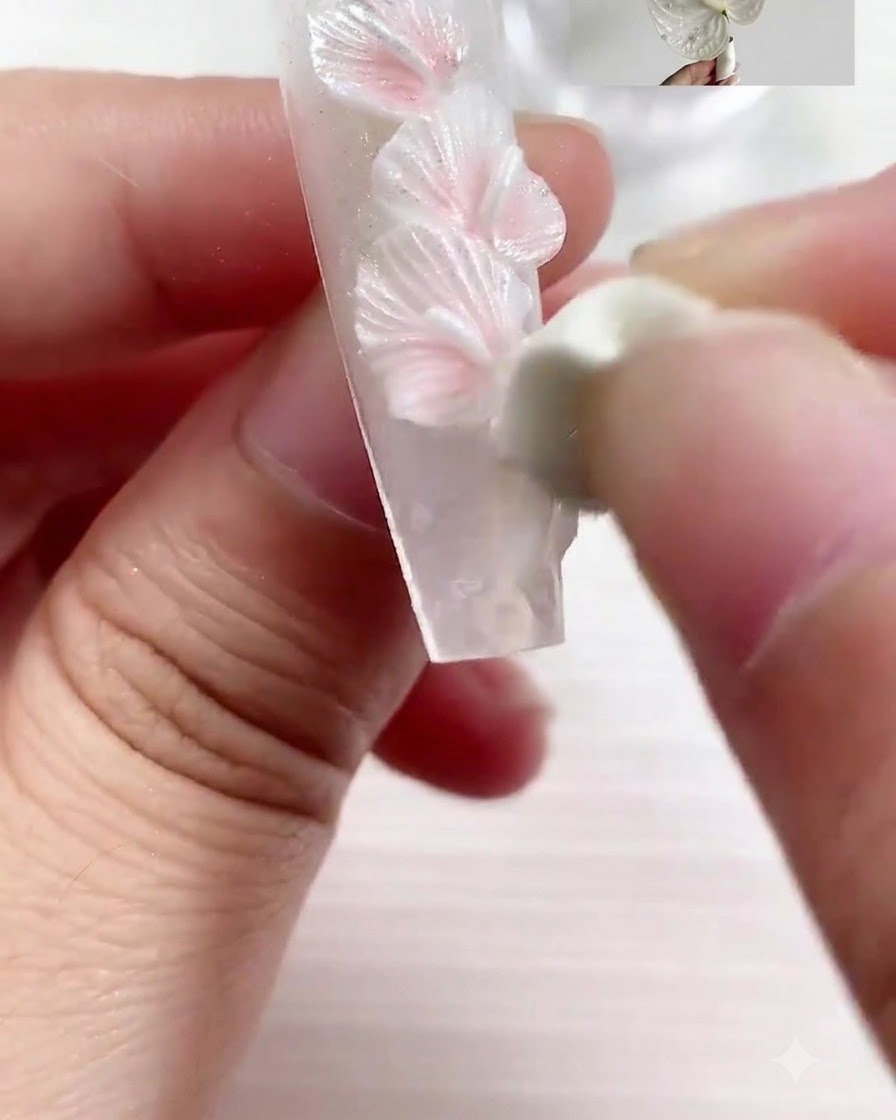
Gently press a sculpting tool into the surface of the petal to imprint realistic leaf veins, angling the petal slightly for a natural look.
Tip: Angle the tool slightly when pressing to create deeper, more defined veining. - 6Apply second and third lily petals
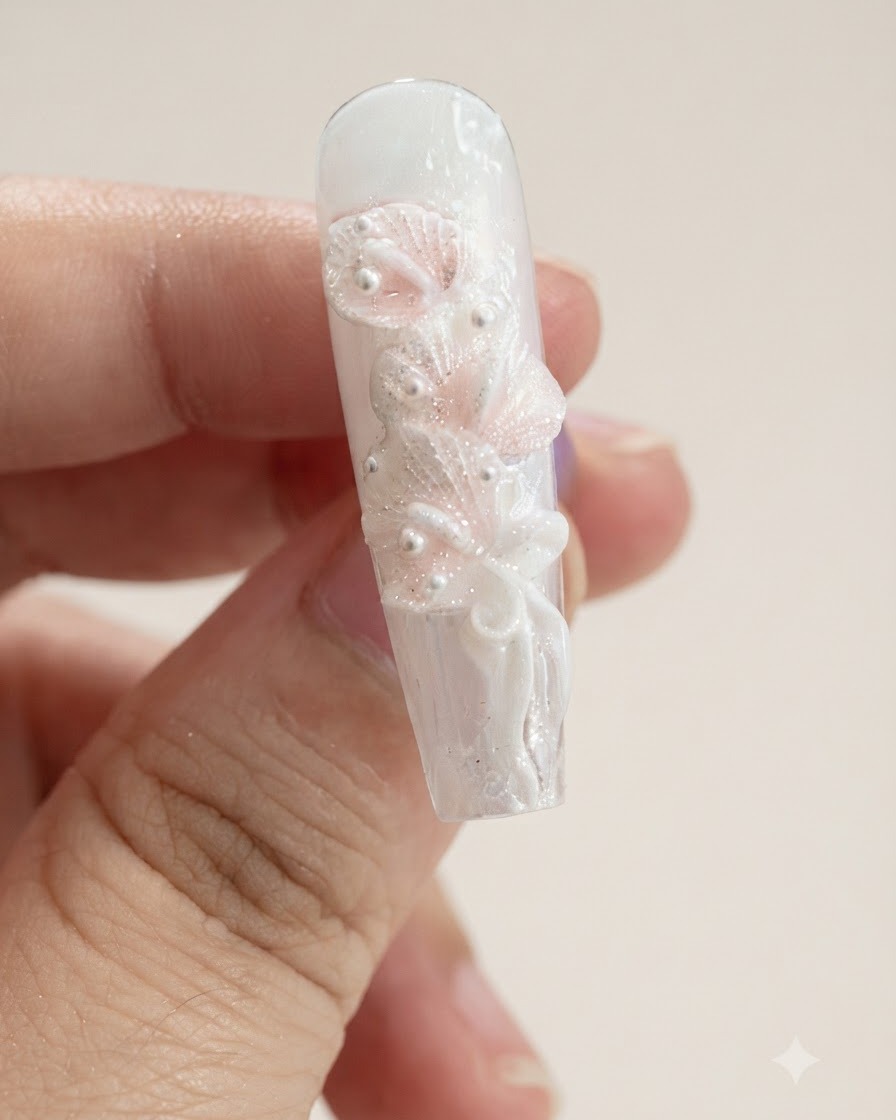
Continue applying the second and third 3D calla lily petals overlapping the first petal. Shape each petal with a sculpting tool to create natural-looking dimension and flower structure.
Tip: Vary the angle and overlap of each petal slightly to mimic the natural asymmetry of a blooming calla lily. - 7Roll and flatten sculpting gel for bow ribbon
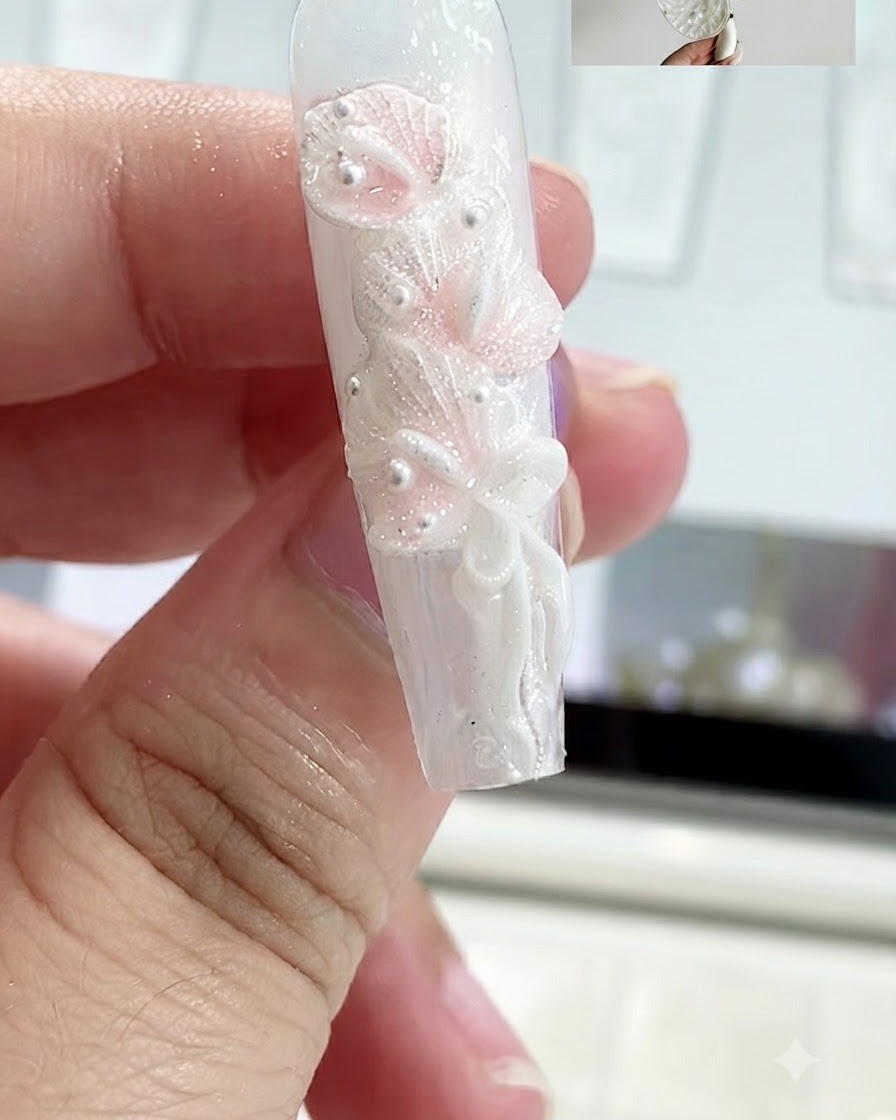
Roll a small portion of sculpting gel into a thin strip, then press it flat onto the nail surface to form the base of the bow ribbon. Ensure the strip is evenly flattened and correctly positioned near the lower section of the nail art composition.
Tip: Keep your fingers or tools slightly moistened to prevent the sculpting gel from sticking during the rolling process. - 8Attach and shape bow ribbon
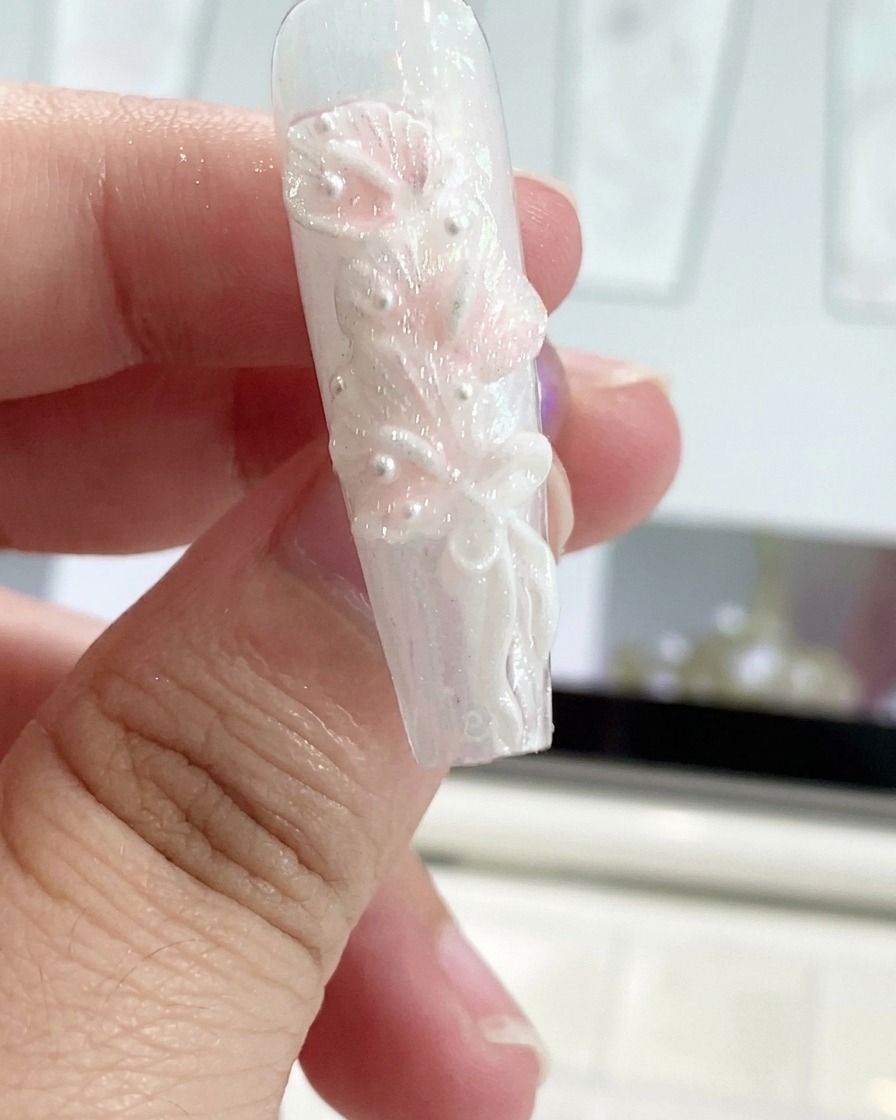
Carefully transfer and attach the flattened gel strip to form the bow ribbon loops on the nail surface. Use a silicone-tipped shaping pen to refine the folds and edges, ensuring a smooth and symmetrical ribbon profile.
Tip: A silicone pen allows precise manipulation of sculpting gel without leaving brush strokes or sticking. - 9Shape the bow knot
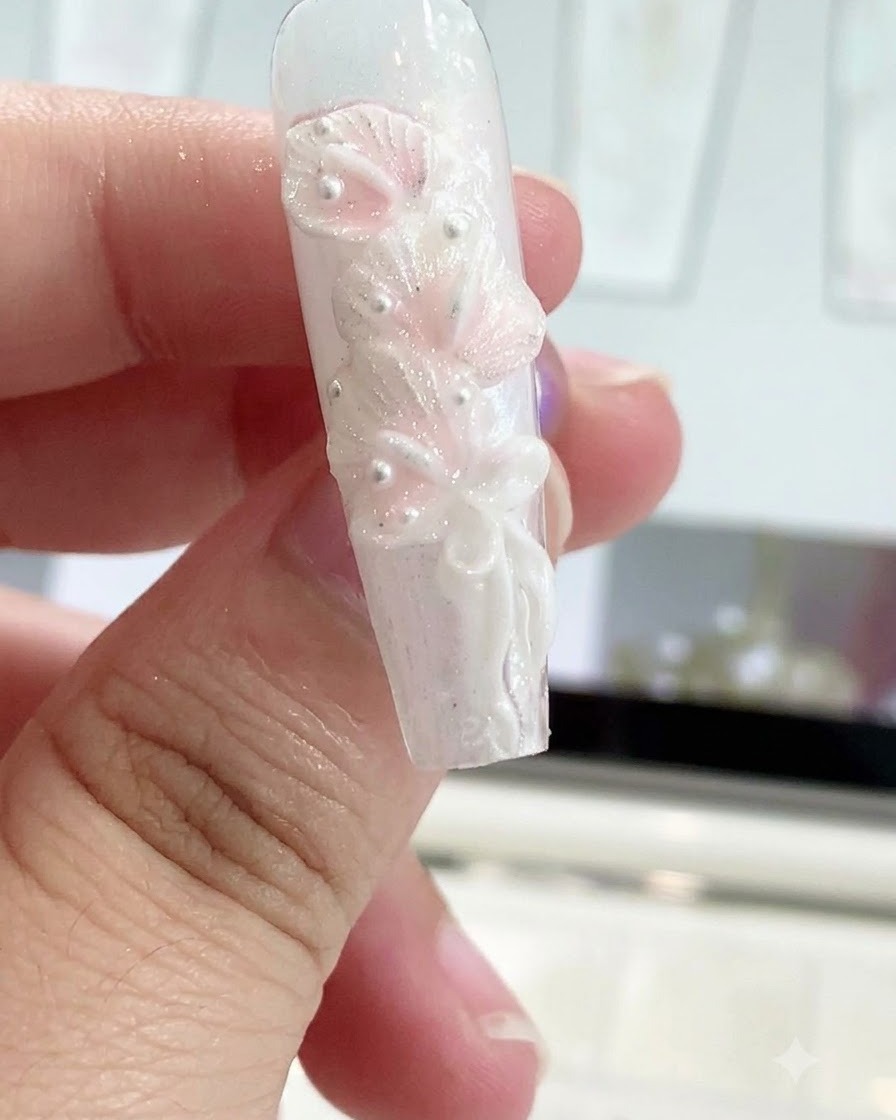
Create and position a small center knot for the bow right where the ribbon loops intersect. Use the silicone-tipped pen to press and blend the knot securely into place, completing the overall bow structure.
Tip: Make sure the bow knot is securely joined to the loops beneath it to prevent lifting after curing. - 10Apply light pink gradient to lily petals
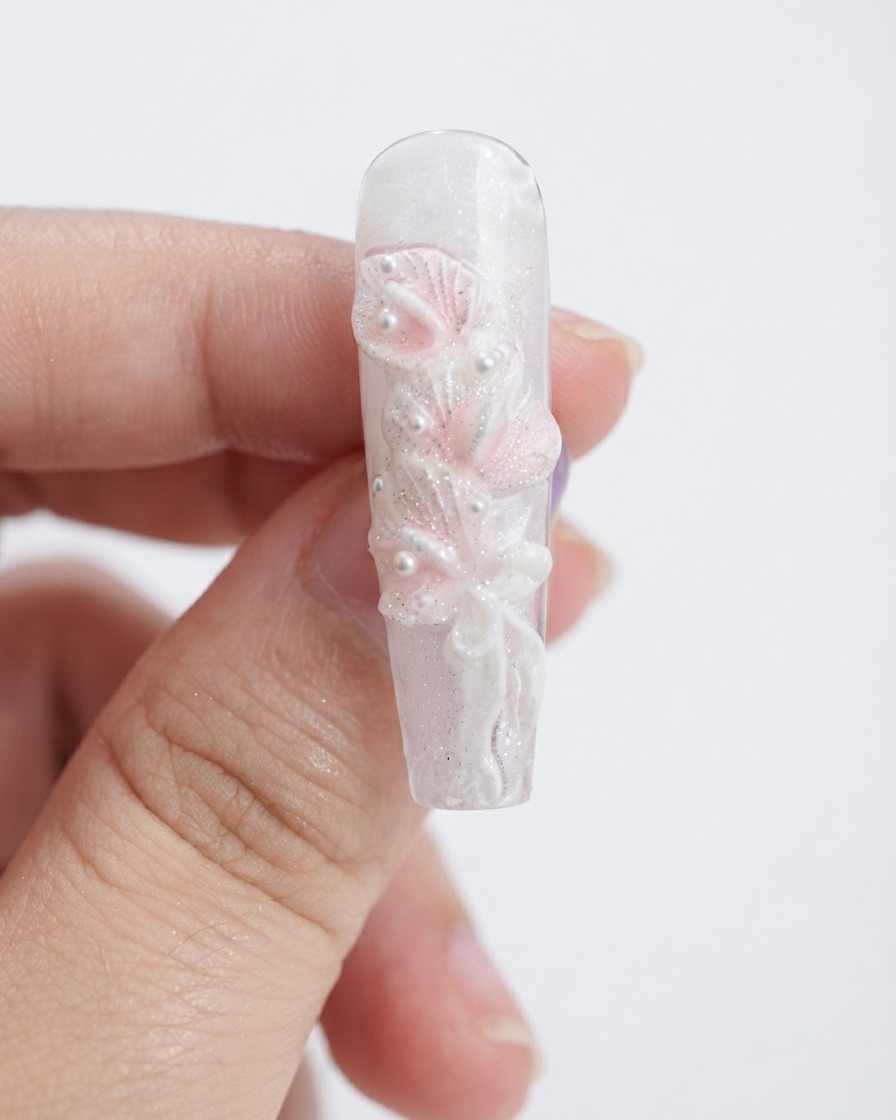
Take a small makeup sponge and gently dab P04 light pink gel onto the previously shaped lily petals. This adds a delicate and natural color gradient, enhancing the depth and realism of the floral elements.
Tip: Dab lightly with minimal product on the sponge to build a soft, translucent gradient rather than a heavy block of color. - 11Add calla lily center
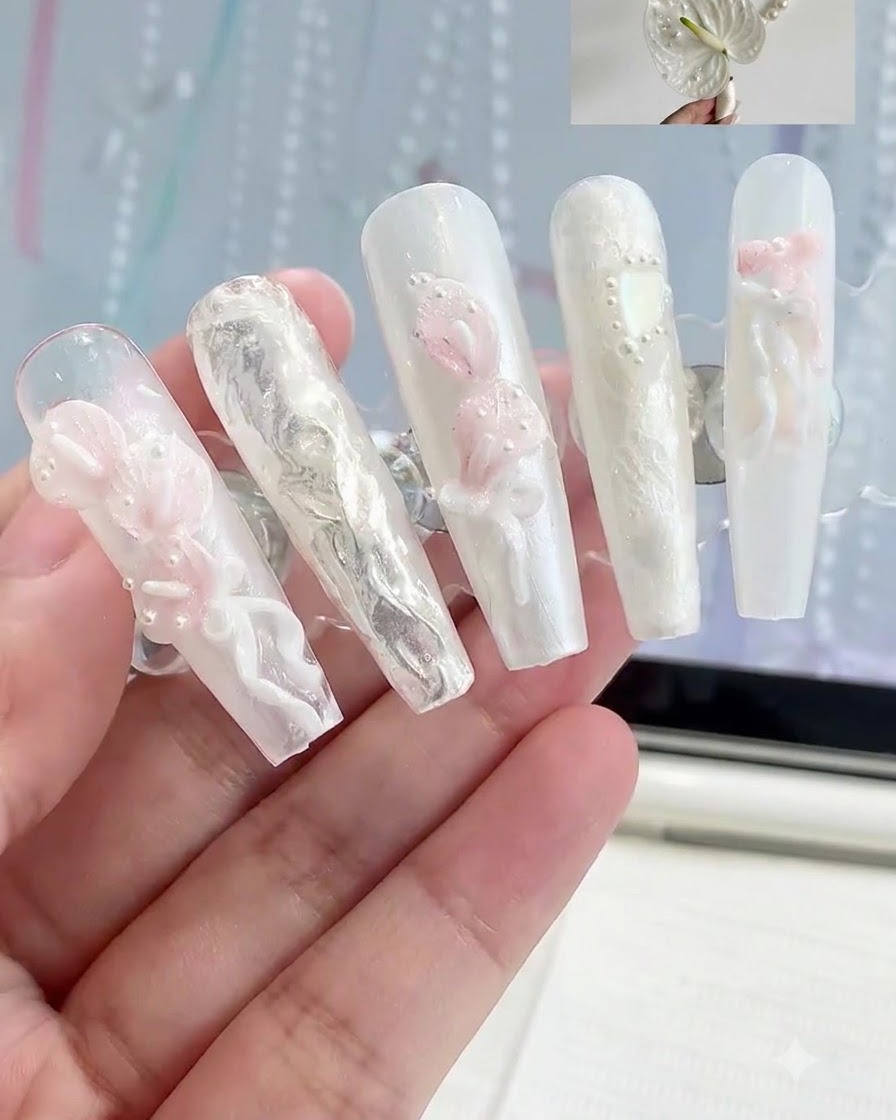
Take a small amount of sculpting gel, roll it into a thin strip, and place it in the center of the calla lily to represent the flower stamen or spadix.
Tip: Keep the center strip delicate and slender so it doesnt overpower the surrounding petals. - 12Brush off excess powder
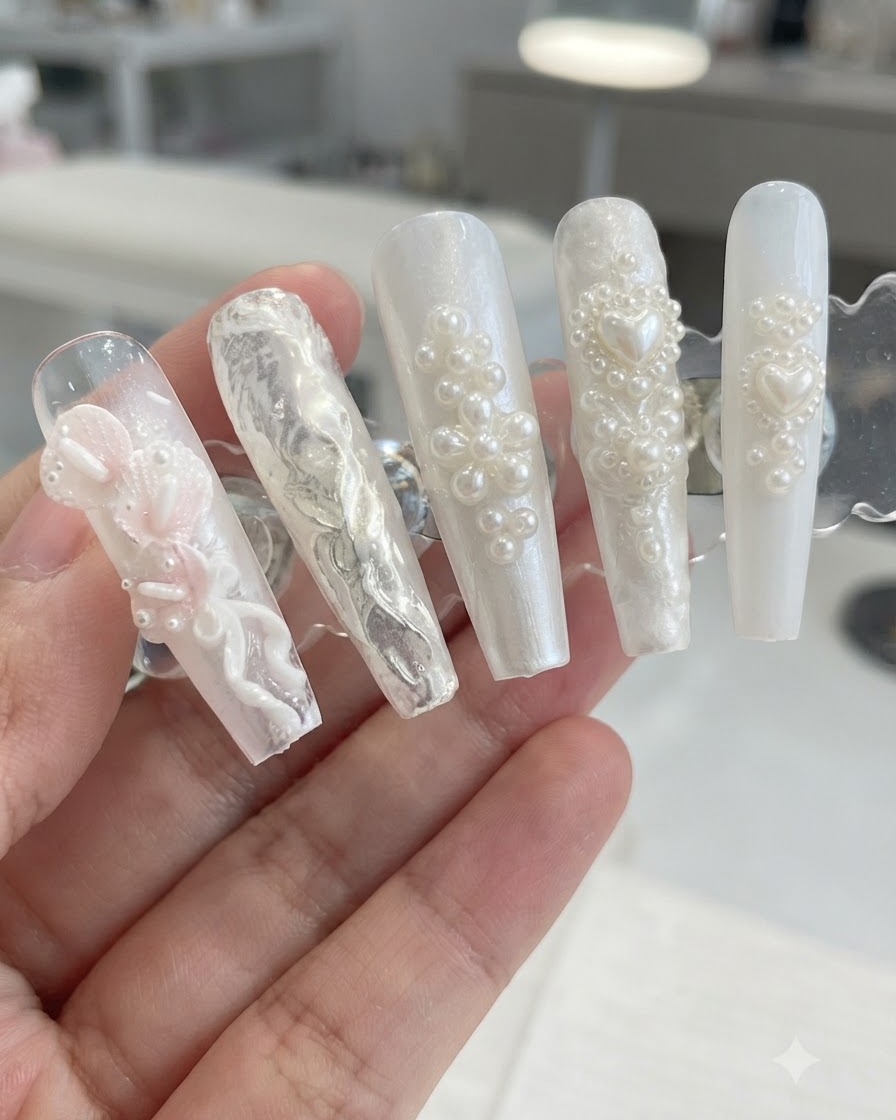
Take a soft, clean dusting brush and gently sweep across the nail surface to remove any stray pearl shimmer powder clinging to the background or surrounding areas.
Tip: A soft fan brush works best to clear loose glitter and powder without disturbing the uncured details. - 13Apply reinforcing builder gel
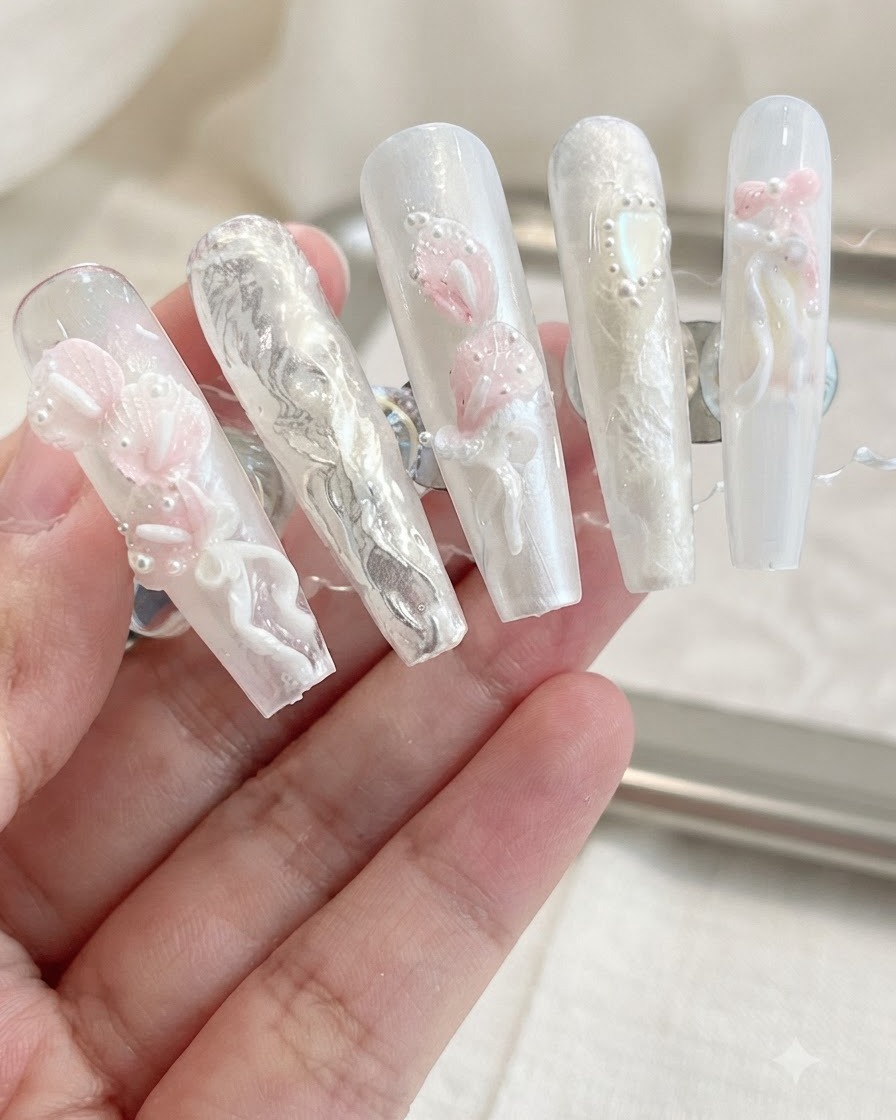
Apply a protective layer of clear builder gel over the entire nail surface to encapsulate and secure all 3D sculpted elements, pearls, and powder details, ensuring long-lasting durability.
Tip: Ensure the builder gel covers around and over all 3D edges so the embellishments do not catch or snag on clothing.