Pink French Tip and Star Nail Art
Chrome Gradient — Step-by-Step Tutorial
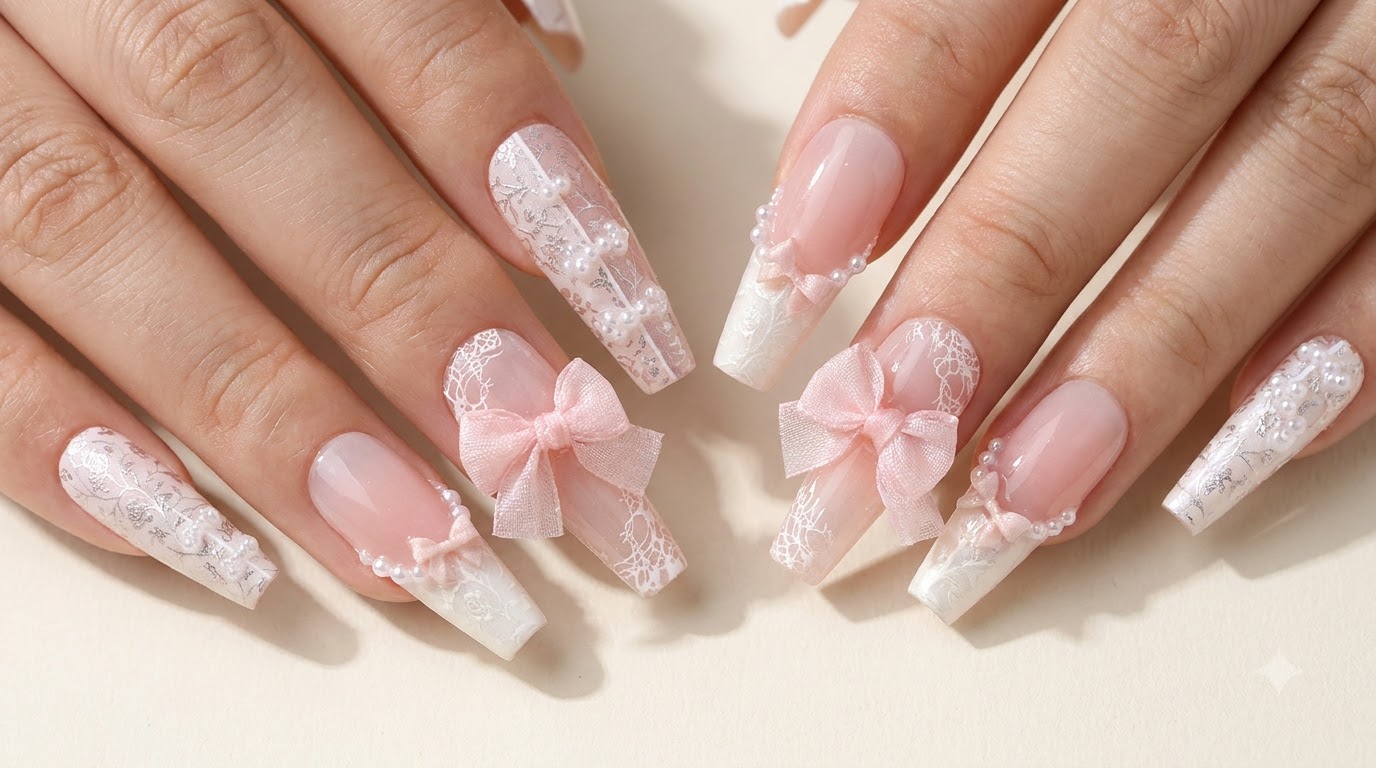
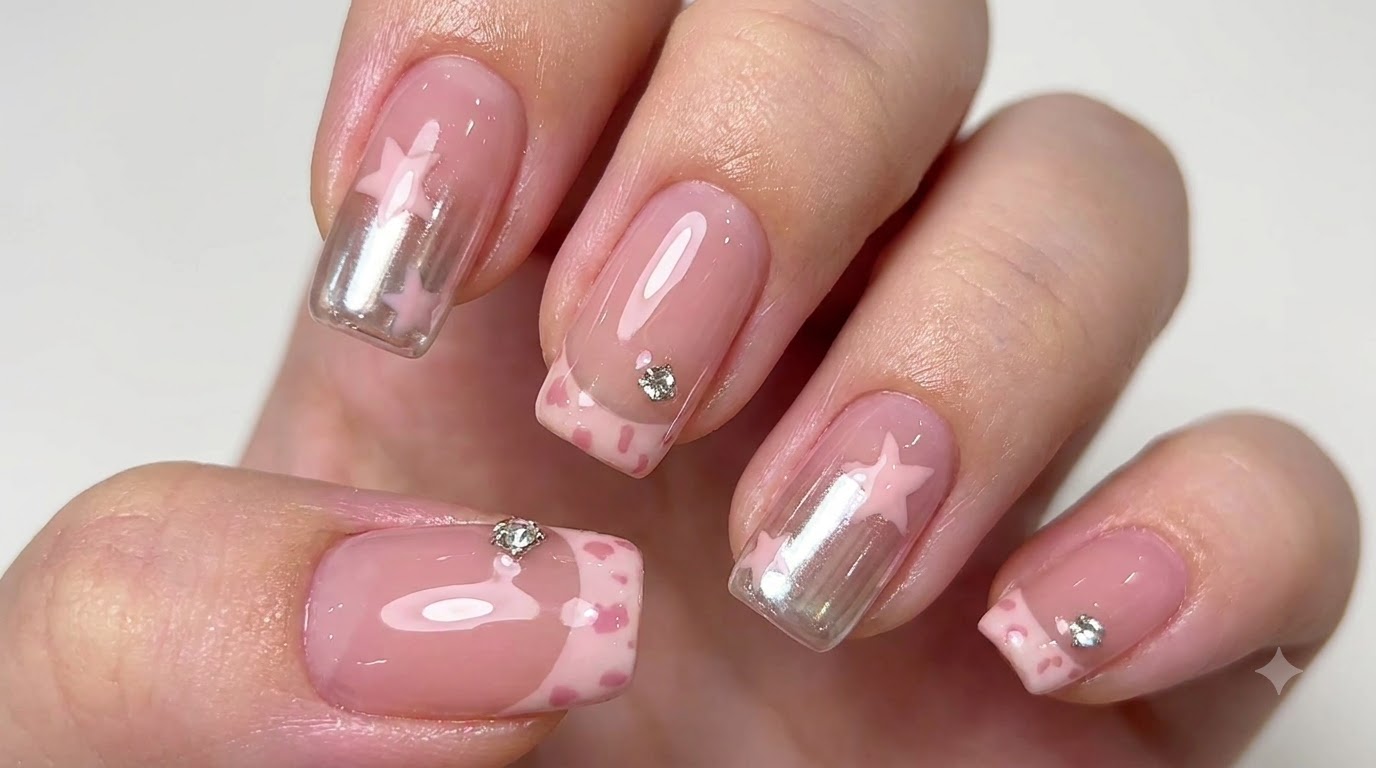
Create stunning pink French tips combined with chic chrome gradient accents, hand-painted stars, subtle leopard print, and delicate rhinestones.
This captivating nail look blends classic French elegance with modern edgy details like silver chrome gradients and celestial star art. Perfect for those looking to elevate their everyday manicure with a touch of sparkle and intricate hand-painted flair.
Steps
- 1Apply first coat of nude base color
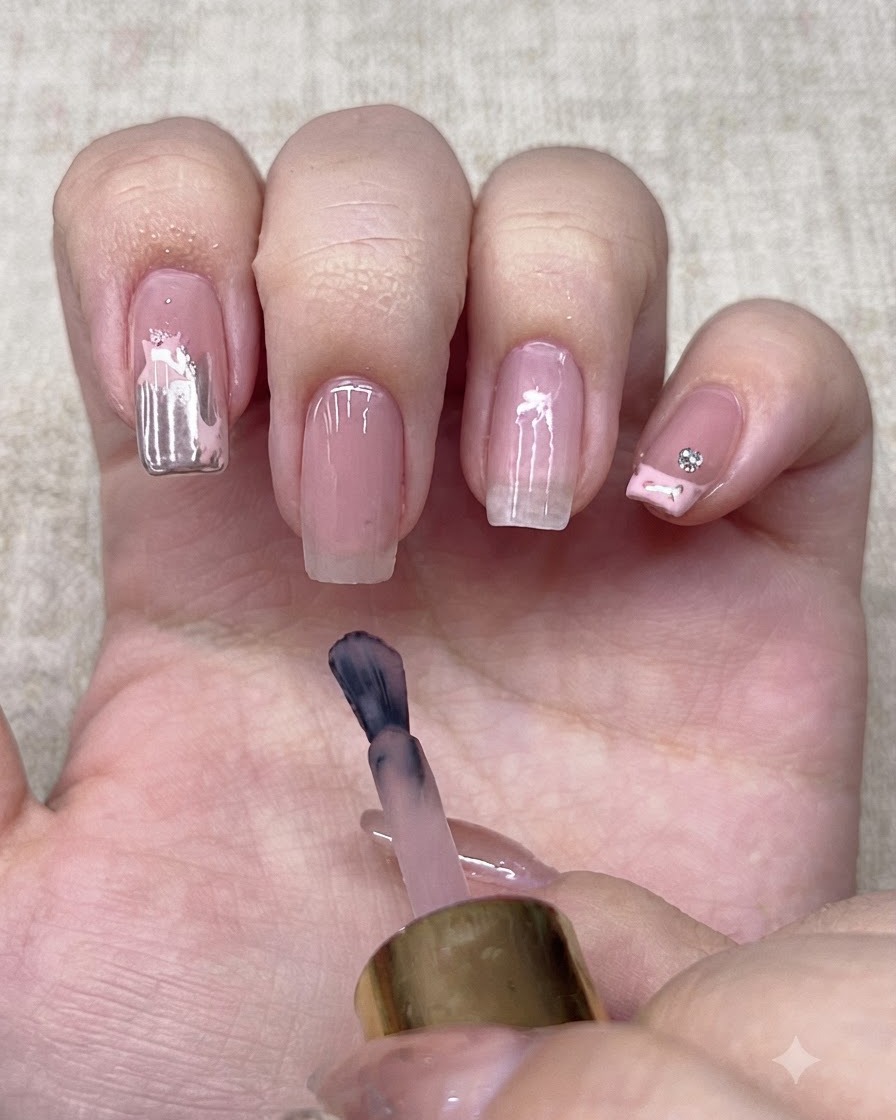
Apply an even coat of nude base color onto the nail plate using a polish brush, covering the surface smoothly from cuticle to free edge. Ensure the layer is neat and avoid flooding the surrounding skin. Cure under the lamp before moving on to the next step.
Tip: Keep the brush strokes smooth and steady to prevent uneven pooling of the color. - 2Apply second coat of nude base color
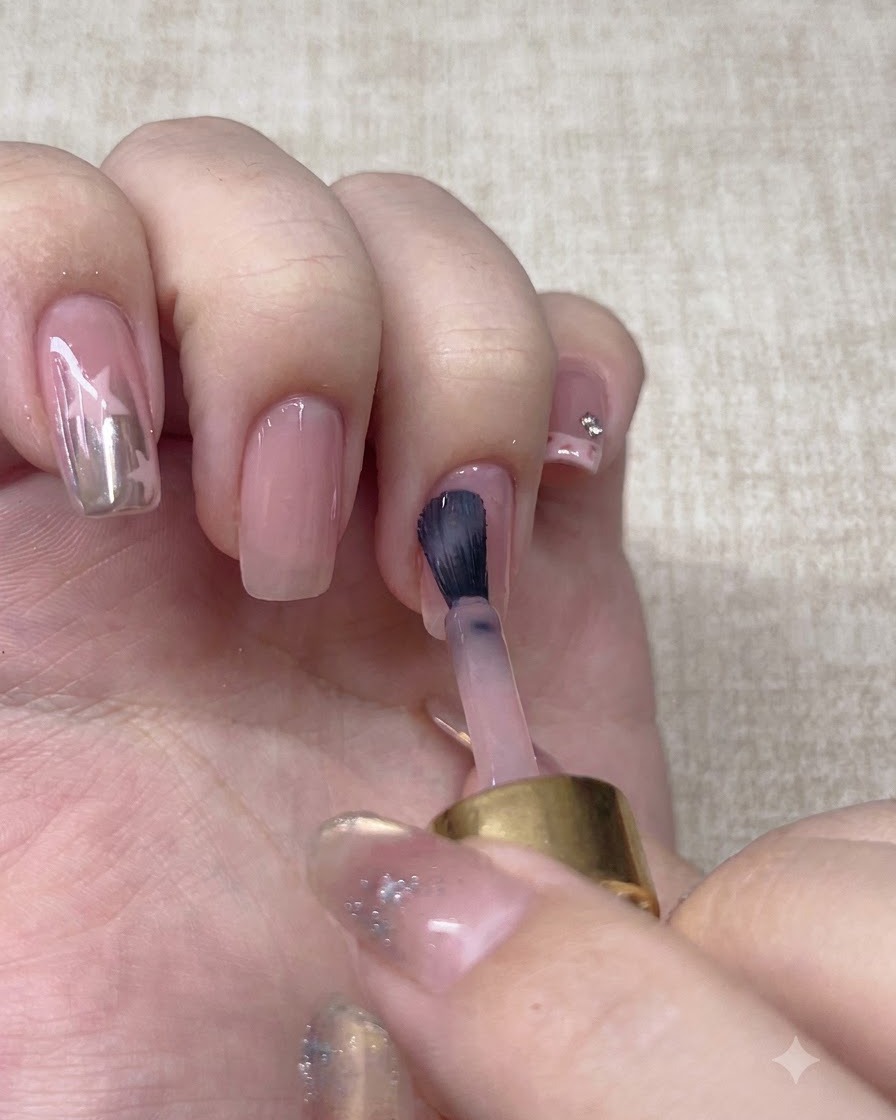
Apply a second coat of nude base color to achieve complete opacity and a smooth, flawless finish. Cure the application under the nail lamp to set the base layer properly.
Tip: Applying two thin coats is better than one thick coat for even durability and color depth. - 3Paint a French tip with light pink gel
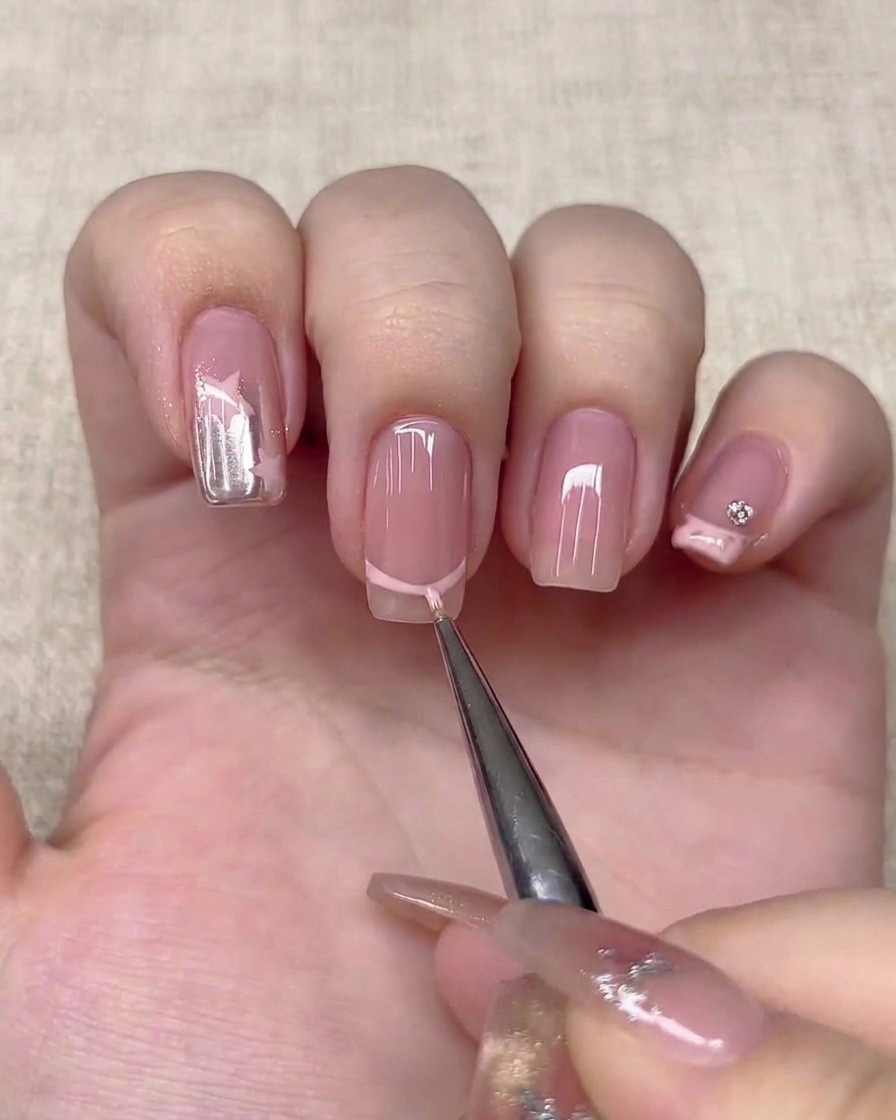
Using a fine liner brush and light pink gel, carefully draw a clean French tip line across the middle finger nail. Take your time to shape the smile line neatly for a polished look.
Tip: Stabilize your hand on a flat surface while drawing the French tip line to keep your hand steady. - 4Paint small leopard print spots
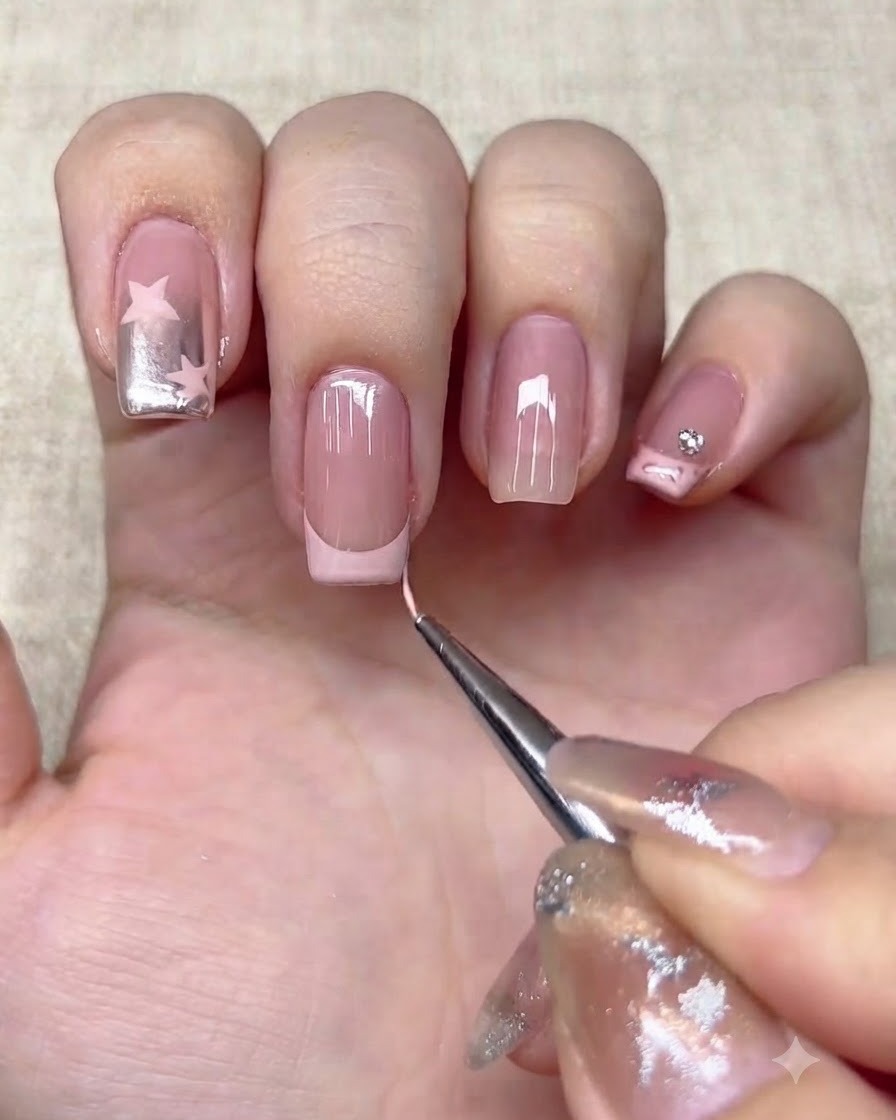
Use a fine liner brush and taupe gel to paint small leopard print spots right along the French tip line. Keep the spots delicate and ensure they are not made too large to maintain a refined appearance.
Tip: Use a very light touch with the tip of the liner brush to create small, dainty leopard spots. - 5Apply sealing top coat
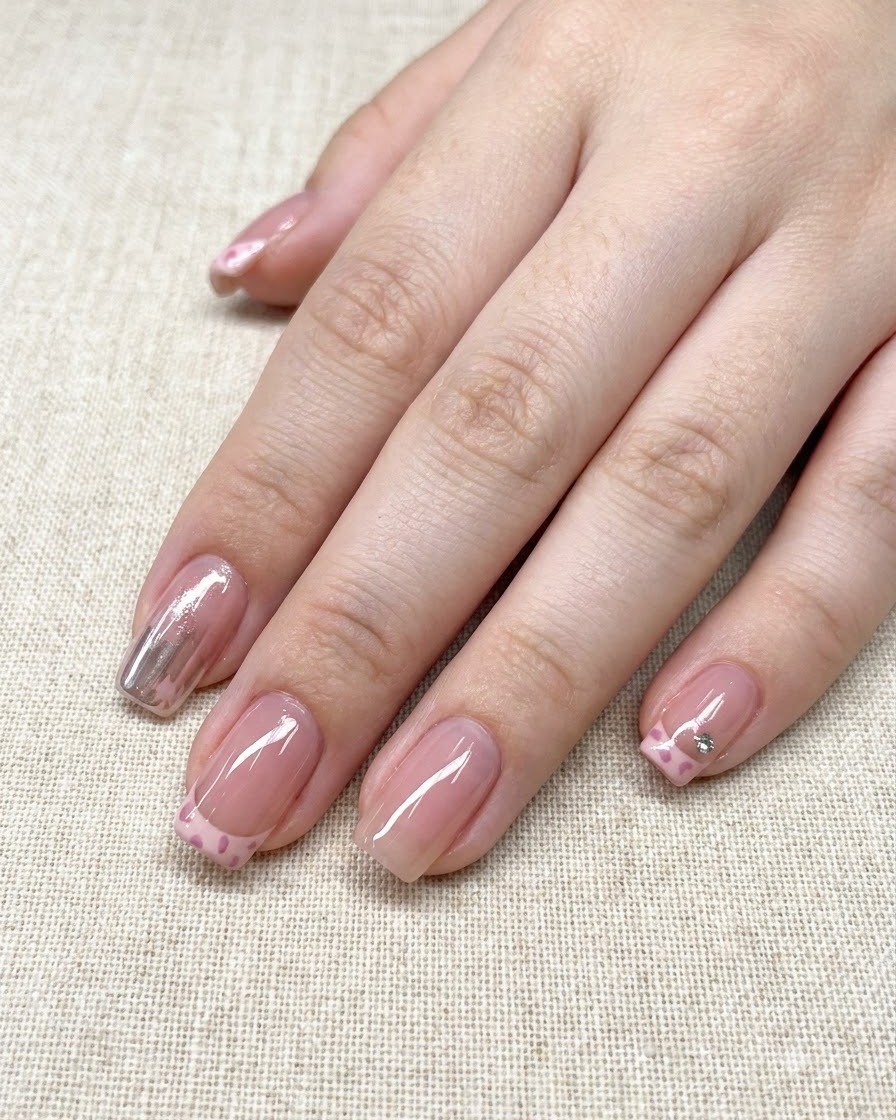
Apply a sealing top coat over the finished French tip and leopard nail art design to protect the artwork and provide a glossy finish. Cure the layer completely under the lamp.
Tip: Cap the free edge with the top coat to prevent chipping and ensure long-lasting wear. - 6Place rhinestones for embellishment
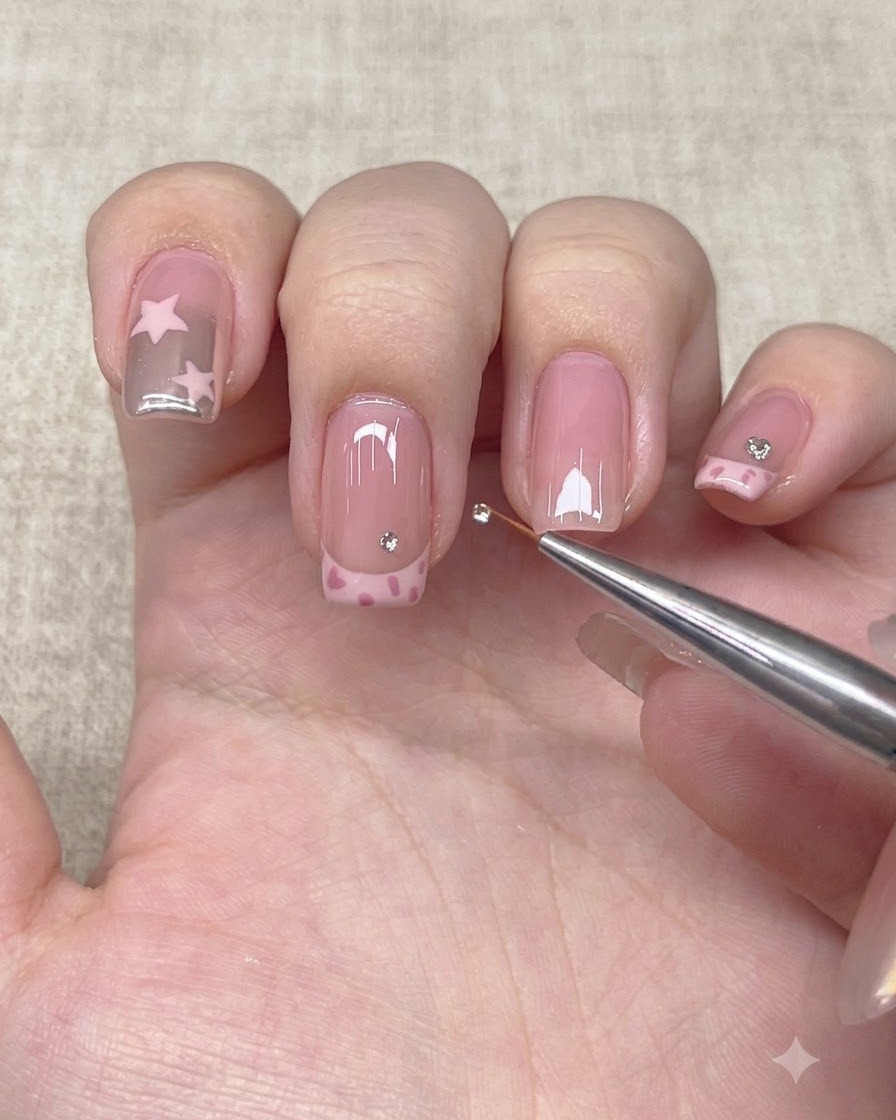
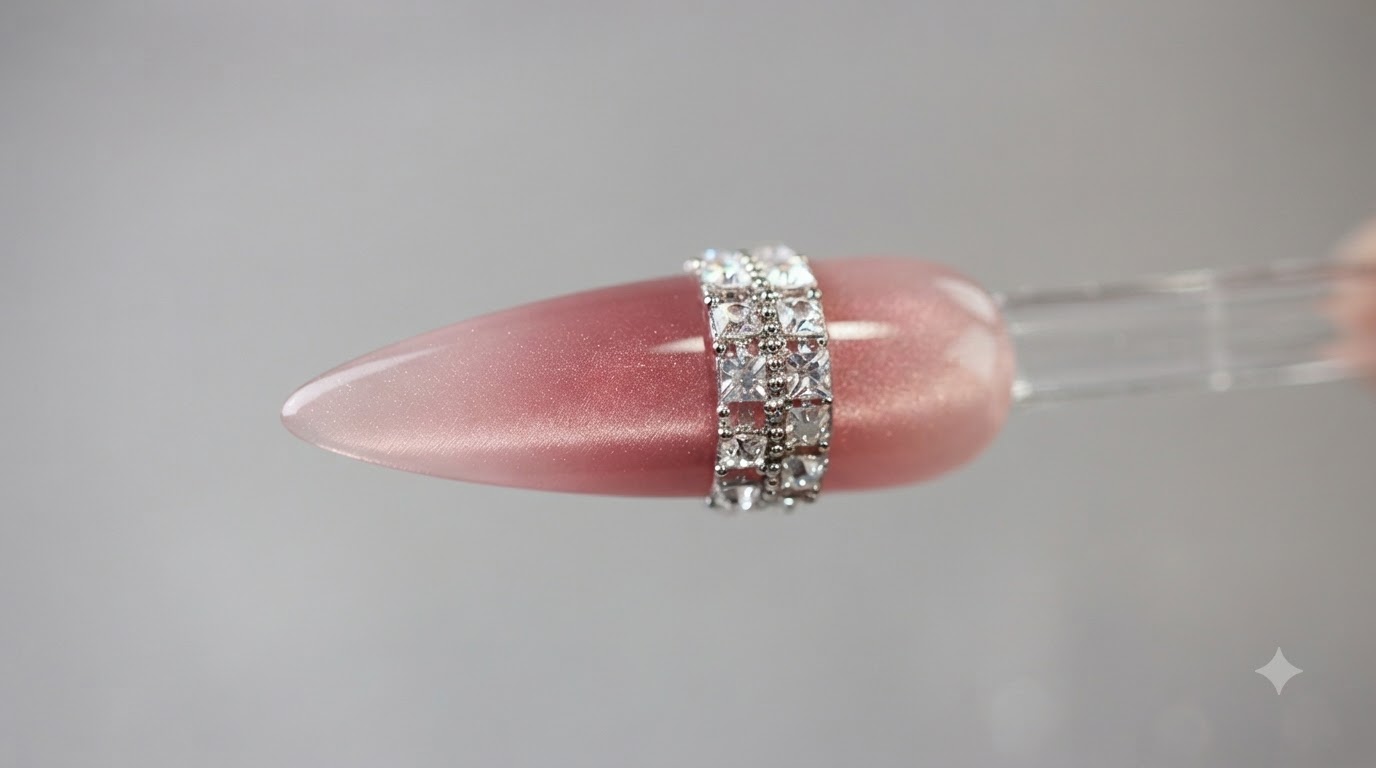
Place small rhinestones right above the French tip line using a detail tool for an extra delicate embellishment. Secure them properly before curing if necessary.
Tip: Use a tiny dot of gel or top coat as glue to hold the rhinestones securely in place before curing. - 7Apply top coat to the ring finger
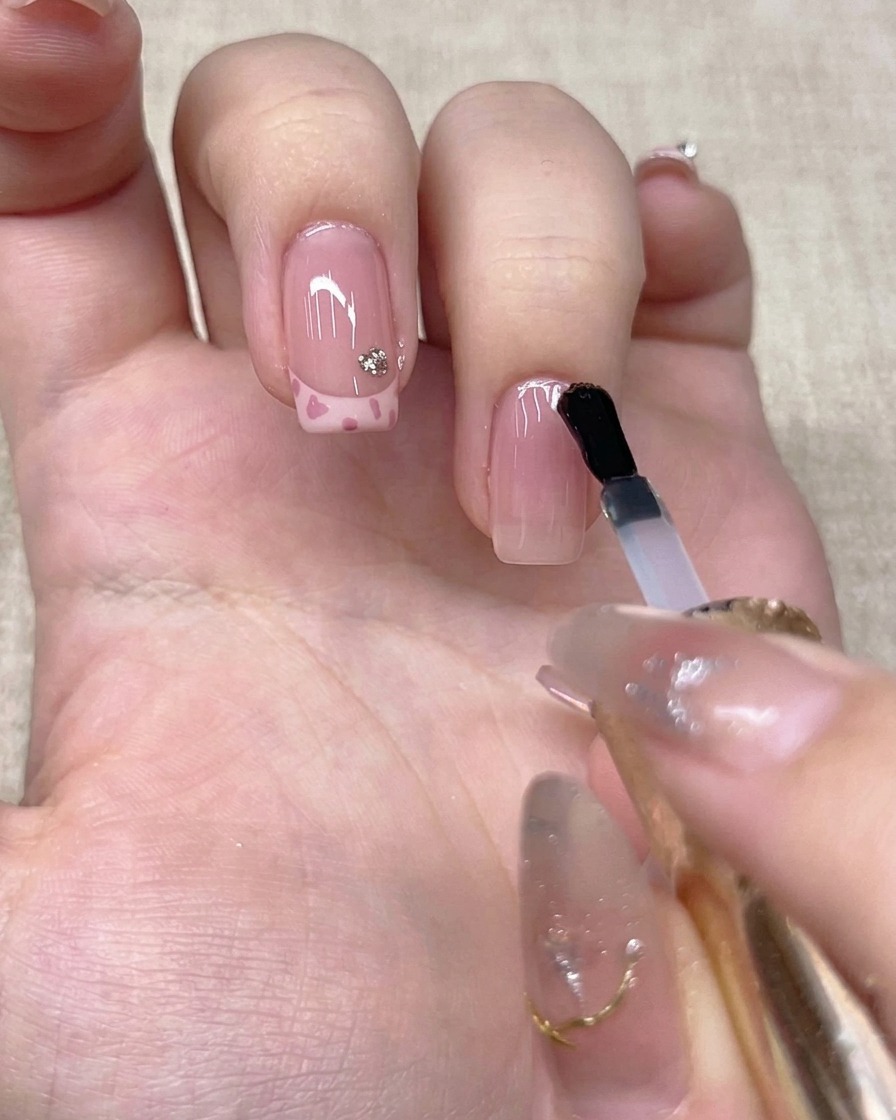
Apply a layer of no-wipe top coat evenly over the prepped ring finger nail surface and free edge. Place the hand under the UV or LED lamp and cure for 60 seconds to prepare the surface for chrome powder application.
Tip: Make sure the top coat is fully cured and a no-wipe formula is used, as chrome powder requires a tack-free surface to adhere correctly only where rubbed. - 8Apply silver chrome gradient
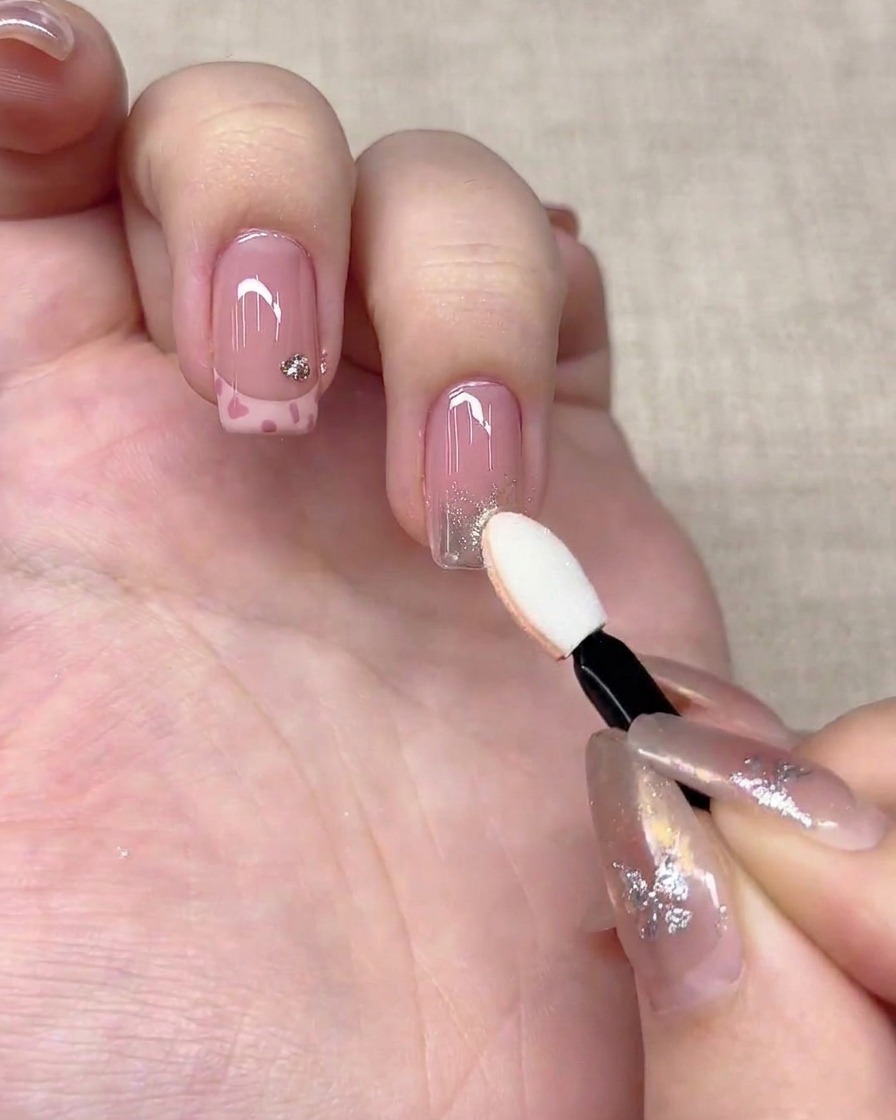
Take a small sponge applicator dipped in silver chrome powder and gently rub it onto the tip of the ring finger, fading it upward toward the cuticle to create a delicate gradient effect.
Tip: Tap off excess powder before rubbing to ensure a smooth, clean gradient fade without clumping. - 9Paint small stars on the ring finger
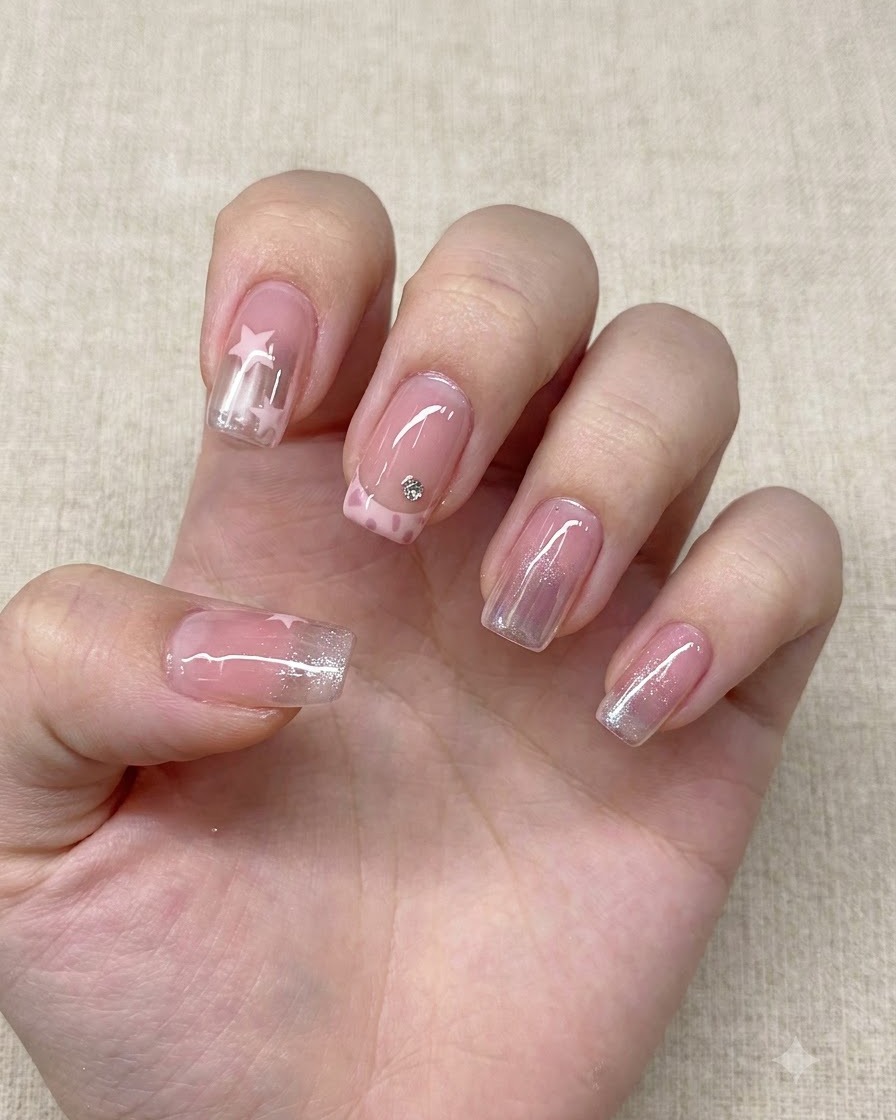
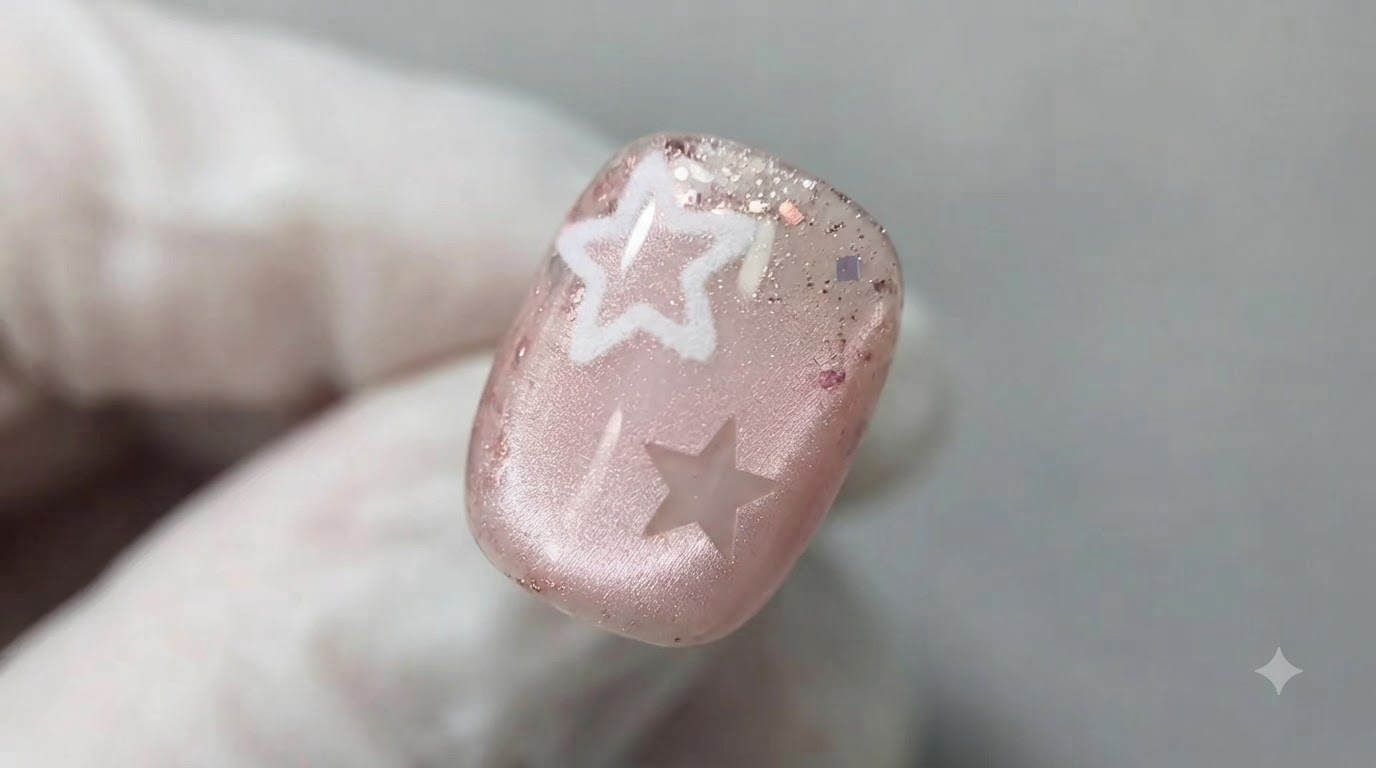
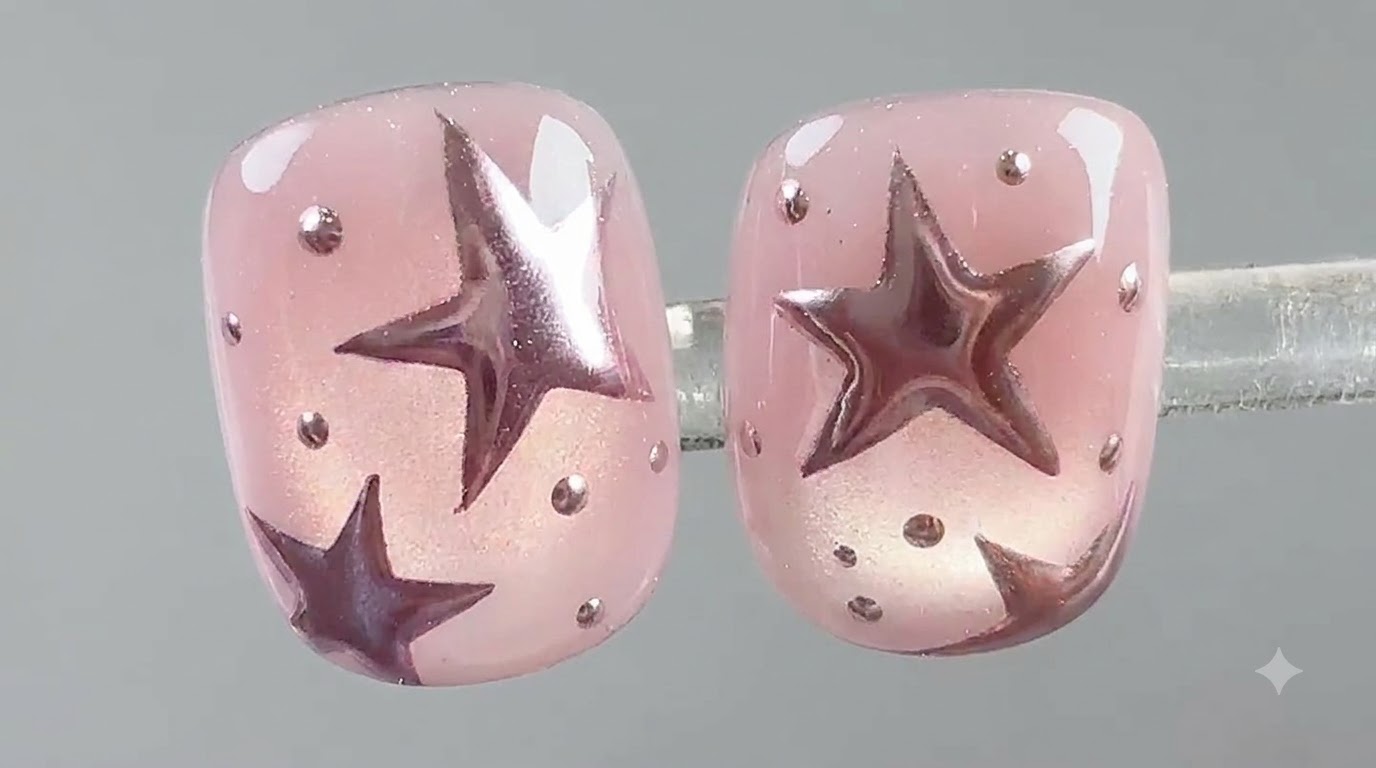
Dip a fine liner brush into light pink gel polish and carefully paint small, charming stars over the silver chrome gradient base on the ring finger.
Tip: Keep your hand steady and use light pressure on the tip of the liner brush for crisp, clean star points. - 10Apply final sealing top coat
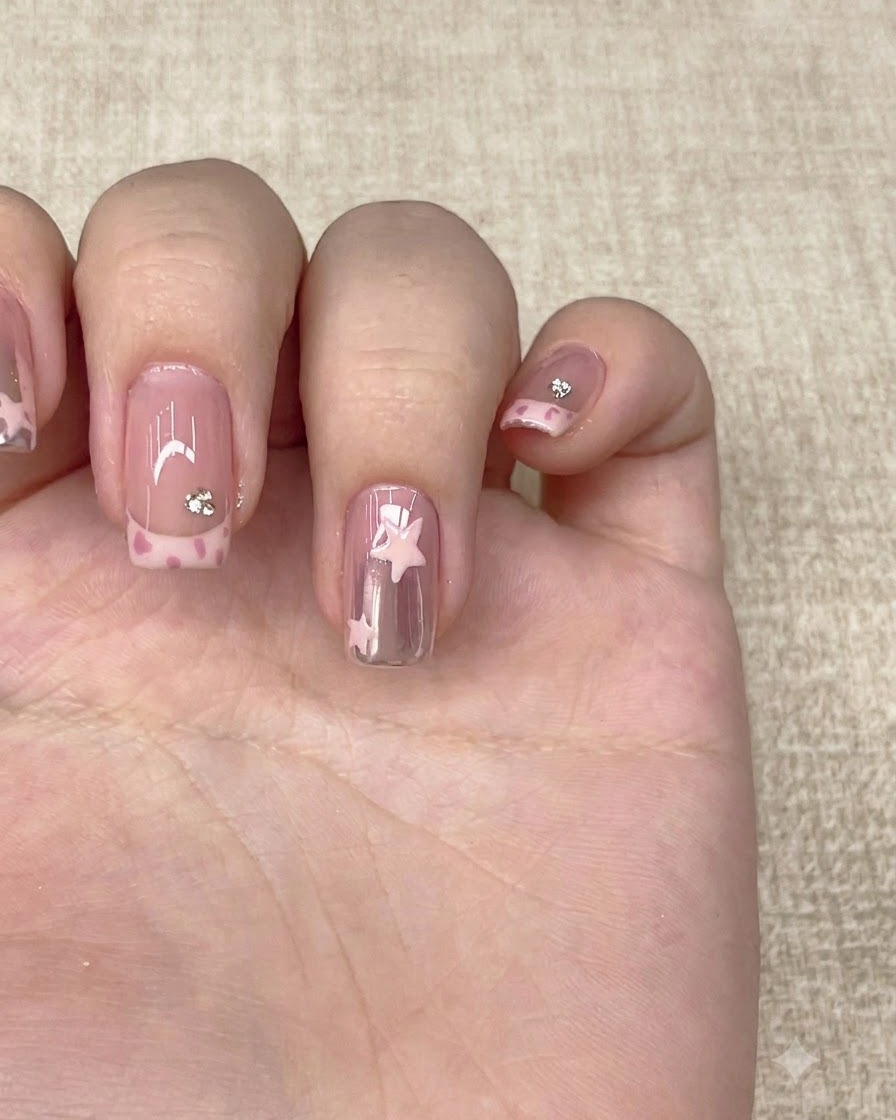
Apply a final coat of sealing top coat over all decorated nails to protect the artwork, rhinestones, and chrome details, then cure completely under the lamp to finish the manicure.
Tip: Cap the free edges securely with top coat to prevent chipping and protect your nail art design from wear.