Double Flash Diamond Cat Eye Nails — Shimmering Magnetic Gel Tutorial
Create dazzling nails featuring pink-silver cat eye magnetic effects and brilliant diamond glitter sparkle with this easy step-by-step guide.
Cat eye nails continue to captivate nail enthusiasts with their mesmerizing, shifting light reflections. By combining a multi-dimensional magnetic particle base with a dusting of flash diamond glitter, this look achieves an extraordinary level of depth and brilliance that catches the light from every possible angle.
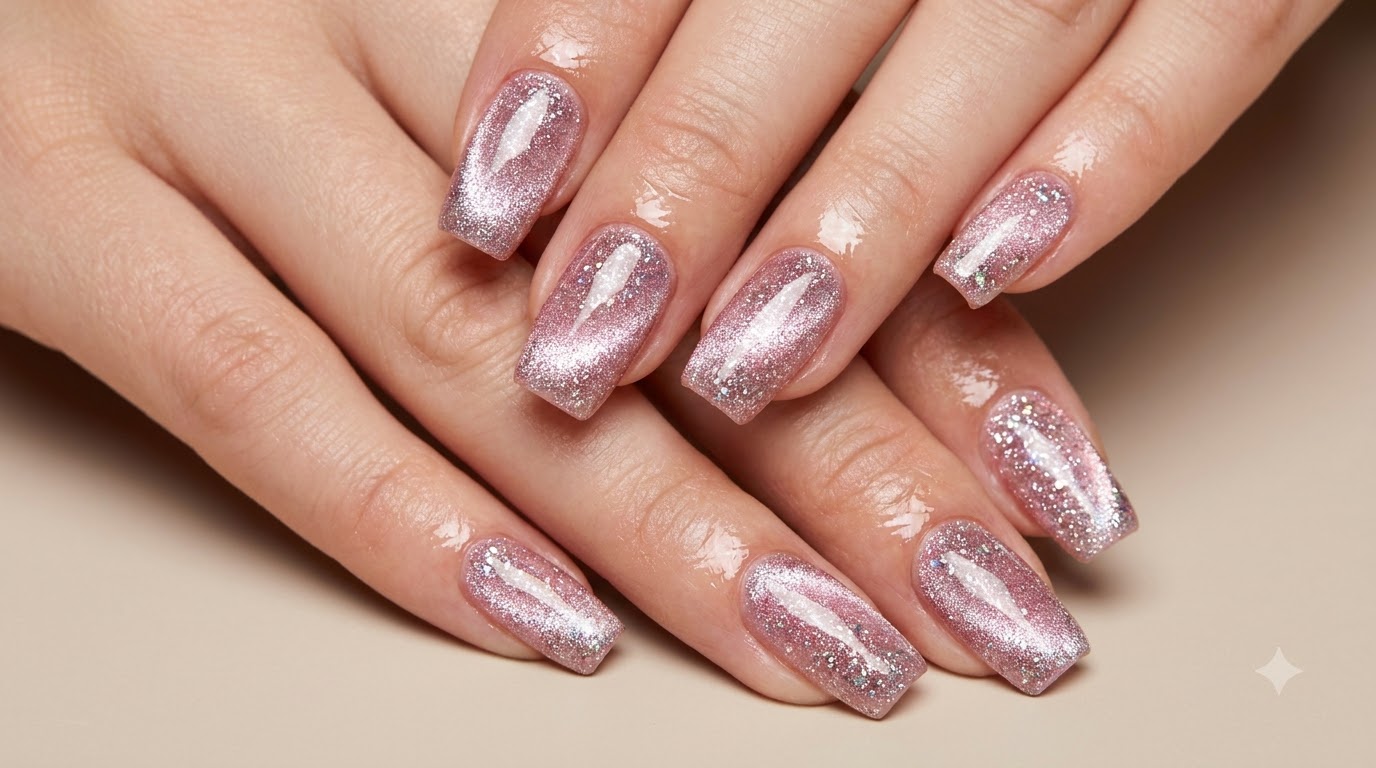
Steps
- 1Apply shimmering cat-eye gel base coat
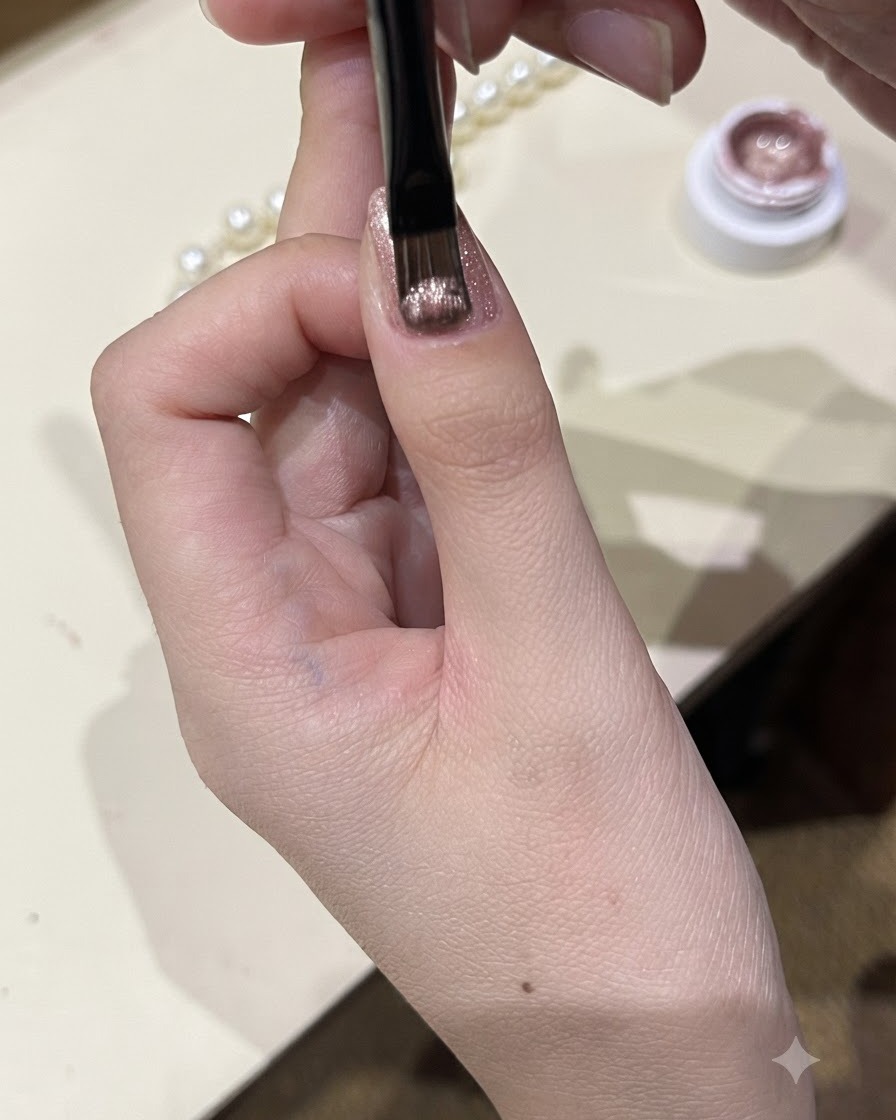
Using a fine precision brush, carefully apply a shimmering cat-eye gel base coat evenly over the surface of the thumbnail plate. Ensure full coverage while maintaining a smooth and even layer without flooding the cuticles. This acts as the foundation for the magnetic particle effects.
Tip: Keep the gel layer thin and uniform to allow the magnetic particles to move and align freely. - 2Align particles with a magnetic wand
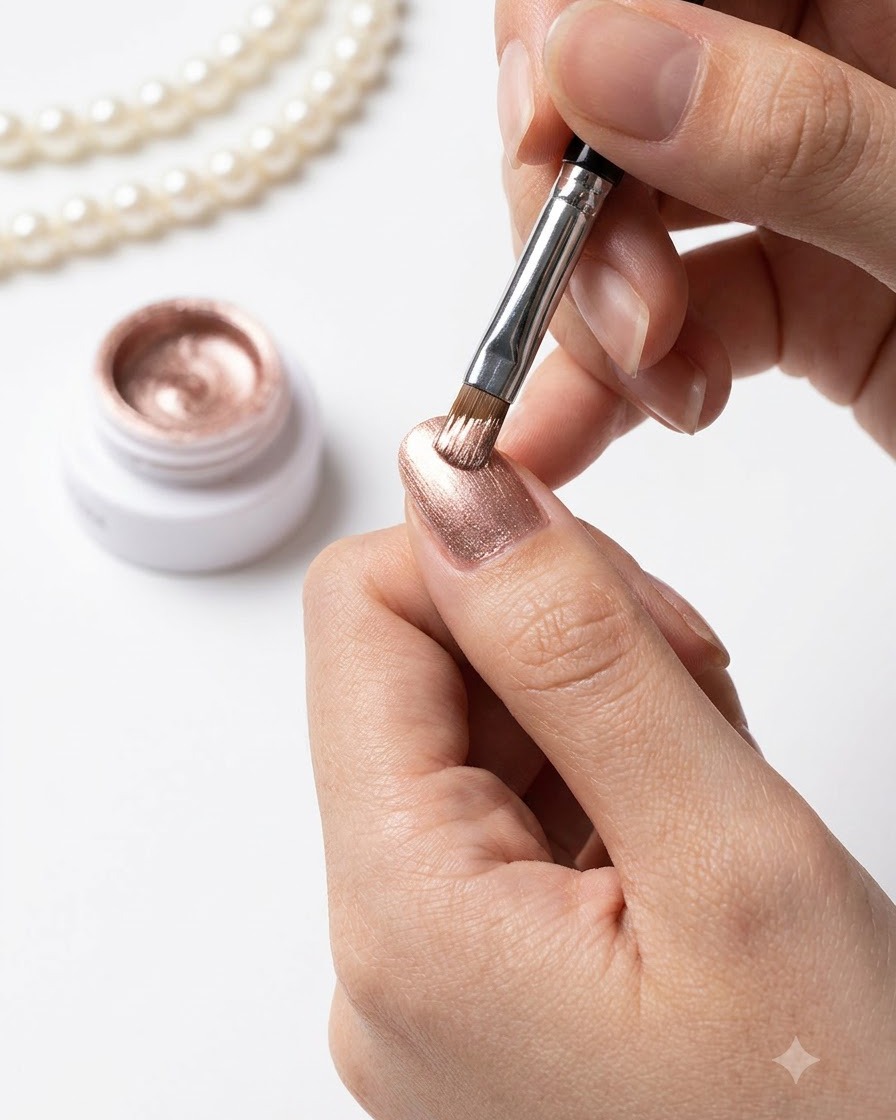
Hold a magnetic wand closely over the wet cat-eye gel layer on the thumbnail without touching the surface. Hold it steady for a few seconds to react with the metallic particles within the polish, pulling them into the desired alignment before curing.
Tip: Do not let the magnet touch the wet gel polish, as this will smudge the smooth finish. - 3Inspect the cat-eye magnetic line effect
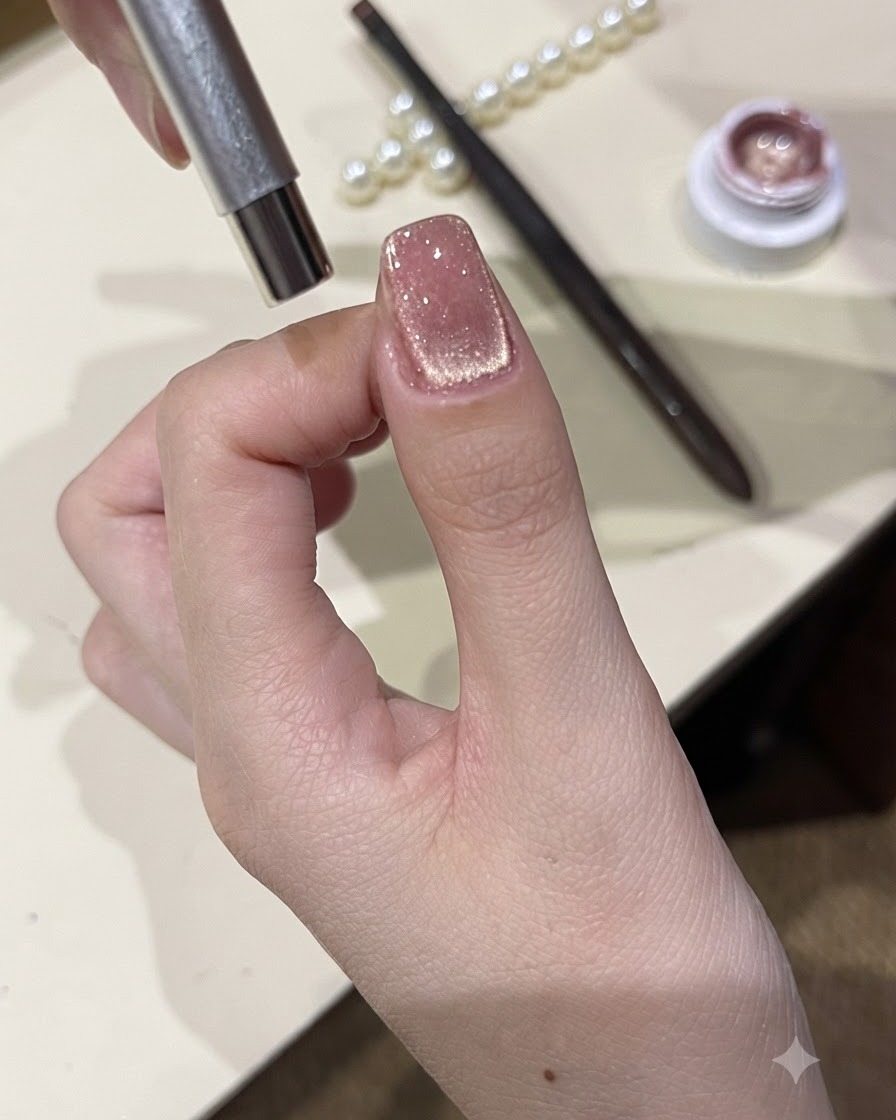
Carefully inspect the freshly formed cat-eye magnetic line effect shimmering across the center of the thumbnail. Check that the metallic light reflection is sharp, centered, and balanced before moving on to cure the layer under a UV or LED lamp.
Tip: Inspect the reflection under proper lighting to ensure the line is crisp before curing. - 4Create a concentrated cat-eye highlight orb
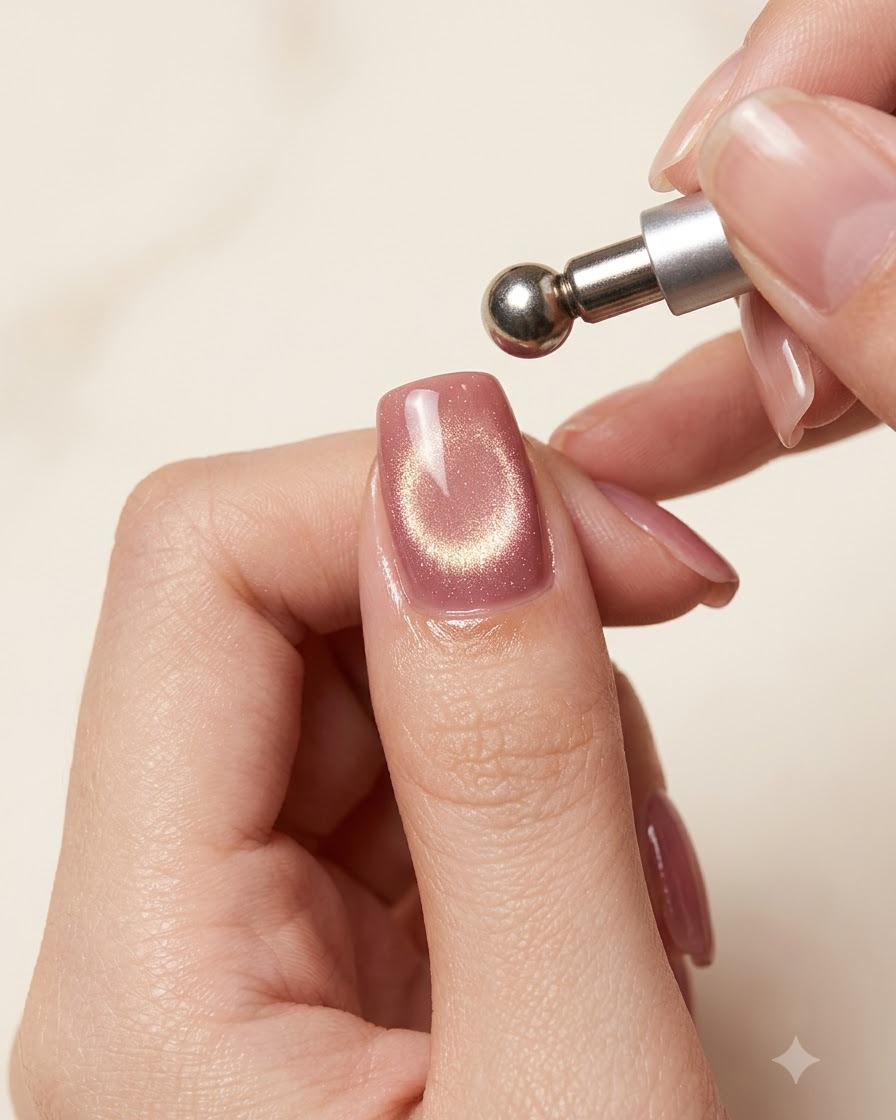
Take a spherical magnetic tool and position it precisely over the uncured gel layer to pull the particles into a concentrated highlight orb or ring effect. Hold the tool steady until the distinctive rounded light reflection forms clearly on the nail plate.
Tip: A spherical magnet creates a unique circular or halo dimension compared to standard bar magnets. - 5Show the completed cat-eye magnetic orb
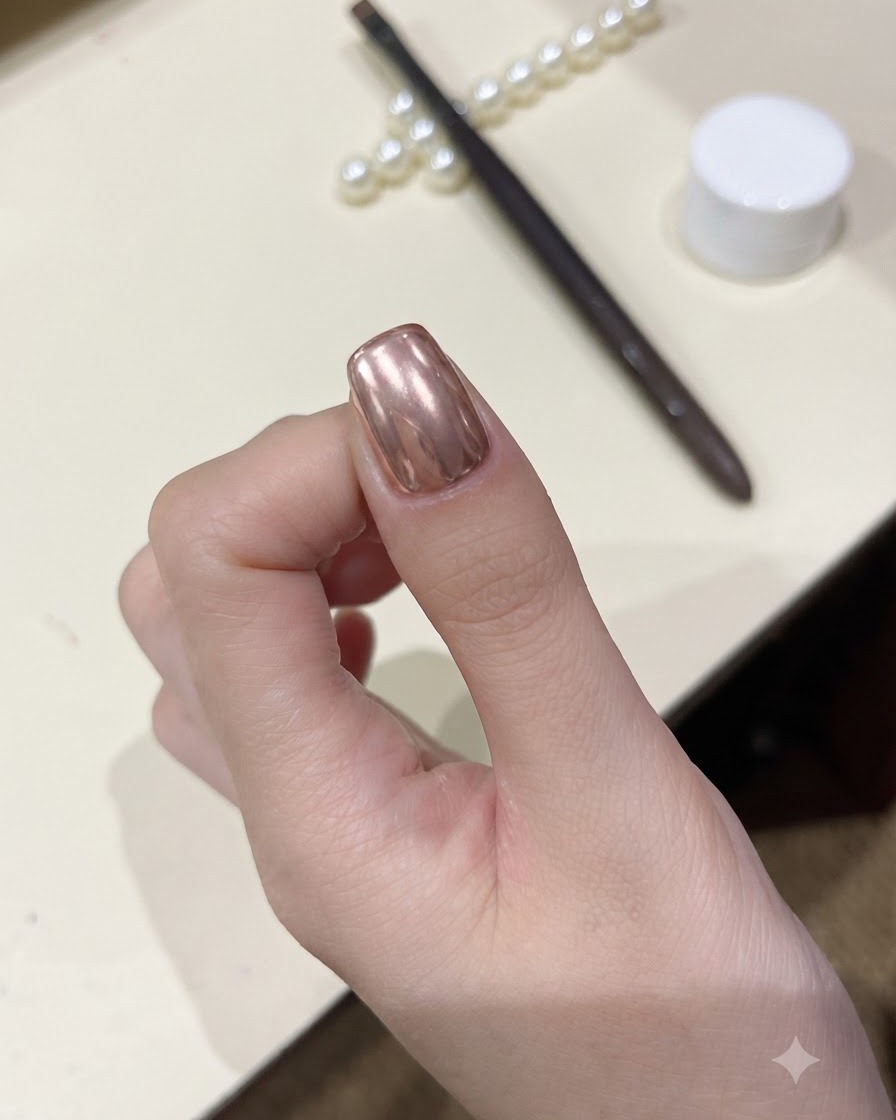
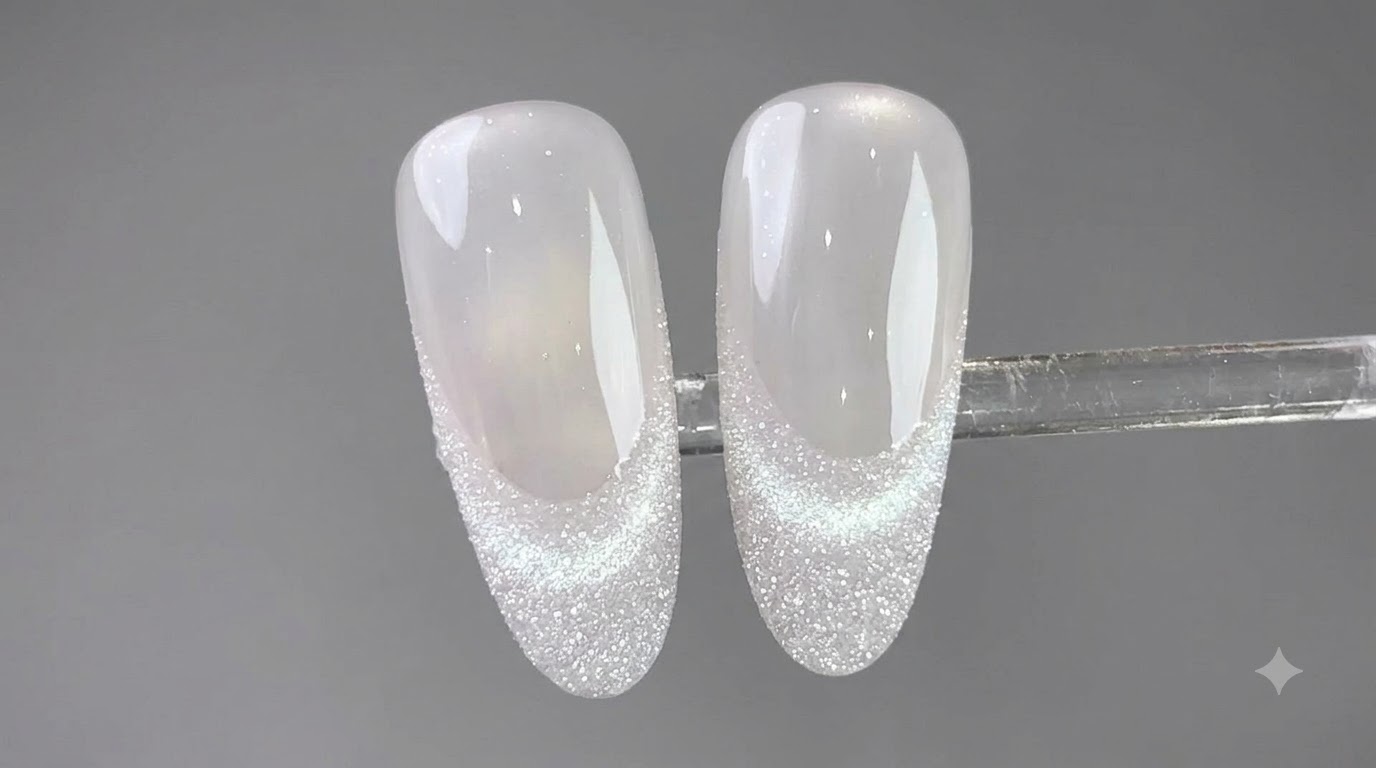
Display the completed cat-eye magnetic orb effect set into the glossy thumbnail surface. Verify that the dimensional ring or orb reflection is cleanly set and cured, presenting a high-shine finish with a striking metallic depth.
Tip: Cure immediately after achieving your desired pattern to prevent the particles from shifting back. - 6Apply sparkling diamond glitter gel
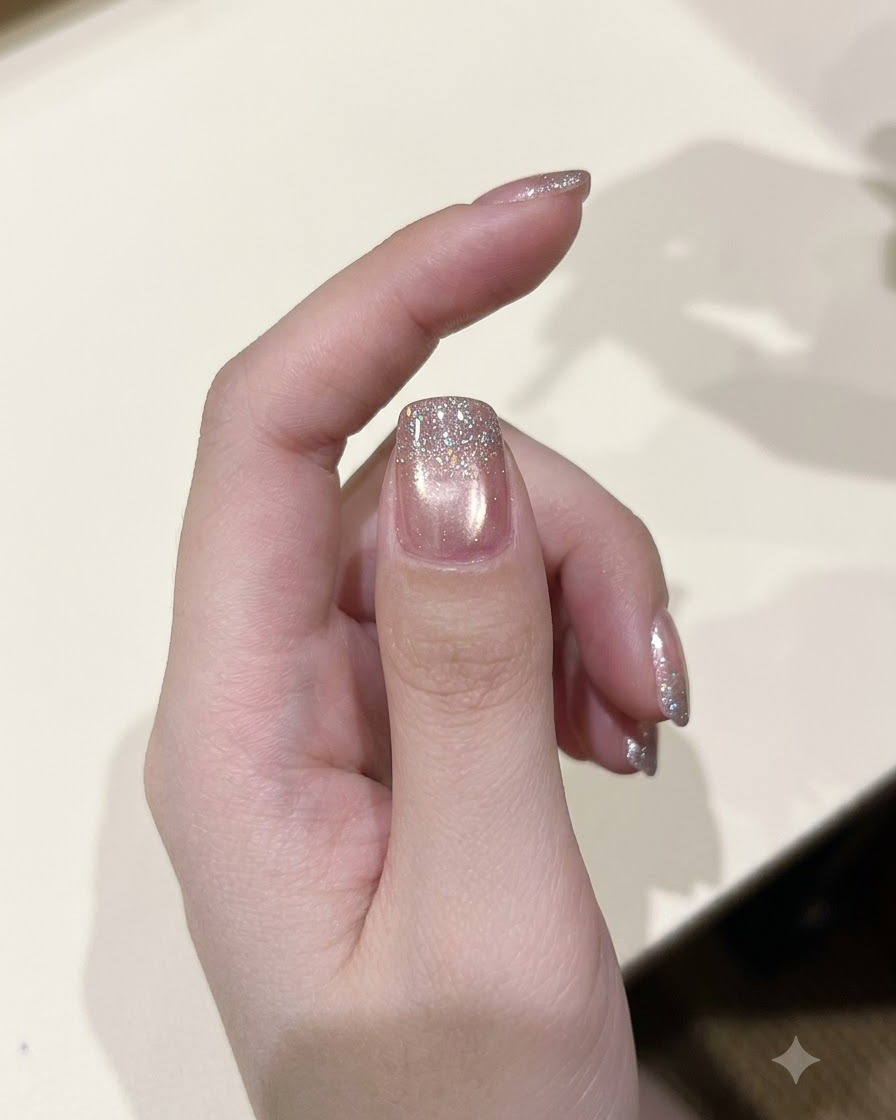
Using the polish brush, apply a delicate layer of sparkling diamond glitter gel over the fully cured cat-eye base. Focus the glitter concentration subtly to enhance the overall dimension and add a multi-faceted sparkle on top of the magnetic effect.
Tip: Dab the glitter gently with the brush tip if you want to control particle distribution more evenly. - 7Cure with portable UV/LED lamp
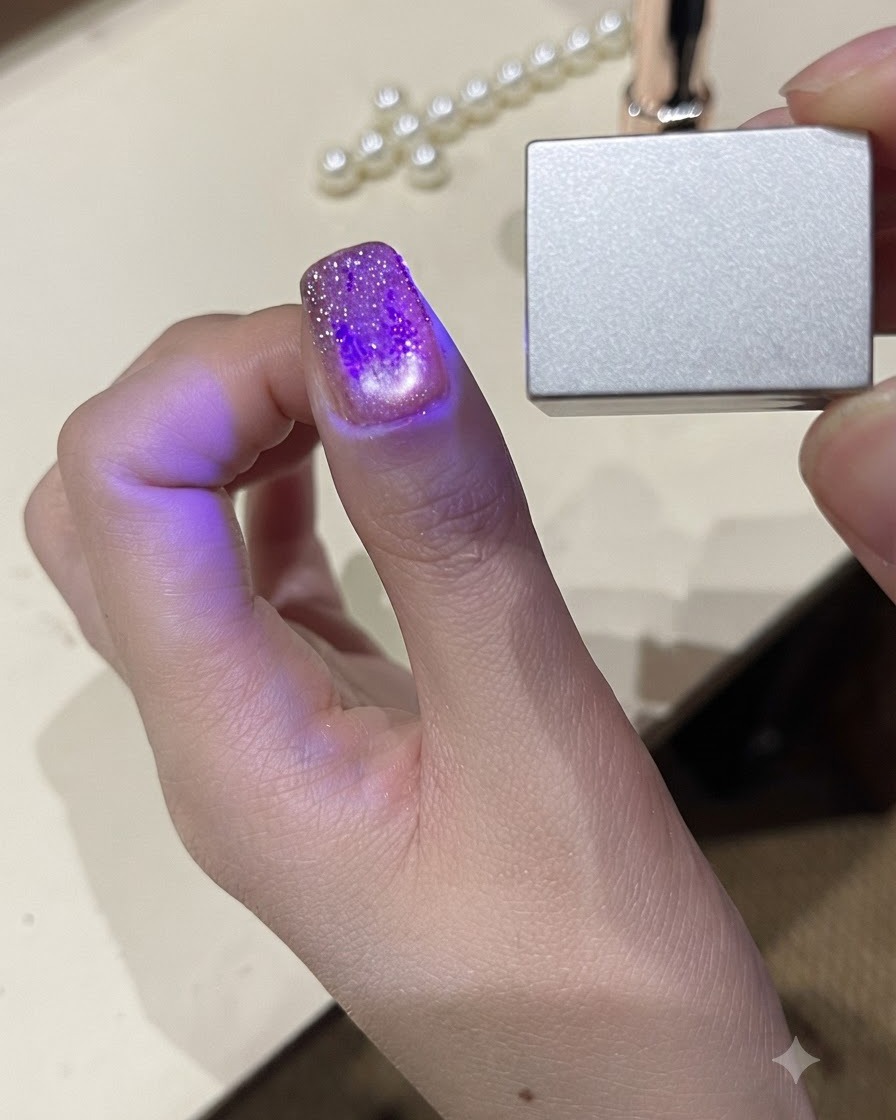
Place the portable handheld UV/LED lamp directly over your thumb to cure the applied gel layers. Hold the lamp steady for the recommended duration to ensure the product hardens completely. Proper curing prevents shifting and ensures a durable, long-lasting finish.
Tip: Keep your thumb completely still under the portable light to avoid smudging the uncured gel surface. - 8Apply Top Coat
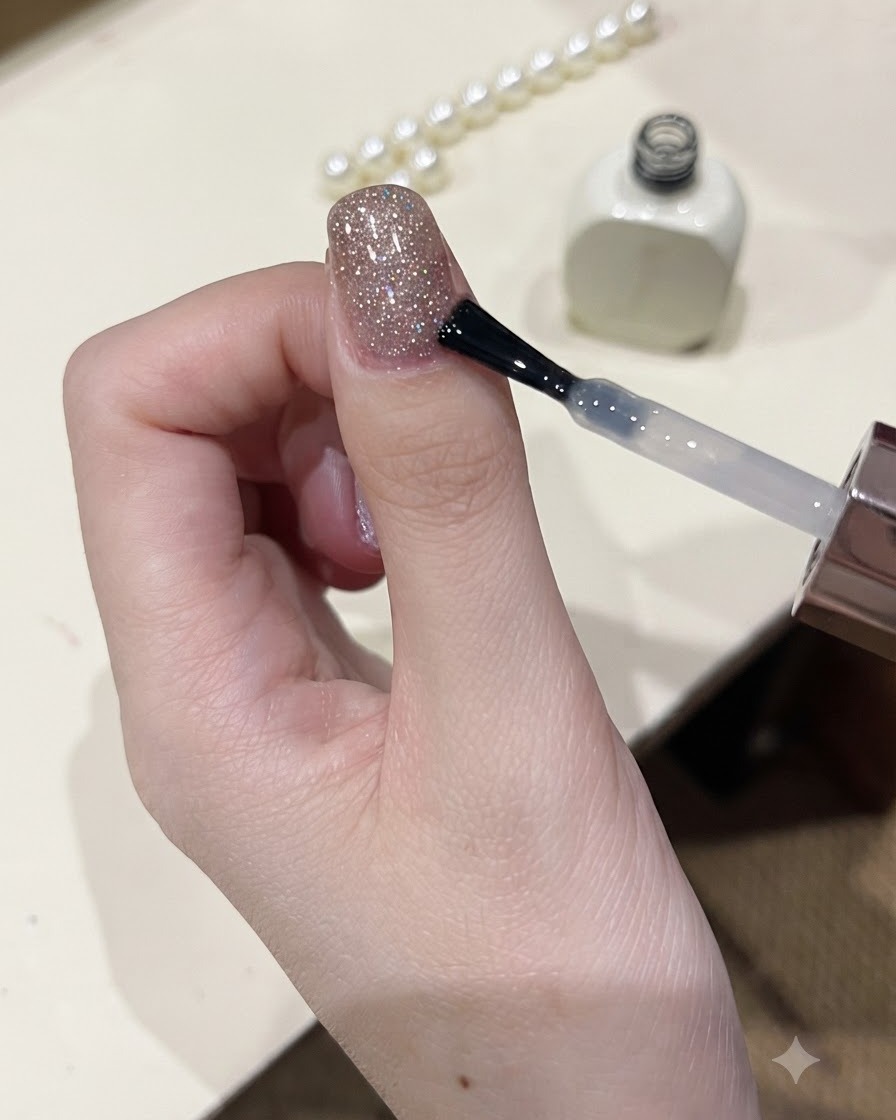
Apply a smooth and even layer of clear top coat over the cured sparkling nail design to seal in the glitter, provide ultimate protection, and deliver a long-lasting high-gloss shine. Be sure to cap the free edge completely.
Tip: Cap the free edge carefully with top coat to prevent chipping and premature lifting at the tips. - 9Smooth out diamond glitter gel
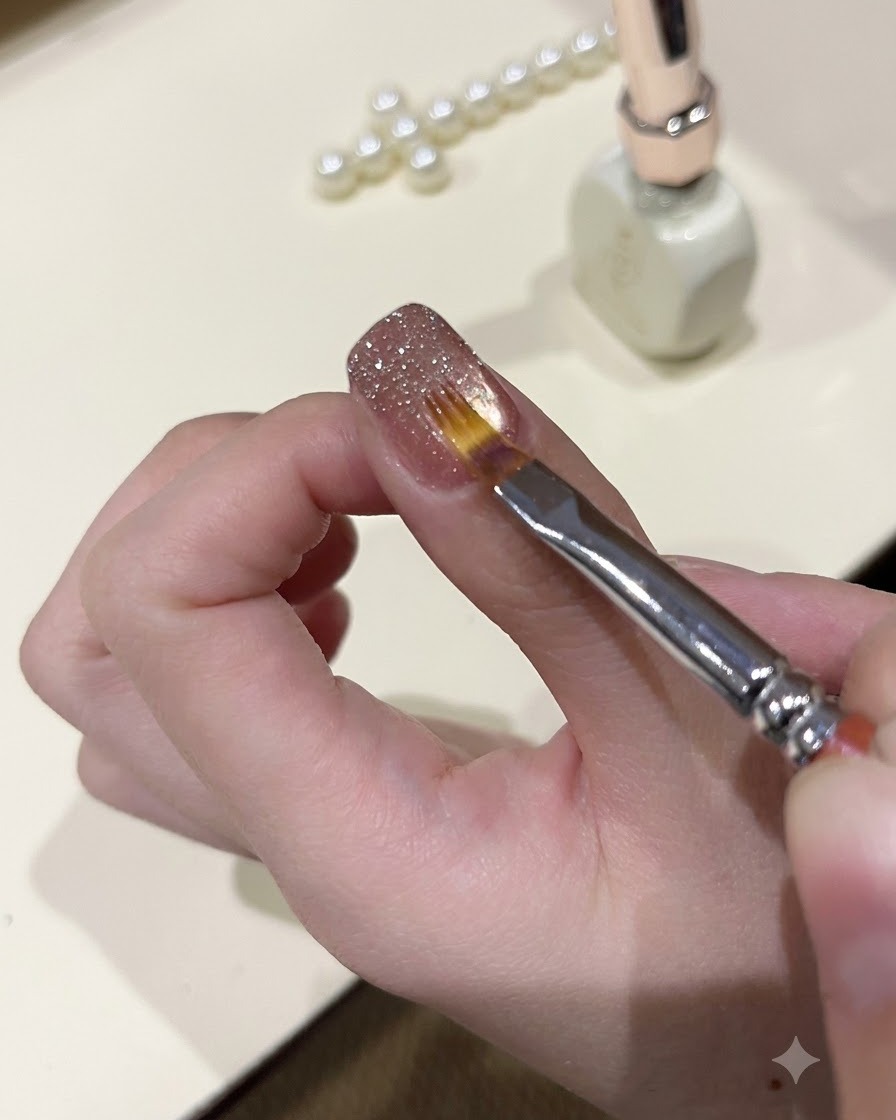
Using a fine detailing brush, gently smooth out the diamond glitter gel evenly across the nail plate. Ensure the glitter particles are distributed uniformly without clumping in certain areas. Lightly feather the product near the cuticle line for a clean, professional finish.
Tip: A fine detailing brush gives you precise control to push glitter particles exactly where you want them.