Sparkling Star Champagne Cat Eye Gel Nail Art Tutorial
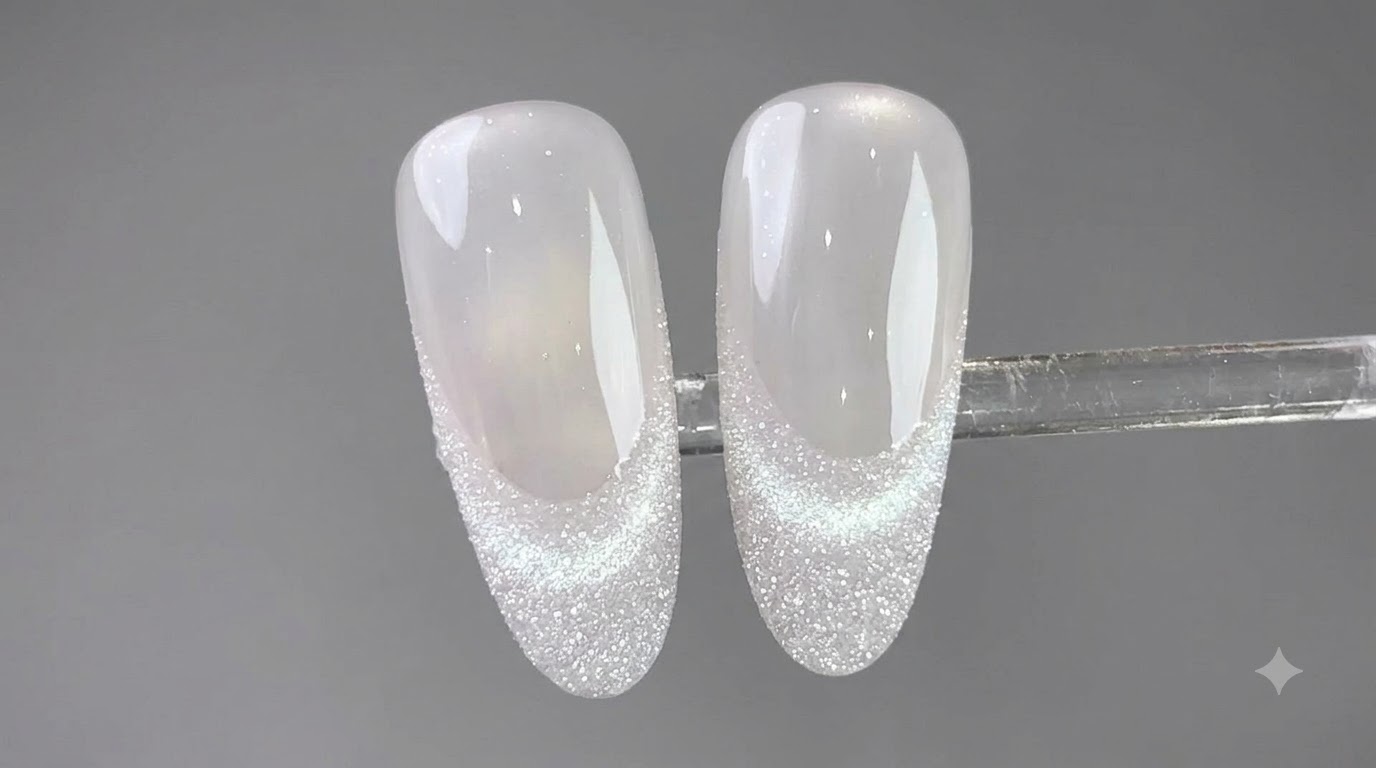
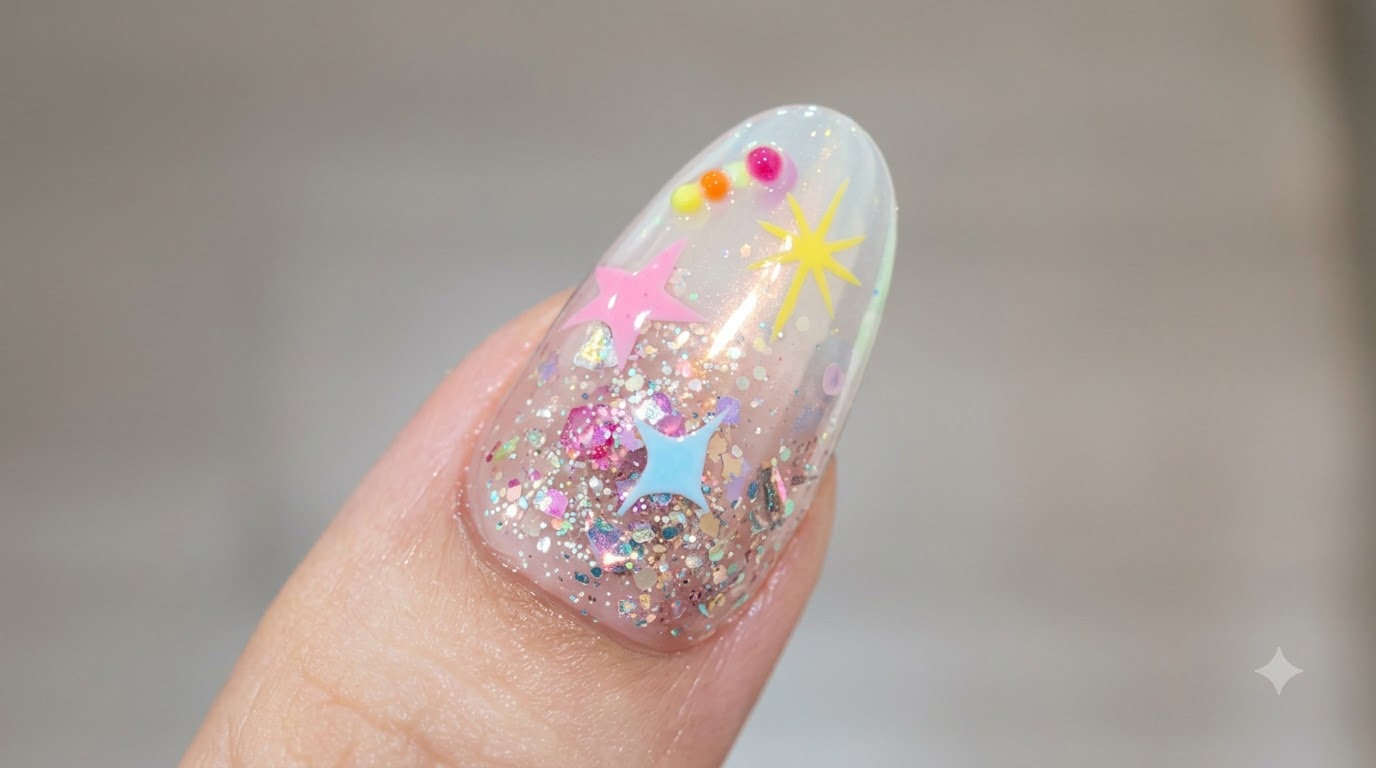
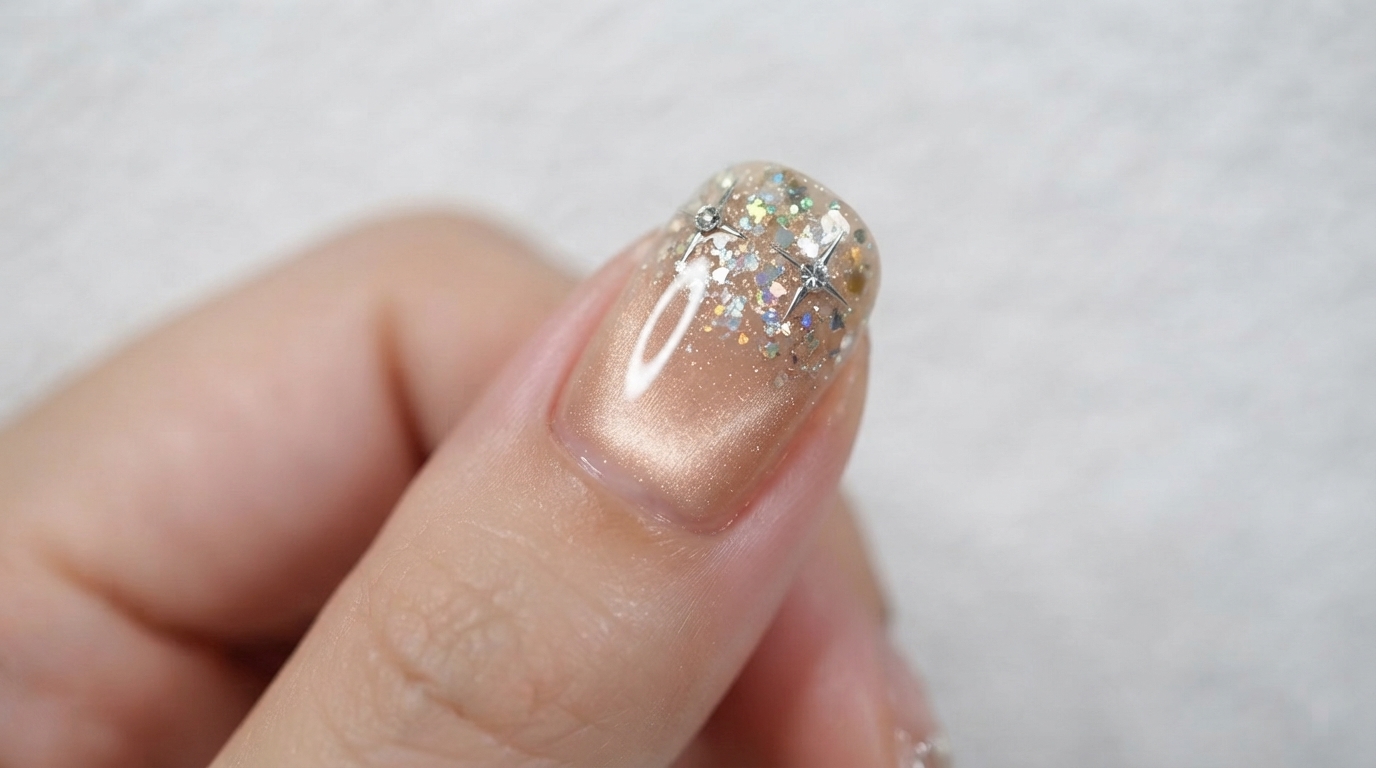
Create a mesmerizing champagne cat eye gel look with a sparkling glitter gradient tip. Complete this elegant style with silver star stickers and rhinestone accents for a magical finish.
Cat eye gel continues to be a massive trend, bringing dimension and a glass bead effect to your fingertips. This sparkling champagne design elevates the classic magnetic velvet look by adding a fading glitter gradient at the tip. Paired with delicate four-pointed star decals and tiny rhinestone embellishments, this nail art feels both celestial and sophisticated, perfect for special occasions or everyday glamour.
Steps
- 1Apply champagne cat-eye gel
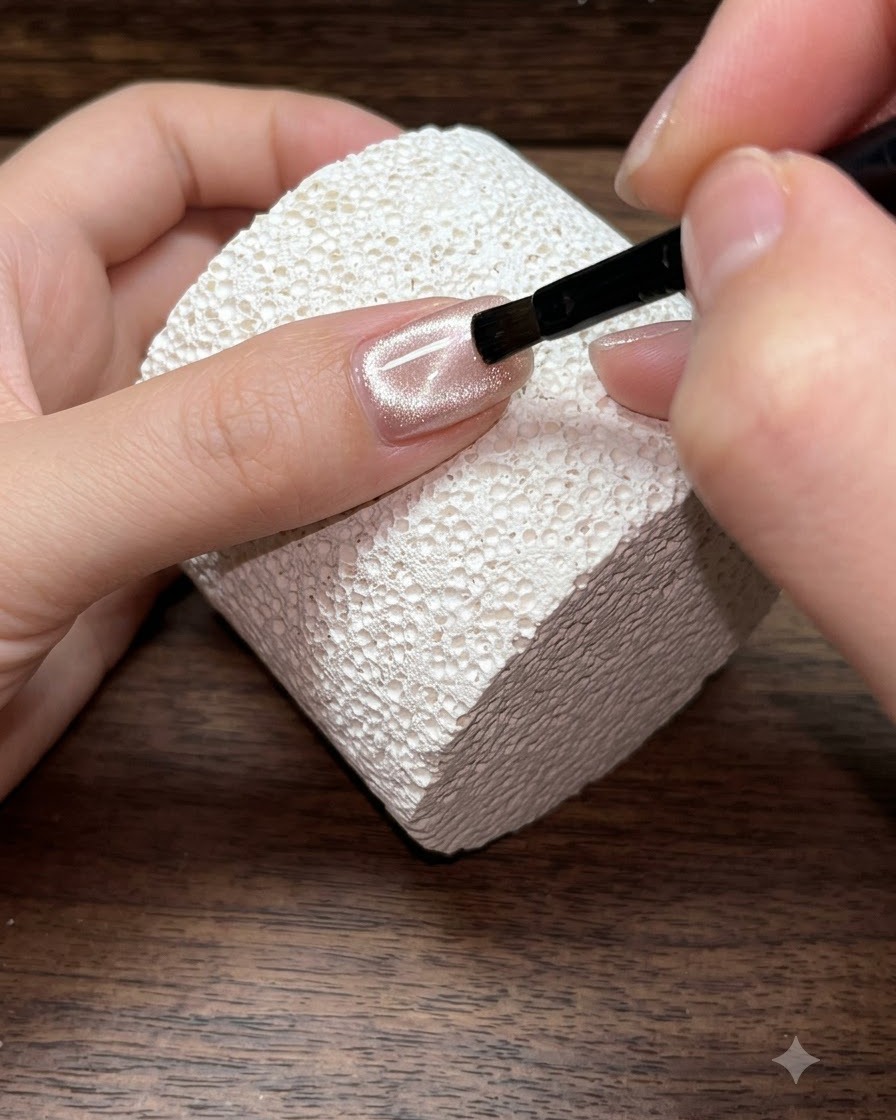
Apply an even coat of champagne cat-eye gel across the entire surface of the nail, ensuring smooth coverage from the cuticle to the free edge without pooling or gaps.
Tip: Apply a thin, even layer so the magnetic particles can move freely and create a sharp, distinct light effect. - 2Magnetize for glass bead effect
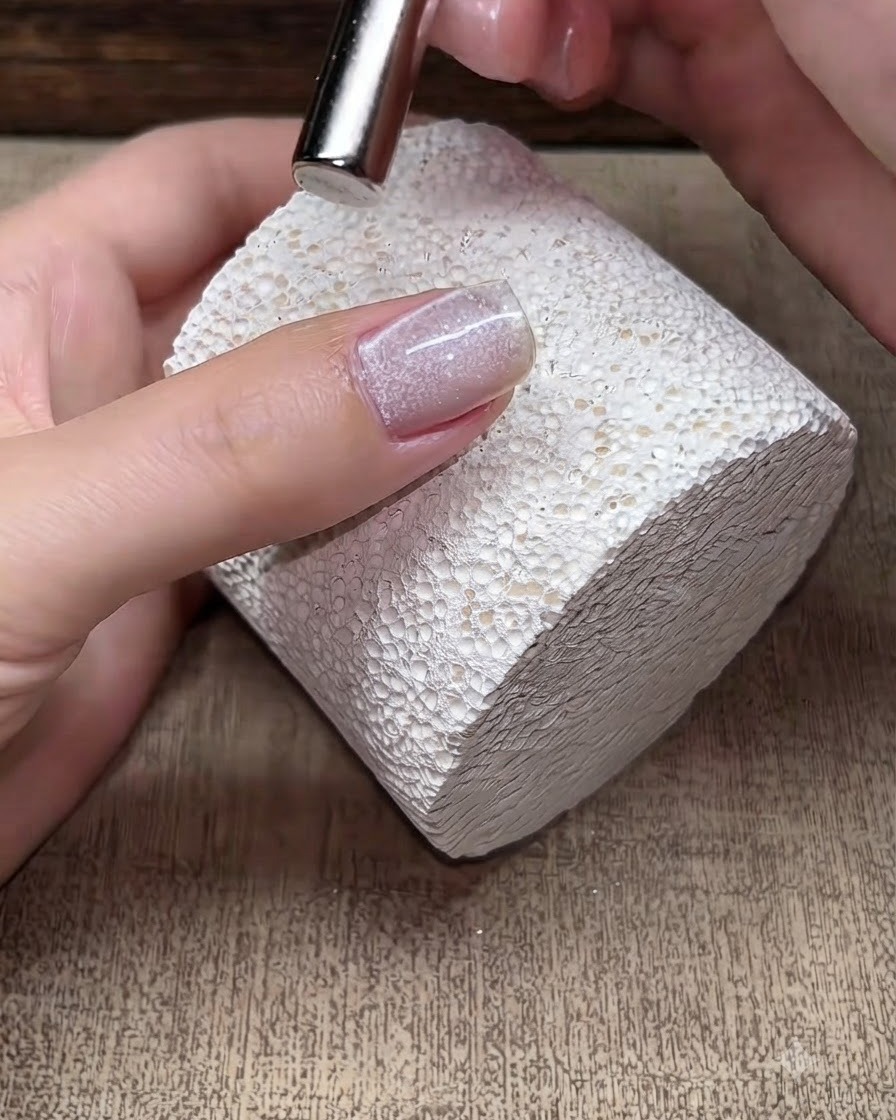
Position a magnet on both the left and right sides of the nail to draw out a wide band of light, then gently swirl the magnet vertically around the nail surface to form the signature glass bead effect.
Tip: Keep the magnet close to the nail without touching the wet gel surface to achieve a crisp magnetic shift. - 3Inspect the glass bead effect
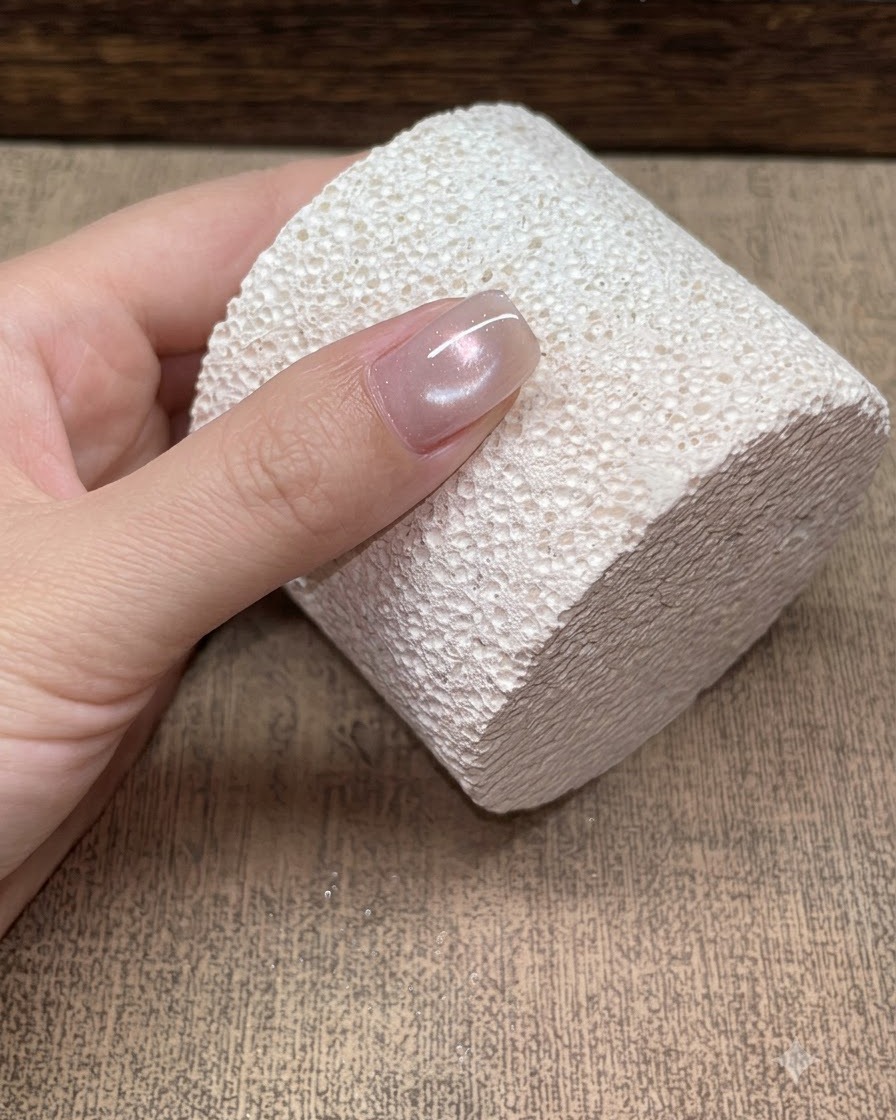
Observe the glass bead cat-eye effect created by the magnet. Ensure the concentrated glowing light reflection is well-defined and precisely positioned before proceeding to cure.
Tip: Keep your hand steady while holding the magnet to maintain an even distribution of the magnetic particles across the nail surface. - 4Cure the cat-eye gel layer
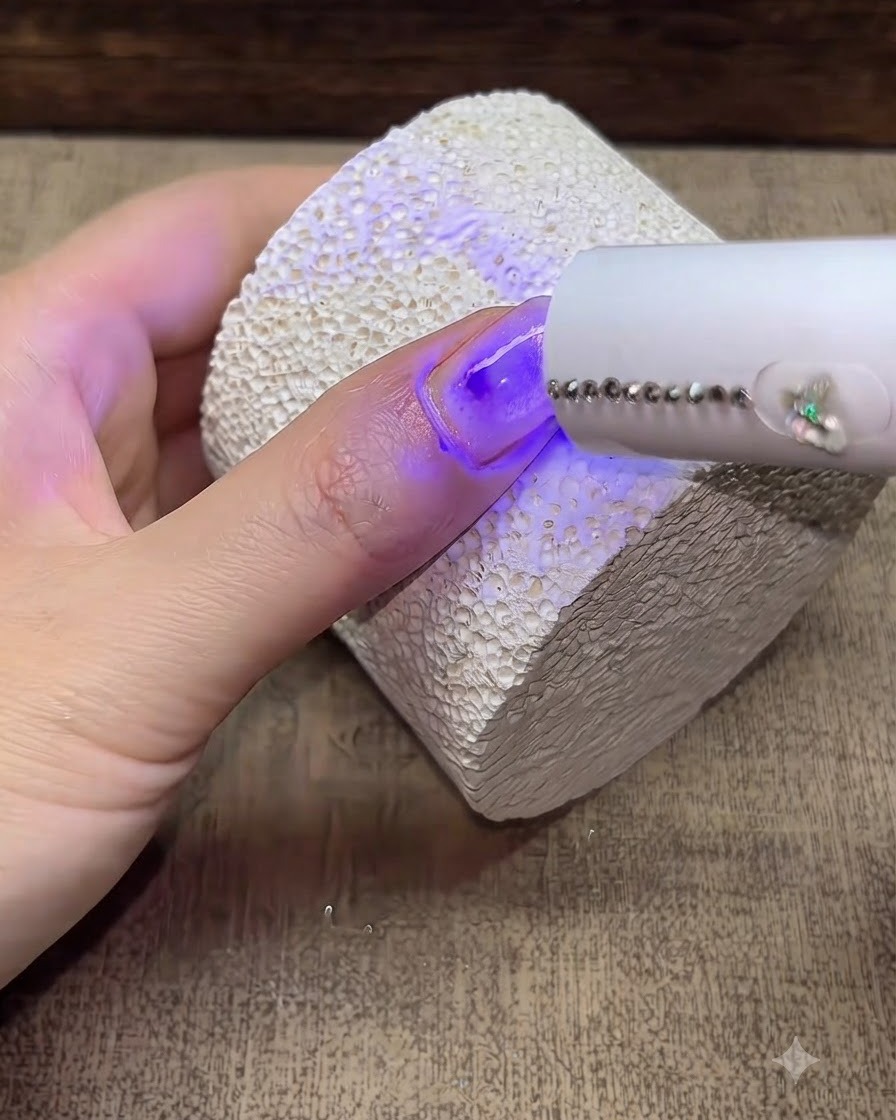
Position a portable UV/LED nail lamp directly over the nail to cure the newly magnetized cat-eye gel layer. Hold or place the lamp securely to ensure the light reaches all angles of the nail surface. Curing locks the magnetic pigment in place so the glass bead effect will not shift or distort.
Tip: Make sure the portable lamp is held close enough to fully cure the gel without causing the finger to slip out of position. - 5Apply glitter flakes to the tip
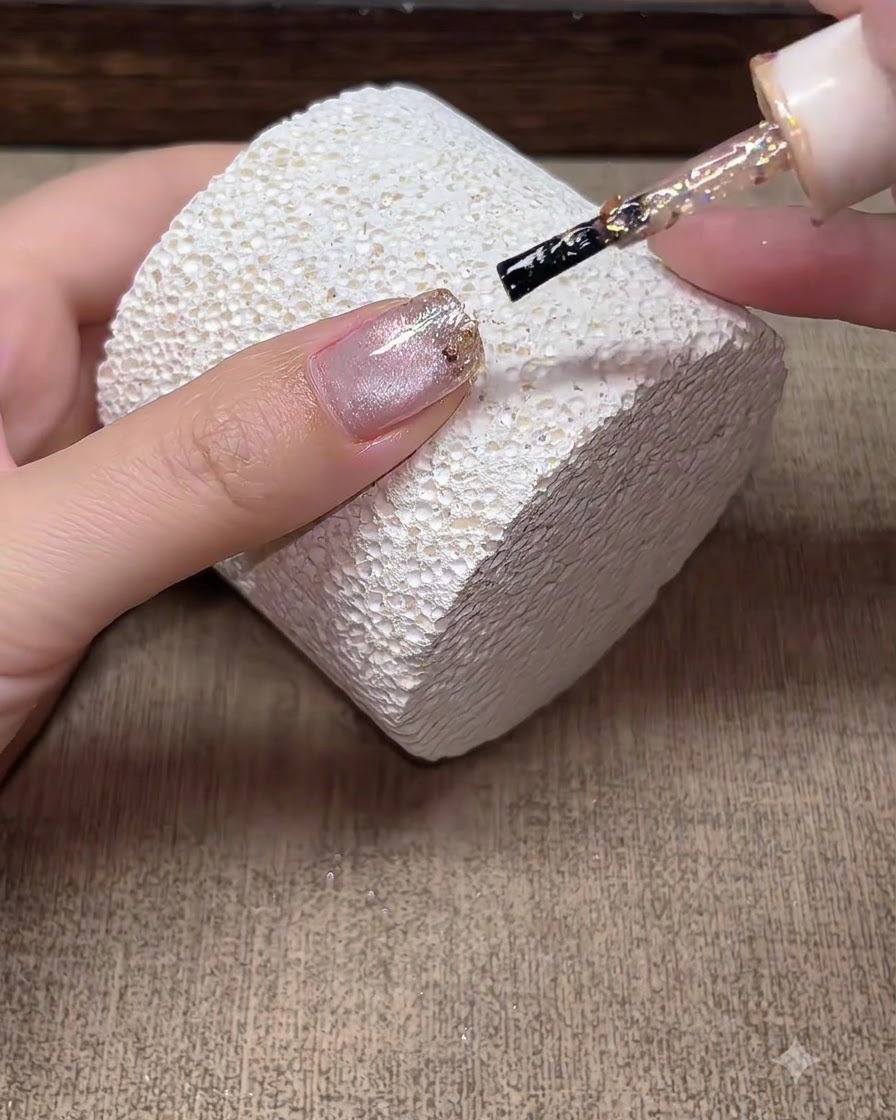
Dip the brush into champagne sparkling glitter flakes and apply them directly onto the tip of the nail to begin building a textured tip accent.
Tip: Focus the highest concentration of glitter right on the free edge, then fade inward. - 6Create glitter gradient fade
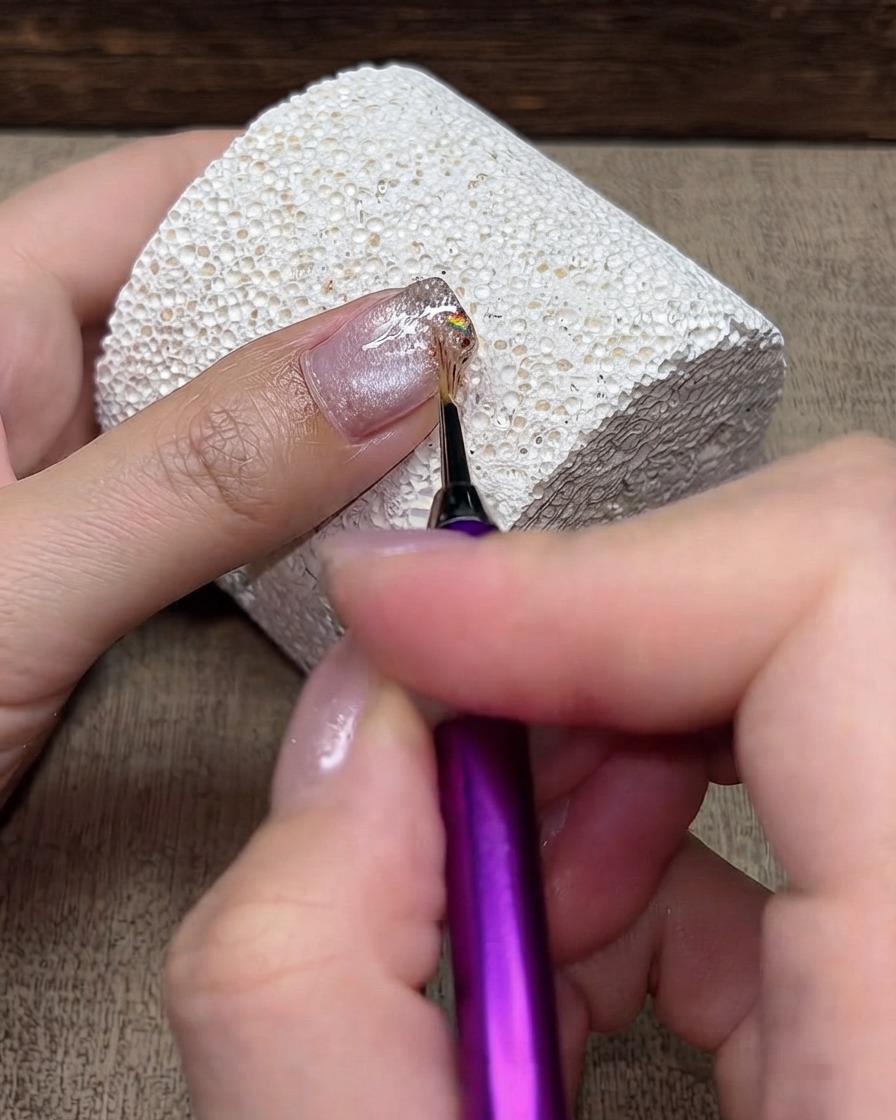
Using a light touch, sweep the brush backward from the nail tip toward the cuticle area to scatter the glitter flakes and create a seamless gradient effect.
Tip: Use very light pressure so the glitter particles spread sparsely toward the center rather than clumping. - 7Cure the glitter gradient layer
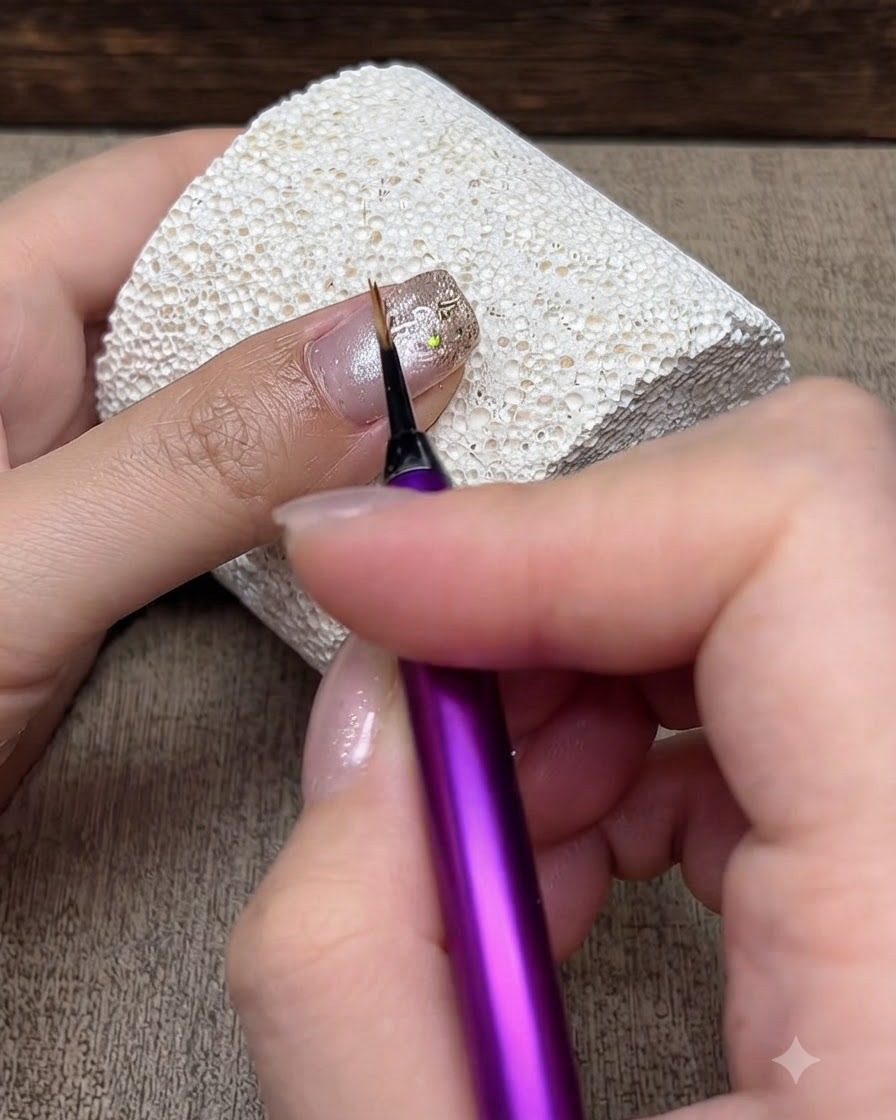
Place your hand under the UV or LED nail lamp to cure the freshly created glitter gradient. This ensures the glitter flakes are locked into position before adding the structural builder gel layer.
Tip: Ensure the light hits all angles of the nail tip so the glitter gel cures thoroughly. - 8Apply builder gel for leveling
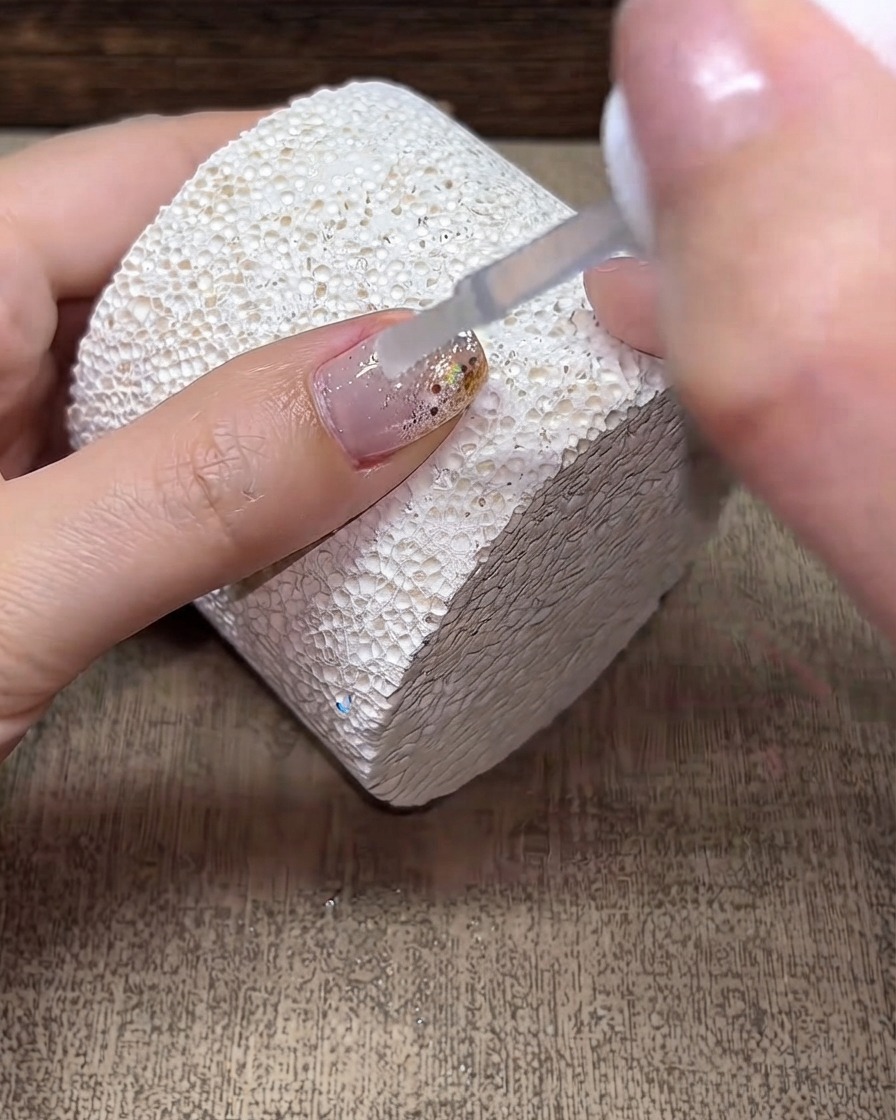
Brush builder gel over the entire nail surface to find a level nail plane and encapsulate any embedded glitter or texture. This self-leveling layer adds structural strength, protects the underlying design, and creates a smooth foundation for subsequent steps. Apply evenly from cuticle to free edge without flooding the sides.
Tip: Roll your finger slightly side-to-side after applying builder gel to let gravity help form a perfectly smooth, leveled apex. - 9Cure the builder gel
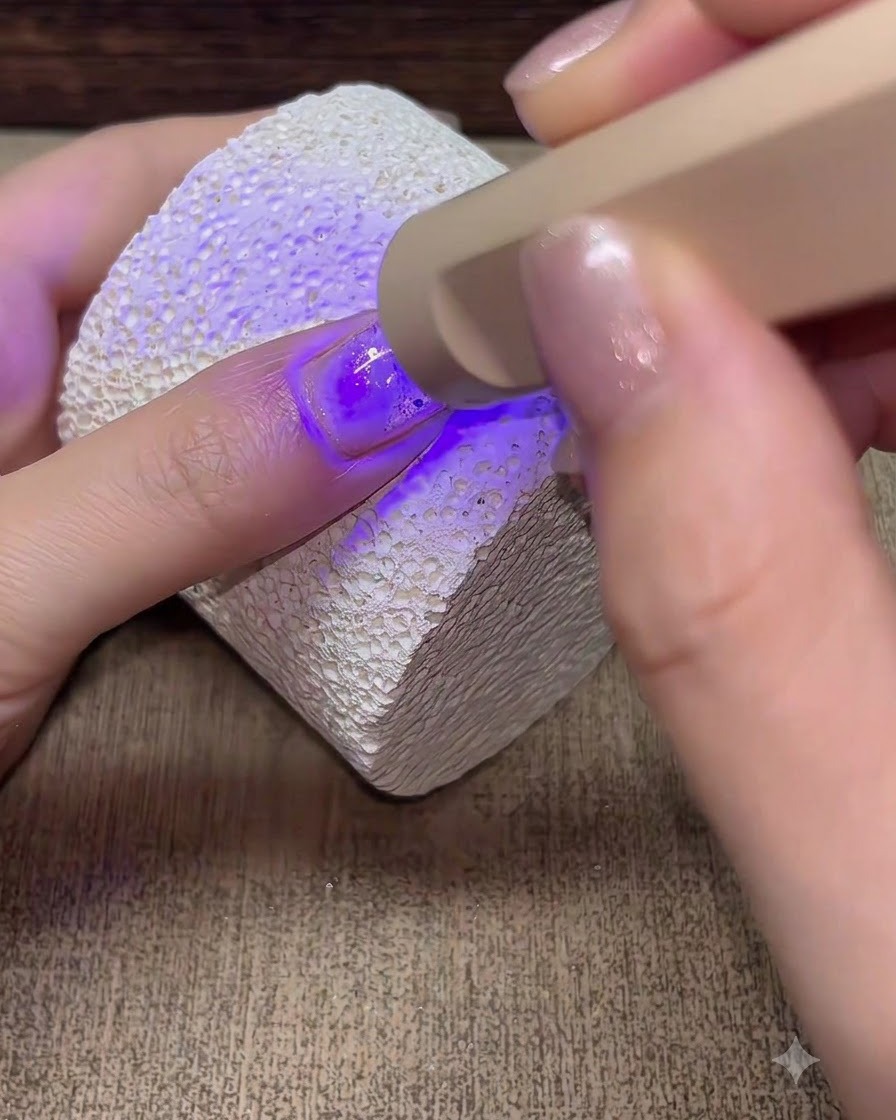
Place the nail under the UV/LED lamp to fully cure the builder gel layer. Ensure adequate exposure time so the thick structural layer hardens completely throughout. A proper cure prevents shifting and provides a rigid base for any final finishing work.
Tip: Builder gel generates more heat during curing due to its thickness; if you feel a heat spike, briefly remove your hand from the lamp before resuming. - 10Wipe away the sticky inhibition layer
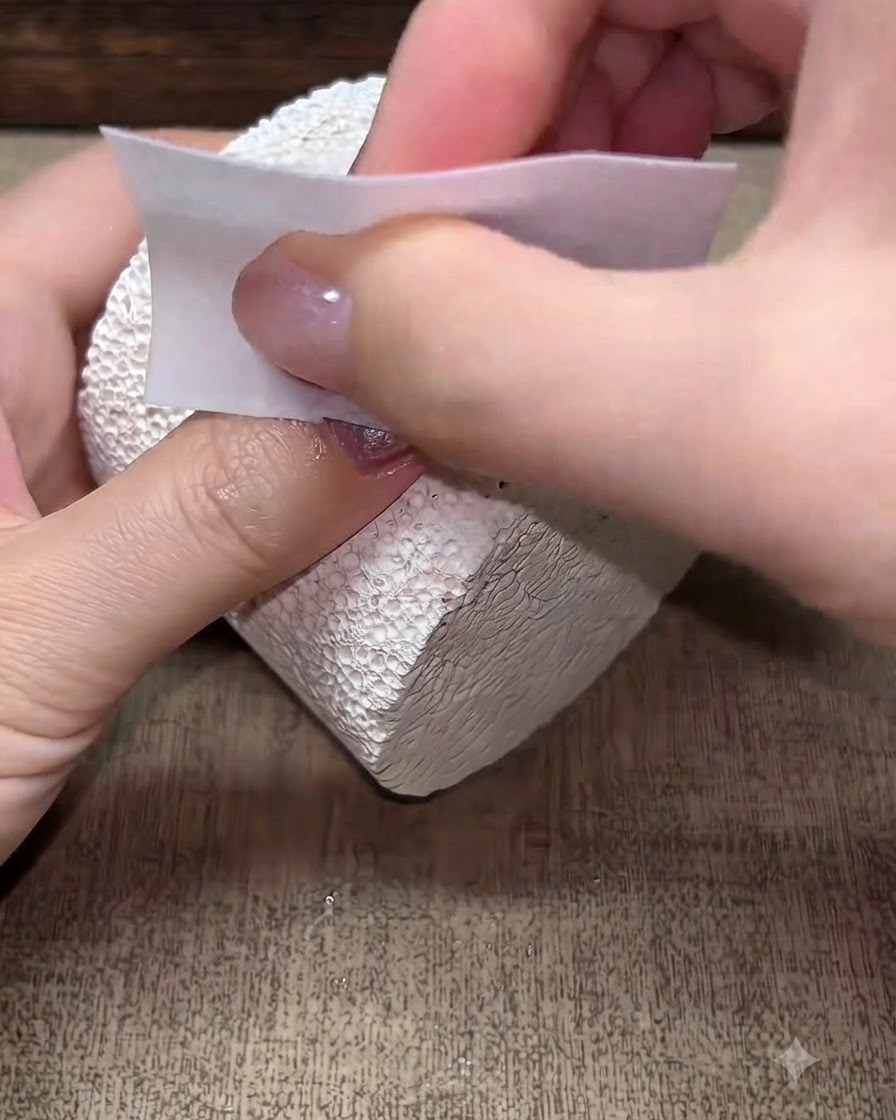
Take a cleansing cotton pad saturated with nail cleanser or alcohol and firmly wipe the surface of the cured nail. This removes the sticky inhibition layer left behind by the cured gel, revealing a clean and ready-to-buffer surface. Ensure all stickiness is completely gone before filing.
Tip: Use a fresh section of the cotton pad for each wipe to avoid re-depositing sticky residue back onto the nail. - 11Buff and smooth the nail surface
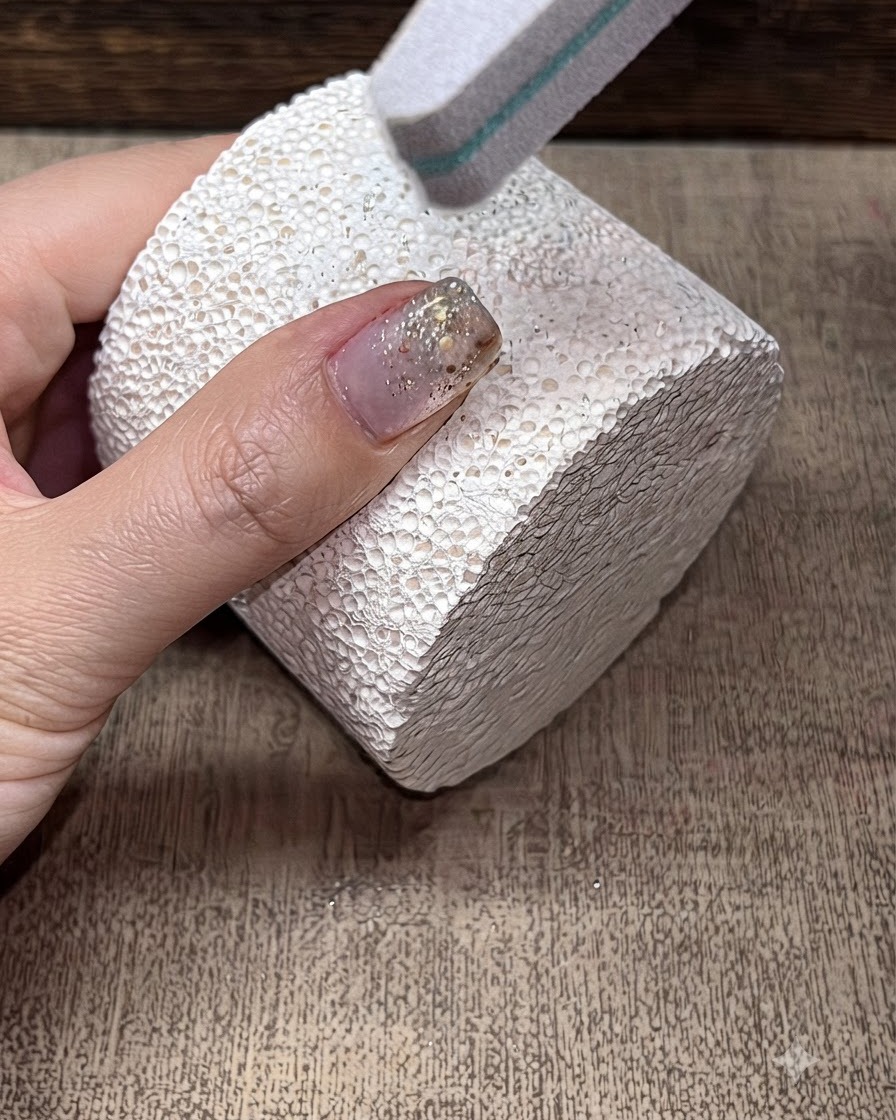
Using a sponge buffer file, gently buff and smooth out any uneven areas across the nail surface. This ensures a uniform texture and prepares the nail for subsequent decorative layers.
Tip: Keep the pressure light when using a sponge buffer to avoid thinning the nail layers. - 12Place four-pointed star stickers
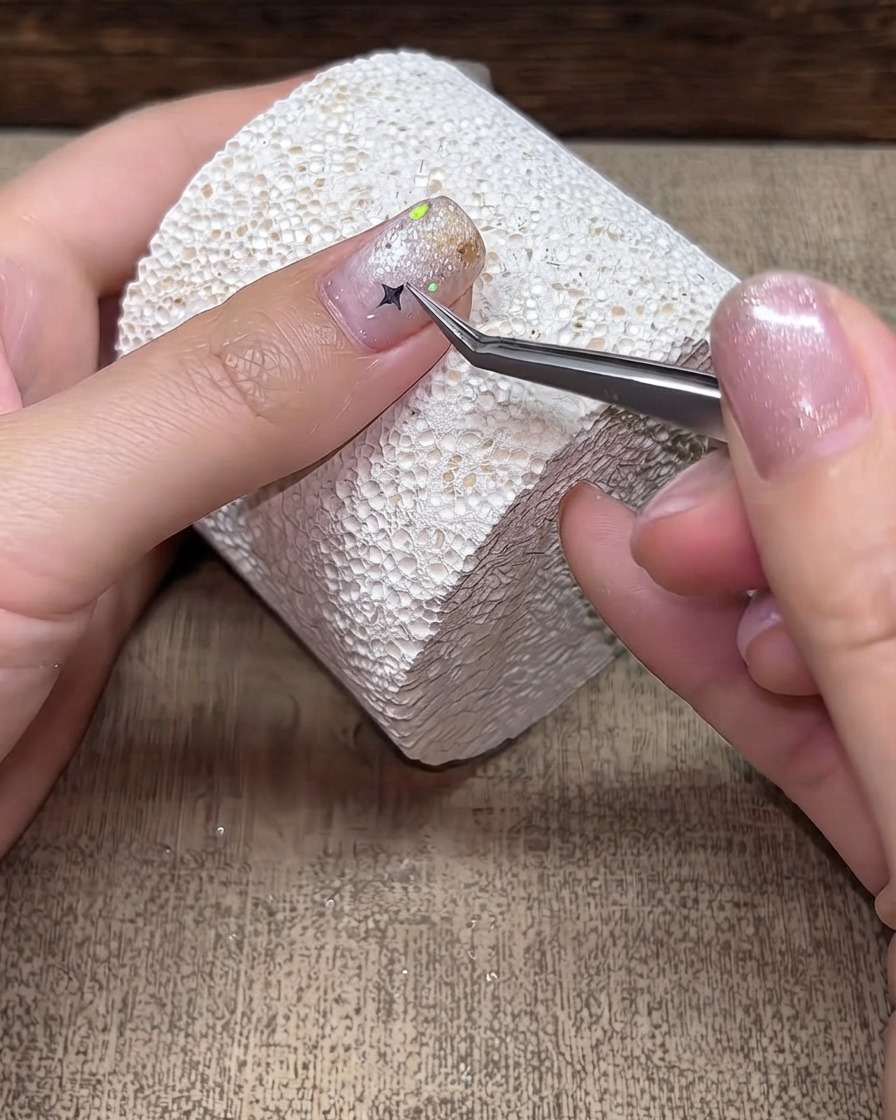
Using precision tweezers, pick up four-pointed star stickers and place them in diagonal positions across the nail surface for a decorative accent.
Tip: Use the tip of your tweezers or a silicone tool to press down the edges of the stickers so they do not lift. - 13Press and smooth down stickers
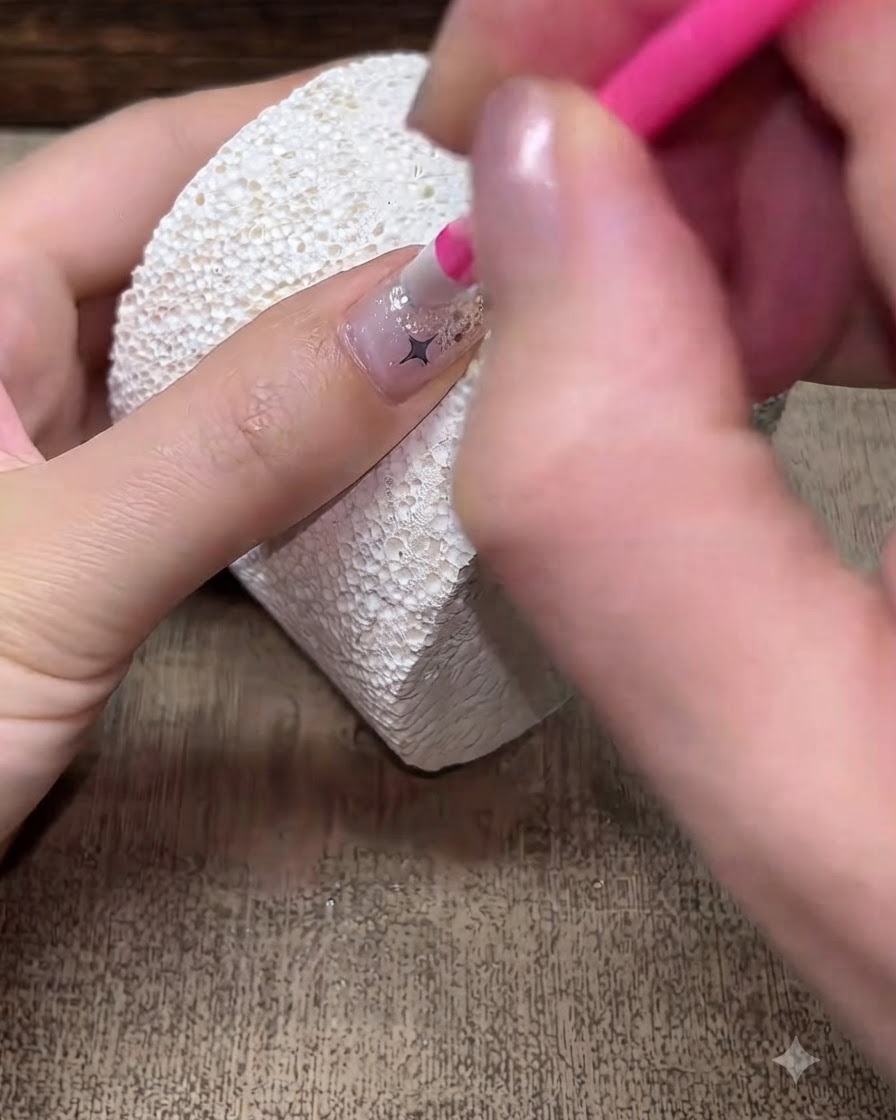
Firmly press and smooth down the star stickers flat against the nail using a detailing tool or pusher to ensure complete adhesion without air bubbles.
Tip: Ensuring the sticker edges are flat prevents them from catching or peeling off under the top coat. - 14Apply top coat
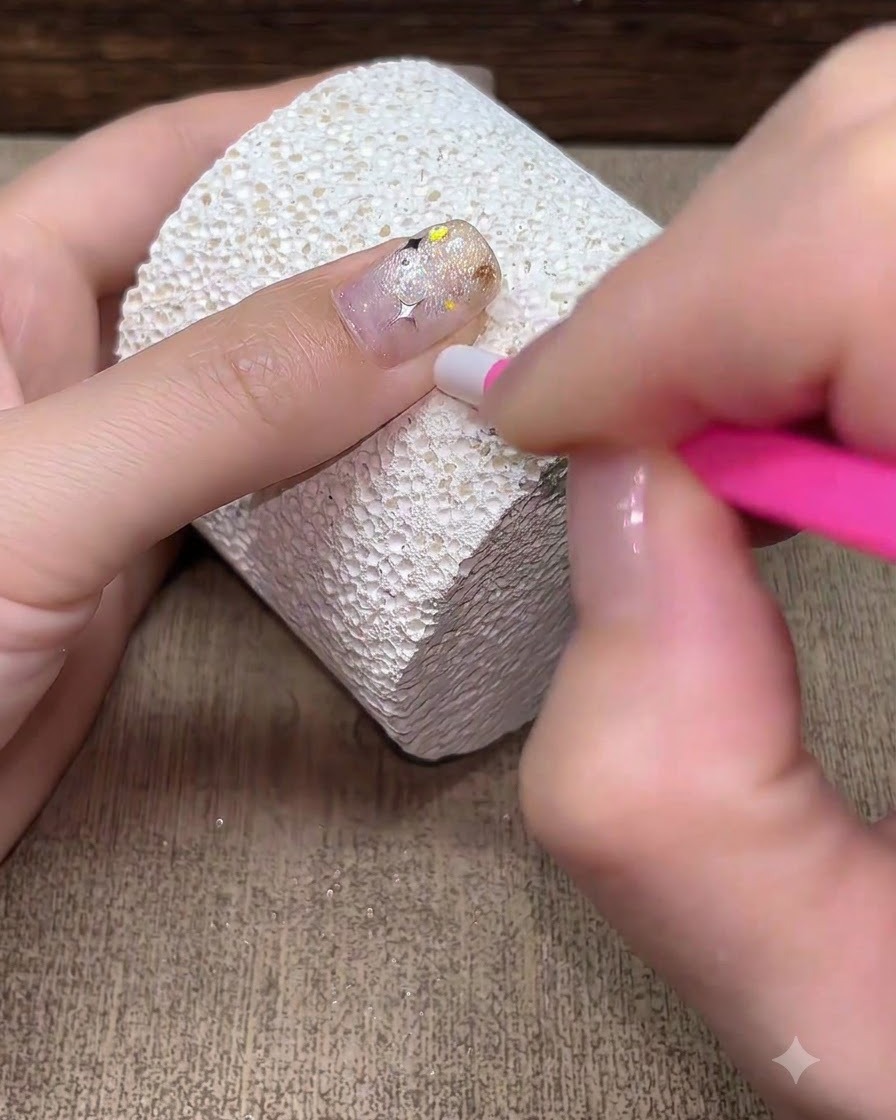
Apply an even coat of top coat over the entire nail surface, sealing in the stickers and nail art elements completely.
Tip: Cap the free edge with top coat to prevent chipping and protect the nail art design. - 15Cure the top coat
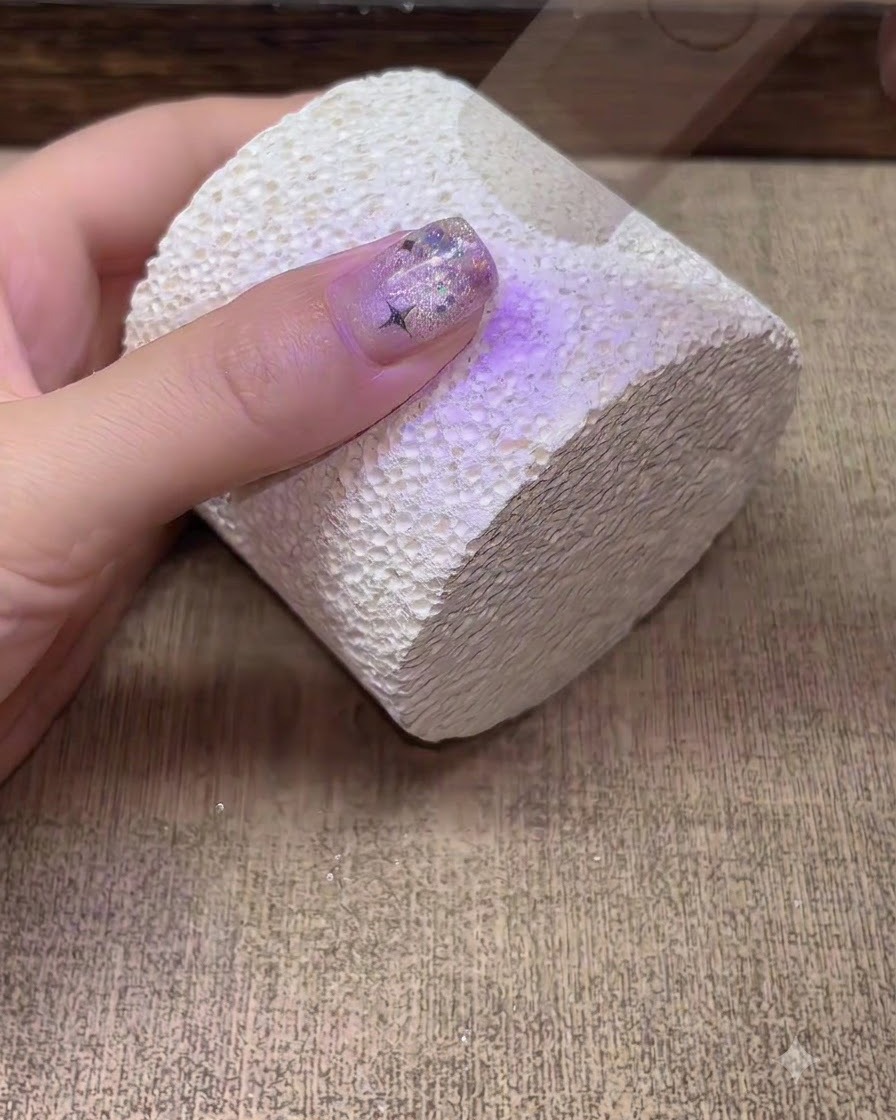
Place the hand under a UV or LED lamp to cure the top coat layer fully, locking in the design and providing a glossy finish.
Tip: Ensure your hand is positioned correctly inside the lamp for uniform curing across all angles. - 16Apply rhinestone adhesive gel
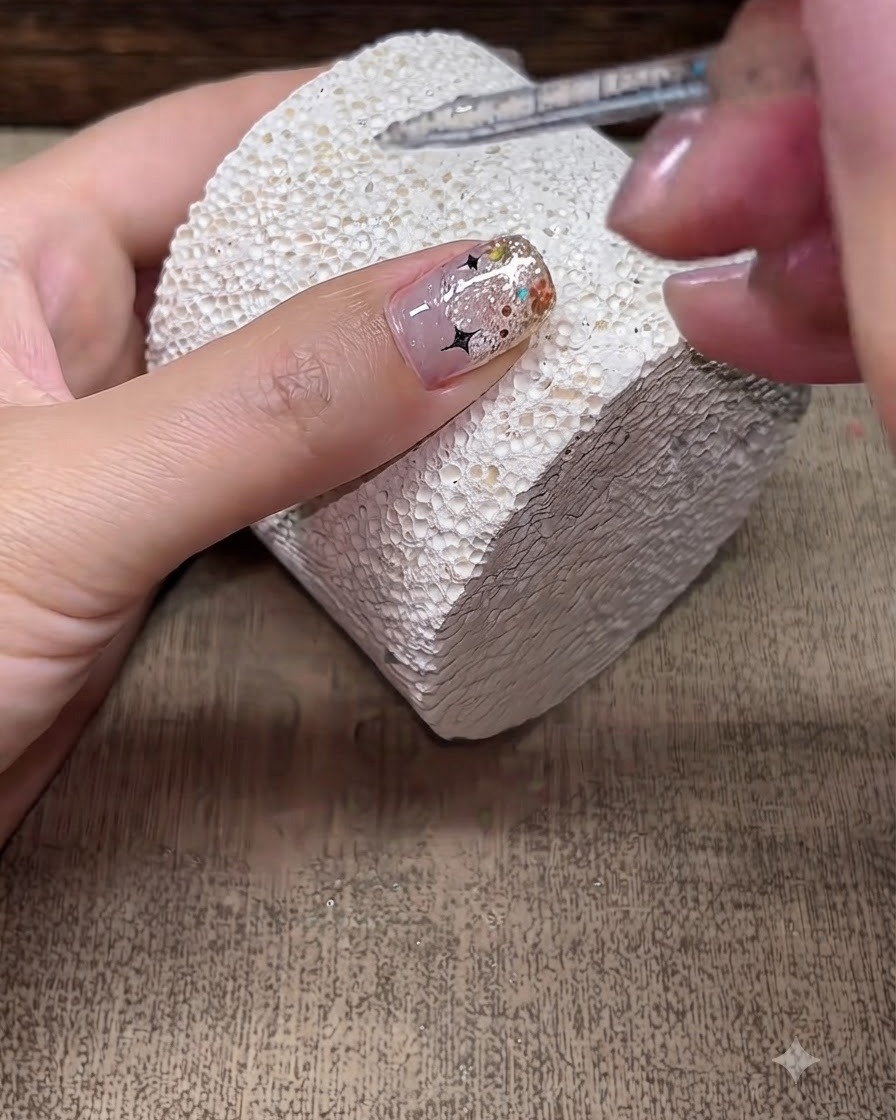
Apply a small dot of rhinestone adhesive gel to the upper-left corner position of the nail where the embellishments will be secured.
Tip: Use a precise amount of adhesive gel so that it does not spill over the surrounding cured top coat. - 17Place rhinestone balls into adhesive
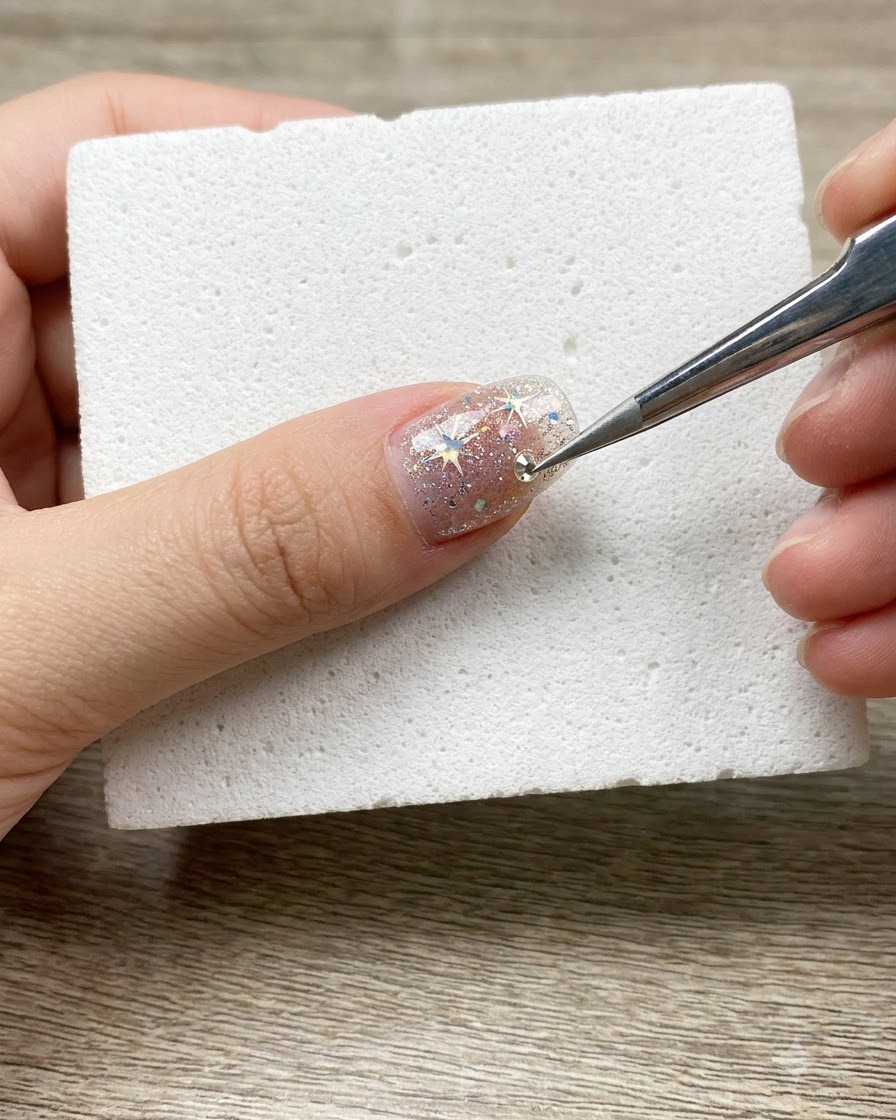
Using the pointed tip of your detailing tool, carefully pick up and place small rhinestone balls onto the uncured gel adhesive placed on the nail surface. Press them gently to set them into position before curing.
Tip: Work quickly with gel adhesive to position embellishments precisely before they shift out of place. - 18Cure rhinestone placement
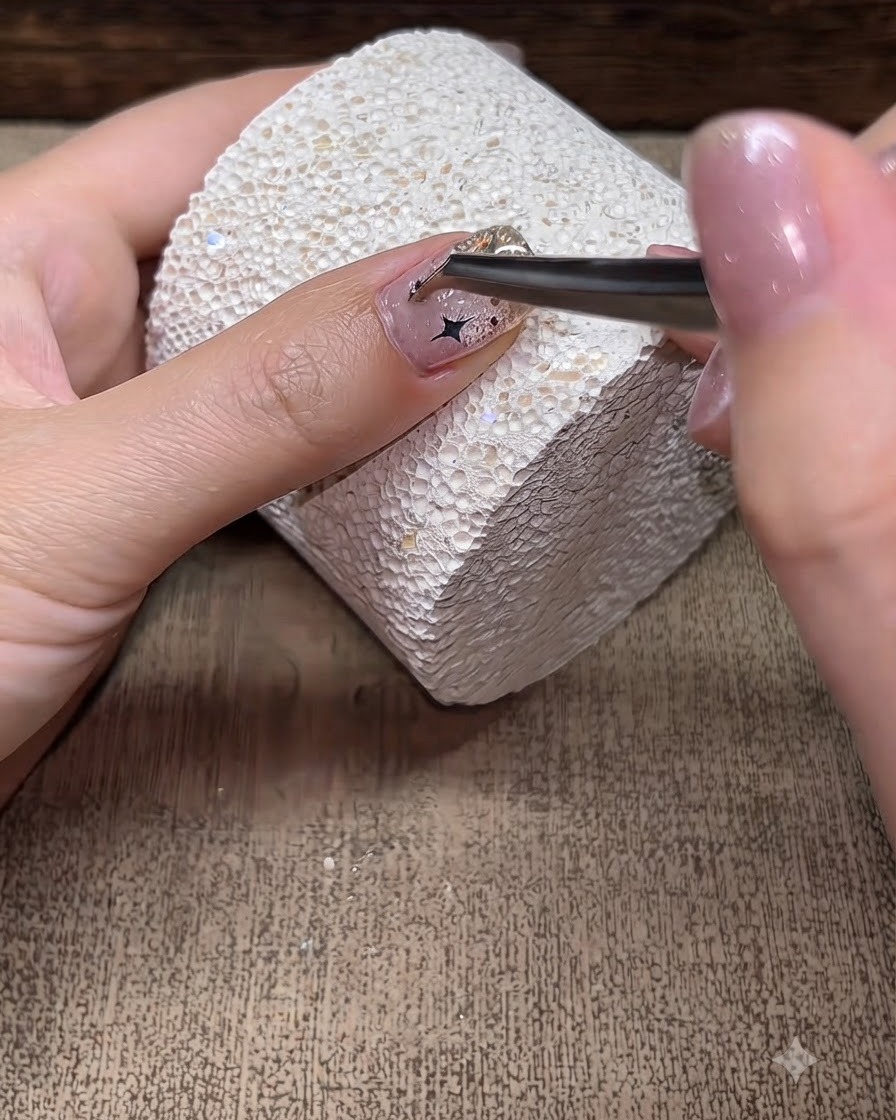
Place your hand under the UV or LED nail lamp to cure the gel adhesive and secure the placed rhinestone balls firmly onto the nail surface. Ensure complete curing so the decorations will not catch or fall off.
Tip: Hold your hand steady under the lamp to prevent any embellishments from sliding out of place during initial curing. - 19Seal rhinestone gaps with top coat
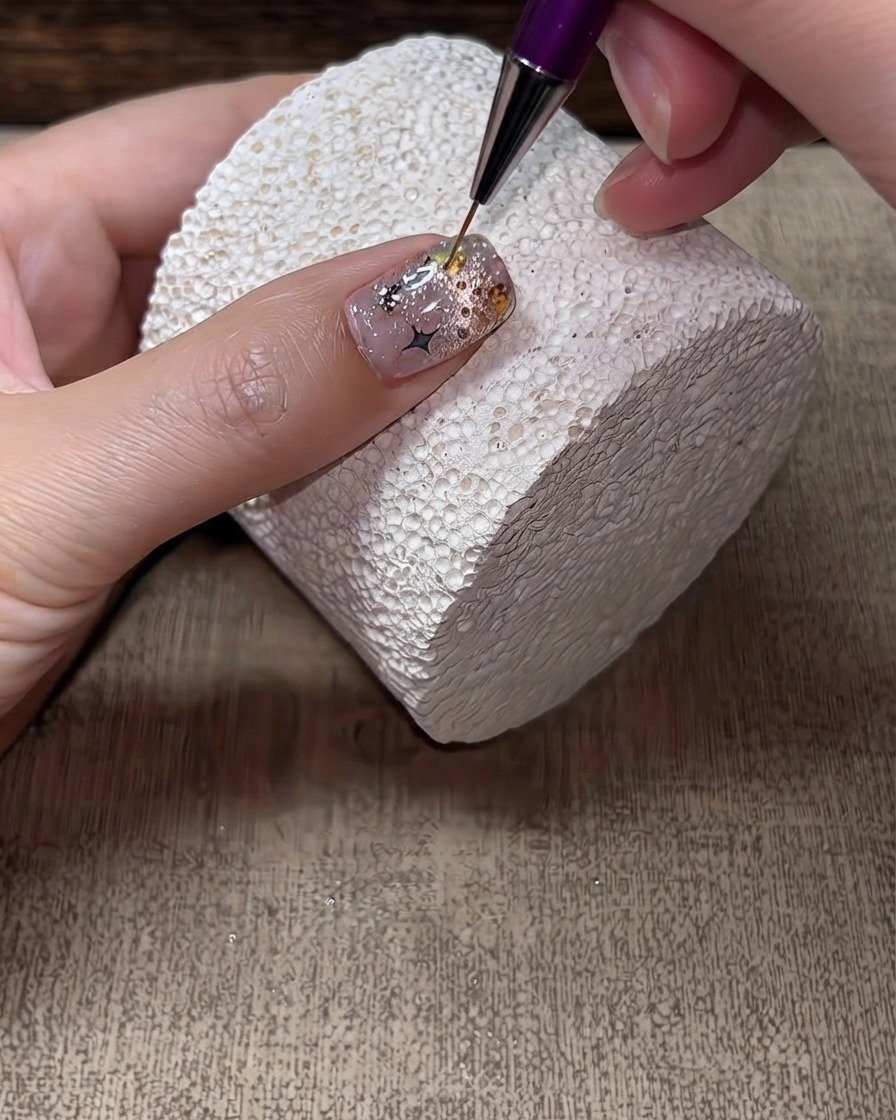
Dip a fine liner brush into hard top coat and carefully slip-line around the base and gaps of the small rhinestones. This sealing technique locks the gems in place and prevents snagging or lifting.
Tip: Do not flood the tops of the rhinestones with top coat, or you will dull their sparkle and faceted shine. - 20Cure final sealing layer
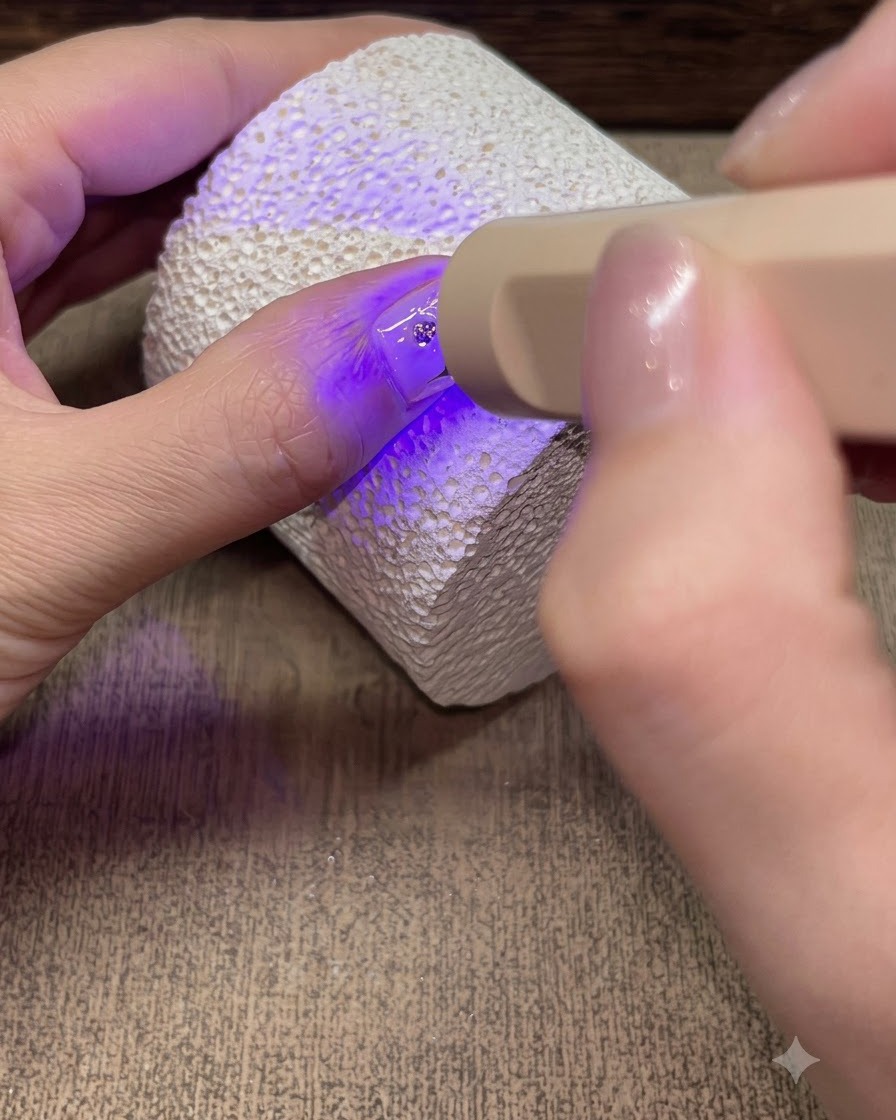
Cure the final hard top coat layer under your UV or LED nail lamp to completely harden the protective seal over the rhinestones and nail art. Wipe away any remaining tacky inhibition layer if necessary to reveal a high-gloss finish.
Tip: A thorough final cure ensures maximum durability and long-lasting wear for all embedded nail art elements.