Strawberry Jelly Cat Eye Nail Art — 3D Gel Tutorial
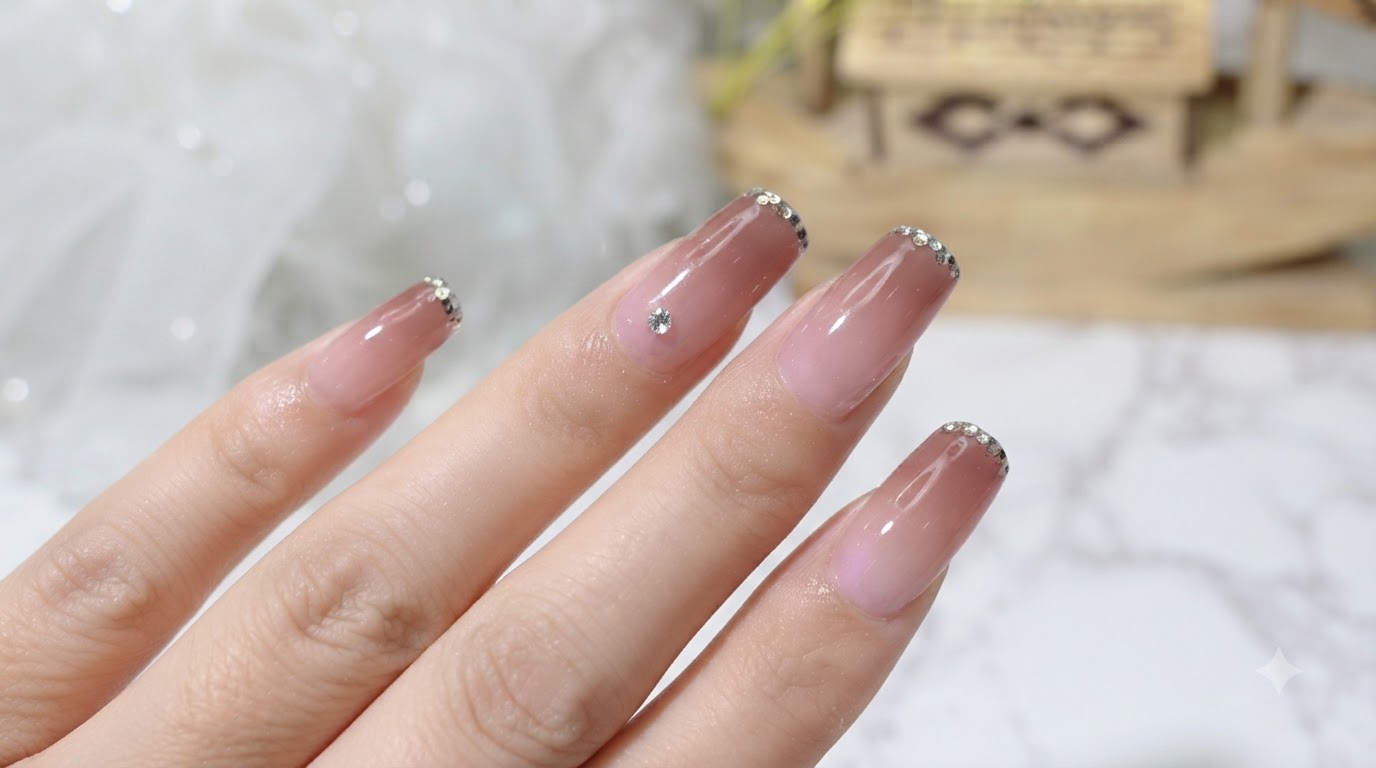
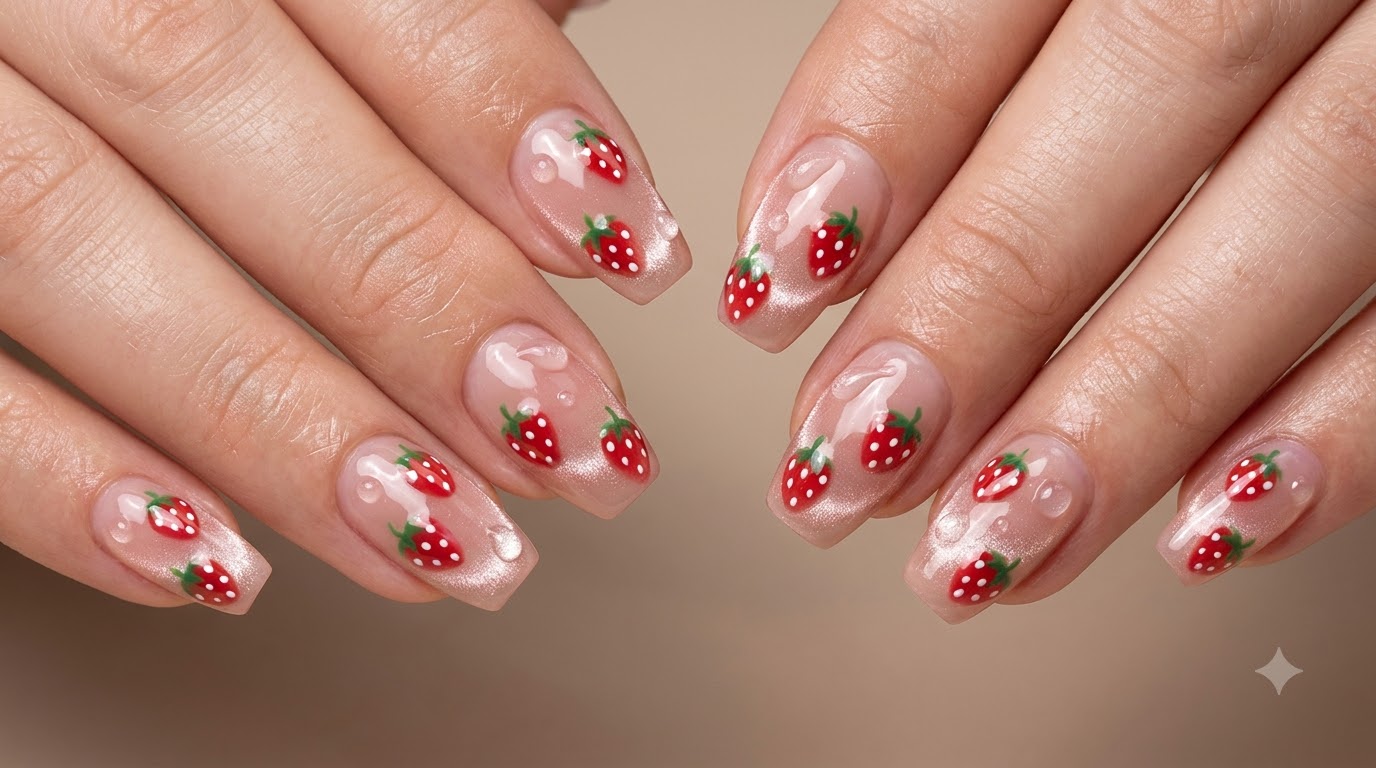
Create trendy 3D strawberry nail art using a translucent nude pink base, pink gold magnetic cat eye polish, and hard gel water droplets for a juicy finish.
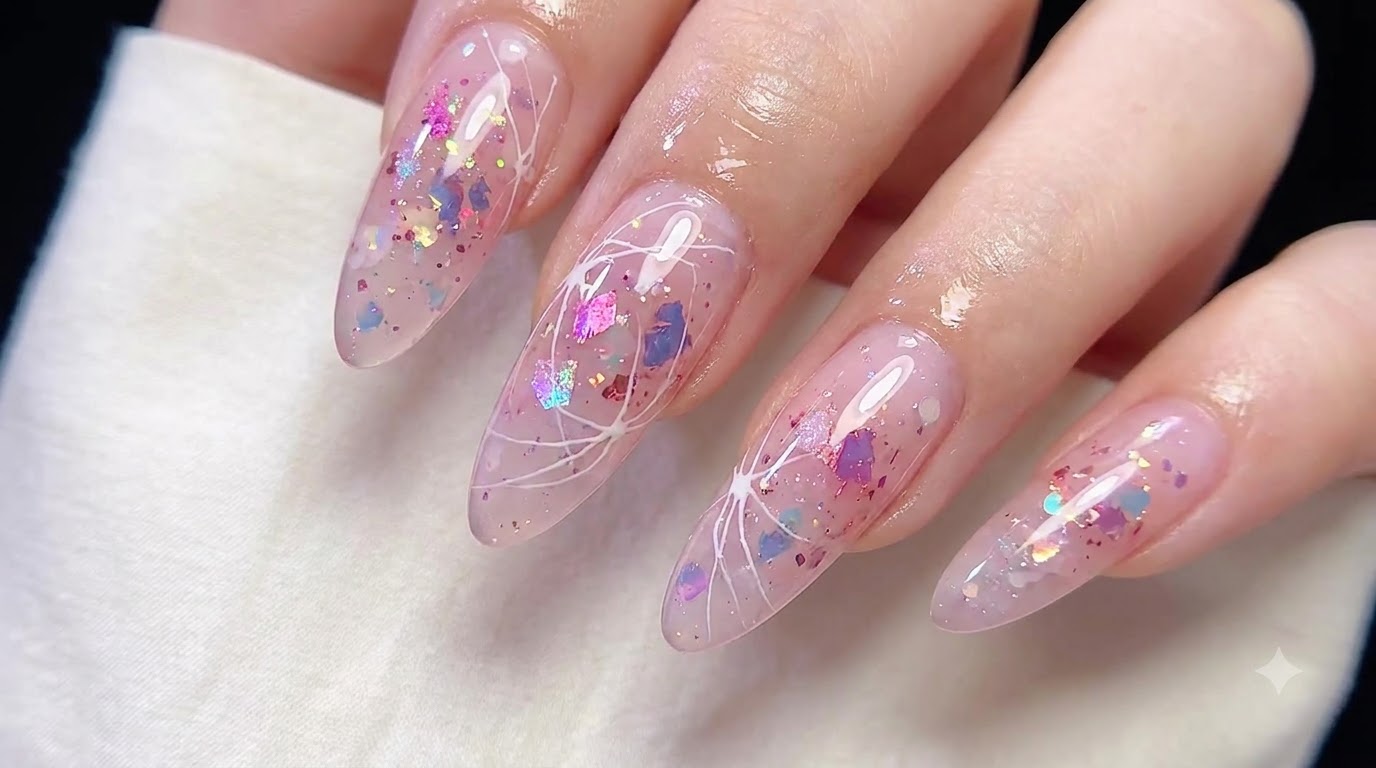
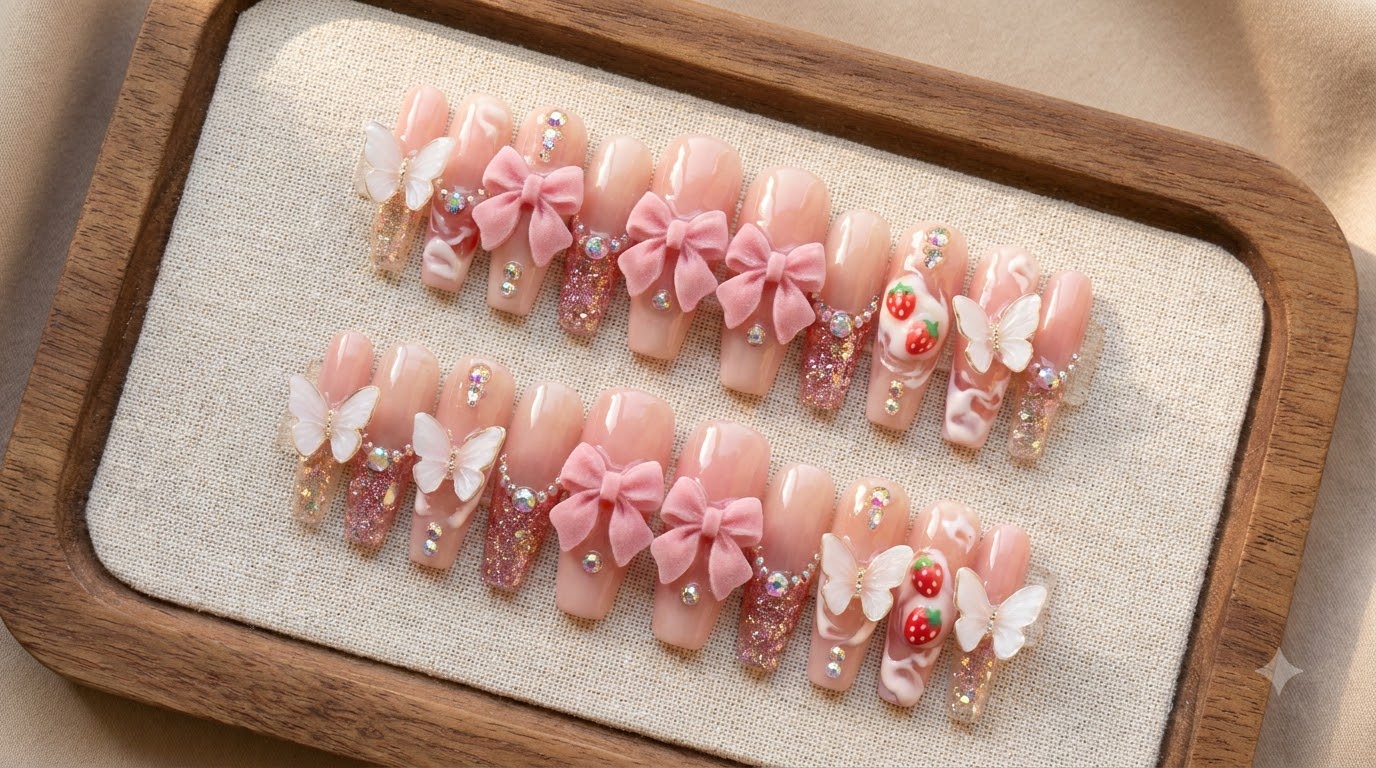
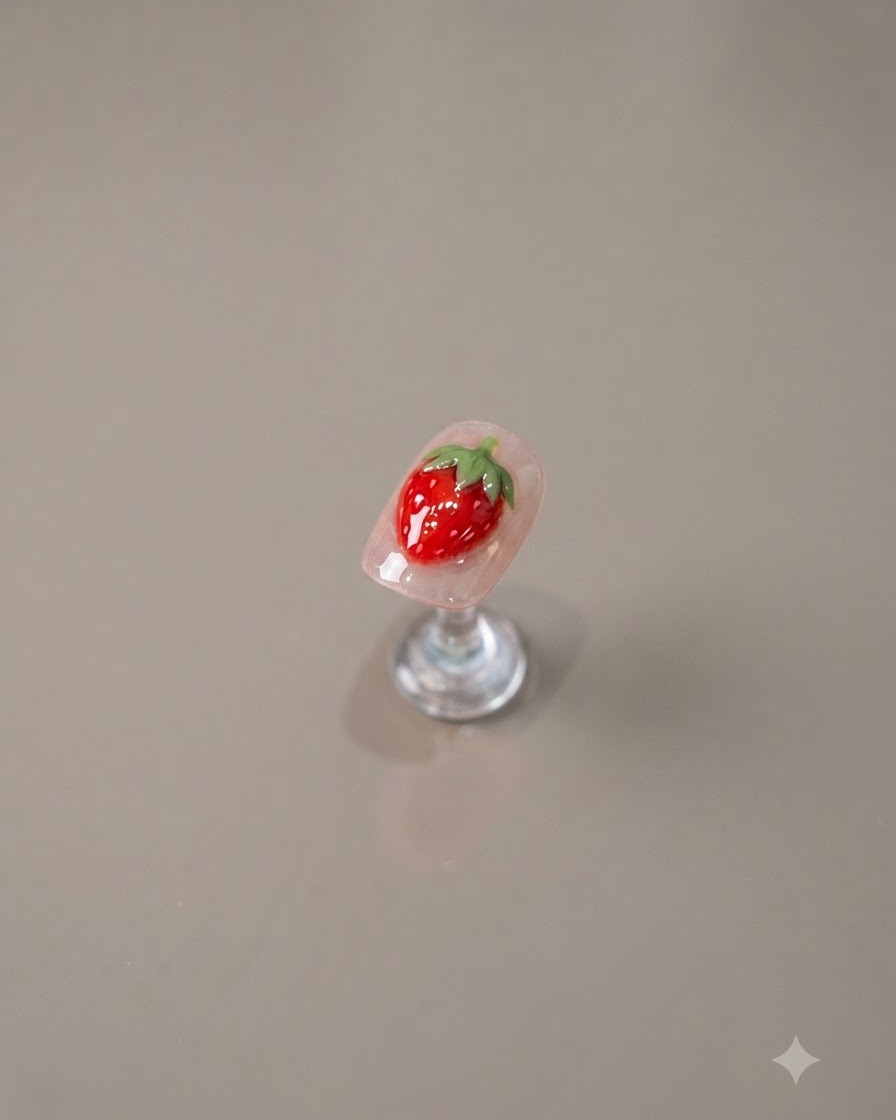
Jelly nails and cat eye finishes are combining to create some of the most stunning, dimensional looks this season. This strawberry jelly cat eye design takes the trend a step further by layering delicate hand-painted fruits over a magnetic glass bead effect. Finished with 3D hard gel details like water droplets and raised strawberries, this manicure looks incredibly juicy and realistic.
Steps
- 1Apply pink gold cat eye polish
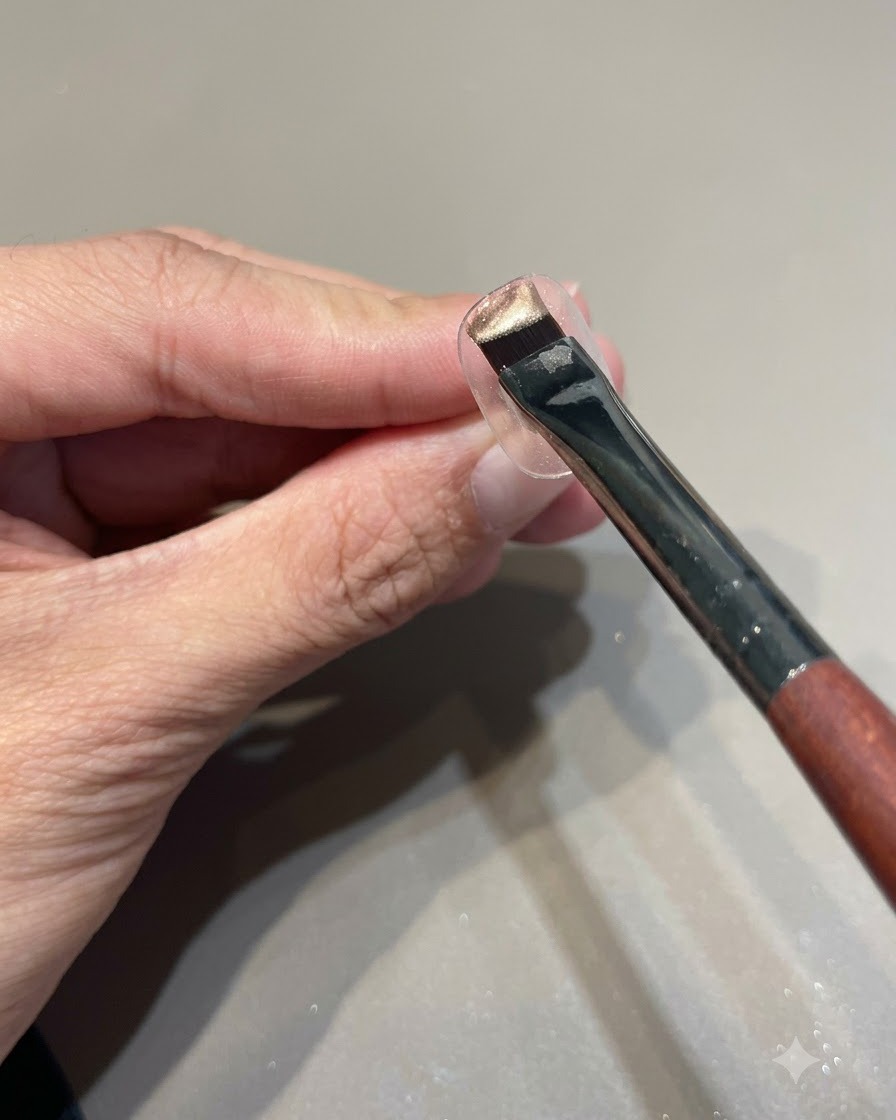
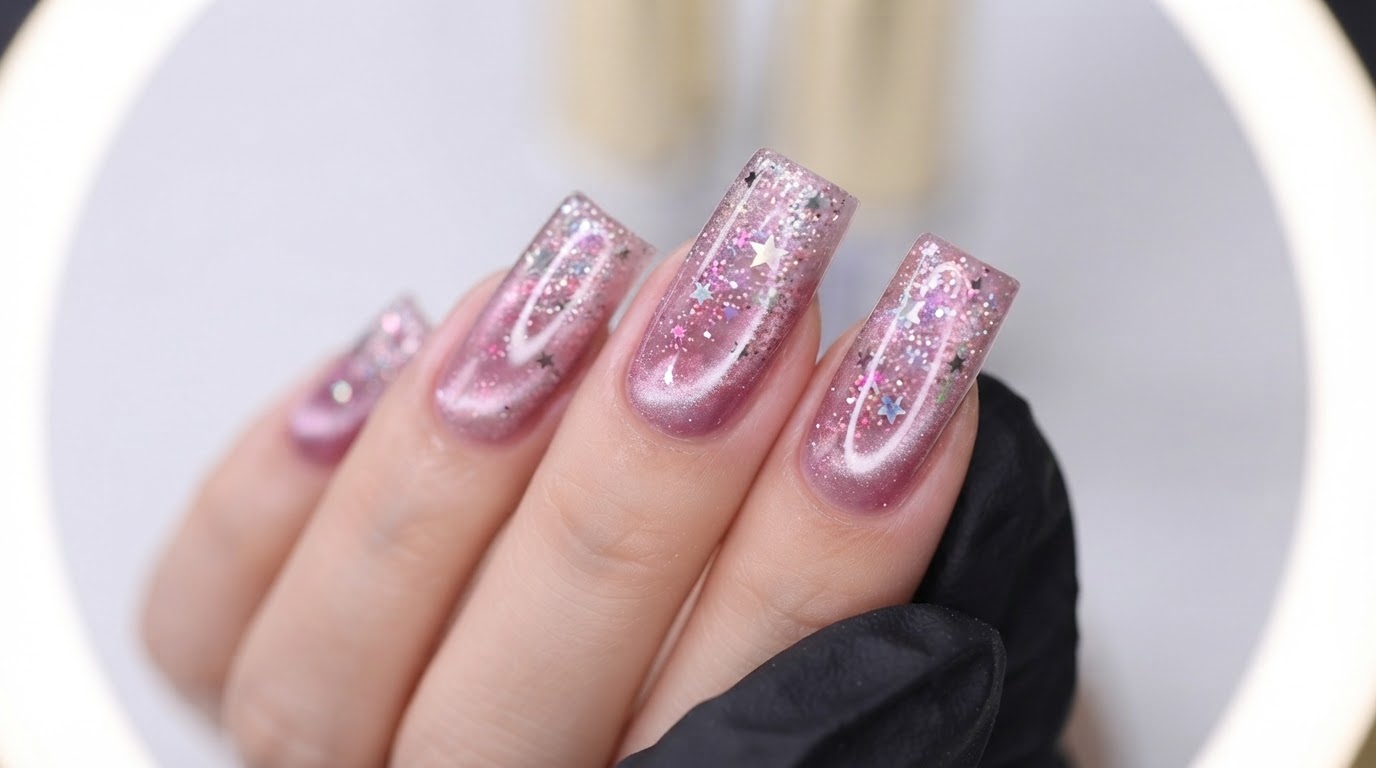
Take a brush with pink gold cat eye polish and prepare to coat the nail surface. Ensure an even distribution of the magnetic particles across the brush before application.
Tip: Make sure your brush is properly loaded to avoid streaks during application. - 2Create glass bead effect with magnet
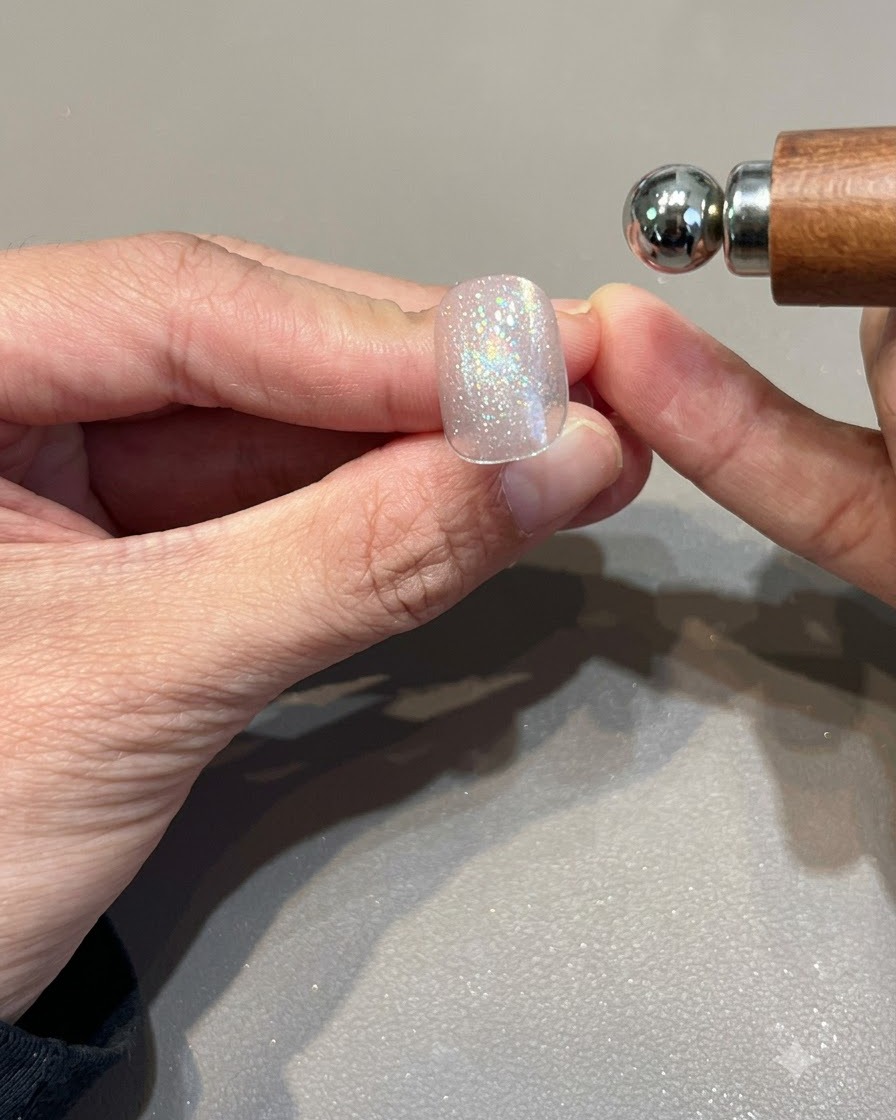
Hold a magnetic tool close to the uncured cat eye gel. First draw out a wide light band, then adjust the magnet up and down to concentrate the magnetic particles into a distinct glass bead effect.
Tip: Keep the magnet steady and close to the surface without touching the wet gel to get a sharp reflection. - 3Cure cat eye gel
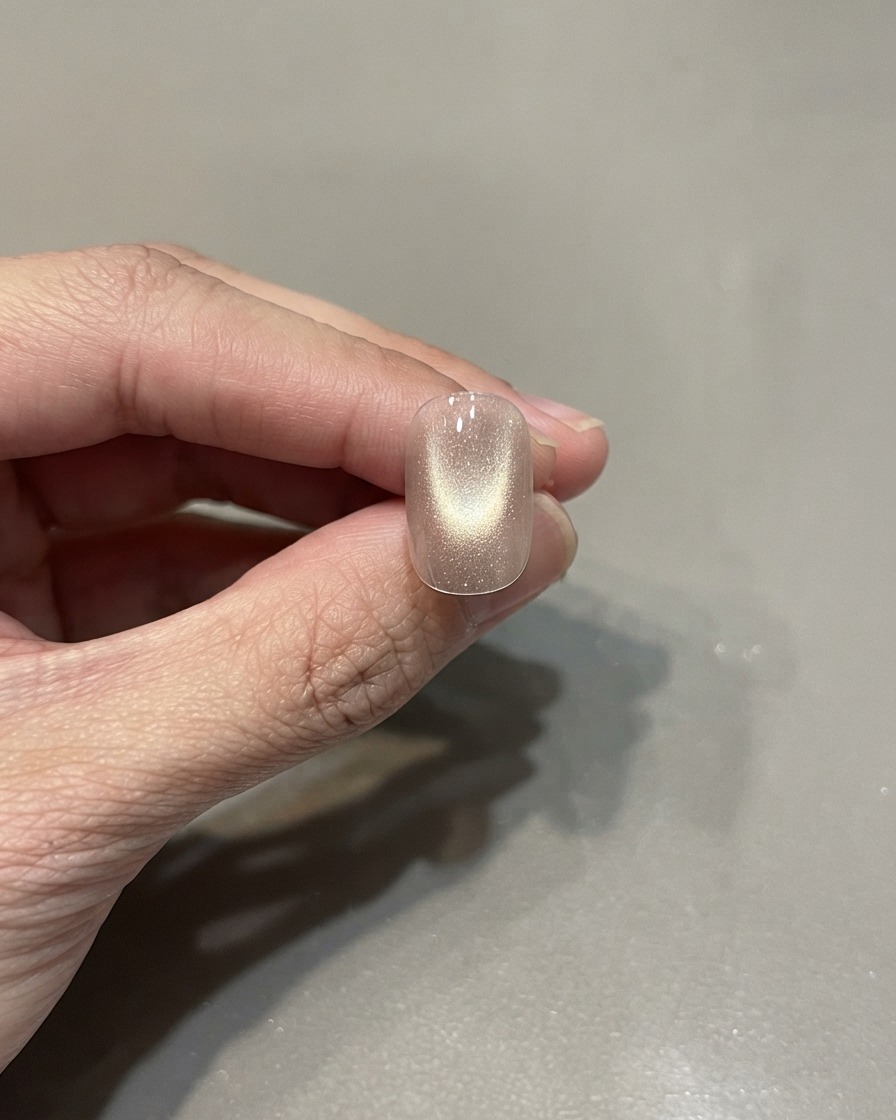
Place the nail under a UV or LED lamp to cure the cat eye gel layer completely. This locks the magnetic glass bead effect in place before moving on to nail art details.
Tip: Ensure proper curing time to prevent the magnetic pigments from shifting before top coating. - 4Draw strawberry stem
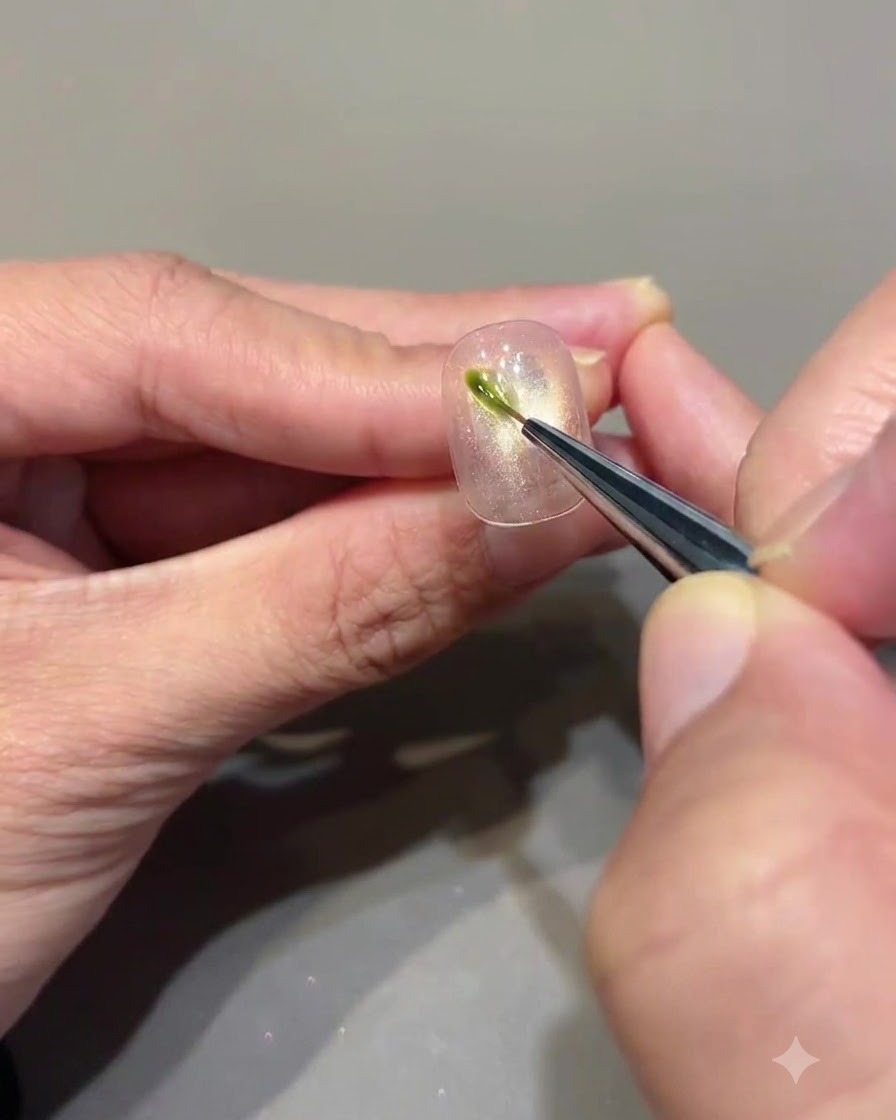
Dip a fine liner brush into avocado green nail gel. Carefully paint a small vertical bar near the top edge of the nail to form the stem of the strawberry.
Tip: Use a light touch with the tip of the fine liner brush to keep the stem thin and crisp. - 5Paint strawberry leaves
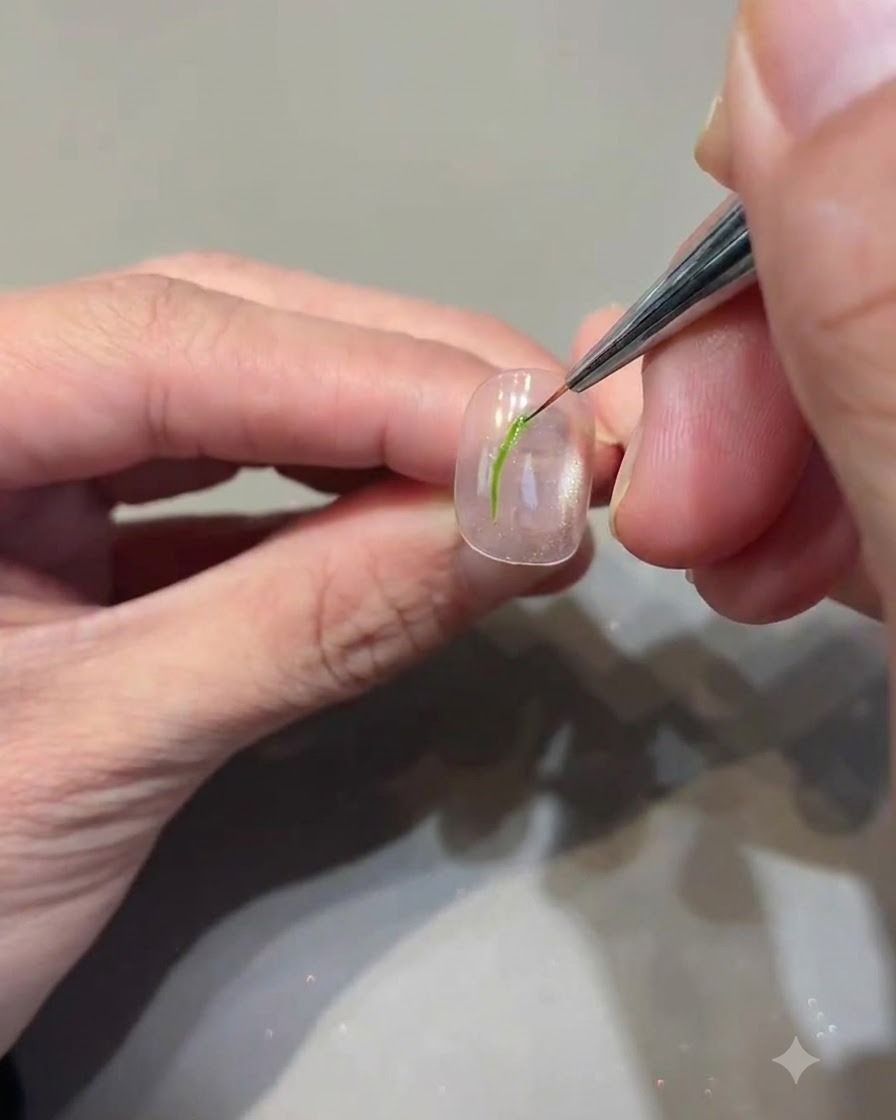
Using the avocado green nail gel, draw a semi-circular arc connected to the stem, then pull out small spikes to form the leaves of the strawberry.
Tip: Keep the brush strokes quick and delicate when pulling out the leaf spikes for a natural look. - 6Paint and cure the strawberry leaves
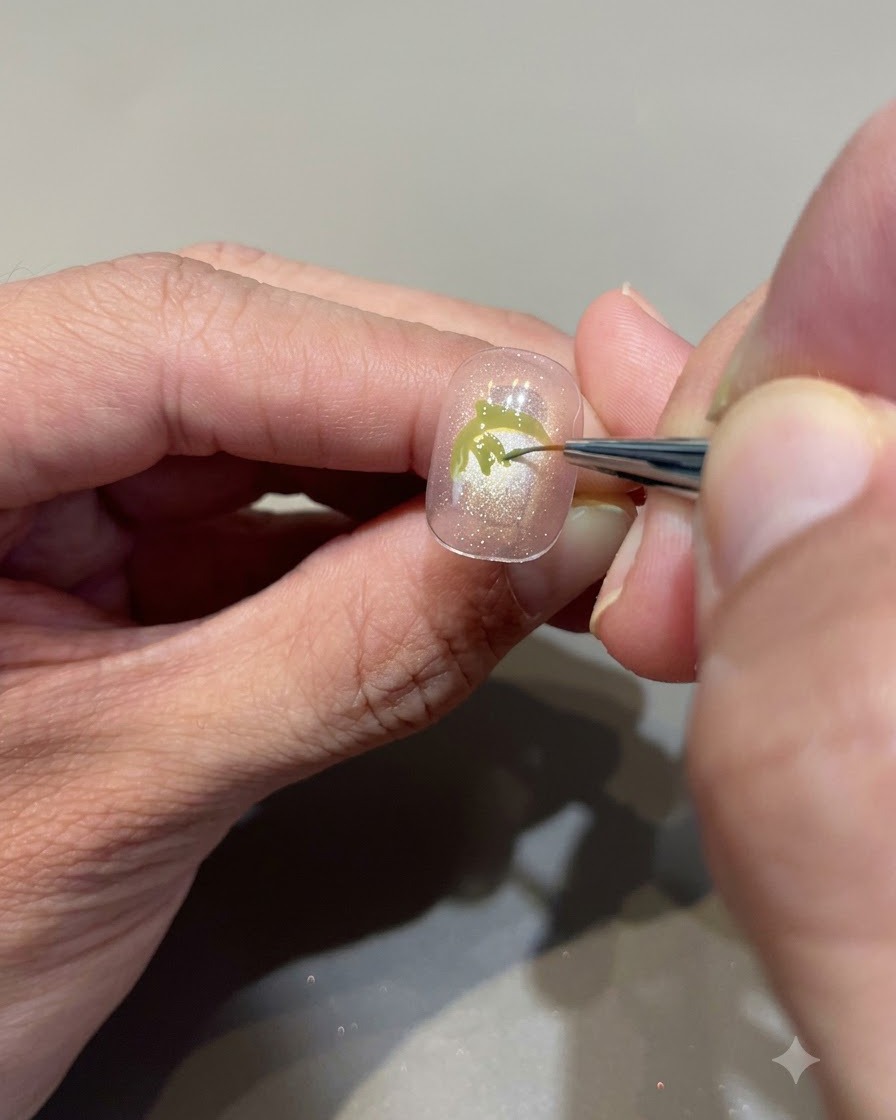
Using avocado green nail gel and a fine detail brush, fill in the leaf shape completely around the stem. Make sure the color is solid and neatly bounded before curing it under the UV or LED lamp to set.
Tip: Keep green layers thin and precise to avoid bulkiness under the subsequent fruit layers. - 7Outline the lower strawberry body
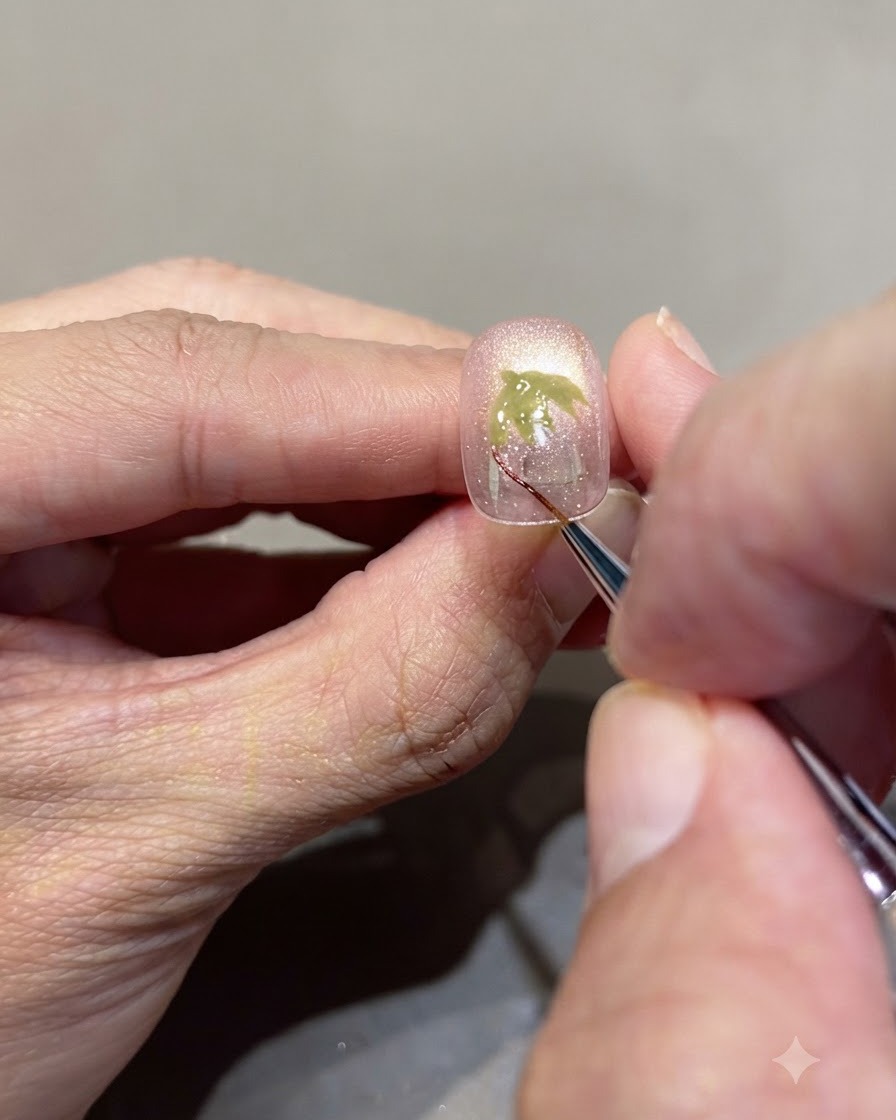
Take red glass gel on a fine liner brush and carefully draw a semi-circular arc extending downward from the green leaves to form the outline of the strawberry body.
Tip: Draw light, steady lines to create a clean boundary before filling in the color. - 8Paint the strawberry base
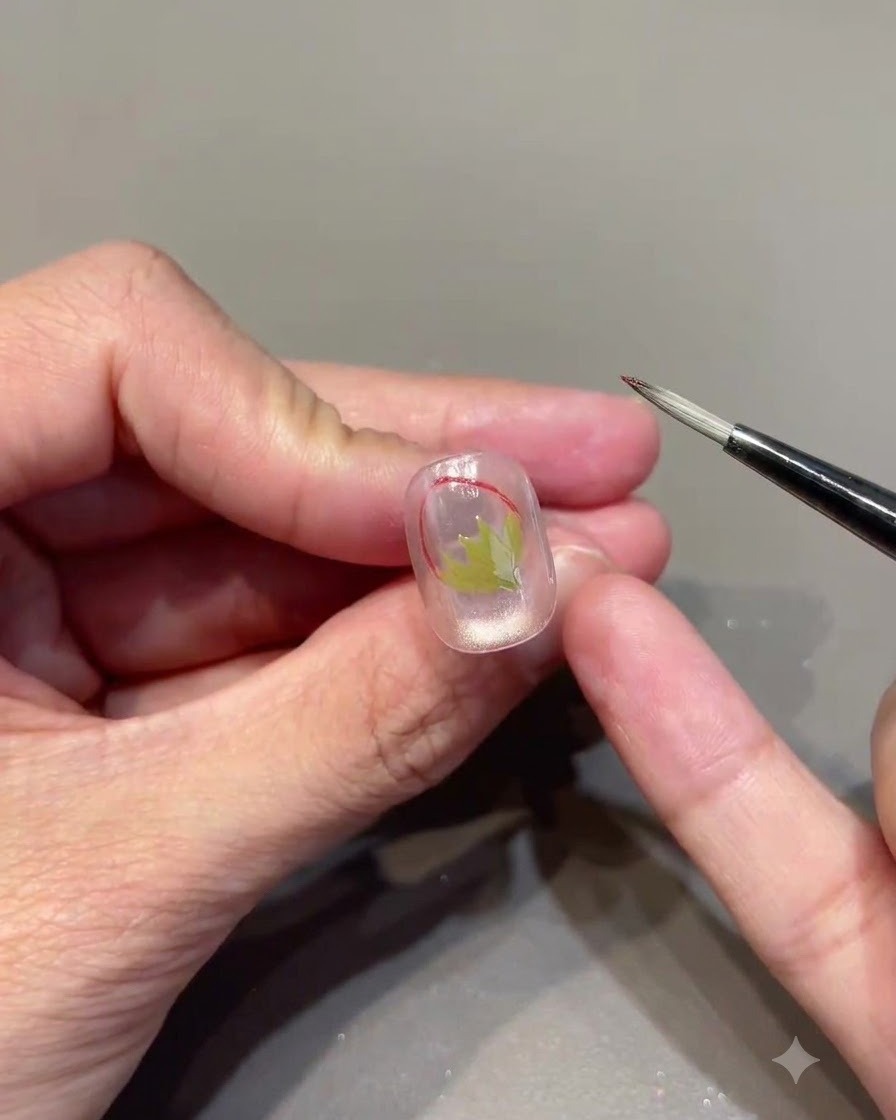
Switch to a multi-purpose brush lightly loaded with red glass gel, and fill in the upper section near the base of the strawberry shape.
Tip: A multi-purpose brush helps distribute the translucent glass gel smoothly without heavy streaks. - 9Create a gradient blend
Clean your brush or take a cotton pad to wipe away excess residue, then gently pull the wet gel upwards toward the stem to soften the transition and build a natural gradient effect.
Tip: Wiping the tool clean ensures you can seamlessly drag and diffuse the color without adding unwanted bulk. - 10Deepen the gradient color
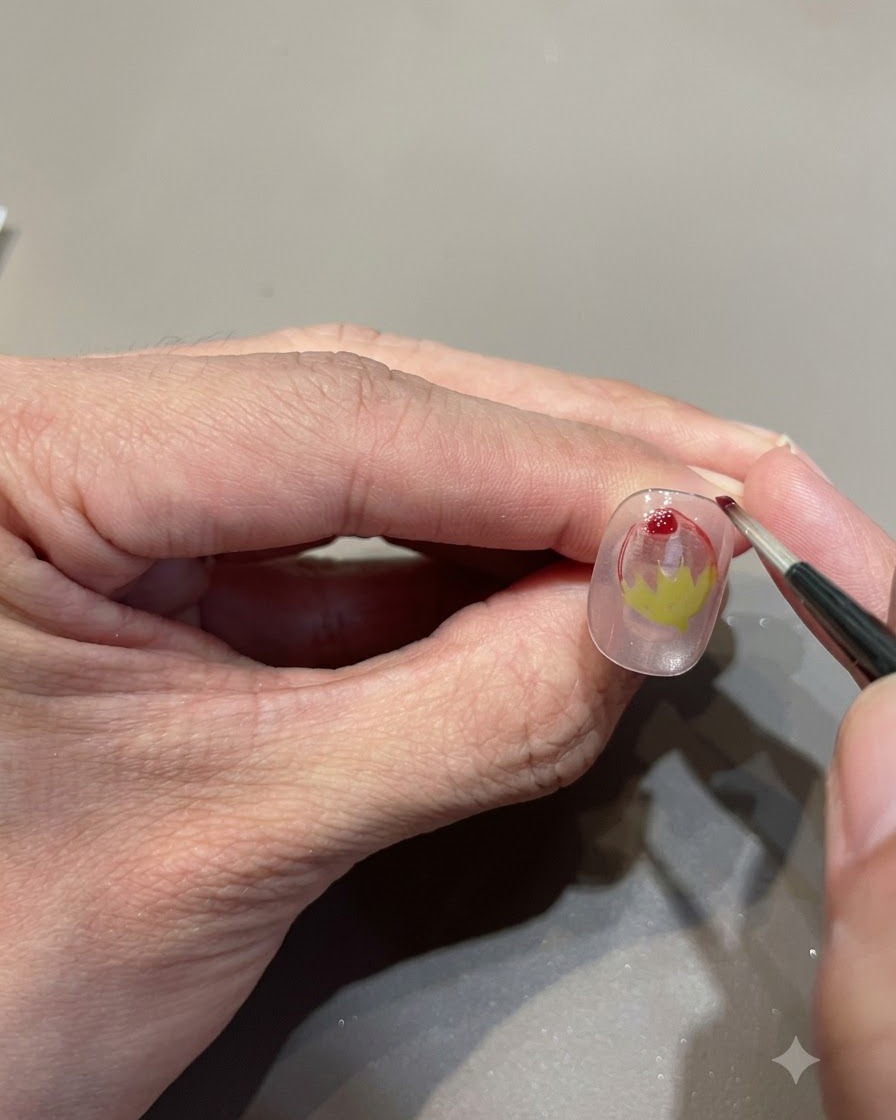
Add a small touch of fresh red glass gel to the base and repeat the upward dragging motion to intensify the depth, making the strawberry look more vivid and dimensional.
Tip: Building the gradient in thin, successive layers prevents the translucent gel from pooling or running. - 11Paint strawberry seeds
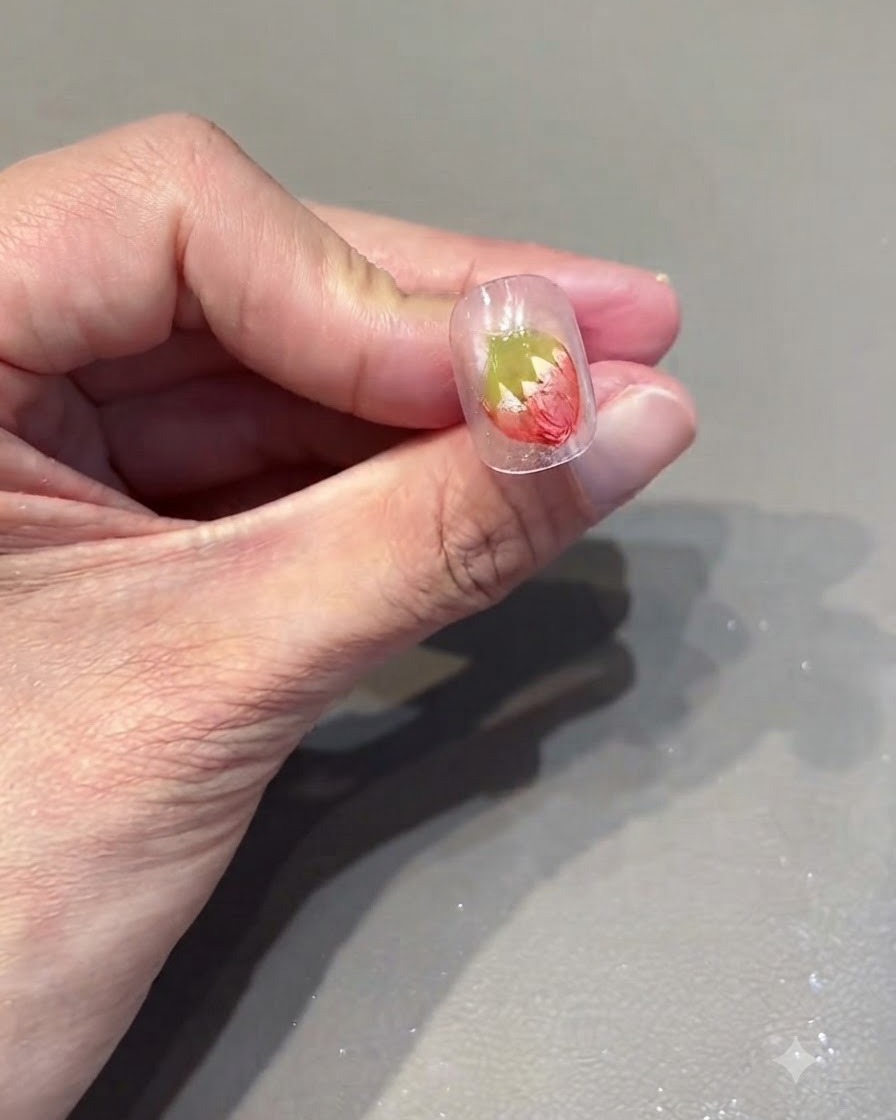
Cure the strawberry base under the UV/LED lamp, then take white nail gel and use a fine brush or dotting tool to paint small dots across the strawberry body to mimic tiny seeds.
Tip: Keep the dots small and spaced out evenly for a more realistic strawberry texture. - 12Apply regular top coat
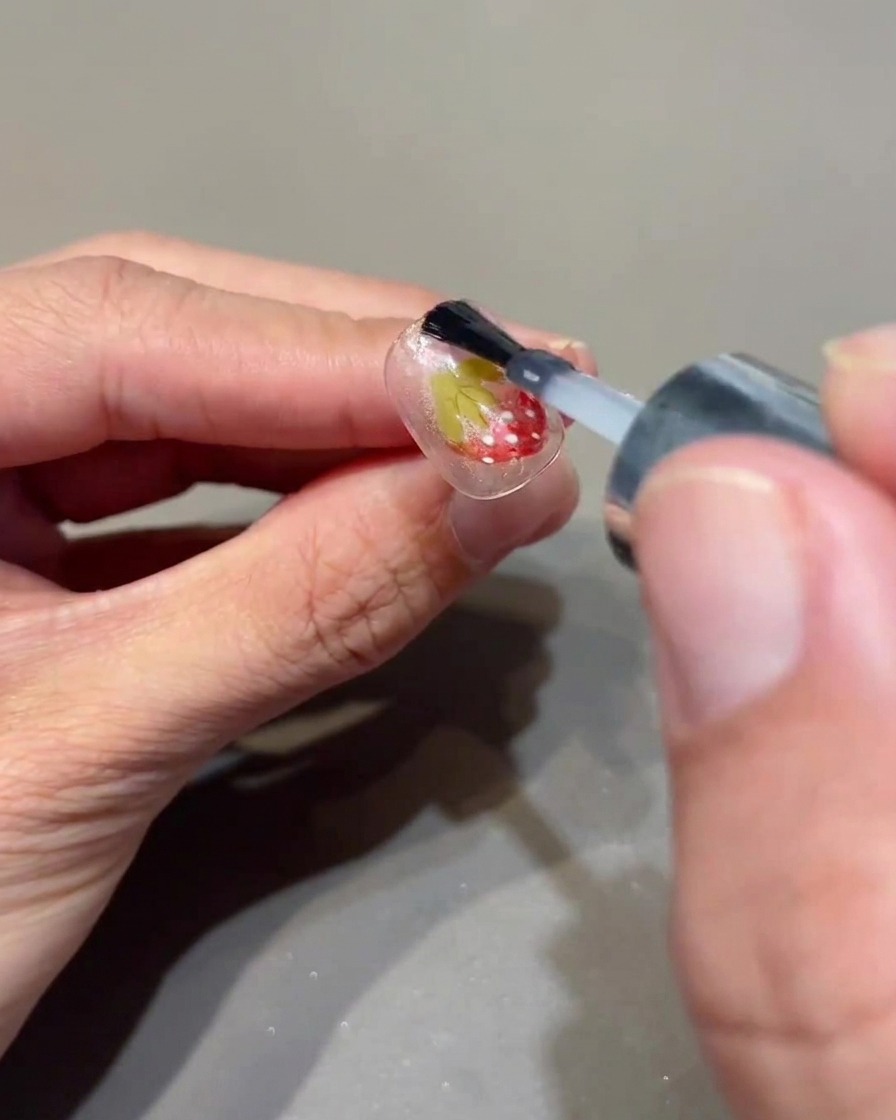
Apply a regular top coat over the entire nail surface to seal in the nail art and design elements, then cure under the lamp for 60 seconds.
Tip: Make sure to cap the free edge with top coat to prevent chipping and premature lifting. - 13Create 3D strawberry shape
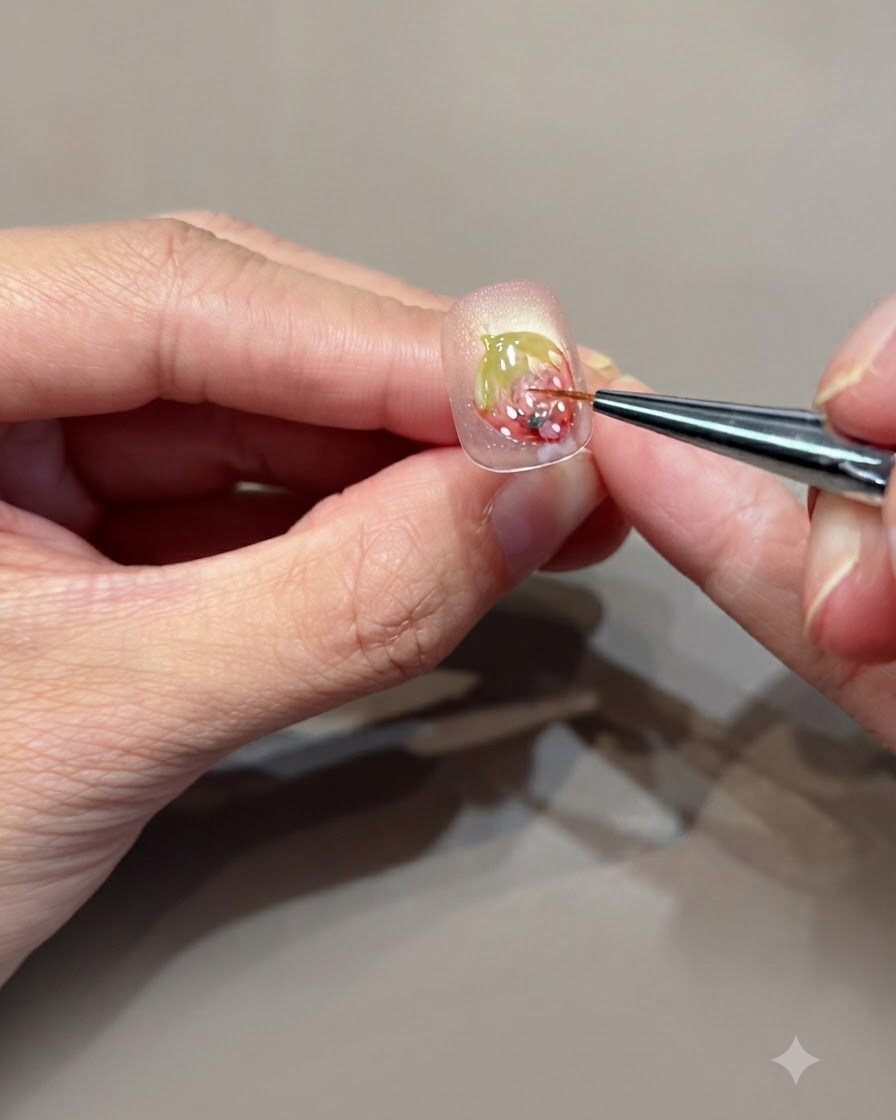
Take a hard-style sealing gel and apply it over the strawberry design using a fine liner brush to build a three-dimensional volumetric shape.
Tip: Work in small amounts to control the thickness and prevent the 3D gel from sagging before curing. - 14Cure 3D strawberry gel
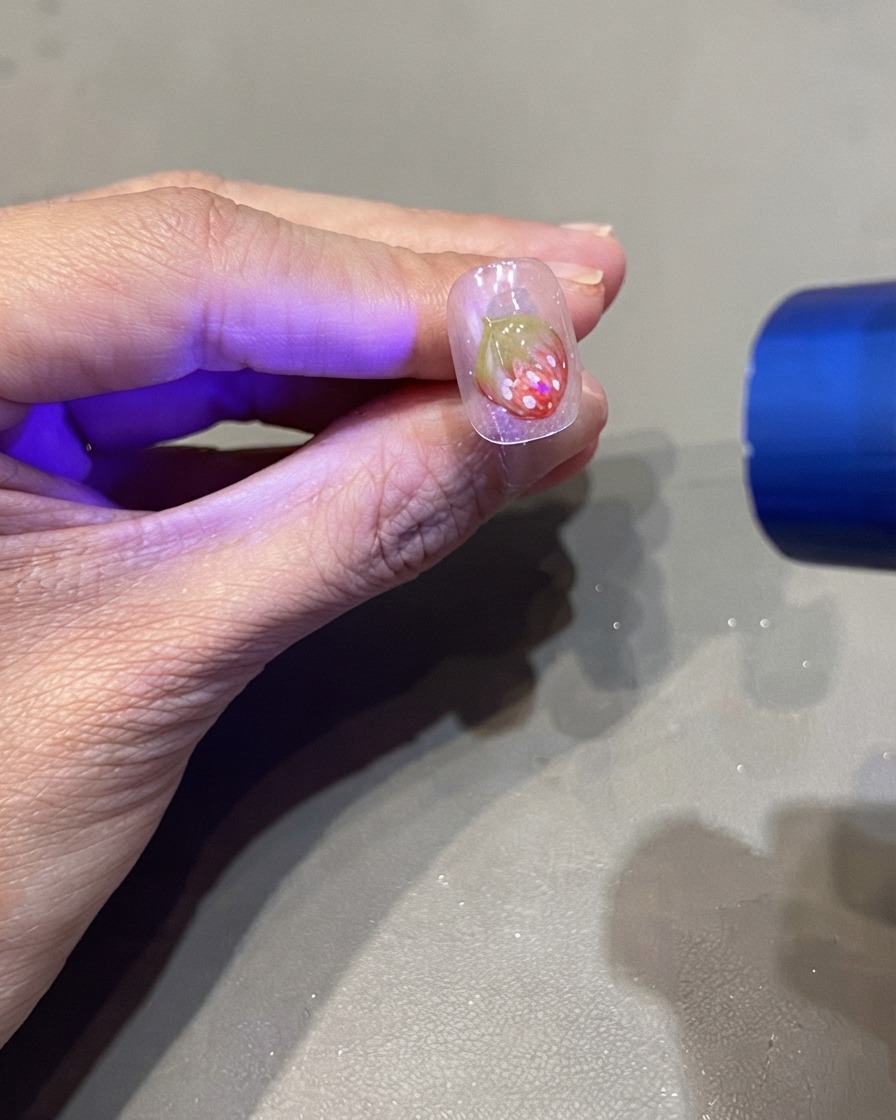
Immediately flash-cure or quickly cure the newly formed 3D strawberry gel under a portable UV/LED lamp to lock the volumetric shape in place before it shifts.
Tip: Quickly flash cure 3D elements immediately after positioning to prevent the gel from leveling out or running. - 15Add water droplet details
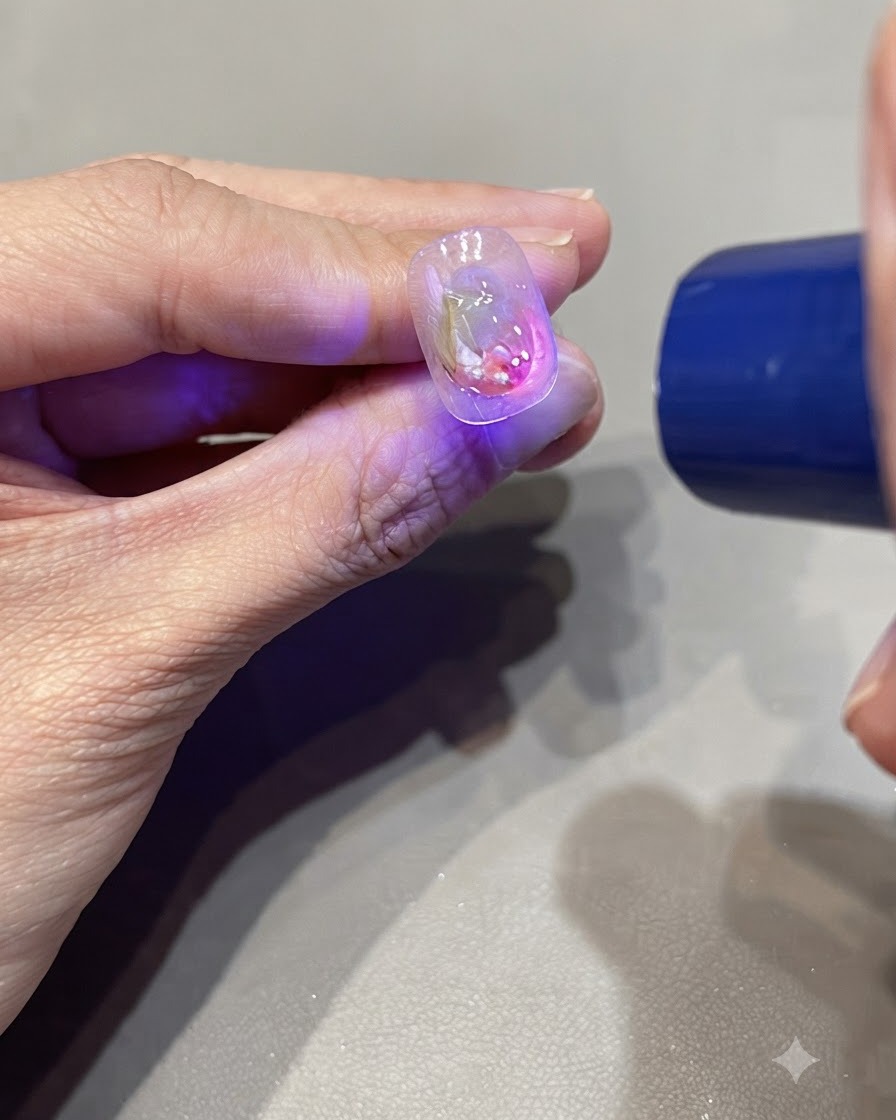
Using hard gel, carefully place small water droplet details around the nail surface and cure each individual droplet right away to maintain their rounded shape.
Tip: Flash-cure each droplet immediately after application so they retain their high-domed water bead appearance. - 16Add polka dots to feature nail
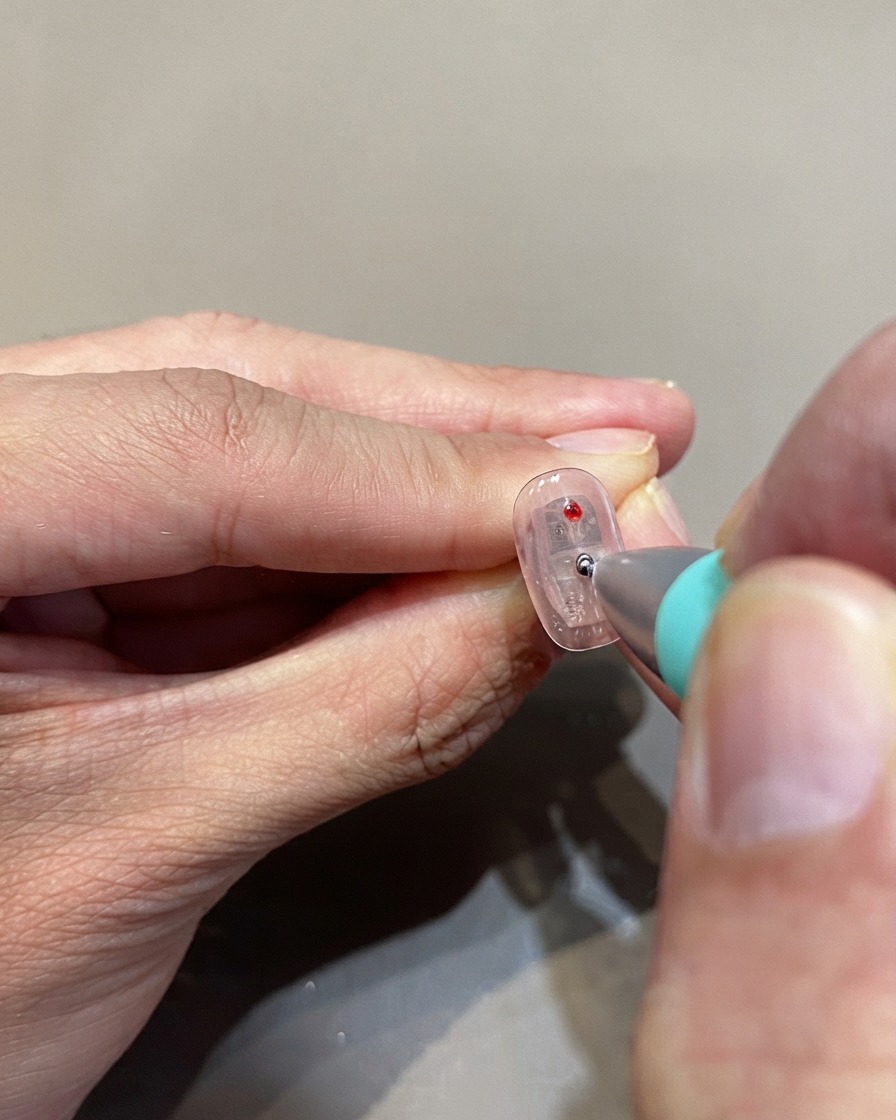
On the second feature nail, dip a dotting pen into red glass gel and place clean polka dots onto the nail surface.
Tip: Apply consistent pressure on the dotting tool to ensure uniform polka dot sizes across the nail.