Deep Ocean Blue Cat-Eye
Aurora Powder Nails — Step-by-Step Tutorial
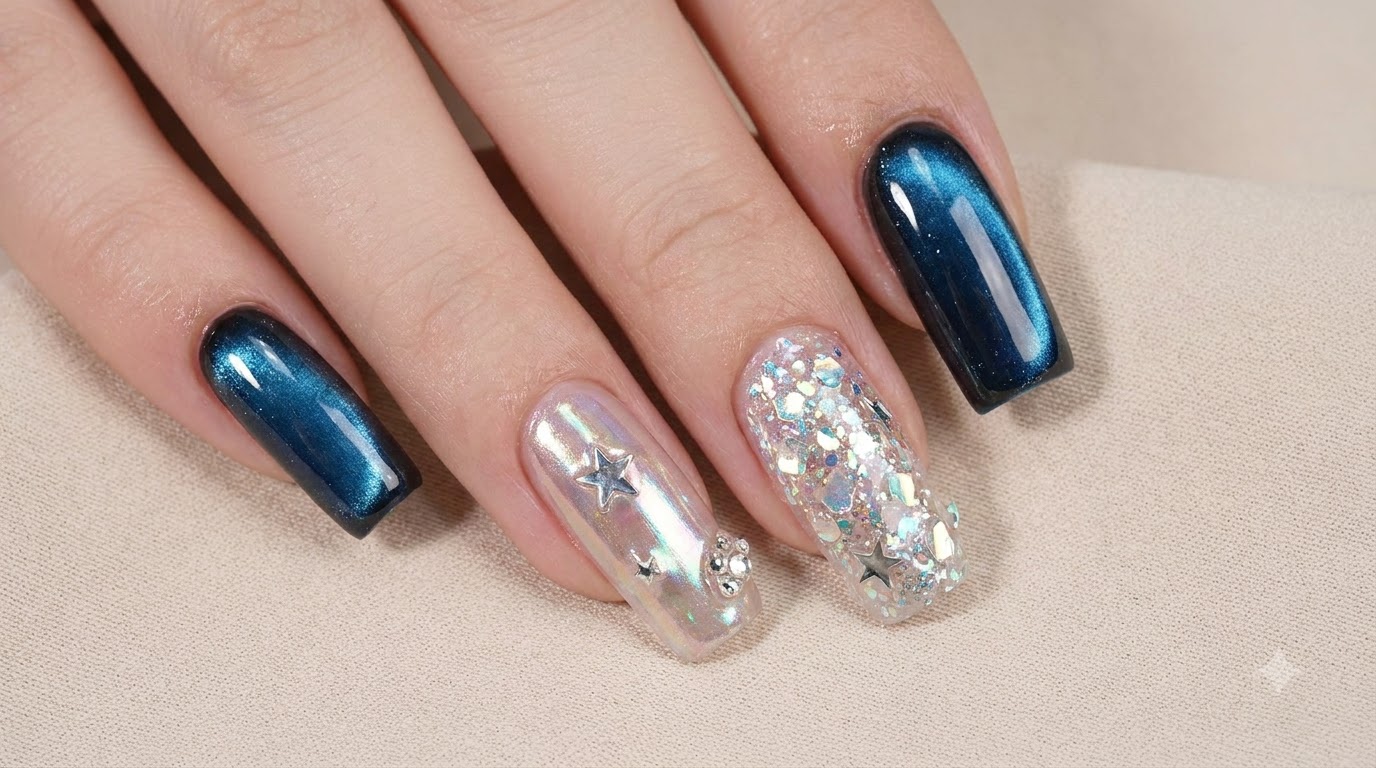
Create a mesmerizing manicure featuring deep ocean blue cat-eye gel, shifting aurora chrome powder, and sparkling star accents.
Cat-eye magnetic polish combined with ethereal aurora chrome powder creates a multi-dimensional look that shifts brilliantly in the light. This tutorial guides you through layering dark foundations, precise powder application, and delicate charm placement for a high-end salon finish.
Steps
- 1Apply black base coat
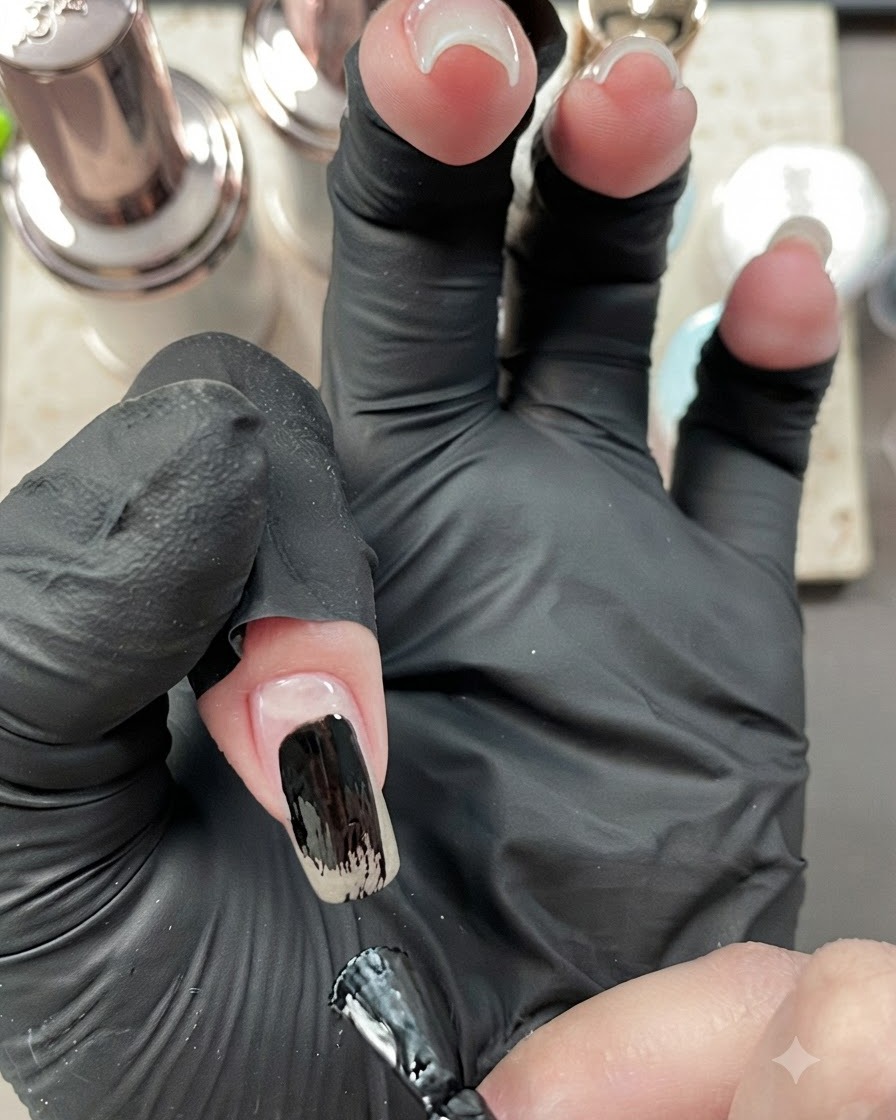
Apply an even layer of black base coat directly onto the prepped index nail plate using the nail brush, covering the surface smoothly from cuticle to free edge. This serves as the dark foundation layer required to make the blue cat-eye magnetic pigment appear vibrant and dimensional.
Tip: Keep the coat relatively thin and controlled to prevent pooling around the cuticles. - 2Cure the black base coat
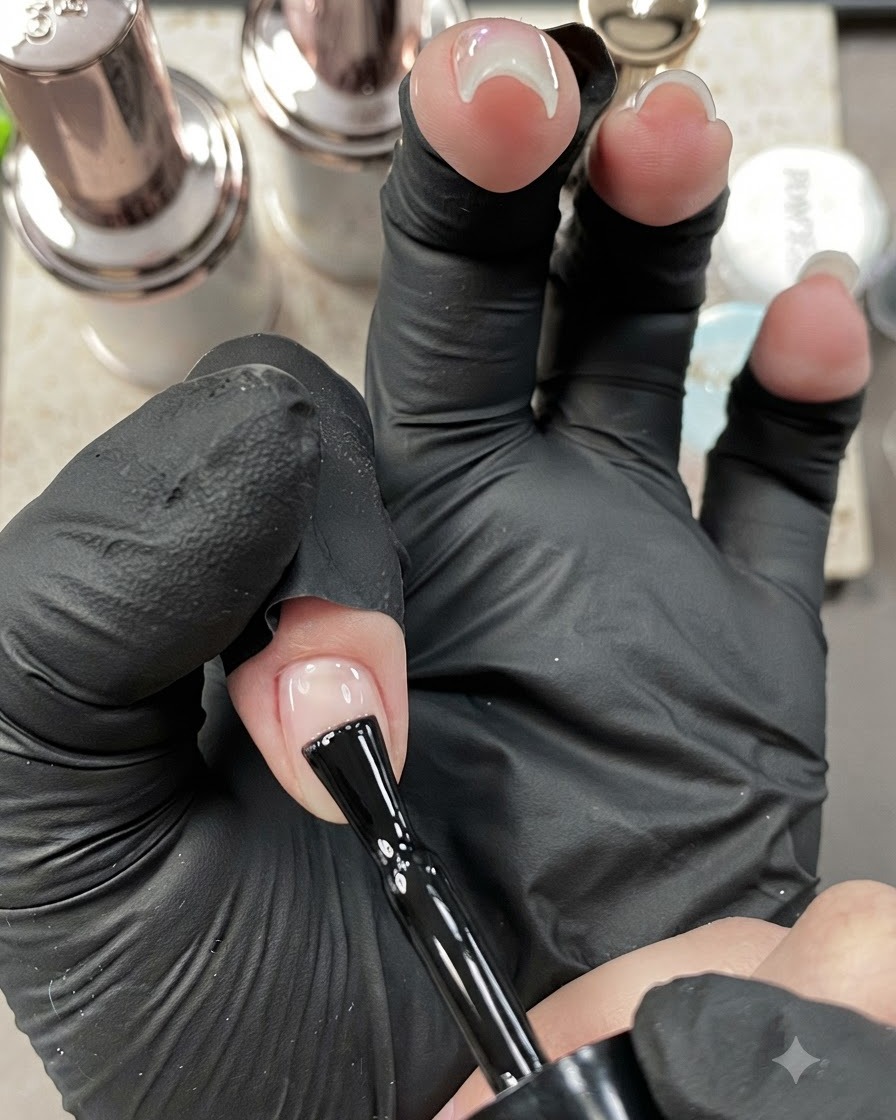
Position the index finger directly under the portable mini UV/LED lamp to cure the freshly applied black base coat layer. Allow it to cure fully according to the gel system requirements so the surface is properly set before applying the cat-eye polish.
Tip: Ensure the finger is placed evenly under the light source for complete curing across the entire nail plate. - 3Apply blue cat-eye gel polish
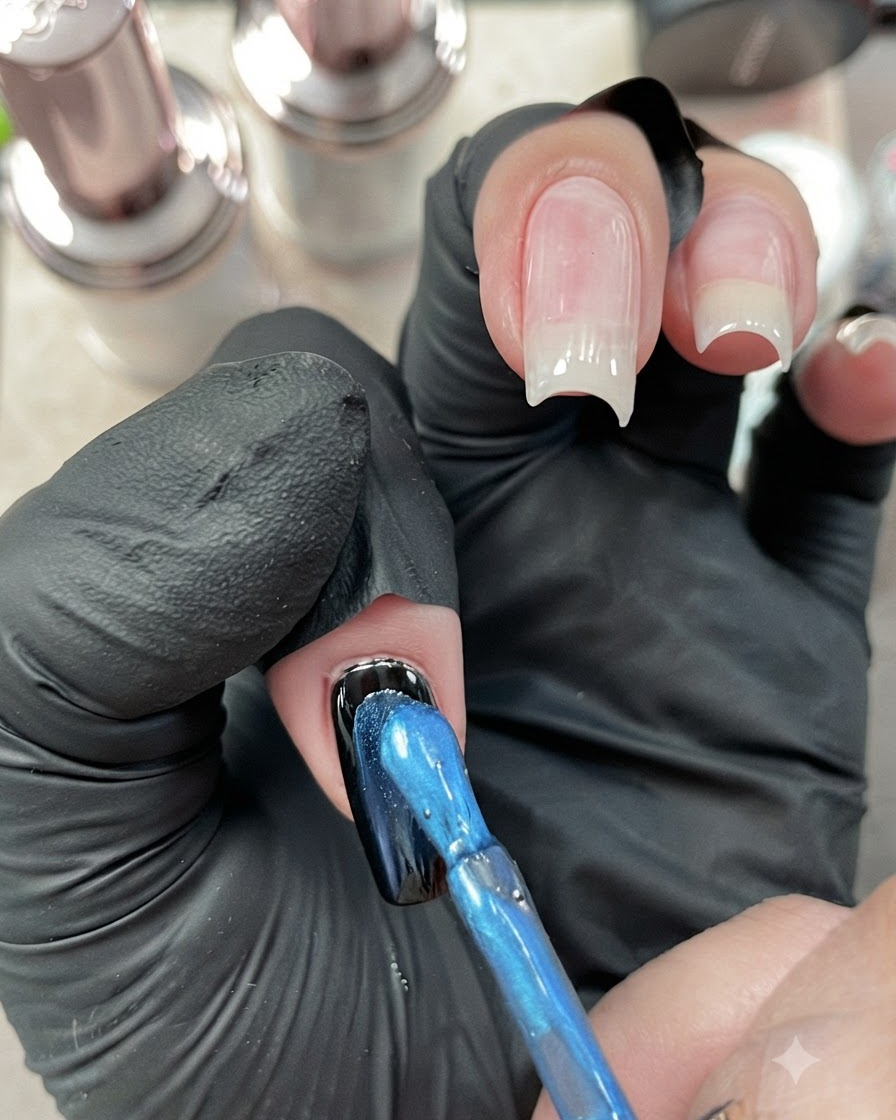
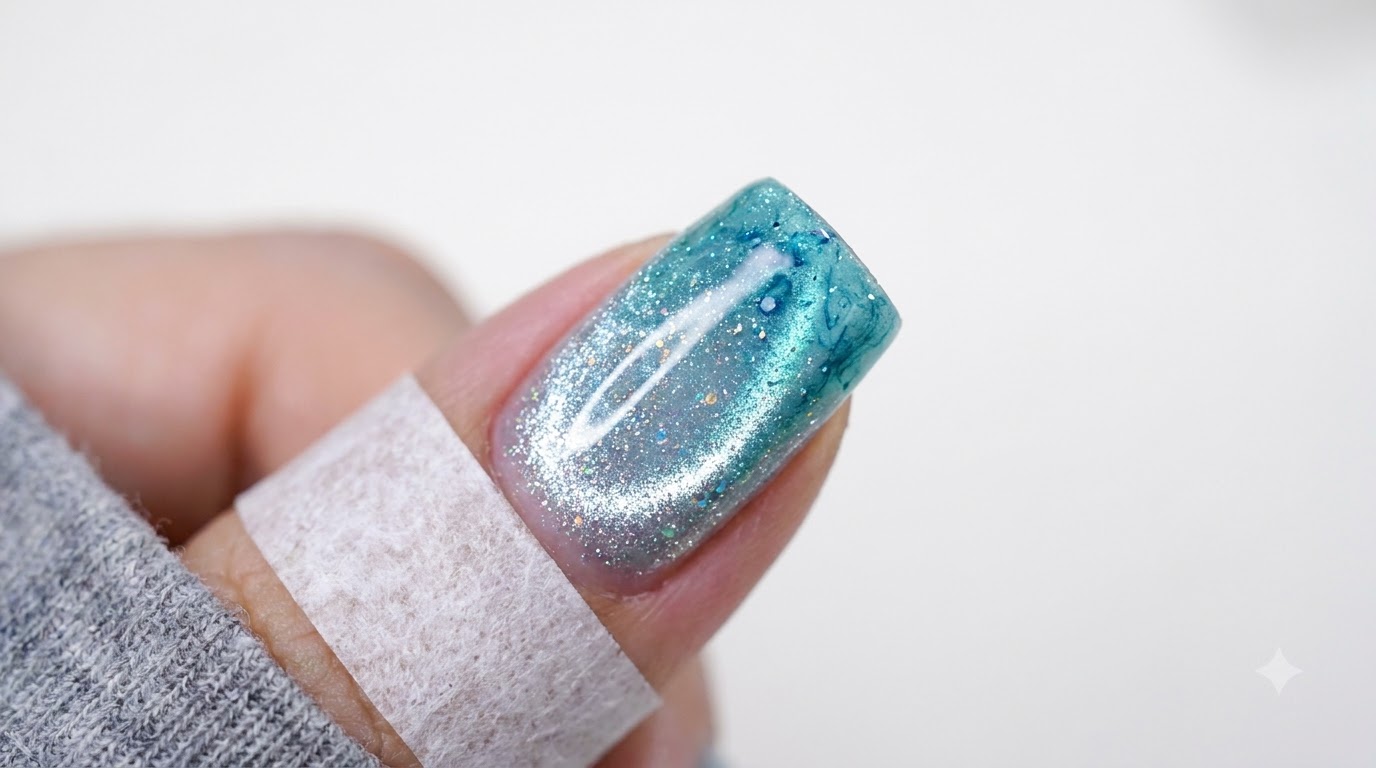
Brush a layer of shimmering blue cat-eye gel polish directly over the cured black base coat on the index nail. The dark background underneath will instantly amplify the metallic sparkle and depth of the blue cat-eye particles.
Tip: Apply a smooth, even stroke to ensure the magnetic particles are evenly distributed before using the magnet. - 4Cure the blue cat-eye layer
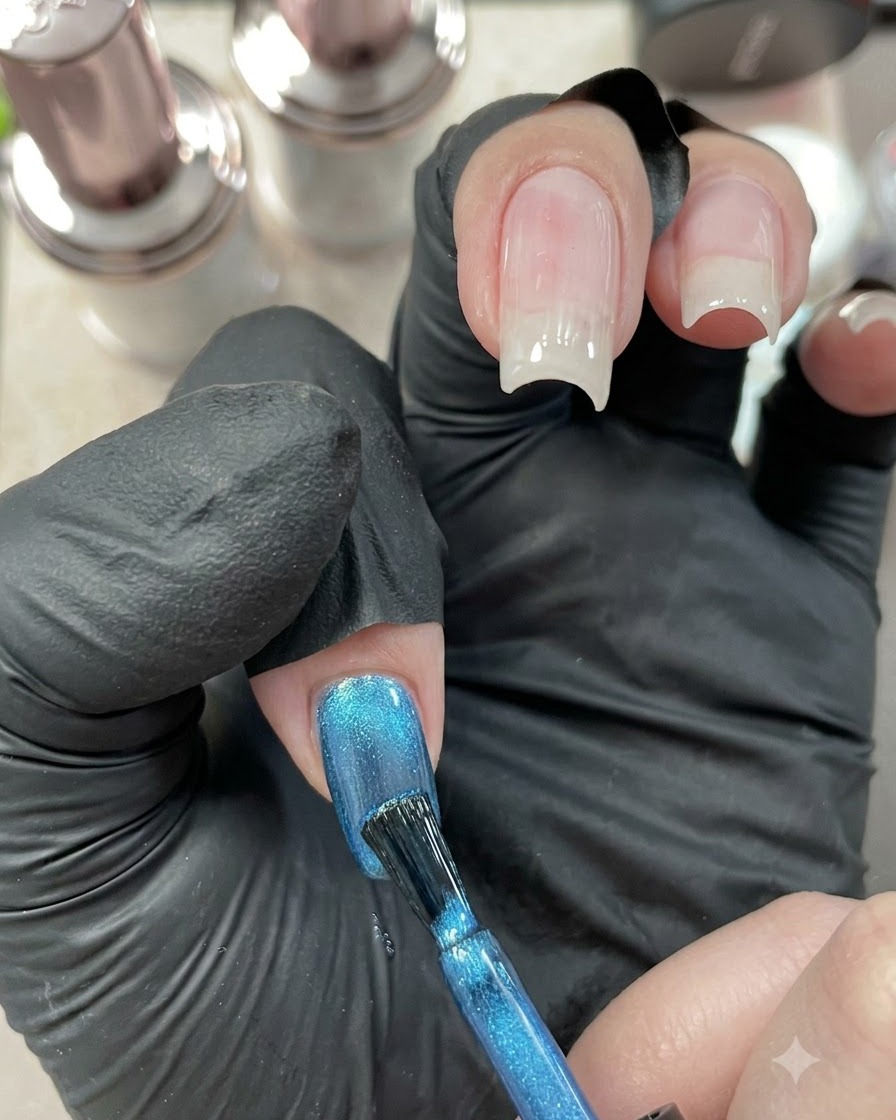
Place the index finger back under the portable UV/LED lamp to cure the blue cat-eye gel layer, locking in the magnetic shimmer design. Keep the finger steady until the curing cycle finishes completely.
Tip: Make sure the magnet effect is set right before curing so the shimmer line does not shift. - 5Apply top coat around index edges
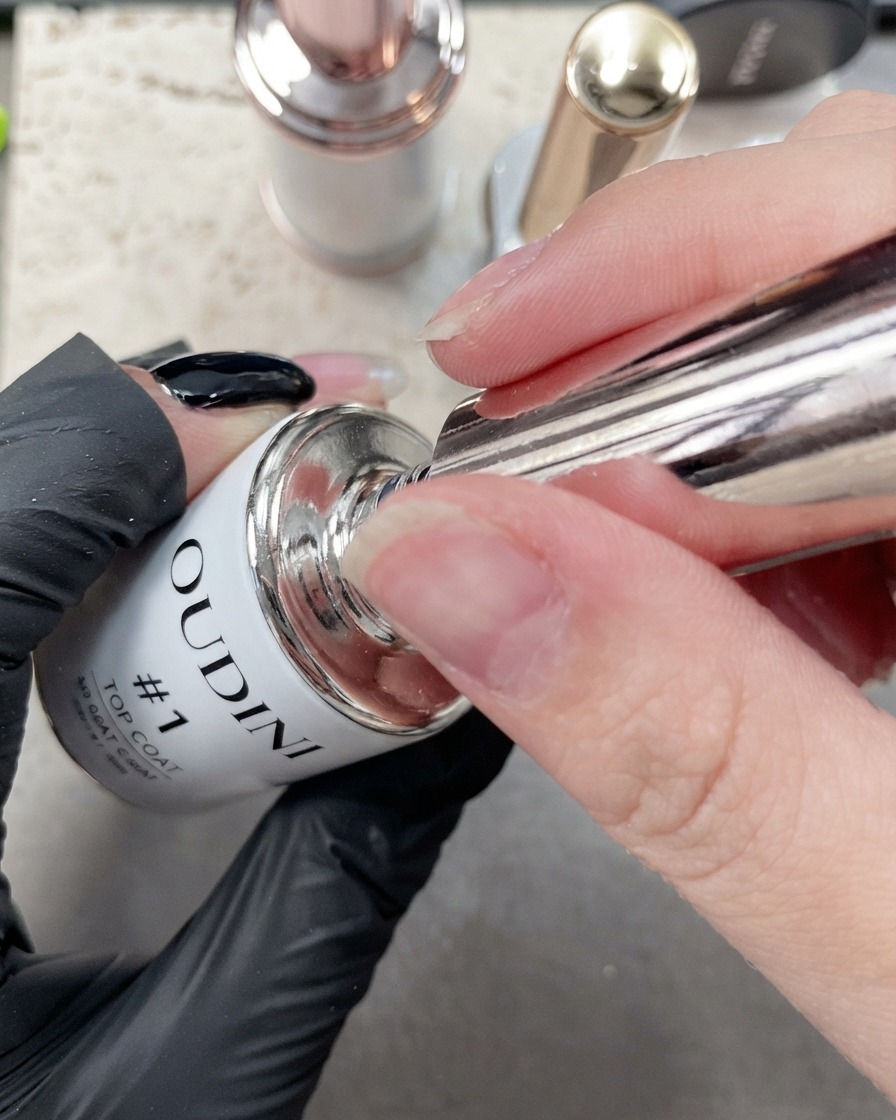
Using a fine brush, carefully apply top coat around the edges and corners of the index nail to seal the application and prevent lifting, then cure under the lamp.
Tip: A fine detailing brush helps you get close to the cuticles and sidewalls without flooding the skin. - 6Cure the top coat layer
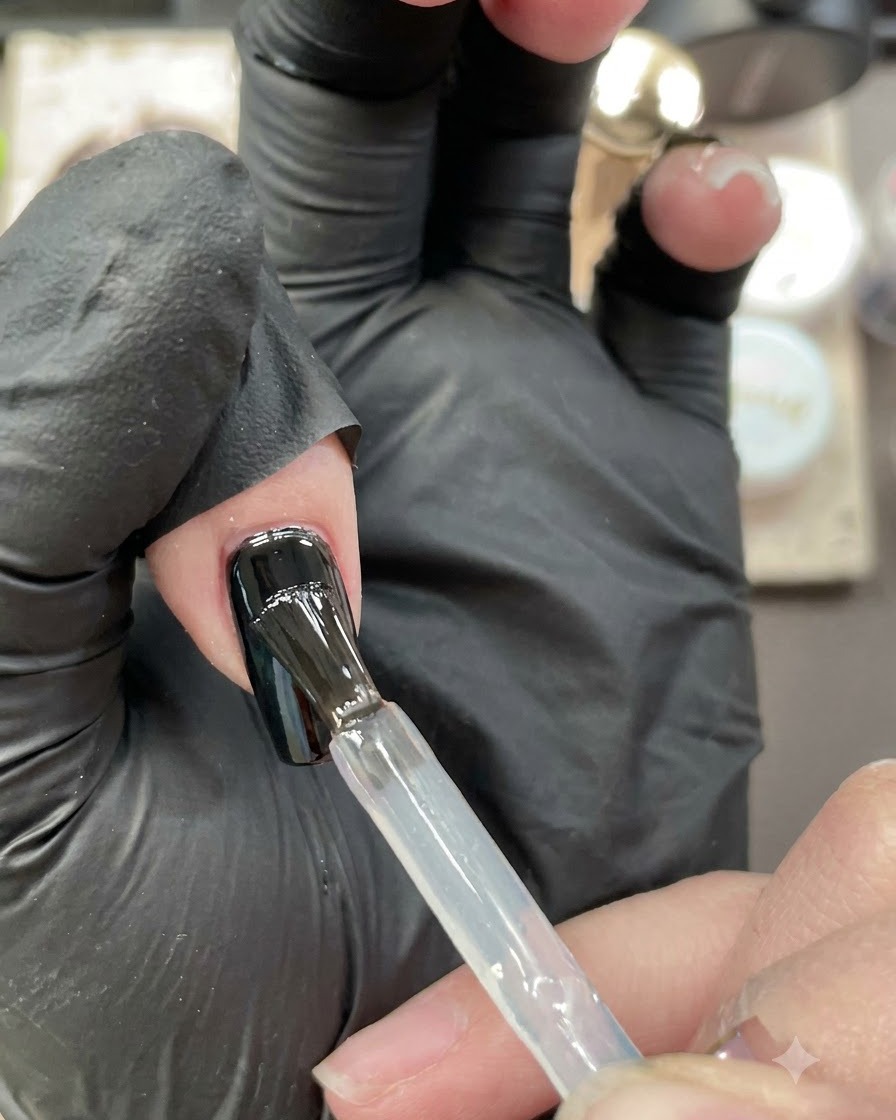
Place the index finger under the UV/LED lamp to cure the final top coat layer and seal the edges completely. This creates a high-gloss, protective finish that guards the blue cat-eye design against scratches and peeling.
Tip: Cure for the full recommended time to ensure a hard, fully polymerized glossy surface. - 7Apply nude base coat to middle nail
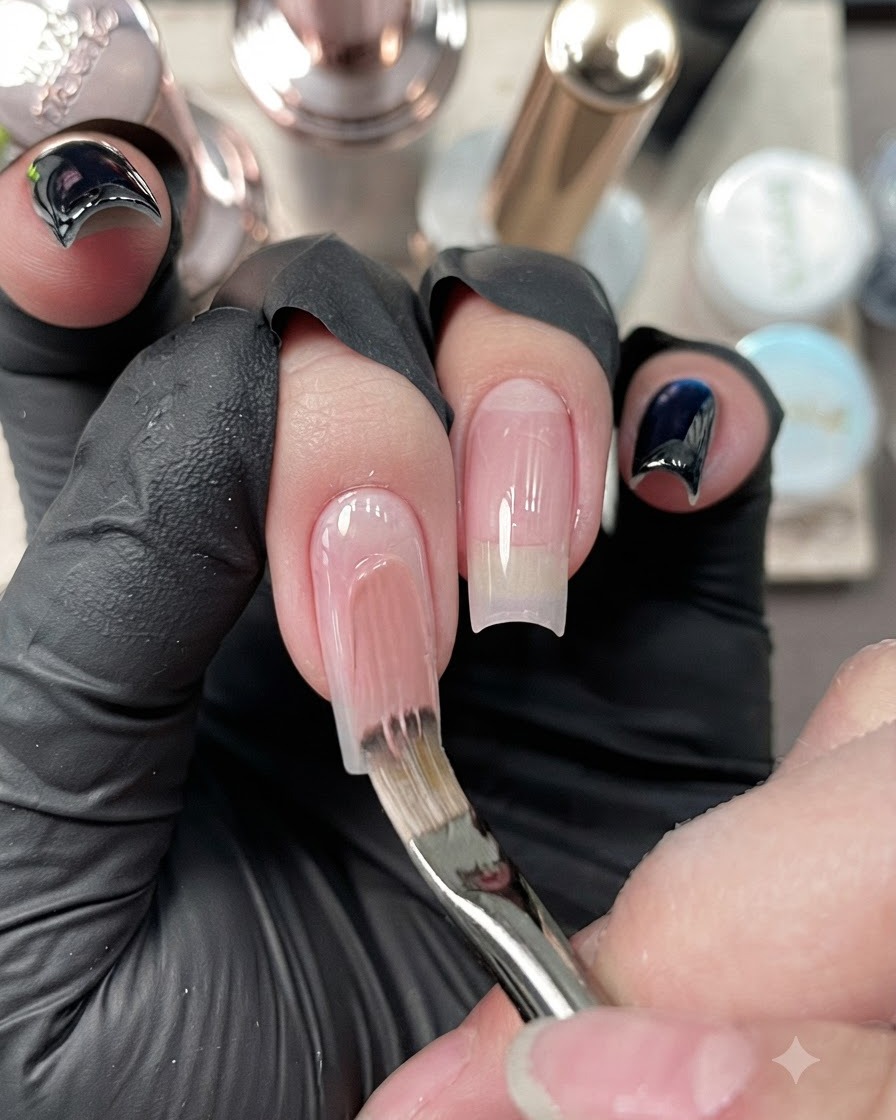
Apply an even coat of nude base coat directly onto the middle nail plate, ensuring smooth coverage from the cuticle down to the free edge.
Tip: Keep strokes smooth and even to avoid streakiness with translucent nude shades. - 8Apply nude base coat to ring nail
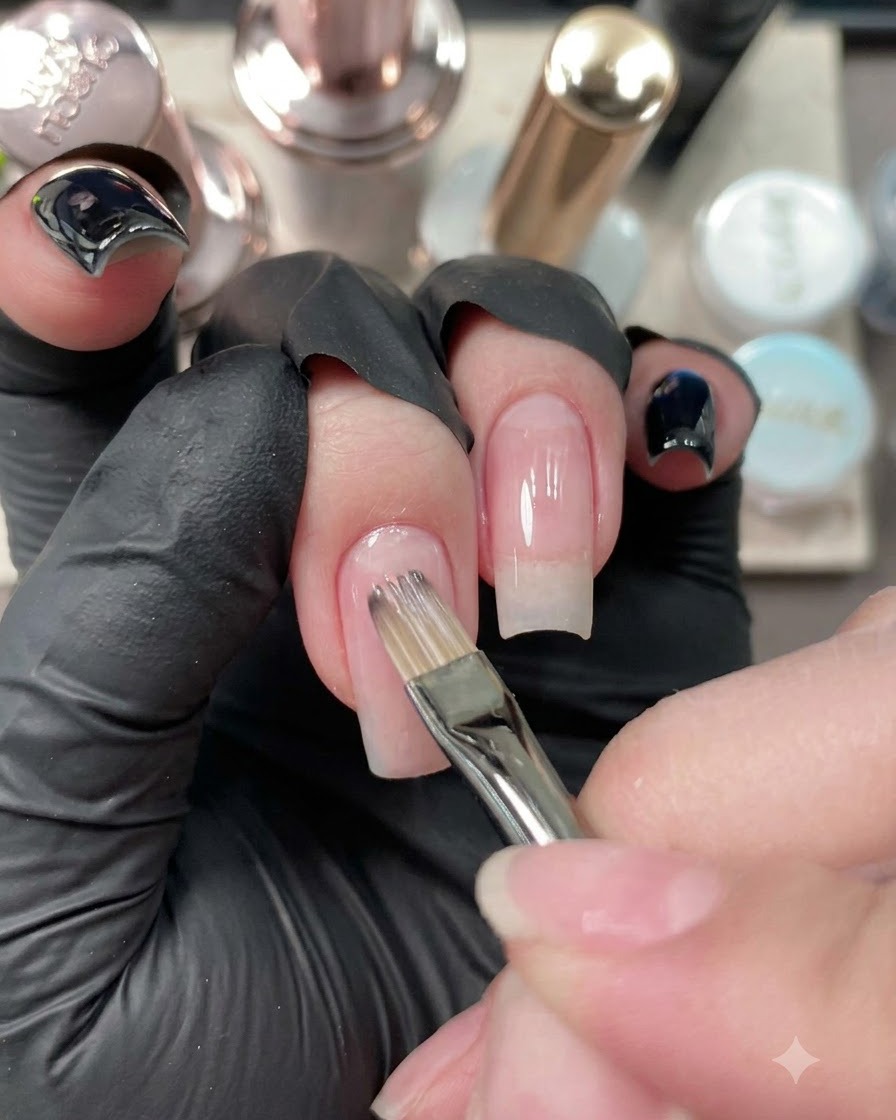
Apply an even coat of nude base coat onto the ring nail plate, matching the application technique used on the middle finger for a uniform look.
Tip: Cap the free edge on every layer to ensure the manicure lasts longer without chipping. - 9Cure nude base coat layers
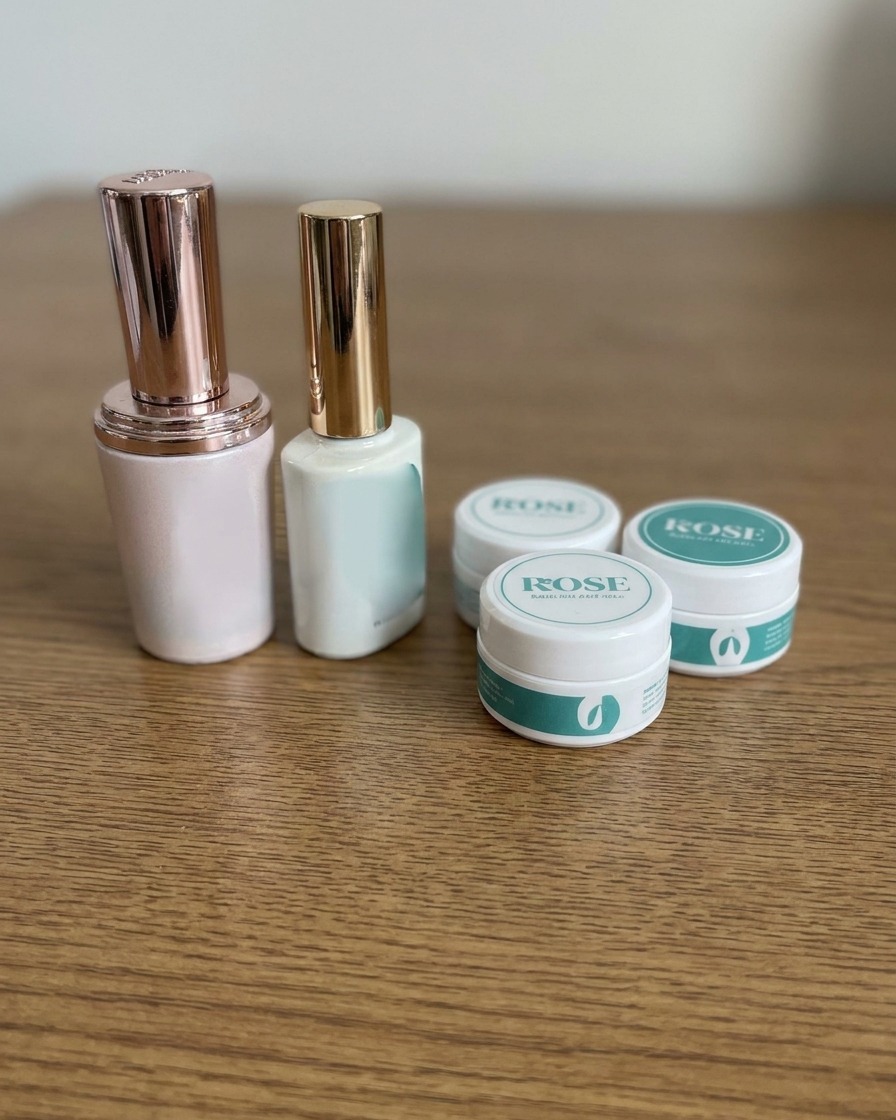
Place the hand under the UV or LED lamp to fully cure the nude base coat layers applied to the middle and ring fingers.
Tip: Ensure your hand is positioned correctly inside the lamp so all fingers receive even UV exposure. - 10Apply top coat to ring finger
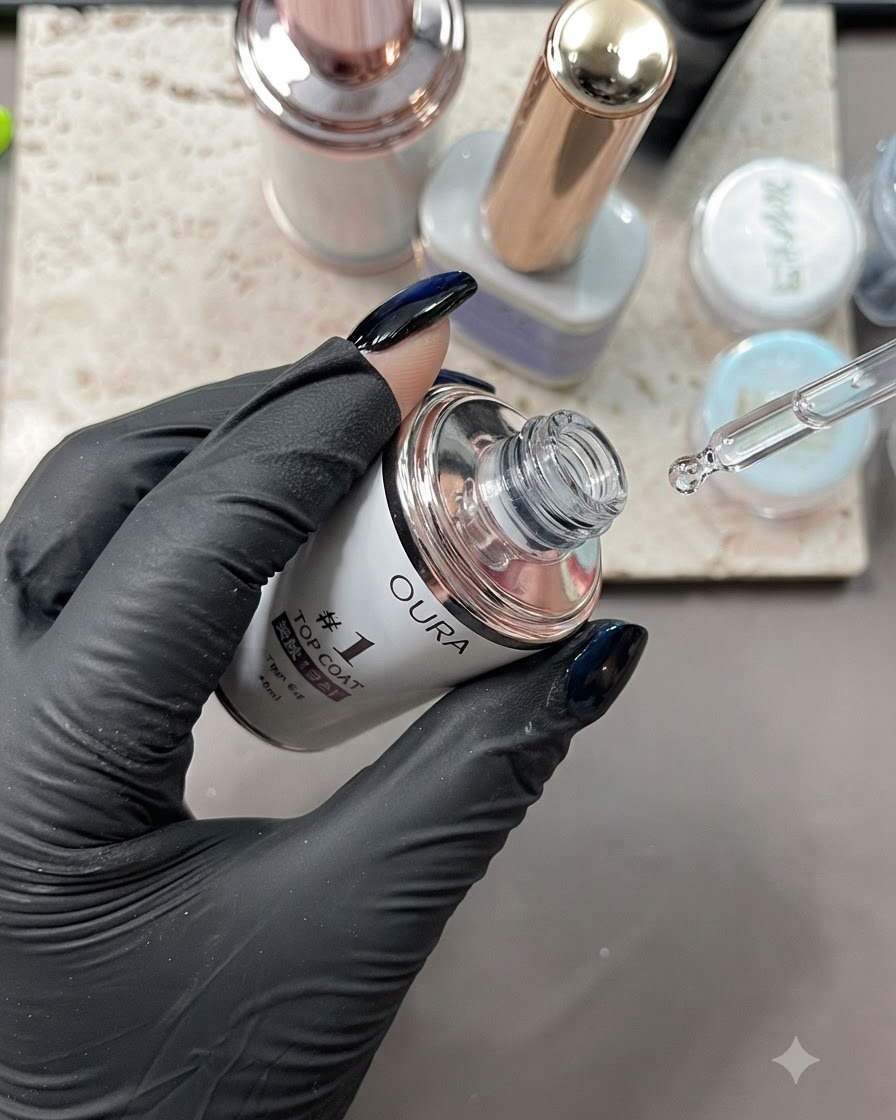
Apply top coat to the ring finger, ensuring the surface is completely smooth and free of small dust particles or bubbles, and prepare to cure.
Tip: Check your surface under a bright light before curing to catch and remove any floating dust particles. - 11Cure ring finger top coat
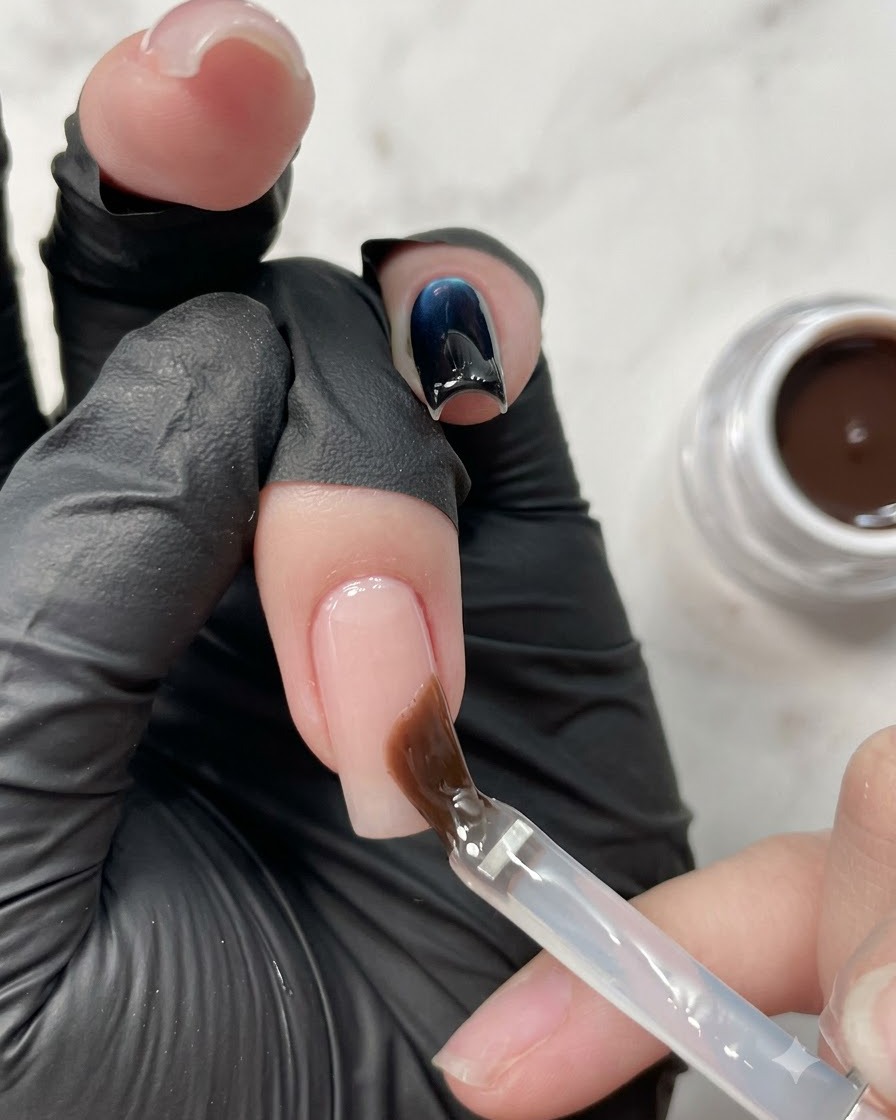
Place the hand under the lamp and cure the top coat on the ring finger for 30 seconds to lock in the finish.
Tip: Follow the specific curing time recommended by your gel top coat manufacturer for a durable high-gloss shine. - 12Choose aurora powders
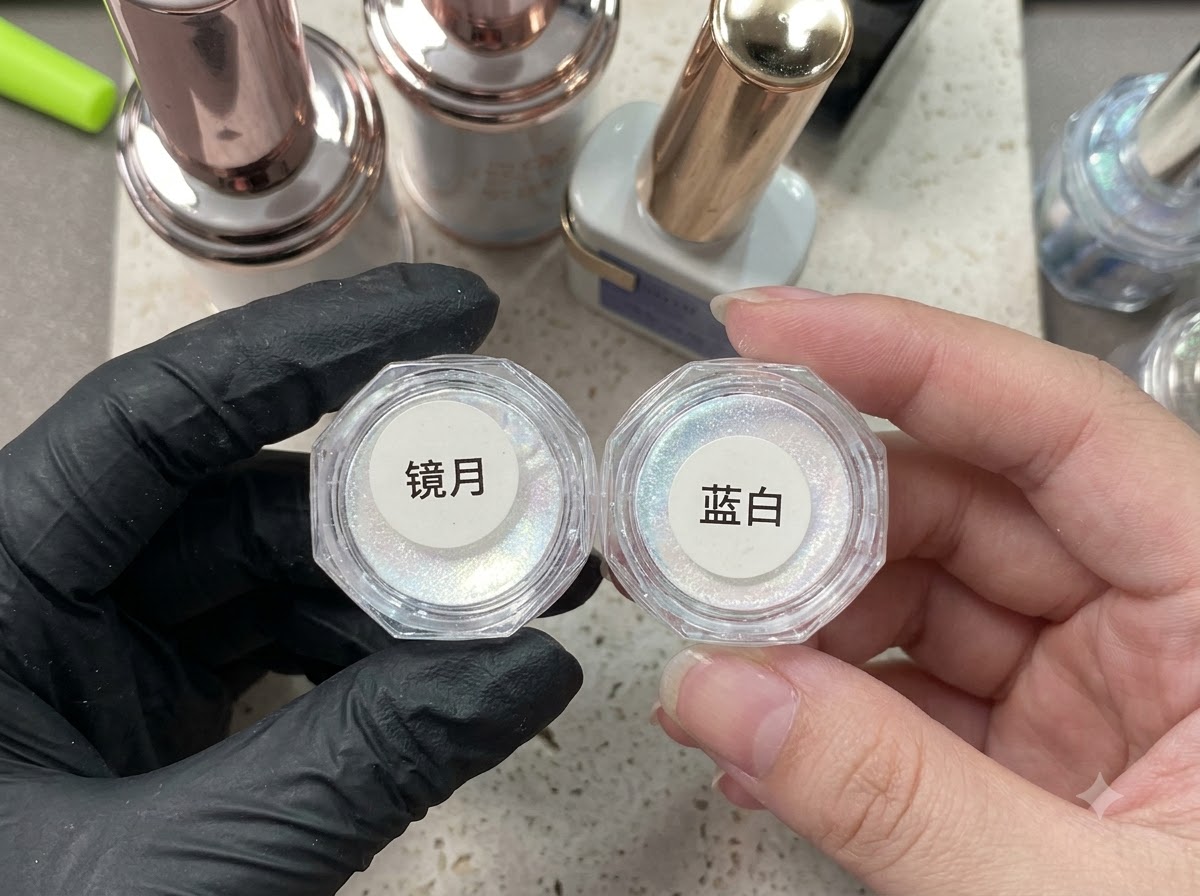
Select two different colors of aurora powder from their separate jars to mix together for a unique reflective, pearlescent finish. Blending these powders adds multi-dimensional shine and depth when rubbed over the cured base coat.
Tip: Combining different aurora powder tones creates a custom iridescent shift that stands out under various lighting conditions. - 13Mix and rub aurora powder
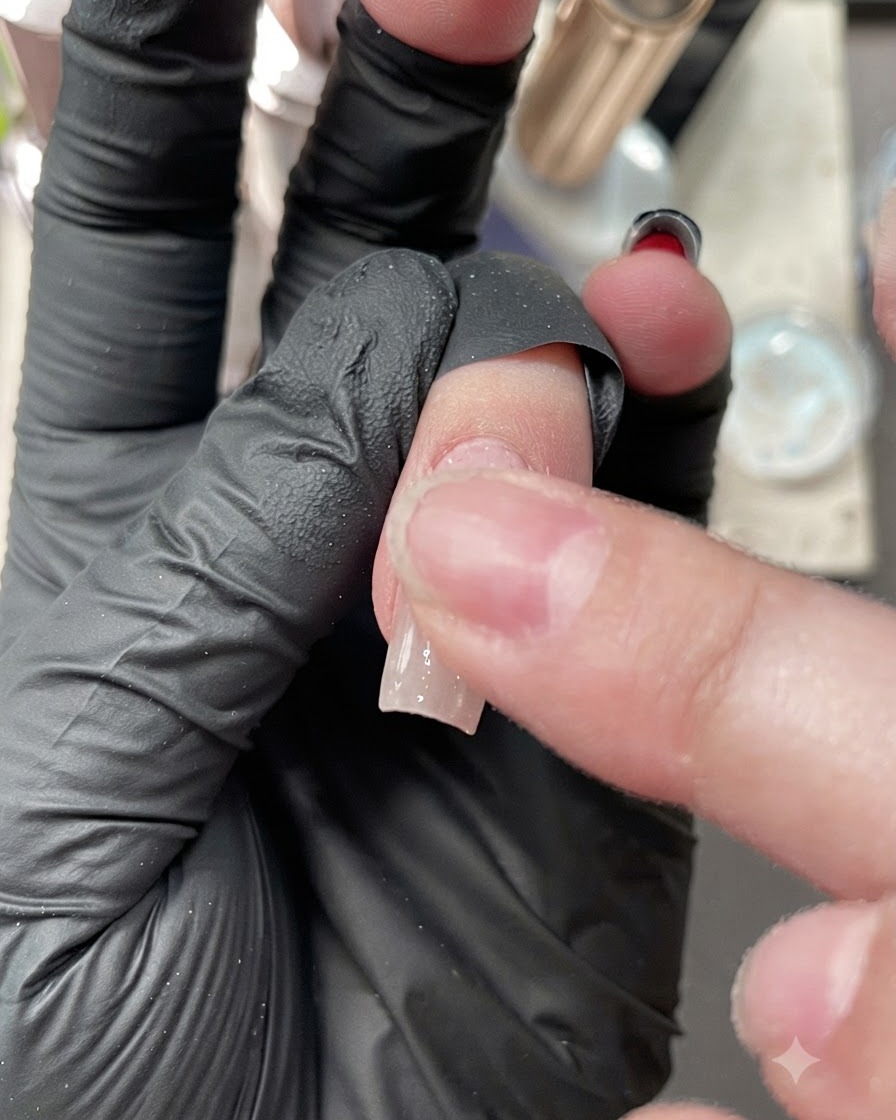
Blend the two selected aurora powders together and thoroughly rub the mixture onto the surface of the ring nail to achieve a vibrant, shifting chrome effect.
Tip: Rub the powder gently yet firmly to ensure it adheres evenly to the cured gel layer. - 14Brush off excess powder
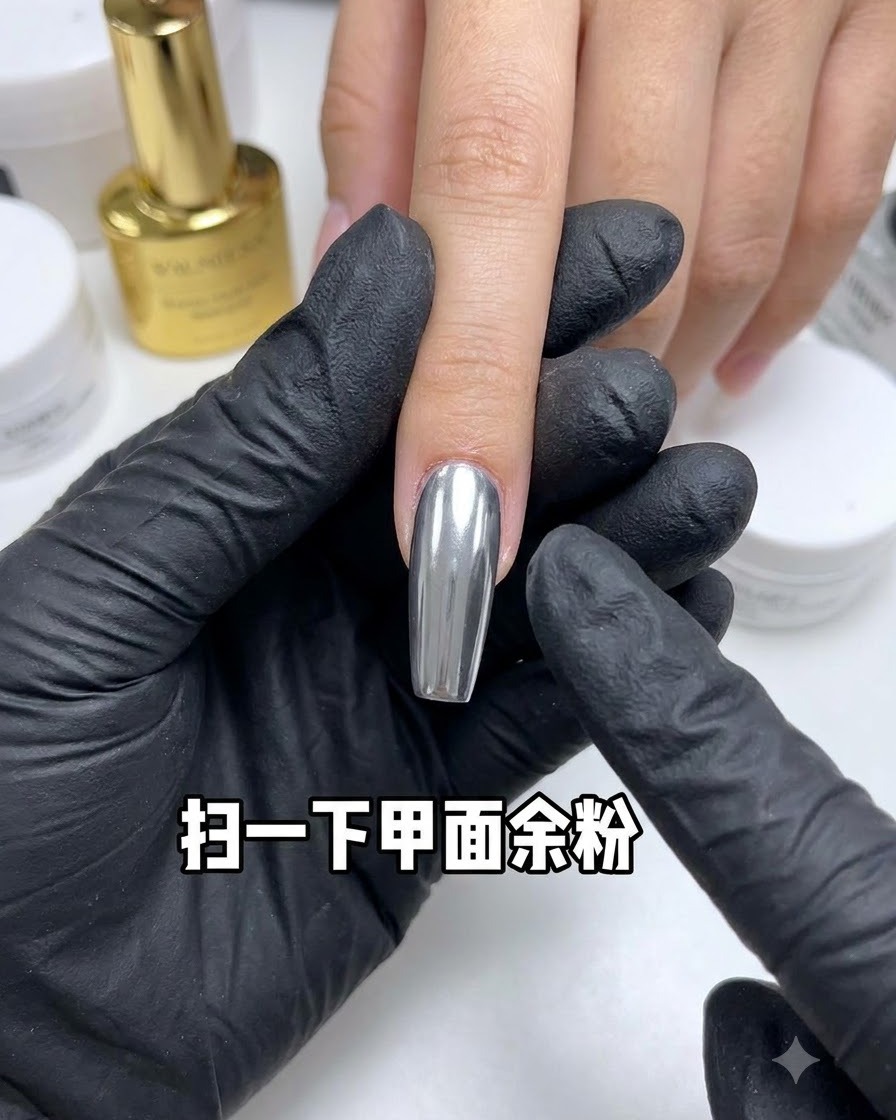
Use a soft dusting brush to gently sweep away any loose or excess aurora powder from the nail surface and surrounding skin area, leaving a clean, reflective finish.
Tip: Ensure all loose particles are removed so they do not interfere with the clarity of the subsequent sealing gel layer. - 15Apply tinted base gel for encapsulation
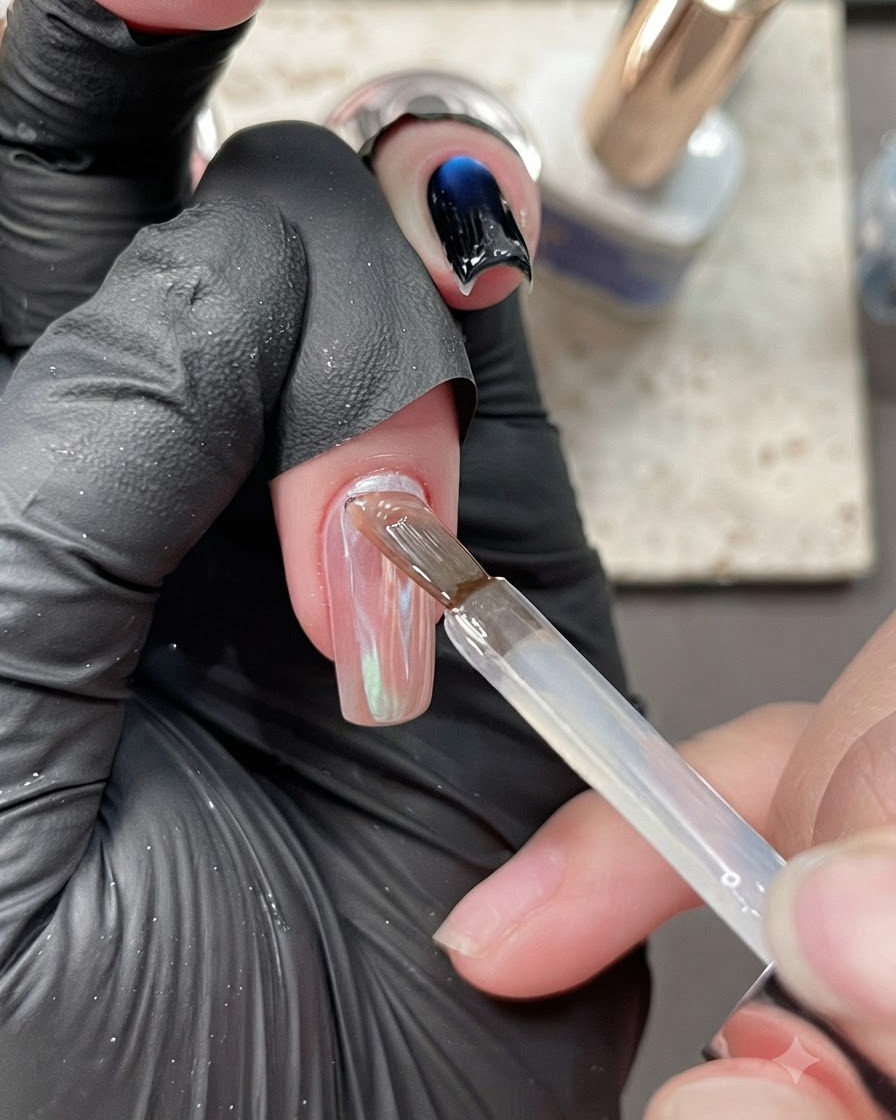
Apply a layer of functional base gel featuring a slight purple tint over the powdered ring nail to reinforce and completely encapsulate the powder layer, preventing chipping or fading.
Tip: Cap the free edge carefully with the tinted base gel to seal the powder inside completely. - 16Cure encapsulated powder layer
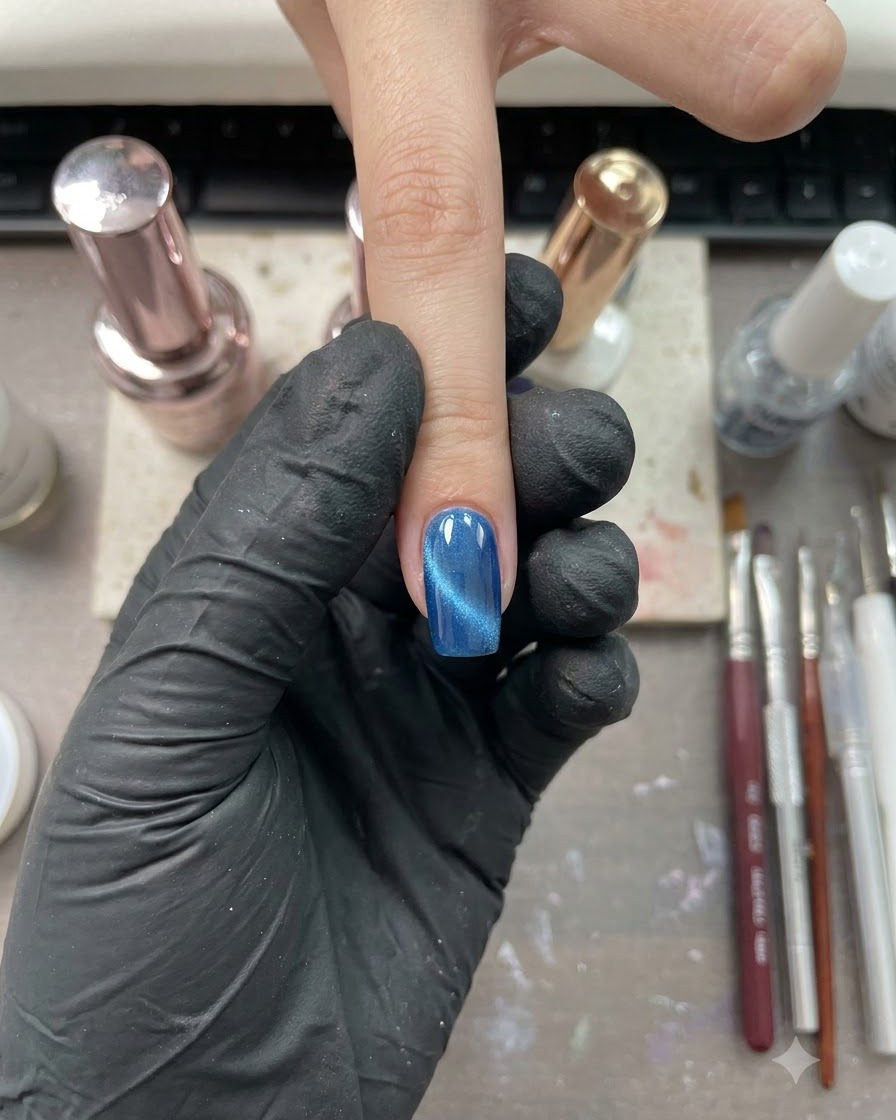
Place the hand under the UV or LED lamp to quickly cure the functional base gel layer encapsulating the aurora powder. This seals the powder in place, preventing it from rubbing off or chipping during subsequent steps.
Tip: Ensure edges are fully wrapped before curing to secure the pigment completely. - 17Apply final sealing top coat
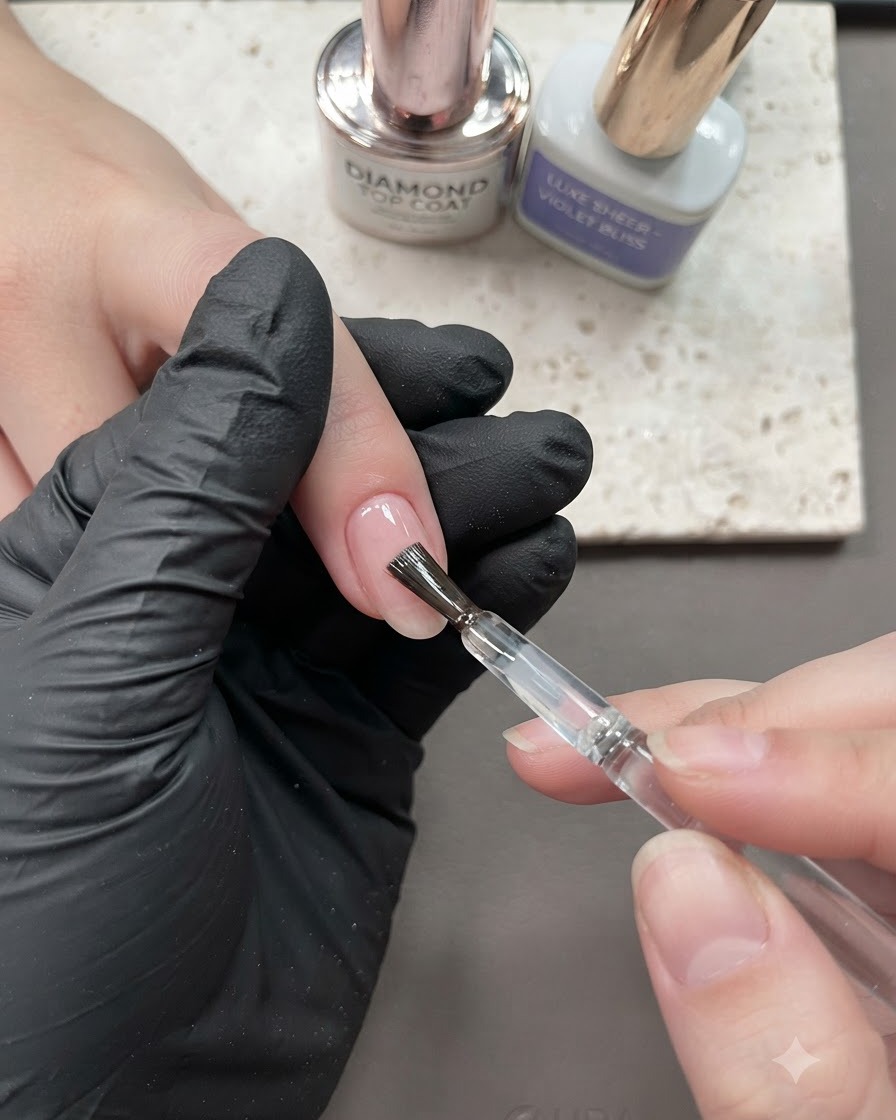
Apply a smooth final sealing top coat over the ring nail to lock in the encapsulated powder design and provide a high-gloss finish.
Tip: Check for any uneven spots or surface bumps before curing the top coat under the lamp. - 18Apply base gel for embellishments
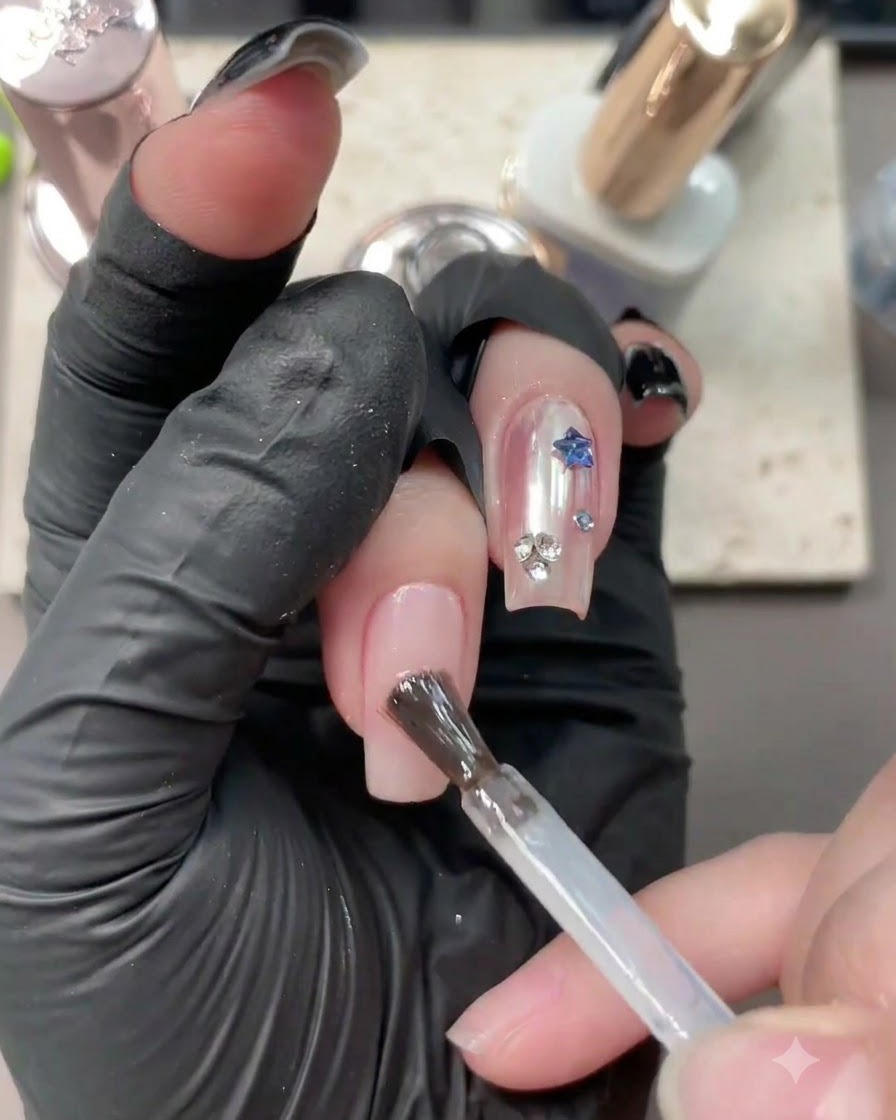
Brush a fresh layer of clear base gel directly onto the middle nail surface to serve as the adhesive base for upcoming glitter and charm placements. This sticky layer holds the decorative pieces securely before final structuring.
Tip: Apply an even coat without flooding the cuticle line to maintain a neat foundation for charms. - 19Place glitter and star charms
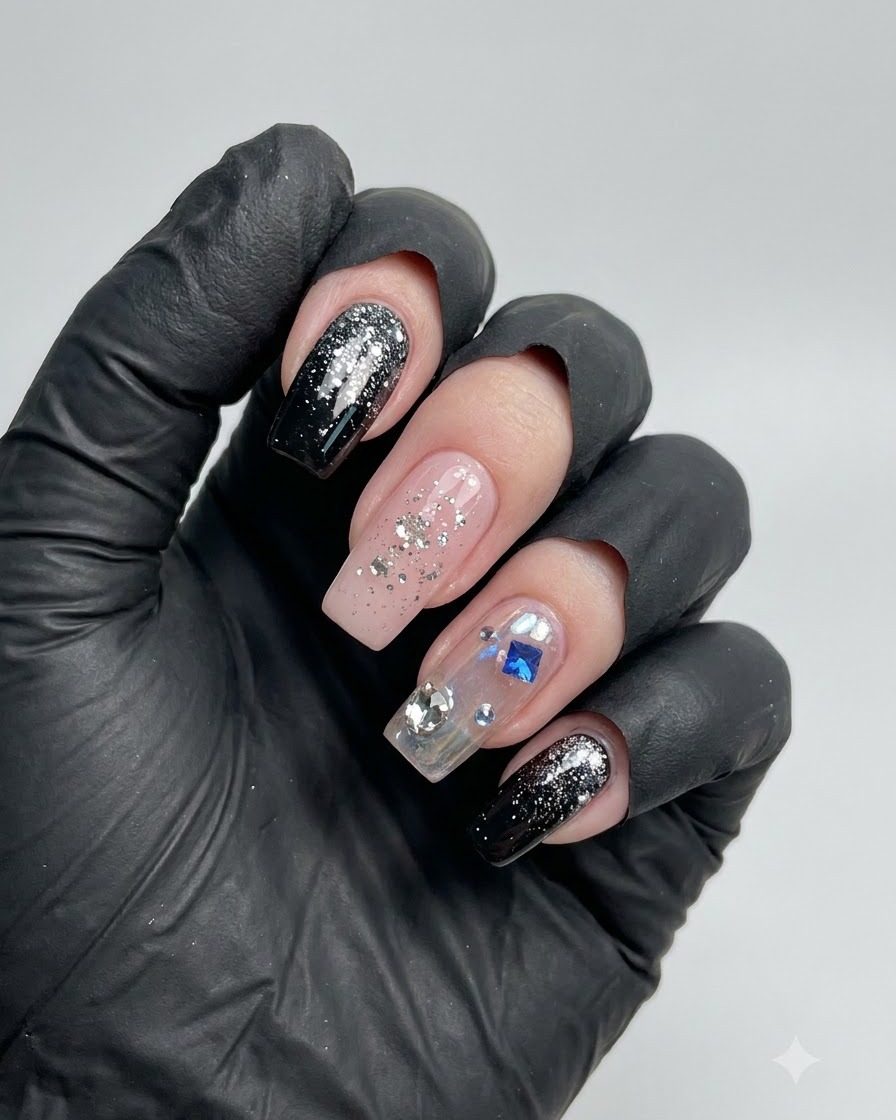
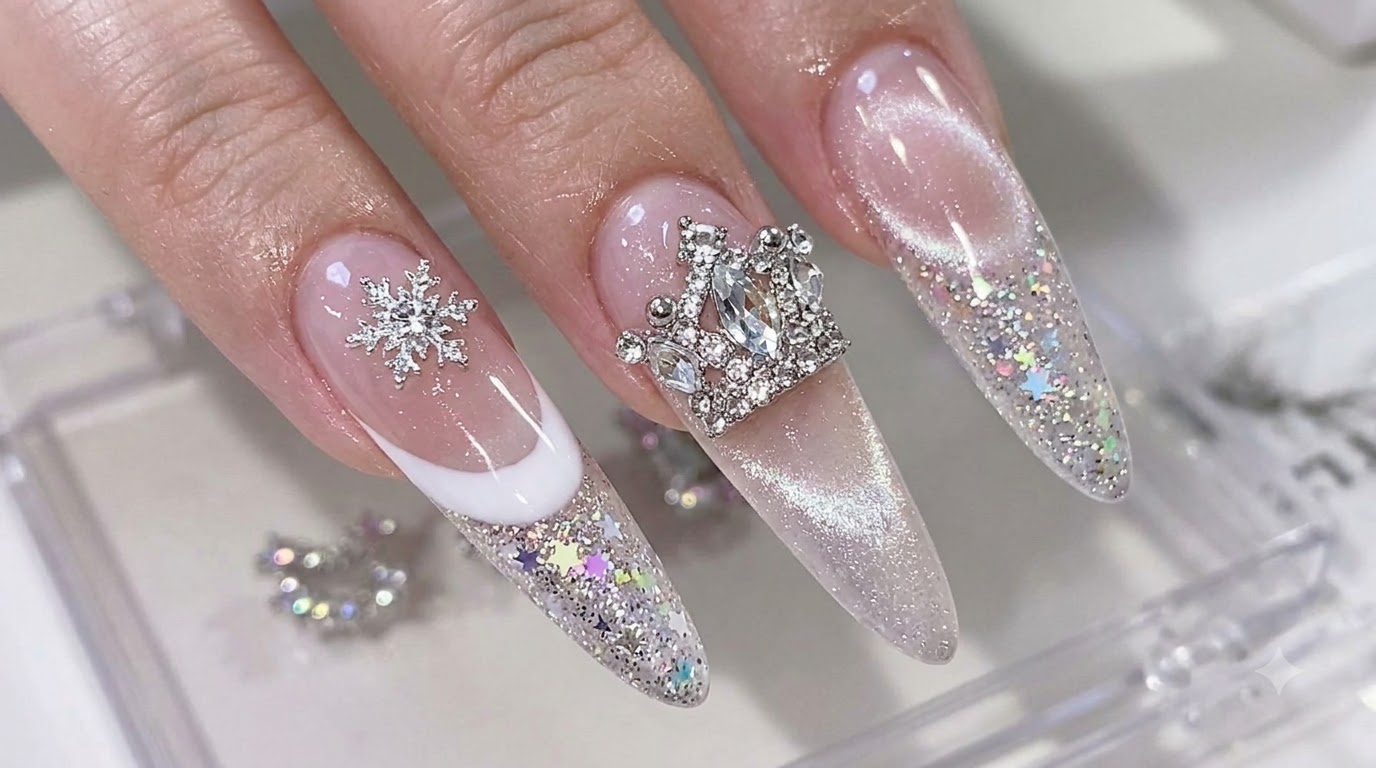
Using a fine dotting tool, carefully pick up and position individual glitter pieces and small star charms onto the wet base gel layer of the middle nail. Arrange them aesthetically to create a sparkling, detailed accent nail design.
Tip: Dampen the tip of your dotting tool slightly to make picking up small charms and loose glitter much easier. - 20Cure glitter and charm embellishments
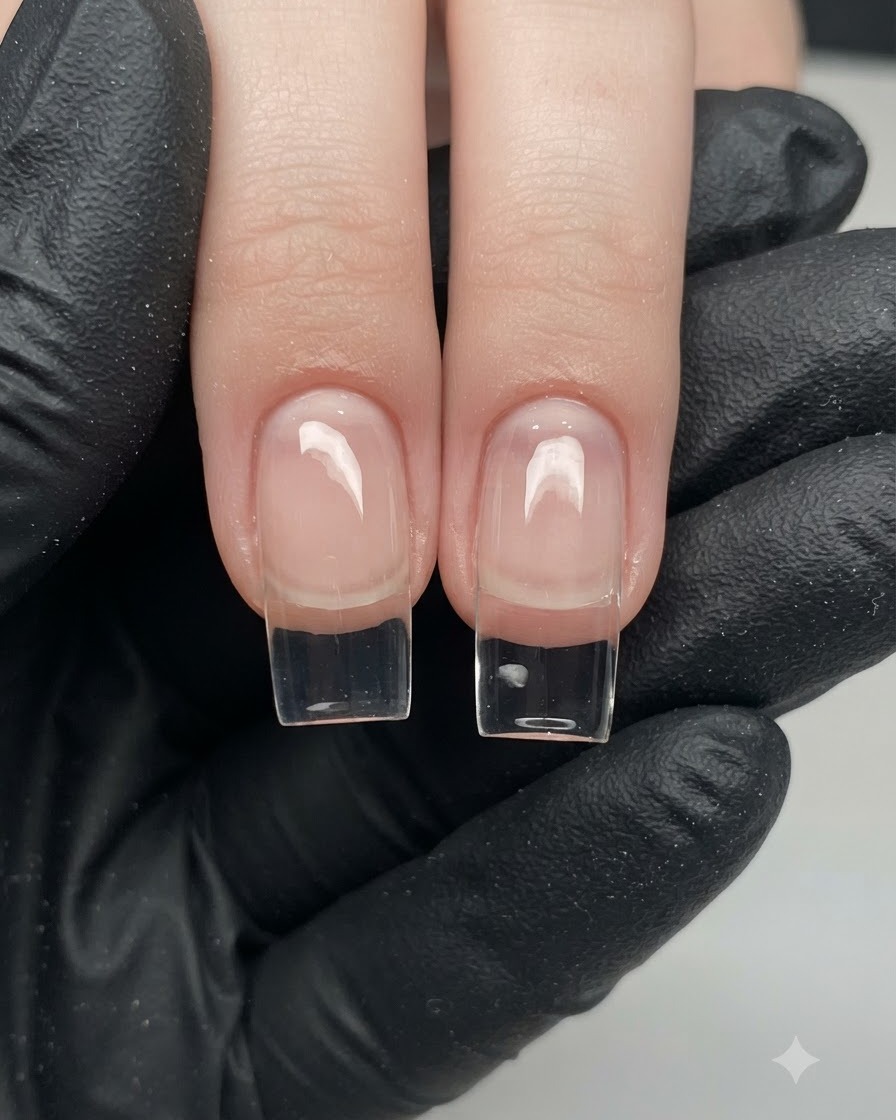
Place the hand into the lamp to cure the base gel holding the placed glitter pieces and star charms. This locks all the decorative embellishments firmly onto the nail surface before applying the leveling gel layer.
Tip: Check that all charms are lying flat and firmly set before moving on to the reinforcement step. - 21Apply strengthening gel over glitter
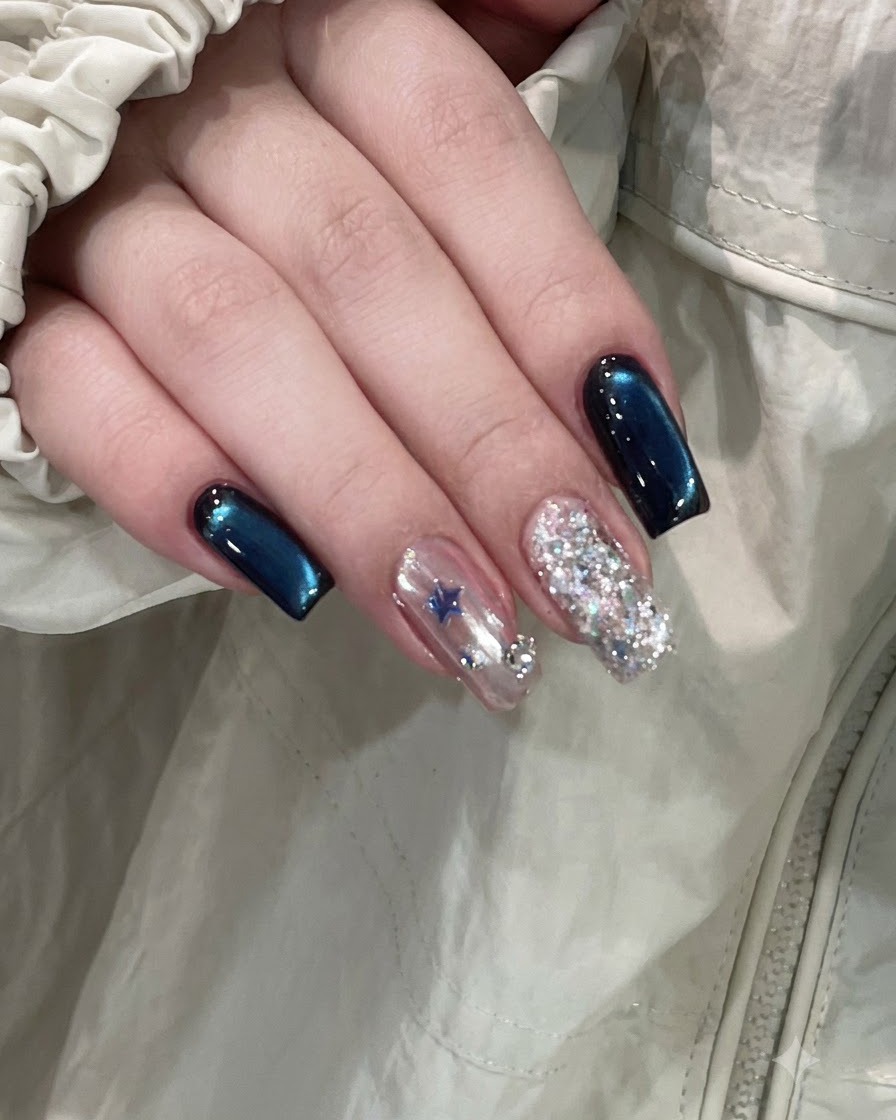
Brush a layer of clear strengthening or builder gel over the middle finger to completely cover, smooth, and level the nail surface over the embedded glitter and charms. This encapsulates the texture, creating a smooth finish and preventing any snagging.
Tip: Make sure to cover all sharp charm edges completely with the gel to ensure long-lasting wear and a smooth top coat application. - 22Apply final top coat and cure
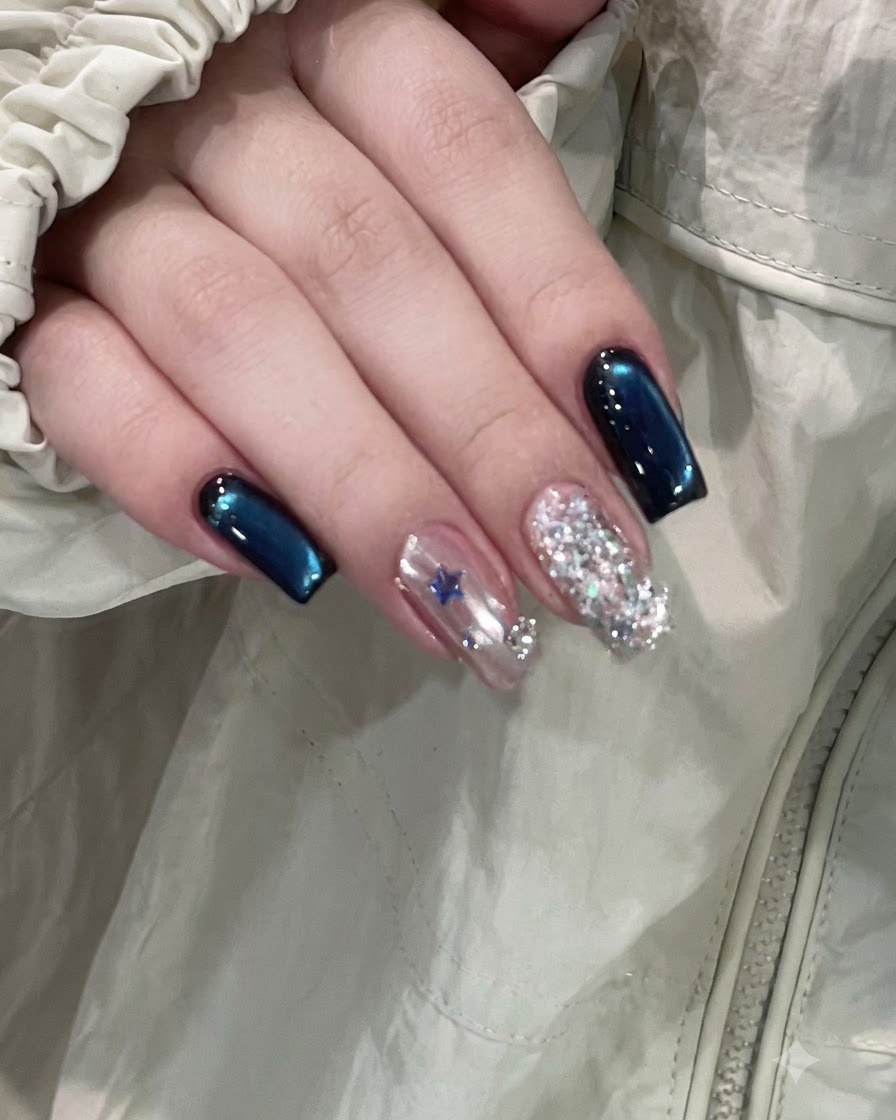
Apply a final coat of glossy top coat over the middle nail to seal the design and protect the embedded glitter pieces. Ensure the surface is completely smooth and even, then cure under the lamp for the recommended time to finish the manicure.
Tip: Make sure to cap the free edge with top coat to prevent chipping and ensure your nail art lasts longer.