Five-Petal Floral Gel Nail Art — Elegant Beginner Tutorial
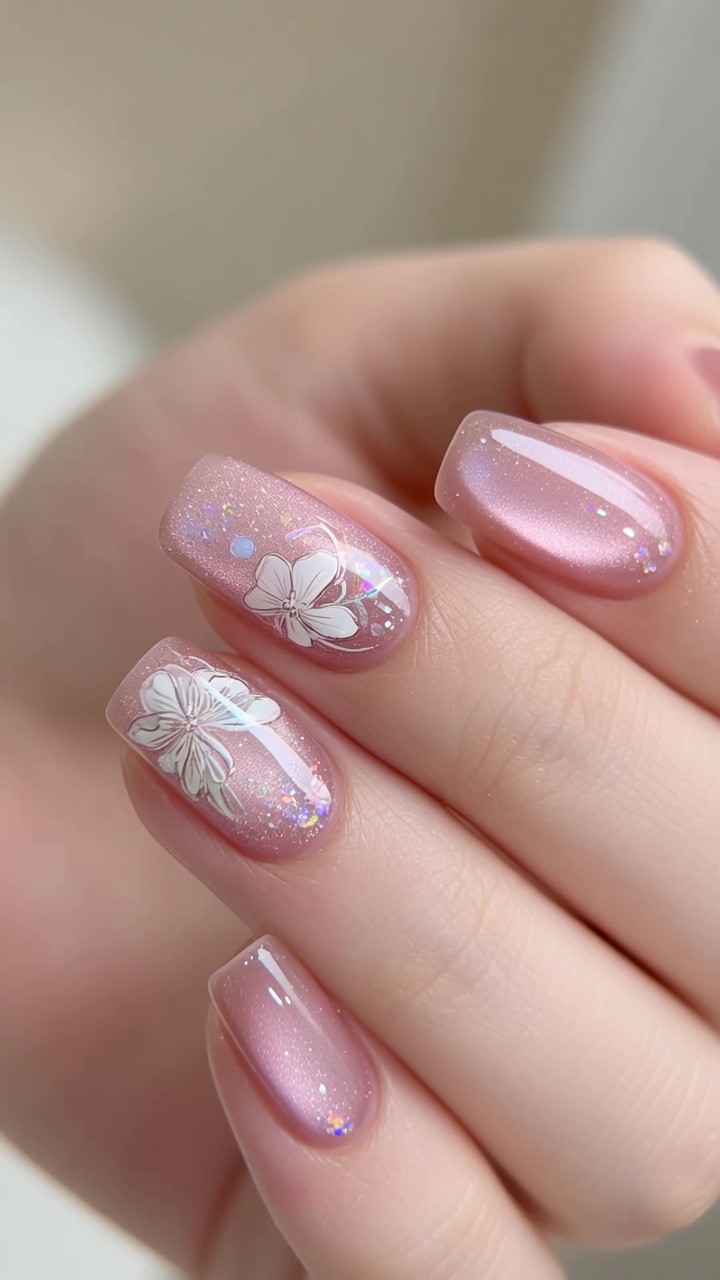
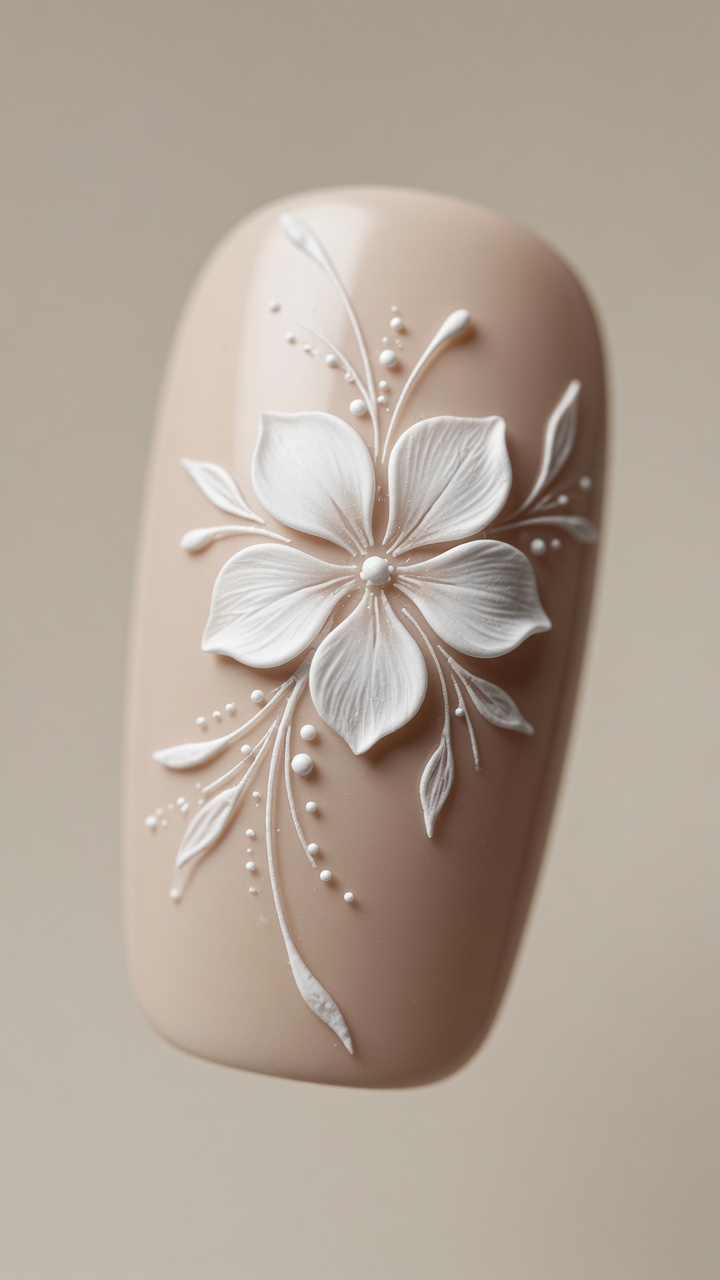
Master delicate five-petal floral nail art with our easy gel tutorial. This elegant design features refined white lines and accent details.
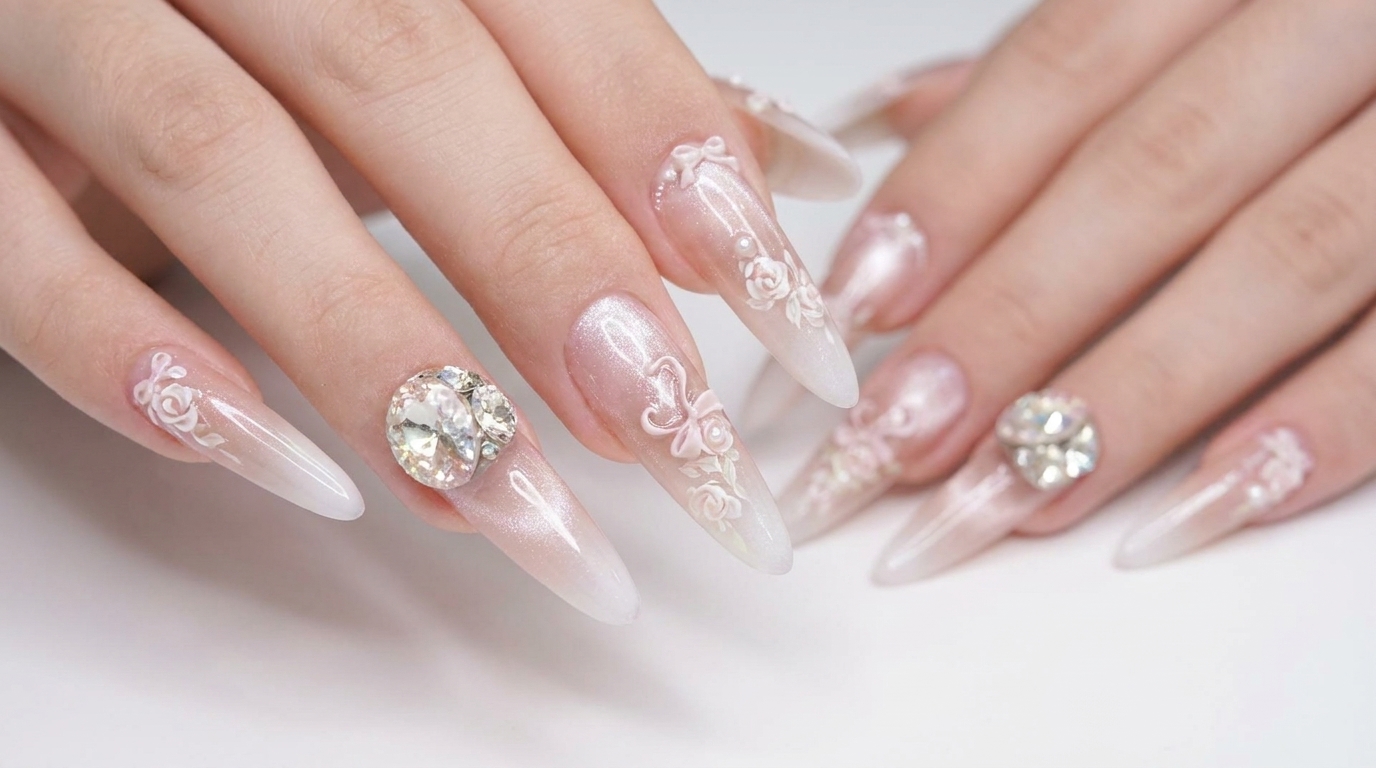
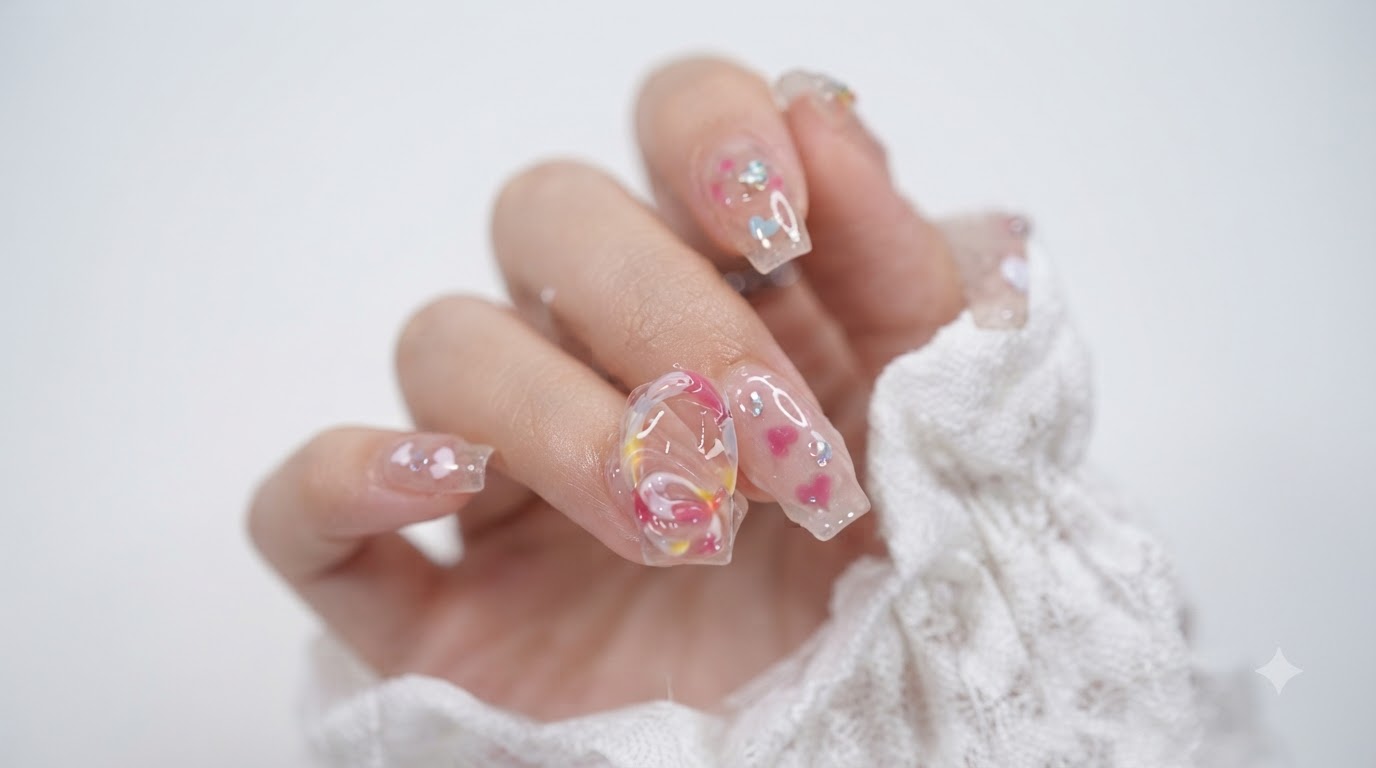
The timeless appeal of floral nail art lies in its versatility and delicate beauty. This five-petal flower design is perfect for those looking to practice precise brush control while achieving a sophisticated, hand-painted finish. By combining structured petal placement with flowing organic stems, you can create a salon-quality look that feels both light and artistic.
Steps
- 1Mark the flower placement
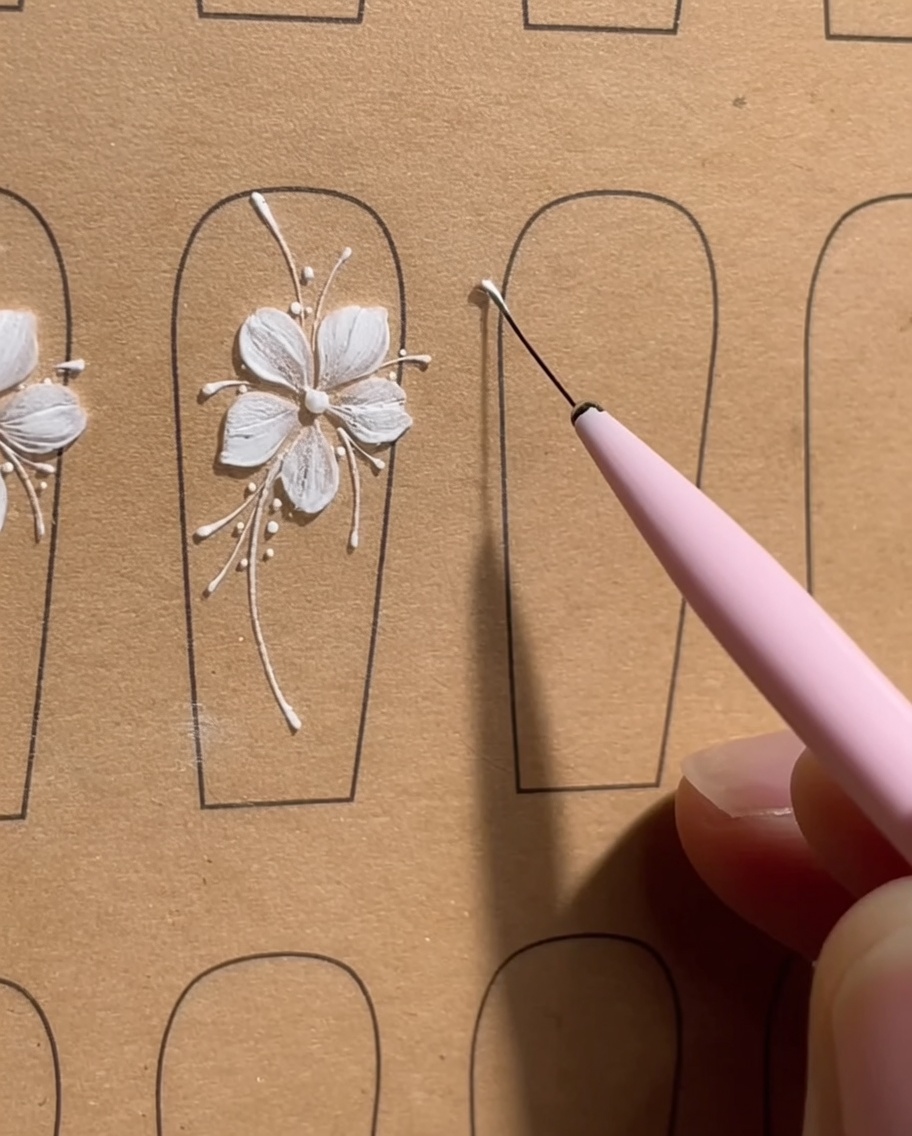
Using a dotting tool, carefully place five small dots of white gel in a circular pattern to serve as the center and the positions for your flower petals. This mapping ensures your flower is well-proportioned and perfectly centered on the nail before you begin painting.
Tip: Keep the dots small and light so they are easy to cover completely with your petal strokes later. - 2Paint the first petal
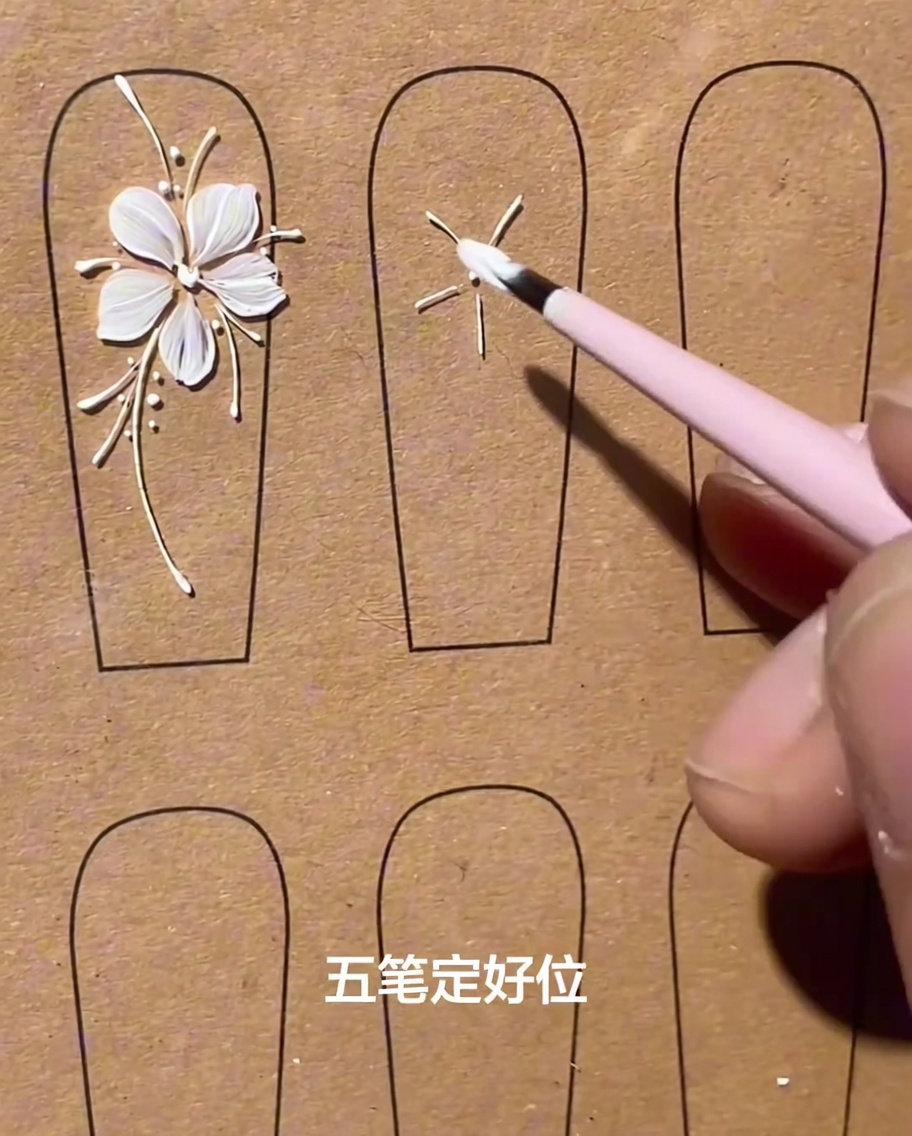
Dip your all-purpose flat brush into thick white painting gel. Starting from the outer edge of your marked position, use a light side-pushing motion to pull the gel inward toward the center dot. This creates the rounded shape of your first flower petal.
Tip: Use a light touch; the thick consistency of the gel will help build the petals volume with just a few gentle strokes. - 3Paint the second petal
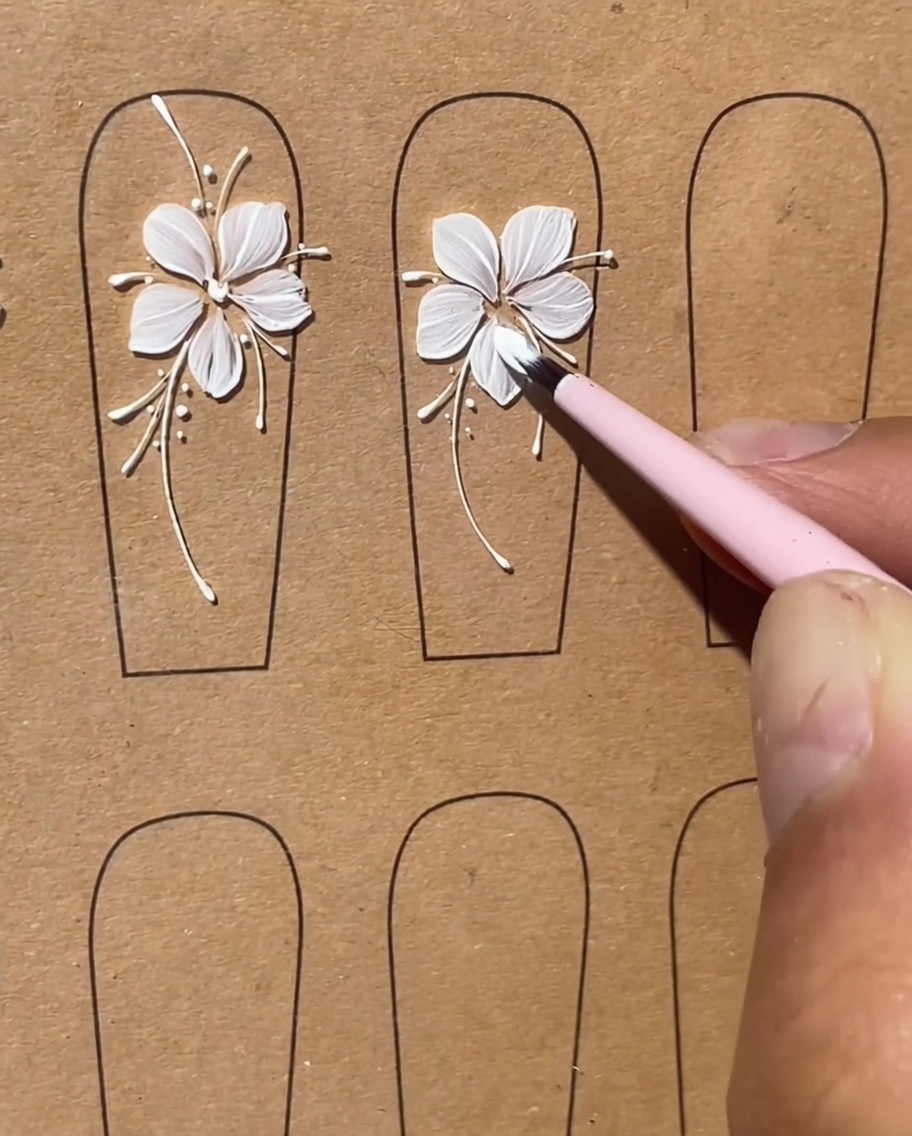
Continue with your second petal, utilizing a two-stroke side-pushing technique. Gently guide the gel from the outside edge, pulling inward toward the center to build the petals form. Maintain a consistent thickness with the first petal for a balanced appearance.
Tip: Completing each petal with exactly two controlled strokes helps achieve a uniform, professional-looking flower. - 4Paint the third petal
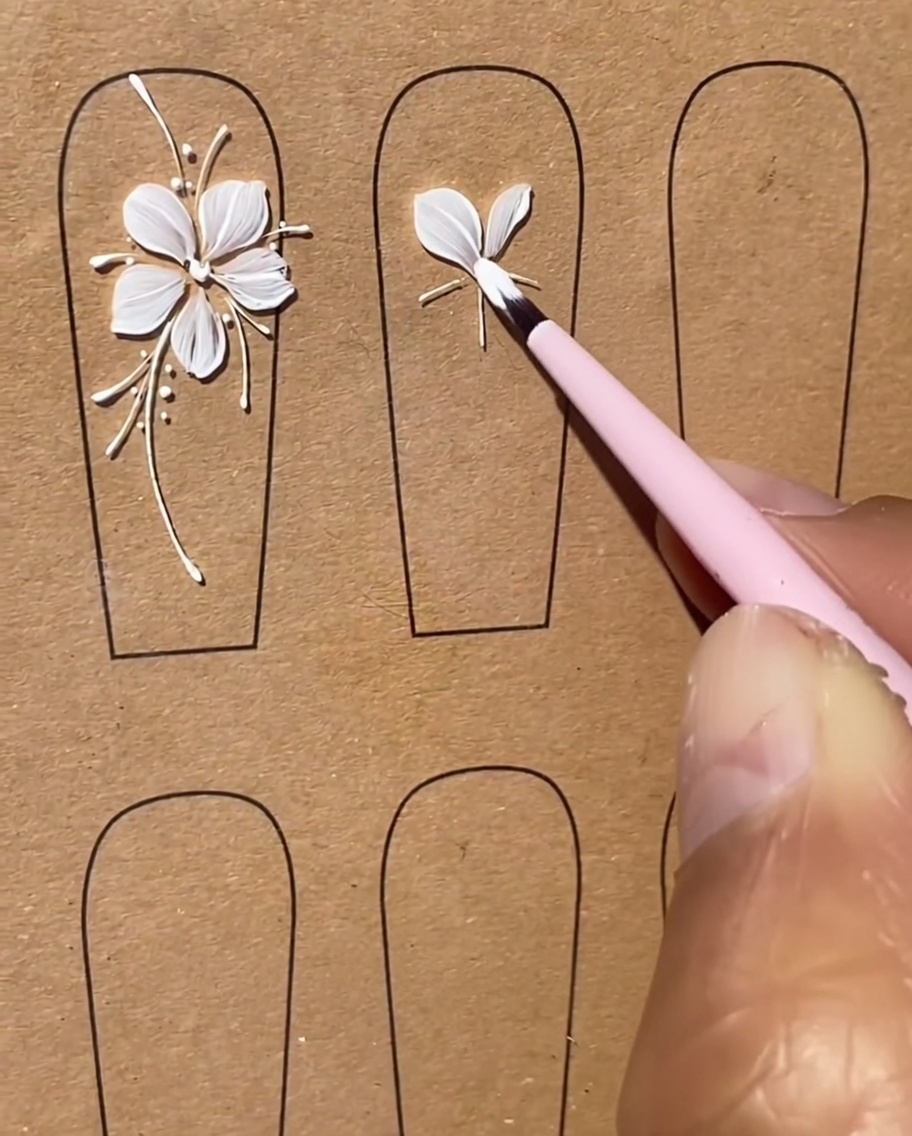
Proceed to the third petal, placing your brush with precision to maintain the flowers circular structure. As with the previous petals, use the side-pushing motion to pull the gel inward toward the center, ensuring the petal shape is defined and clean.
Tip: Work slowly to ensure each petal meets at the center without overlapping or crowding the middle. - 5Paint the fourth petal
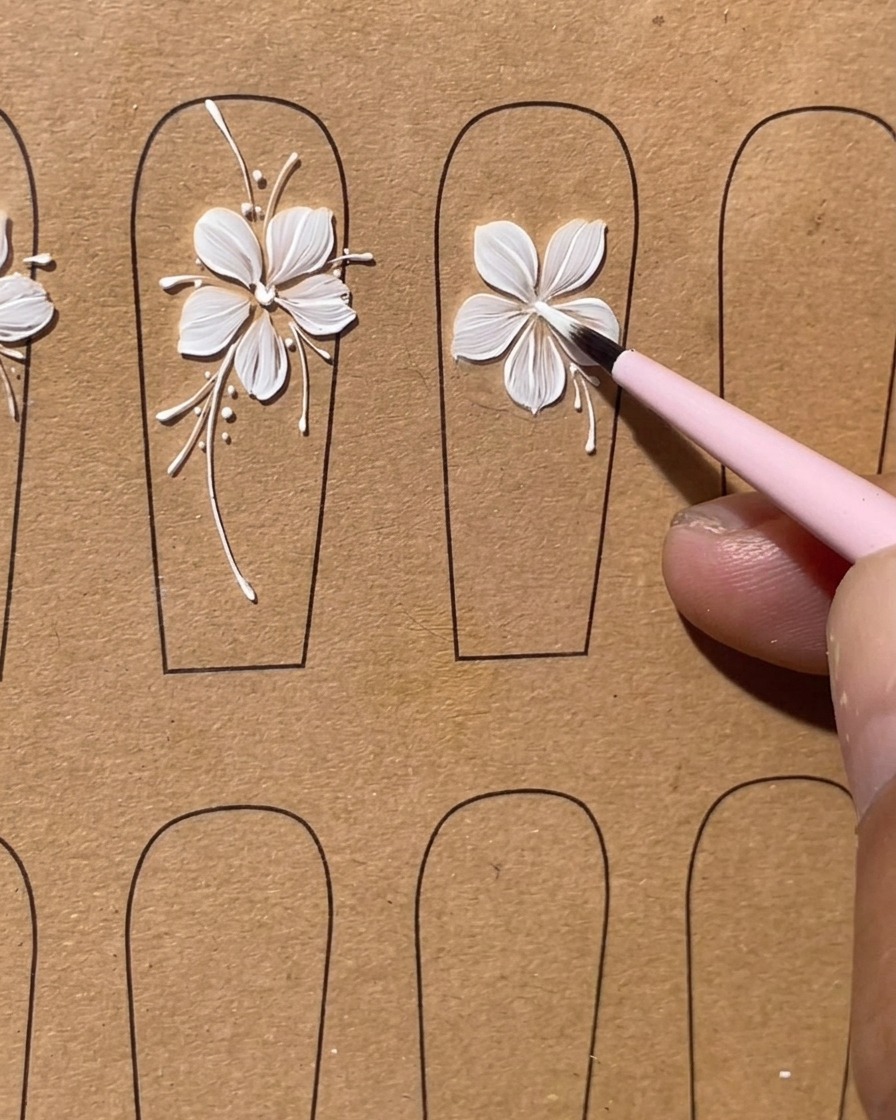
Apply the fourth petal using the same side-pushing technique. Focus on creating a smooth, rounded edge that flows naturally toward the center of the flower. This consistency is key to a beautiful floral design.
Tip: If the gel starts to flatten, wipe your brush clean and gently reshape the edge before curing. - 6Paint the fifth petal
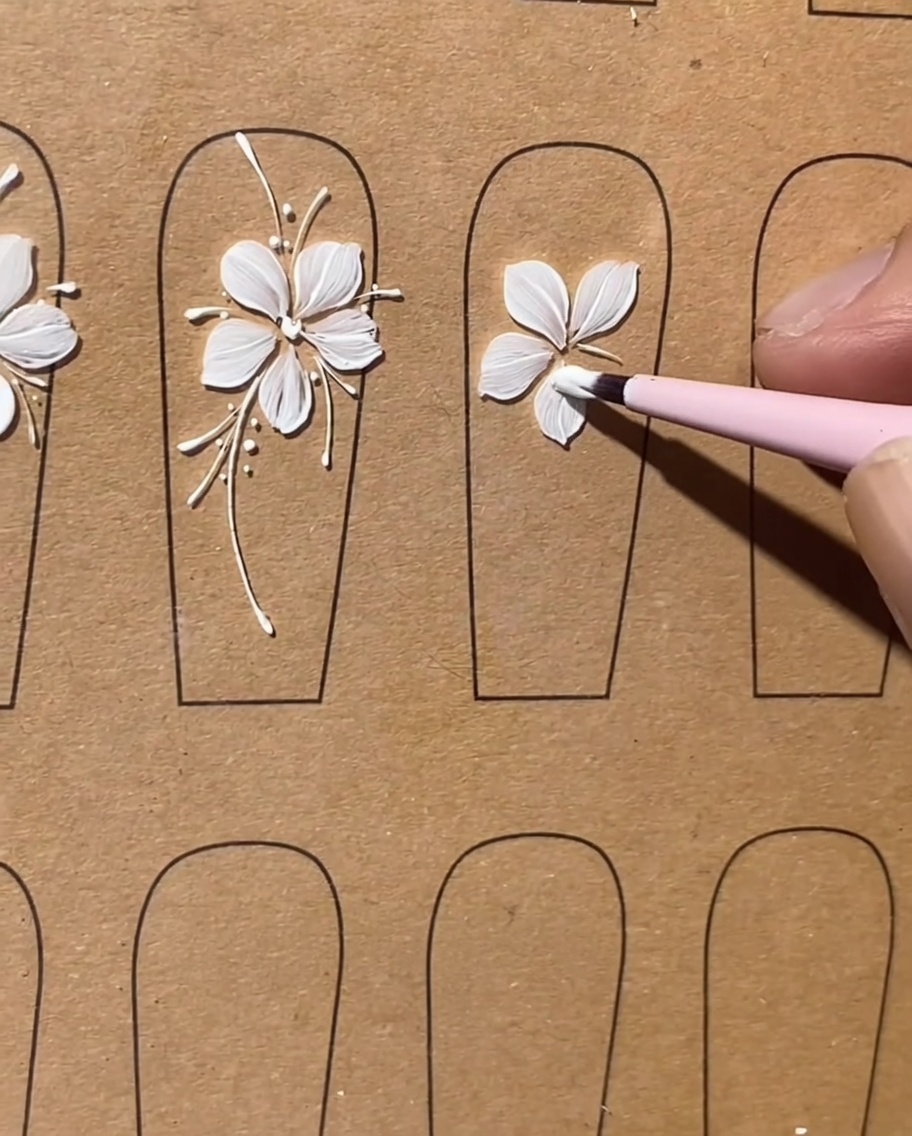
Complete the flower base by painting the final fifth petal. Use your two-stroke side-pushing motion to ensure it aligns perfectly with the other petals, finishing the five-petal structure.
Tip: Once all five petals are placed, inspect the center for any gaps before moving on to the accent lines. - 7Refine the flower details
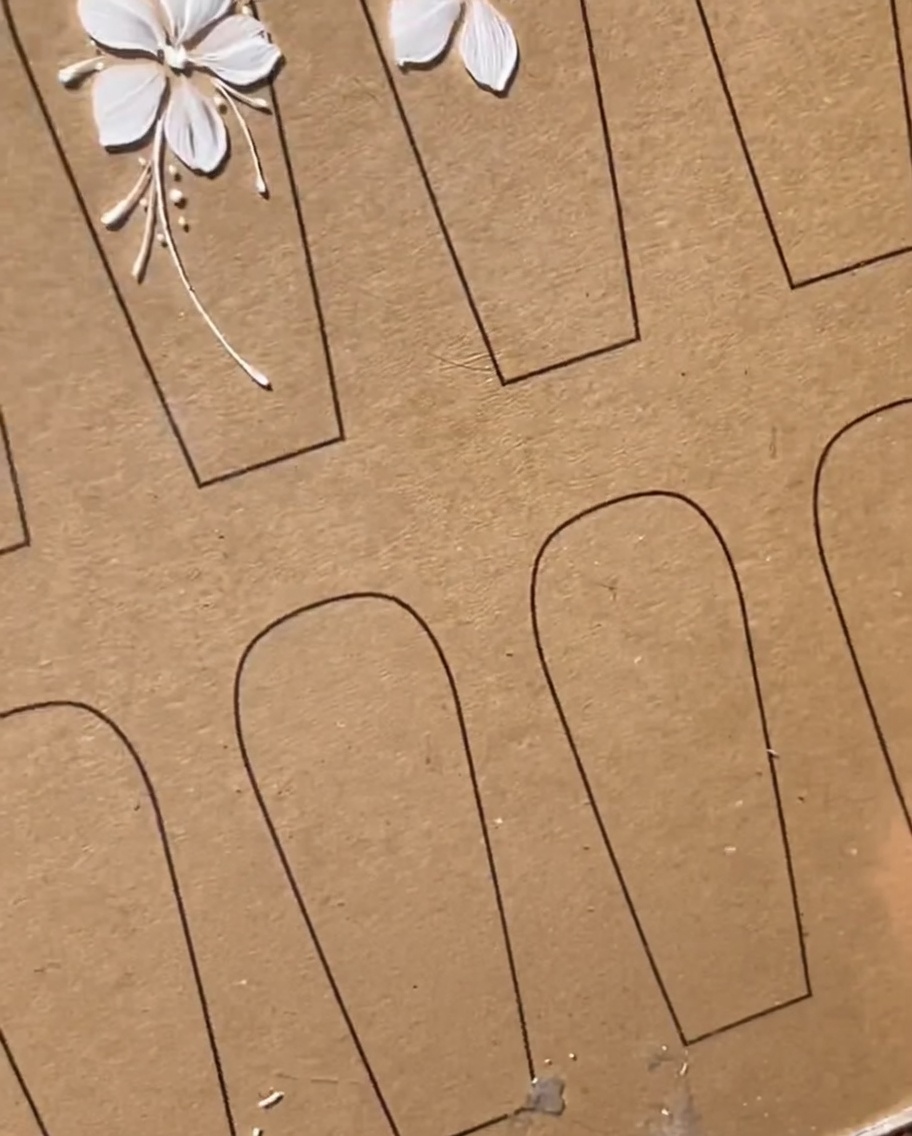
Using a thin liner brush with a small amount of white gel, carefully outline and refine the edges of each petal. Define the center of the flower with a crisp, small dot or line to add depth and sharpen the overall design.
Tip: Keep your hand steady and use very little pressure to ensure the lines remain delicate and thin. - 8Draw long curved stems
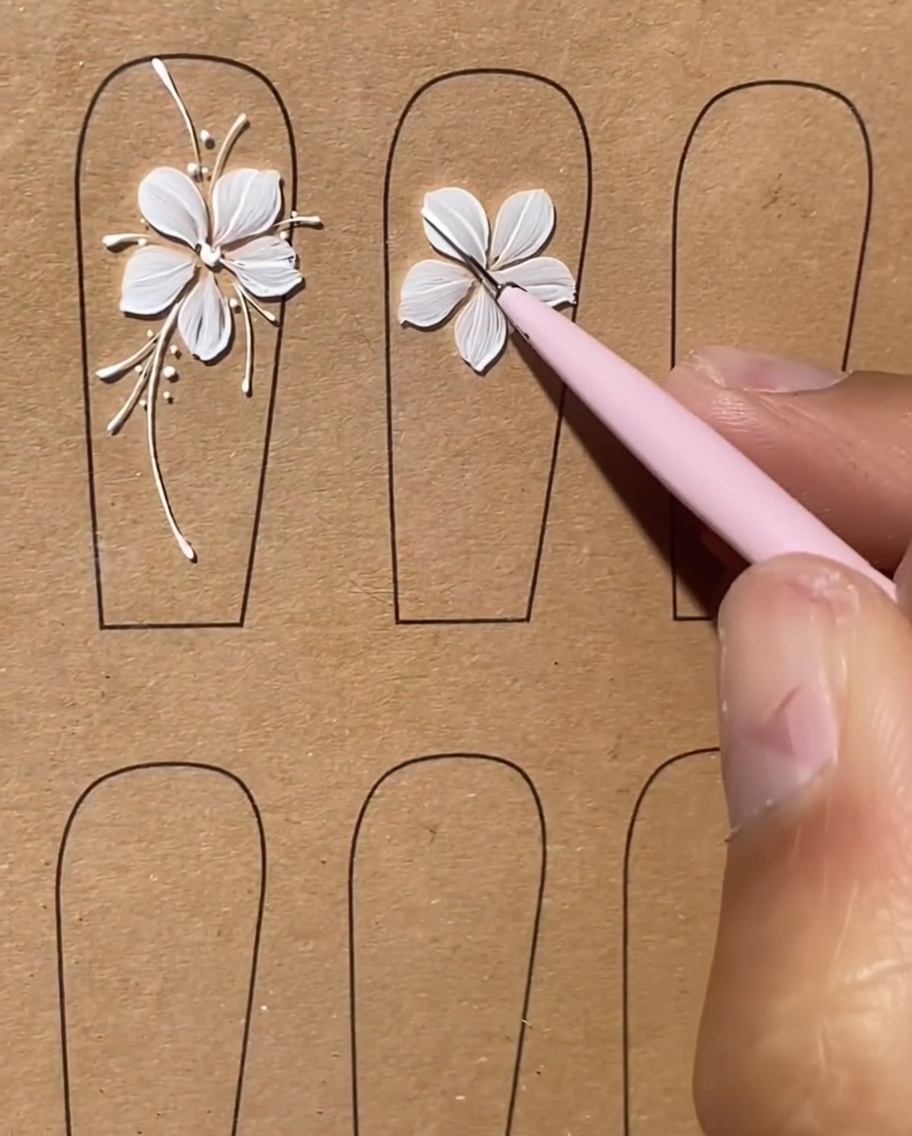
With a thin liner brush, draw long, elegant curved stems extending from the base of the flower. These stems create a flowy, organic look that complements the floral design.
Tip: Use a light, continuous motion to achieve smooth, sweeping curves for the stems. - 9Add long accent lines
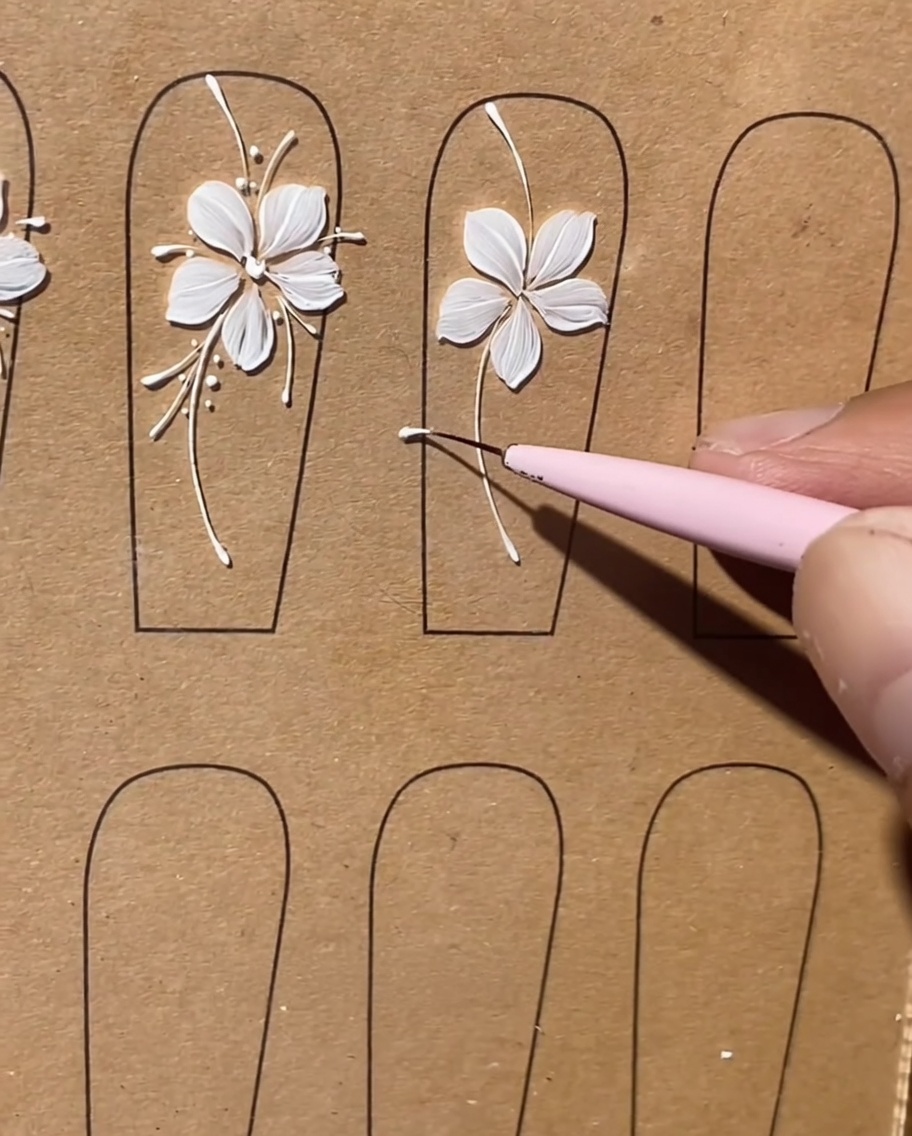
Apply additional long, thin accent lines originating from the center of the flower and extending between the petals. These lines add movement and bridge the gap between the floral art and the stems.
Tip: Vary the length slightly for a more natural, hand-drawn appearance. - 10Add short stem accents
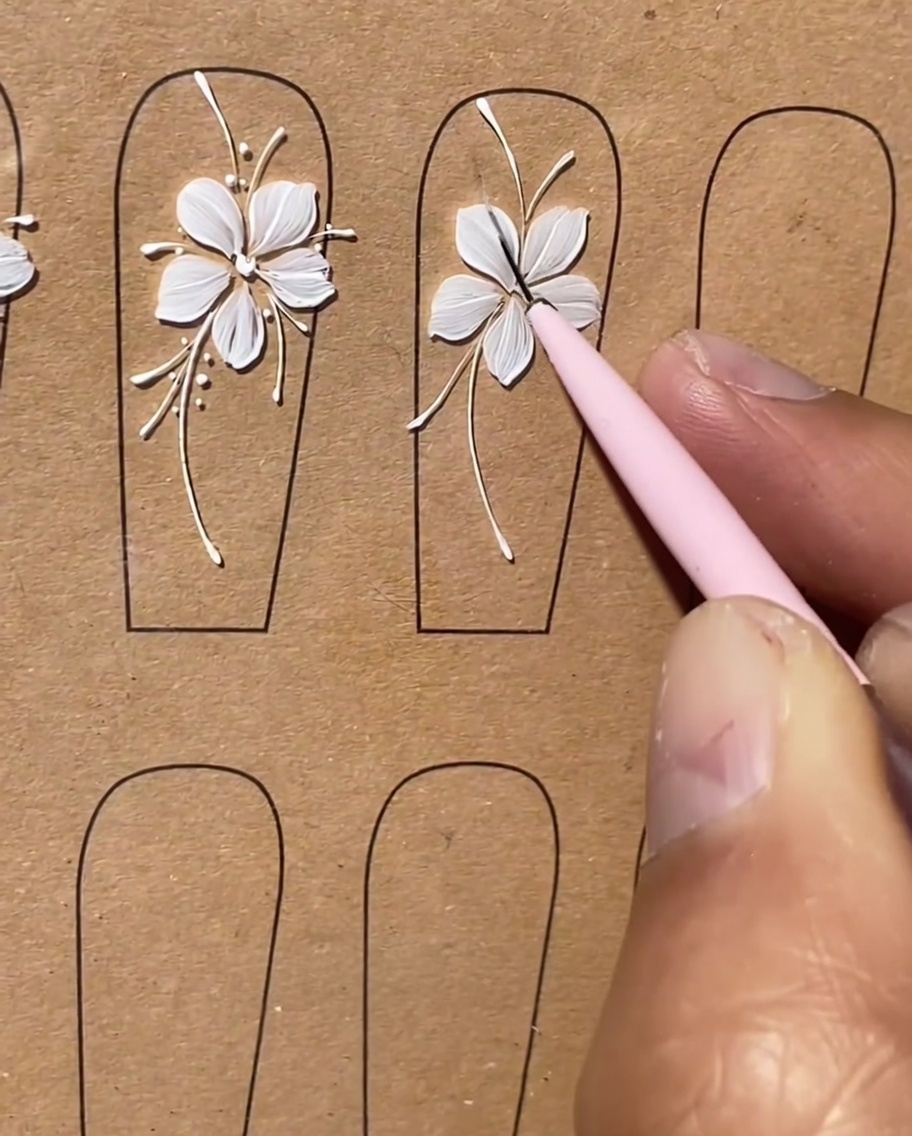
Use your liner brush to add small, short accent lines branching off or running parallel to the main stems. These details build texture and make the nail art look more intricate.
Tip: Short, flicking motions work best to create tapered, realistic-looking accents. - 11Add highlight dots
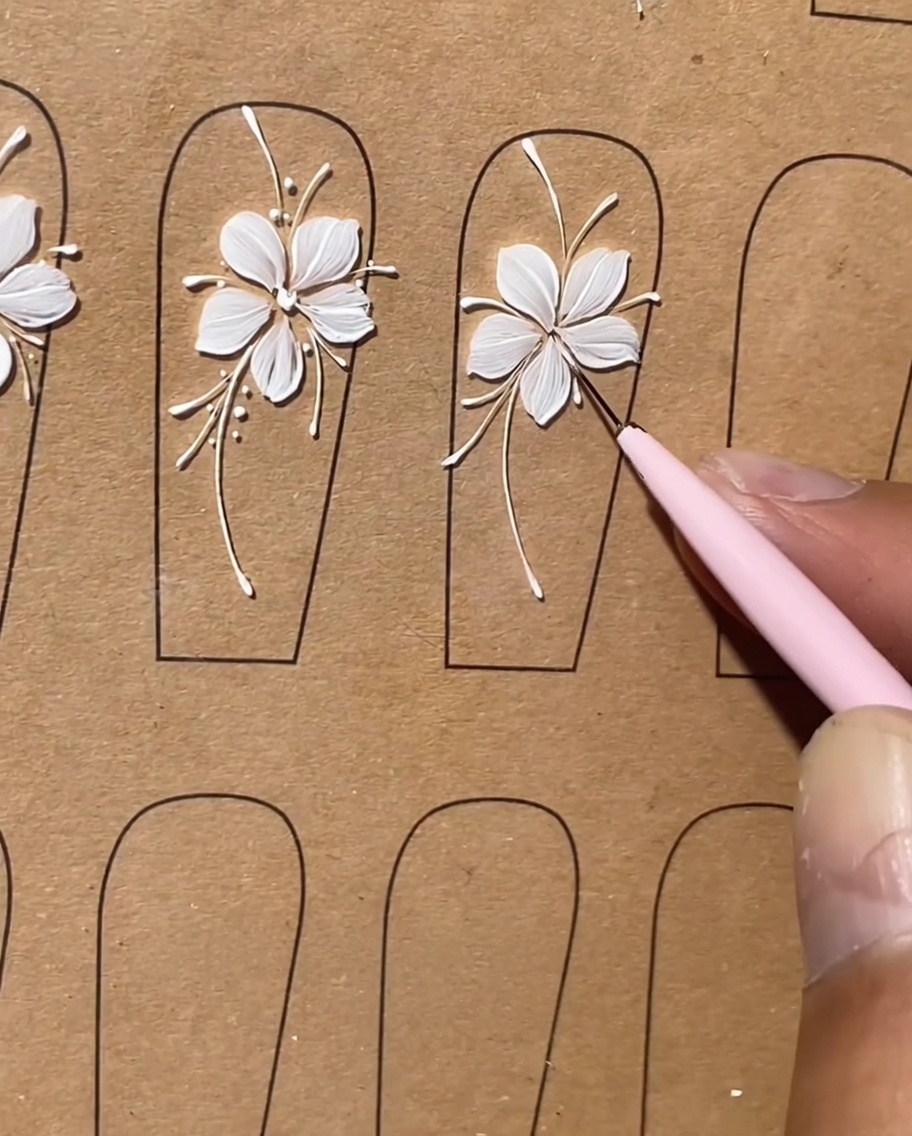
Using a dotting tool or the tip of your liner brush, place tiny dots of white gel along the stem accents. These highlight dots draw the eye and add a delicate, decorative finish.
Tip: Ensure the dots are consistent in size to maintain a clean, professional look. - 12Final touch-ups
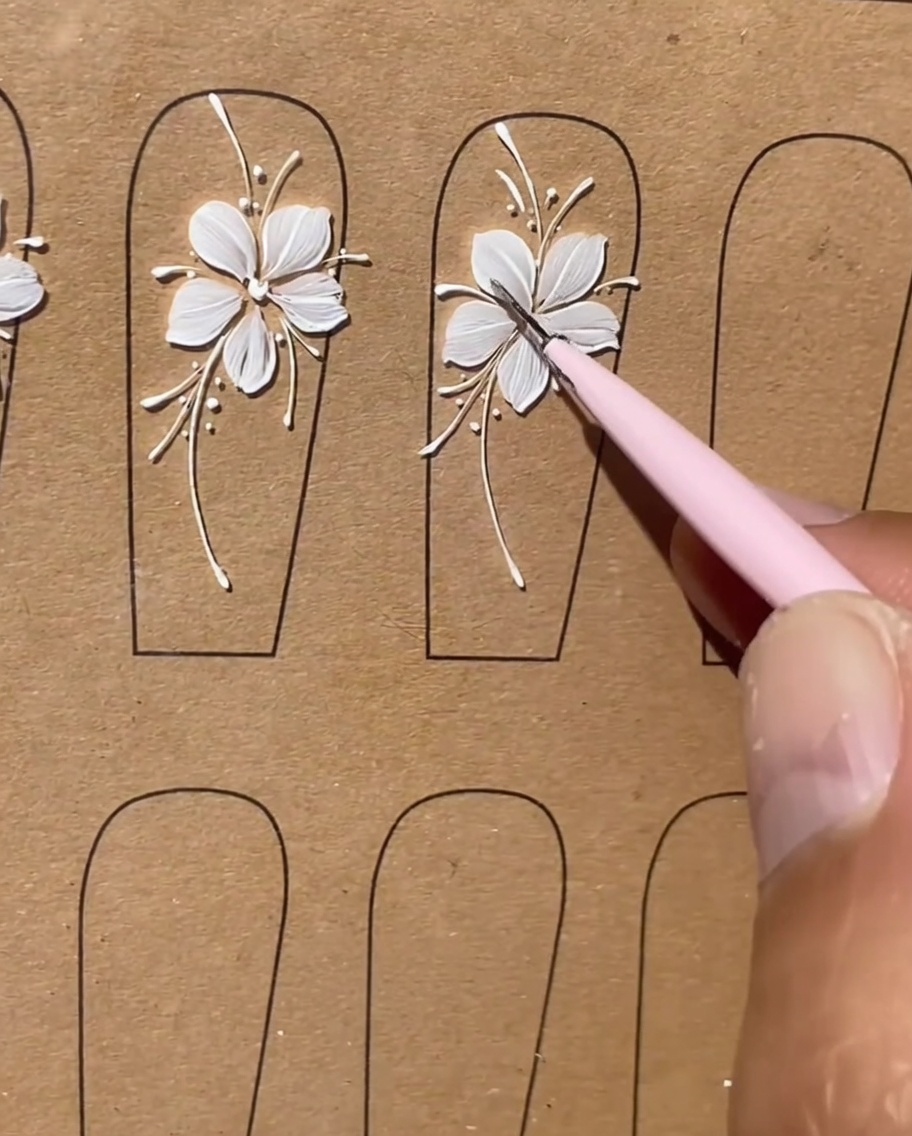
Review your entire design for any uneven lines or areas that need more definition. Gently touch up any details with a liner brush to ensure all white gel elements look crisp and uniform before curing.
Tip: Hold the nail at different angles to check for any missed spots or uneven line weight.