Glass Bead Cat-Eye Floral Nail Art — Step-by-Step Tutorial
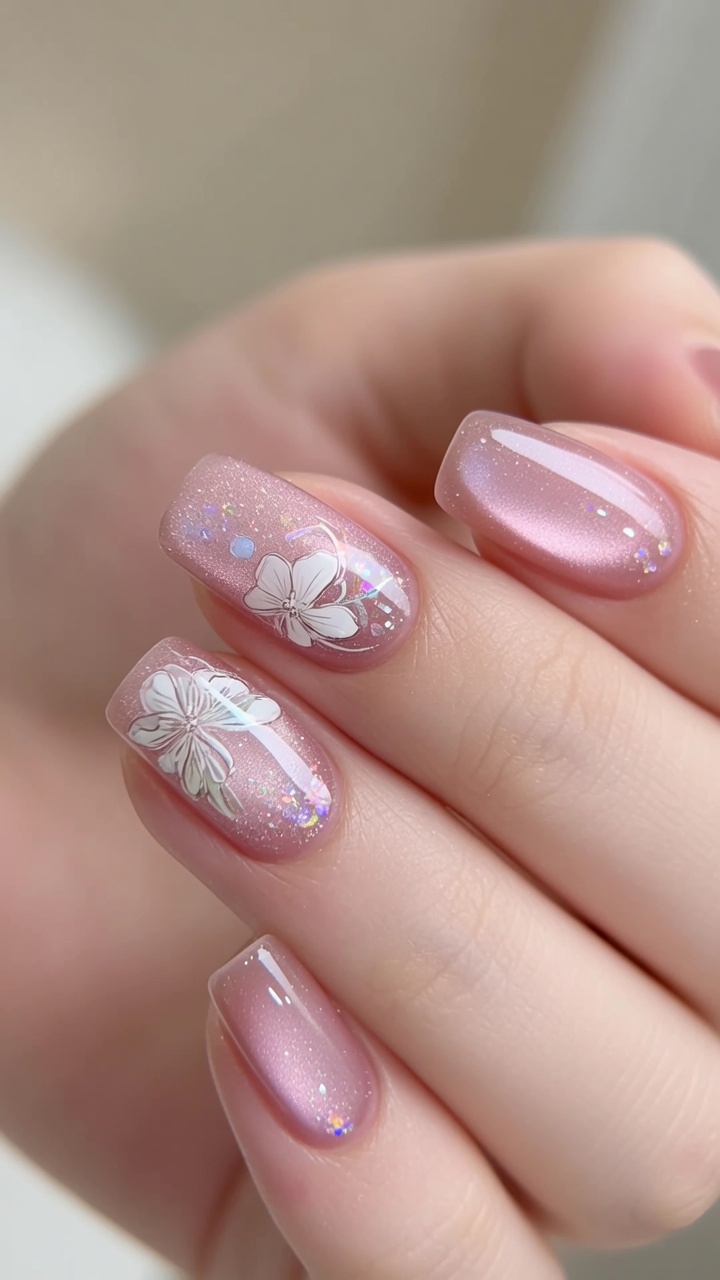
Create an enchanting look with a glass bead cat-eye effect and delicate hand-painted floral accents in this elegant, reflective gel manicure tutorial.
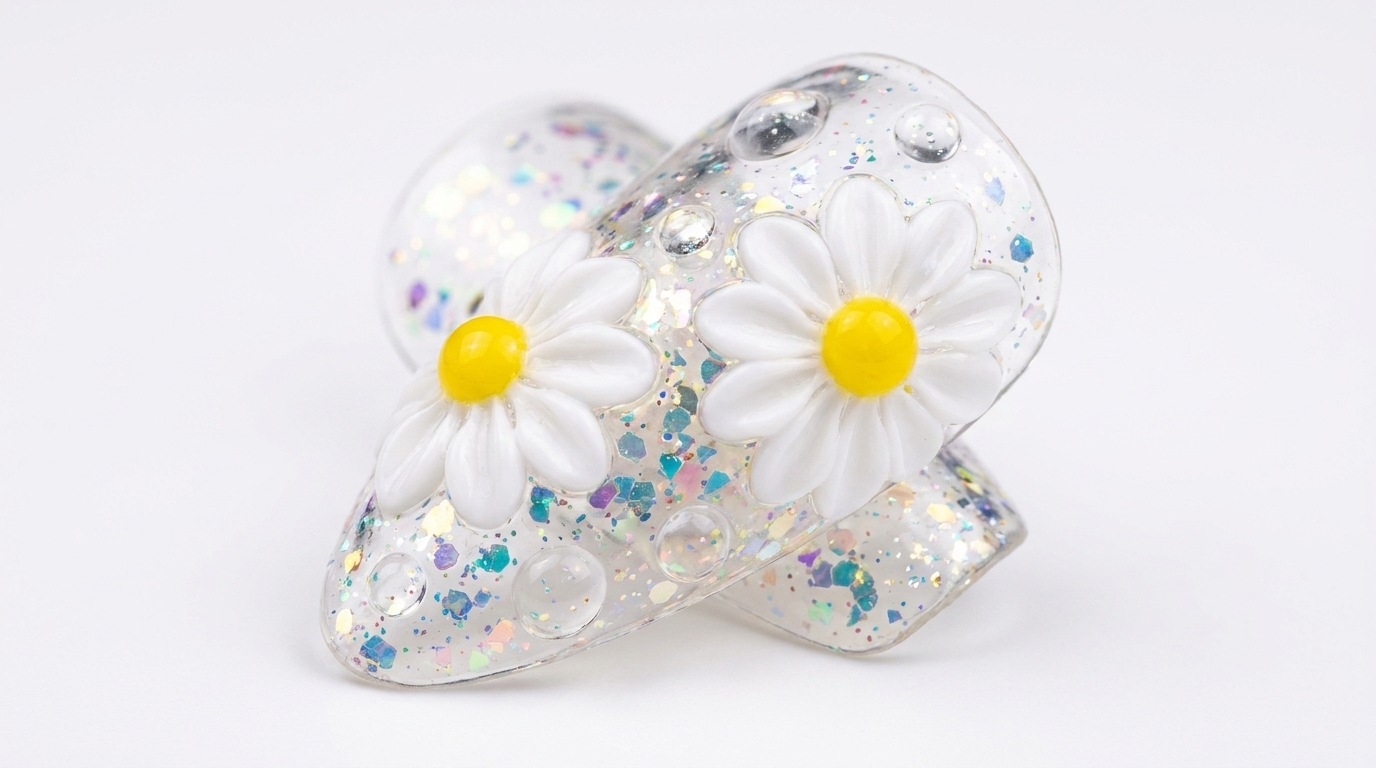
The glass bead cat-eye technique brings incredible depth and dimension to your nails, mimicking the glowing, crystalline appearance of a polished gem. By layering aurora glitter flakes and adding a soft, hand-painted flower, you elevate the design from simple magnetic art to a sophisticated, artistic masterpiece suitable for any elegant occasion.
Steps
- 1Apply cat-eye gel
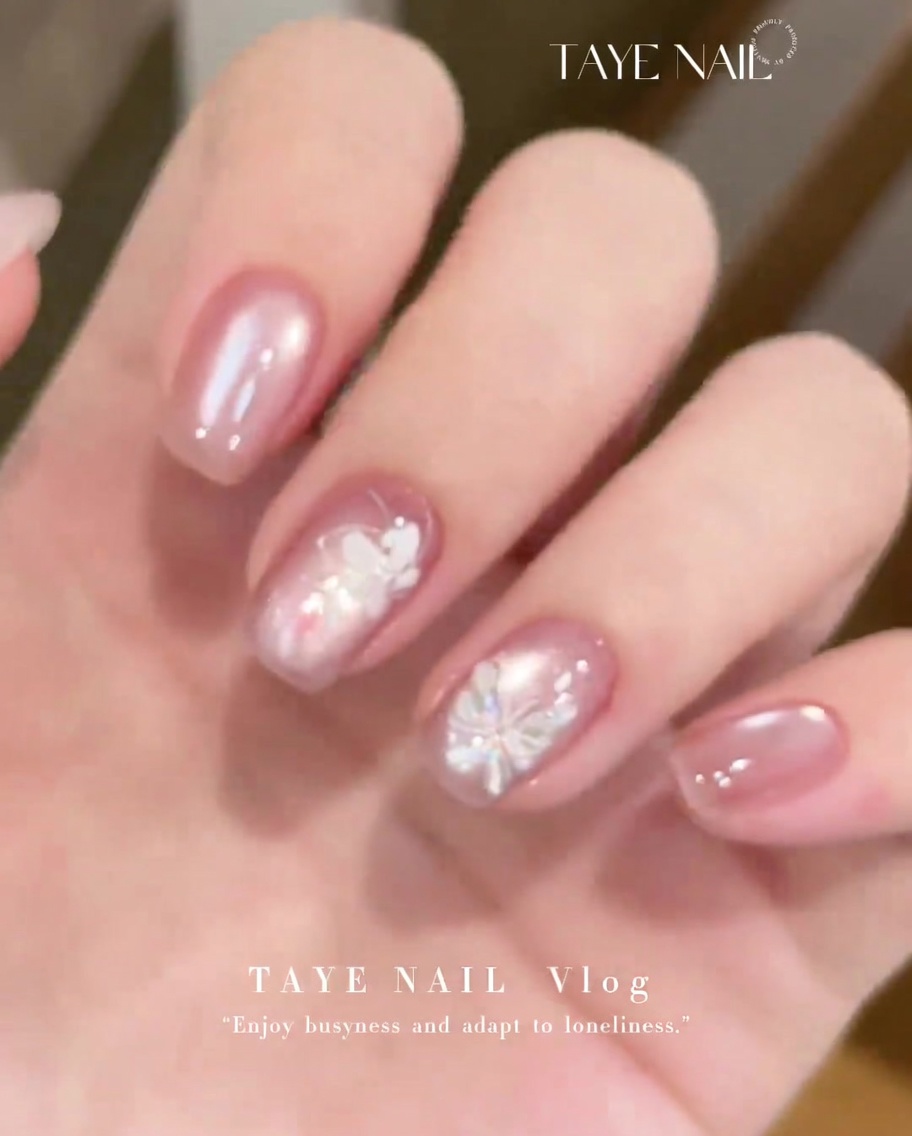
Apply an even layer of E225 cat-eye gel polish to the entire nail surface. Ensure the gel is distributed smoothly, avoiding the cuticle and sidewalls. This layer provides the base for the magnetic effect.
Tip: Work in thin layers for better control and to ensure the magnetic particles have enough room to move freely. - 2Create the glass bead effect
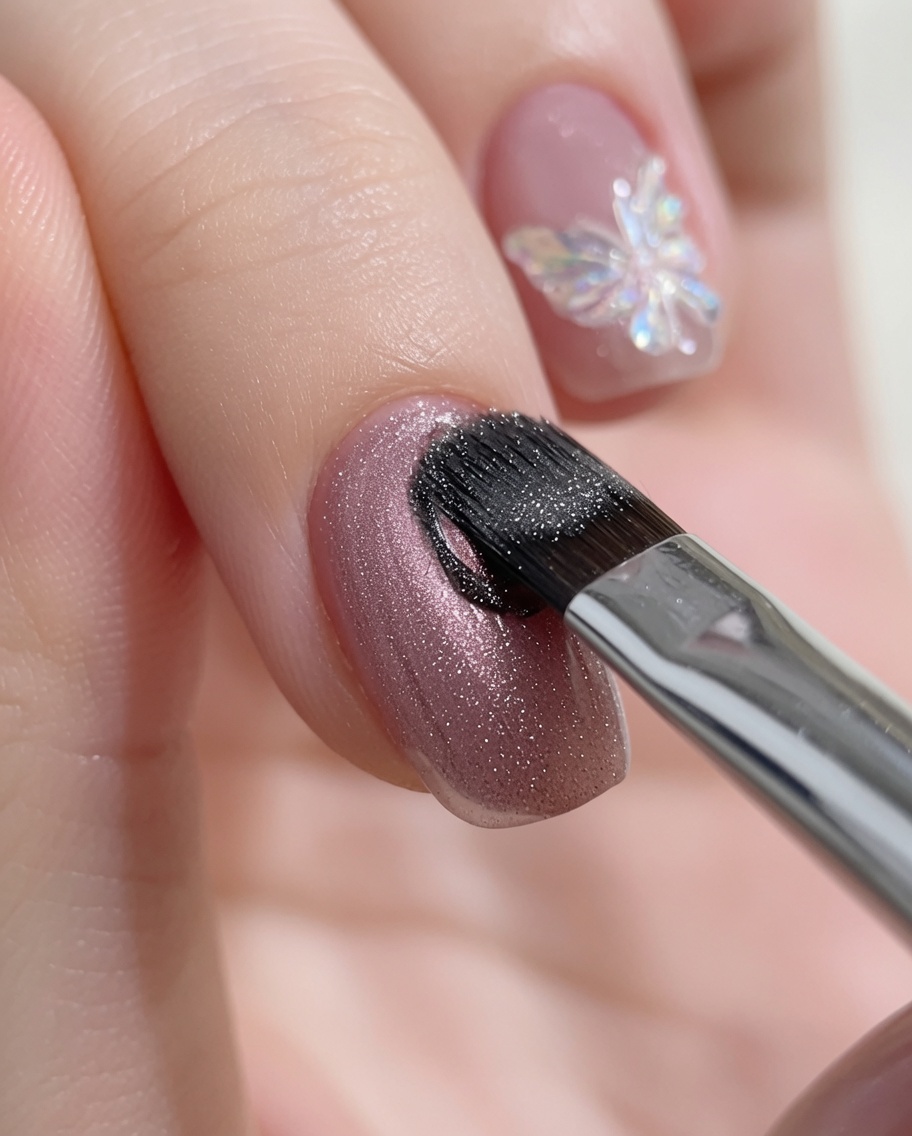
Hold the cylindrical magnet close to the nail surface without touching the wet polish. Move the magnet to draw the magnetic particles toward the center of the nail until a glowing, concentrated glass bead highlight forms. Once you are happy with the placement of the highlight, cure immediately under your UV or LED lamp to lock it in.
Tip: Keep the magnet steady to get a crisp, defined effect. If you dont like the look, you can re-apply the gel and try again before curing. - 3Add aurora glitter flakes
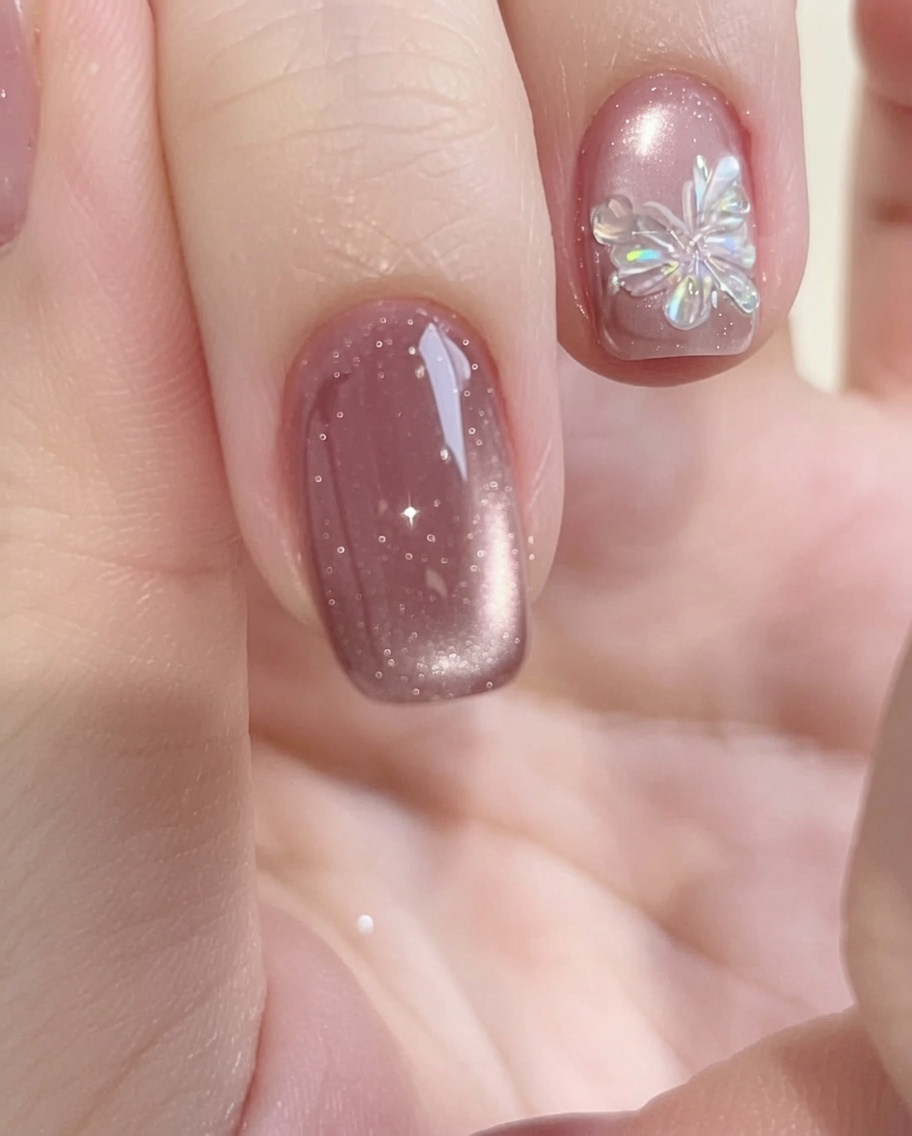
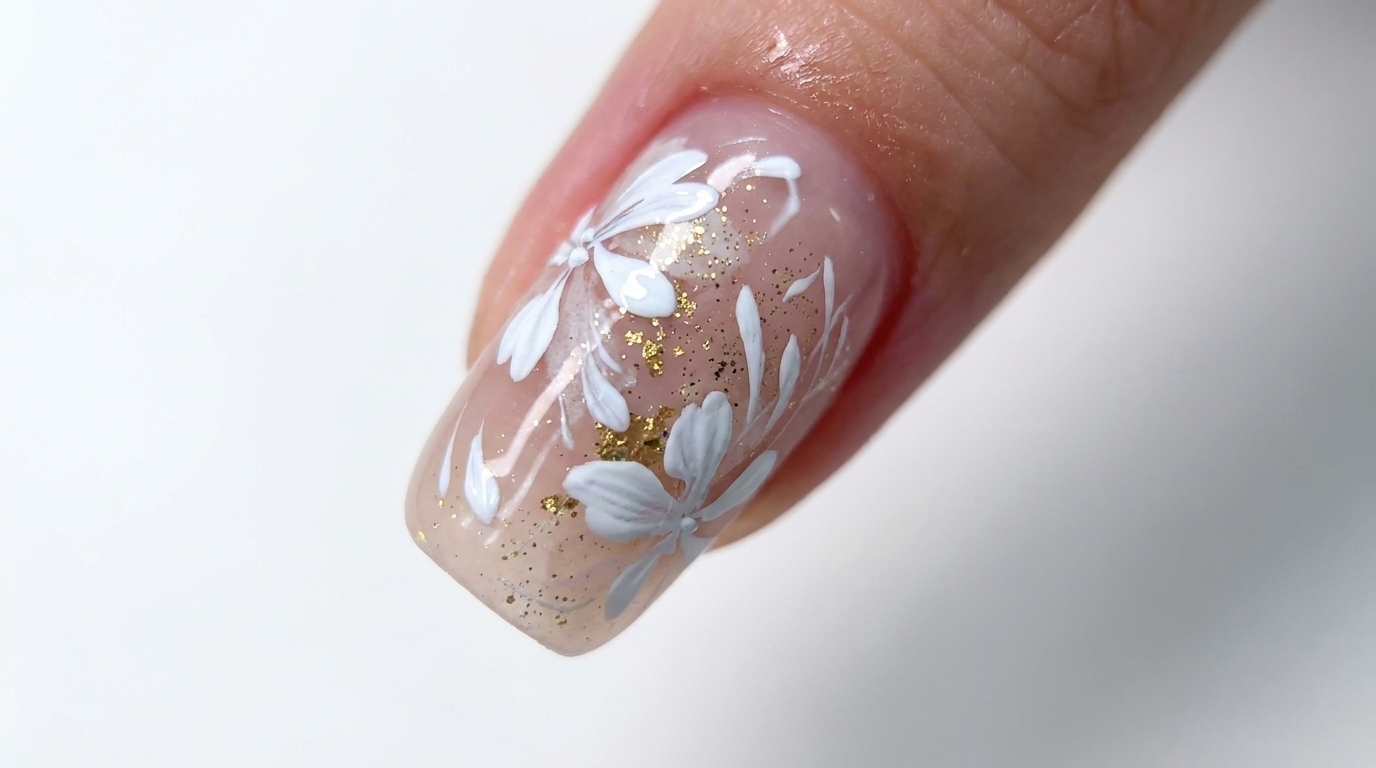
Using a small nail art brush, carefully pick up and place irregular aurora glitter flakes onto the nail plate. Position them strategically to complement the magnetic effect and add dimension to the design.
Tip: Focus the flakes toward the center or tip of the nail for a balanced, reflective look. - 4Position the flower petal
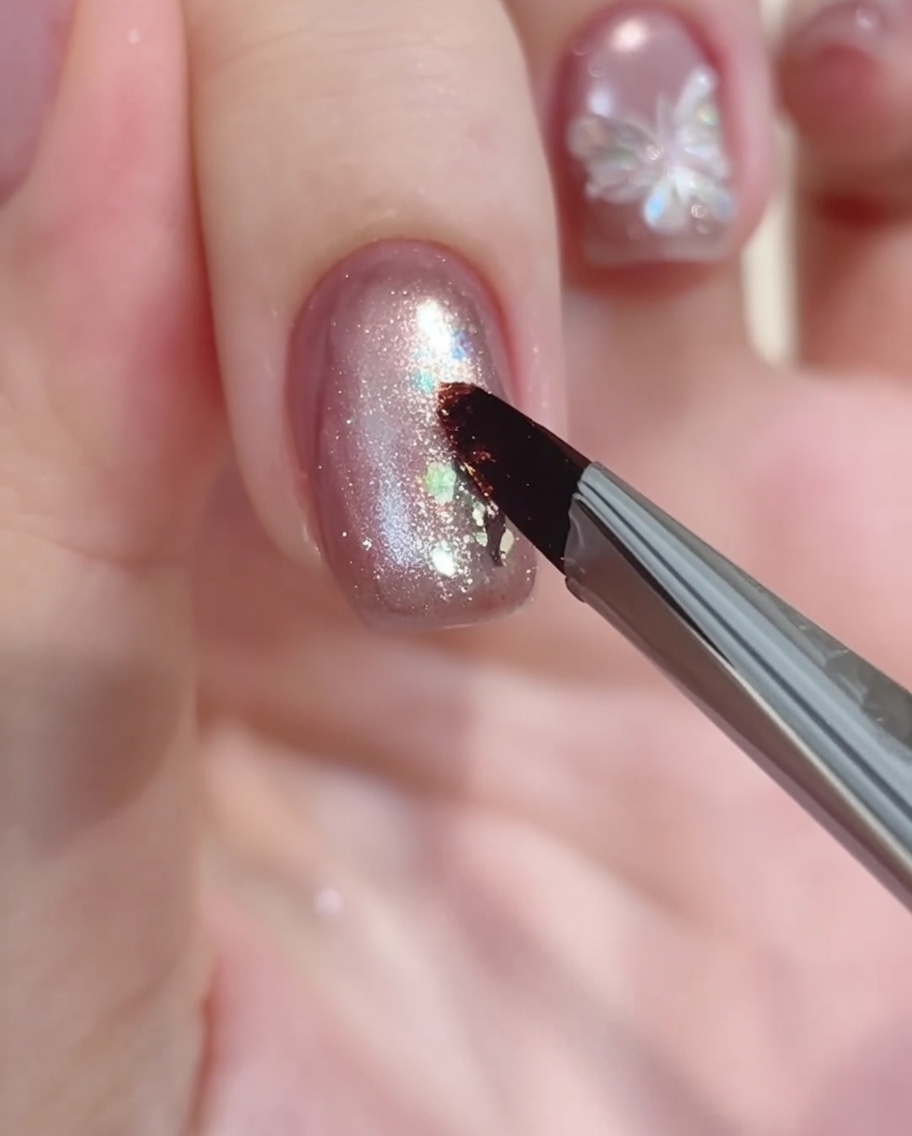
Choose a clear space on the nail to begin painting your flower design. Start by placing a small amount of white gel paint to form the base or center of your first irregular petal.
Tip: Sketching the petal lightly with your brush helps ensure the flowers placement feels balanced before you commit to the full shape. - 5Paint the flower petals
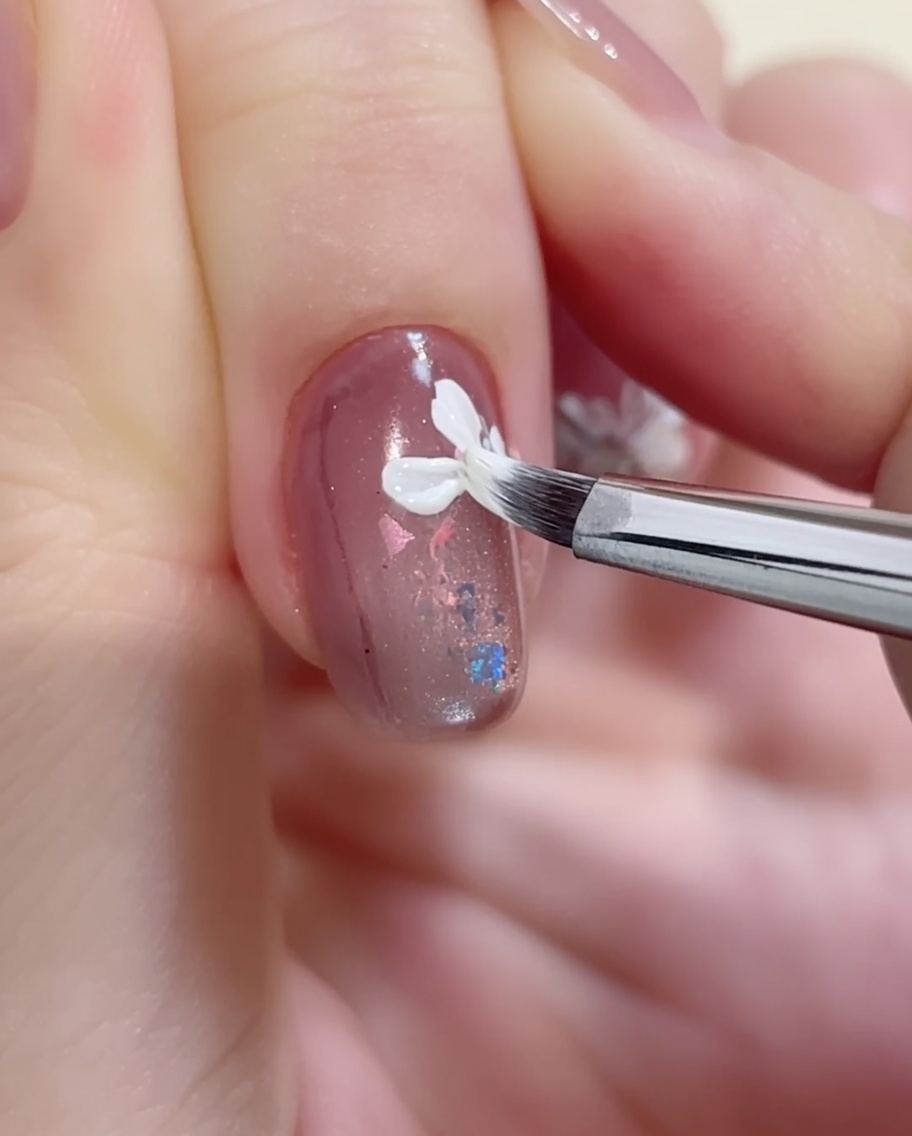
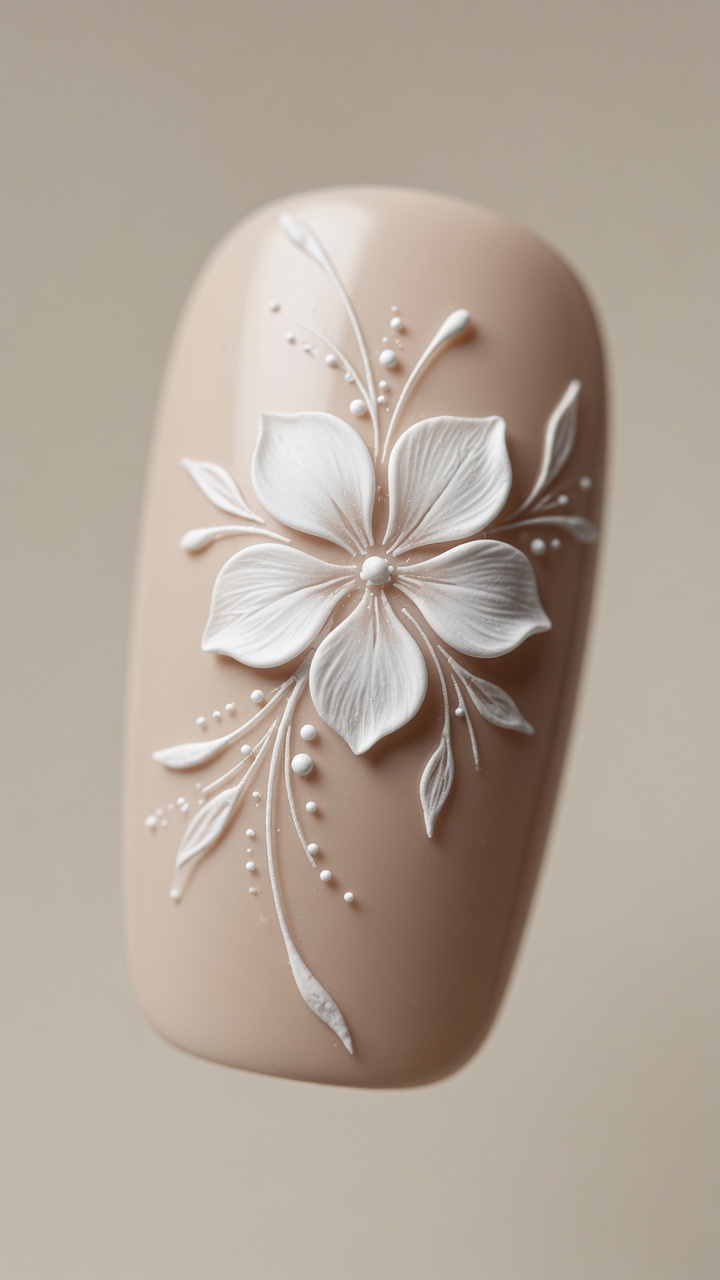
Continue using your brush and white gel paint to form the remaining petals of the flower. Use light, deliberate strokes to create an irregular, natural look for each petal, ensuring they connect at the center.
Tip: Vary the size and shape of the petals to give the flower a more organic and realistic appearance. - 6Apply top coat
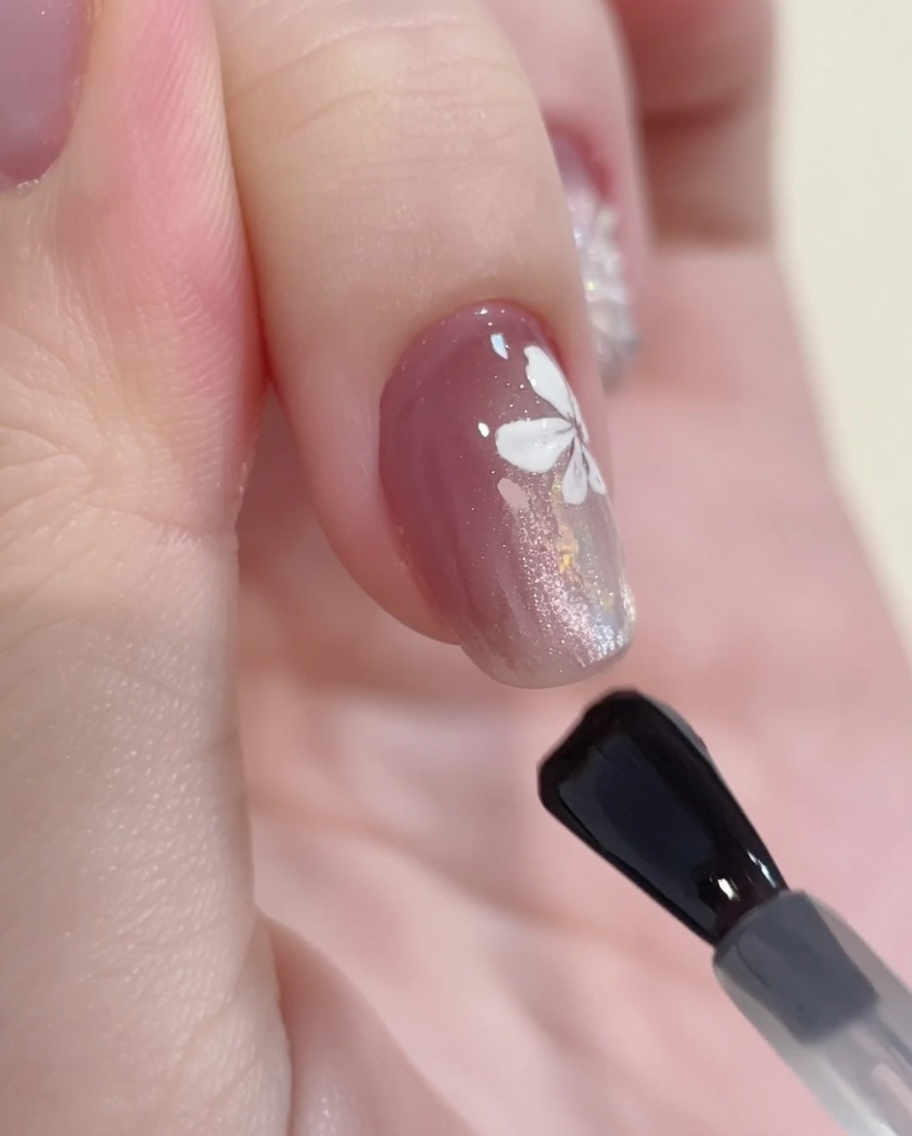
Apply a final layer of top coat over the entire nail to protect the design and provide a high-gloss finish. Be sure to seal the free edge to increase the durability of the manicure. Cure according to the products recommended time.
Tip: A smooth application of top coat will unify the texture of the glitter and the flower art, creating a seamless, glassy finish. - 7Cure the top coat
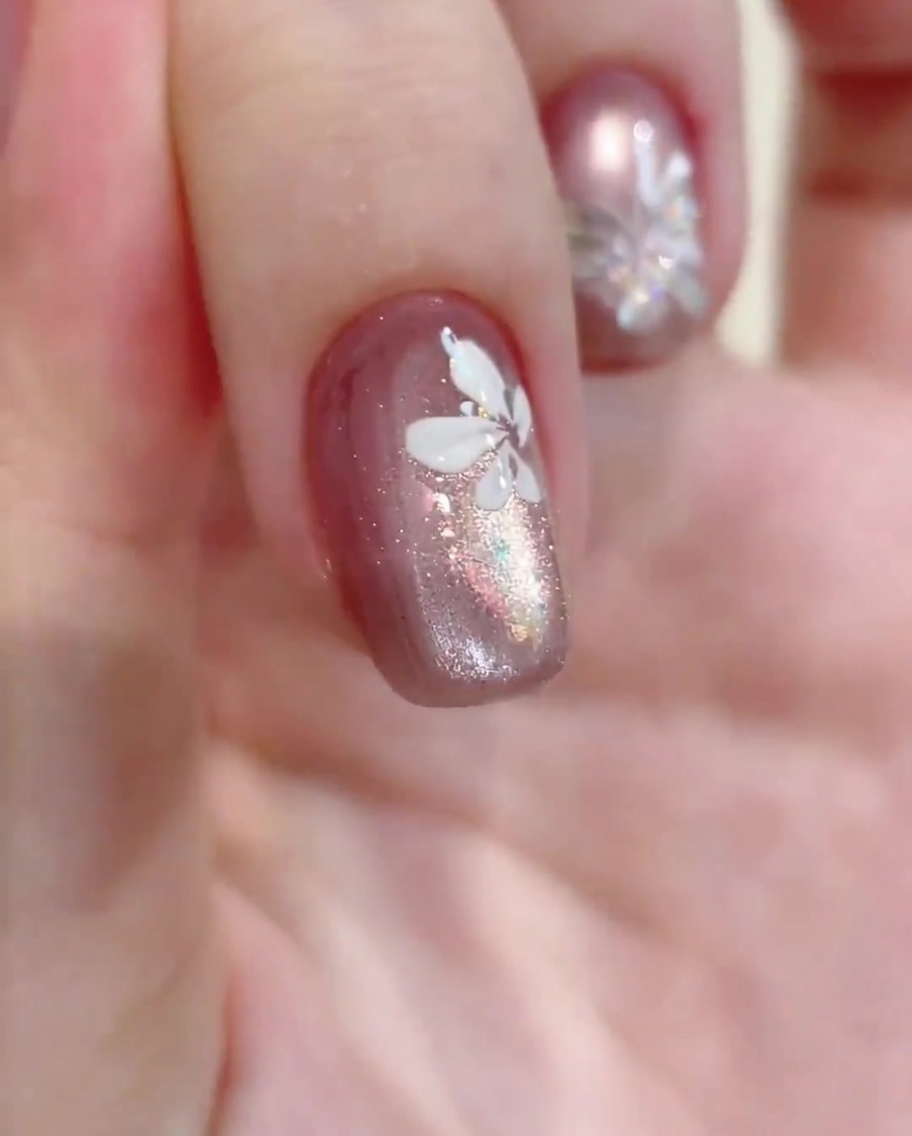
Place your hand under the UV/LED lamp to cure the top coat. This final curing step ensures that the nail art and top layer are fully hardened, durable, and glossy. Keep your hand steady and centered under the lamp for the full recommended duration to prevent any uncured spots.
Tip: Do not move your hand while curing; even slight shifts can lead to uneven curing or smudges on a still-wet top coat. - 8Add final floral highlights
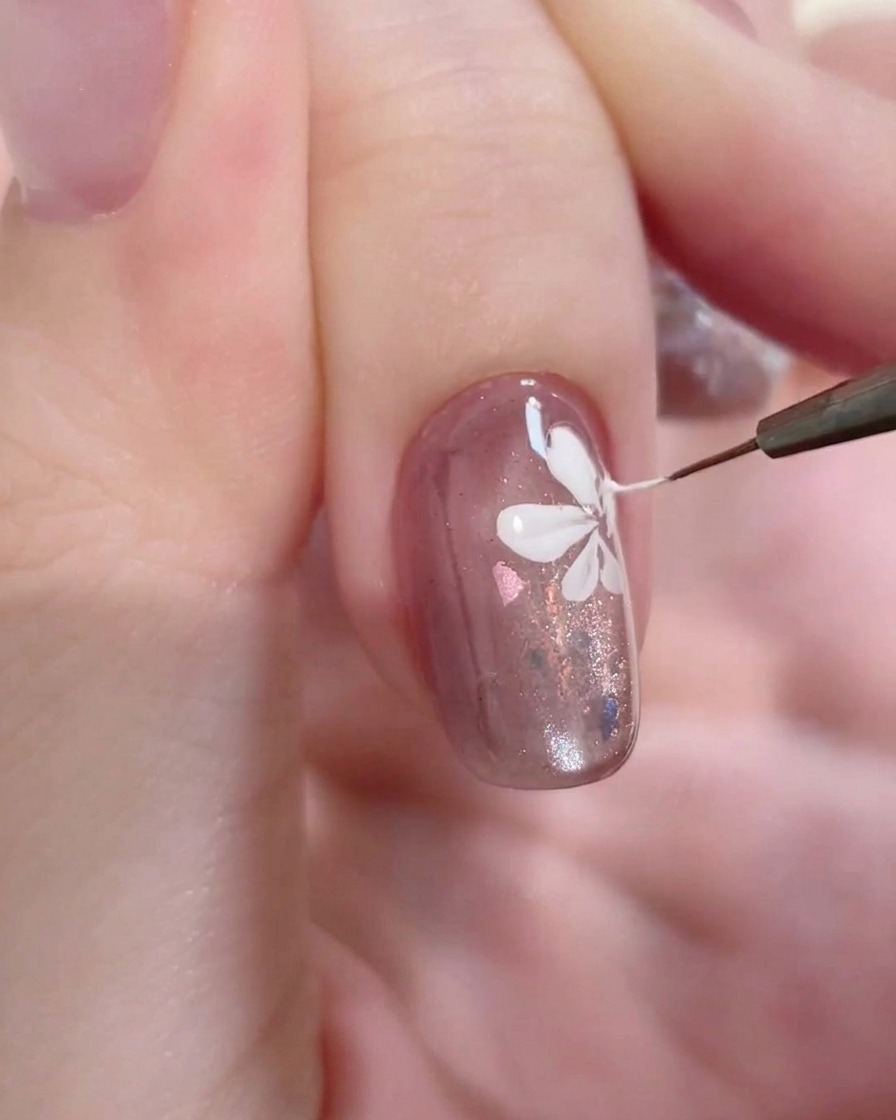
Using a fine liner brush and white gel, add delicate highlights to the tips of the petals and define the center of the flower. This extra detailing adds depth and makes the floral design pop against the reflective cat-eye background. Use a light touch to keep your lines clean and precise.
Tip: Use a very light touch with the liner brush to create fine, precise lines. If you have too much product on the brush, wipe it off on a lint-free wipe before detailing.