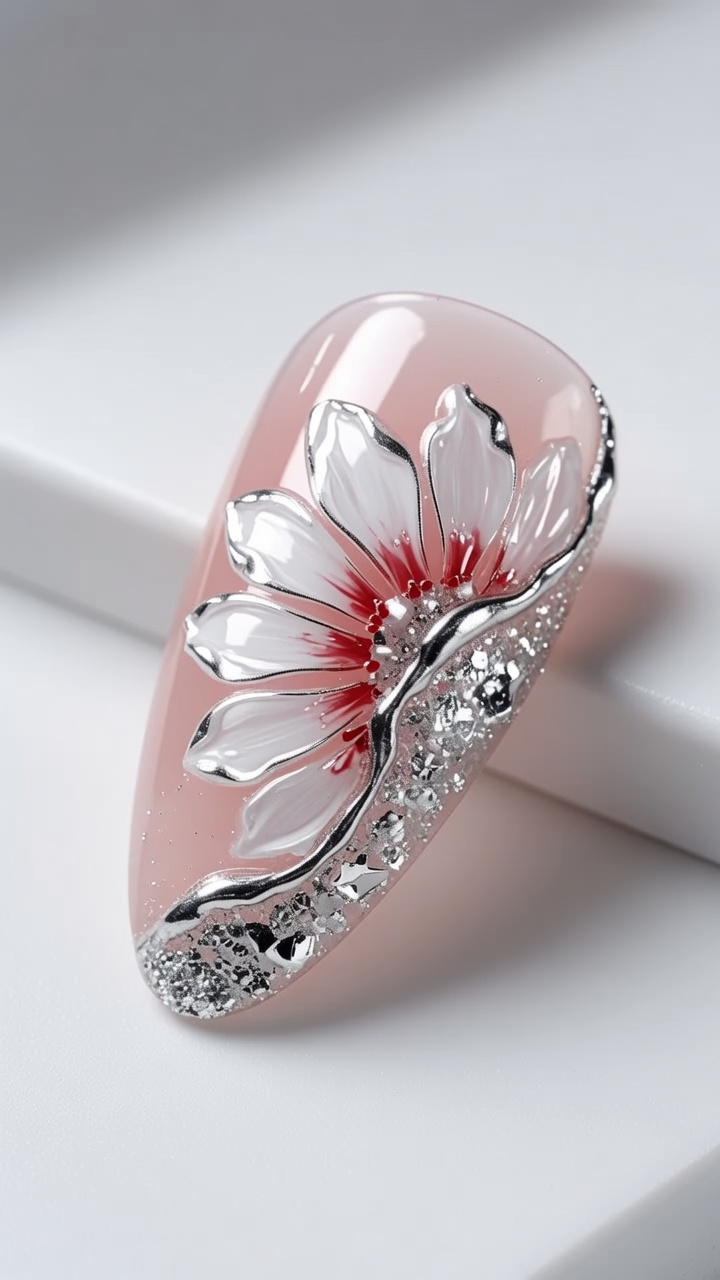
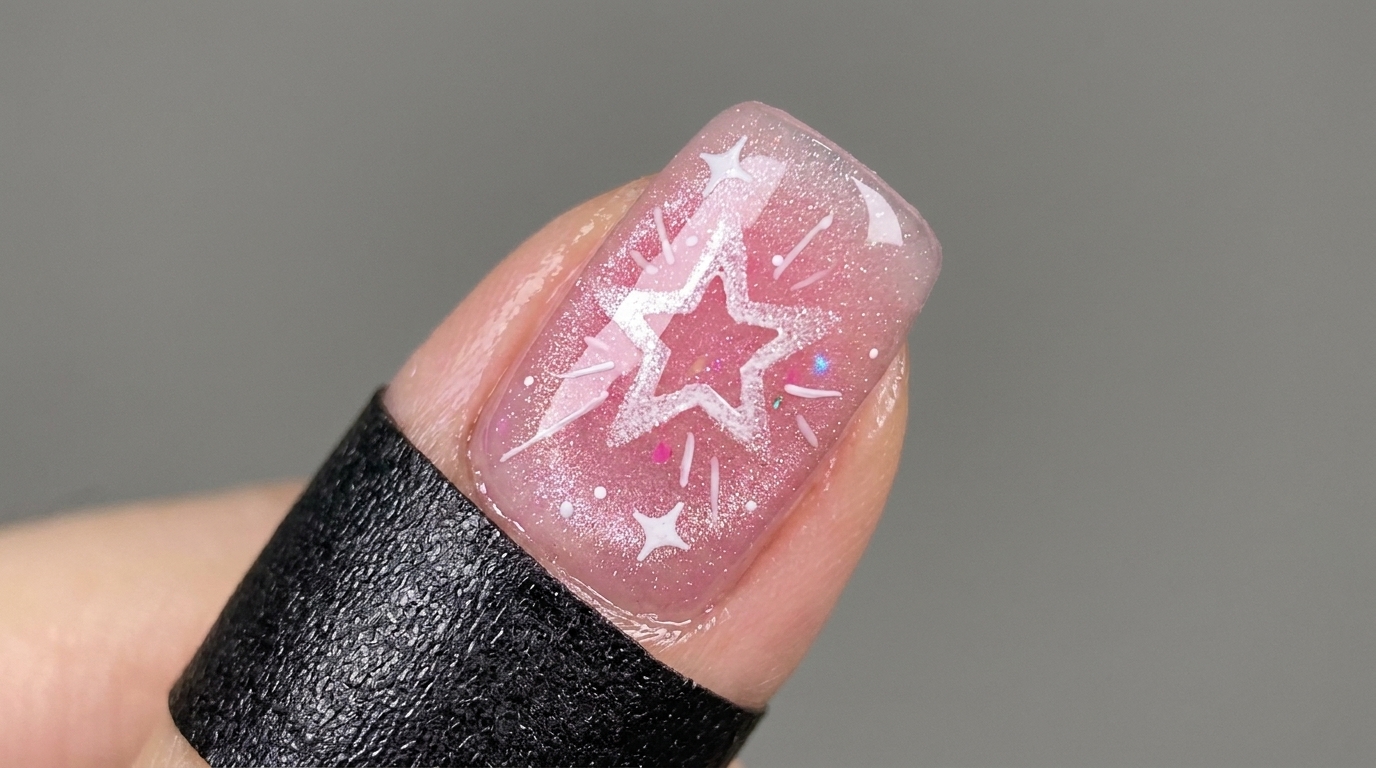
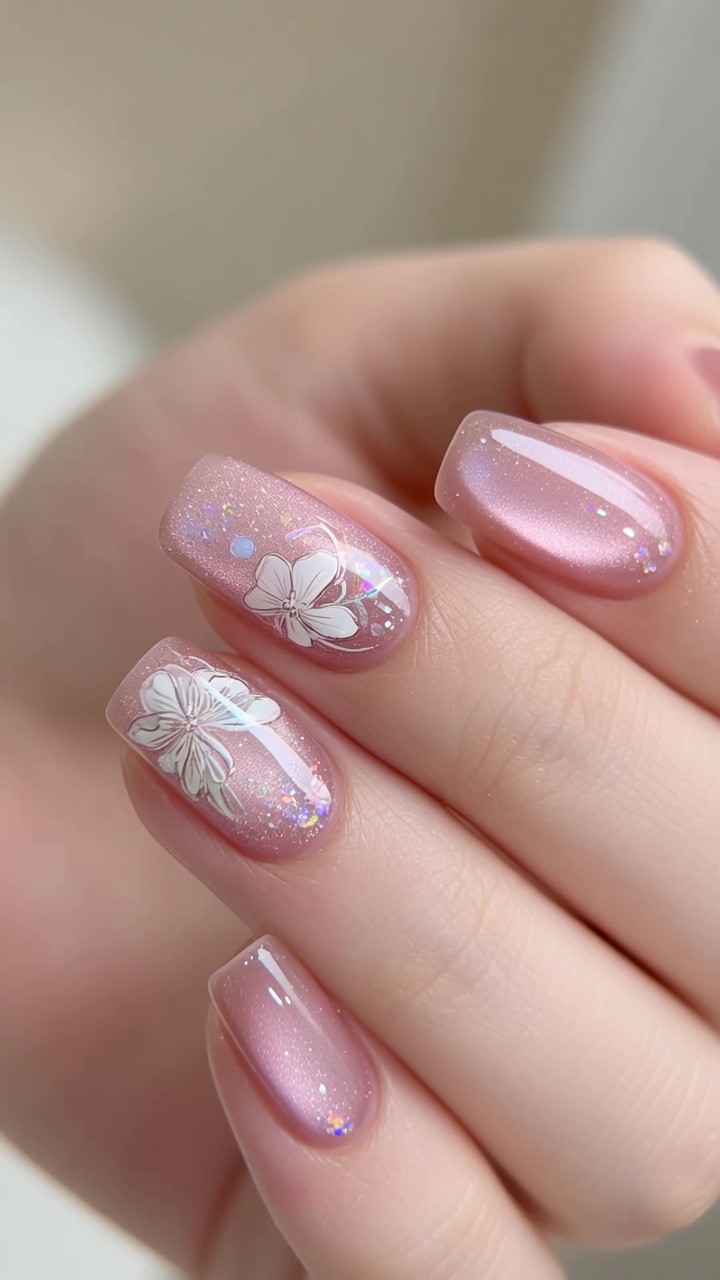
3D Daisy Flower Gel Nails
Water-Drop Effect
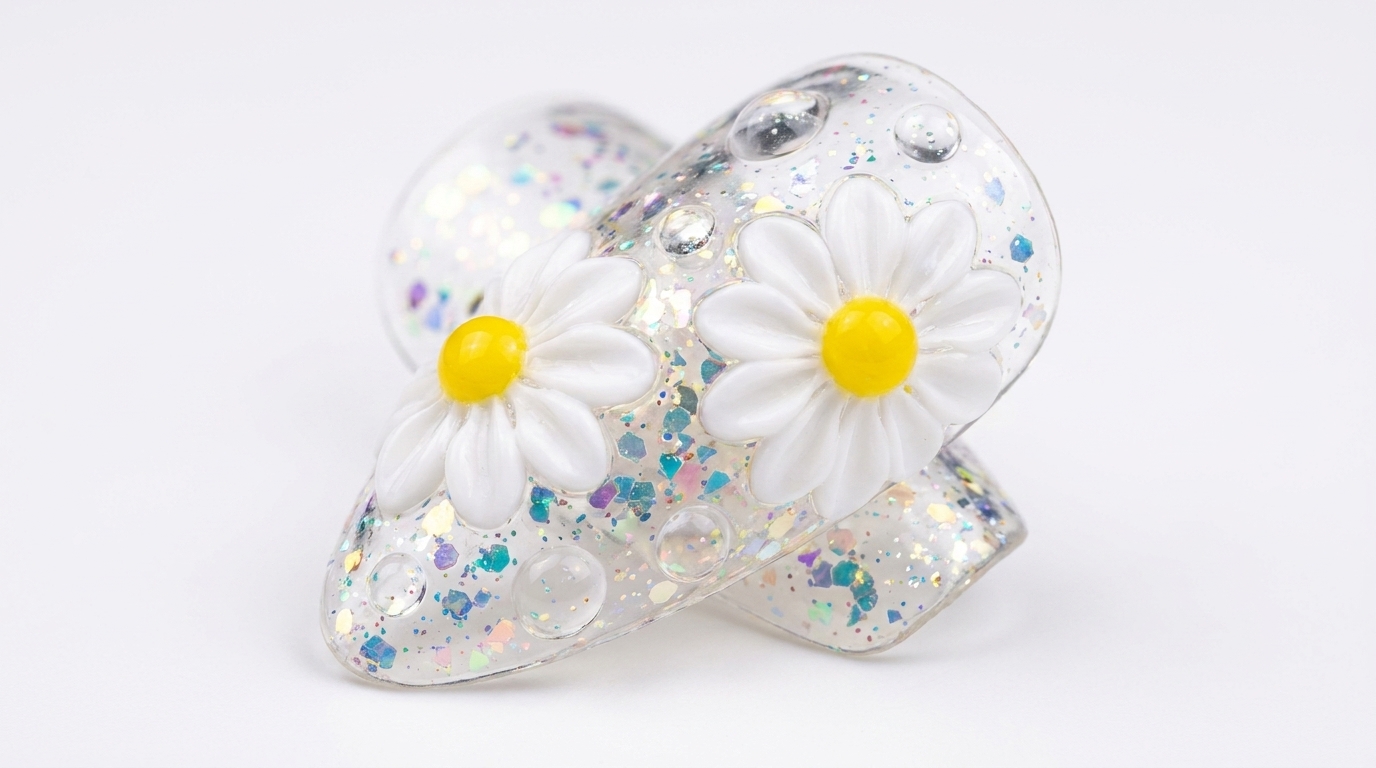
Create enchanting 3D daisy flowers and realistic water-drop accents with this easy-to-follow gel nail art tutorial.
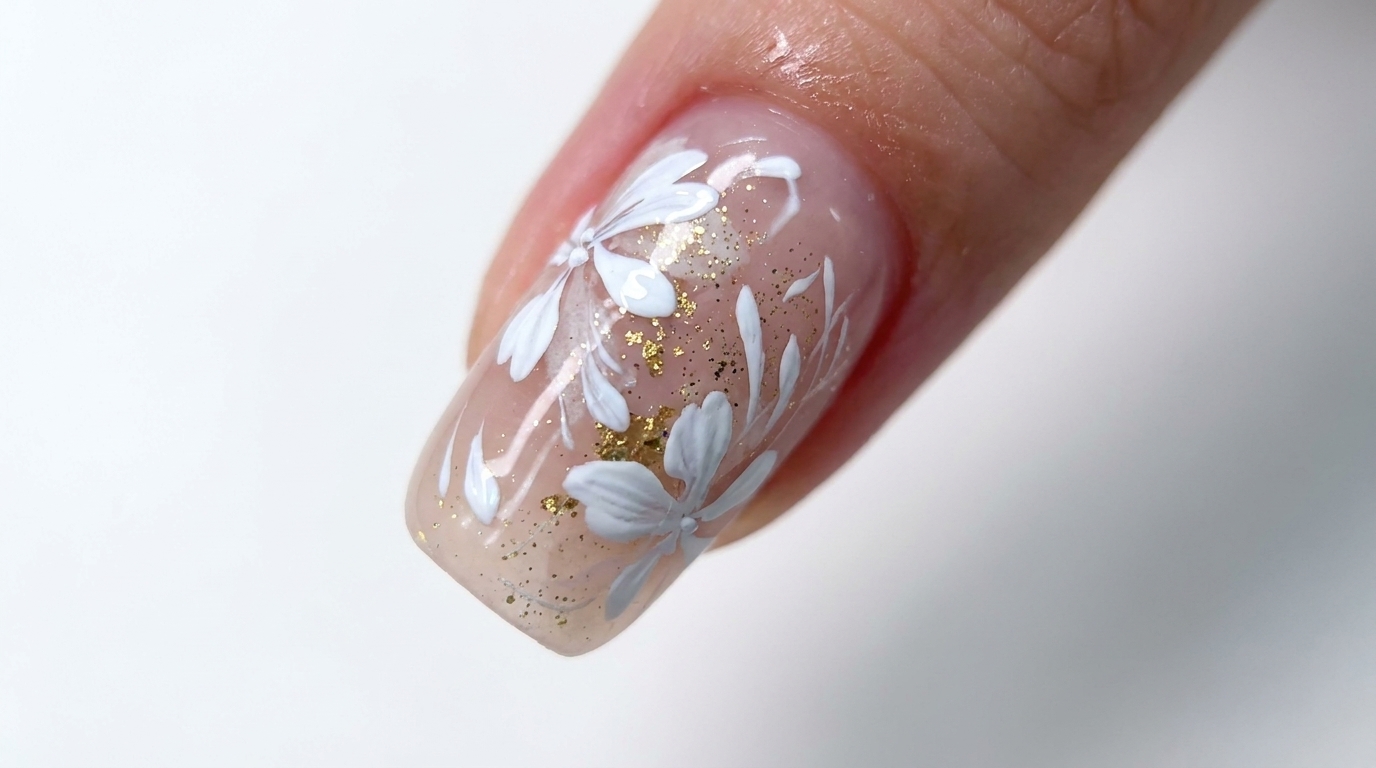
Elevate your nail art with this charming 3D daisy look. Combining textured floral sculpting with a playful water-drop effect over a glitter base, this design is perfect for adding a whimsical, tactile touch to your manicure. Follow these steps to master the art of 3D gel sculpting.
Steps
- 1Apply reinforcement gel
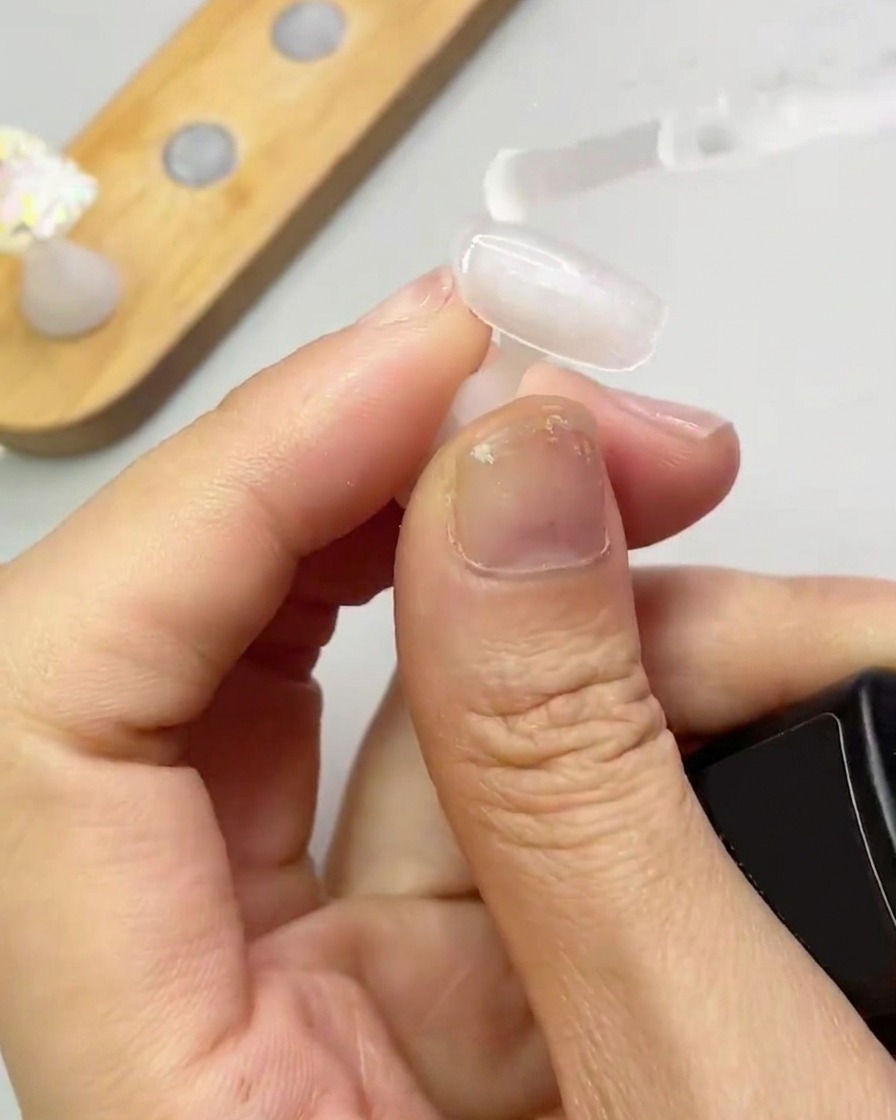
Apply a thin, even layer of reinforcement gel to the nail tip. Do not cure this layer yet, as it will serve as the tacky base for placing your glitter flakes.
Tip: Keep the layer thin to prevent the gel from pooling around the cuticle or edges. - 2Add glitter flakes
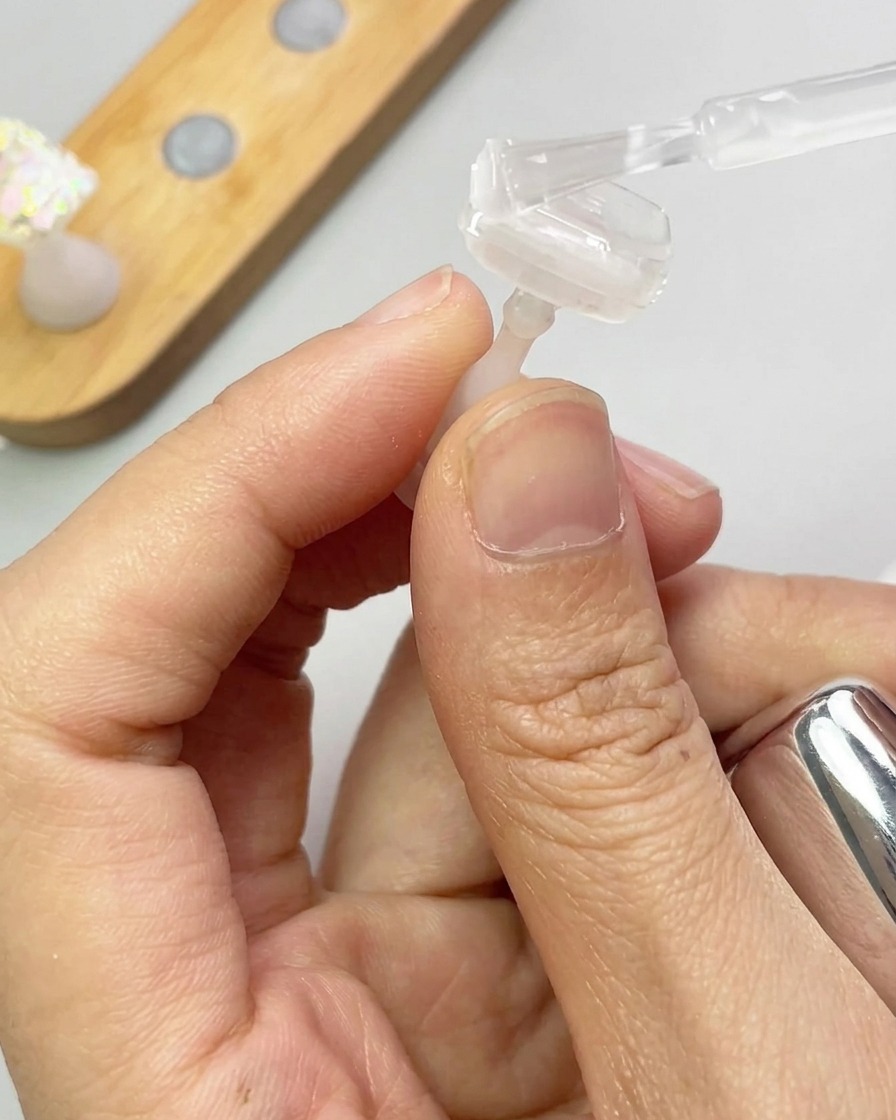
While the reinforcement gel is still wet, use a brush to pick up and place your favorite glitter flakes onto the nail surface. Arrange them as desired to create your base design.
Tip: Press the flakes lightly into the gel to ensure they lay flat. - 3Cure the glitter
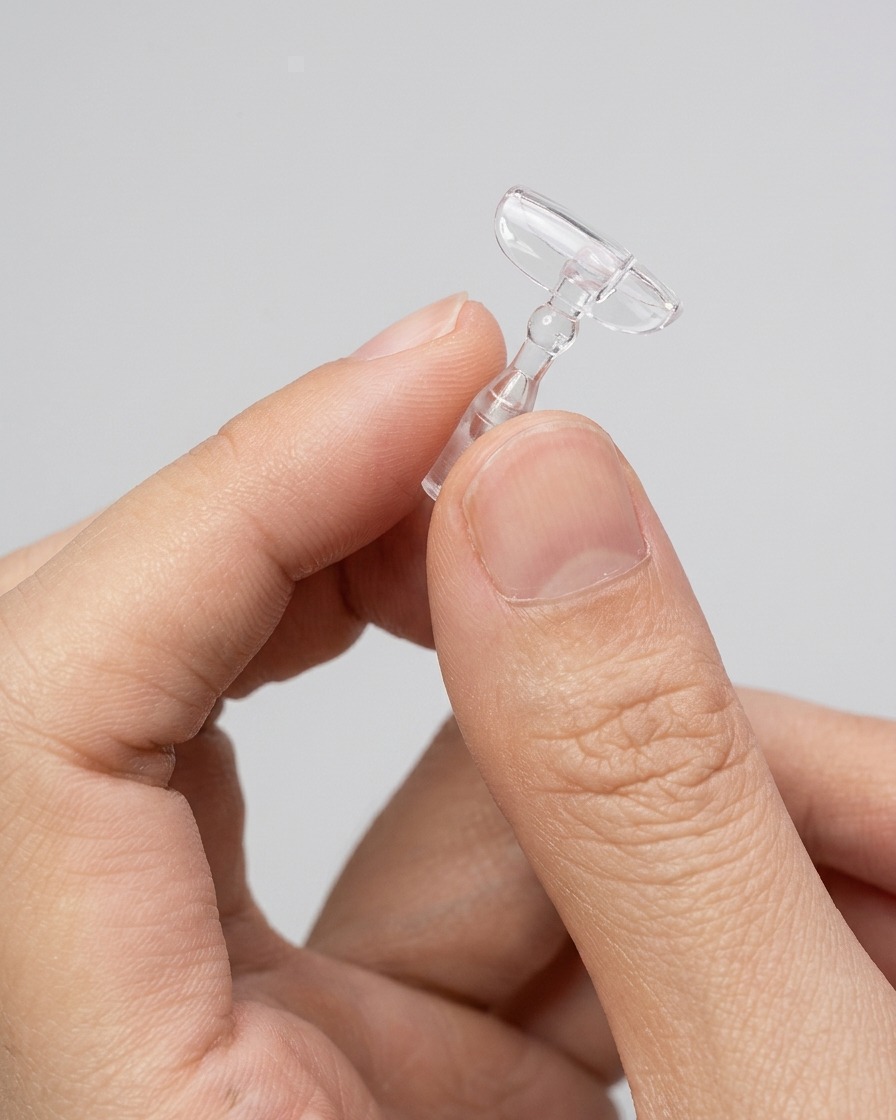
Place your nail under a UV or LED lamp and cure it completely. This locks the glitter flakes in place, creating a solid base for the next steps of your design.
Tip: Ensure the entire nail is exposed to the light for a consistent cure. - 4Level the nail surface
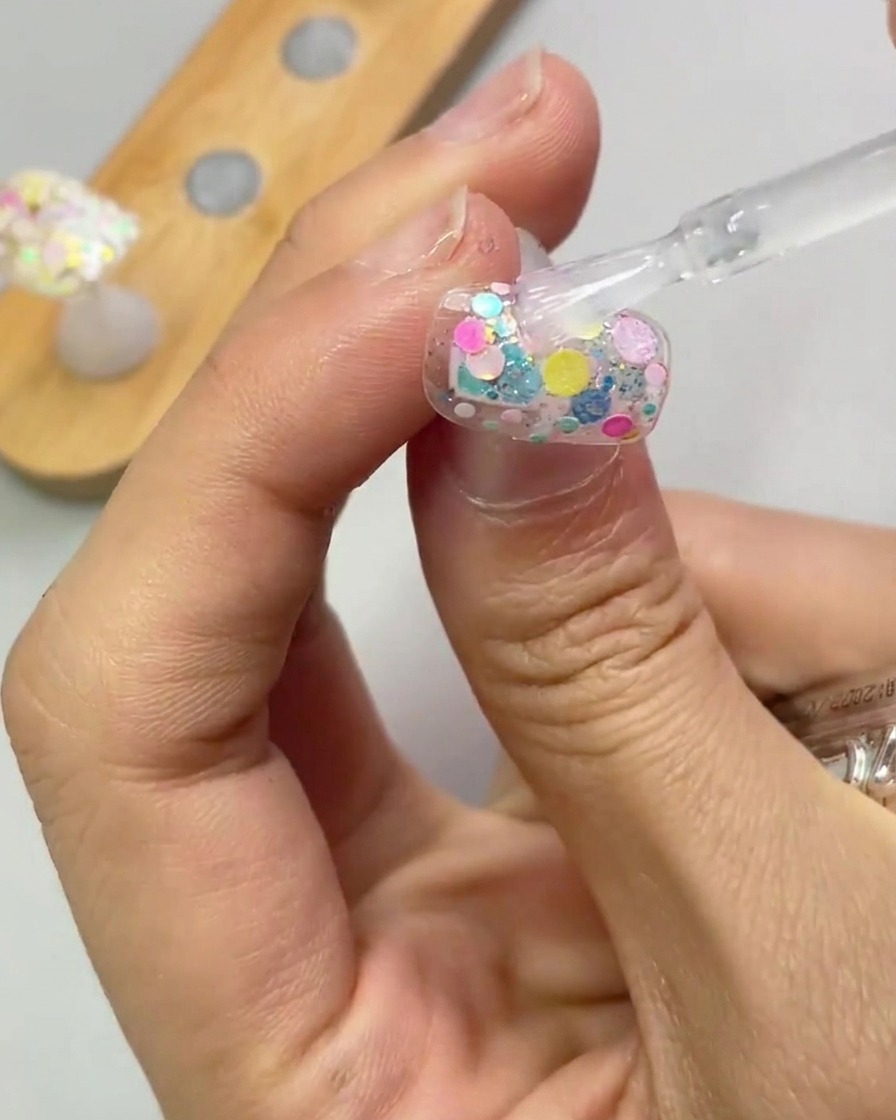
Apply another layer of reinforcement gel over the cured glitter. This levels the surface, smoothing out any texture from the flakes to create a perfect canvas for your 3D art.
Tip: Use a self-leveling gel if possible to achieve a smooth finish with minimal effort. - 5Start sculpting daisies
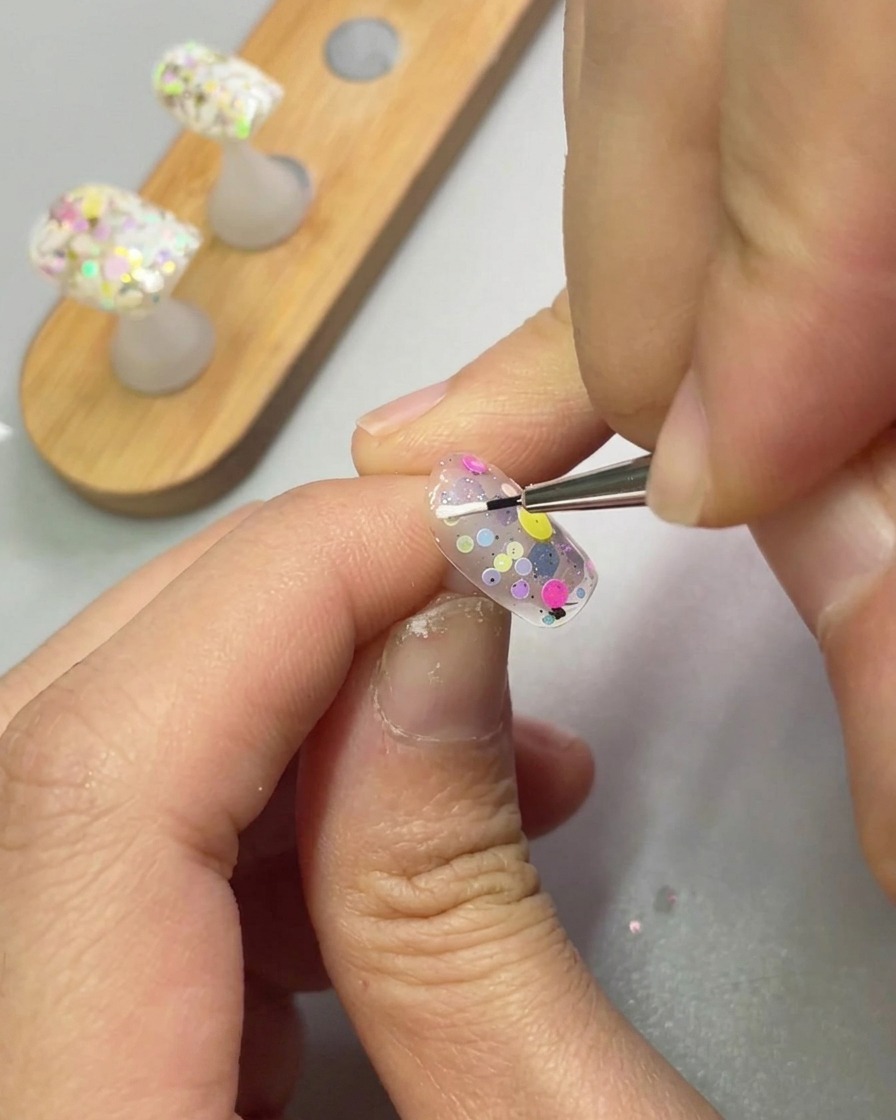
Using a fine detail brush and white 3D sculpting gel, begin drawing the petals for your daisies. Place the first petal on the surface of the nail.
Tip: Work in small sections to keep the 3D gel from moving before you are ready to cure. - 6Complete the daisy
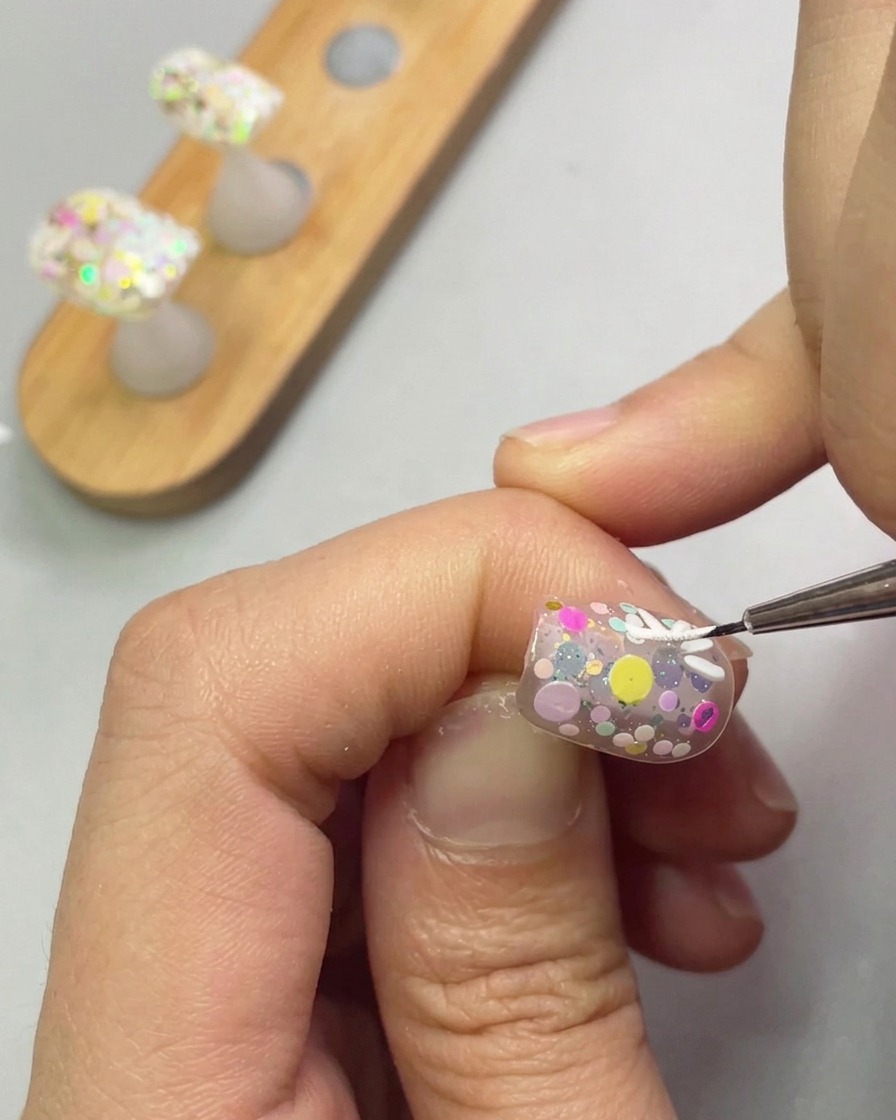
Continue using the fine detail brush to add more petals around the center to complete the first daisy flower. Adjust the shape and size of each petal as you go to achieve your preferred look.
Tip: Rotate the nail to get the best angle for each petal. - 7Sculpt the second daisy
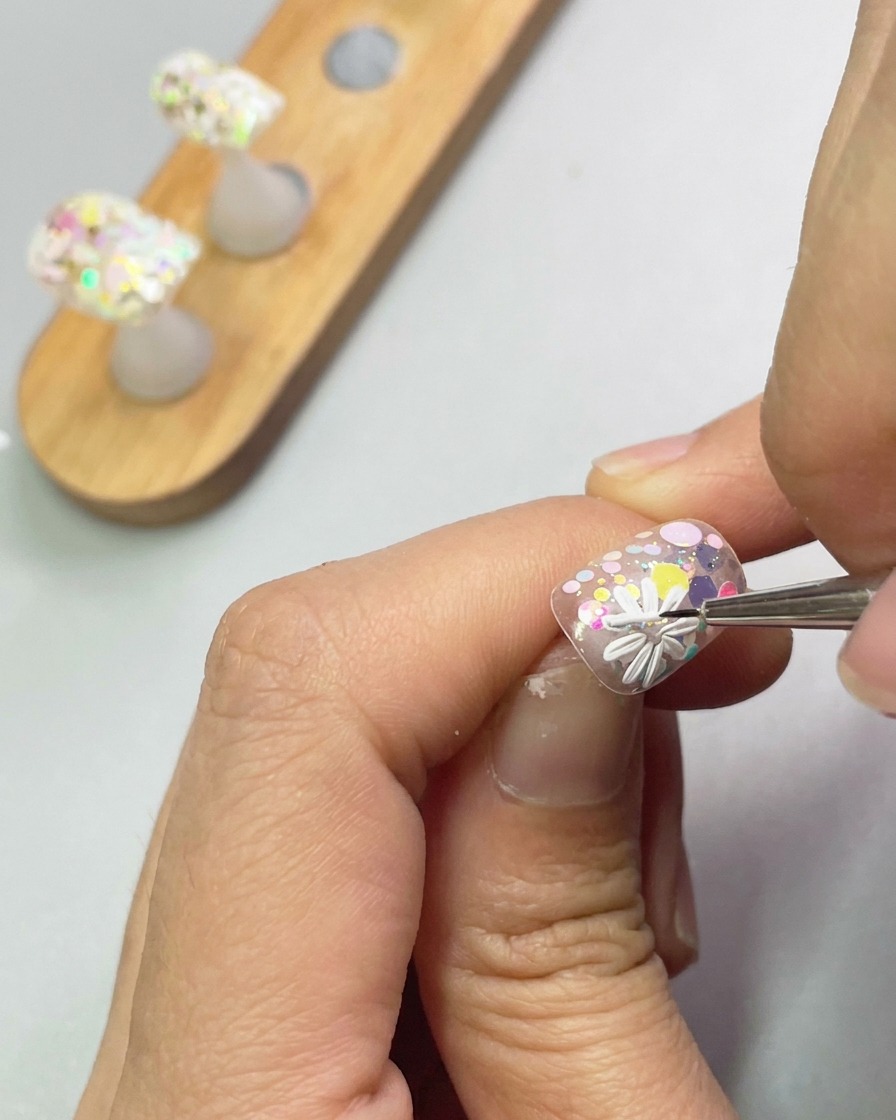
Using 3D sculpting gel, carefully draw the second daisy flower shape next to the first one. Ensure the petals are uniform in shape and size, mirroring the technique used for the initial flower.
Tip: Keep the gel layer consistent to ensure both flowers look equally delicate. - 8Refine flower petals
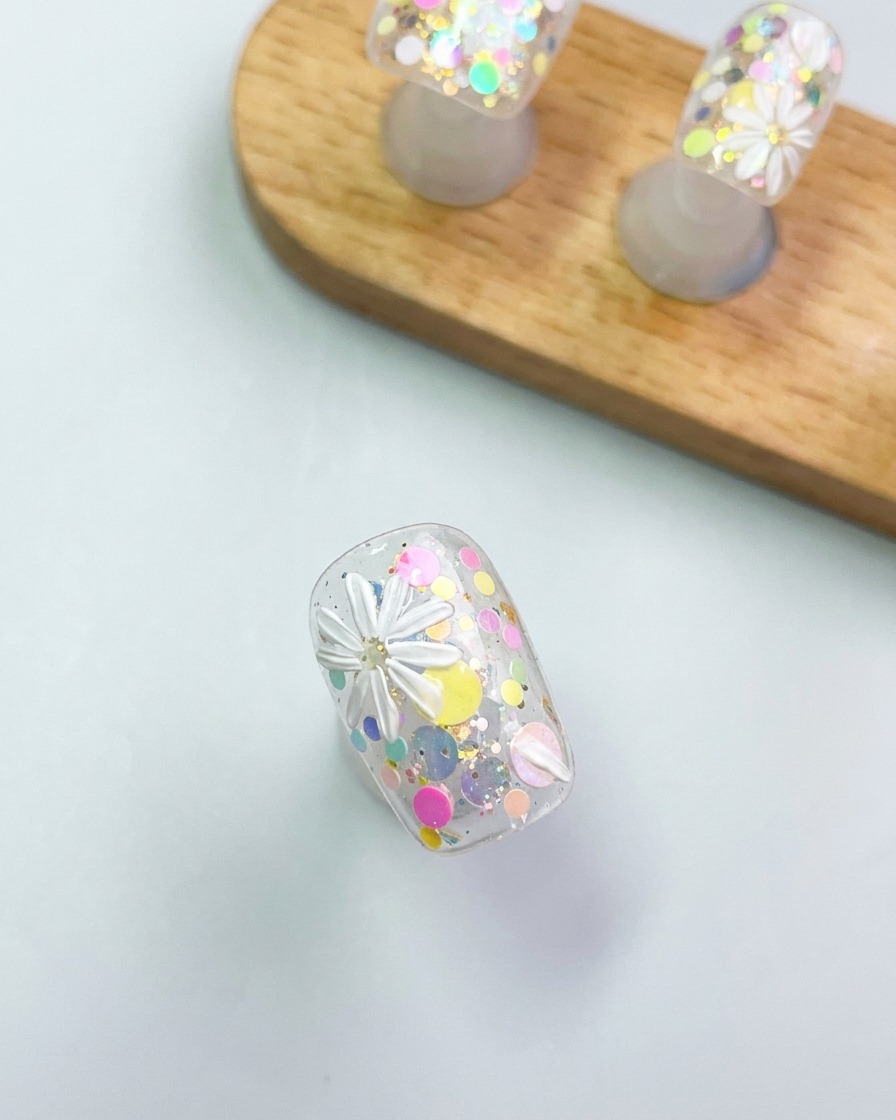
Use your brush to gently adjust the petal shapes on the second daisy. Adding slight variations in the petal length and curvature will help the flower appear more natural and dimensional.
Tip: Work with a clean brush to avoid smearing the white gel before curing. - 9Add flower centers
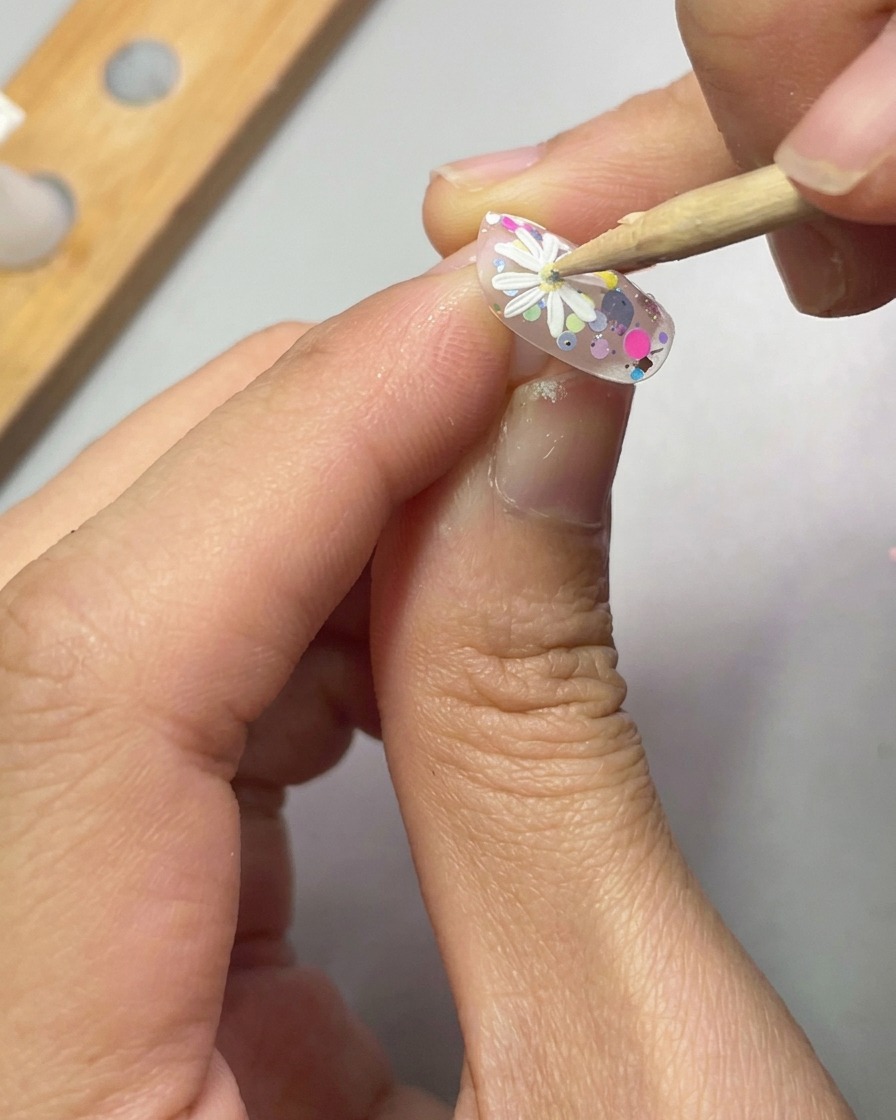
Apply a tiny, precise dot of colored yellow gel to the center of each daisy to create the flower heart. Use a dotting tool or a fine-tipped brush for maximum accuracy.
Tip: Only use a small amount of gel to prevent the center from looking too thick or bulky.