Pink Aurora Cat Eye Glitter Nails — A Step-by-Step Tutorial
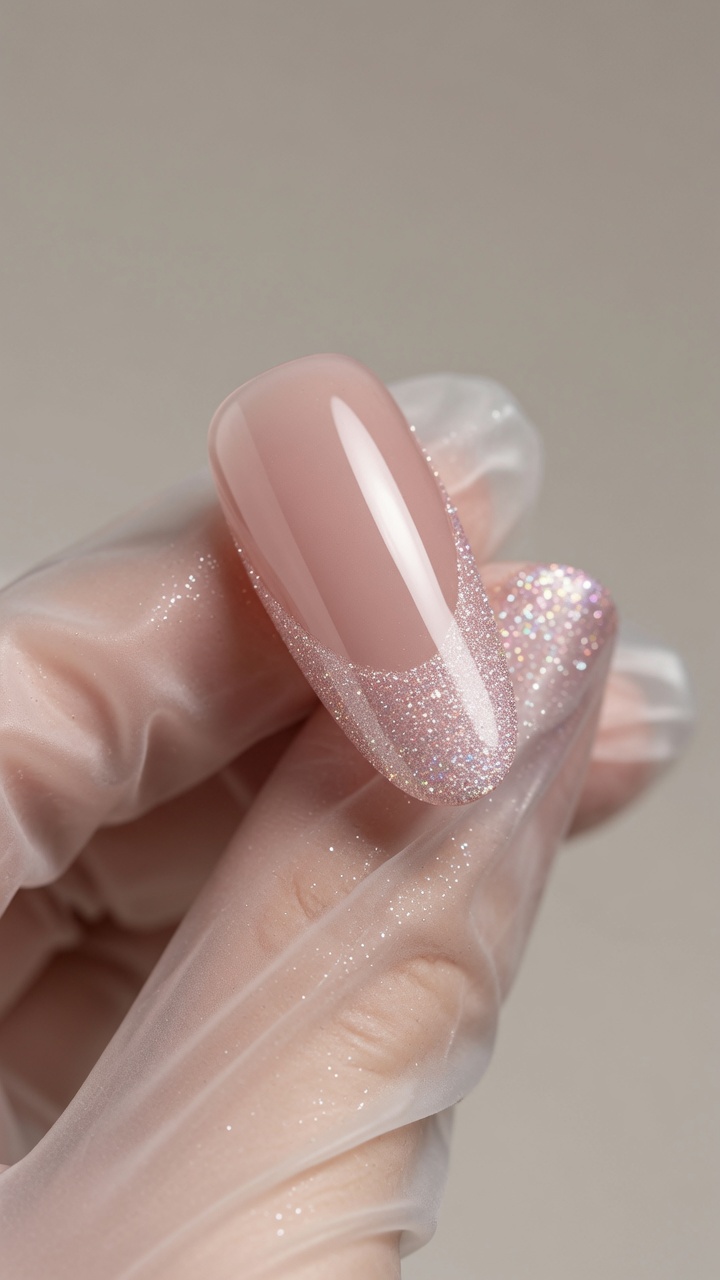
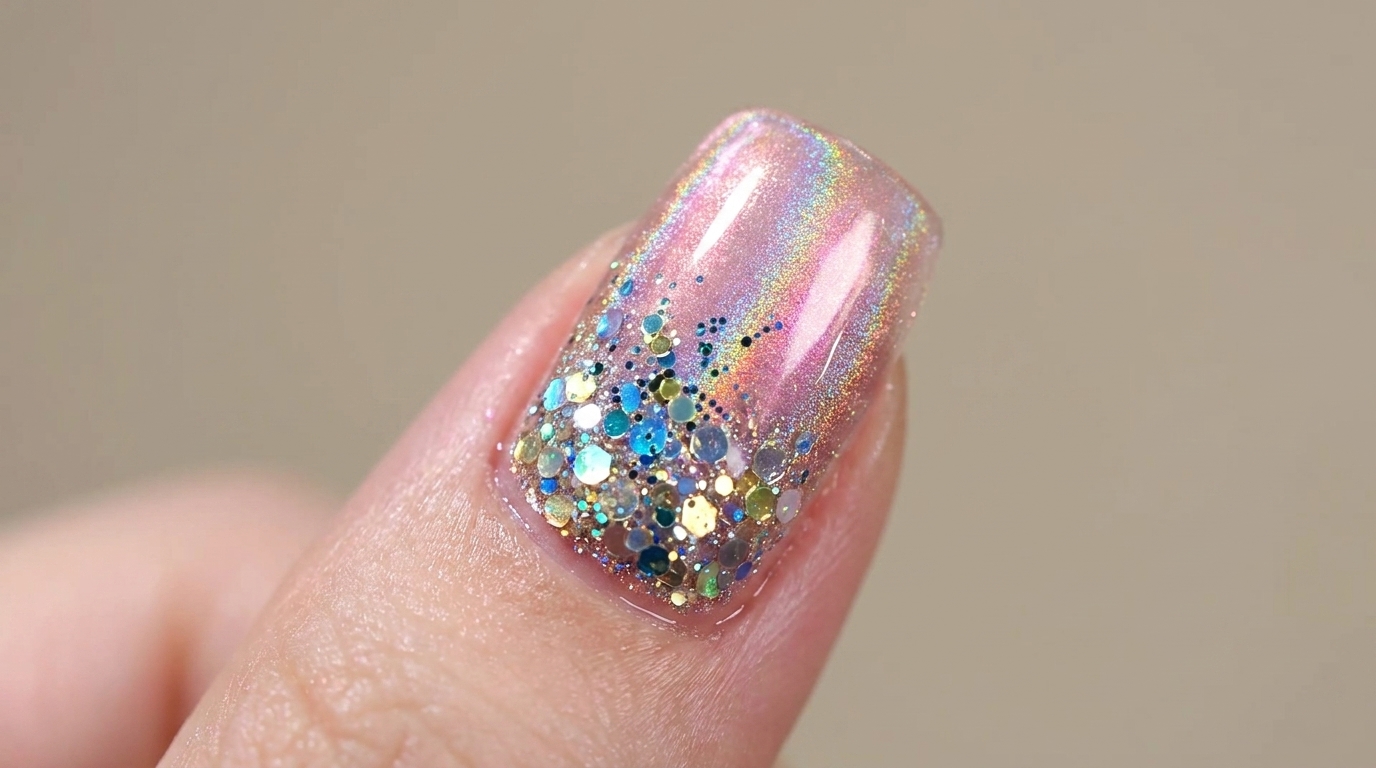
Elevate your manicure with this stunning pink aurora cat eye design, featuring a holographic finish and a sparkling chunky glitter gradient.
The aurora cat eye look creates a mesmerizing, multi-dimensional effect that changes with the light. By combining the depth of magnetic pigments with a mirror-like chrome finish and a textured glitter gradient, this design offers a sophisticated take on trendy holographic nails. Perfect for those who want a show-stopping manicure that feels both ethereal and glamorous.
Steps
- 1Apply Pink Cat Eye Gel
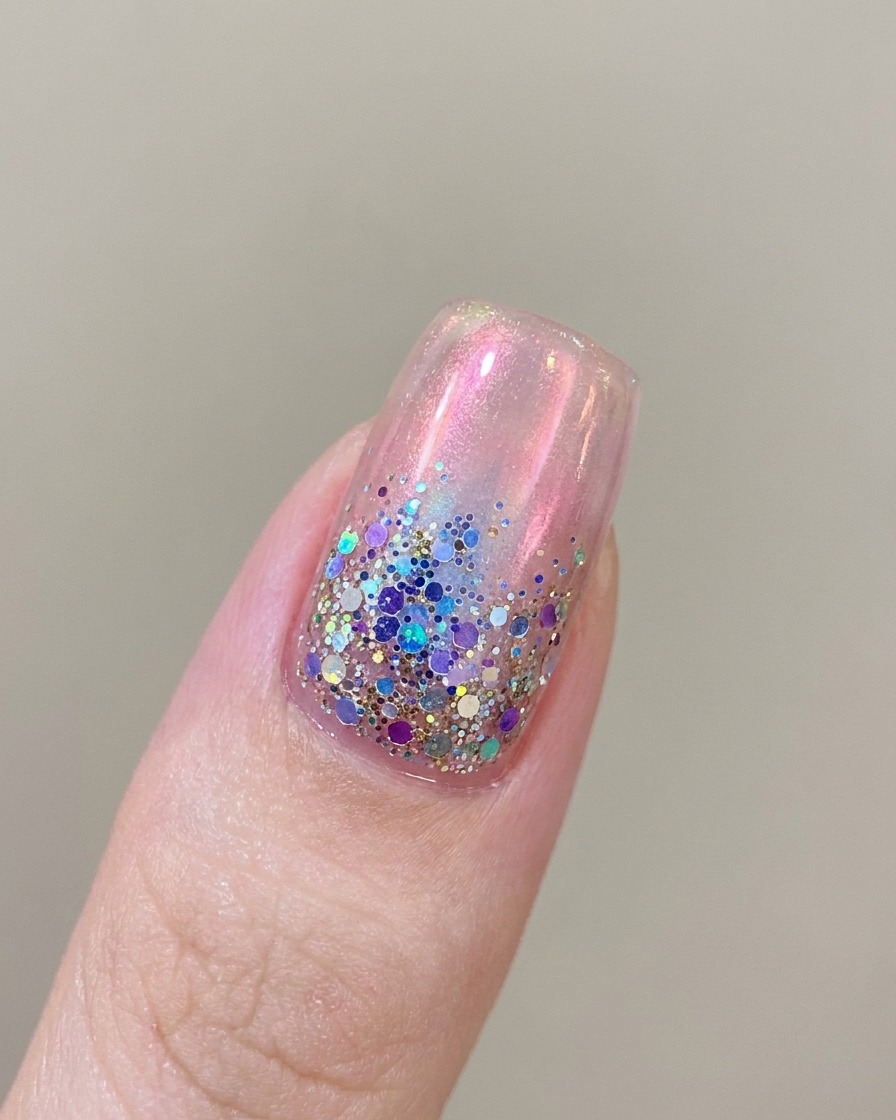
Apply a thin, even layer of pink-toned cat eye gel over your base coat. Ensure you cap the free edge for better wear, and take care to keep the gel away from your cuticles. Do not cure this layer yet, as it needs to remain wet for the magnetic effect.
Tip: Keep the layer thin to prevent it from pooling at the cuticles or sides of the nail. - 2Activate Cat Eye Effect
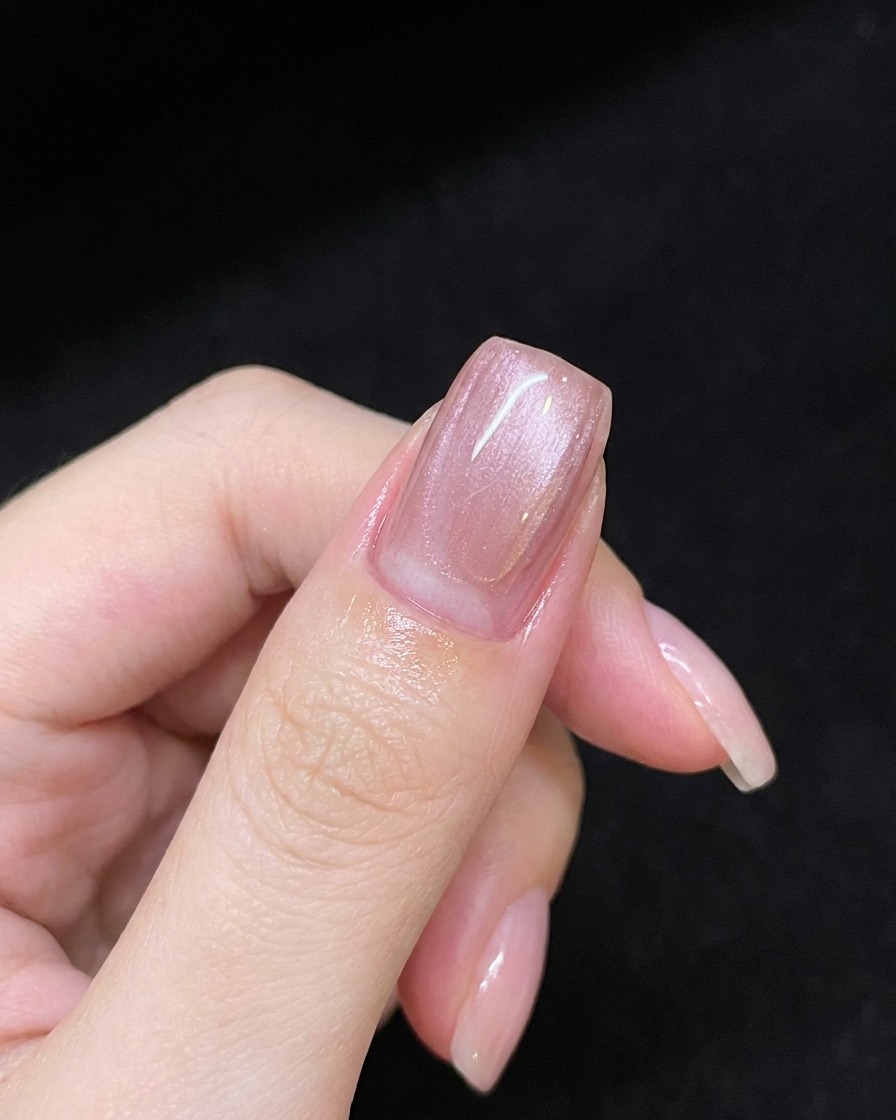
Before curing, hold your magnetic nail tool above the nail surface without touching the gel. Slowly move the magnet around to manipulate the magnetic pigments until you achieve the desired glow. Once the pattern looks perfect, hold the magnet steady for a few seconds to set the design before curing.
Tip: If you dont like the pattern, simply brush the gel smooth and try the magnet again before curing. - 3Cure the Cat Eye Gel
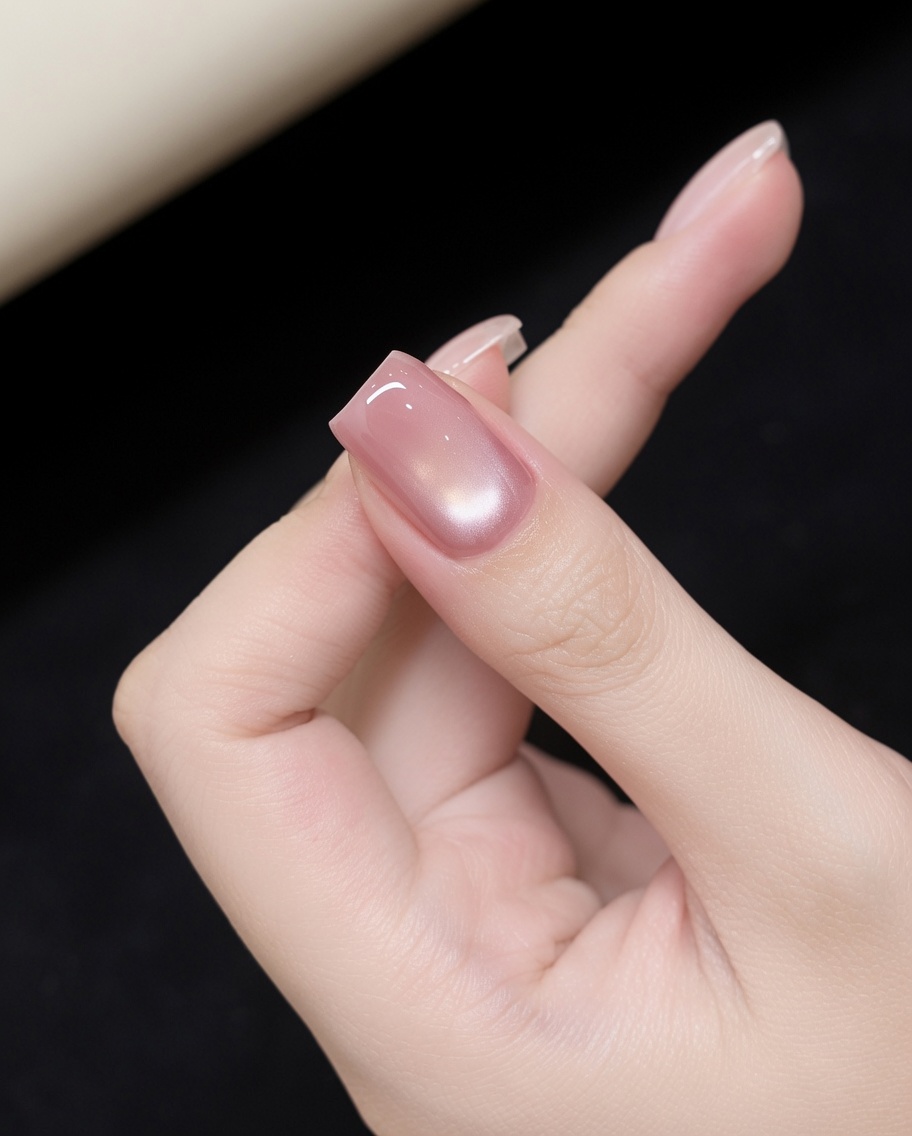
Place your hand under a UV or LED nail lamp to cure the gel. Follow the manufacturers recommended curing time to ensure the magnetic pigments and gel are fully set and hardened.
Tip: Make sure your fingers are positioned correctly inside the lamp for an even cure across the entire nail surface. - 4Apply Top Coat
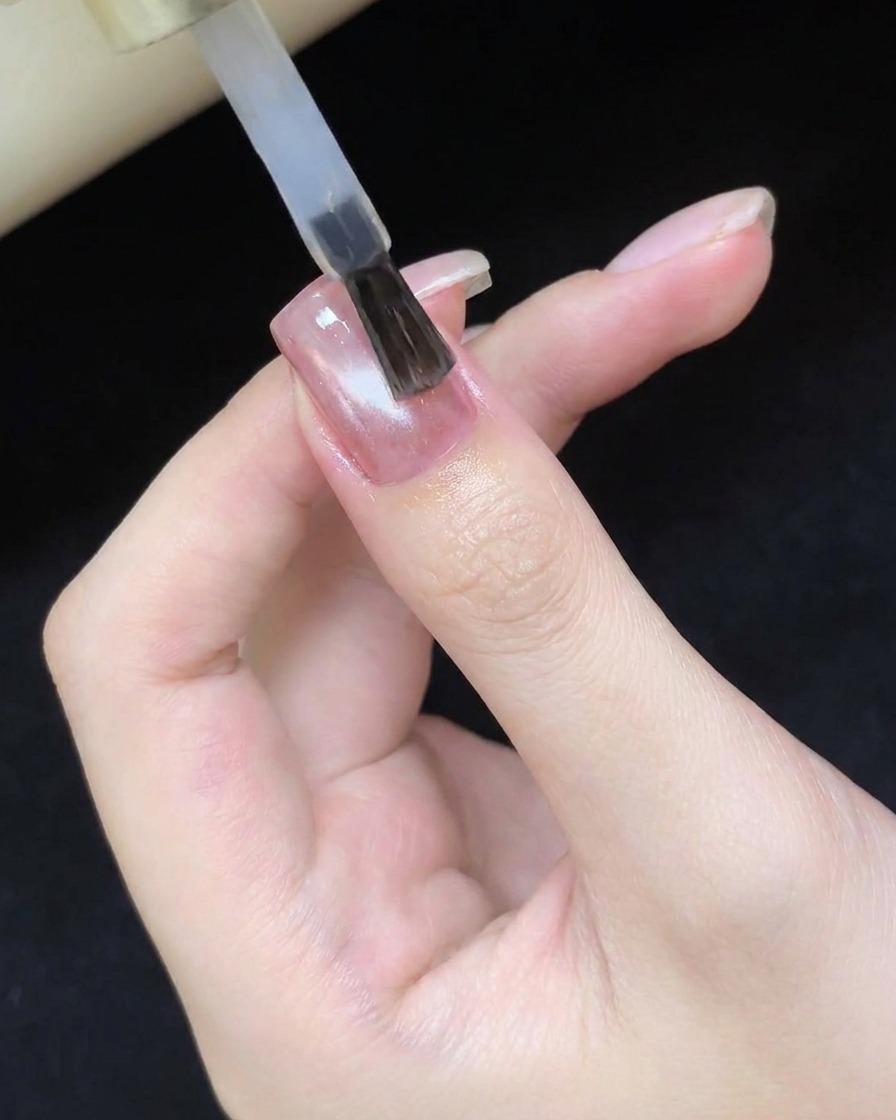
Apply a layer of no-wipe top coat over your cured cat eye design. This provides a smooth, non-tacky surface necessary for the aurora powder to adhere properly. Cure this layer completely before proceeding to the powder application.
Tip: Using a no-wipe top coat is essential here, as the powder will not stick correctly to a sticky inhibition layer. - 5Apply Aurora Chrome Powder
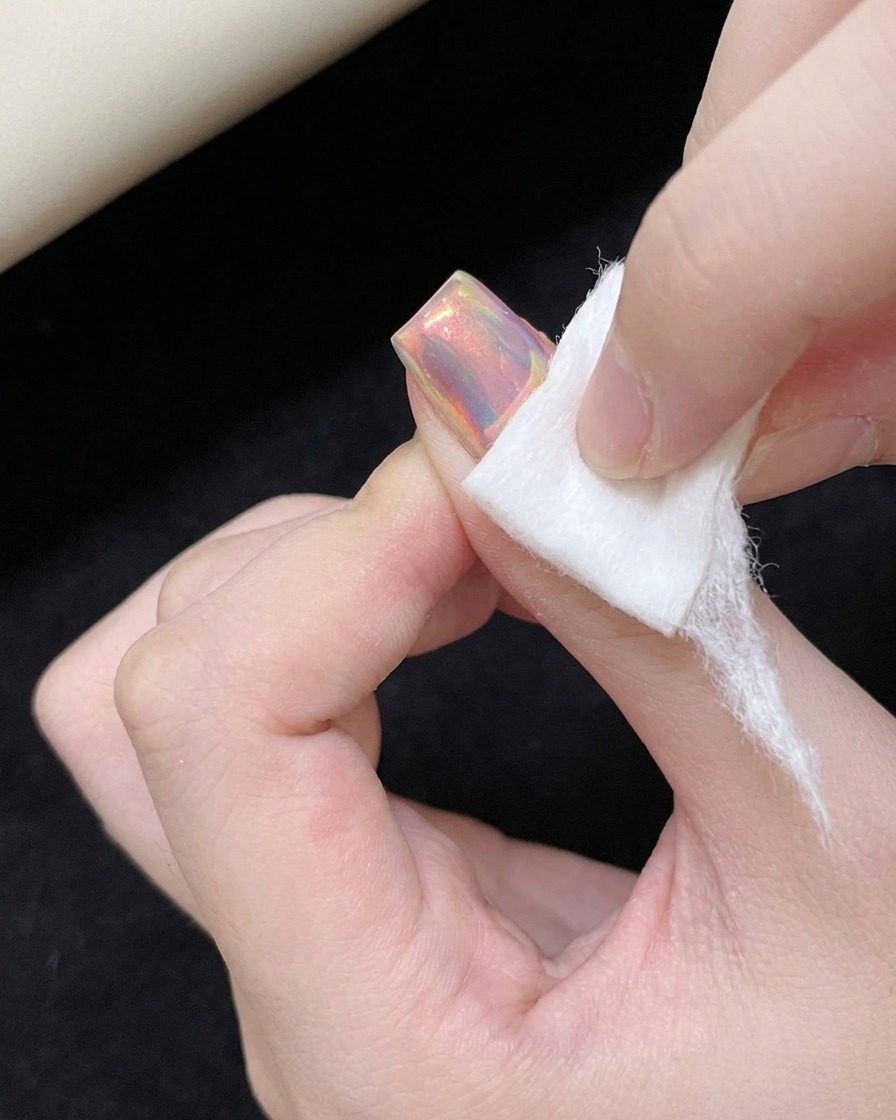
Using a small makeup sponge or silicone applicator, gently buff the iridescent aurora powder onto the surface of your cured, non-tacky top coat. Use light, sweeping motions to build the pigment until the nail displays a smooth, consistent chrome-like finish.
Tip: A little powder goes a long way; start with a small amount and build up as needed. - 6Remove Excess Powder
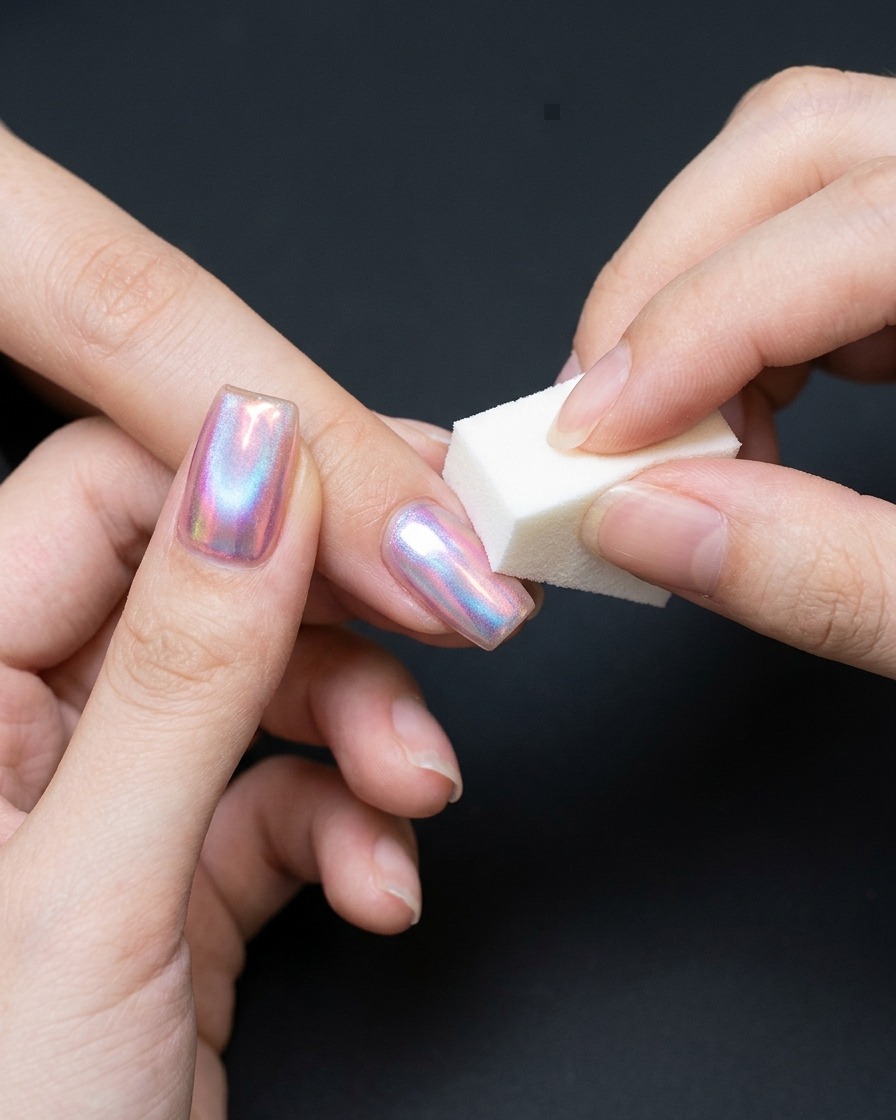
After applying the aurora powder, use a soft, clean lint-free cloth or a dry brush to gently wipe away any loose or excess powder from the surface and around the cuticle area. This ensures a clean look before the final sealing step.
Tip: Ensure your brush or cloth is completely dry to keep the chrome effect intact. - 7Prep for Glitter Application
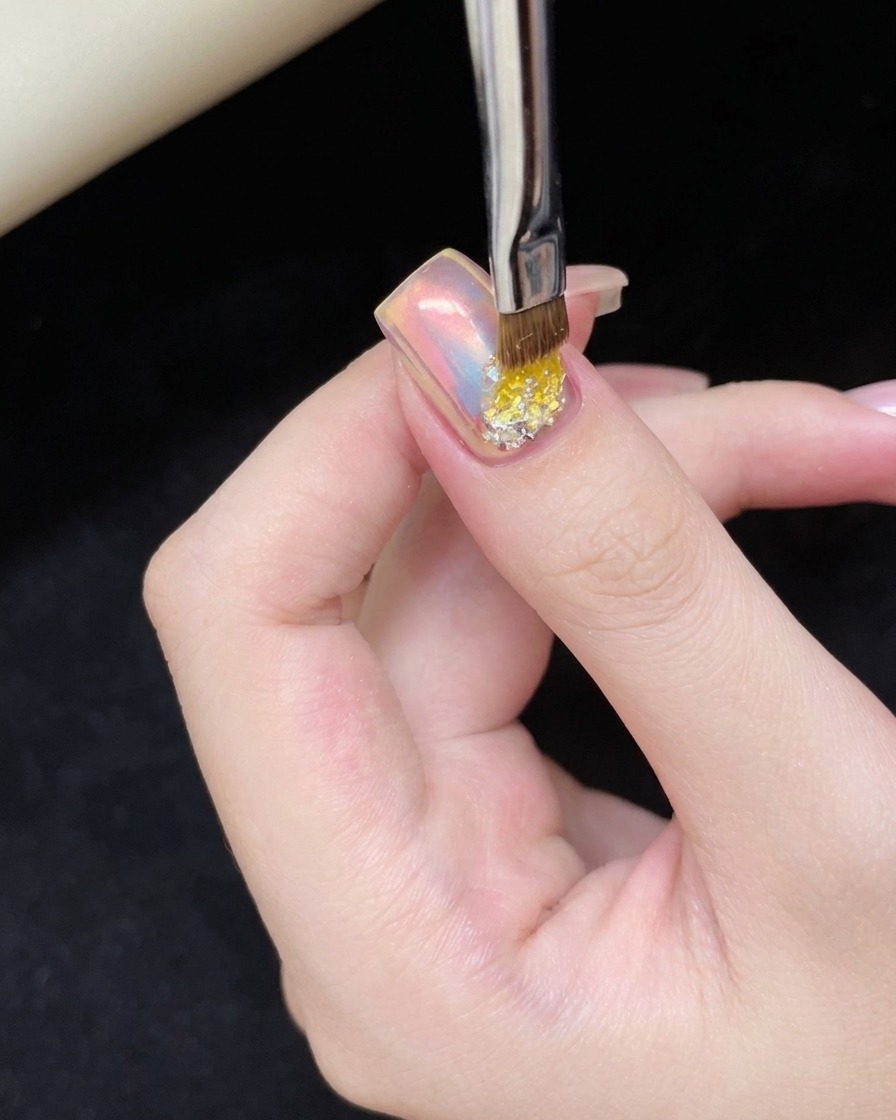
Apply a small bead of clear gel adhesive or thick base gel to the base of your nail near the cuticle area. This creates a high-tack surface that will securely hold the chunky glitter sequins, allowing you to build the gradient without the pieces sliding off.
Tip: Work in small sections to keep the glue from running before you have a chance to place your glitter. - 8Place glitter sequins
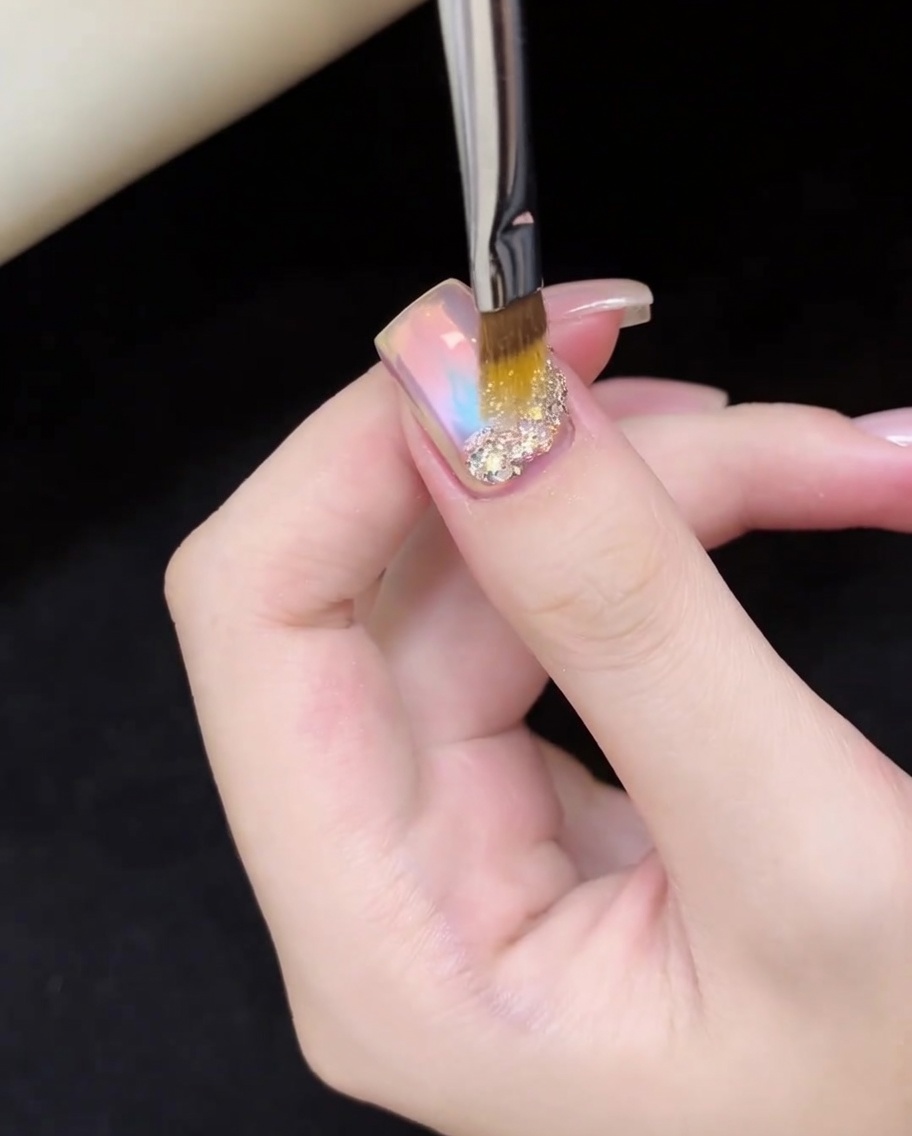
Using a brush or applicator, gently tap chunky iridescent glitter sequins into the clear adhesive gel you just applied. Build up the density near the cuticle and lightly fade the glitter outward to create a beautiful, sparkling gradient effect.
Tip: Press the sequins down gently to ensure they lie flat and dont snag on clothing after the top coat is applied. - 9Cure the design
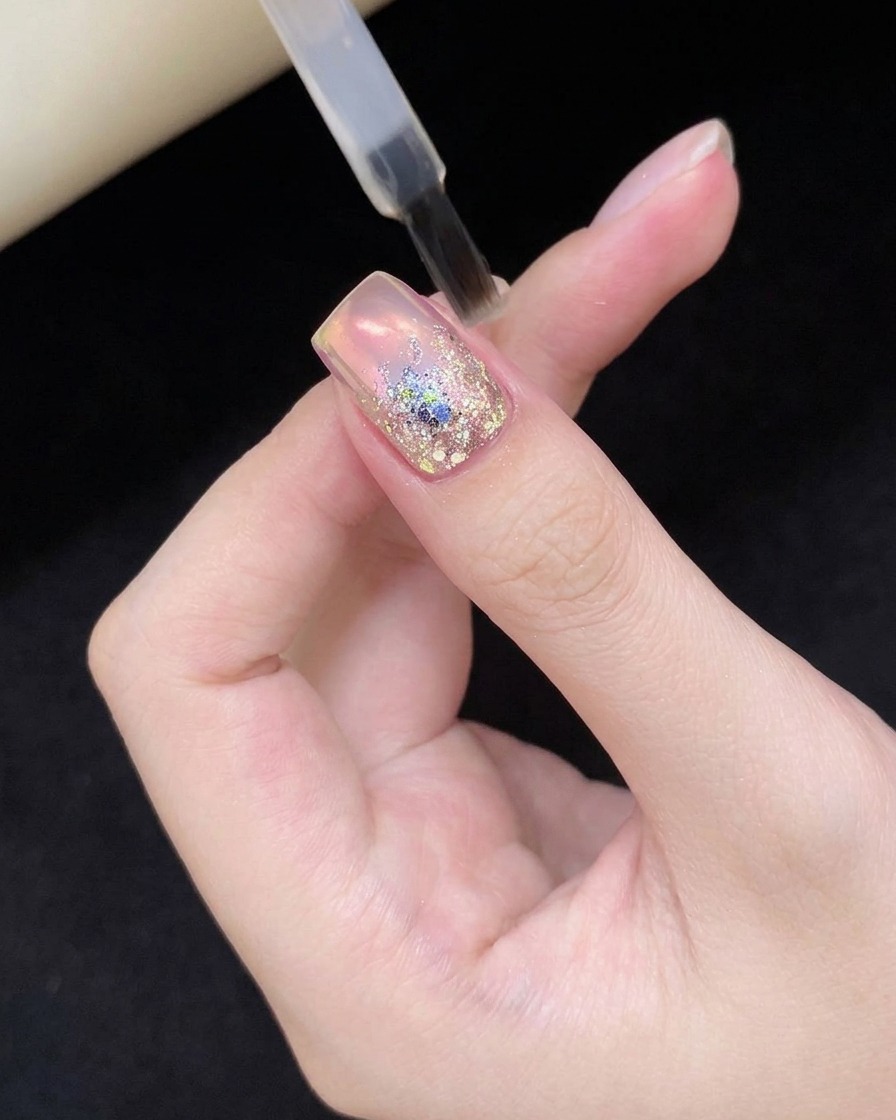
Once your glitter gradient is perfected, place your nail under your UV/LED lamp. Cure for the recommended time to lock the glitter and adhesive firmly into place, ensuring a durable, long-lasting manicure.
Tip: Ensure the entire nail surface is under the light to get an even cure across the glitter. - 10Apply top coat
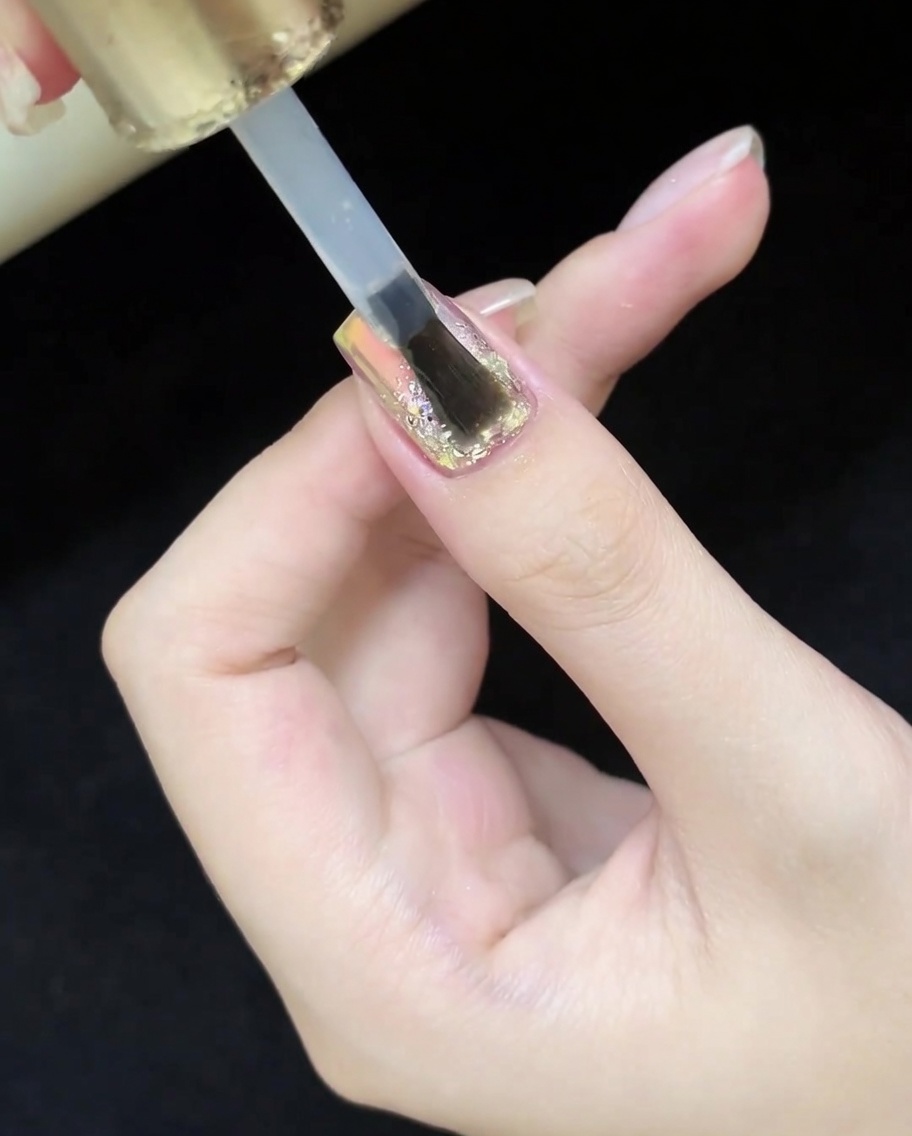
Apply a smooth, even layer of top coat over the entire nail, including the glitter area. This seals the design, protects the glitter from falling off, and provides a beautiful, high-gloss finish that ties the whole look together.
Tip: Make sure to cap the free edge of your nail with the top coat to prevent premature chipping.