Pink French Tip Cat Eye Nails
Heart Charms — Tutorial
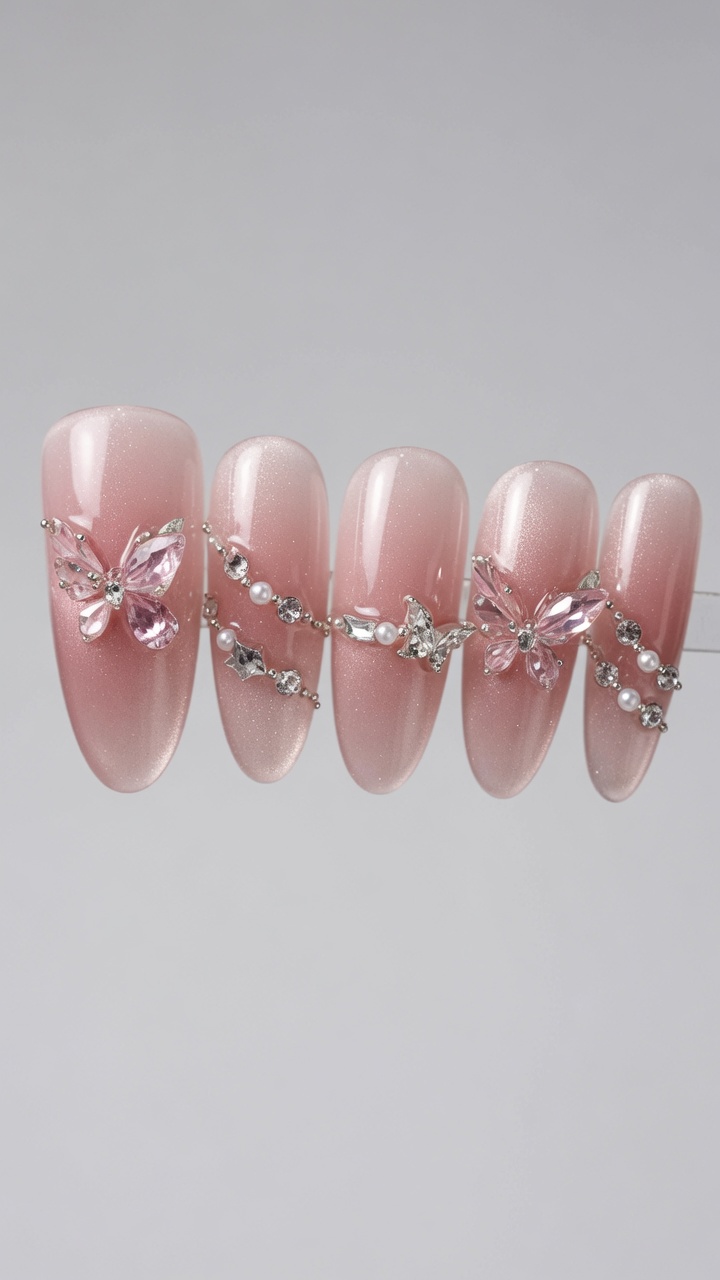
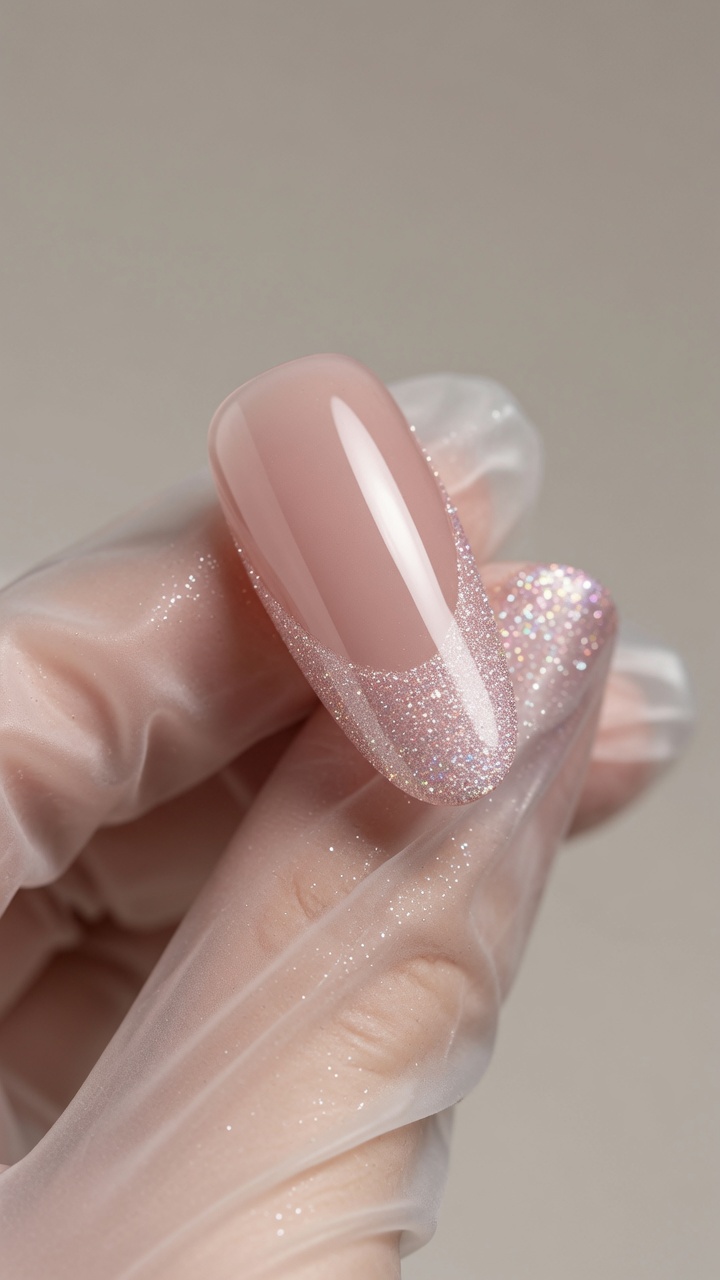
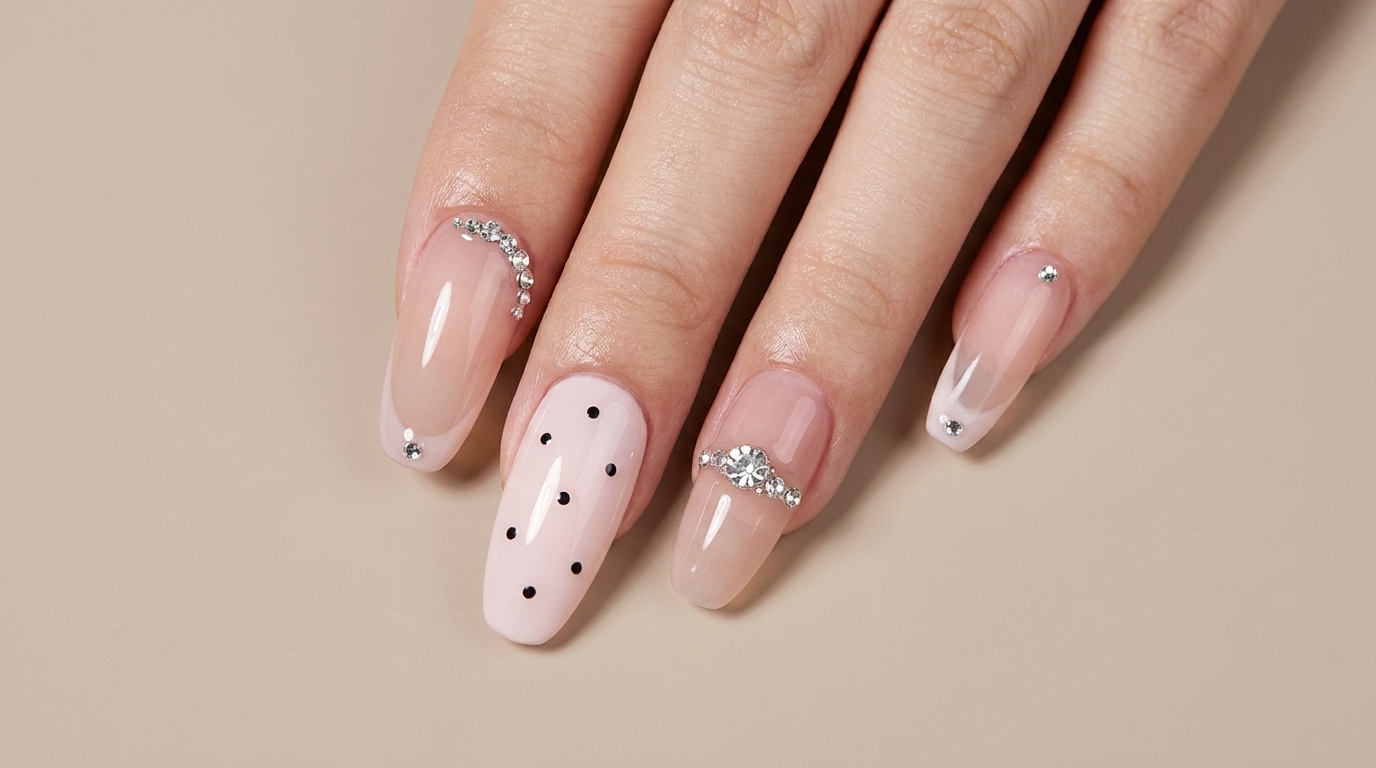
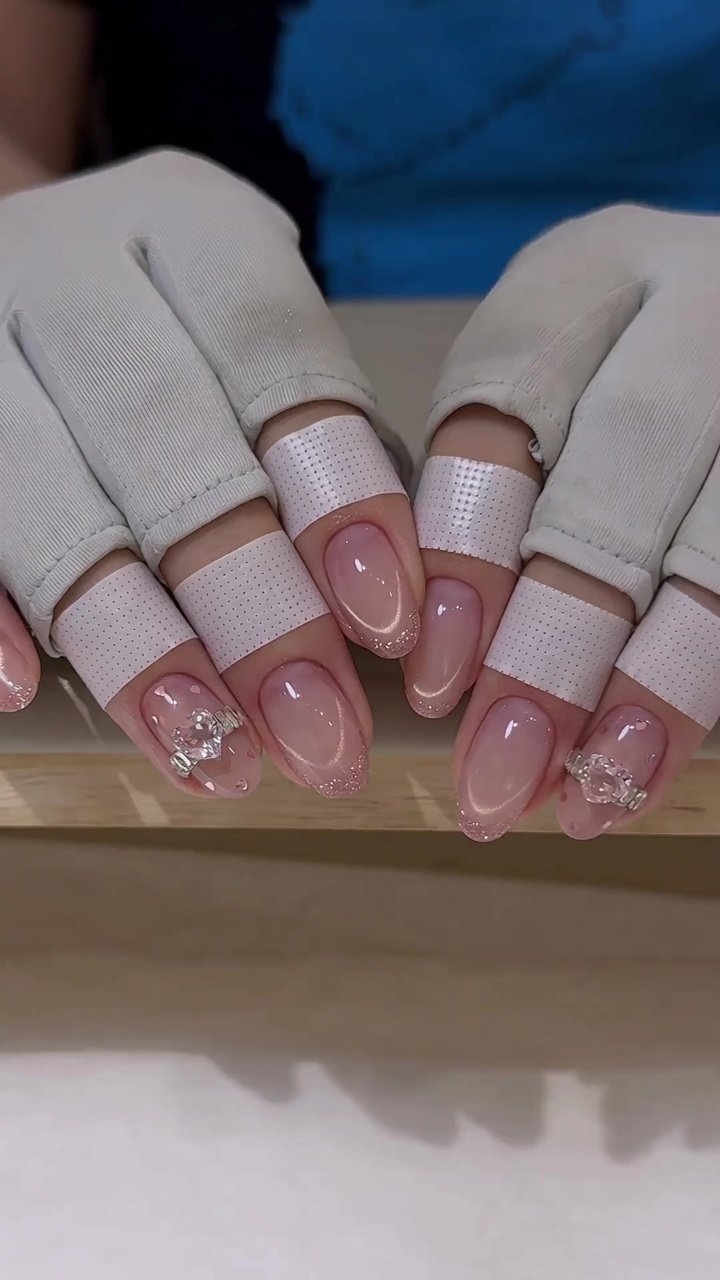
Create an elegant New Year's manicure with this stunning pink French tip cat-eye design, accented by a sparkling heart-shaped charm.
Embrace the festive season with a nail look that perfectly balances elegance and playfulness. This design combines the timeless sophistication of a pink French manicure with the modern, celestial allure of cat-eye magnetic polish. Finished with a delicate heart charm, it is the perfect way to add some extra sparkle to your New Years ensemble.
Steps
- 1Apply gel base coat
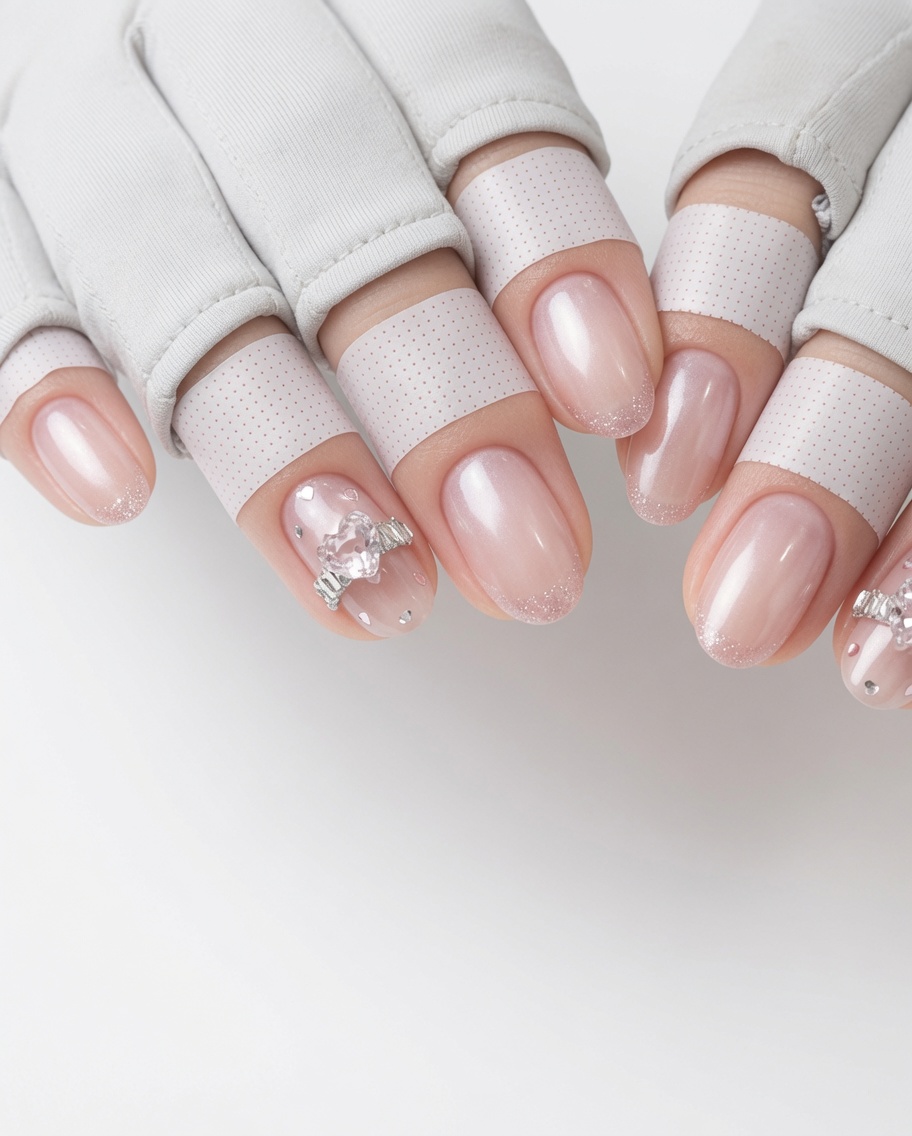
Apply a thin, even layer of clear gel base coat to your prepped nails. Ensure you cap the free edge for better durability and avoid getting any product on the skin or cuticle area. Cure this base layer under your lamp as specified by the product instructions.
Tip: A clean application at the base is crucial to prevent lifting and ensure a professional-looking finish. - 2Paint the French tip
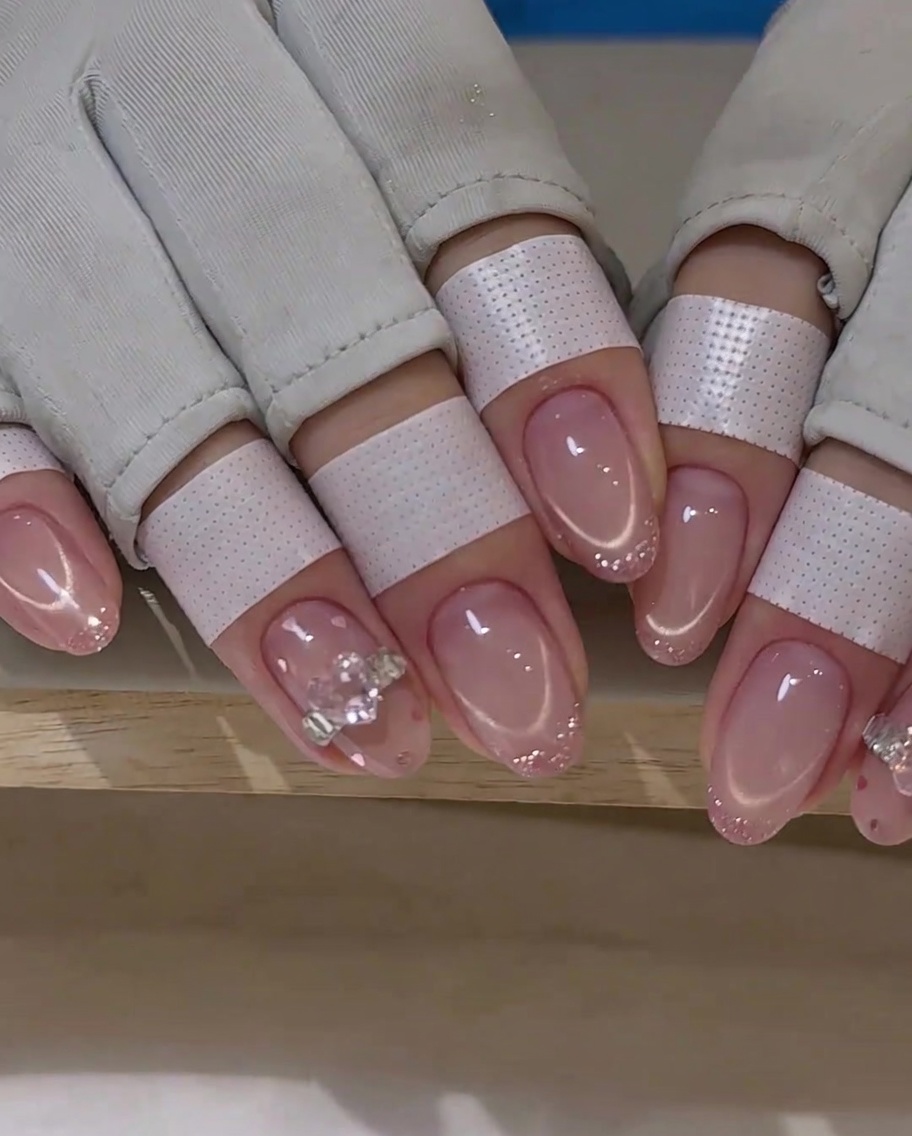
Using a thin detail brush and light pink gel polish, carefully paint a precise French tip line across the free edge of the nail. Take your time to ensure the curve is symmetrical and smooth across all fingers. Cure the tips under the lamp once you are satisfied with the design.
Tip: If you struggle with freehand lines, use nail tape or a French tip guide to achieve a perfectly crisp edge. - 3Apply magnetic cat-eye polish
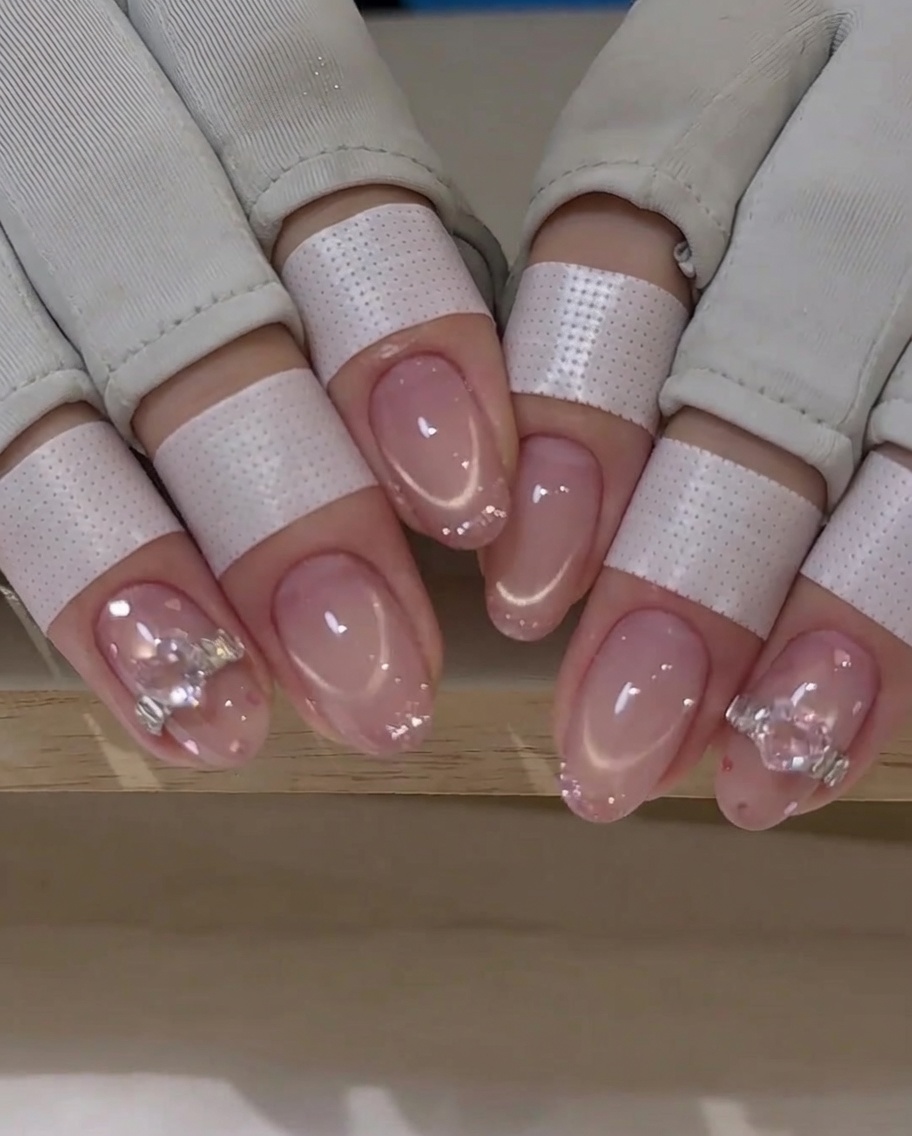
Apply a layer of cat-eye magnetic gel polish over the tips. Before curing, hover a strong magnet over the nail to move the magnetic pigments, creating depth and a shimmering effect. Cure the nail immediately after achieving your desired design to lock the particles in place.
Tip: Experiment with the angle of the magnet to create different patterns like diagonal lines or a soft cat-eye glow. - 4Magnetize the cat-eye effect
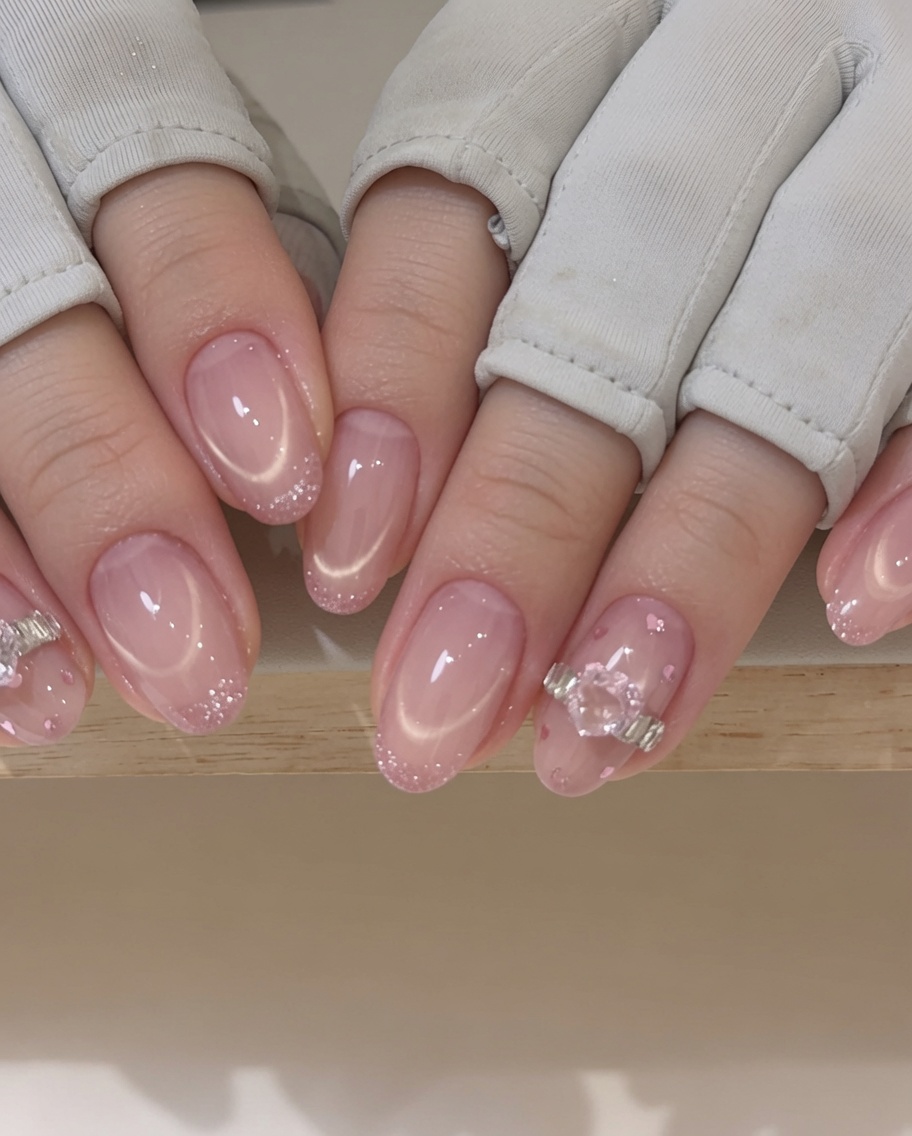
Hold your magnet close to the nail surface—without touching the wet gel—to pull the magnetic particles into a sharp, focused shimmering line. Hold the magnet steady for a few seconds to ensure the effect is set before moving to the curing lamp.
Tip: A steady hand is key here; if you accidentally touch the nail, simply smooth the polish out and try again. - 5Apply a second coat
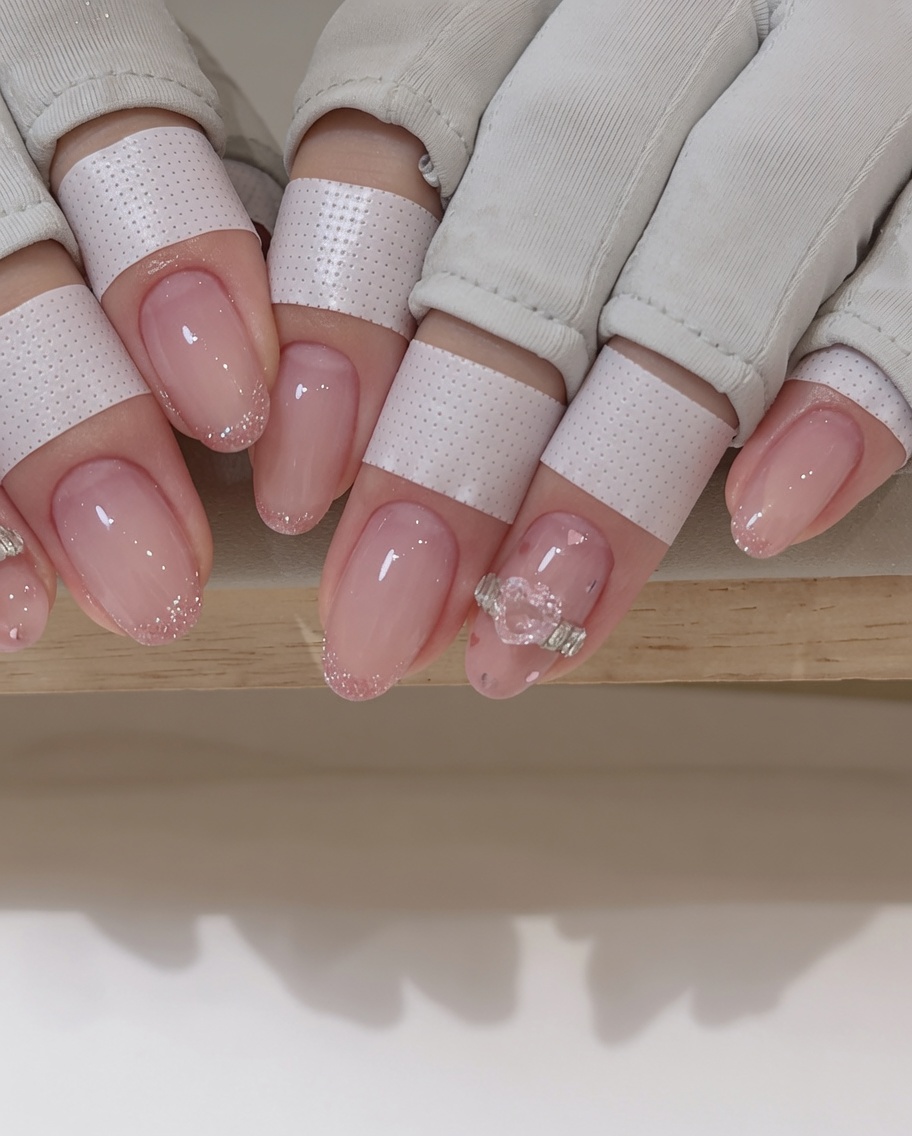
Apply another thin layer of the cat-eye magnetic gel over the first layer. Repeat the magnet process to enhance the intensity and opacity of the shimmer. Cure again under the lamp to ensure the second layer is fully set and durable.
Tip: Adding a second layer deepens the color and makes the magnetic shimmer look more vibrant and dimensional. - 6Prepare for charm application
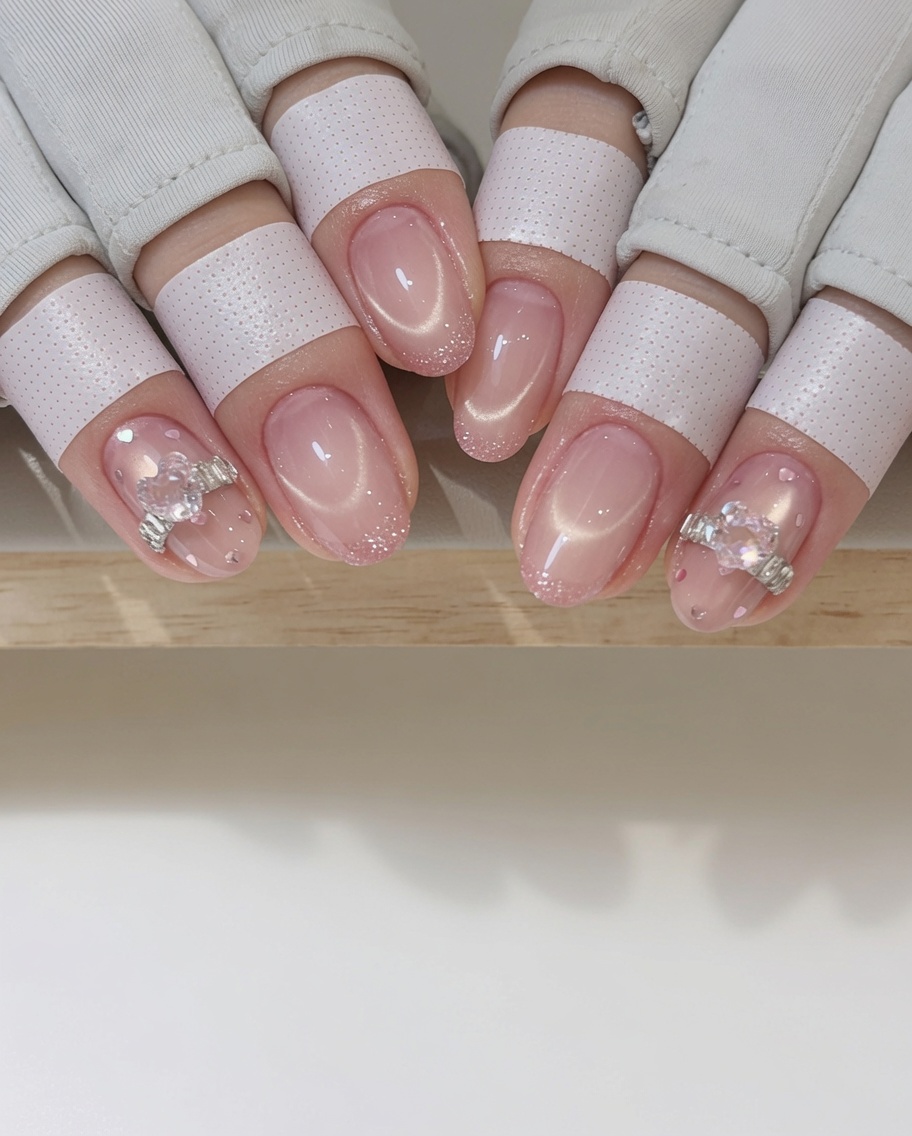
Apply a small, strategic bead of strong adhesive gel or clear builder gel to the nail where you plan to place your charm. This provides a secure foundation for the embellishment, ensuring it stays in place for the life of the manicure.
Tip: Use a dotting tool to place the adhesive gel for more precision, making sure it isnt larger than the charm itself. - 7Place the crystal charm
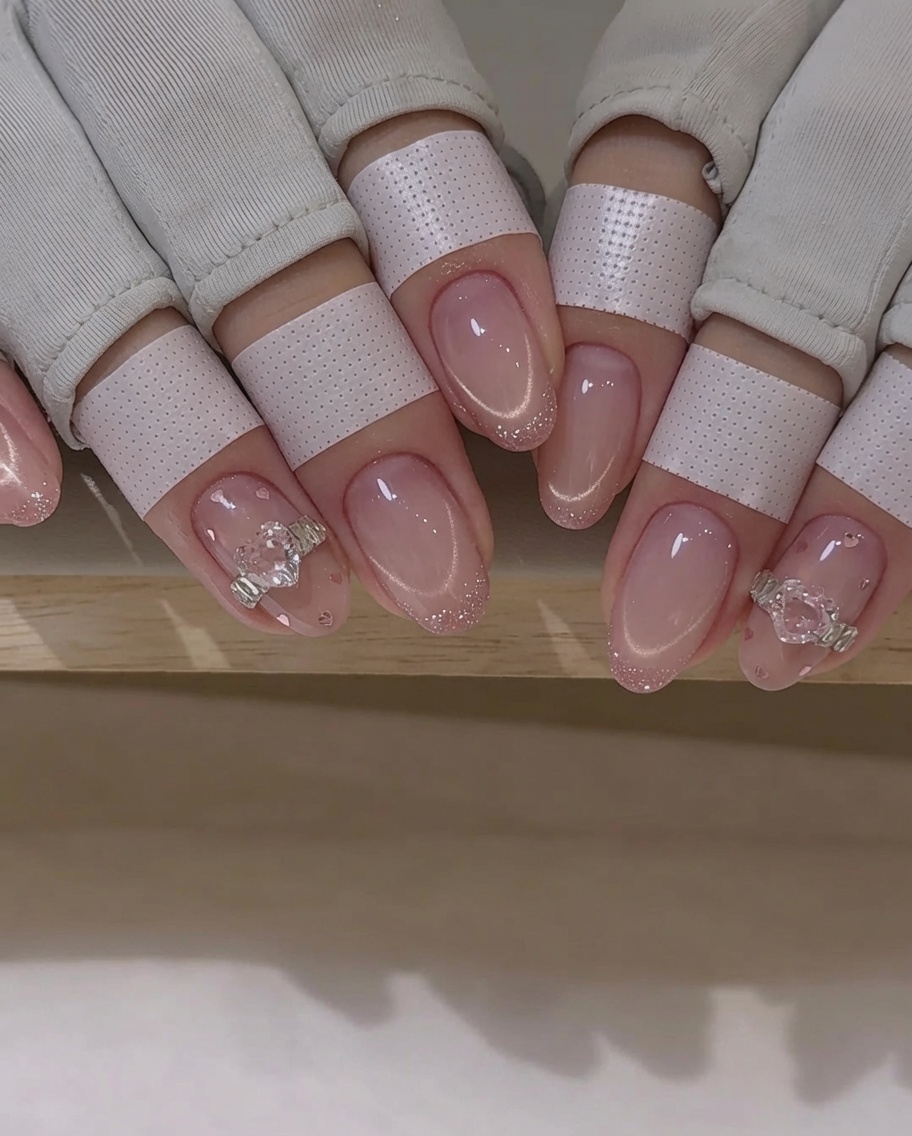
Using tweezers, carefully pick up the heart-shaped crystal charm and place it directly onto the pre-applied dot of adhesive gel. Gently press the charm into the gel to ensure it is secure, taking care not to shift the placement while the gel is still uncured.
Tip: If the charm is heavy, hold it in place for a few seconds or use a small dot of stronger jewelry gel to ensure it doesnt slide. - 8Apply glossy top coat
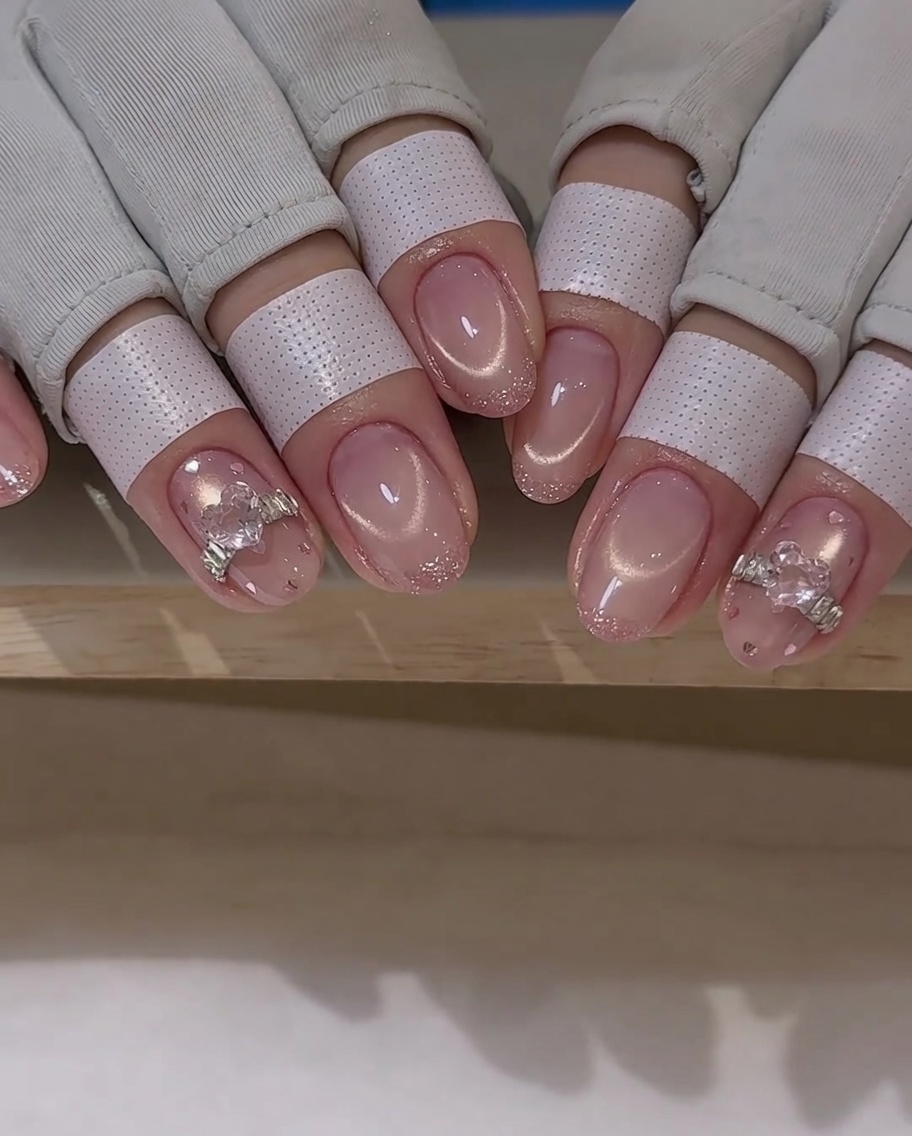
Apply a final, even layer of glossy top coat over the entire nail surface, ensuring you carefully brush around the crystal charm to seal it in. Do not apply top coat directly onto the surface of the crystal, as this will dull its shine. Cure the nail under a UV or LED lamp to lock everything in place.
Tip: Use a smaller detail brush to apply top coat around the base of the charm if your main bottle brush is too large.