Laser Aurora Explosion Star Nails — A Sparkly DIY Tutorial
Create dazzling, star-filled nail art with this laser aurora transfer foil tutorial. Perfect for adding a magical sparkle to any neutral base.
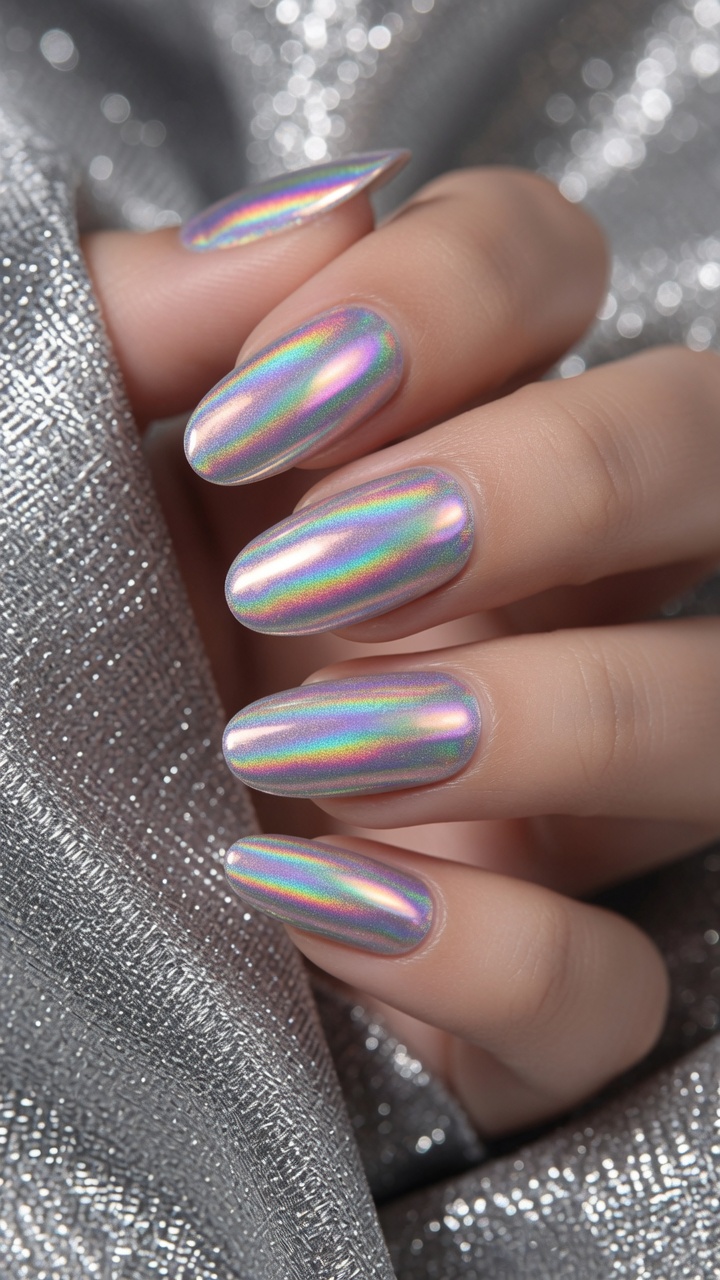
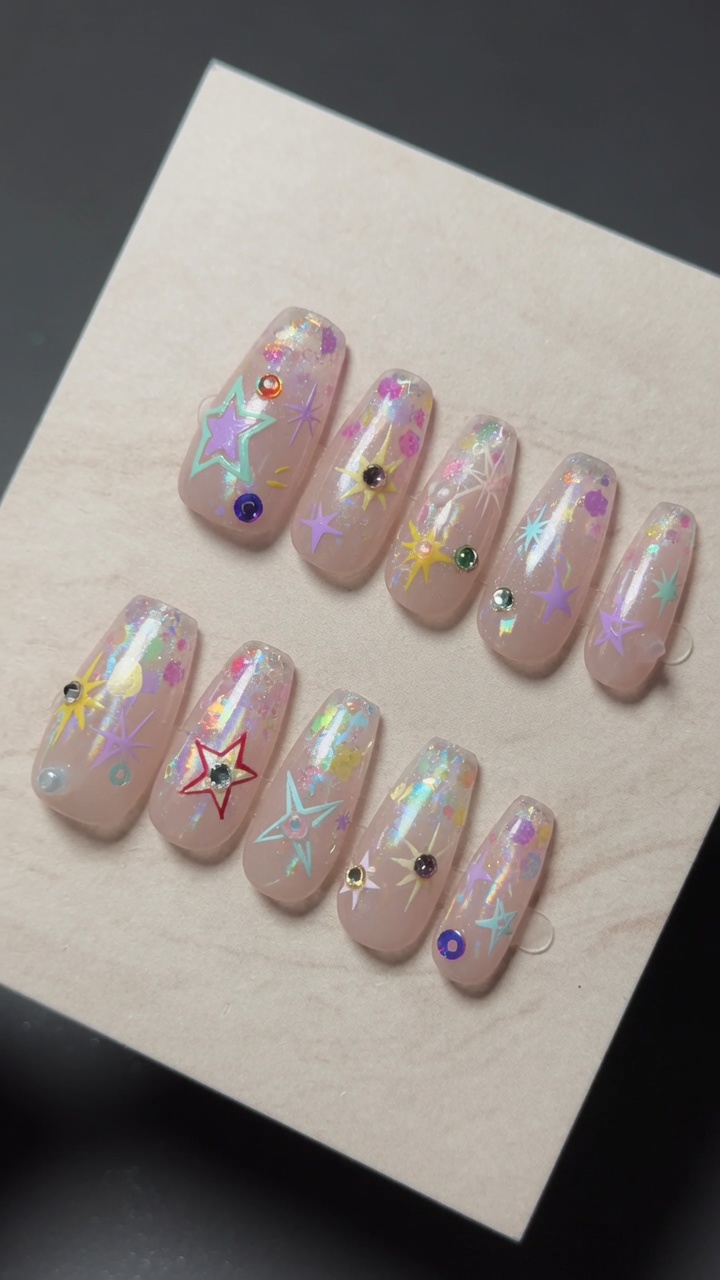
The Laser Aurora Explosion Star look combines ethereal aurora foil with hand-painted star motifs for a truly eye-catching effect. As part of my 2026 challenge to create 100 pairs of press-on nails, this design stands out for its high-impact sparkle. It is a fantastic project for practicing transfer foil application and precision hand-painting, and the result is absolutely worth the effort.
Steps
- 1Apply base gel
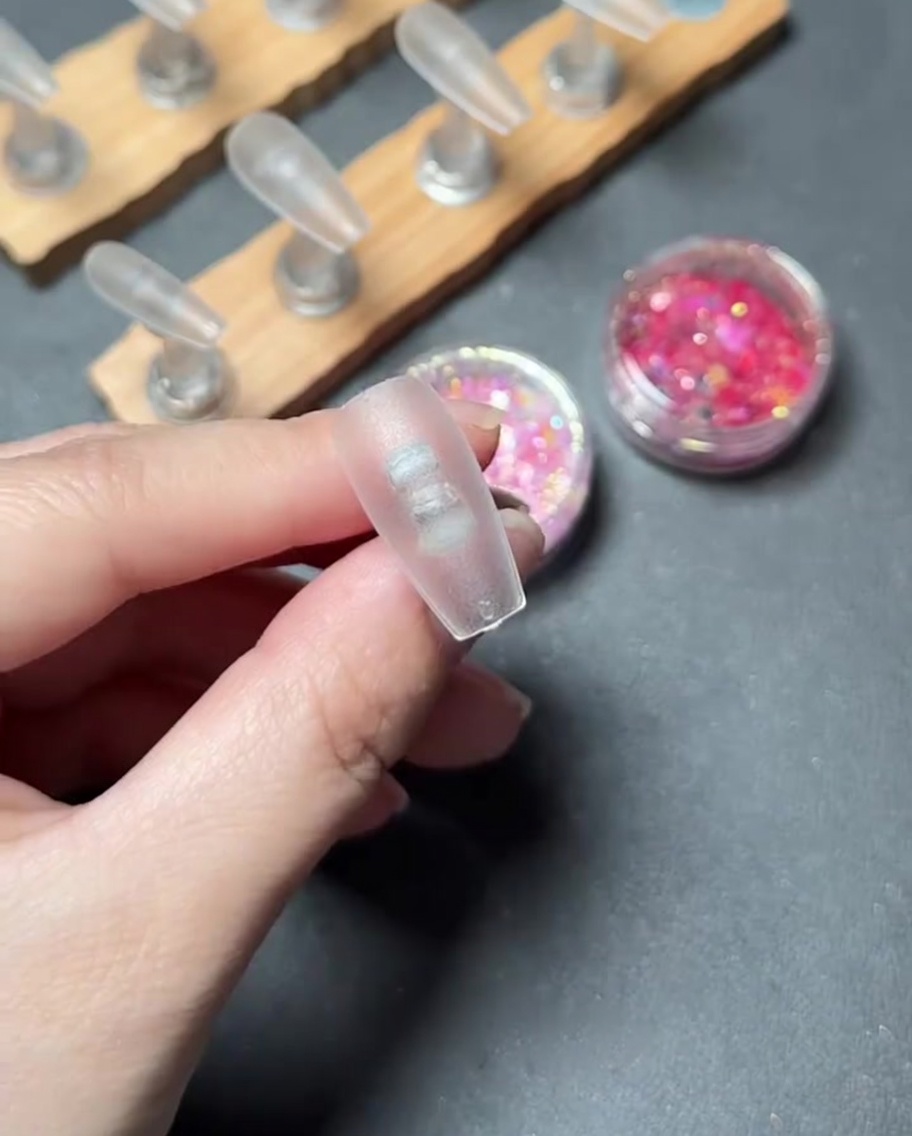
Apply a thin, even coat of base gel across the surface of the clear press-on nail tip. Do not cure this layer yet, as it will act as an adhesive for the glitter sequins in the next step.
Tip: Keep the layer thin to avoid pooling, which can make the glitter application uneven. - 2Apply glitter sequins
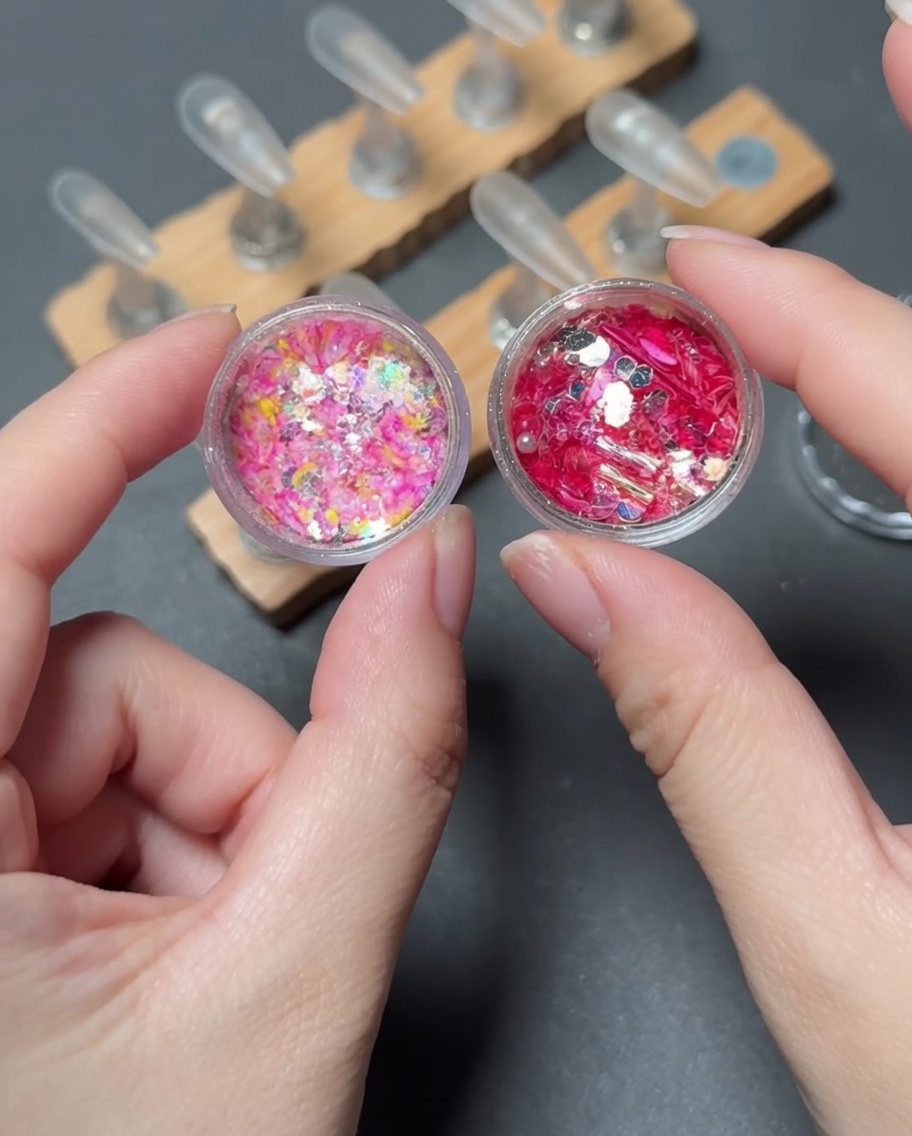
Using a dry brush, pick up the colorful glitter sequins and carefully place them onto the uncured base gel at the tip of the nail. Arrange them to create your desired density and pattern.
Tip: Work slowly to ensure even coverage, and gently pat the sequins down so they lay flat against the nail surface. - 3Encapsulate with reinforcing gel
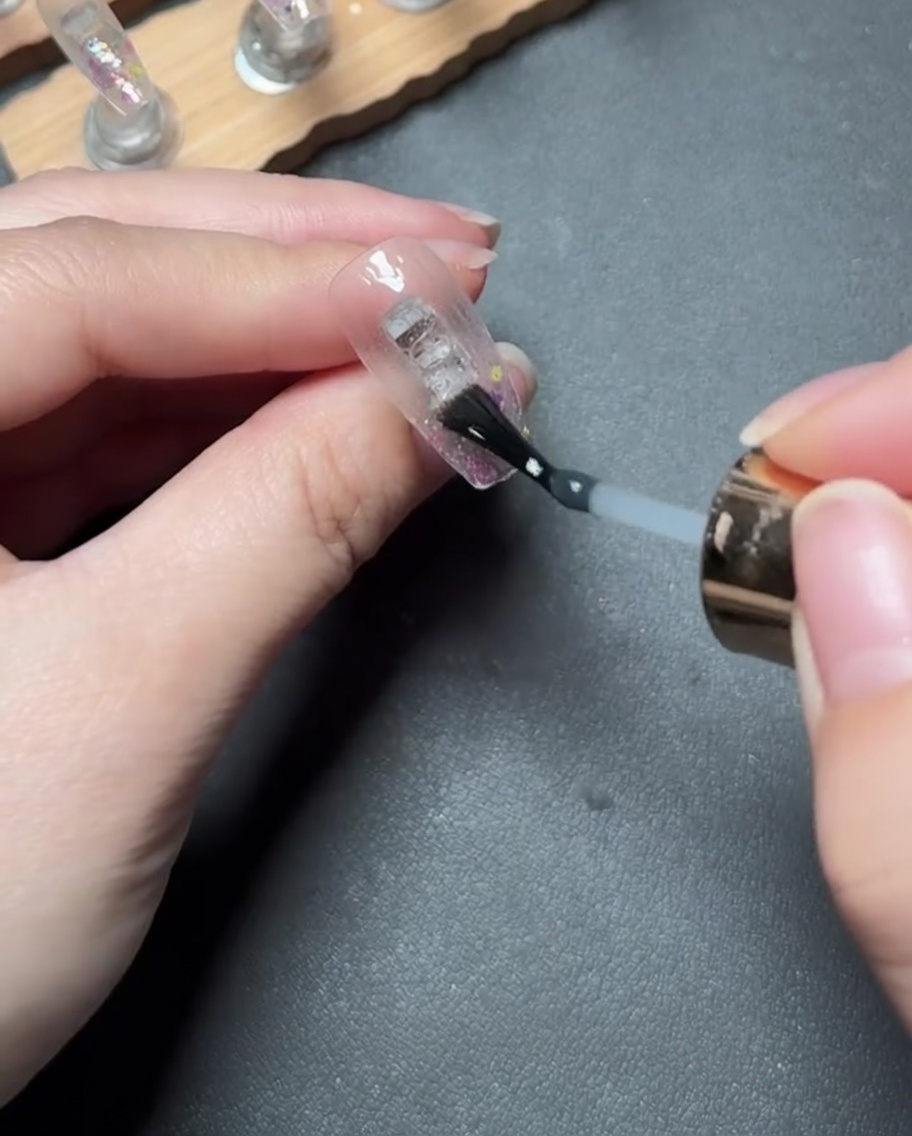
Apply a layer of reinforcing gel over the placed glitter. This step encapsulates the sequins, providing structural strength and a smooth surface for further decoration.
Tip: Ensure the gel covers all edges of the sequins to prevent them from catching or peeling later. - 4File and smooth
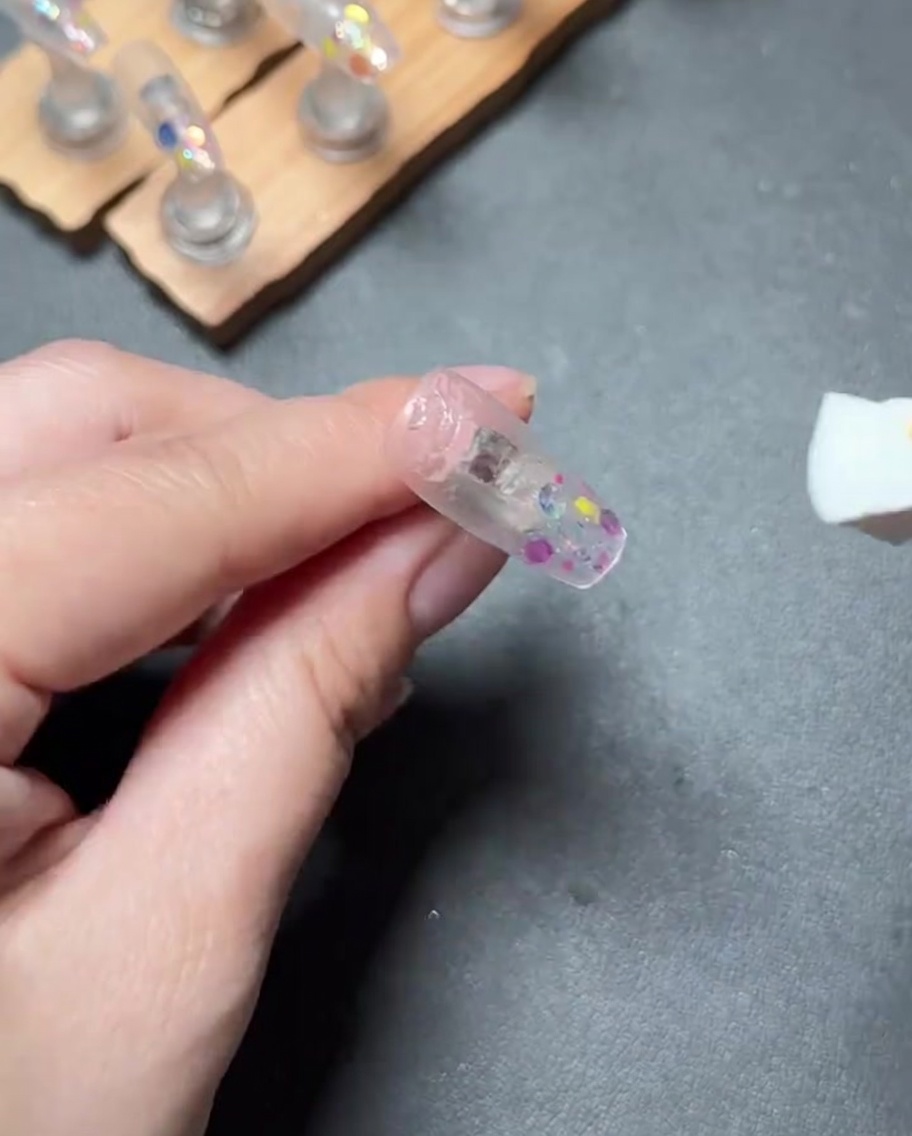
Once the reinforcing gel is cured, use a nail file to gently buff and smooth the surface. This removes any bumps from the glitter and creates a uniform texture. Wipe away any dust or sticky residue afterward.
Tip: Use a light touch while filing to avoid damaging the underlying glitter placement. - 5Apply pink gradient
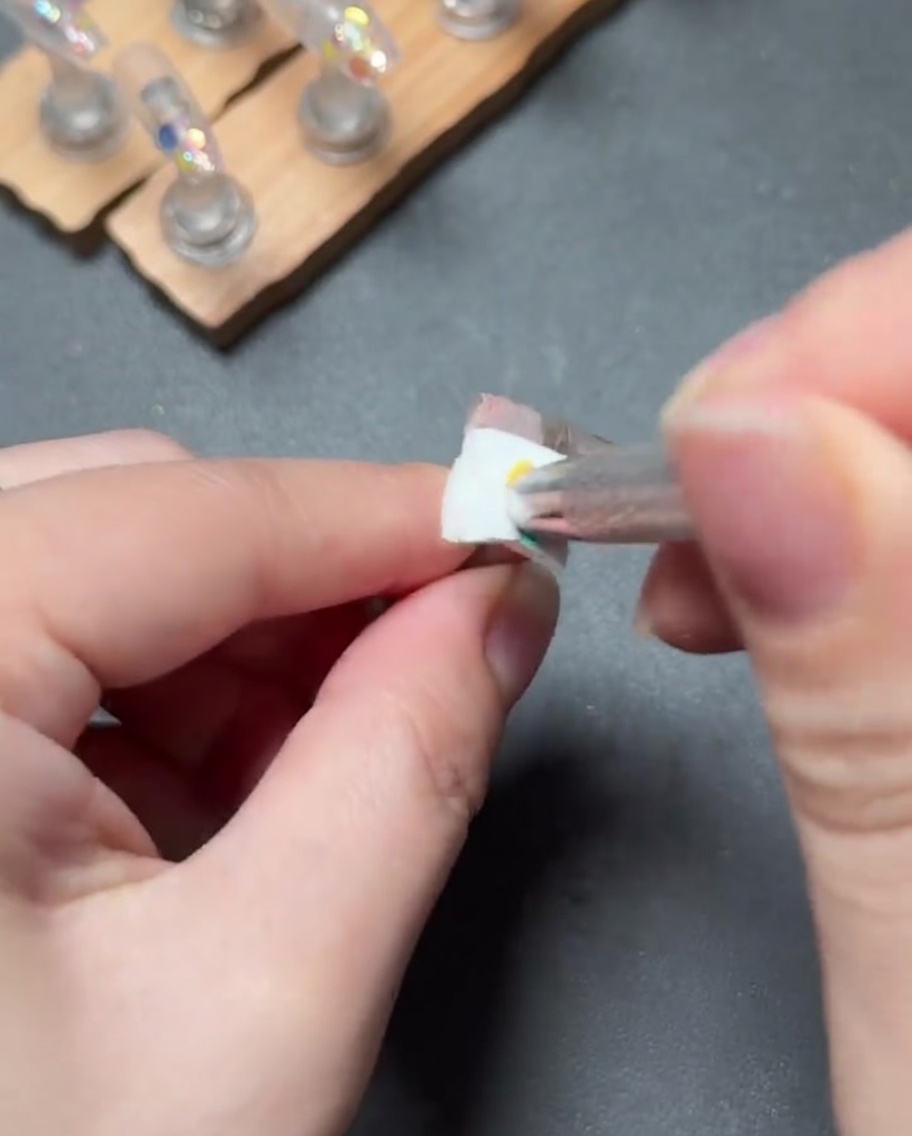
Using a light pink gel, pat and blend the color starting from the cuticle area moving down toward the glitter section. This creates a soft gradient transition.
Tip: Lightly tap the brush to achieve a seamless blend without creating harsh lines. - 6Final encapsulate
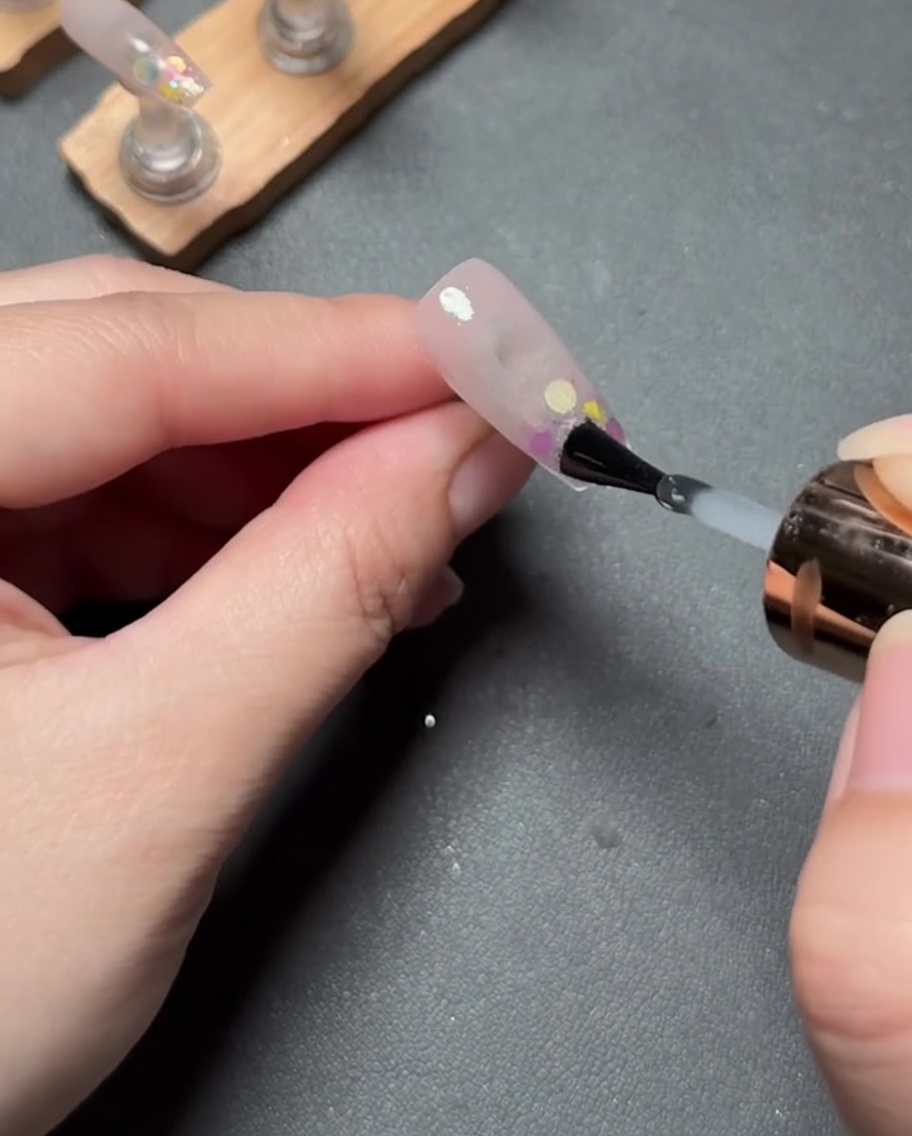
Apply a final thin layer of reinforcing gel over the entire nail to smooth out the gradient transition and encapsulate the pink color layer. Cure thoroughly according to your gel product instructions.
Tip: This final layer provides extra durability and a perfectly smooth base for any additional art. - 7Apply transfer foil gel
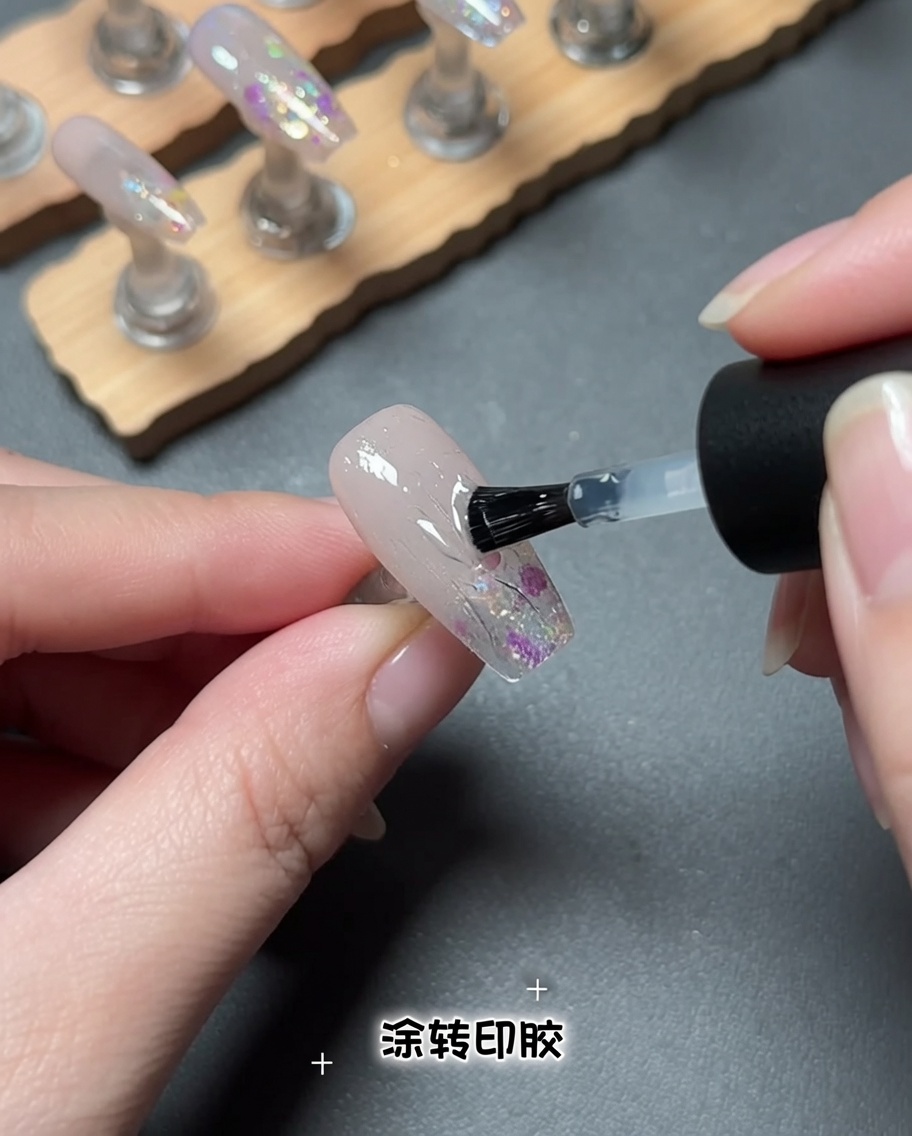
Apply an even layer of transfer foil gel over the entire nail surface. Cure the gel under your UV or LED lamp for approximately one minute to create the tacky surface necessary for the foil to adhere.
Tip: Ensure the gel is applied thinly and evenly to avoid pooling at the cuticles, which can create a messy transfer. - 8Cut the Transfer Foil
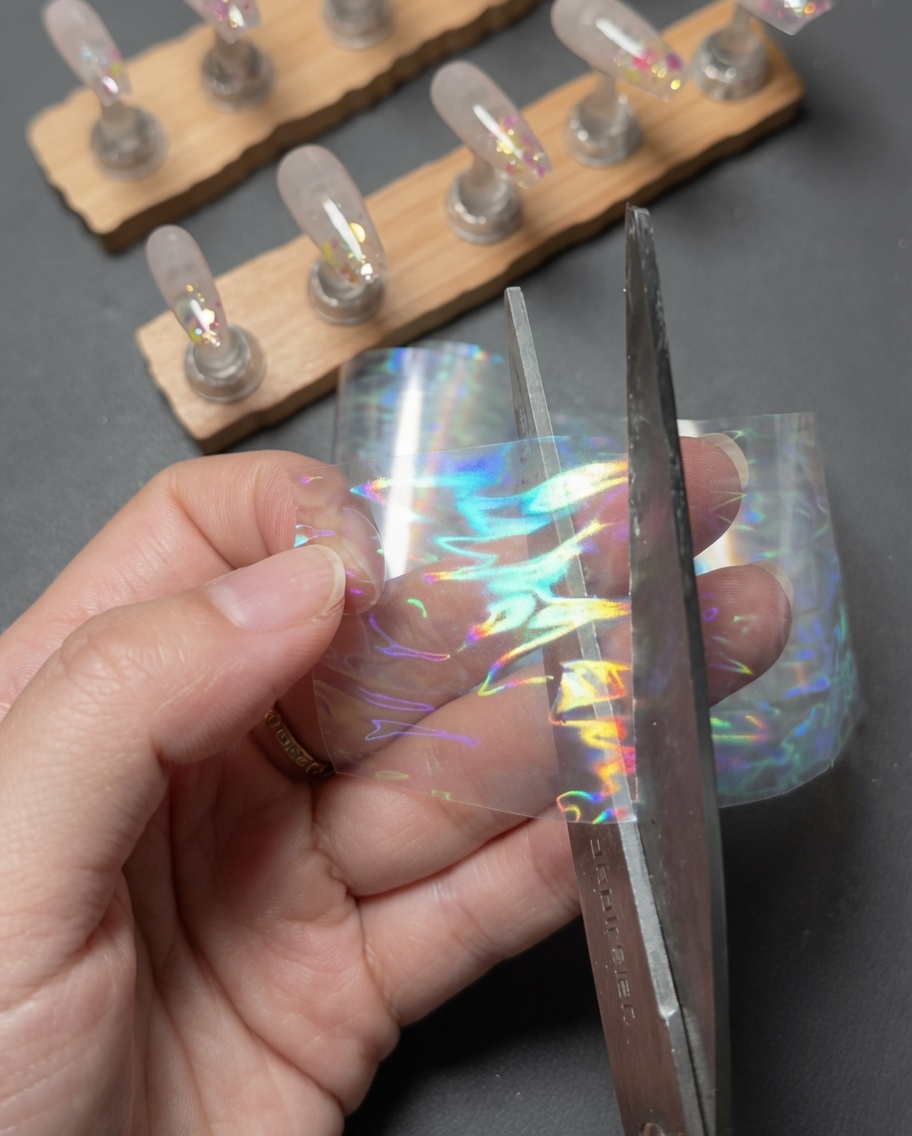
Take your roll or sheet of laser aurora transfer foil and use scissors to cut out a small, manageable piece. Cutting it down to the approximate size of the nail makes it much easier to place and press accurately without the rest of the foil sheet getting in the way.
Tip: Avoid touching the dull back side of the foil as much as possible, as the oils from your fingers can interfere with the transfer process. - 9Place Foil on the Nail
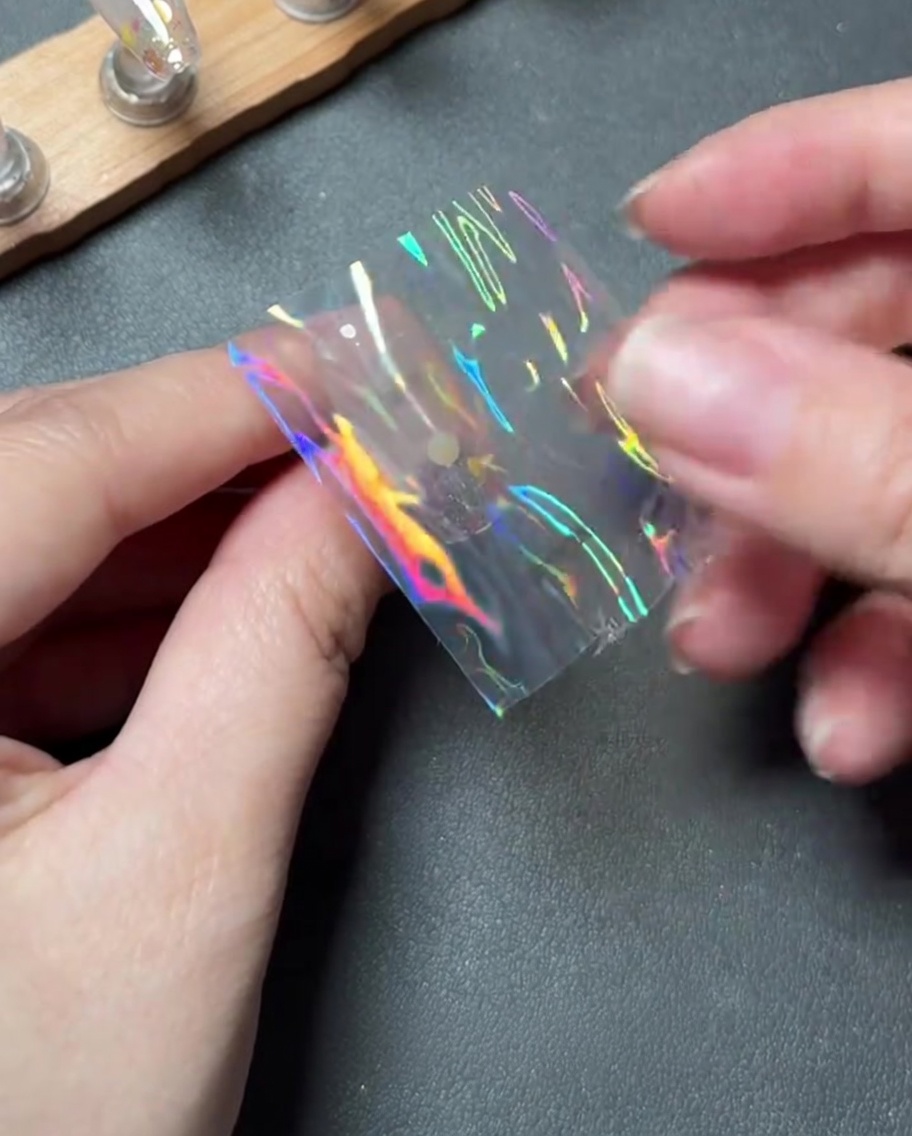
Carefully position the pre-cut piece of laser aurora transfer foil over the center of the nail, placing it directly onto the cured, tacky transfer gel. Press it down lightly with your finger to temporarily set it in place before smoothing.
Tip: Make sure the patterned, glossy side is facing up and the duller matte side is the one touching the nail. - 10Press and Smooth the Foil
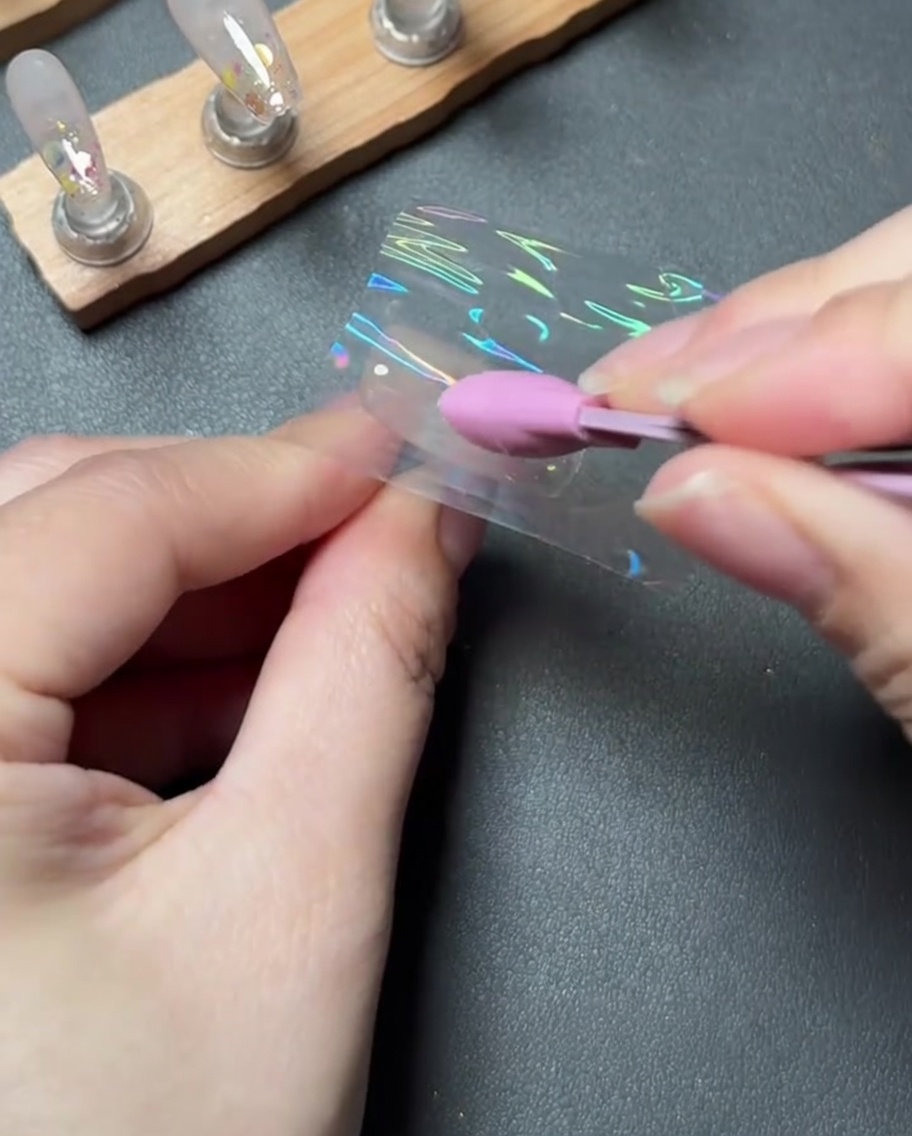
Using a soft silicone tool, firmly press and rub the transfer foil onto the nail surface. Start from the center of the nail and firmly work your way out to all edges, ensuring there are no air bubbles and the foil is completely adhered to the tacky gel layer underneath.
Tip: A silicone tool provides even, firm pressure across the curved nail surface without scratching or tearing the delicate foil. - 11Transfer the laser foil pattern
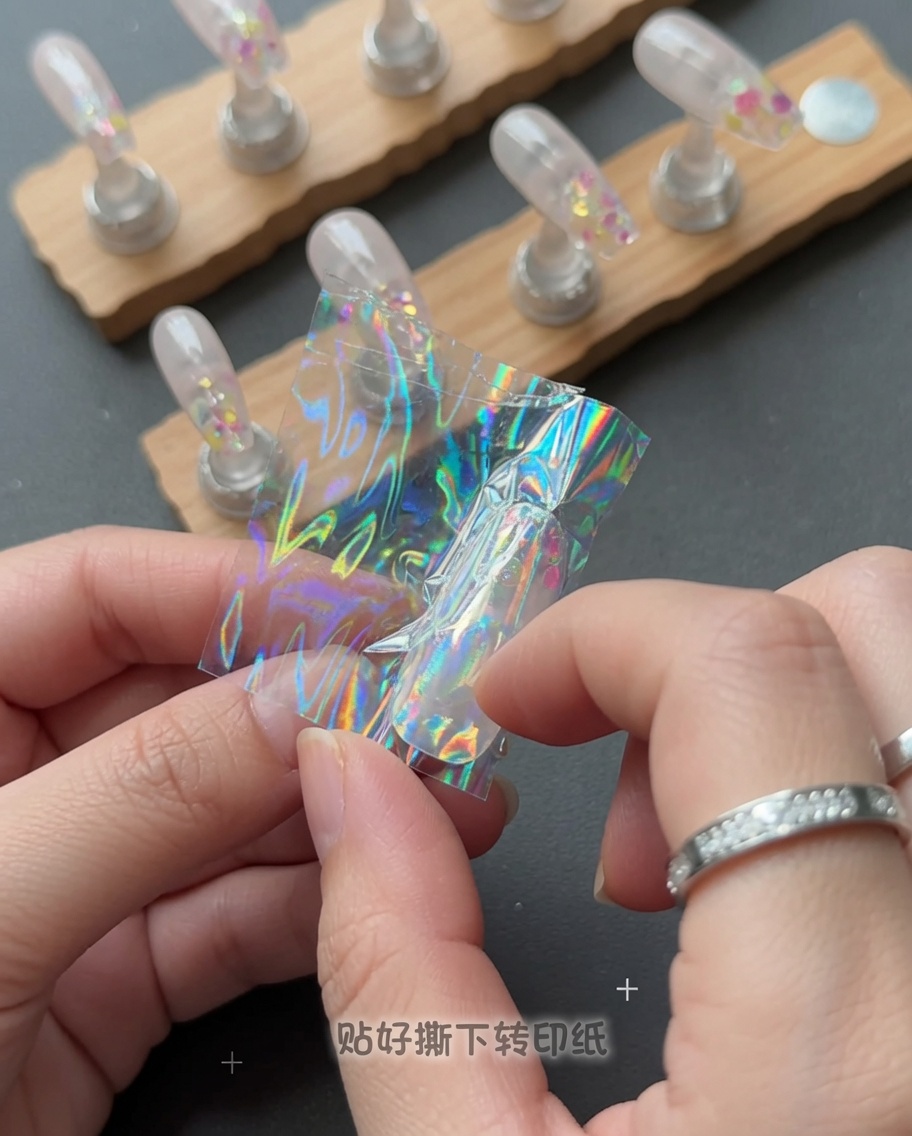
Press the transfer foil onto the cured gel, then carefully peel away the clear backing to reveal the laser star pattern imprinted on the nail.
Tip: If the pattern doesnt transfer fully in some spots, re-press the foil film firmly onto those areas before peeling again. - 12Hand-Paint Star Details
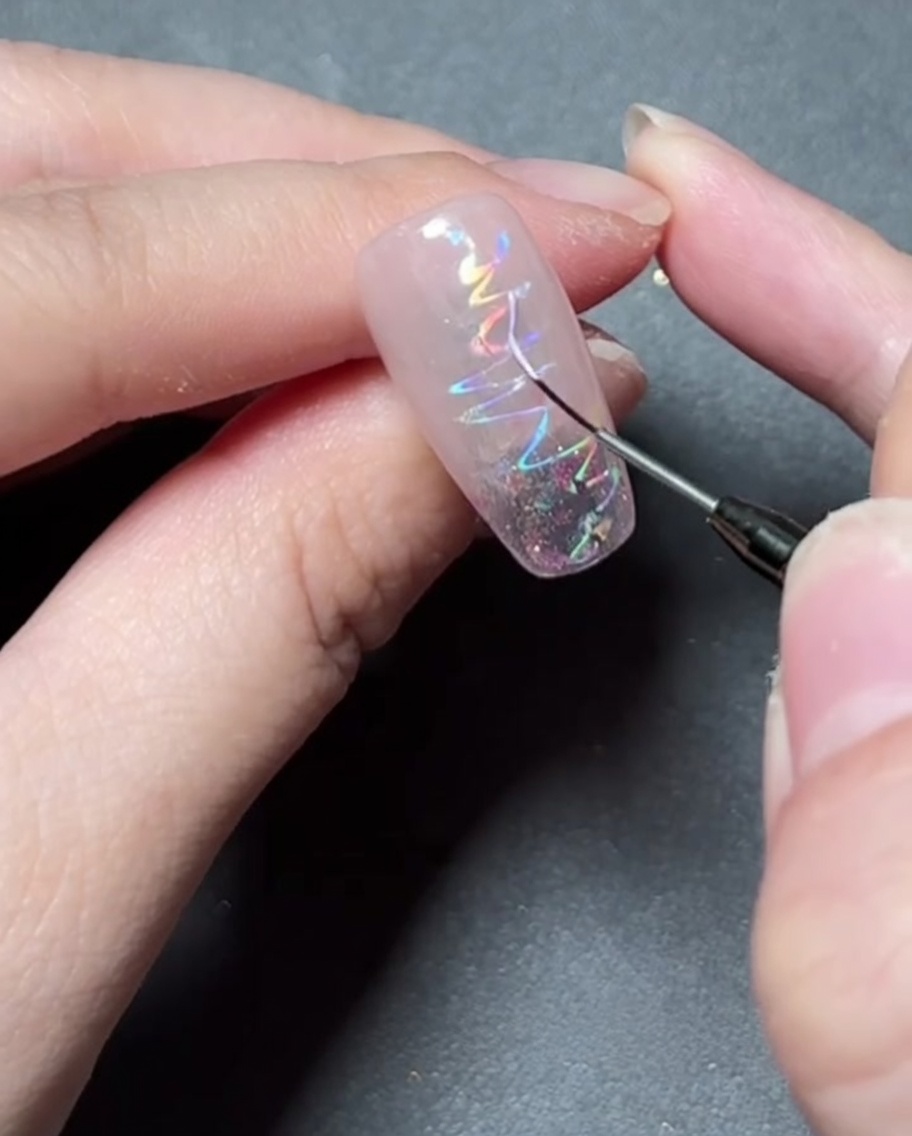
First, apply a layer of top coat to seal and protect the transferred foil. Then, use a fine liner brush and colorful non-wipe paint gel to hand-draw four-point star shapes onto the nail over the holographic background. Flash-cure each star individually as you paint it to lock the design in place.
Tip: Flash-curing between painting each star is highly recommended—it prevents the gel from spreading and makes it much easier to wipe away mistakes without ruining your previous work. - 13Paint colorful stars
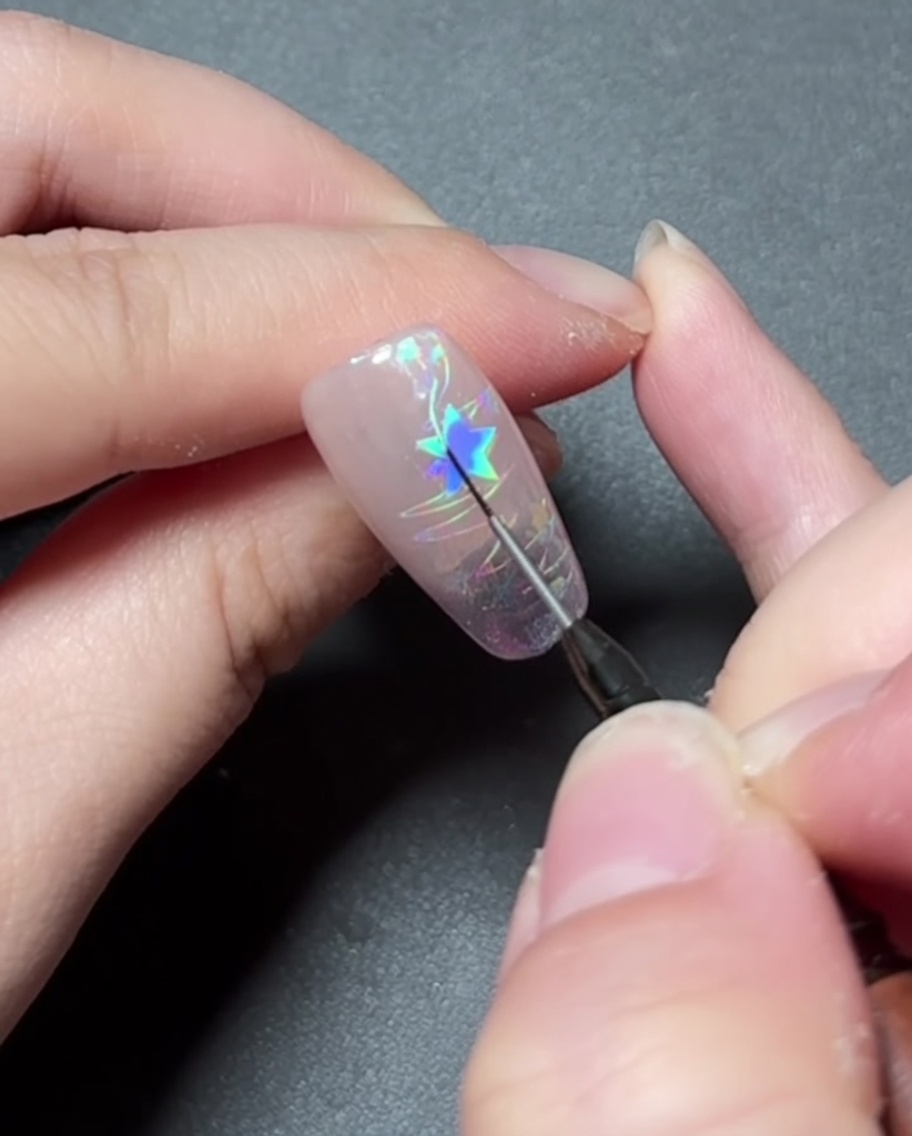
Using a fine detail brush and your chosen gel colors, carefully fill in the outlines of the hand-painted stars to complement the transfer foil design.
Tip: Flash-cure each star as you finish painting it to prevent the colors from smudging and to make cleaning up any mistakes much easier. - 14Add rhinestone accents
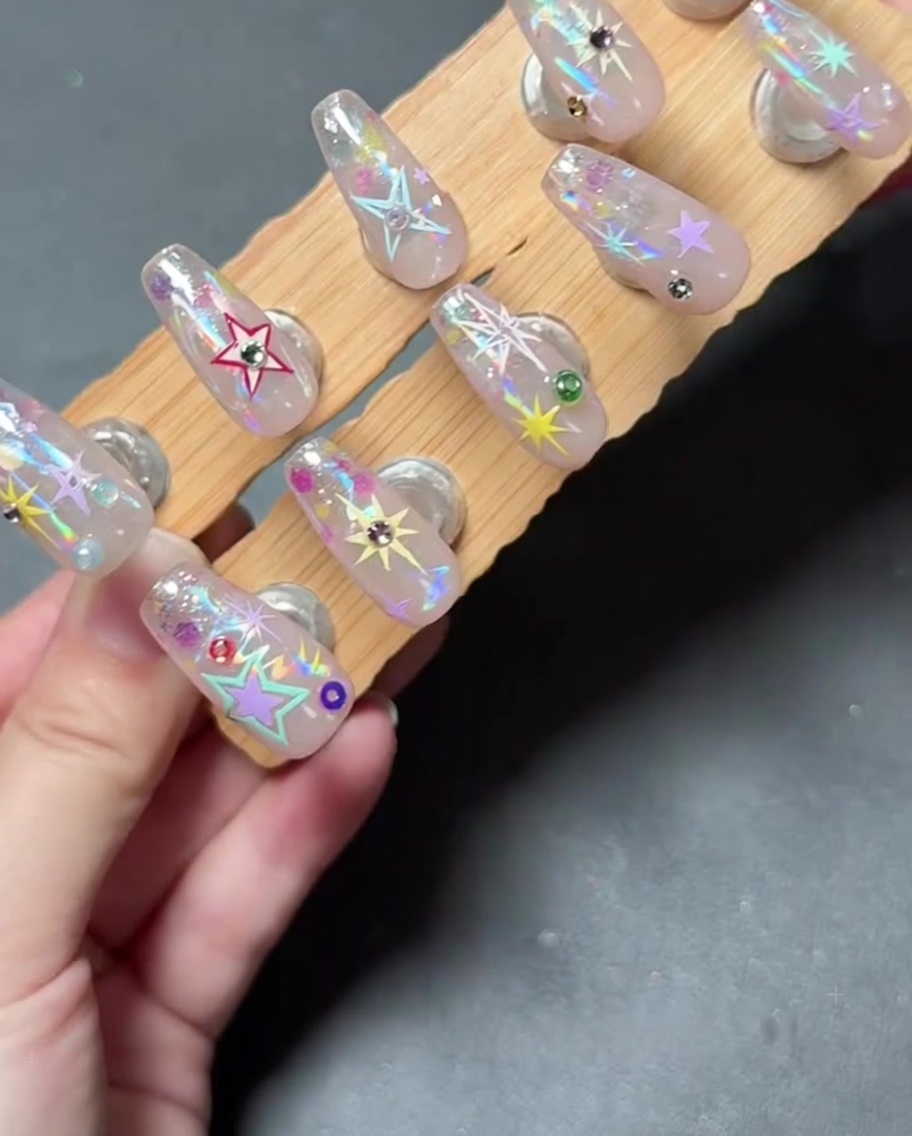
Using a wax pencil or precision tweezers, carefully place small adhesive rhinestones onto the nail surface to add sparkle and finalize the design.
Tip: Apply a tiny dot of top coat or clear gel under each rhinestone to ensure they stay firmly attached to the nail.