Matte Black Summer Daisy Nail Art — Beginner Floral Tutorial
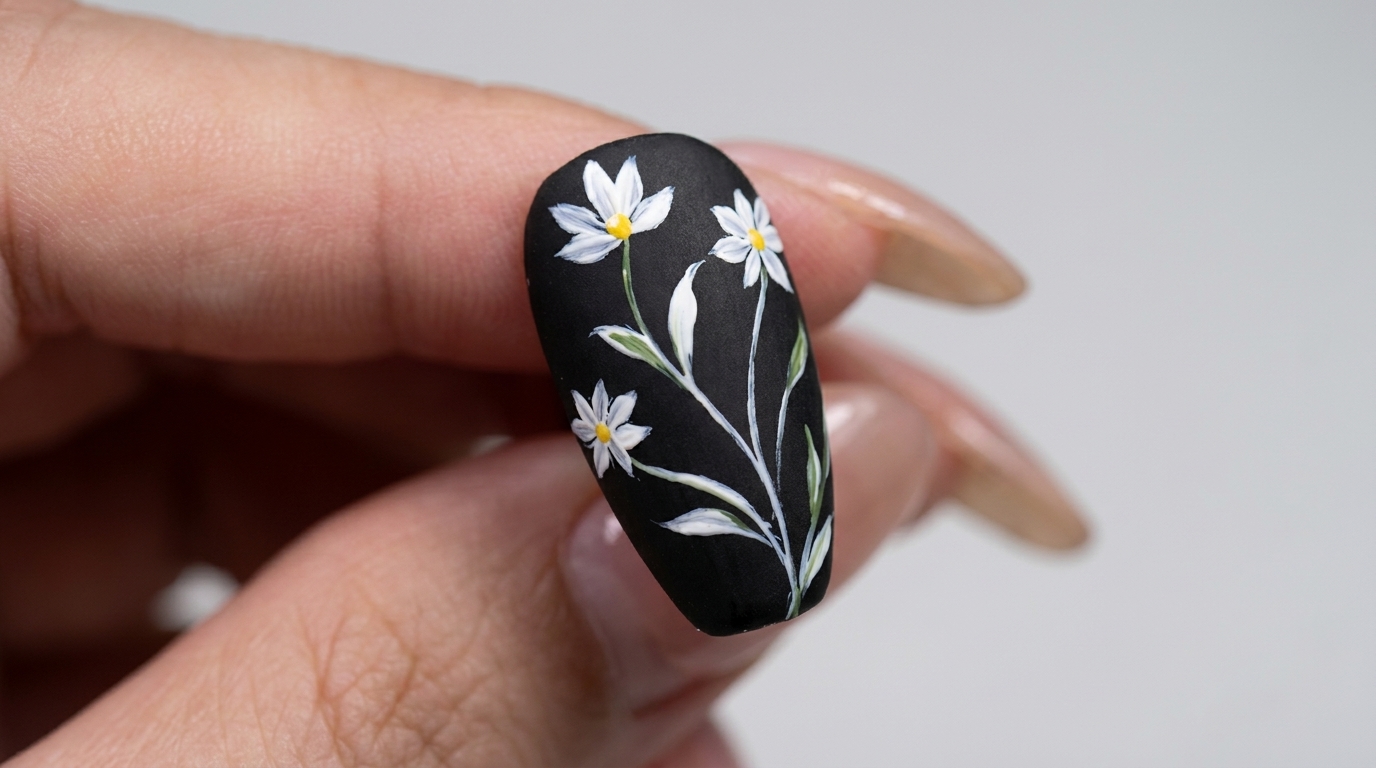
Create a stunning summer look with this elegant matte black floral design. Follow our easy guide to painting delicate daisies using a simple press-and-pull technique.
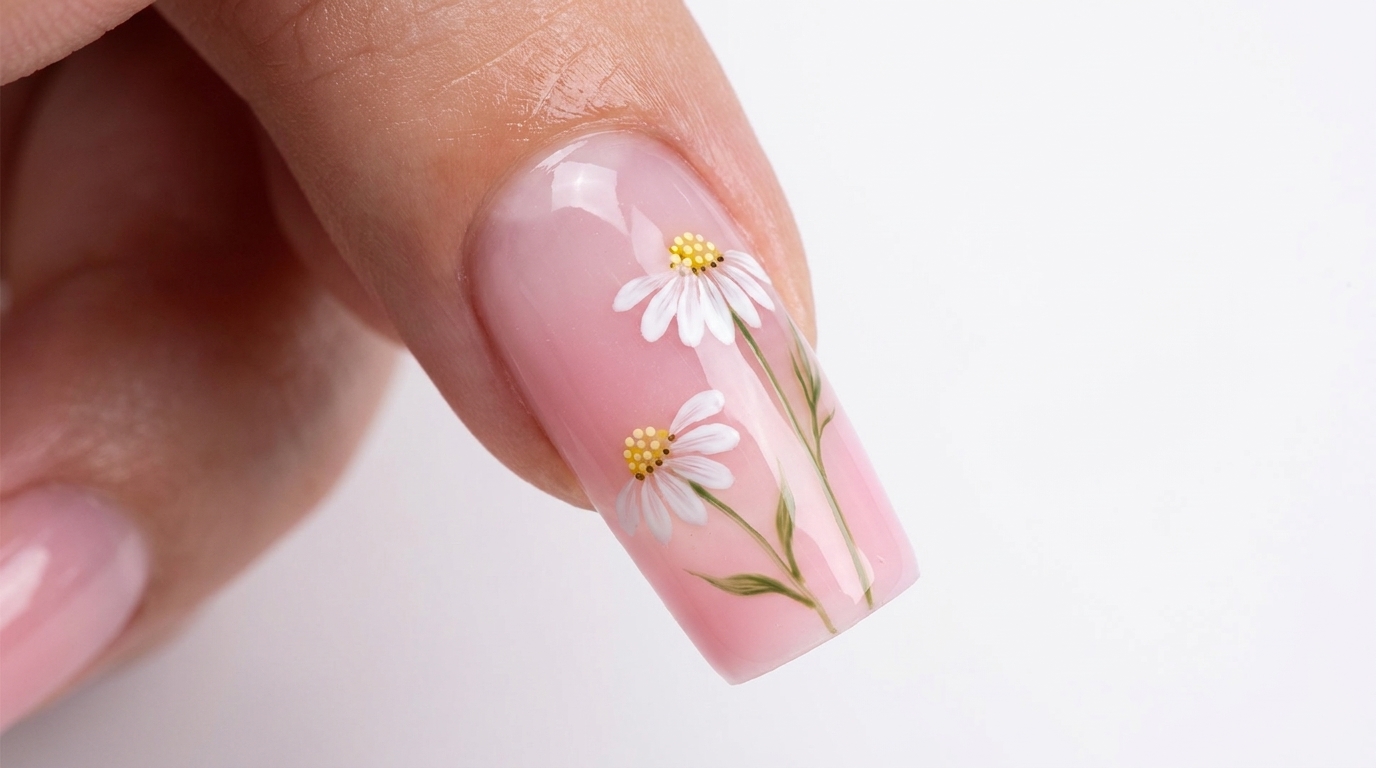
Small daisy motifs are a classic way to embrace floral trends while keeping your manicure looking chic and minimalist. The contrast of crisp white petals against a matte black base creates a sophisticated, modern aesthetic that is perfect for summer. This technique relies on simple brush movements, making it an ideal project for those looking to practice their hand-painting skills.
Steps
- 1Paint the daisy stems
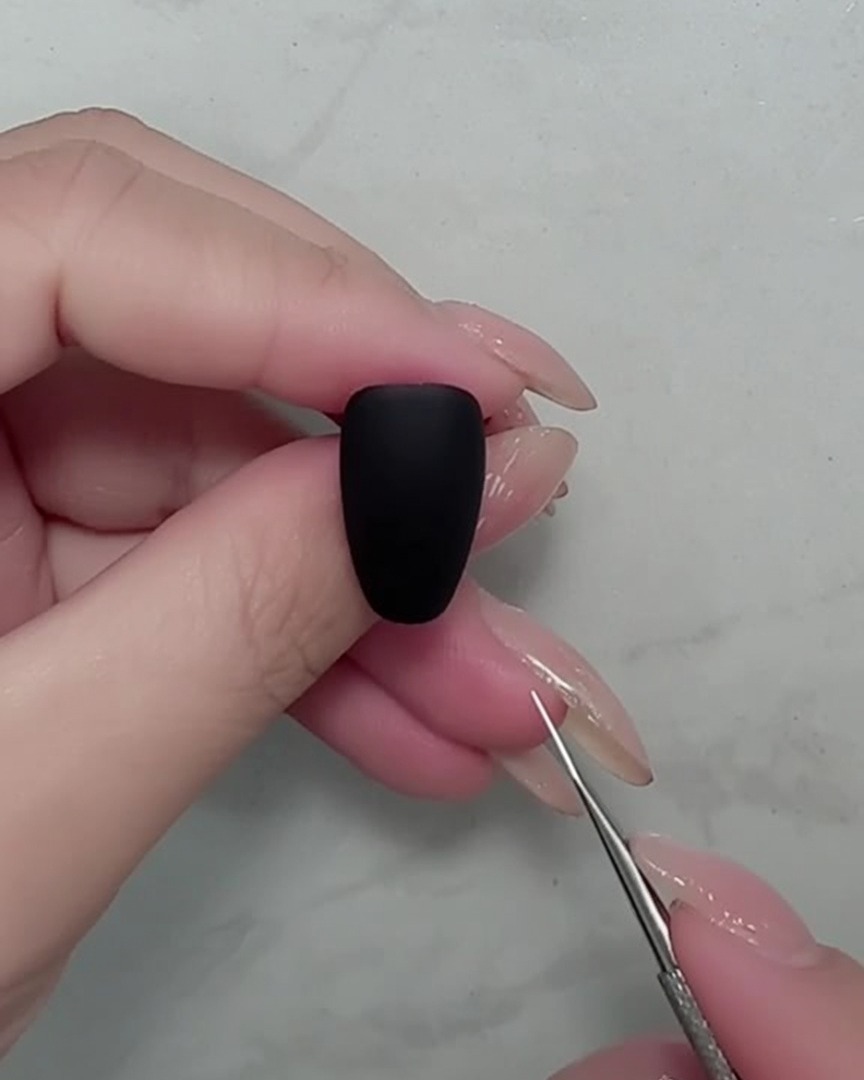
Using a fine liner brush and white gel polish, carefully paint thin, delicate lines on the black matte nail surface. These lines will serve as the stems for your daisy design.
Tip: Keep your hand steady and use light pressure to ensure the lines remain thin and graceful. - 2Create petal markers
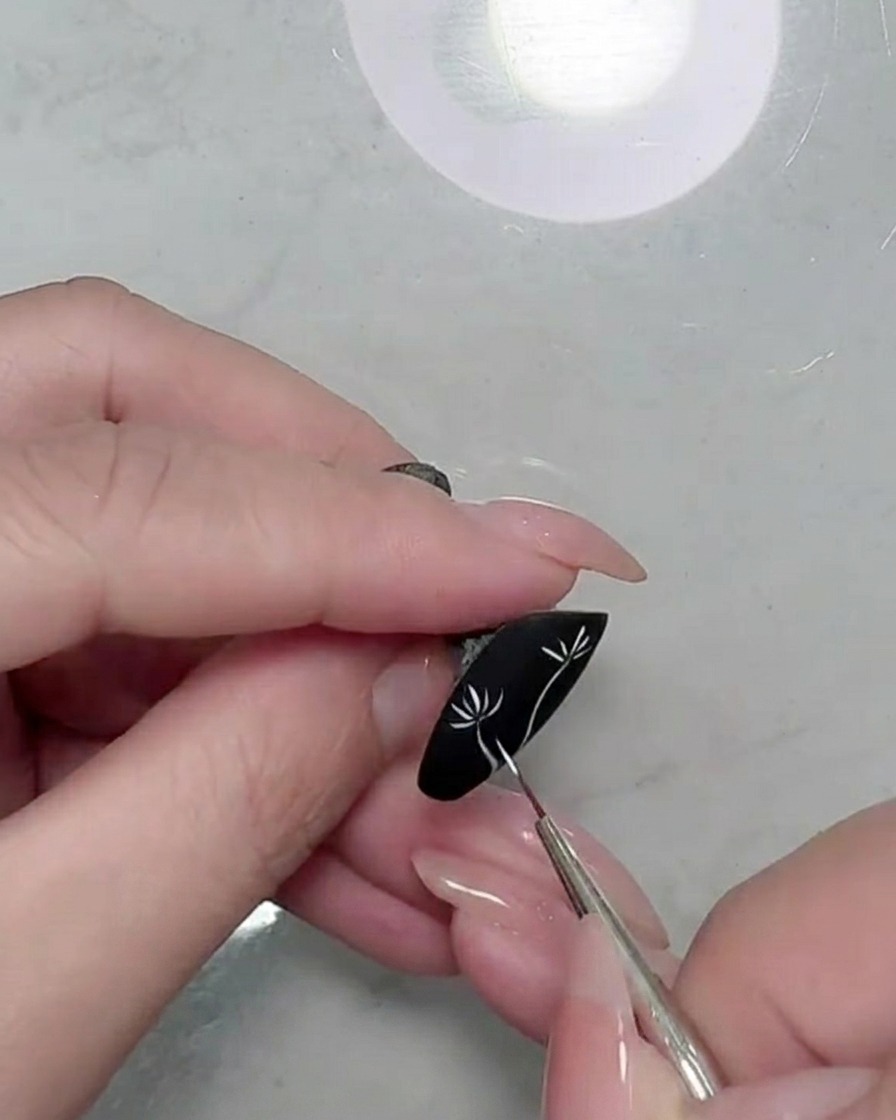
Using the tip of your brush, place small, consistent white dots at the ends of the stems you just painted. These dots act as markers for the center of your daisy flower heads, making it easier to position the petals correctly.
Tip: Make these dots small; they only need to guide your petal placement, not form the center of the flower yet. - 3Paint the first daisy petals
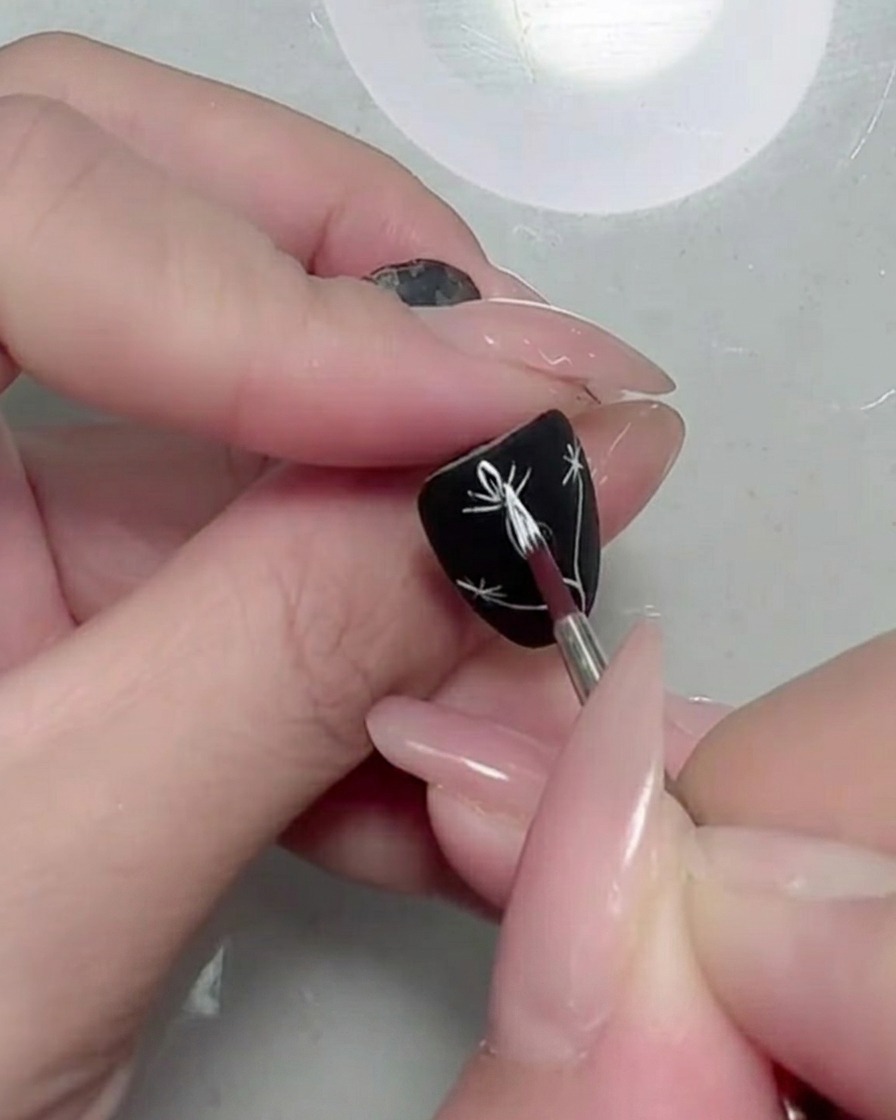
Start painting the petals for your first daisy. Use a press-and-pull motion, starting from the center marker dot and pulling outward to create the shape of each petal.
Tip: The press-and-pull technique helps create a natural petal shape effortlessly. - 4Finish the first daisy petals
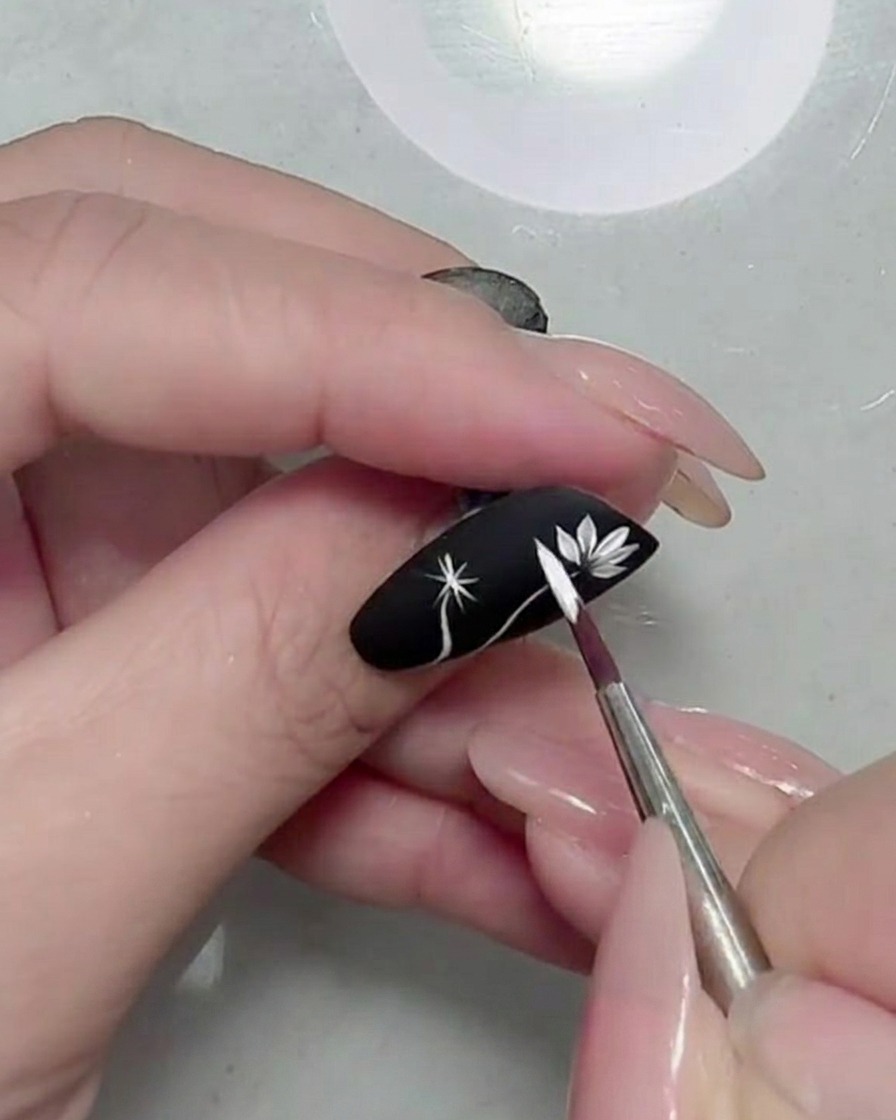
Continue using the press-and-pull technique to complete the surrounding petals for the first daisy. Ensure the petals are distributed evenly around the center marker dot.
Tip: Work carefully to keep the petals consistent in size for a polished look. - 5Paint the second daisy petals
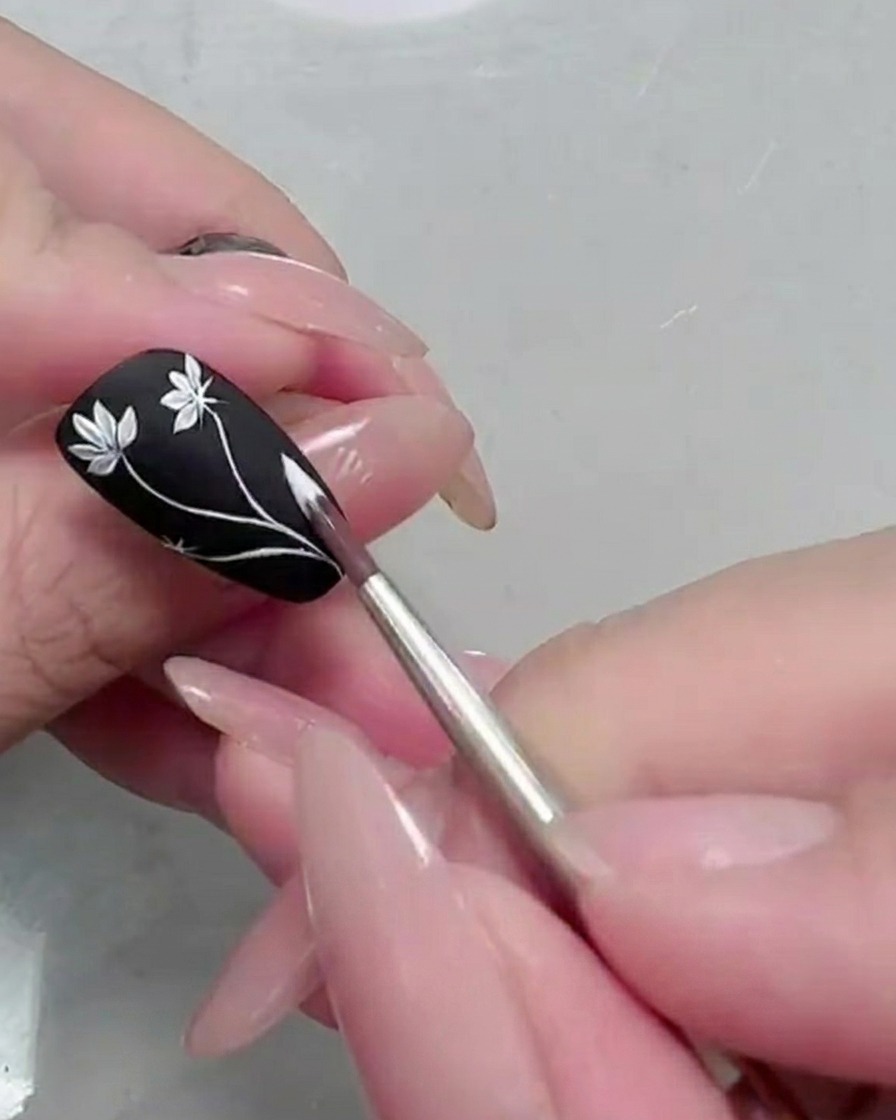
Repeat the same press-and-pull petal application process for the second daisy flower on your nail. Ensure it complements the position of the first daisy.
Tip: Consistency is key to a balanced and professional design. - 6Add yellow flower centers
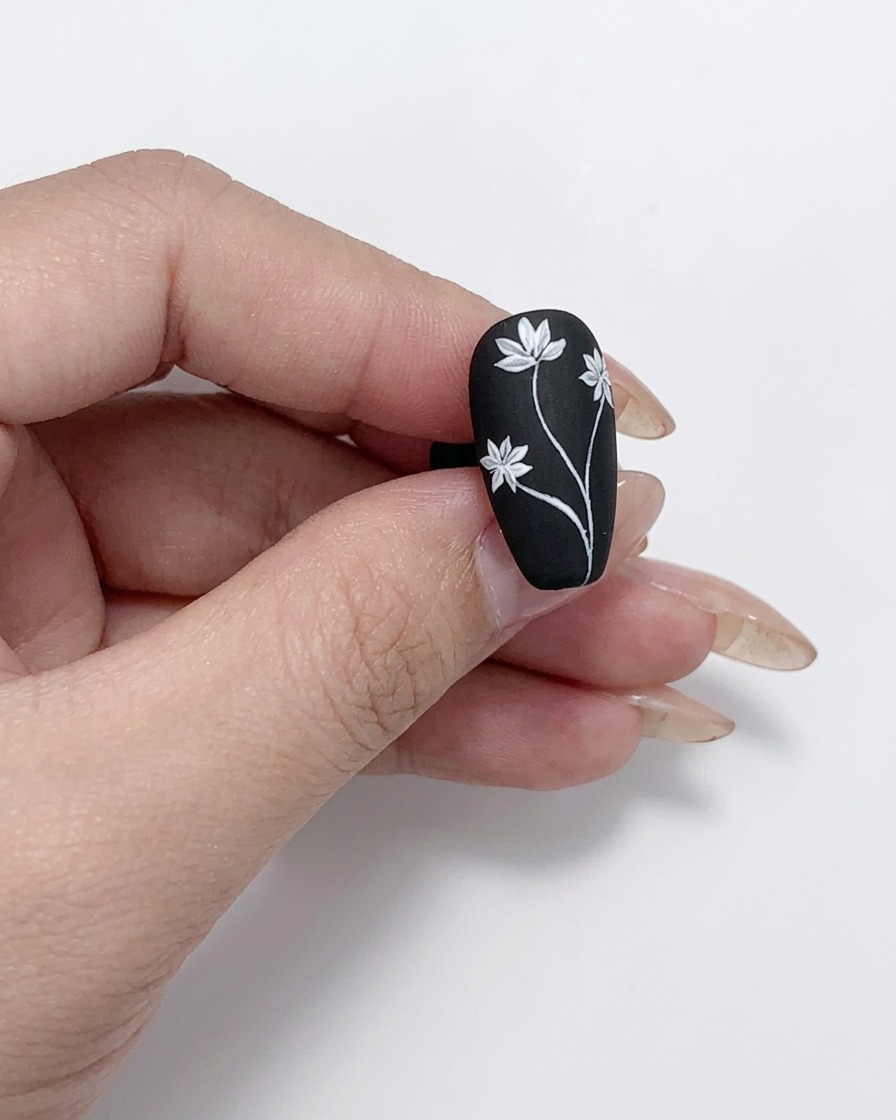
Using a dotting tool or a fine brush, carefully apply a small dot of yellow gel to the center of each white daisy flower to give them a realistic, finished look.
Tip: A small amount of gel goes a long way; keep the center dots precise. - 7Form the leaves
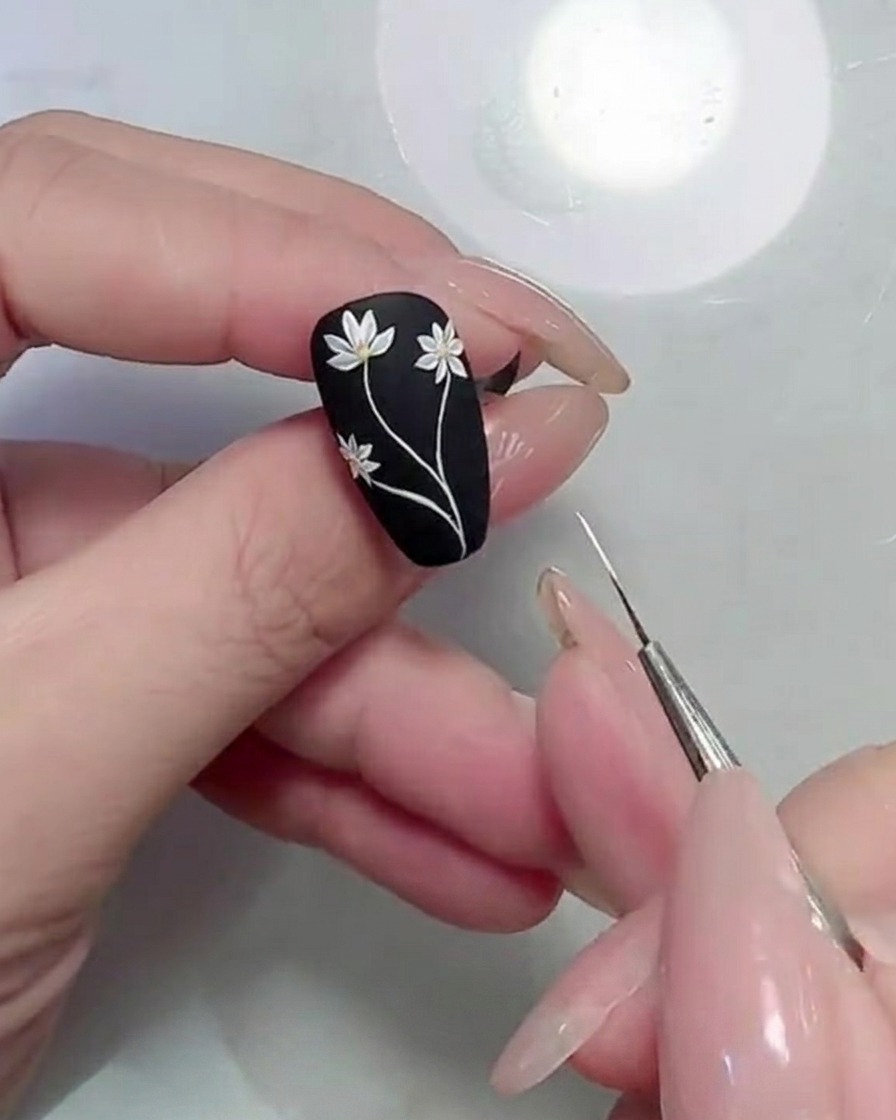
Using a fine detail brush, take a small amount of green gel polish and press the brush gently against the nail surface along the stem lines to create the leaf shapes. This press-and-pull technique allows you to achieve a tapered leaf appearance. Ensure the leaves are distributed naturally along the stems.
Tip: Apply gentle pressure to create a wider base for the leaf, then slightly lift and pull as you move away to create a sharp point. - 8Refine floral details
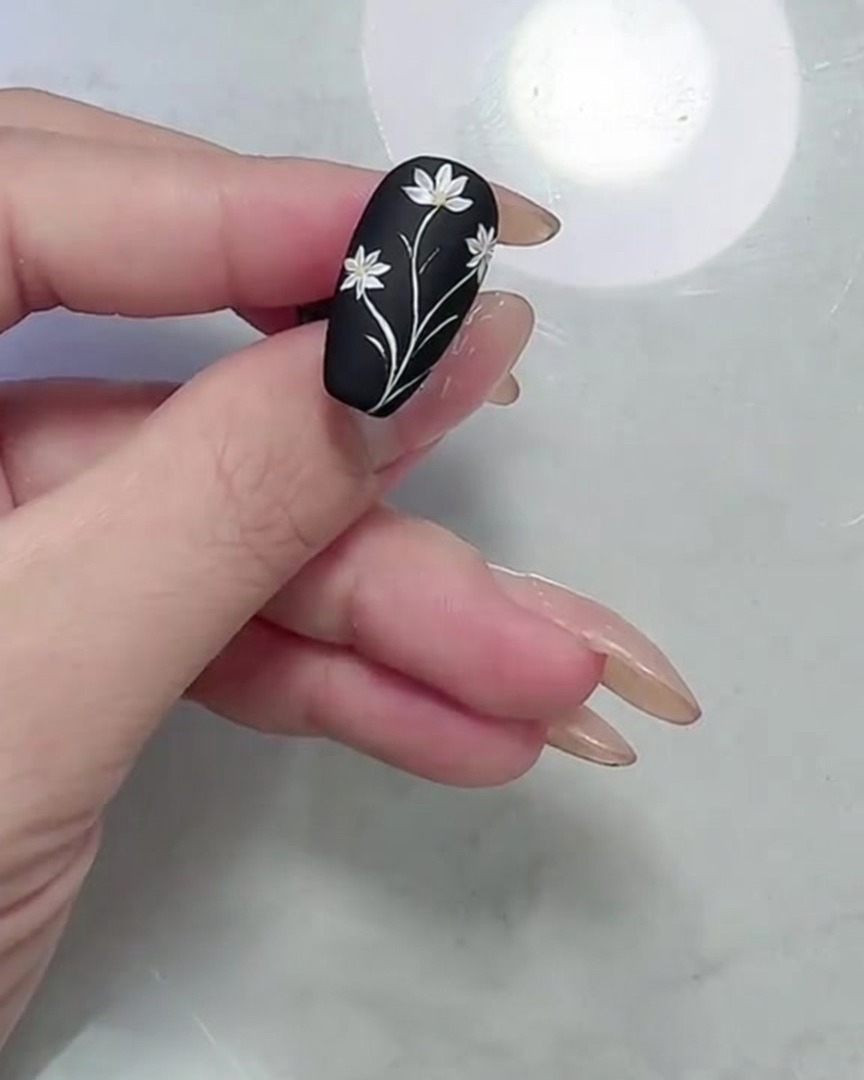
Review your floral design to ensure the daisy petals and green leaves are clearly defined and crisp against the matte black background. Use the detail brush to touch up any uneven lines or edges, ensuring a polished look for all floral elements.
Tip: Taking a moment to refine your lines significantly improves the professionalism of the hand-painted art.