Jelly Gradient Heart Nails
Aurora Texture — Step-by-Step Tutorial
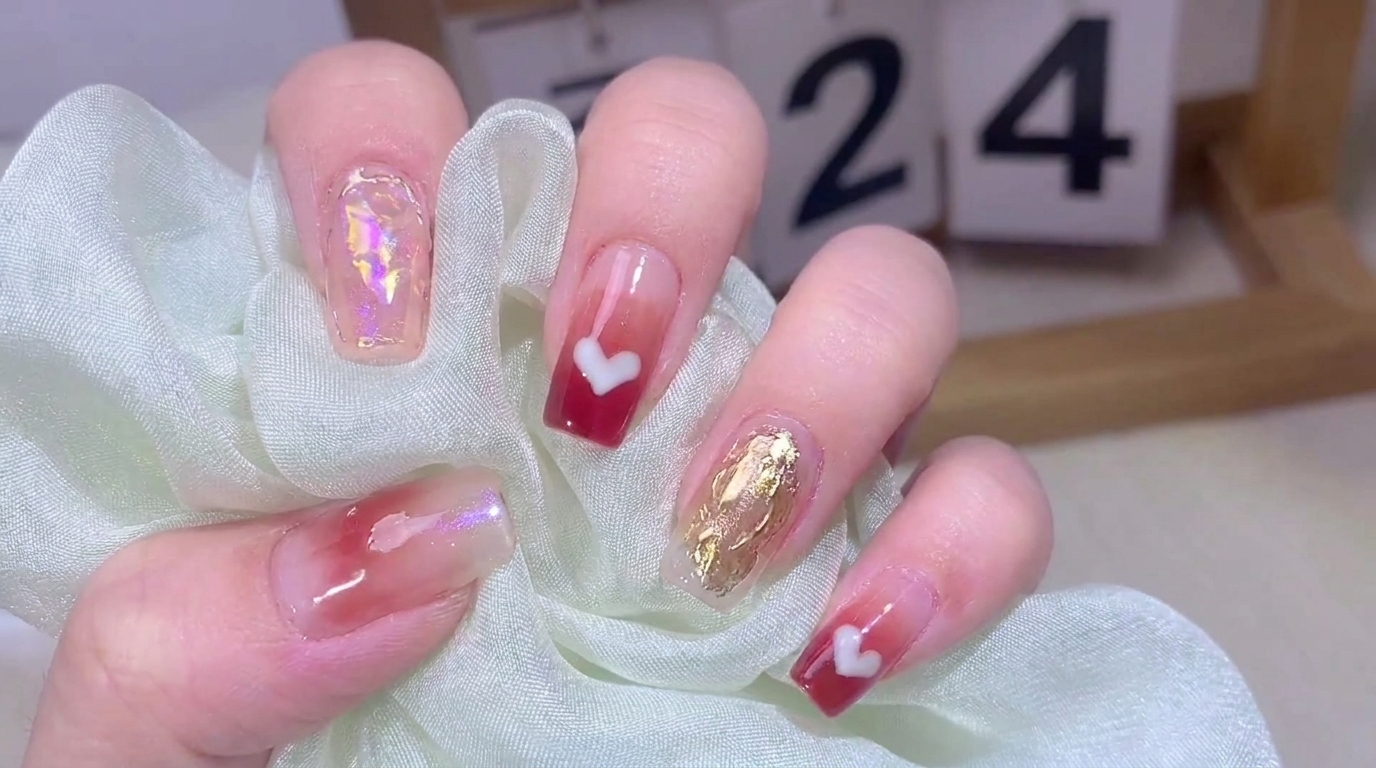
Create trendy jelly gradient nails with a 3D heart design and shimmering aurora chrome texture. Follow this simple guide to achieve a salon-quality look.
The jelly gradient manicure remains a top-tier trend for those who love a translucent, ethereal look. By incorporating a raised 3D heart motif and a textured aurora finish, you can add a playful yet sophisticated edge to your style. This tutorial breaks down how to balance these different textures and effects to create a stunning, multi-dimensional nail design.
Steps
- 1Apply gradient base color
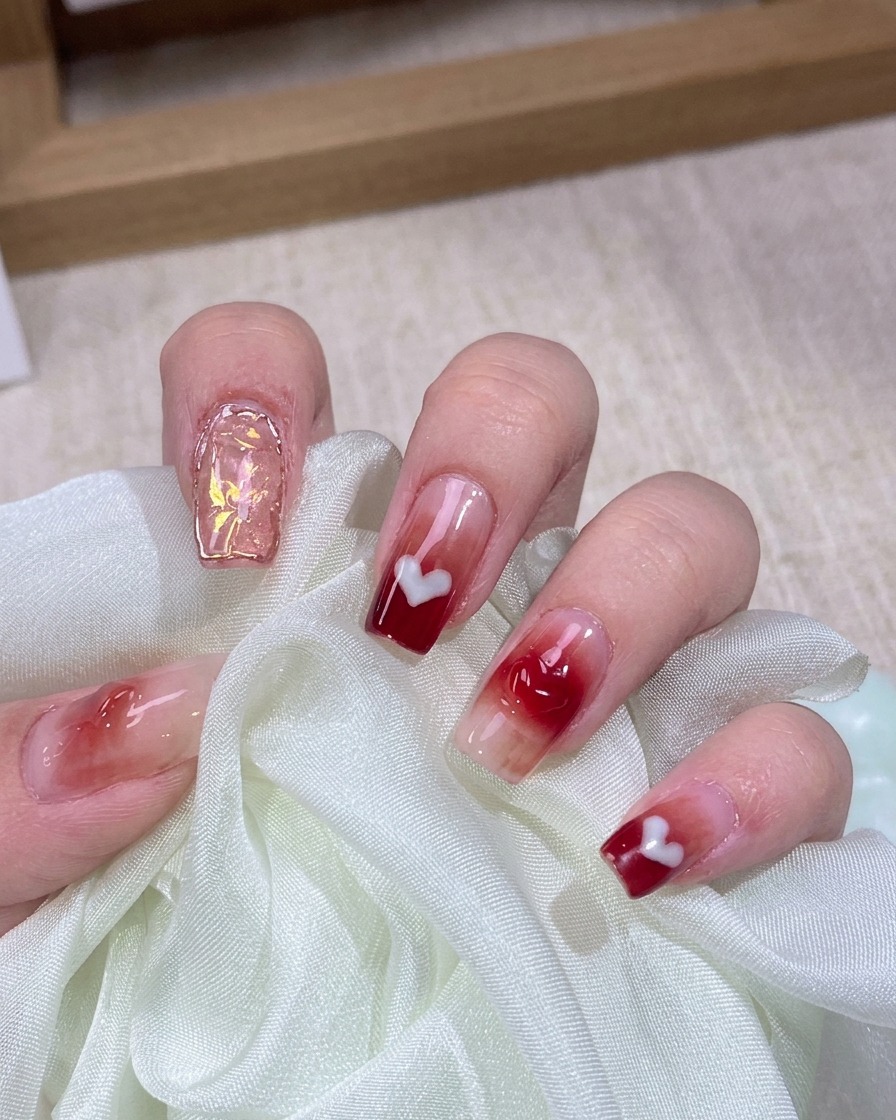
Using a fine detail brush, apply the red jelly gel to the center of the nail plate. Use light, feathery strokes to blend the color toward the base and tip, creating a soft, sheer gradient effect characteristic of a jelly manicure.
Tip: Keep the layer thin to maintain the transparent jelly look and ensure even curing. - 2Create 3D heart shape
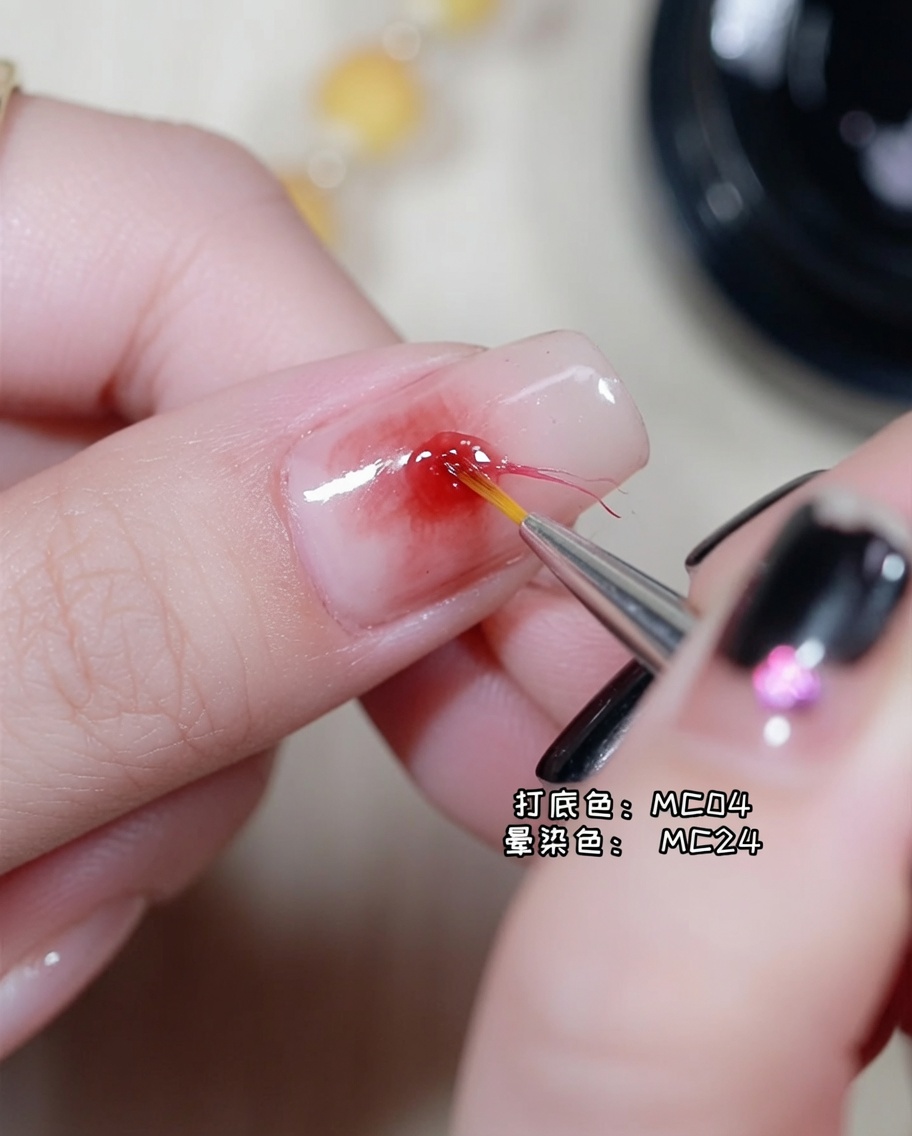
Pick up a bead of modeling gel with your brush and place it in the center of the nail. Use the tip of the brush to sculpt the gel into a raised, three-dimensional heart shape. Ensure the edges are smooth before curing.
Tip: If the gel starts to spread too much, cure it for a few seconds to flash cure and hold the shape in place. - 3Apply base color
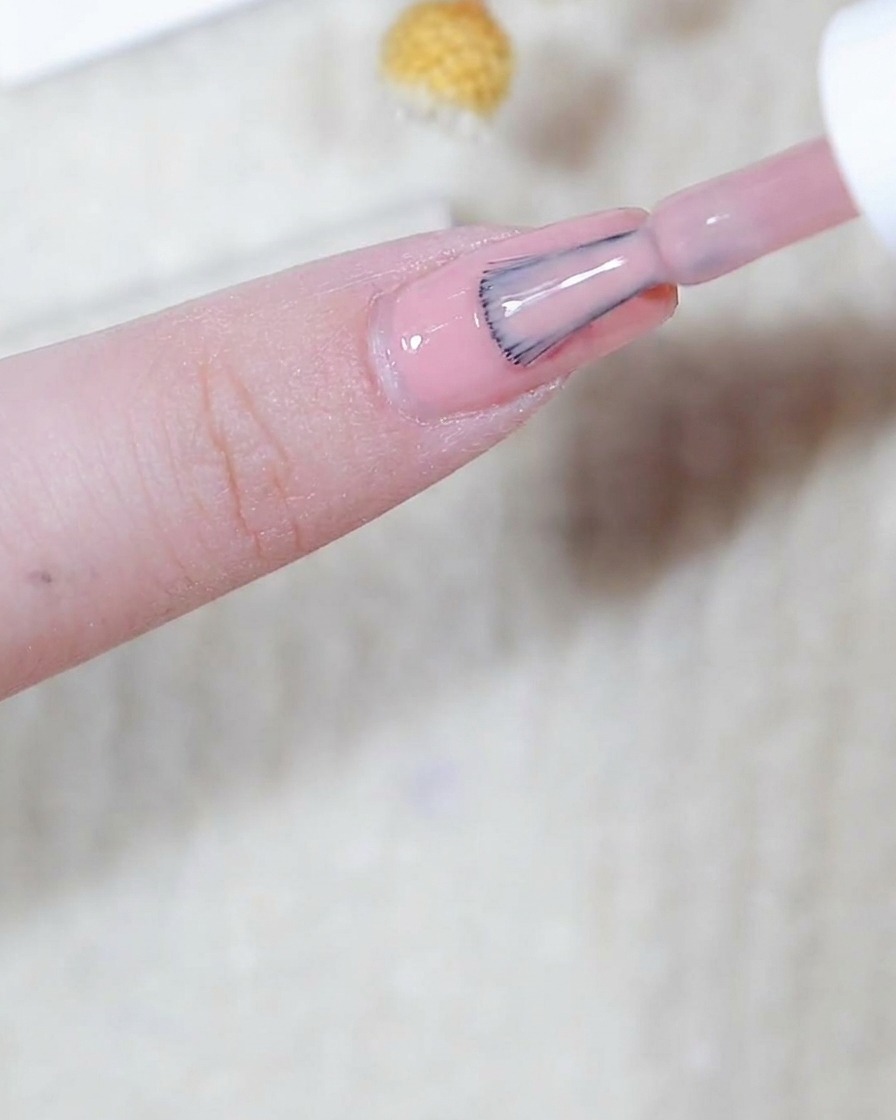
Apply a thin, uniform layer of your chosen base color over the entire nail plate. This layer provides the foundation for the upcoming textured design and ensures a clean background for the aurora powder.
Tip: Ensure you cap the free edge of the nail to prevent the color from chipping at the tip. - 4Apply thick modeling gel layer
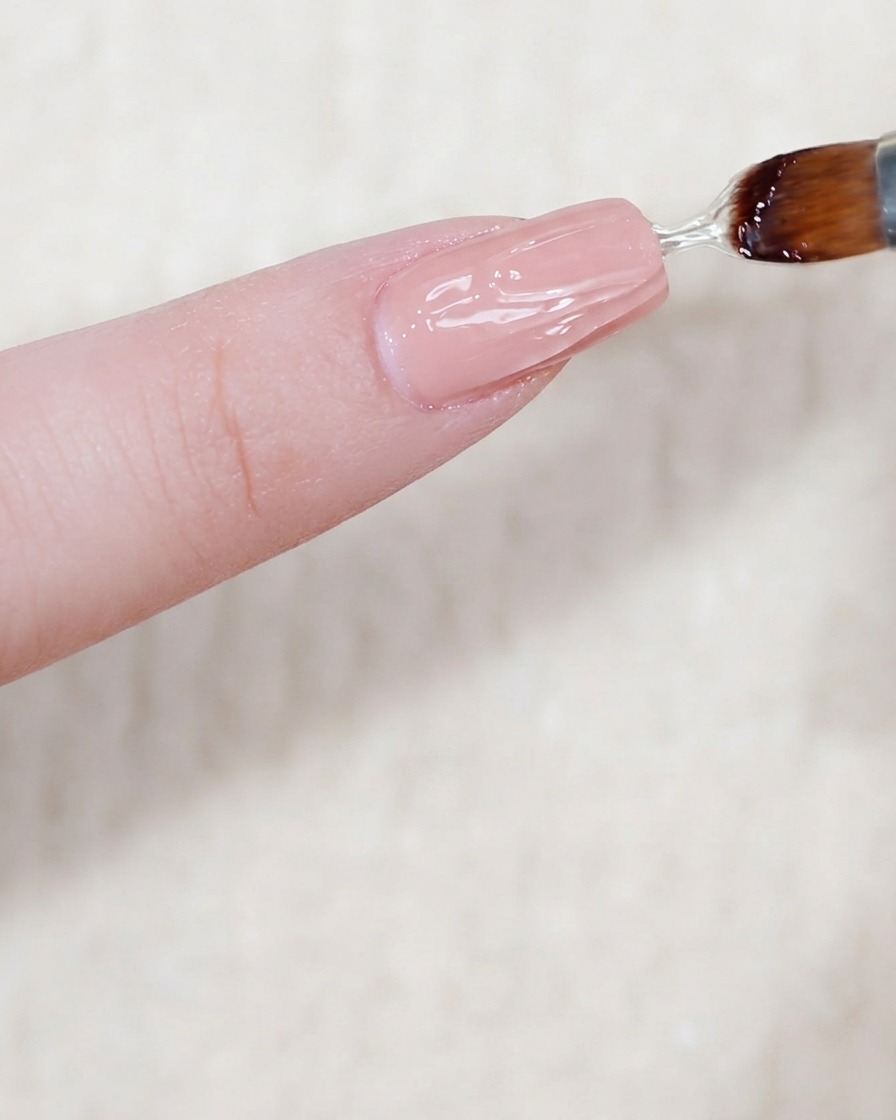
Apply a generous, thick layer of clear modeling gel over the cured base color. This layer acts as the medium for creating the texture in the next step, so ensure it is thick enough to hold the imprint.
Tip: Work quickly to apply the gel, as it may self-level and thin out if left to sit too long before texturing. - 5Create texture with plastic wrap
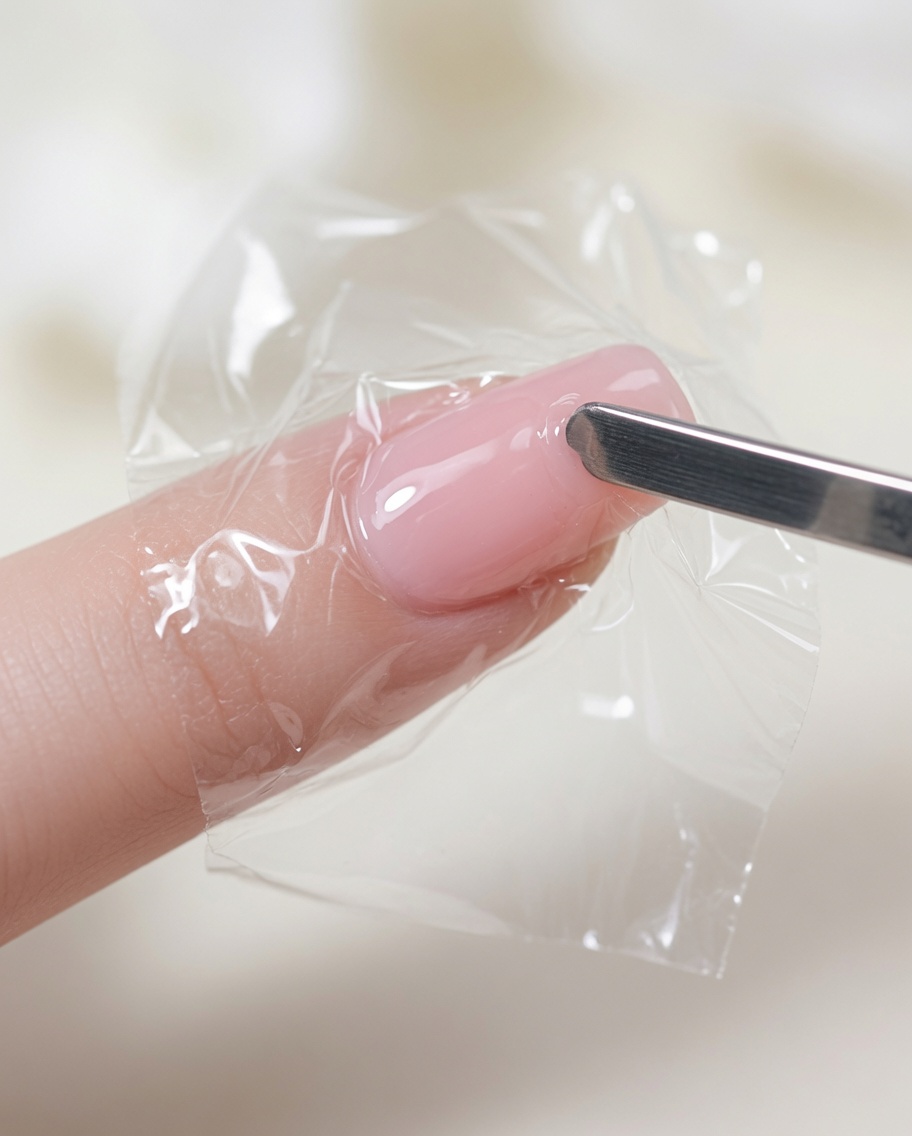
Gently press a small, crumpled piece of plastic wrap onto the uncured modeling gel. The wrap will create organic, wrinkled textures in the gel. While the wrap is still in place, cure the nail under your UV/LED lamp to set the pattern.
Tip: Press lightly to create delicate textures, or press firmly for deeper, more dramatic ripples. - 6Apply aurora powder
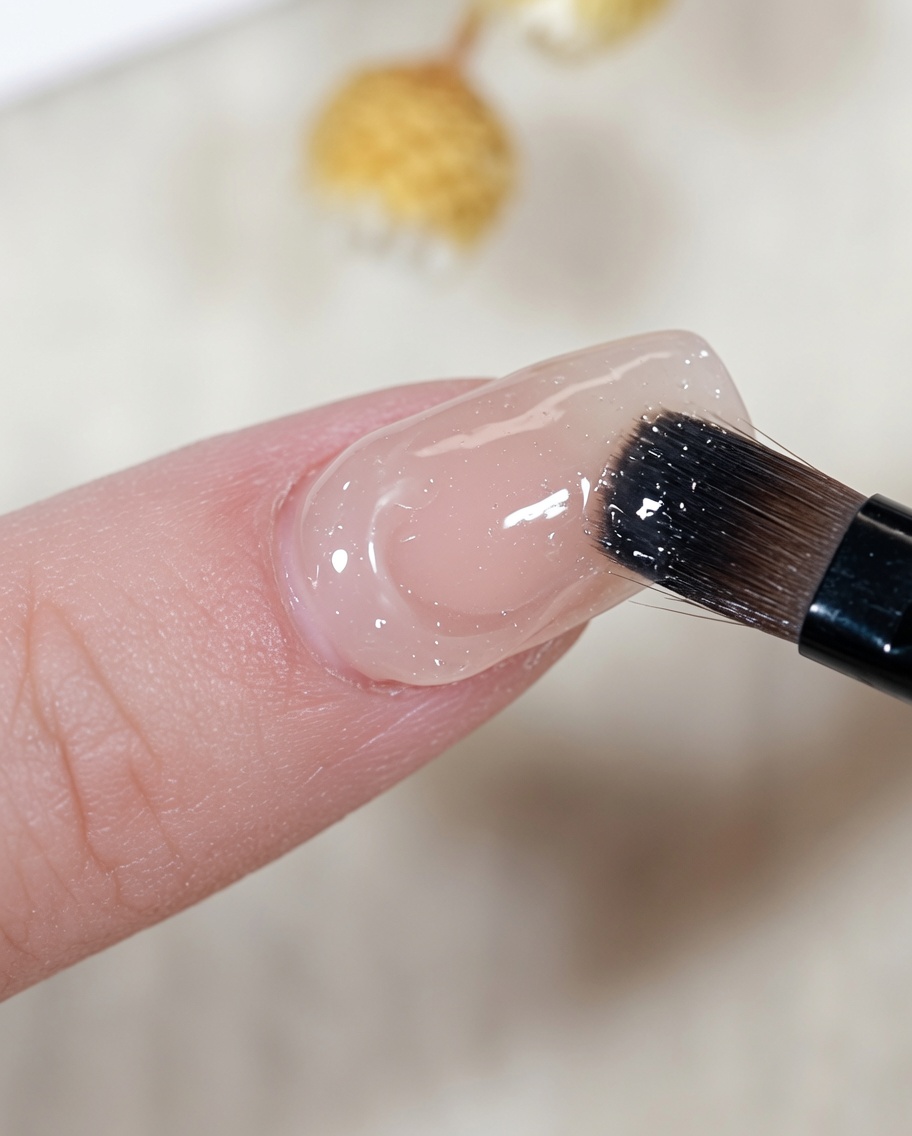
Once the textured gel has been cured and the plastic wrap removed, use a sponge applicator to gently buff aurora chrome powder onto the surface. The powder will catch the light and emphasize the unique textures you created.
Tip: A little powder goes a long way; start with a small amount and build intensity as needed. - 7Apply top coat
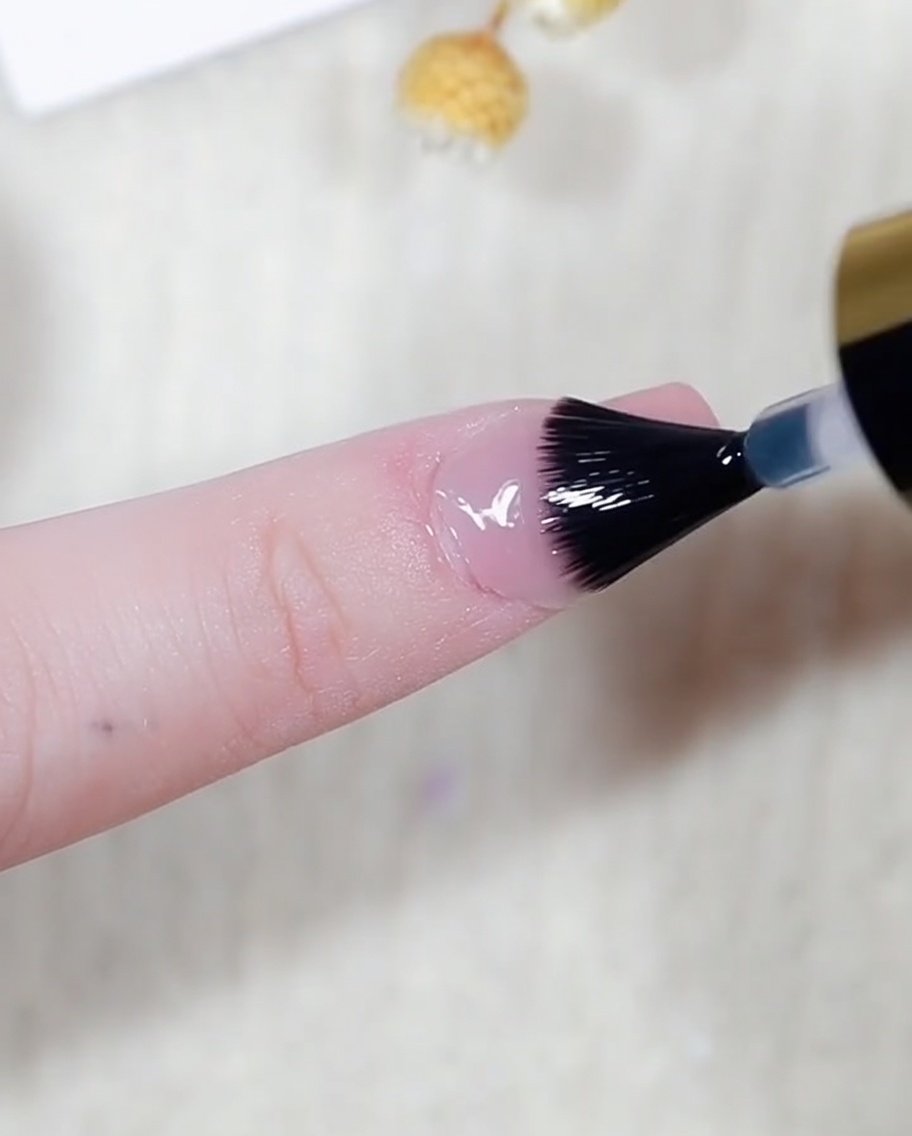
Apply a generous, smooth layer of top coat over the cured aurora effect to seal the nail art and provide a protective, glossy finish. Ensure you cap the free edge of the nail to prevent chipping. Cure fully under your lamp according to the product instructions.
Tip: Check for any uneven spots or air bubbles while applying the top coat to ensure a perfectly smooth surface before curing. - 8Outline the nail
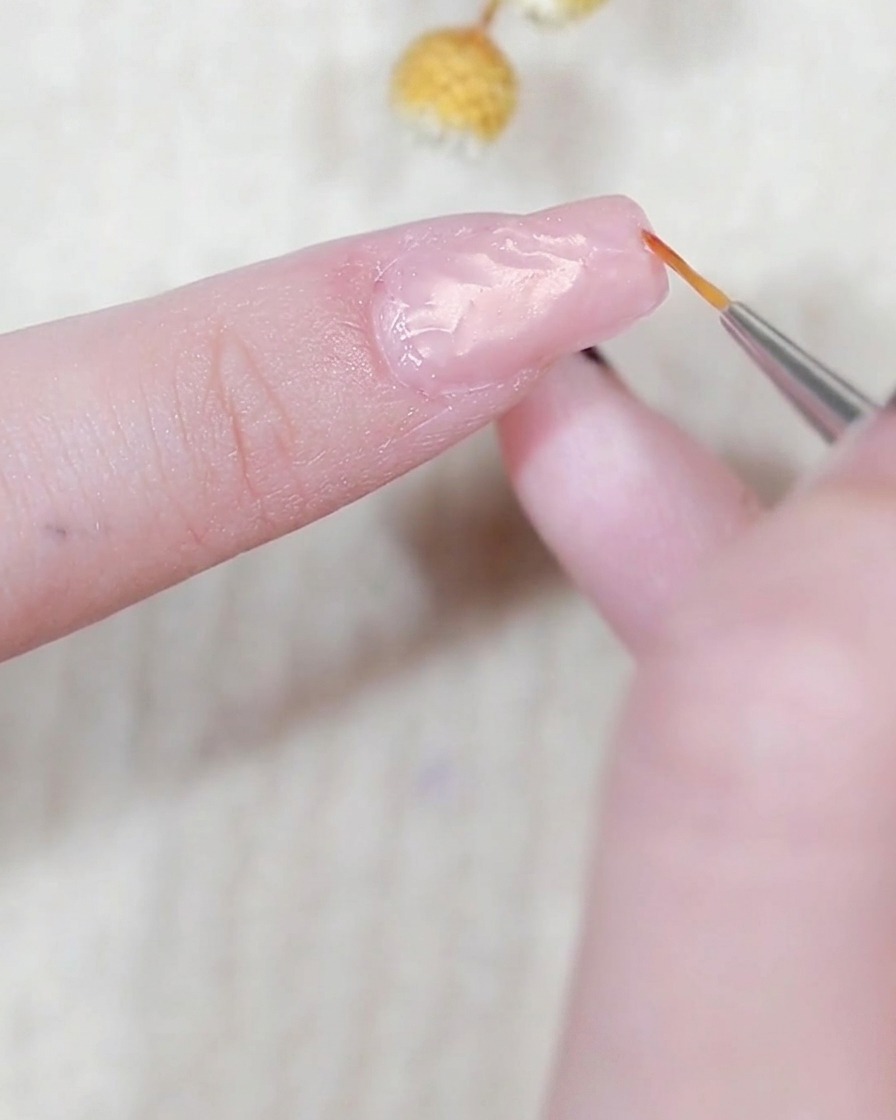
Using a thin liner brush, pick up a small amount of modeling gel and carefully trace along the edges of the nail. This creates a raised border that will serve as the base for the gold mirror powder accent. Cure briefly to set this outline before proceeding to the next step.
Tip: Maintain a steady hand and use minimal pressure on the liner brush for a precise, clean outline. - 9Apply gold mirror powder
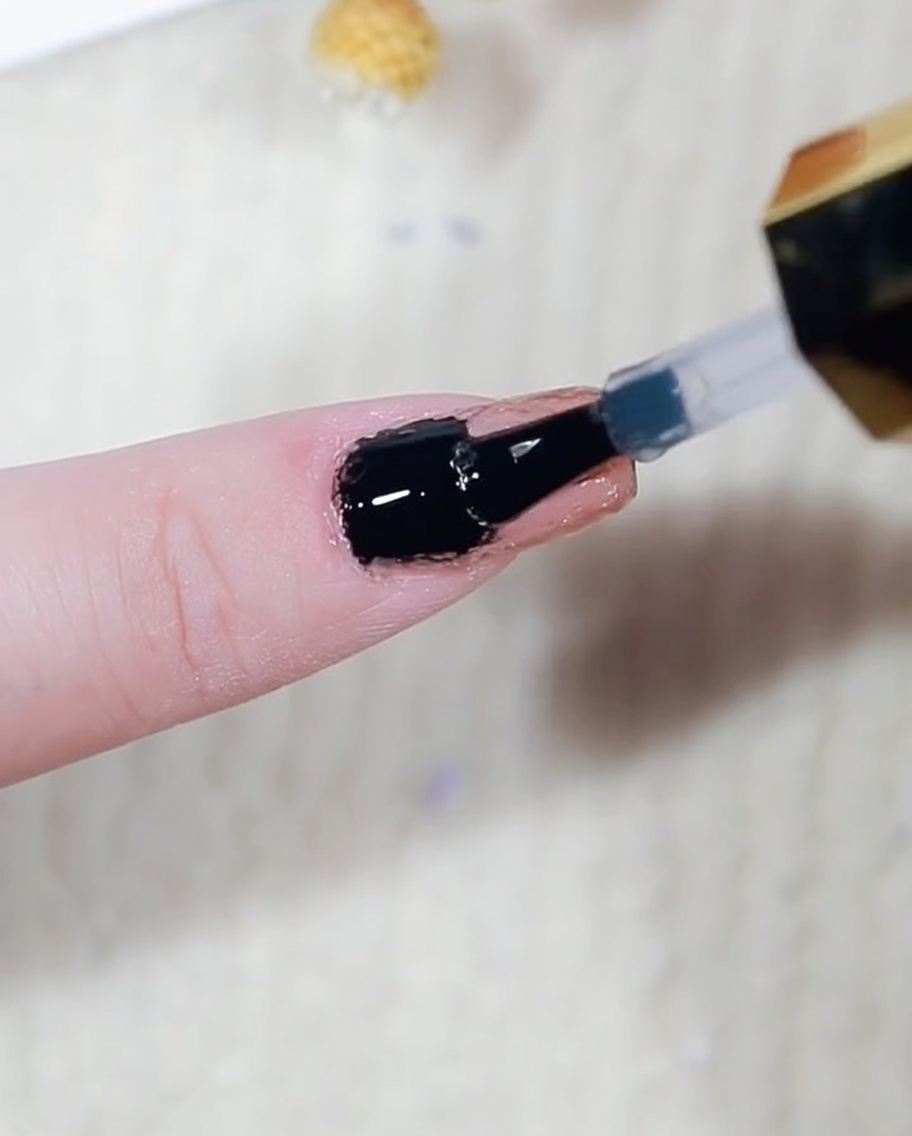
Once the modeling gel outline is cured, use a small eyeshadow applicator or silicone tool to rub the gold mirror powder onto the raised edges. The powder will adhere to the tacky surface of the cured gel, creating a metallic, reflective gold frame. Gently brush away any excess powder with a soft brush.
Tip: If the gold powder doesnt stick well, ensure the modeling gel outline was fully cured and that the surface is clean.