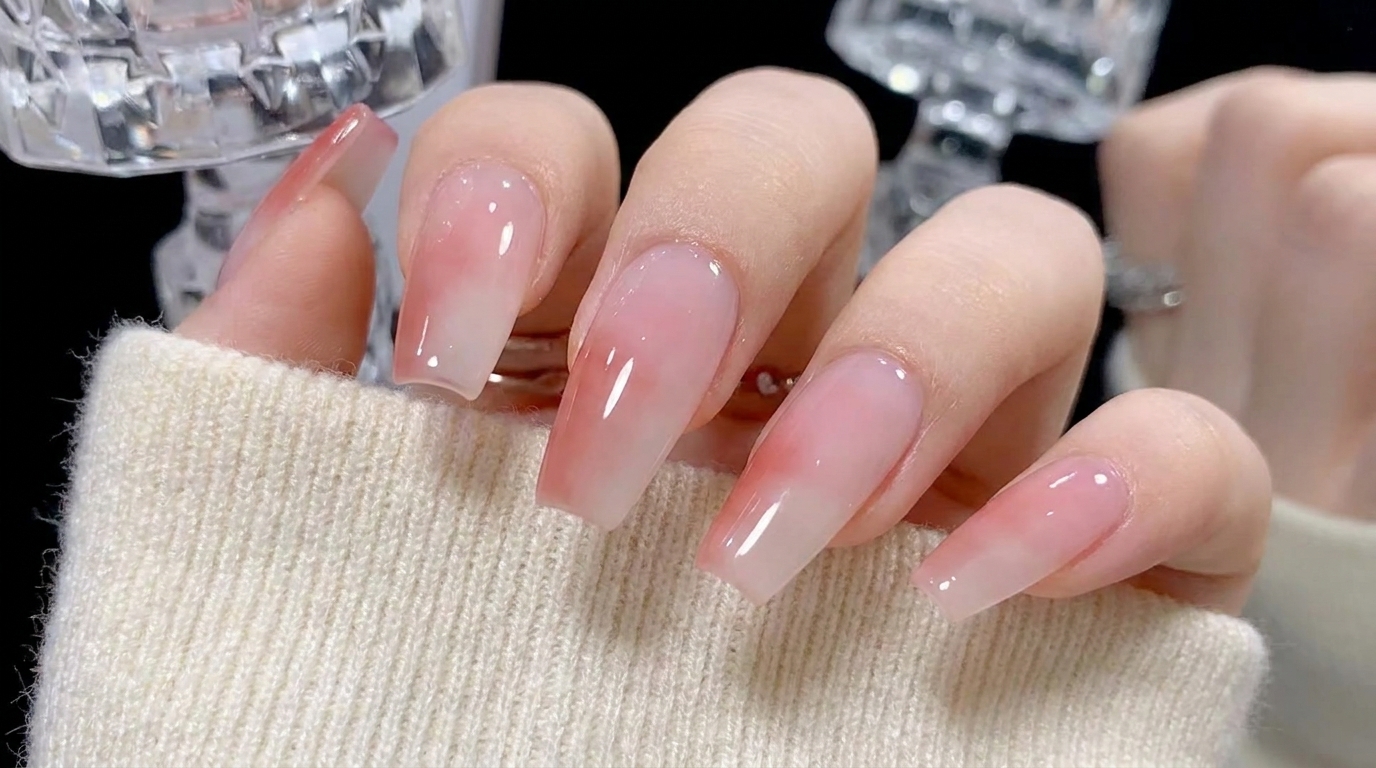
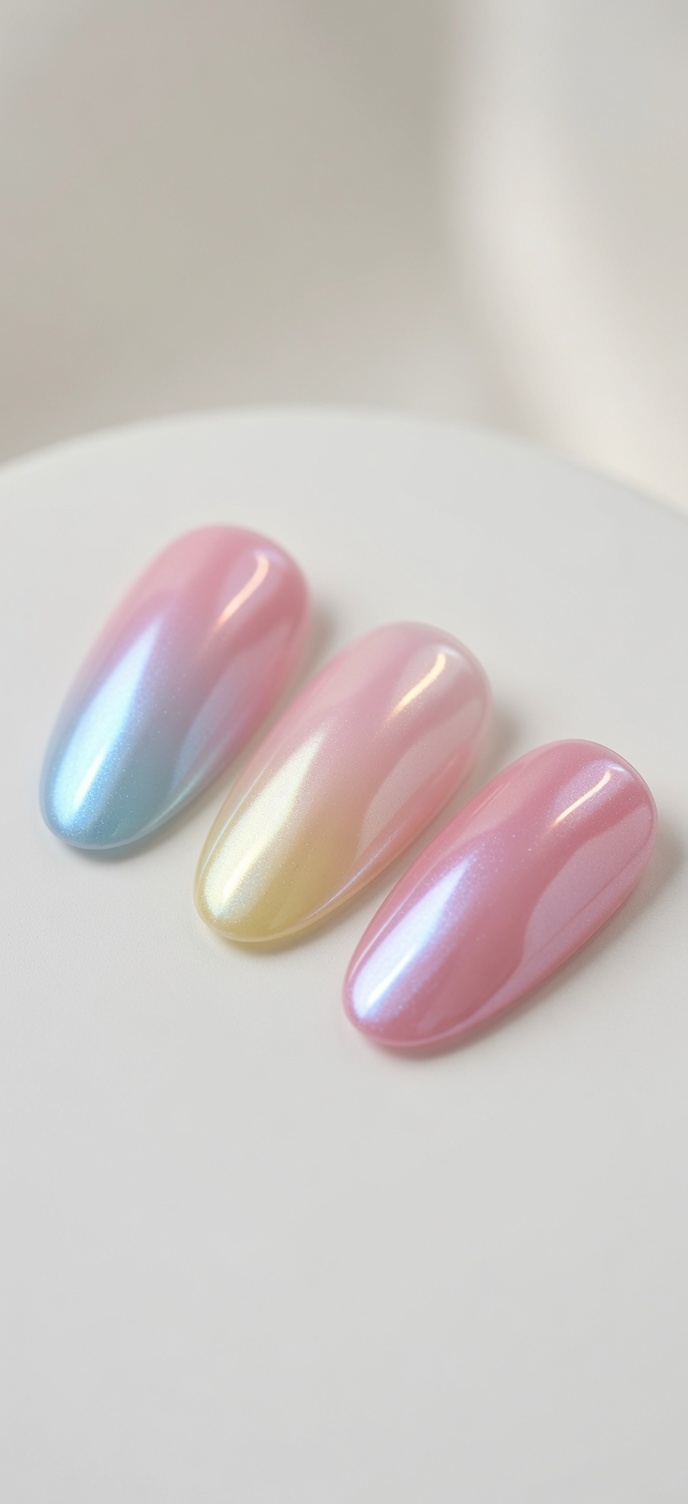
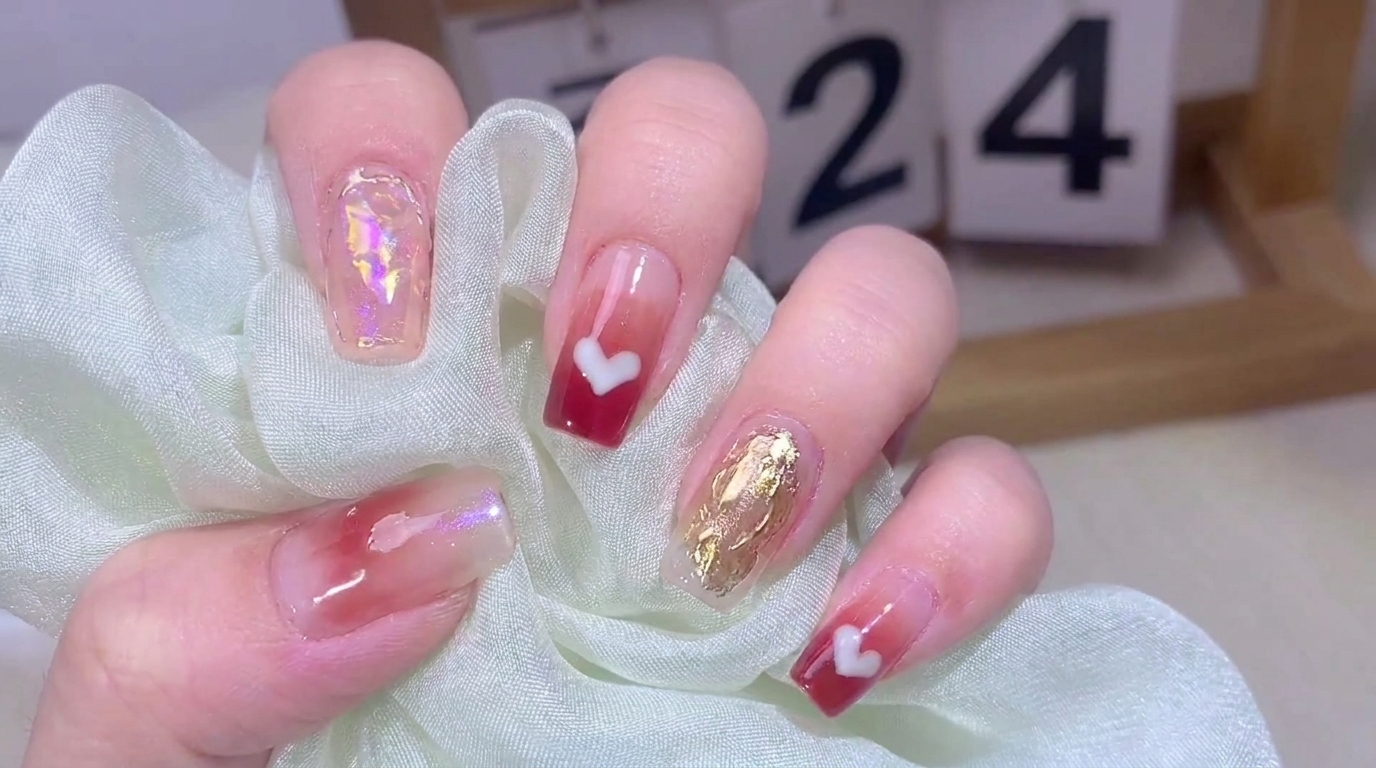
Pink Jelly Gradient Nails
Gold Glitter Tips — Step-by-Step Tutorial
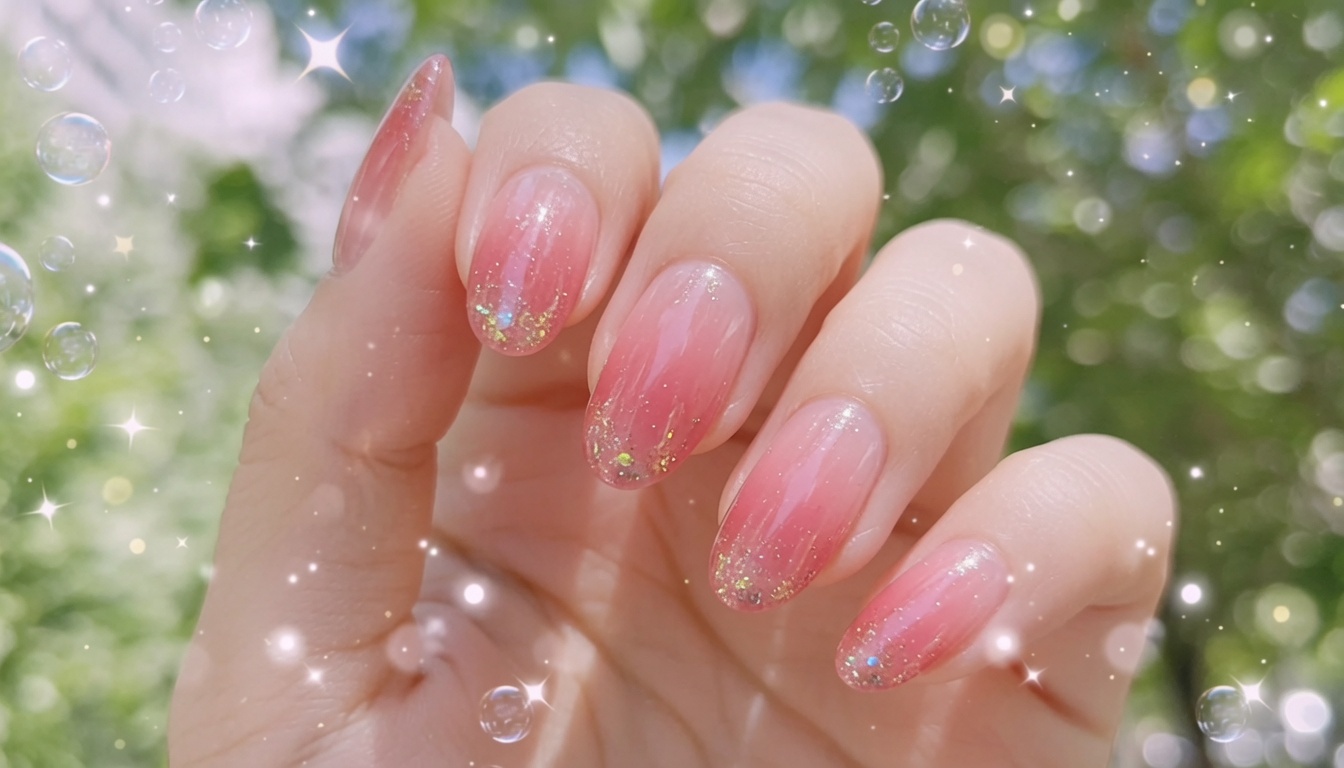
Achieve a trendy, ethereal look with this easy pink jelly gradient manicure. Follow these steps to layer sheer polish and delicate gold glitter for a glass-like finish.
The jelly nail trend continues to captivate with its translucent, juicy aesthetic. This specific gradient technique uses layered applications of sheer pink polish to create depth, finished with sparkling gold flakes that catch the light beautifully. It is a sophisticated yet accessible way to elevate your natural nail game.
Steps
- 1Apply first coat of jelly polish
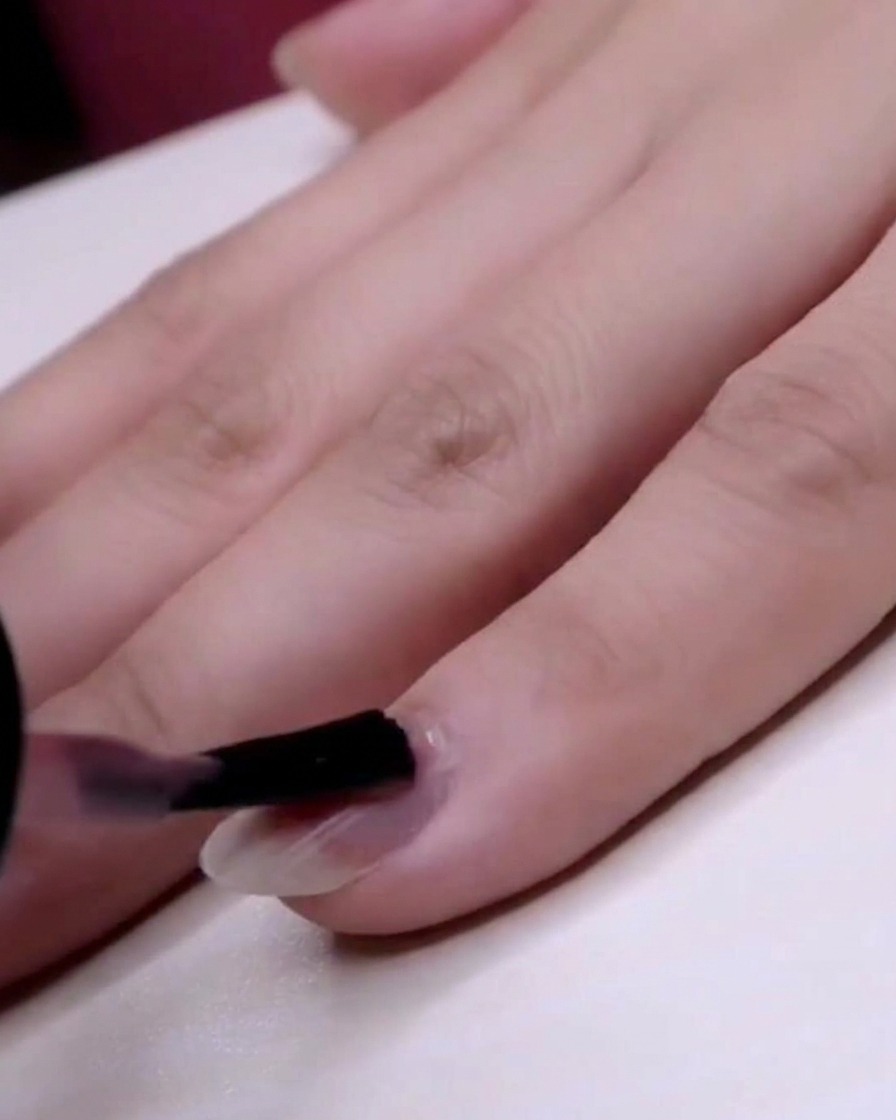
Begin by applying a thin, even coat of the CLIO S225 pink jelly polish across the entire nail plate of the pinky finger. Ensure the brush is not overloaded to keep the layer thin for a smooth foundation.
Tip: While you can apply a base coat, this process starts directly with the color for a jelly effect. - 2Apply first coat to ring finger
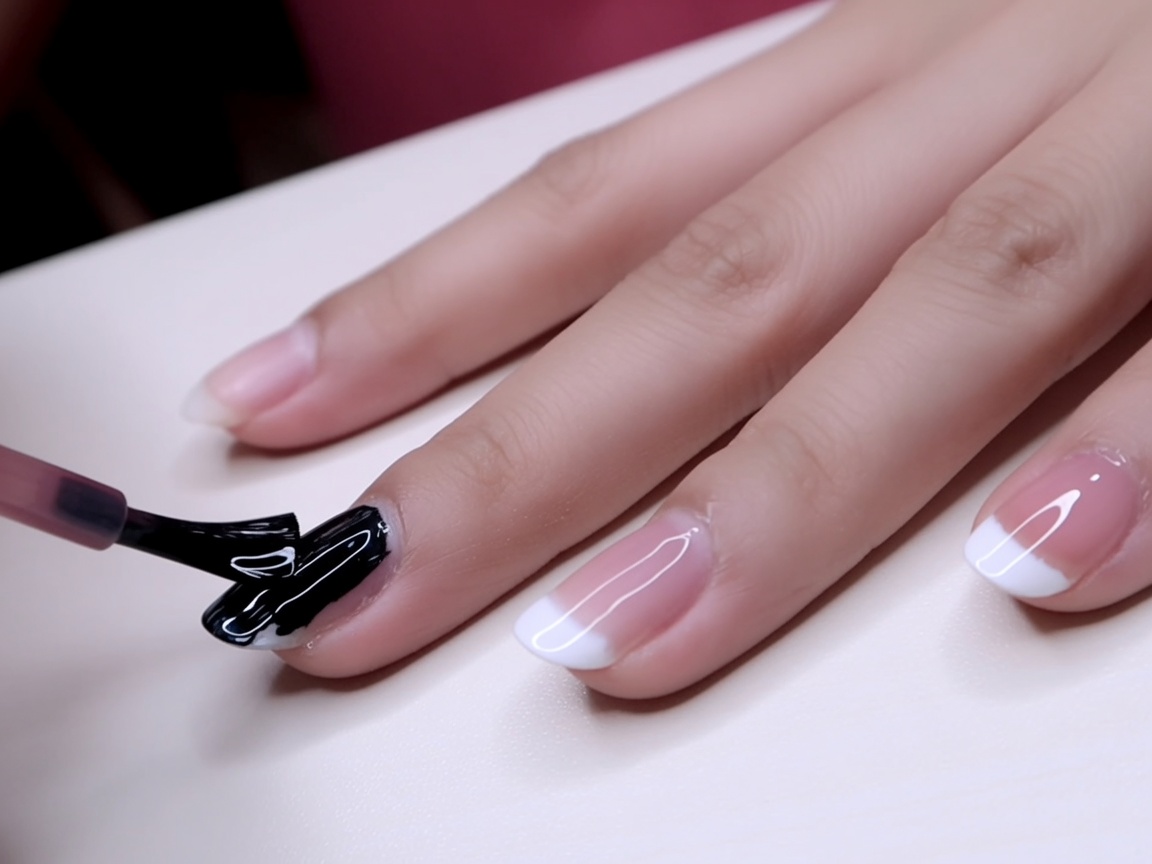
Continue the process by applying a thin, even coat of the pink jelly polish over the entire surface of the ring finger nail.
Tip: Aim for uniform coverage to ensure the subsequent gradient layers blend seamlessly. - 3Start building the gradient
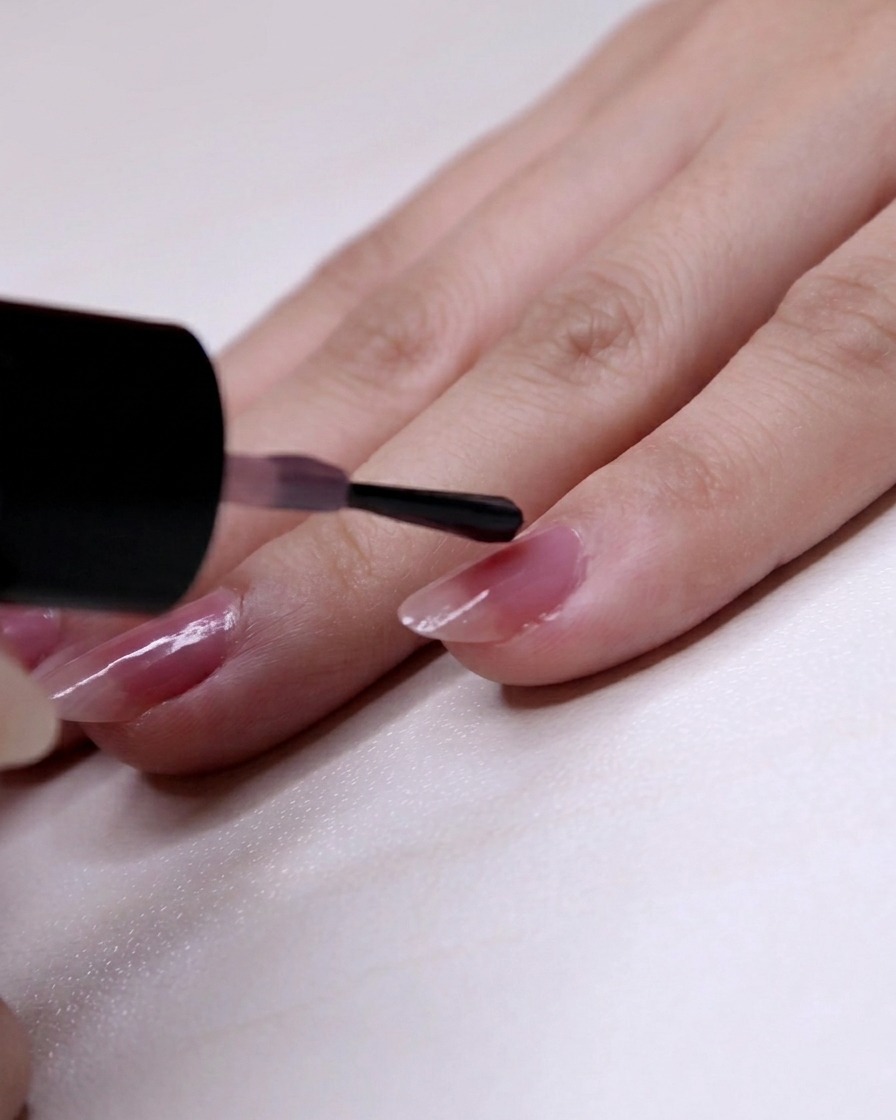
Once the first coat is completely dry, apply the second coat starting from two-thirds down the nail toward the tip. This focused placement begins building the intensity of the gradient effect, and any minor demarcation lines will be smoothed out by the final top coat.
Tip: Dont worry about demarcation lines at this stage; they will be smoothed out by the final top coat. - 4Apply second layer to ring finger
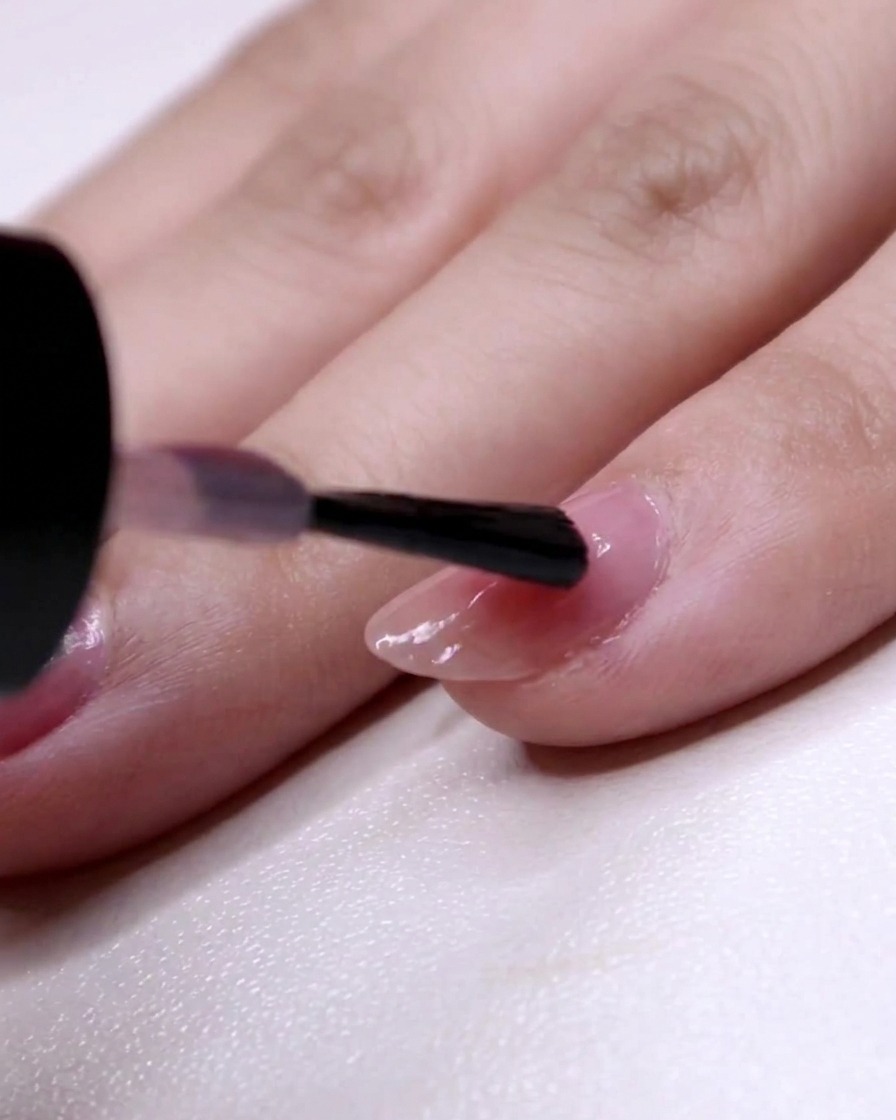
Apply the second coat of polish to the ring finger, concentrating the application from the two-thirds mark down to the free edge of the nail.
Tip: Consistency in where you start each layer helps achieve a symmetrical gradient across all nails. - 5Apply second layer to middle finger
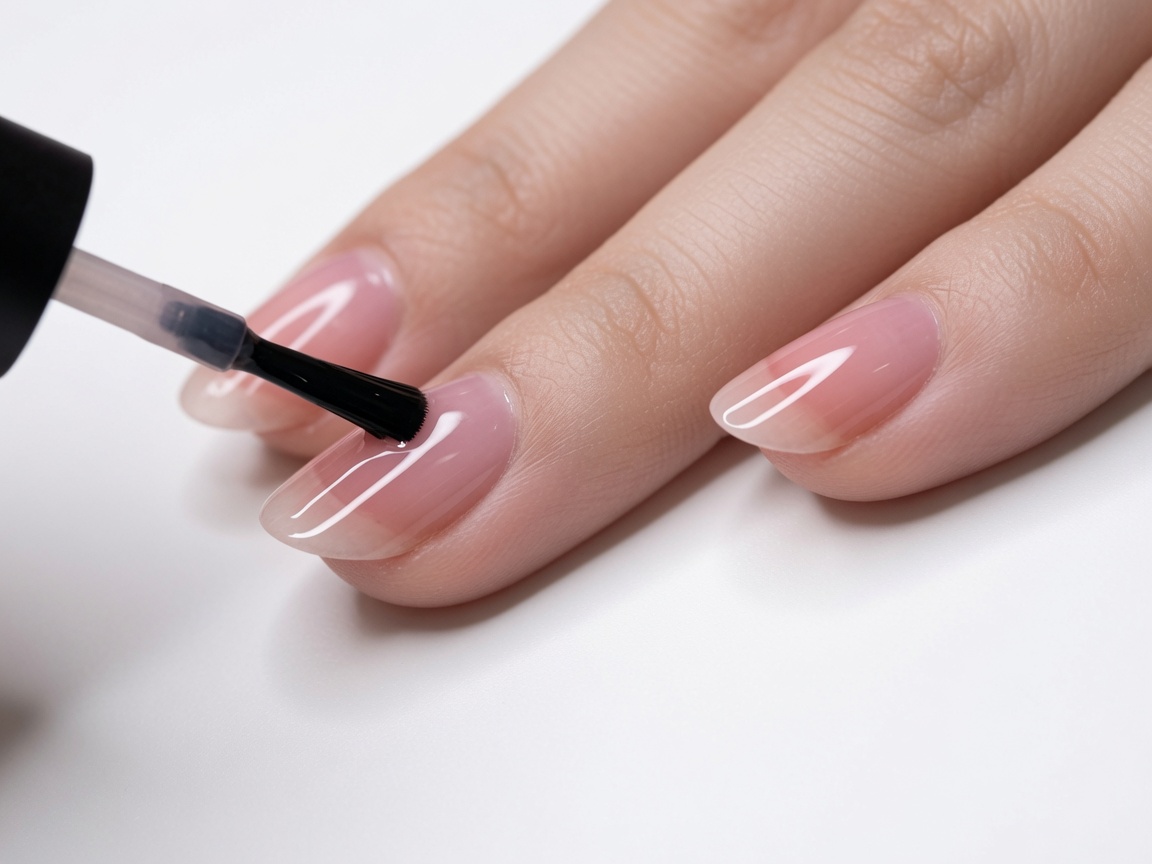
Apply the second layer of pink polish to the middle finger, starting the brush stroke at the two-thirds mark and extending it down to the tip.
Tip: Keep the layer thin to prevent the polish from pooling at the tip. - 6Deepen the gradient
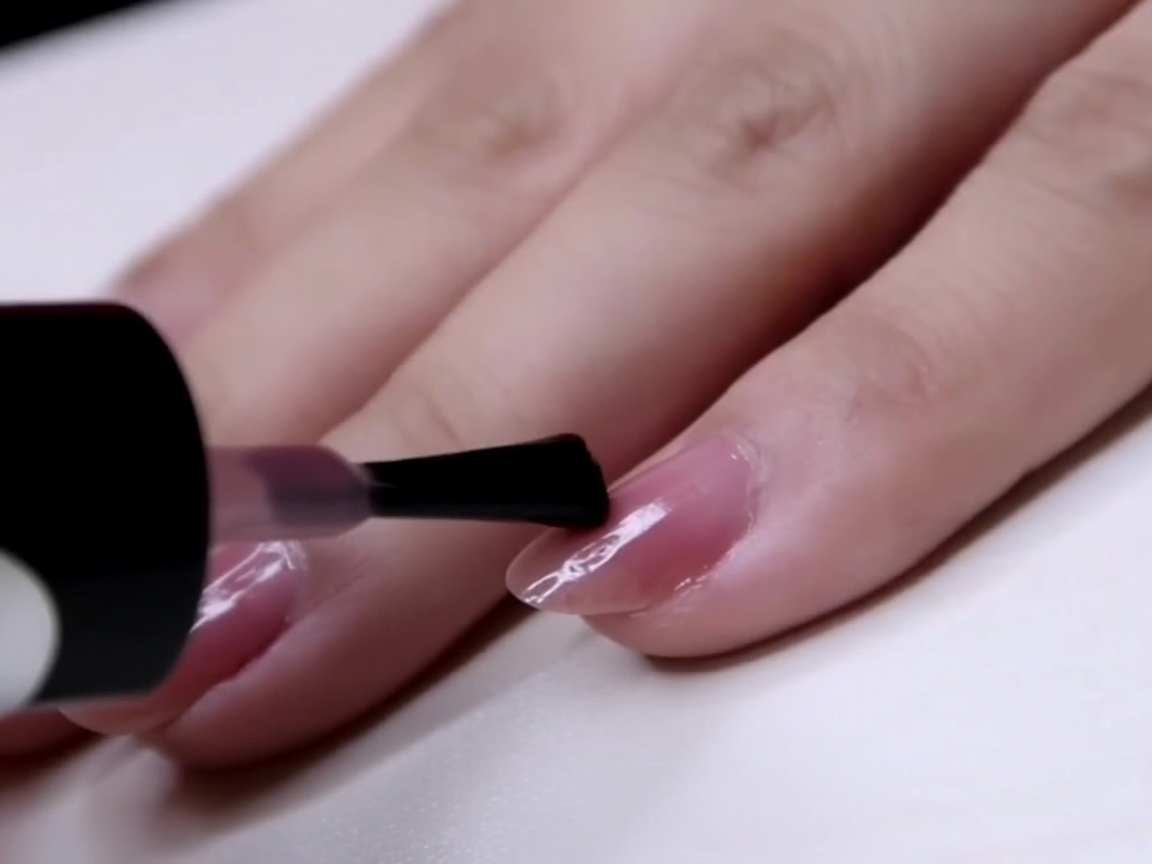
After the second coat is fully dry, apply a third coat, this time covering only the outer half of the pinky nail. Each subsequent layer covers less surface area to enhance the transition of color depth.
Tip: Each subsequent layer should cover less of the nail to enhance the depth of the gradient. - 7Apply third gradient layer
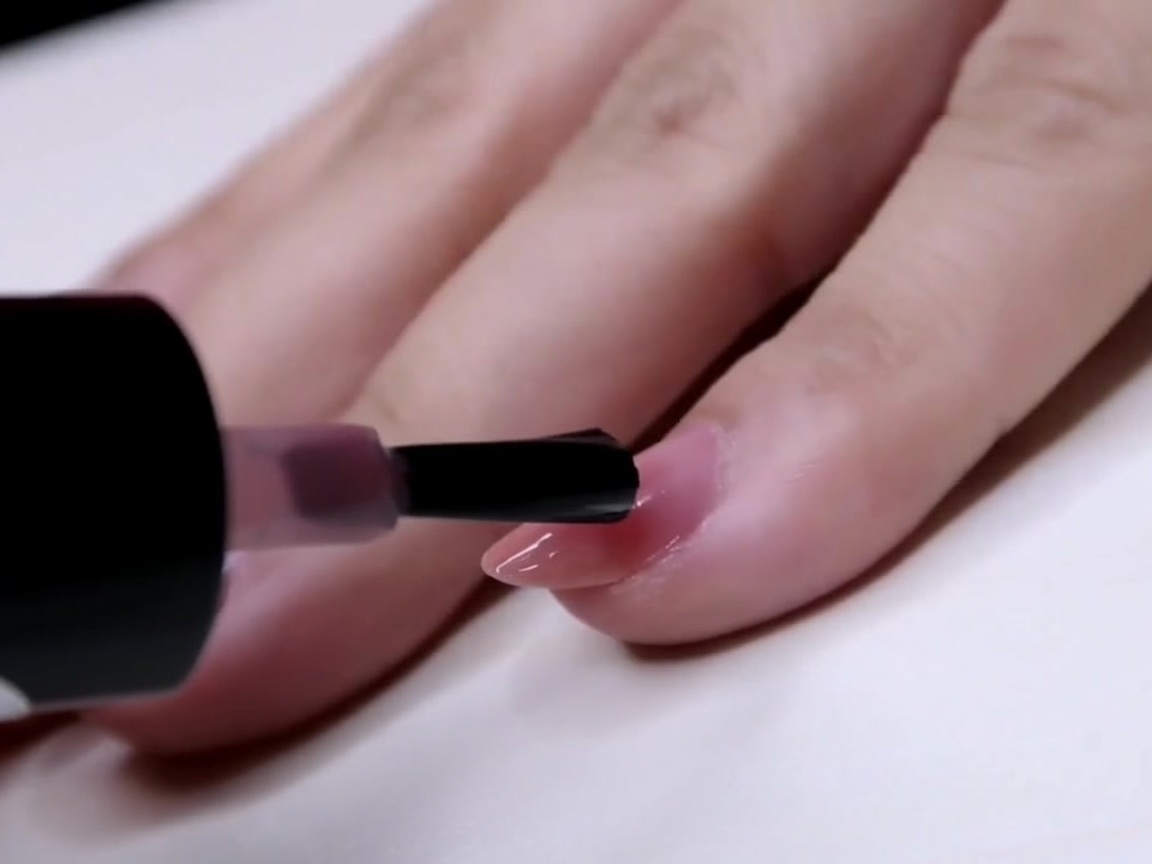
Continue the gradient effect by applying a third coat of CLIO S225 polish. Start the application from the halfway point of the nail and brush toward the tip. This layer should cover only the outer half of the nail, deepening the color saturation in that area.
Tip: Dont worry about any visible demarcation lines at this stage; they will be smoothed out once the final top coat is applied. - 8Apply third gradient layer to middle finger
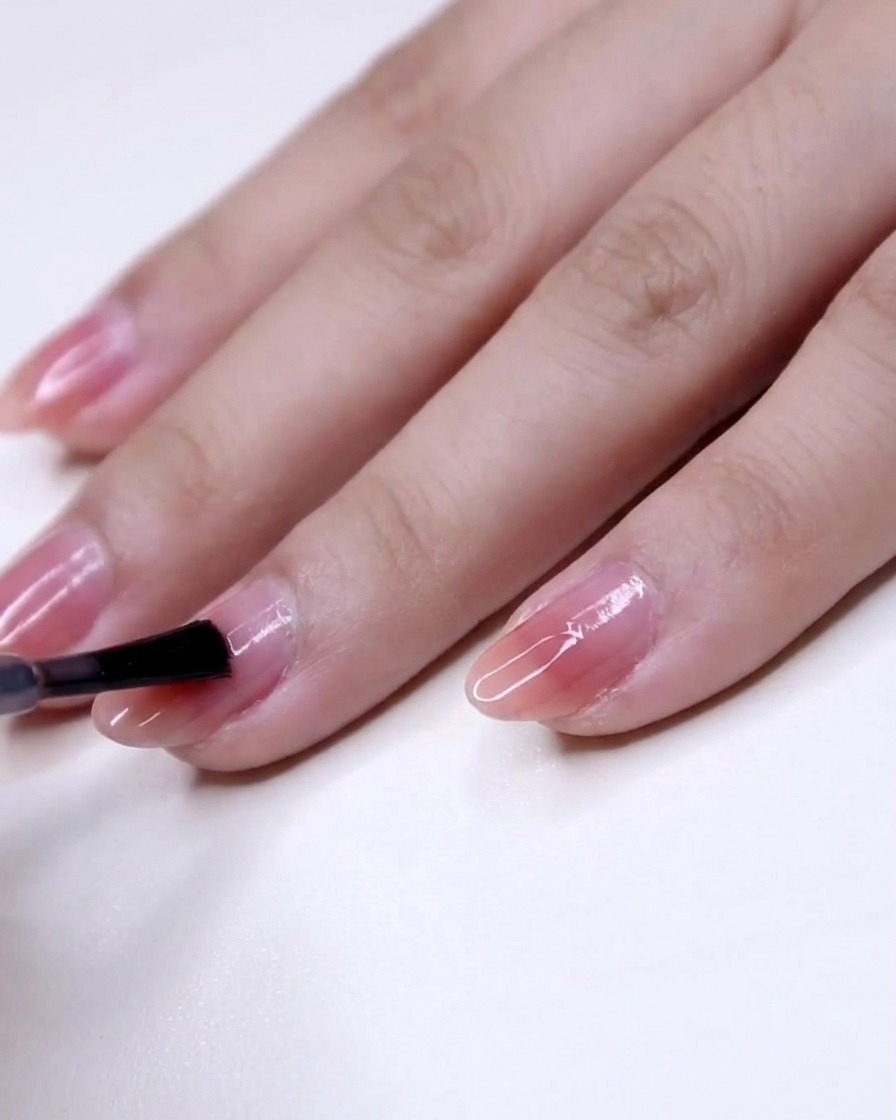
Repeat the process for the middle finger, applying the third coat of CLIO S225 starting from the midpoint of the nail. Brush toward the tip to build up the gradient, ensuring the color is concentrated on the outer half of the nail.
Tip: Keep your strokes smooth to help the layers blend effectively. - 9Review gradient progress
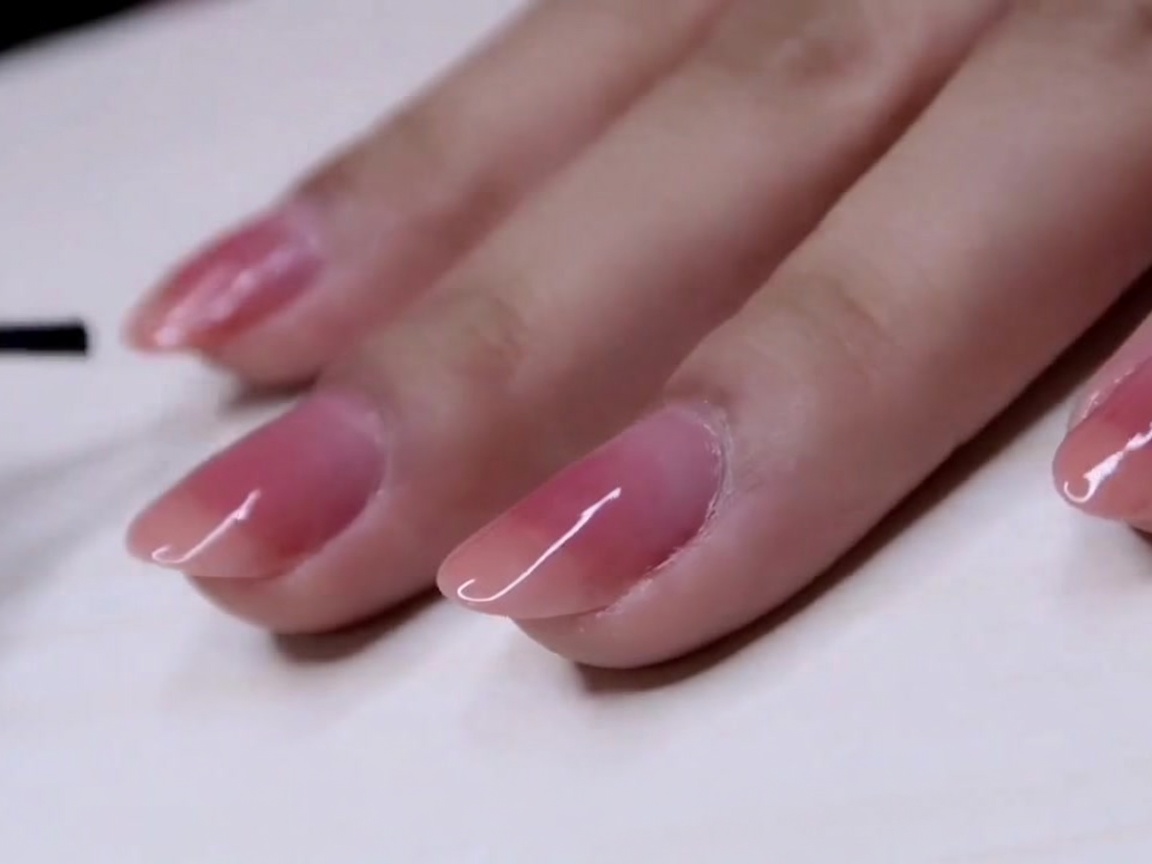
Take a moment to check your progress. The nails should now show a visible gradient effect, with the color appearing more saturated toward the tips. This intermediate shot helps ensure the application is consistent across all fingers before moving to the next layer.
Tip: Ensure each layer is completely dry before adding the next to keep the gradient crisp and clean. - 10Apply final color layer
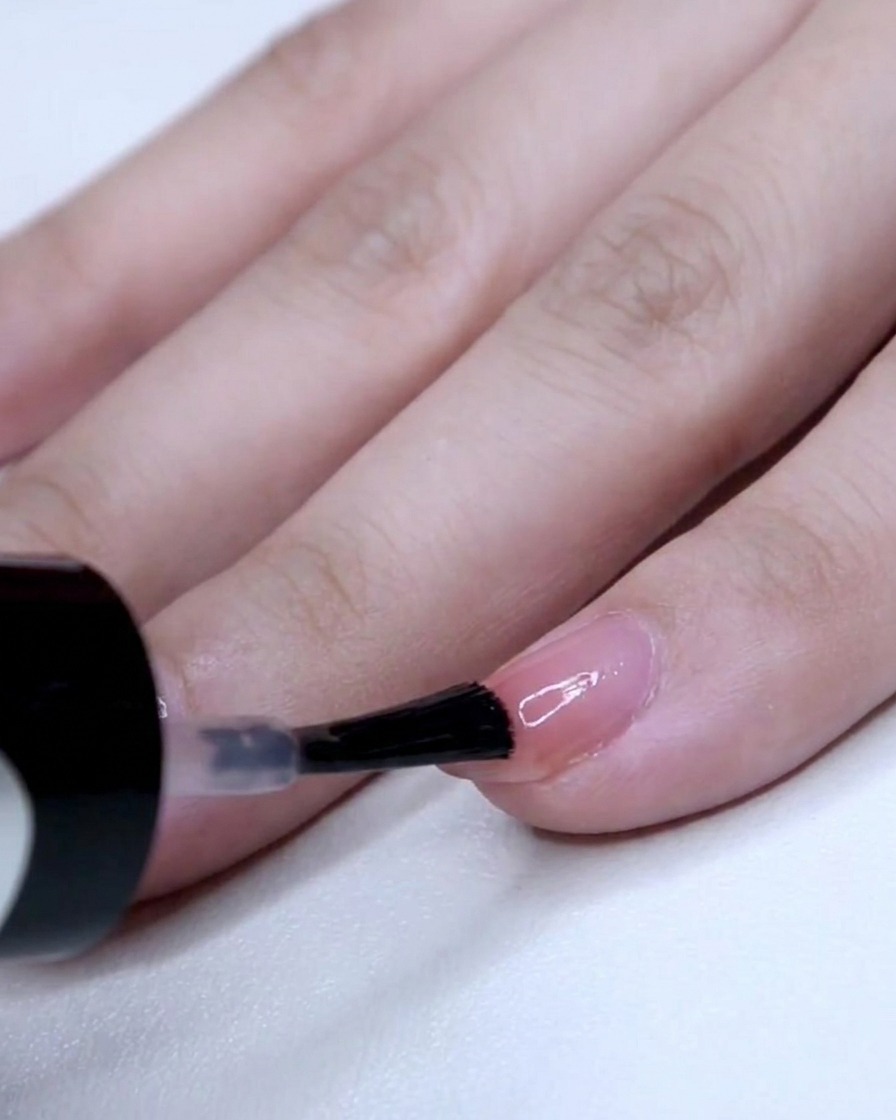
For the final color layer, apply the CLIO S225 polish only to the tip, covering about the bottom third of the pinky nail. It is acceptable for this final layer to be slightly thicker to ensure deep, saturated color at the very edge.
Tip: Focusing the polish on the tip intensifies the gradient effect significantly. - 11Apply fourth gradient layer to ring finger
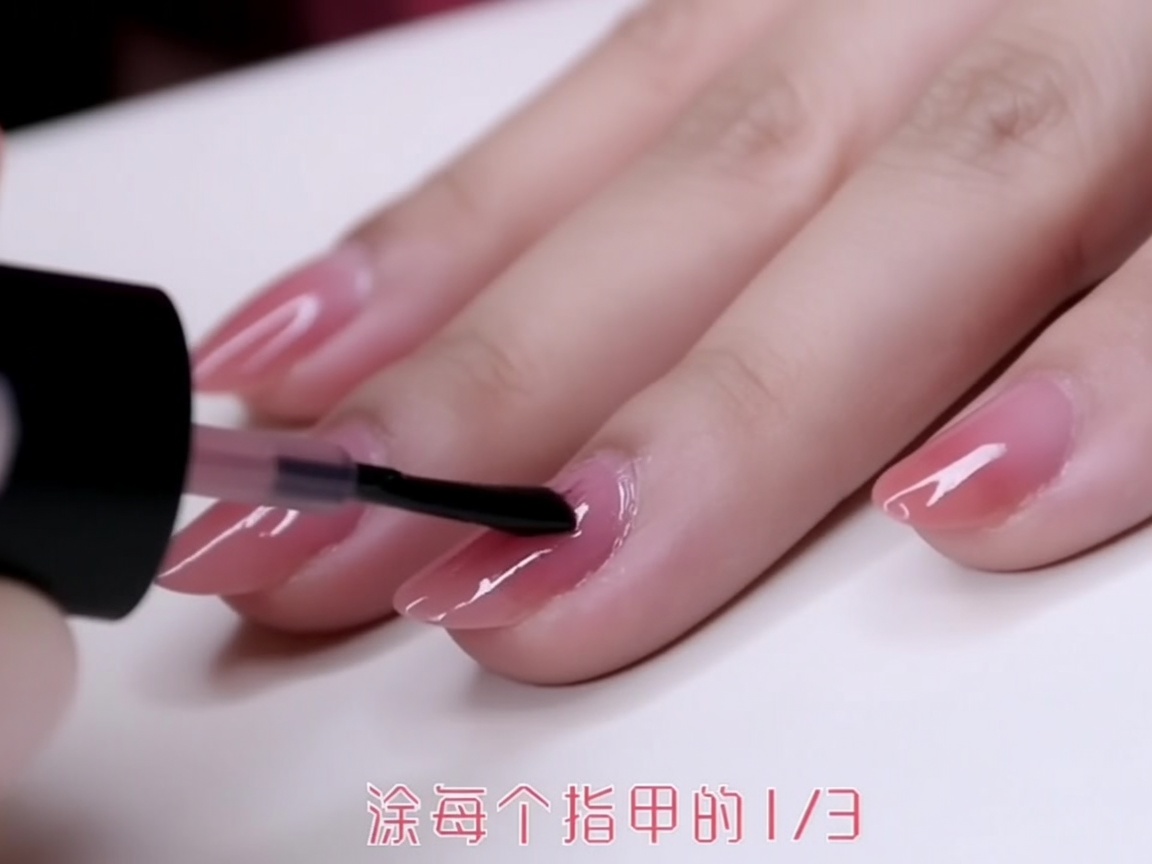
Apply the fourth coat of CLIO S225 to the bottom third of the ring finger, focusing strictly on the tip. This final color application completes the primary gradient structure for this nail.
Tip: Ensure the application is neat around the edges for a professional finish. - 12Apply fourth gradient layer to middle finger
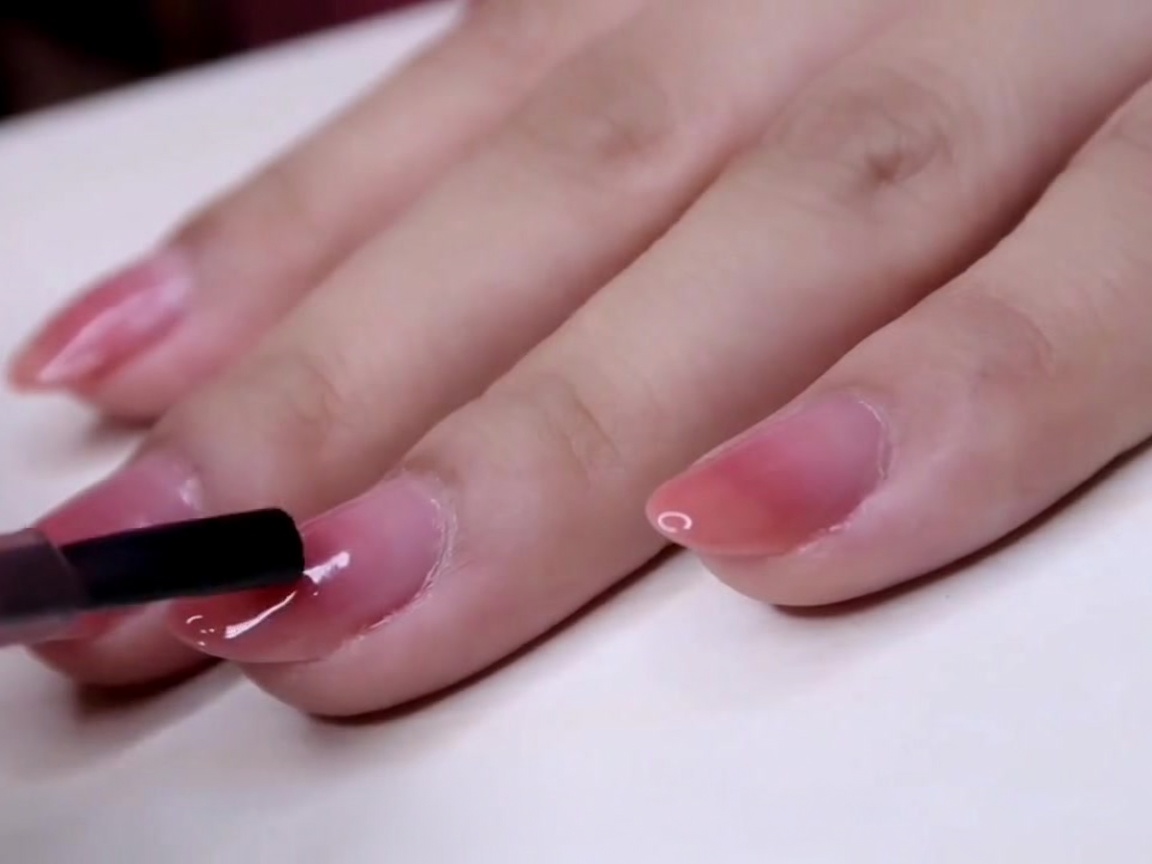
Complete the color application for the middle finger by applying the fourth coat of CLIO S225 to the bottom third of the nail. As with previous steps, focus the polish toward the tip to enhance the ombre depth.
Tip: Consistency is key to a beautiful gradient, so try to keep the coverage similar across all nails. - 13Review the gradient base
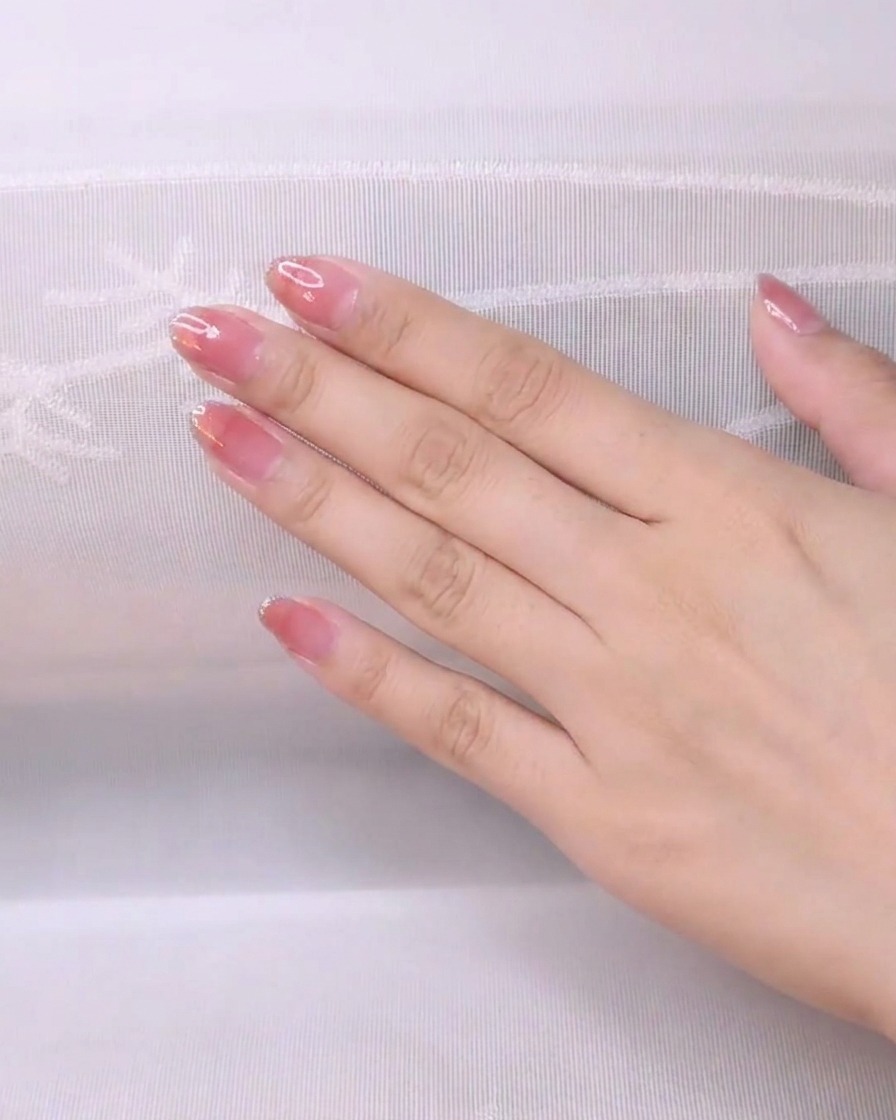
Observe your progress after applying the multiple layers of CLIO S225. You should have a soft, seamless pink gradient effect across your nails. It is normal to see slight demarcation lines at this stage; these will be smoothed out once the final top coat is applied.
Tip: If you are happy with the color intensity, you can proceed to the glitter application; otherwise, you can add another sheer layer to deepen the gradient. - 14Incorporate gold glitter
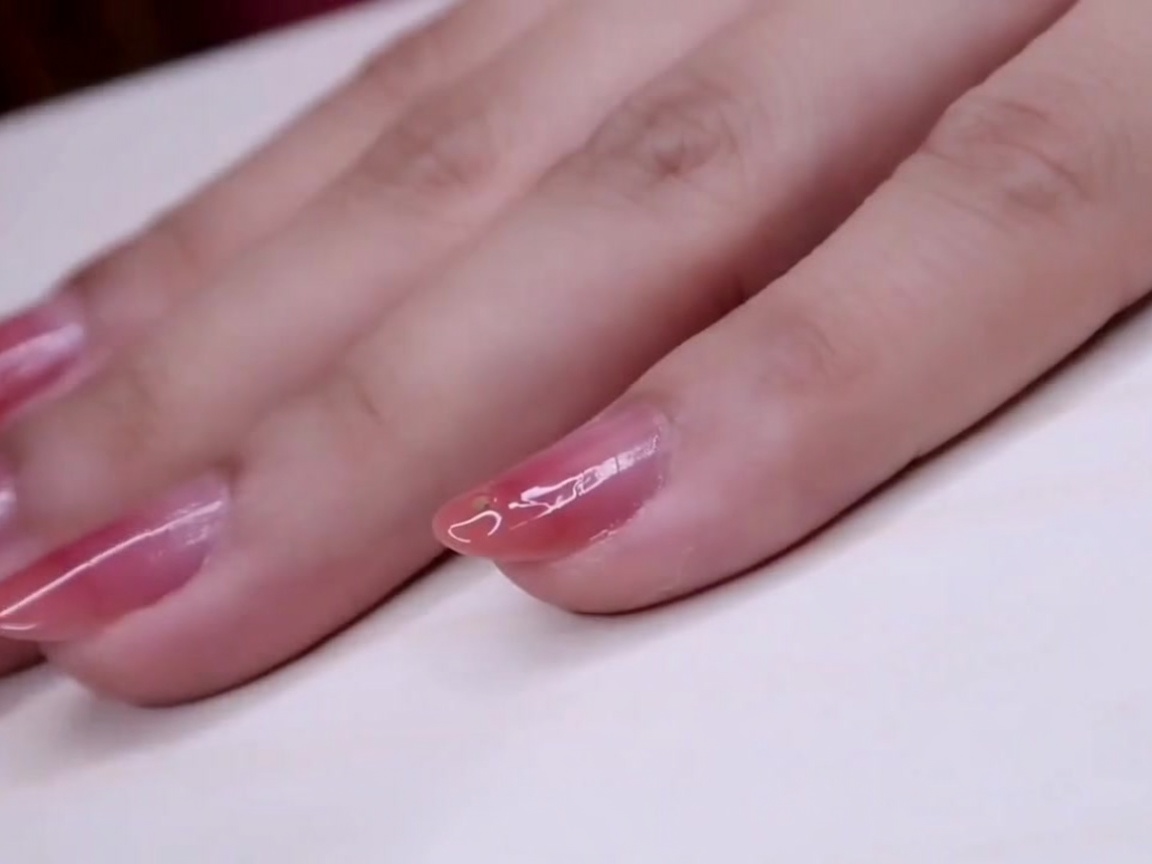
Apply a layer of Innisfree 95 glitter polish over the entire nail. Use a dabbing motion with your brush to concentrate the larger gold glitter flakes near the free edge of the nail, which enhances the gradient effect and adds sparkle.
Tip: Use a dabbing motion with your brush to better place the larger glitter pieces exactly where you want them. - 15Apply glitter to the ring finger
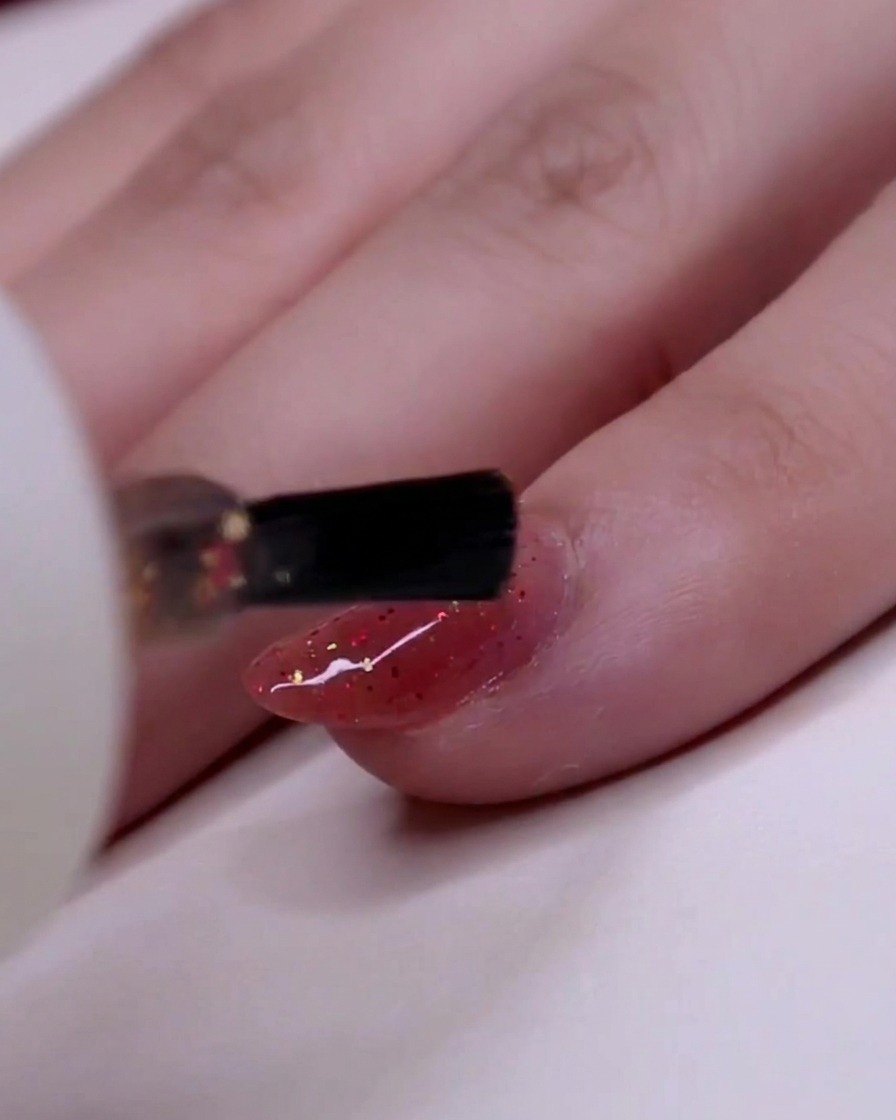
Continue with the Innisfree 95 glitter polish, coating the ring finger while ensuring the glitter flakes are deposited evenly. Aim to cluster the majority of the gold pieces towards the tip of the nail to create a sparkling gradient transition.
Tip: Ensure the glitter is fully covered by your top coat later to prevent the edges of the flakes from snagging. - 16Apply glitter to the middle finger
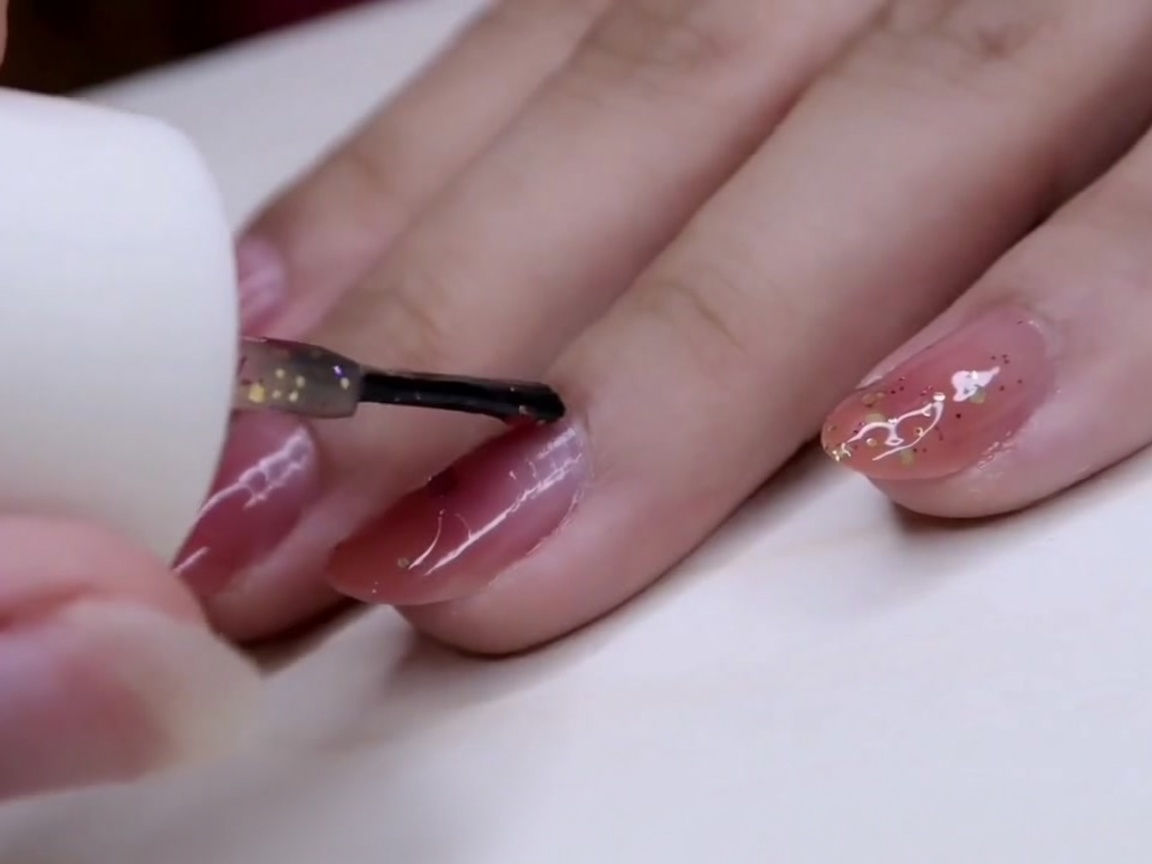
Apply the glitter polish to the middle finger. Carefully maneuver the brush to concentrate the glitter chunks near the free edge. This technique intensifies the gradient and adds depth to the overall nail design.
Tip: If the glitter is too sparse, pick up individual flakes with the tip of your brush and place them exactly where needed. - 17Allow glitter to settle
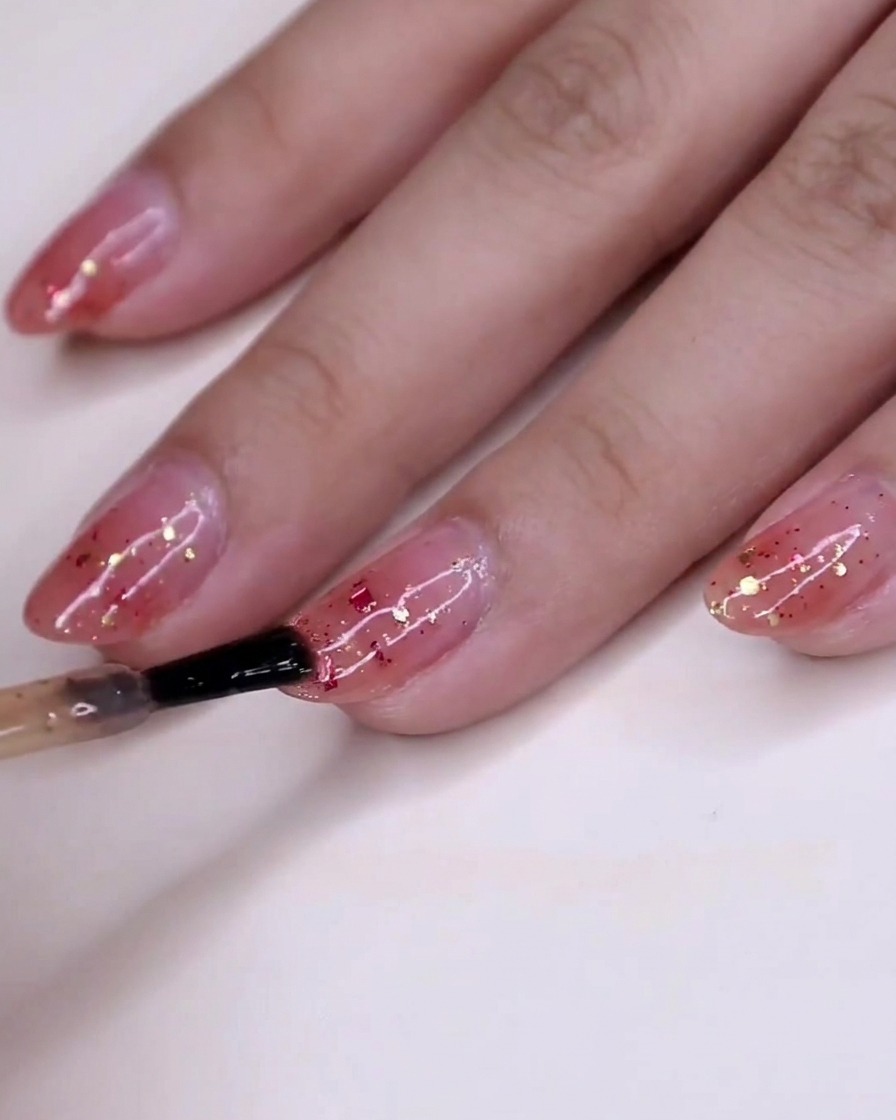
Let the wet glitter polish layer settle over your gradient base. Do not touch or disturb the nails while they are drying to ensure the glitter remains in the concentrated positions you created at the tips.
Tip: Keep your hand steady and avoid quick movements until the polish has begun to set.