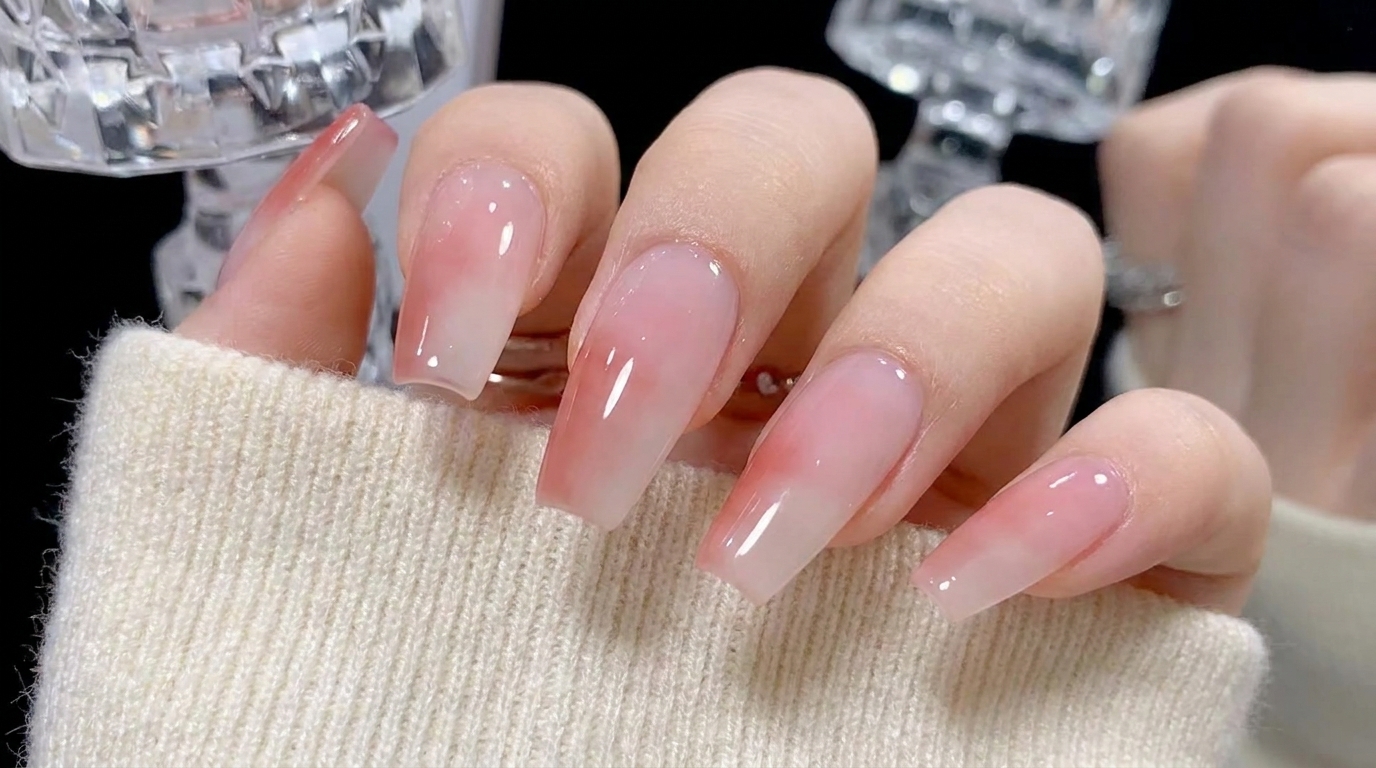
Soft Two-Tone Jelly Ombre Nails — Step-by-Step Tutorial
Achieve a trendy, hydrating jelly gradient with this easy-to-follow two-tone ombre tutorial. Perfect for a fresh, translucent, high-gloss manicure.
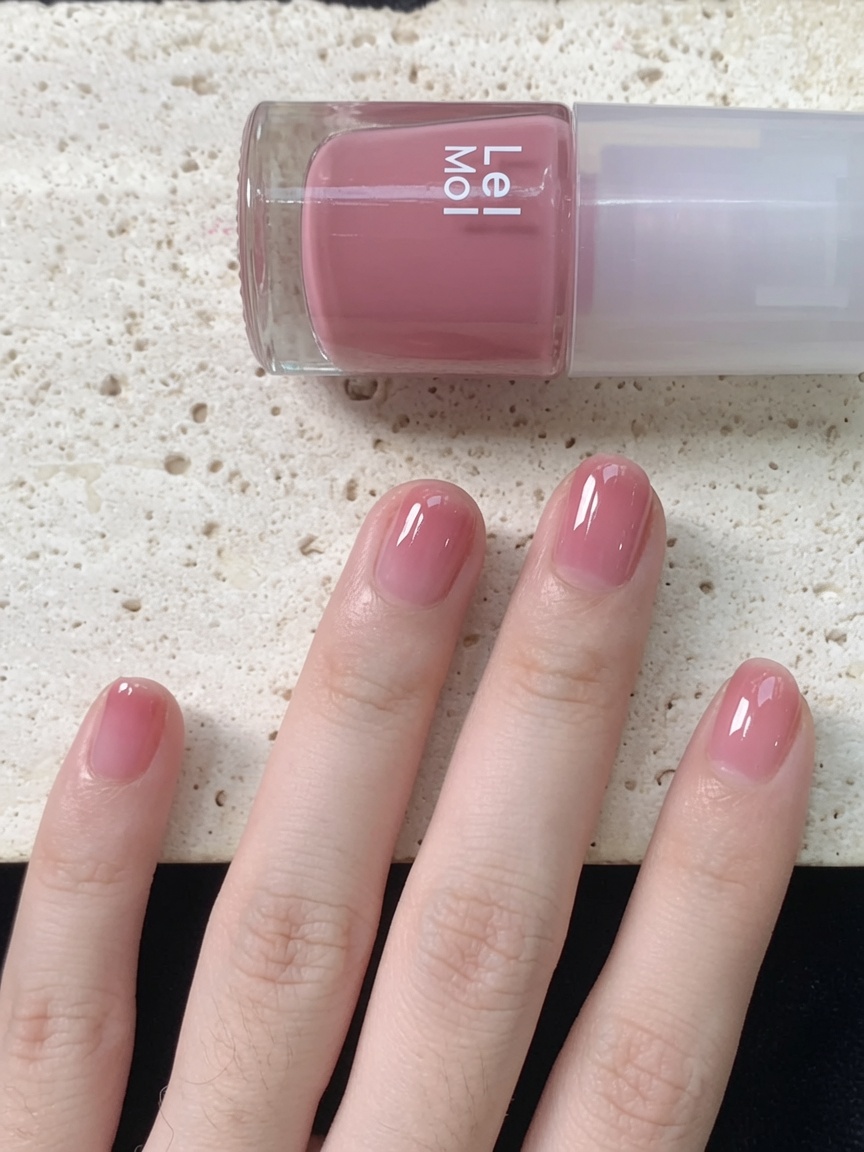
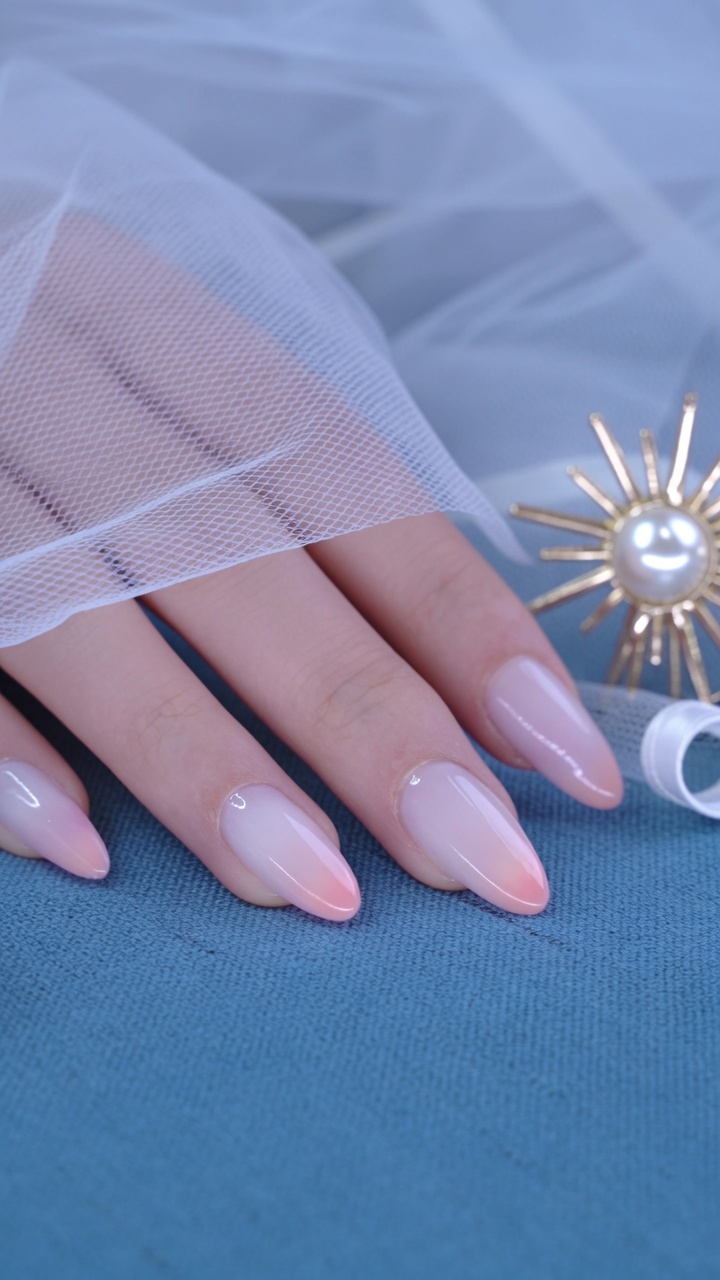
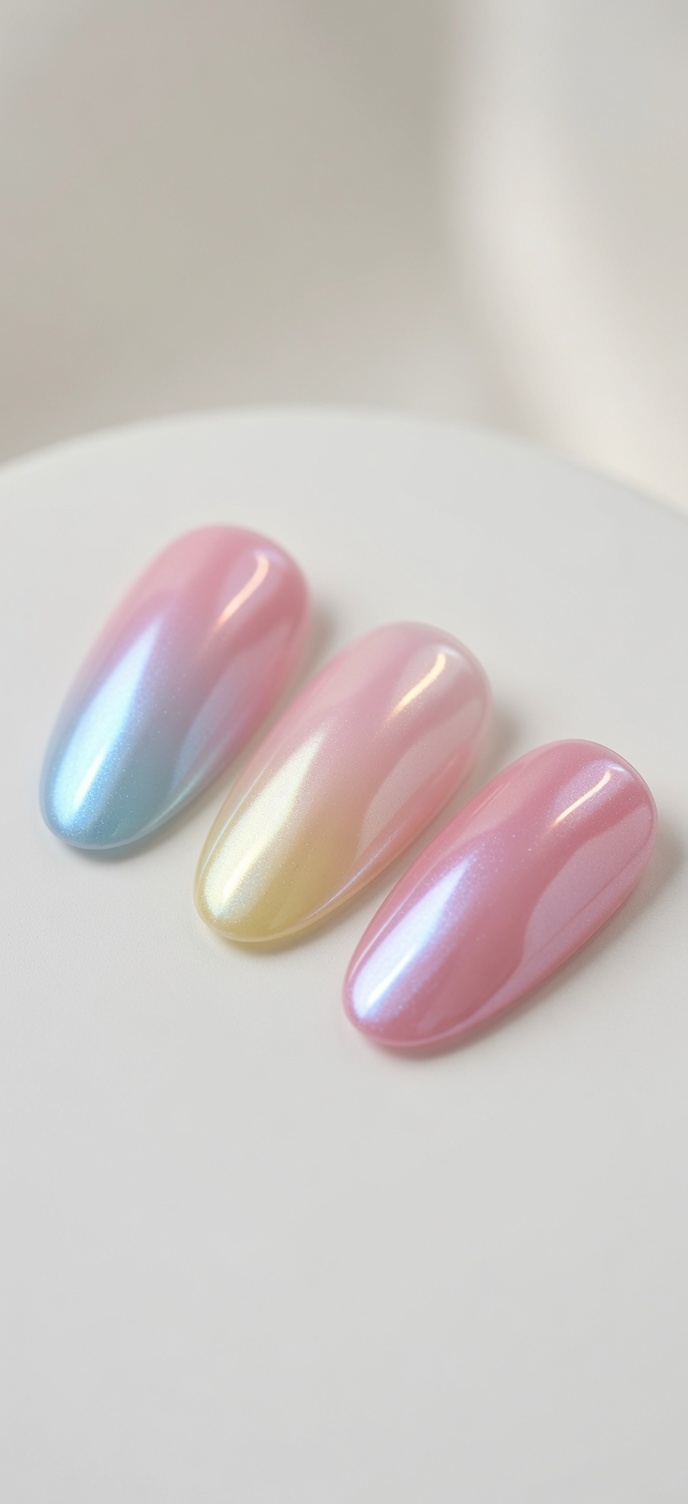
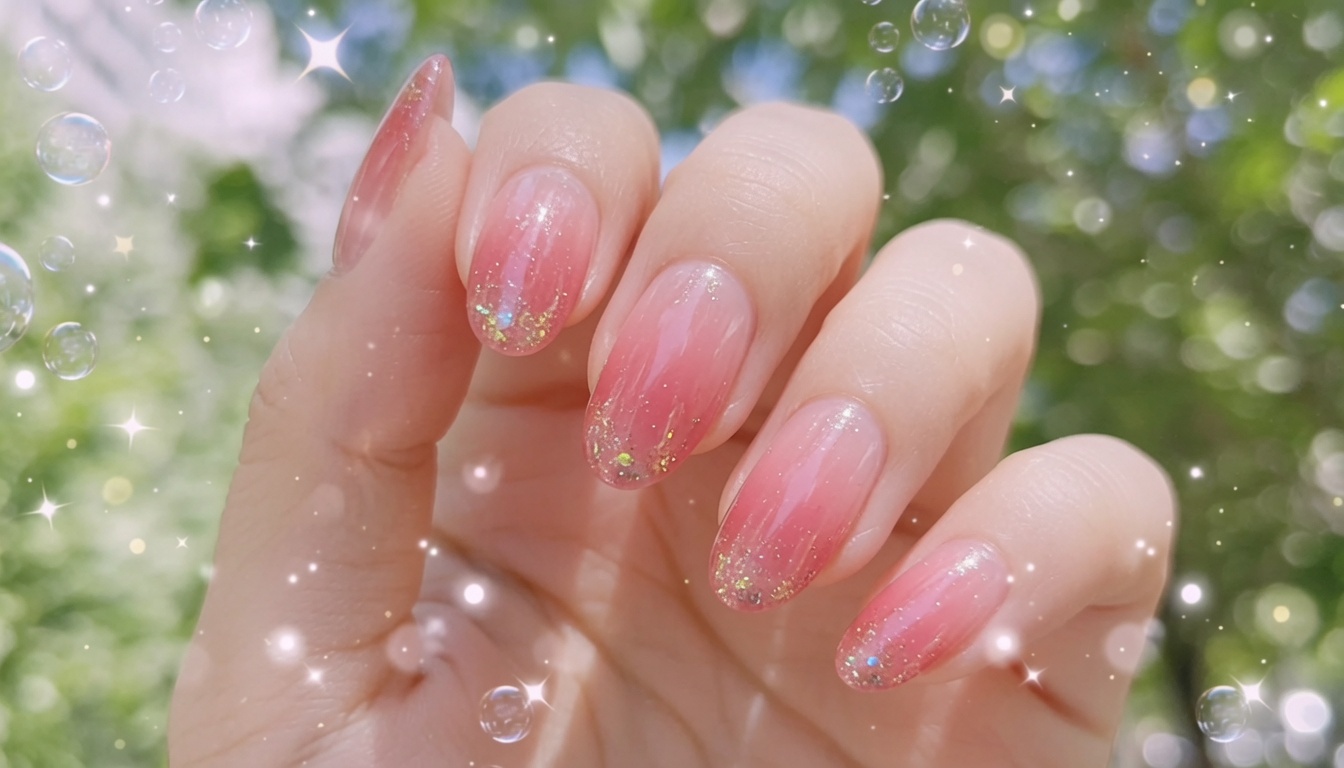
The jelly nail trend brings a fresh, glass-like dimension to your manicure that is both subtle and striking. This specific two-tone look utilizes high-quality transparent gels to create a soft, seamless transition from clear to red. It is an excellent technique for those looking to master gradient art with a sophisticated, minimalist aesthetic.
Steps
- 1Apply base coat
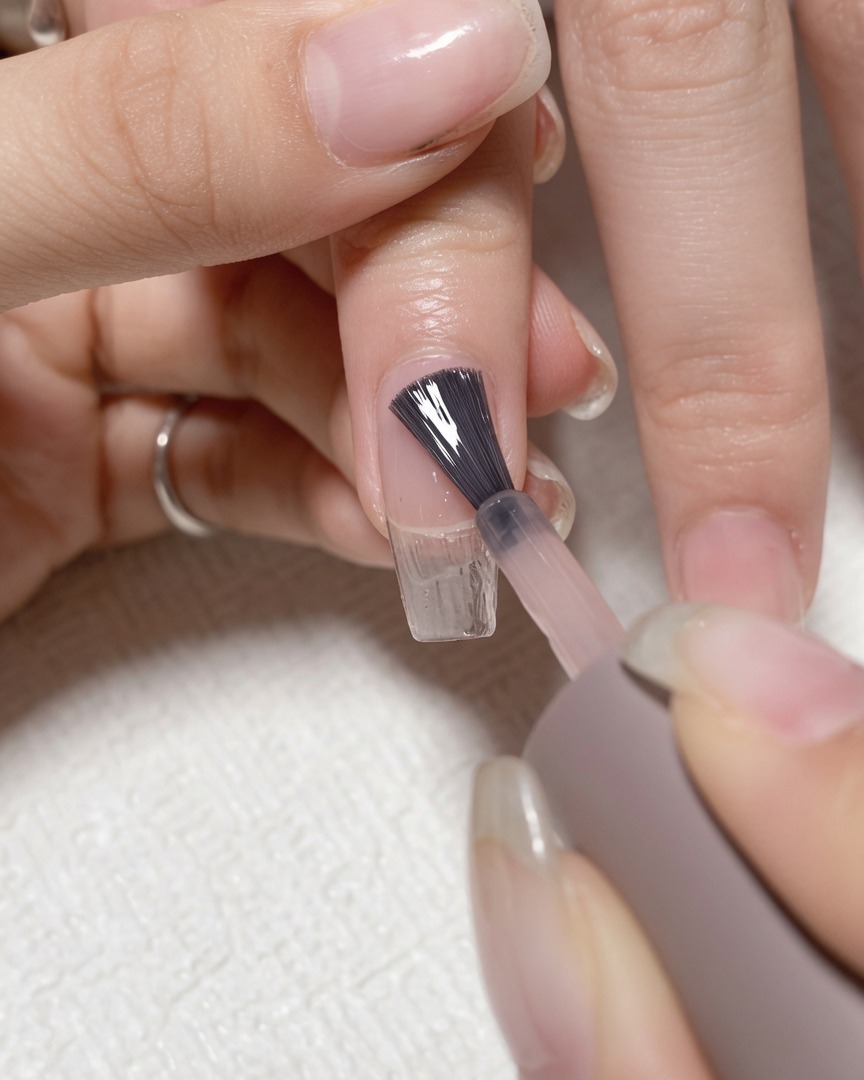
Apply Yimu Yuzhi #07 base coat to the nail plate, ensuring an even layer. This provides the foundation for the jelly gradient look.
Tip: Apply a thin layer to ensure even curing. - 2Apply transparent base color
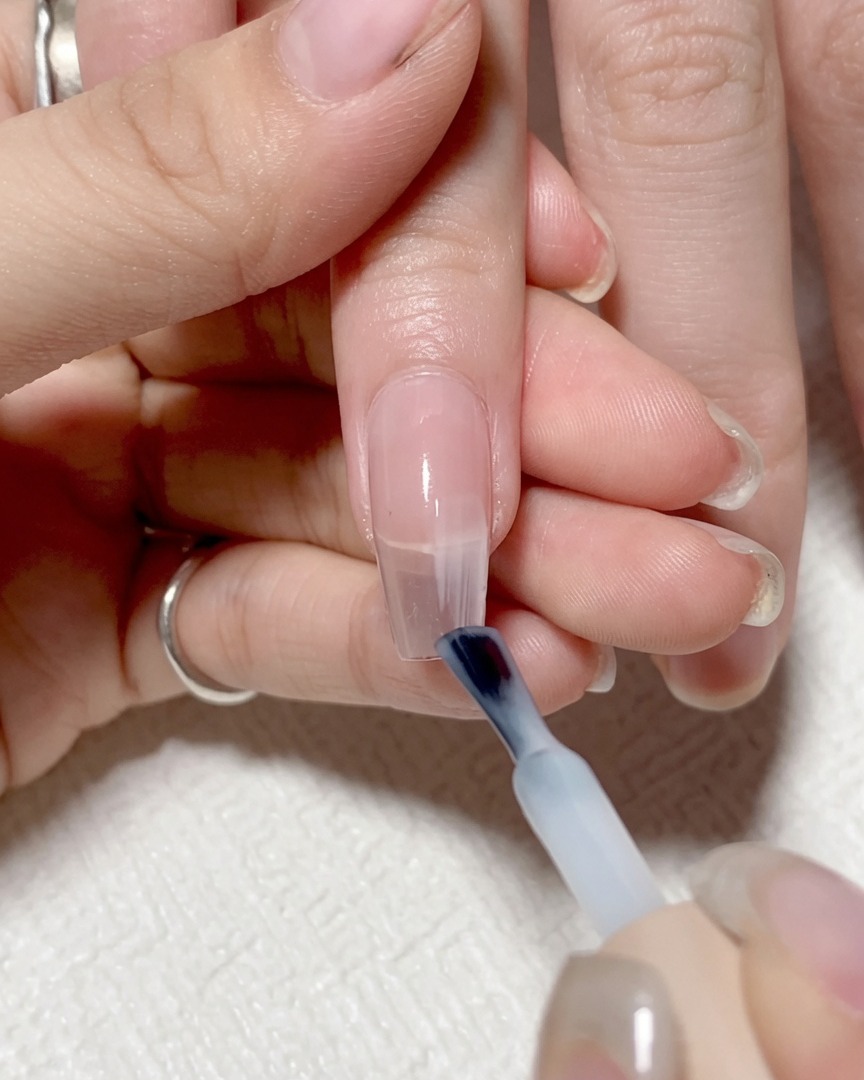
Apply the water-feeling ice transparent #01 gel color onto the right half of the nail, leaving the left half clear.
Tip: Keep the application thin to maintain the transparency of the jelly effect. - 3Apply red accent color
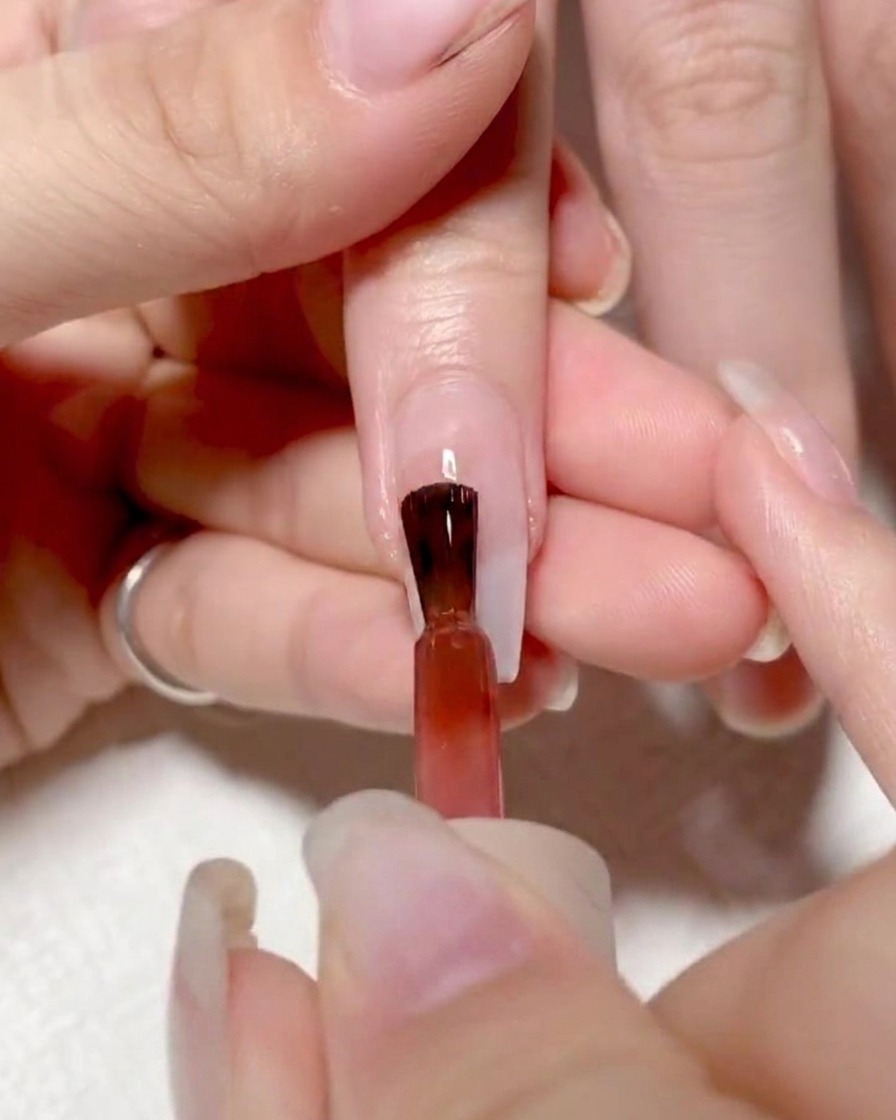
Apply Yimu Yuzhi #01 red gel on the left half of the nail. Ensure you leave a small gap near the cuticle for a clean finish.
Tip: Avoid touching the skin with the red gel to prevent lifting later. - 4Blend the colors
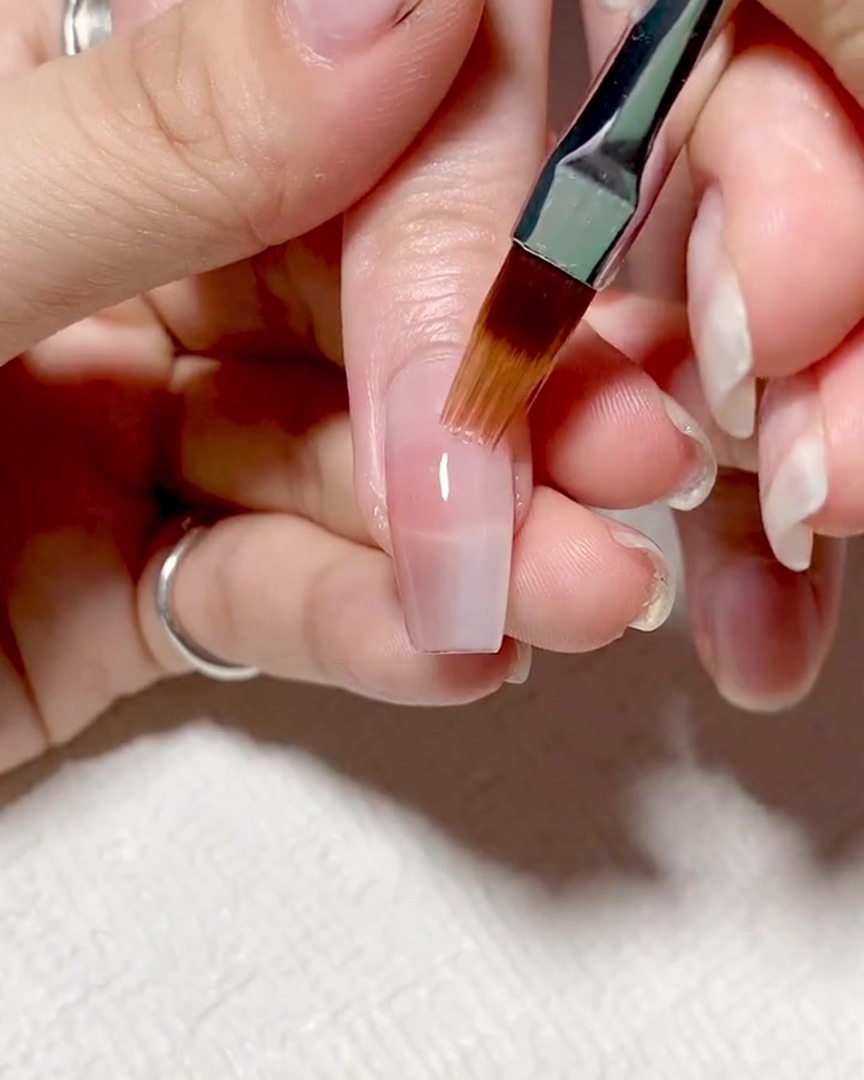
Before curing, use a dedicated gradient brush to softly blend the red and transparent colors where they meet in the center of the nail.
Tip: Clean your brush frequently to avoid muddying the colors during the blending process. - 5Cure the gradient
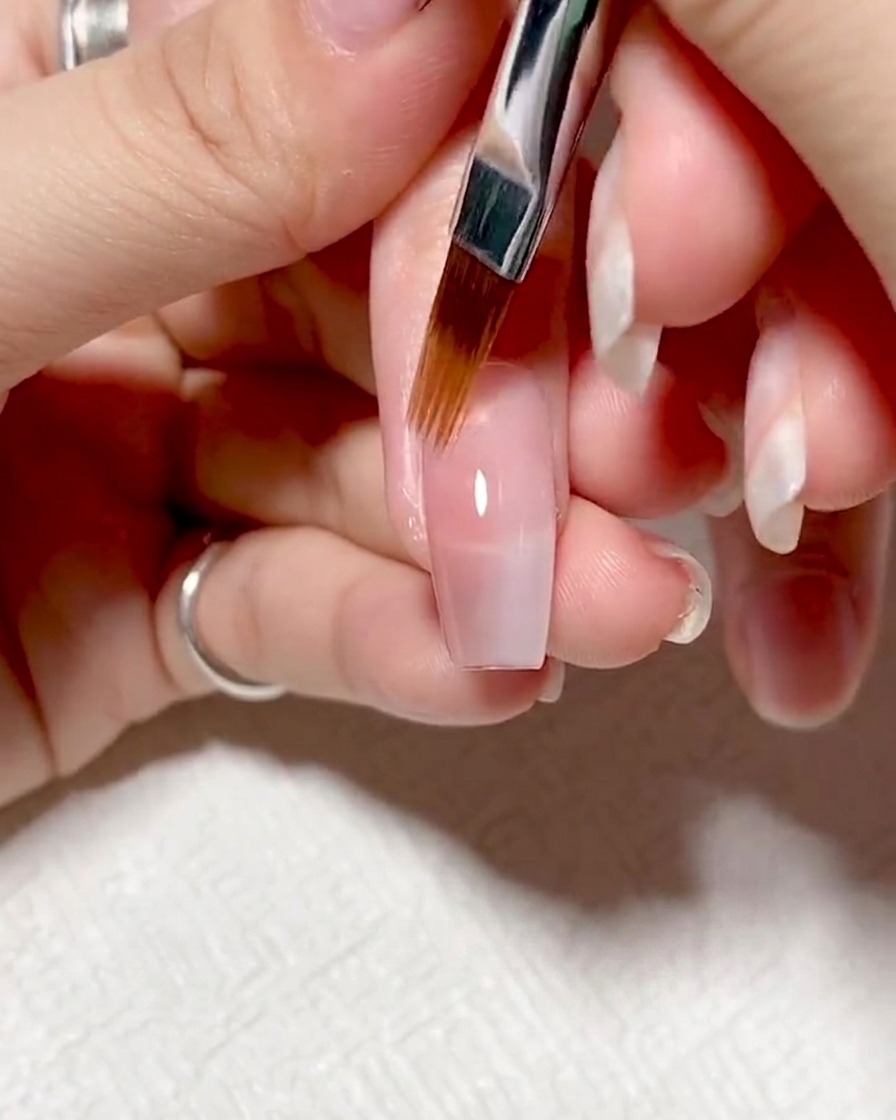
Place your hand under a UV/LED lamp to cure the first layer of the gradient. Follow the manufacturers recommended curing time.
Tip: Ensure all fingers are positioned correctly under the light for an even cure. - 6Re-apply base color
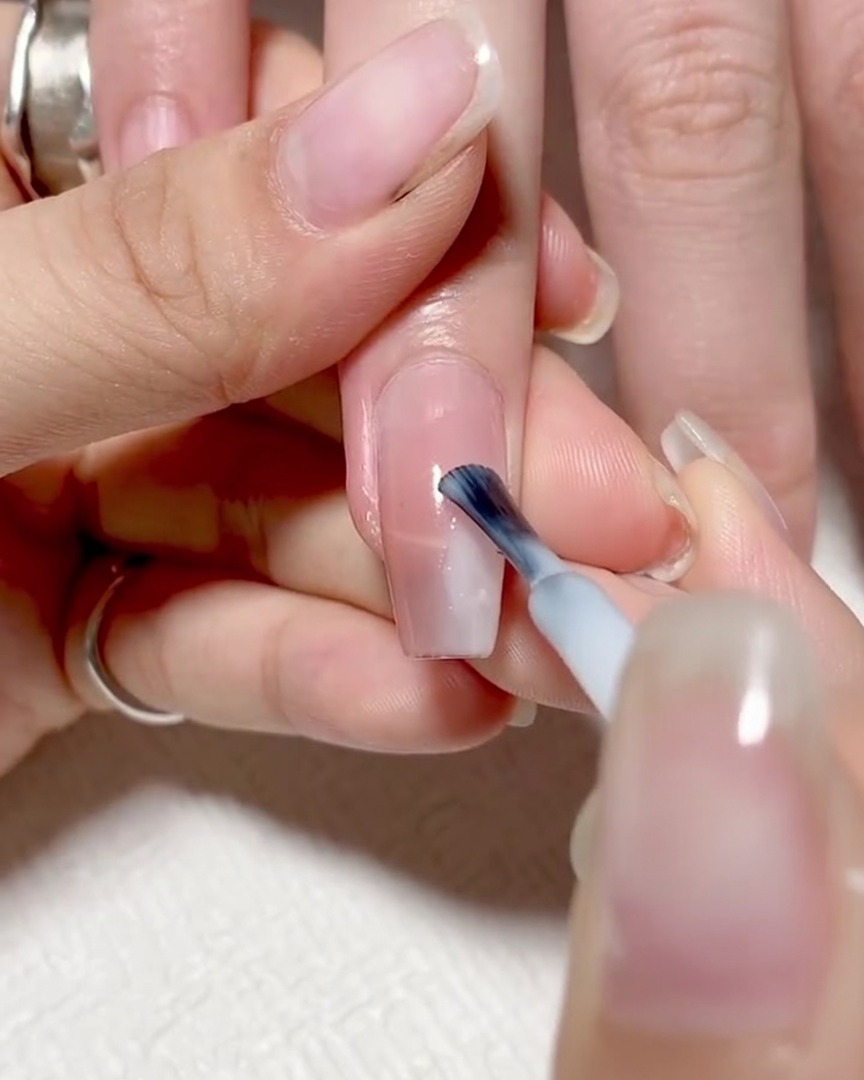
To build the opacity and depth of your gradient, re-apply the Yimu Yuzhi #07 base color to the right half of the nail, starting from the 1/2 mark. Ensure an even application to create a solid foundation for the subsequent color layering.
Tip: Keep the layer thin to prevent the gel from pooling at the cuticles or sides. - 7Re-apply red color
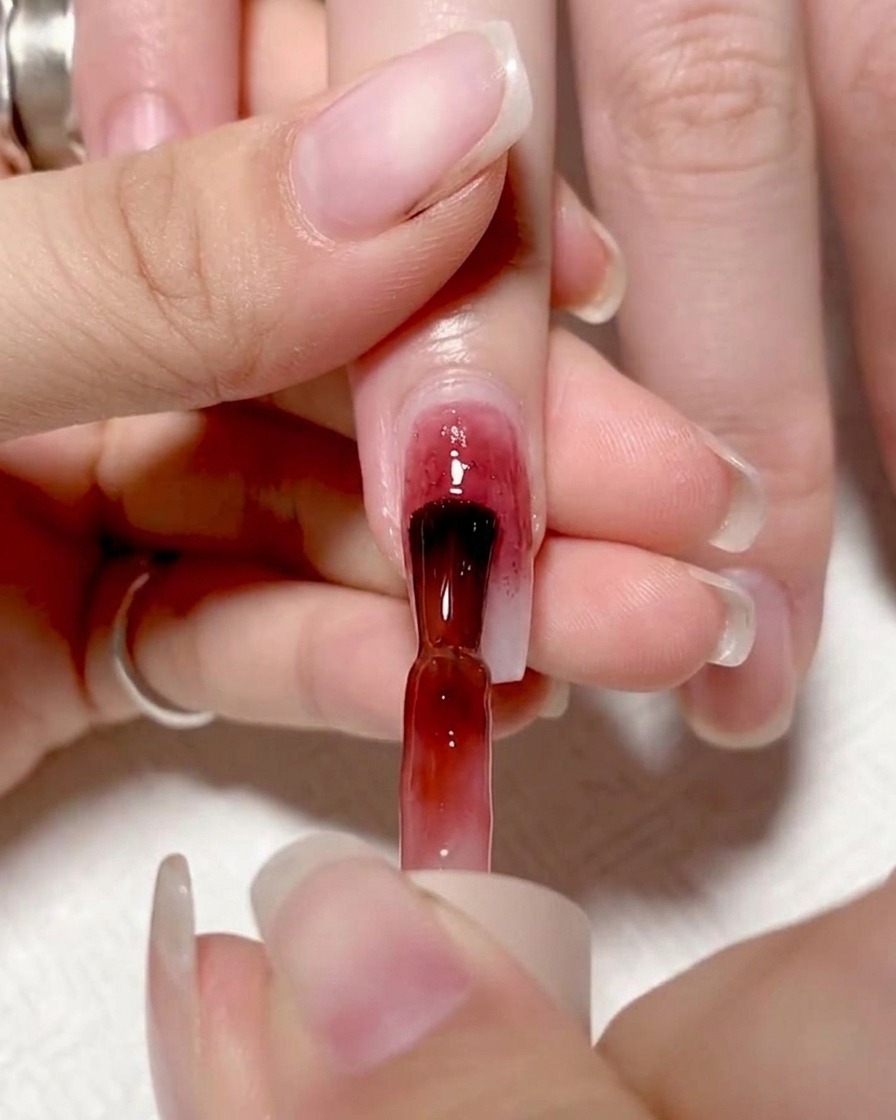
Apply the Yimu Yuzhi #01 red gel to the left half of the nail, beginning at the 1/2 mark. Maintaining the placement from the previous layer ensures the gradient remains consistent across the nail surface.
Tip: Apply the red gently to avoid dragging it too far into the clear base area, which helps keep the gradient clean. - 8Refine the color boundary
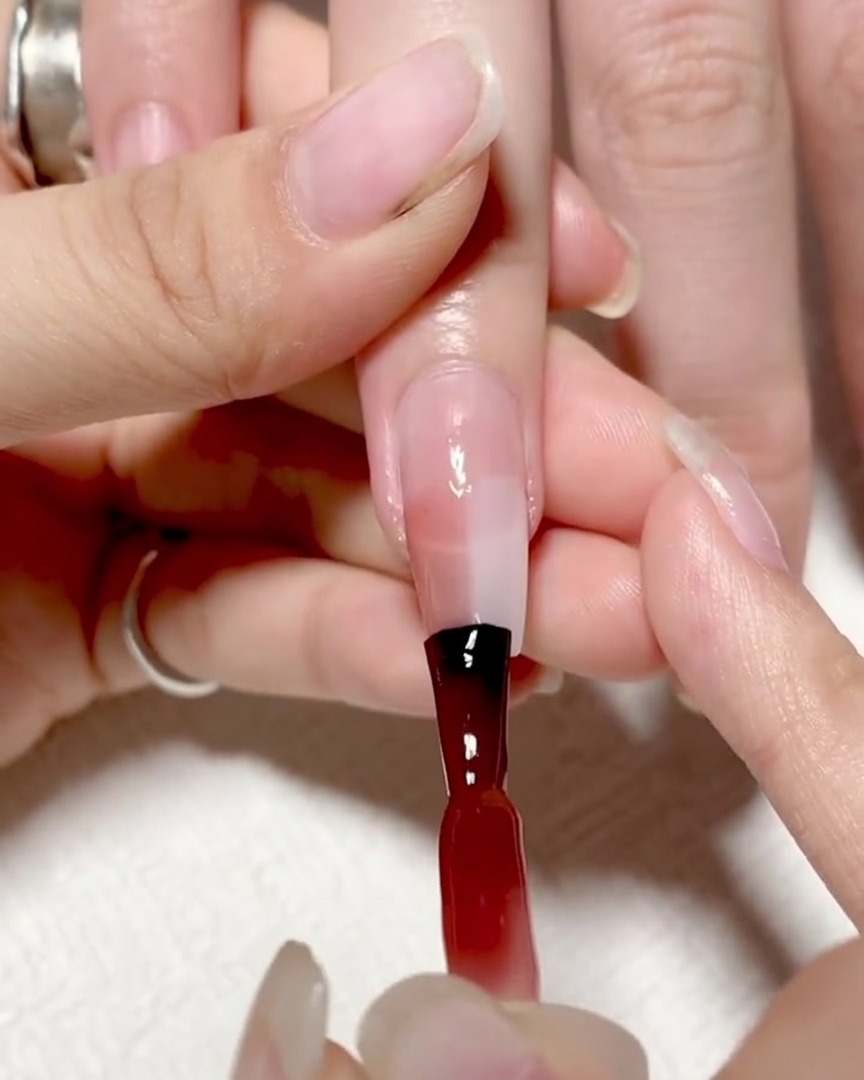
Using a clean gradient brush, gently dab and refine the boundary where the clear base and red colors meet. This step helps soften the transition, ensuring the colors begin to meld into one another seamlessly.
Tip: Use a light touch; excessive pressure can create streaks rather than a smooth gradient. - 9Create the gradient effect
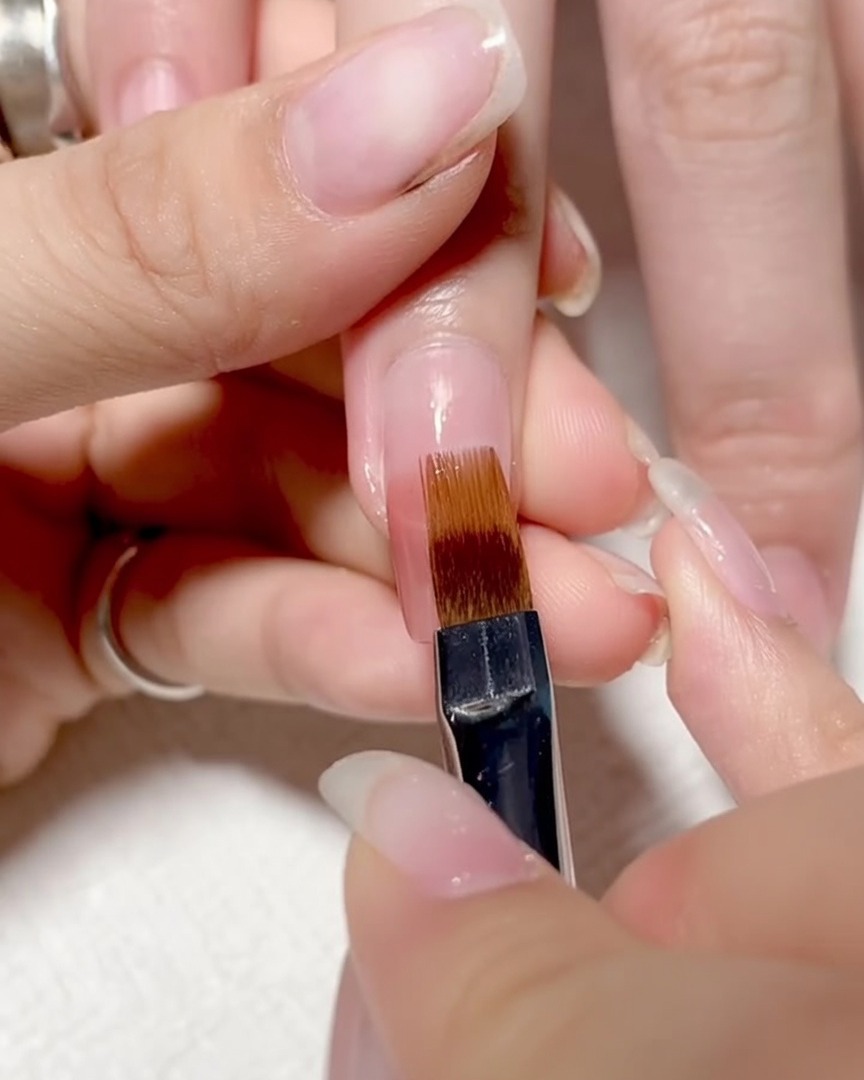
Using light, sweeping motions, pull your gradient brush downwards across the transition area. This technique integrates the two colors, creating a professional-looking ombre effect that fades smoothly from red to clear.
Tip: Clean your brush frequently on a lint-free wipe while blending to keep the gradient crisp and free of excess pigment. - 10Clean the gradient brush
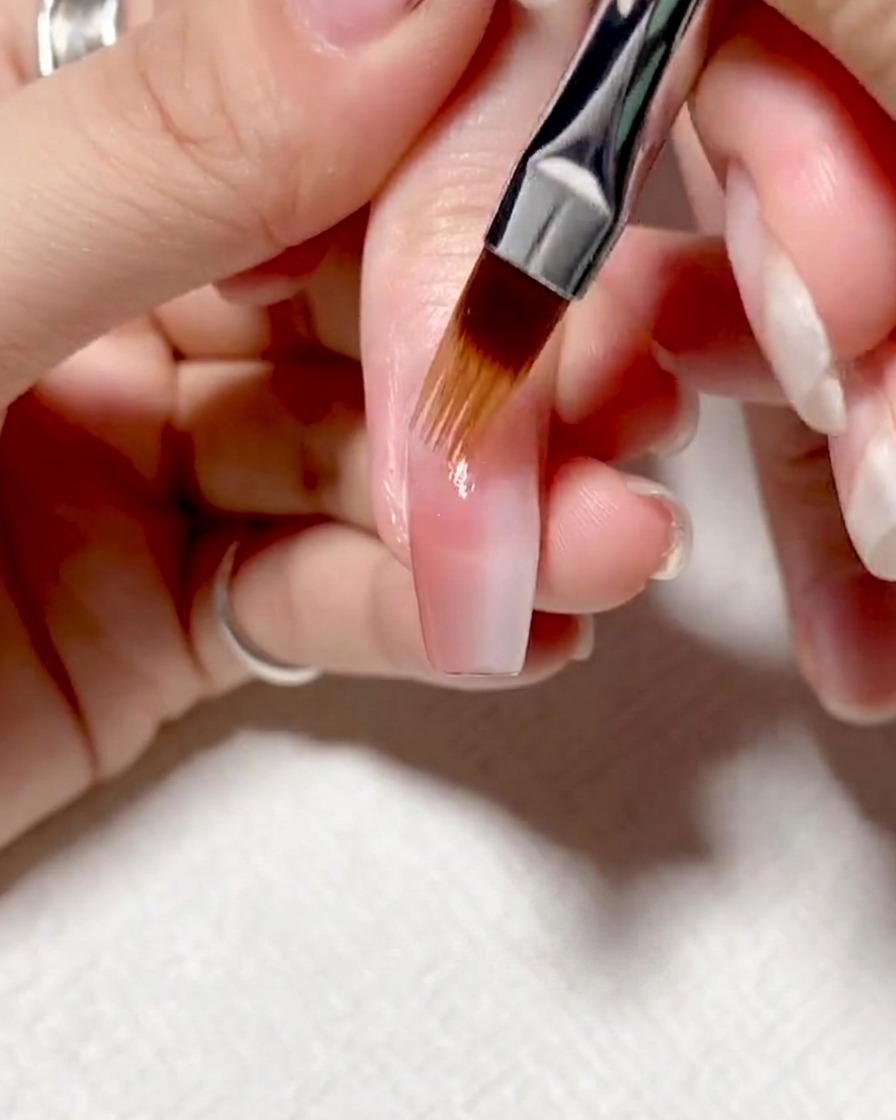
Thoroughly wipe your gradient brush on a lint-free wipe to remove any remaining gel pigment. A clean brush is essential for preventing color contamination in later steps and ensuring smooth, predictable application.
Tip: You can use a small amount of cleanser on the wipe to help lift stubborn gel residue from the bristles. - 11Apply strengthening gel
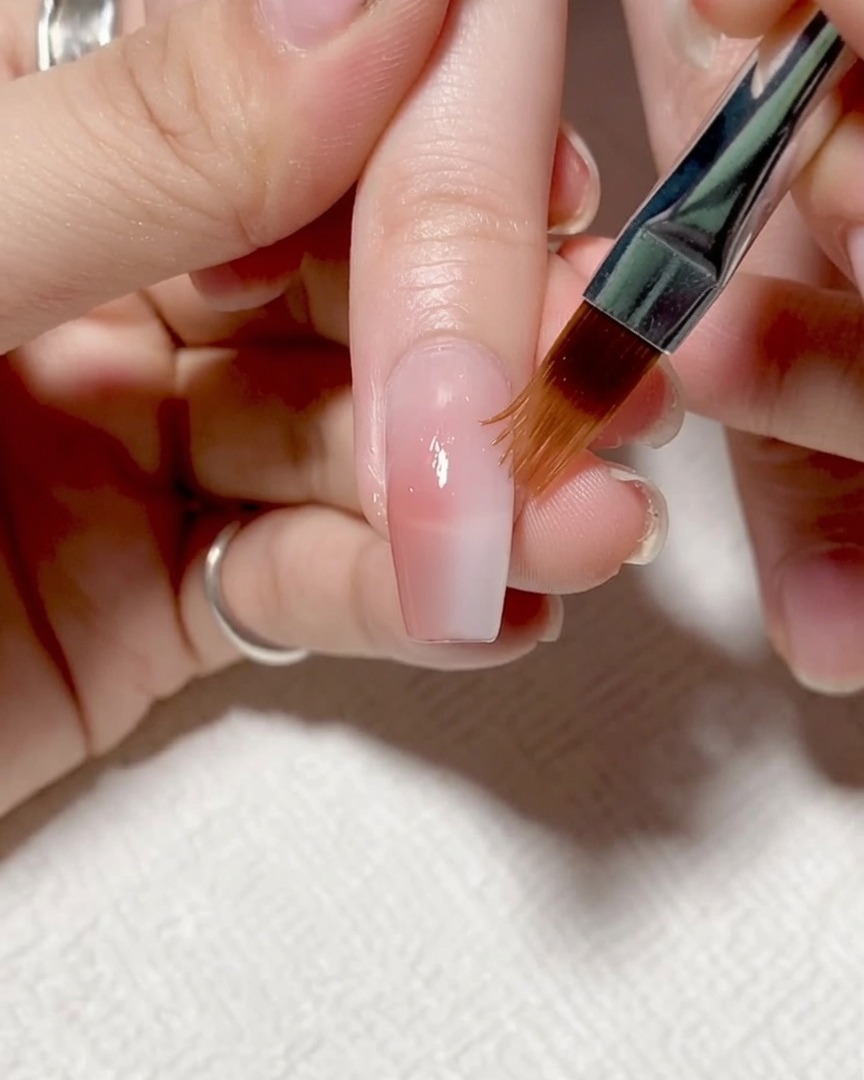
Apply a layer of strengthening gel over the entire nail surface. This adds durability to the gradient design and provides a smooth, leveled surface for the final top coat.
Tip: Cap the free edge with the strengthening gel to add extra protection against chips. - 12Apply crystal top coat
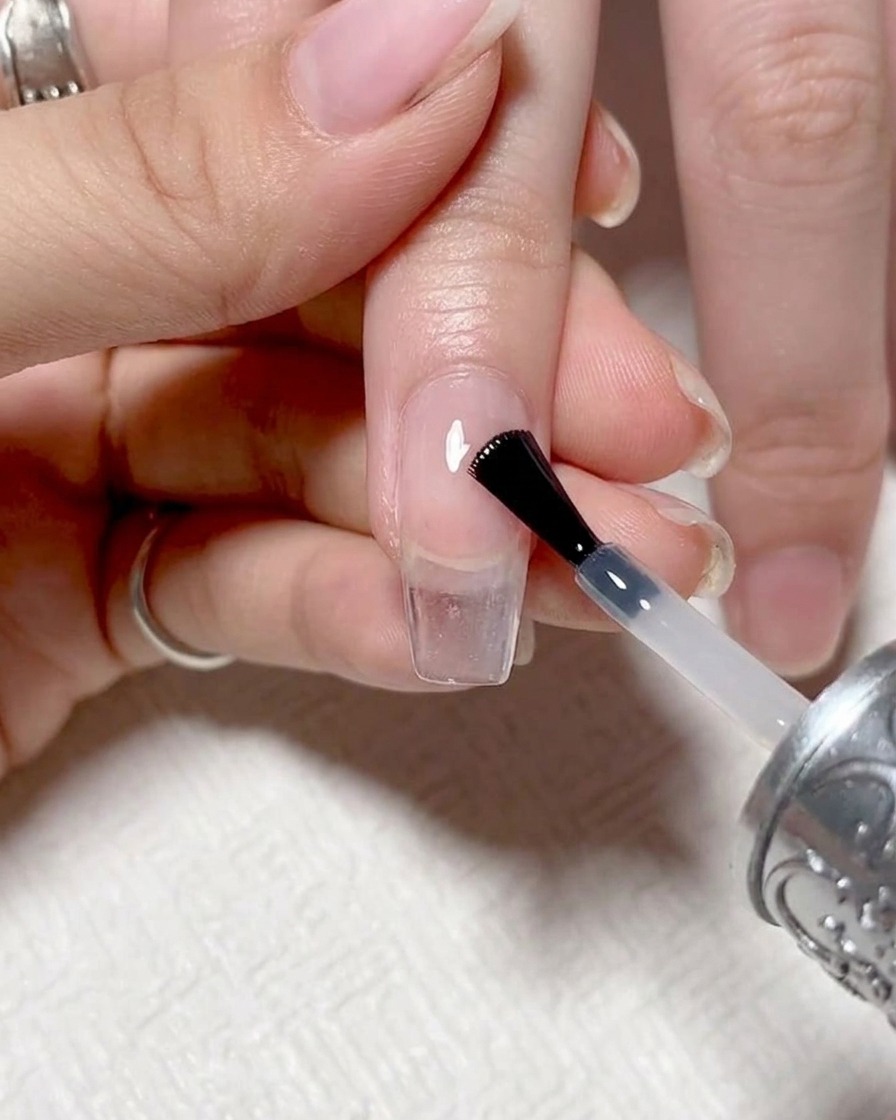
Apply a final layer of crystal top coat over the entire nail surface, ensuring complete coverage over the previously applied strengthening gel. This step provides a high-gloss finish and protects the underlying nail art from daily wear. Cure under a UV/LED lamp for the recommended duration.
Tip: Ensure the top coat is applied evenly to maintain the jelly gradient look without creating streaks or bubbles. - 13Seal the free edge
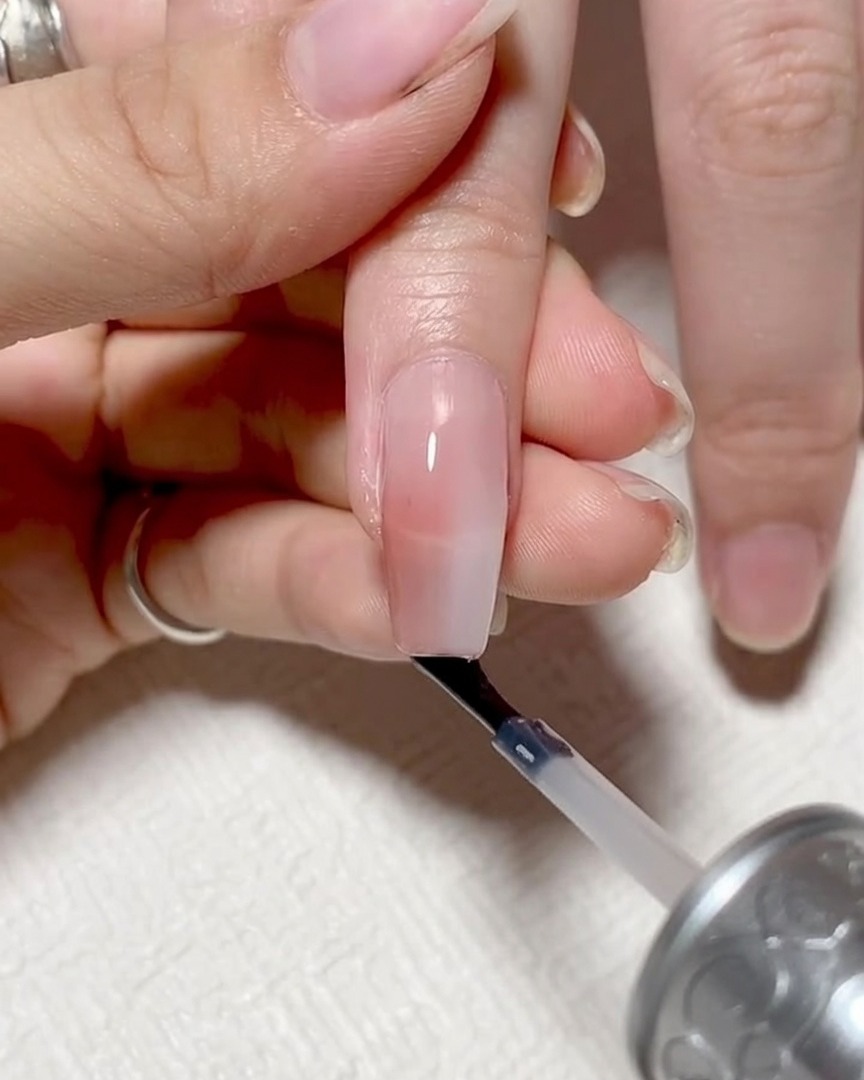
Before the final cure, carefully swipe the brush across the free edge of the nail to cap it with the top coat. This seals the layers of gel and prevents the tip from chipping, helping the manicure last longer.
Tip: Be careful not to apply too much product on the free edge, as it can create a bulky look at the tip.