Jelly Ombre Gel Nails — Step-by-Step Tutorial
Create the perfect jelly ombre gel nails with this step-by-step tutorial. Learn to blend nude and pink tones for a soft, glossy gradient finish.
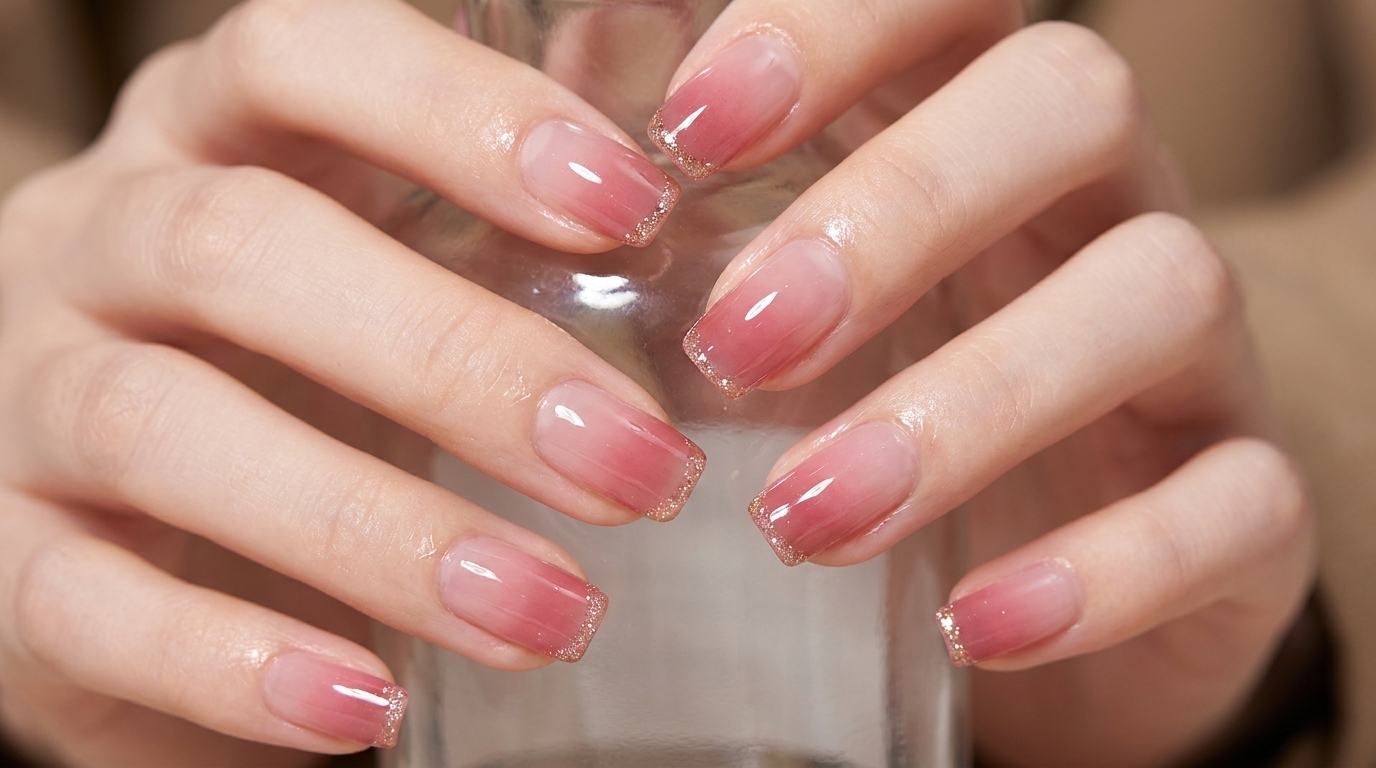
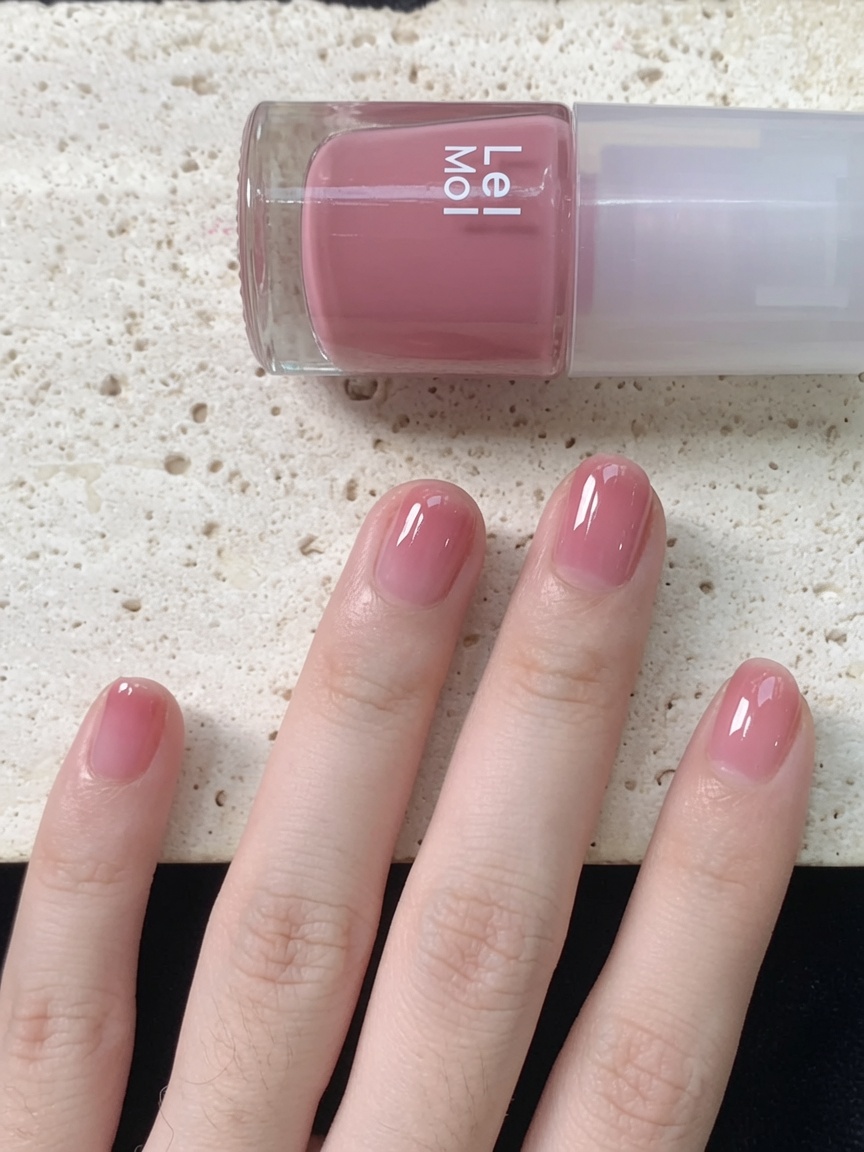
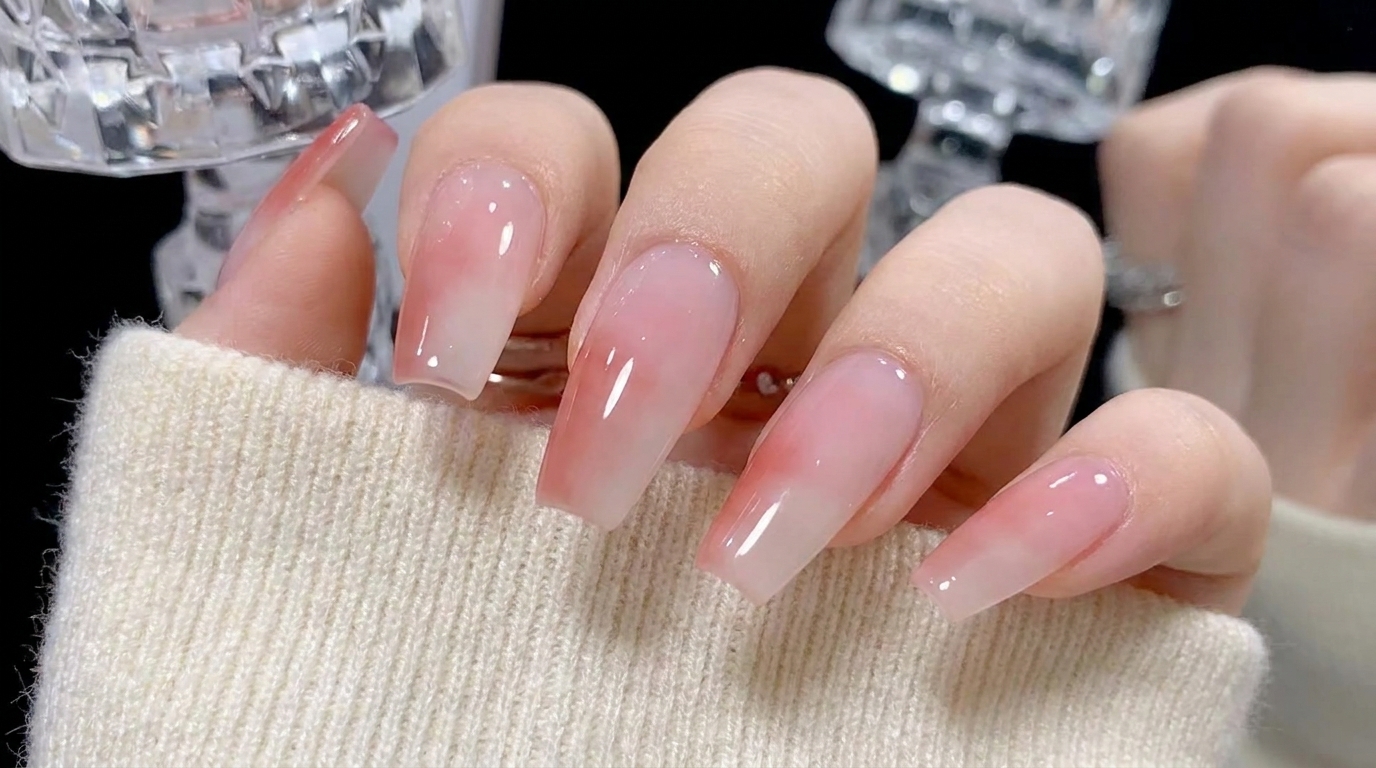
Jelly ombre nails are taking the manicure world by storm, offering a softer, more translucent take on the classic gradient. By layering milky whites with sheer nude and pink tones, you can achieve a delicate depth that looks almost glassy. A touch of subtle glitter near the tip adds just enough sparkle without overpowering the minimalist vibe of the look.
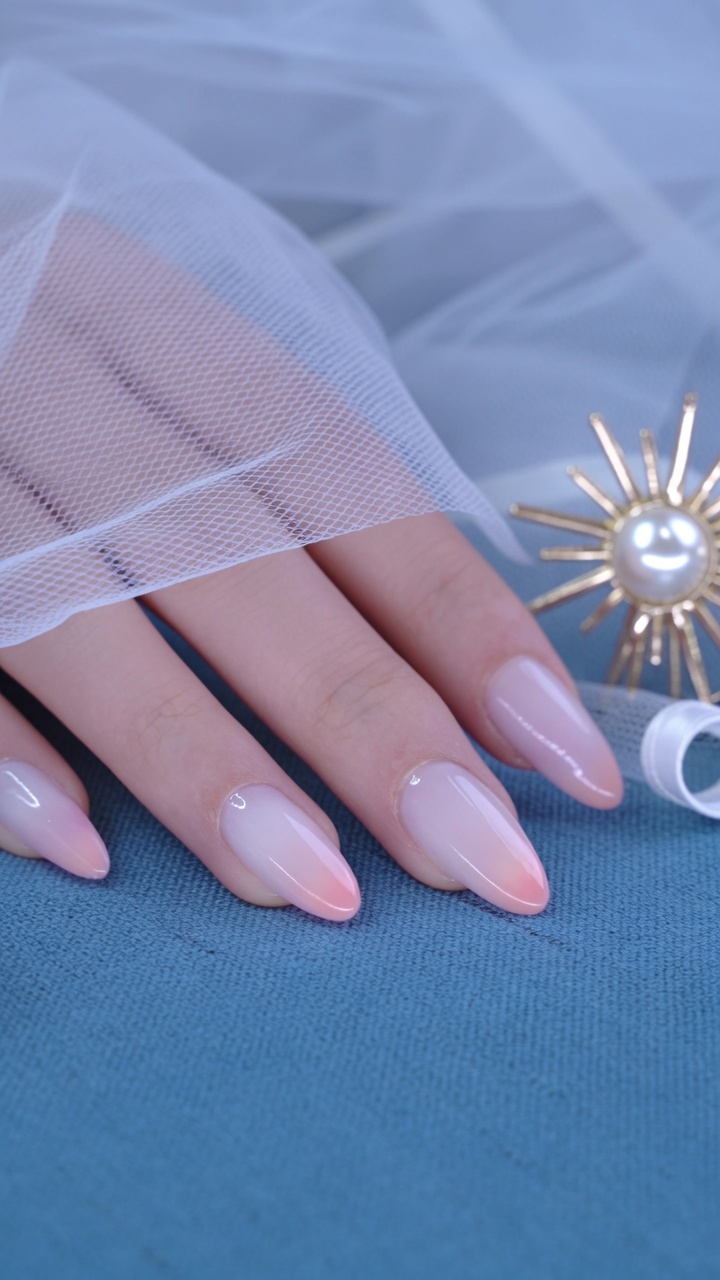
Steps
- 1Apply milky white base coat
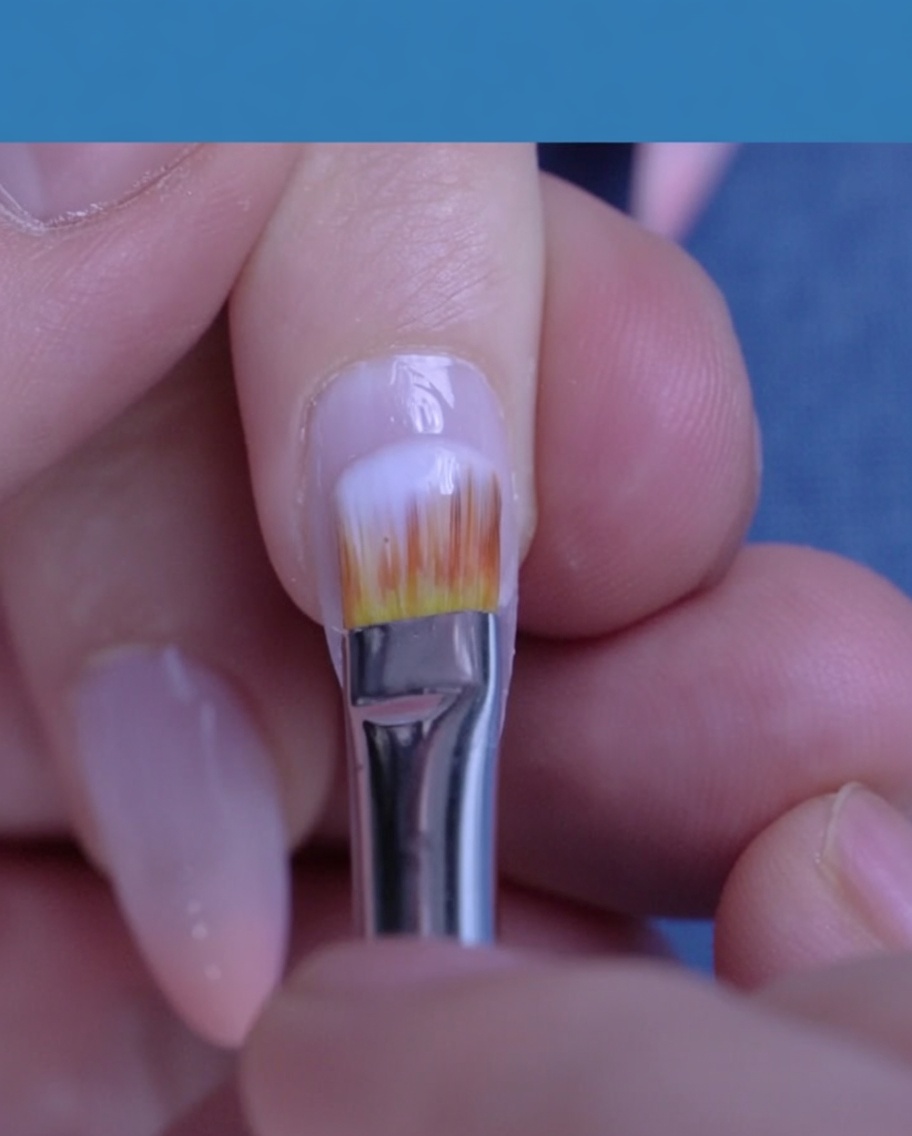
Begin the jelly gradient process by applying a thin, even layer of milky white gel polish across the entire nail surface. Ensure the application is smooth to provide a translucent, milky canvas for the subsequent gradient layers. Cure the base layer under a UV lamp according to the product instructions.
Tip: Keep the layer thin to maintain the desired jelly-like transparency. - 2Apply first nude gradient layer
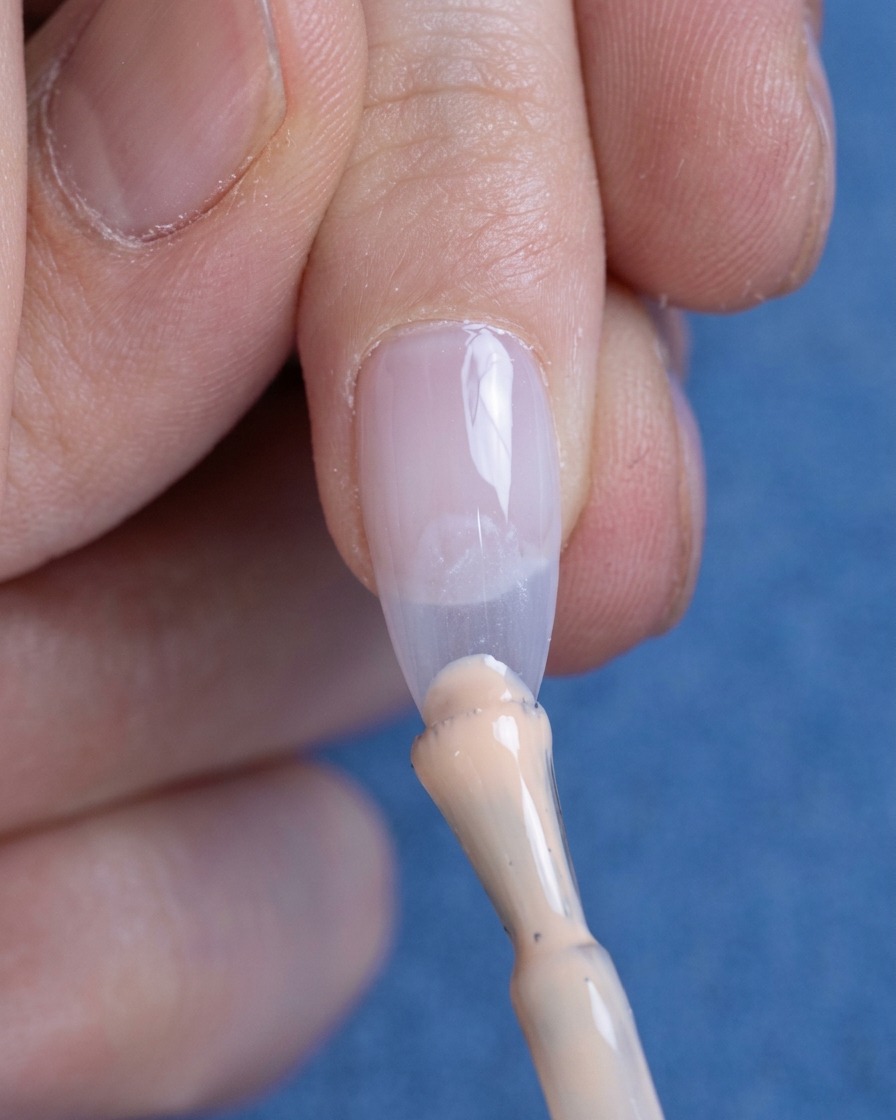
Using a gel brush, apply a small amount of nude-toned gel polish specifically to the free edge of the nail. This initiates the gradient effect, keeping the color concentrated at the tip to create depth. Do not cure this layer yet, as it needs to be blended.
Tip: Using a small amount of product helps achieve a softer, more natural-looking fade. - 3Blend the first gradient layer
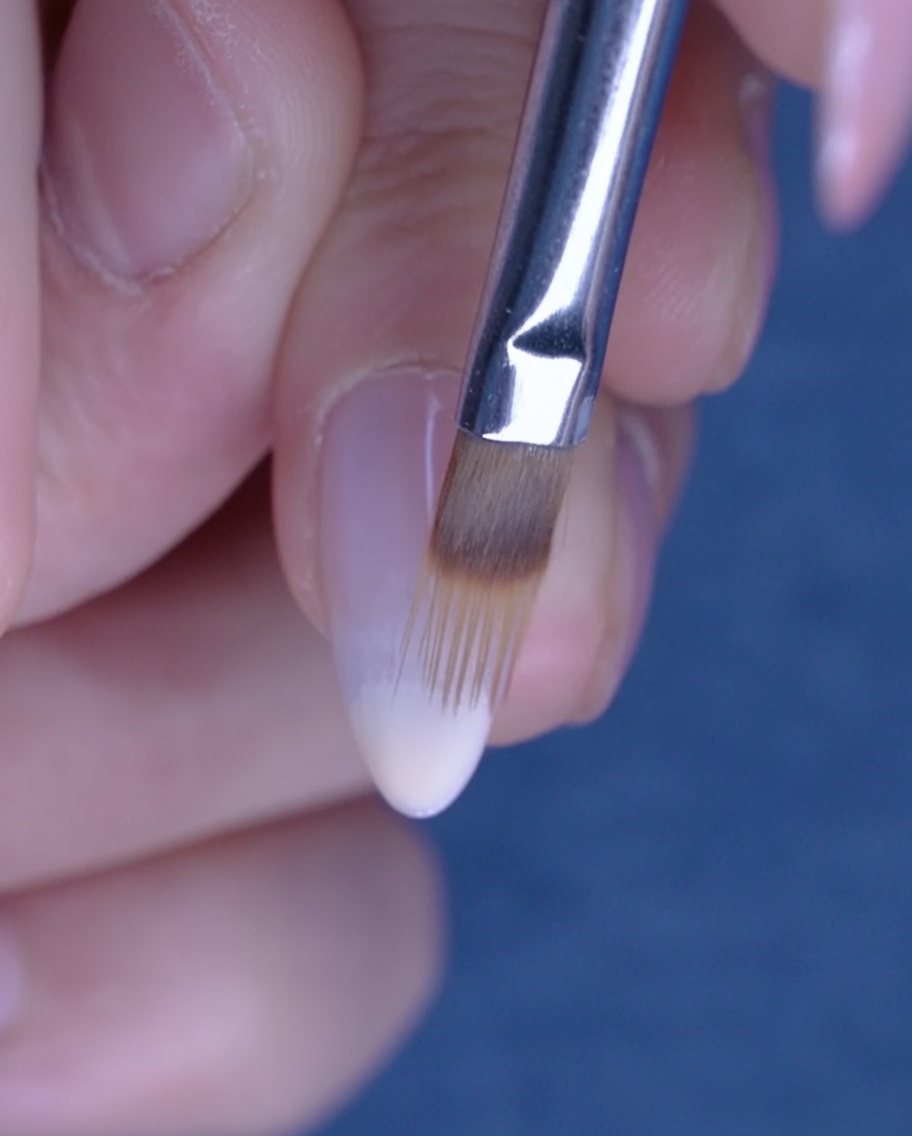
With a clean, flat gel brush, gently pull and blend the applied nude gel upward from the tip toward the center of the nail. Use light, feathery strokes to create a seamless, soft gradient transition. Once satisfied with the blend, cure the nail under the UV lamp.
Tip: Keep the brush strokes light to avoid removing too much product while blending. - 4Build up gradient opacity
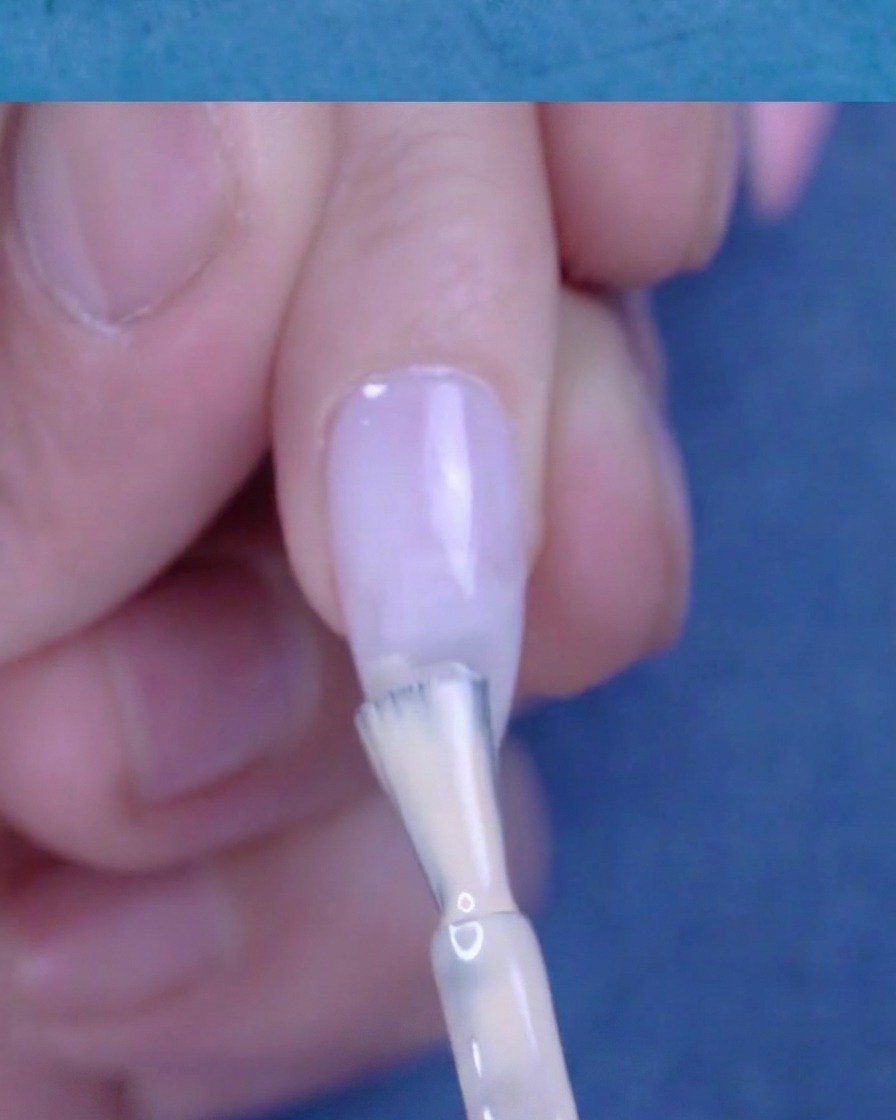
Apply a second layer of the nude-toned gel polish, slightly thicker than the first, concentrating it at the tip of the nail. This step intensifies the color at the very edge to deepen the gradient effect. Prepare to blend this layer into the existing base.
Tip: Focusing the product at the tip ensures the darkest part of the gradient remains at the edge. - 5Blend and smooth second layer
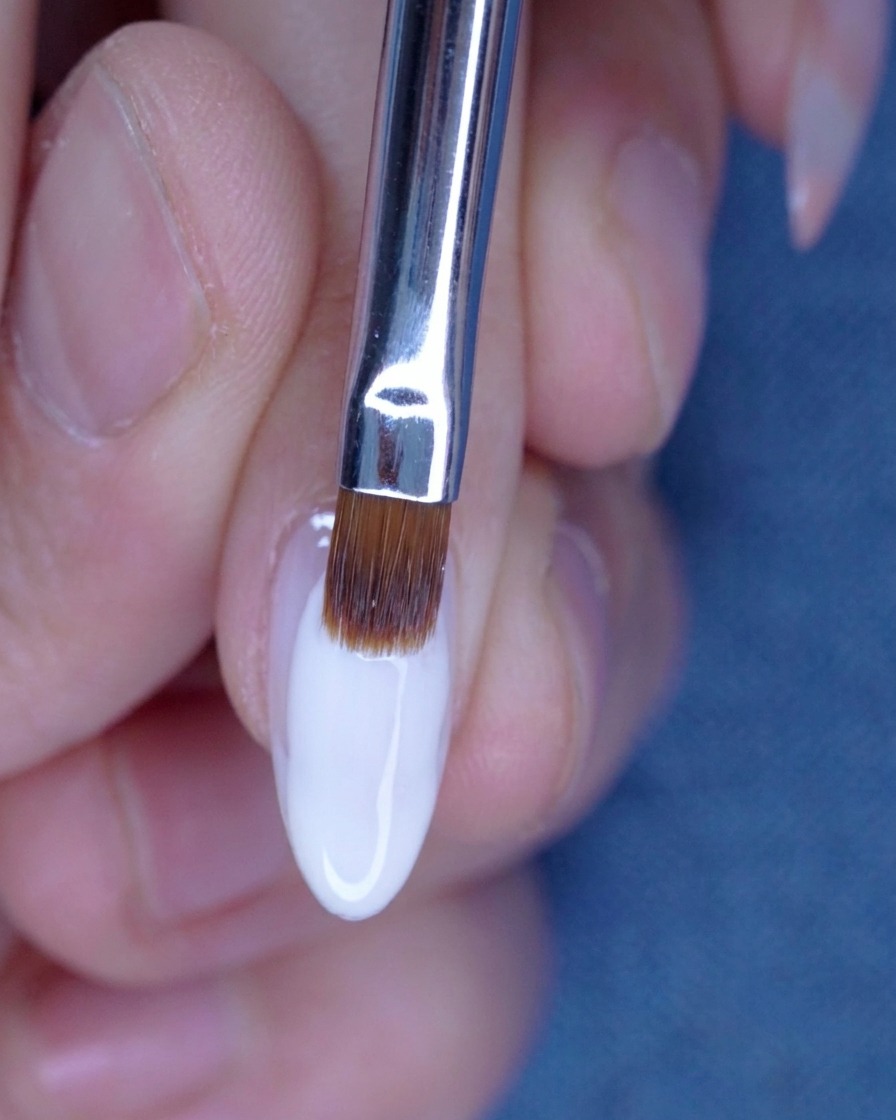
Using the gel brush, carefully blend the second layer of nude gel upward into the previously cured gradient. Ensure the transition is smooth and free of harsh lines, maintaining the soft aesthetic of the jelly look. Cure the nail under the UV lamp once the blending is complete.
Tip: Work in small strokes to smooth the transition zone where the new gel meets the previous layer. - 6Refine with nude-pink gel
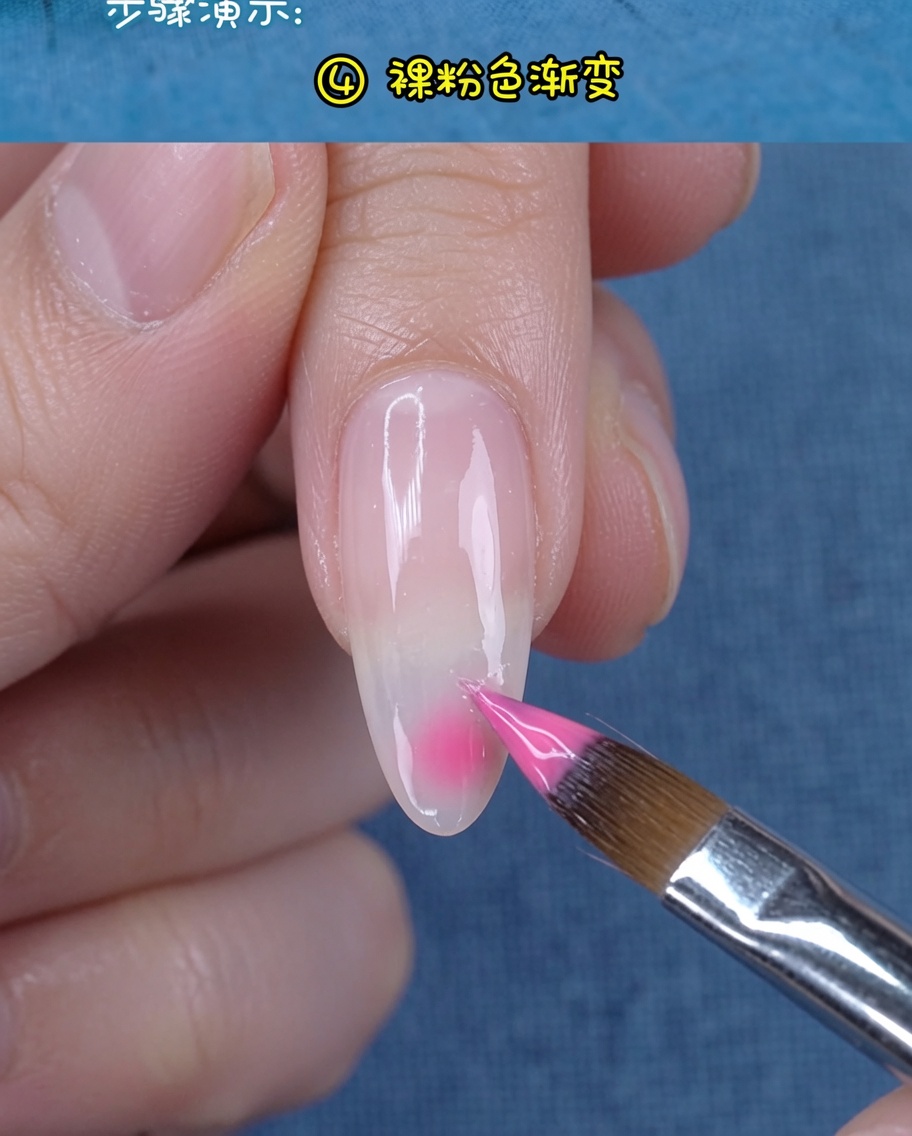
Add a final touch of light nude-pink gel polish to the tip of the nail to refine the overall color transition. This adds a subtle warmth and harmonizes the gradient layers. Once applied and blended to your preference, cure the nail one final time to set the color.
Tip: This final color adjustment enhances the jelly depth of the manicure. - 7Add glitter embellishment
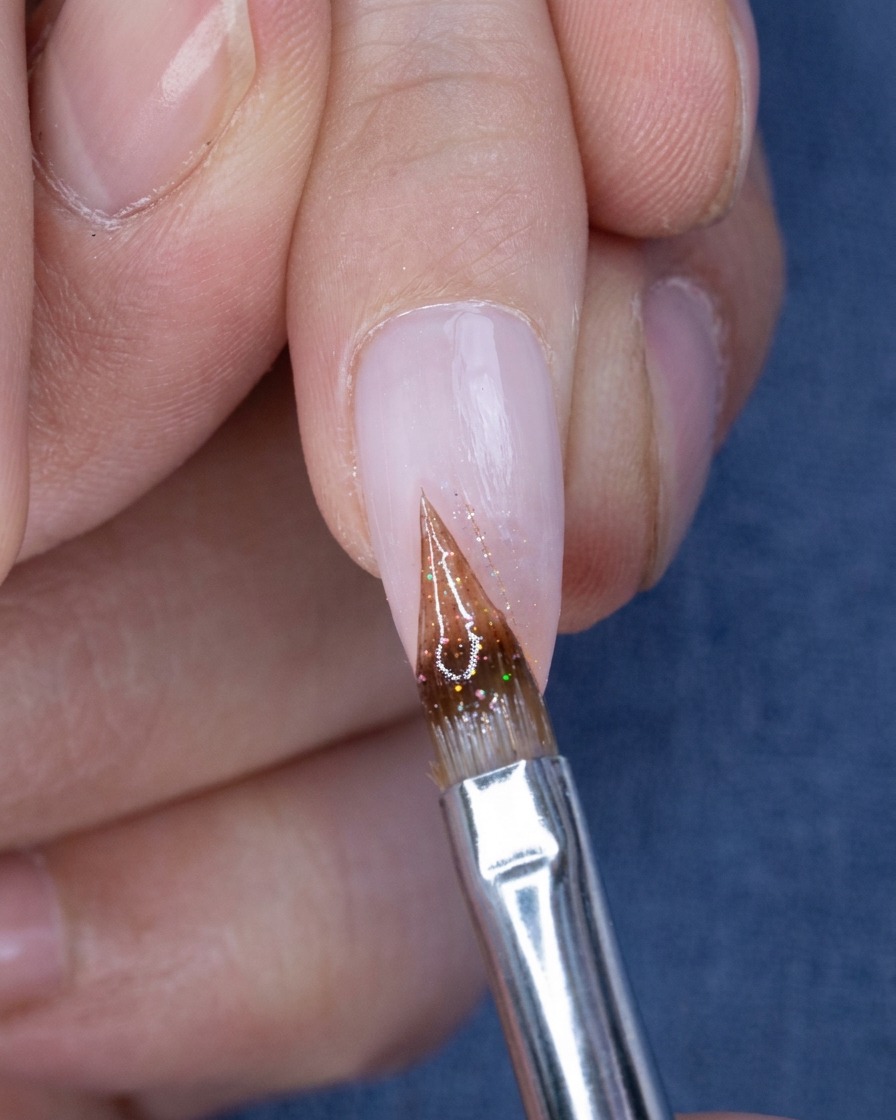
Using a fine detail brush, pick up a small amount of pink glitter and carefully place it near the nail tip over the existing gradient. Focus the glitter intensity towards the edge to create a sparkling transition that complements the soft nude-pink tones.
Tip: Apply the glitter sparingly; it is easy to add more but very difficult to remove without disturbing the blended gel underneath. - 8Apply glossy top coat
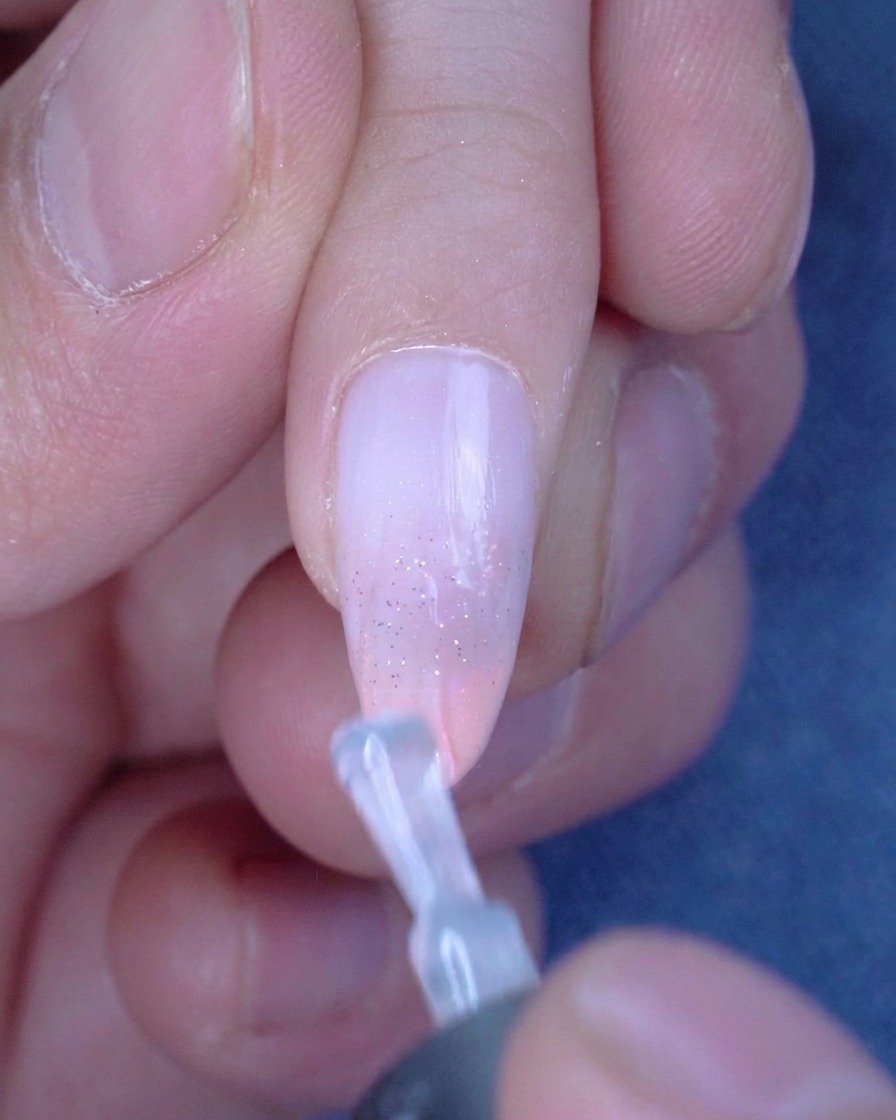
Apply a generous, even layer of glossy top coat over the entire surface of the nail. Ensure you cap the free edge completely to seal the glitter and gradient, providing a durable, high-shine finish that protects the design from chipping.
Tip: Check for any streaks or bubbles before curing, as the top coat will lock in any imperfections. - 9Cure in the UV/LED lamp
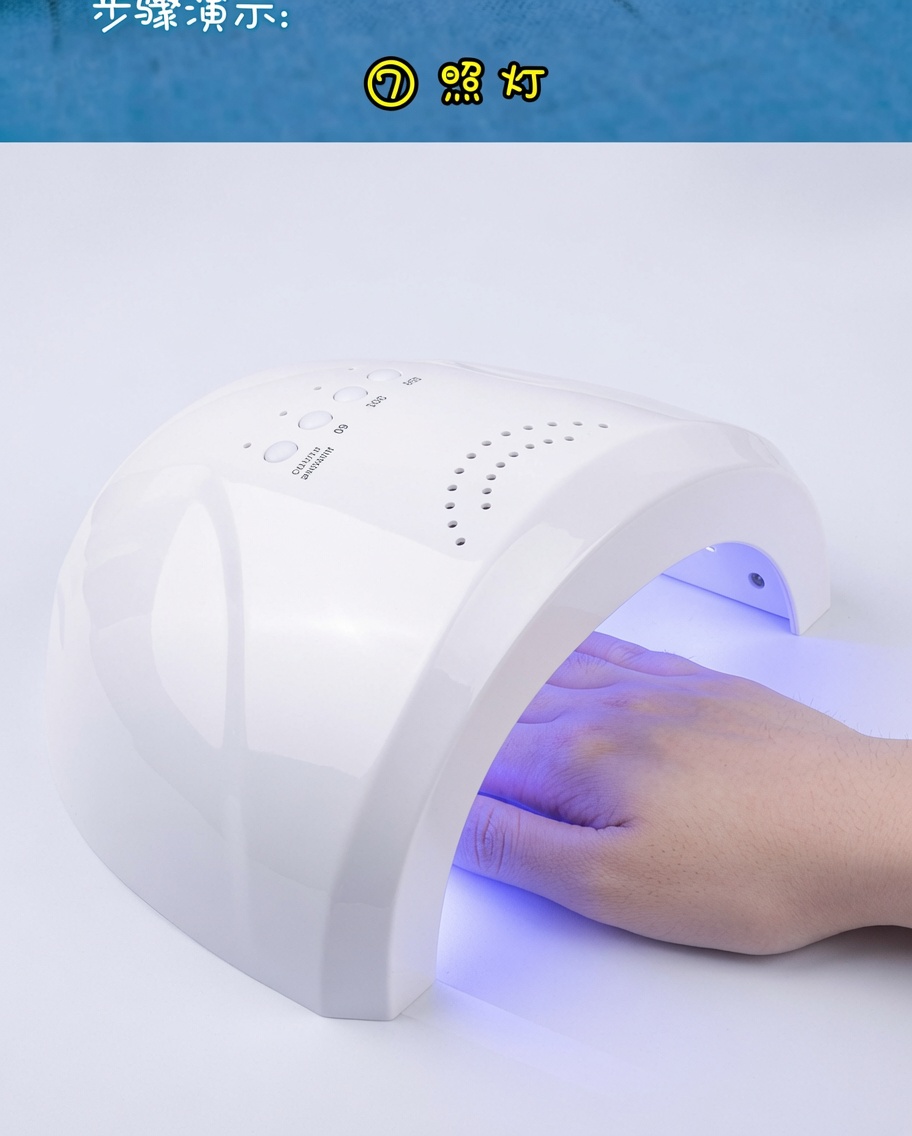
Place your hand inside the UV/LED lamp, ensuring all nails are positioned under the light source. Cure for the time specified by your gel products instructions to fully harden the top coat and glitter layer.
Tip: Keep your fingers flat and centered in the lamp to ensure even light distribution and complete curing across all nails. - 10Apply nourishing cuticle oil
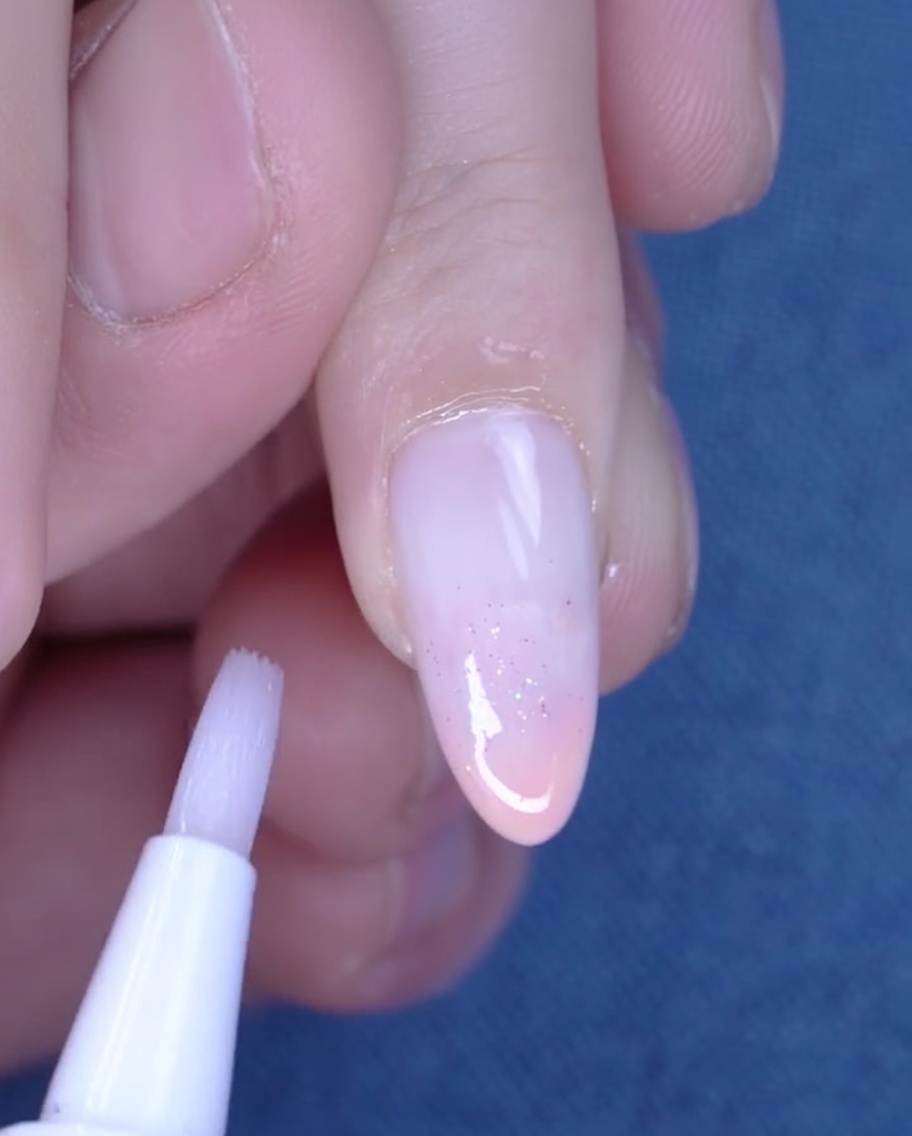
Finish the manicure by applying a nourishing cuticle oil to the skin surrounding the nail plate. Gently massage the oil into the cuticles and side walls to hydrate and soothe the skin after the chemical application process.
Tip: Regular use of cuticle oil keeps the surrounding skin healthy and helps your manicure last longer by preventing dry, cracked cuticles.