Jelly Gradient Ombre Nails — Beginner Step-by-Step Tutorial
Master the delicate jelly gradient look with this simple sponge-blending technique. Create professional-looking translucent ombre nails right at home.
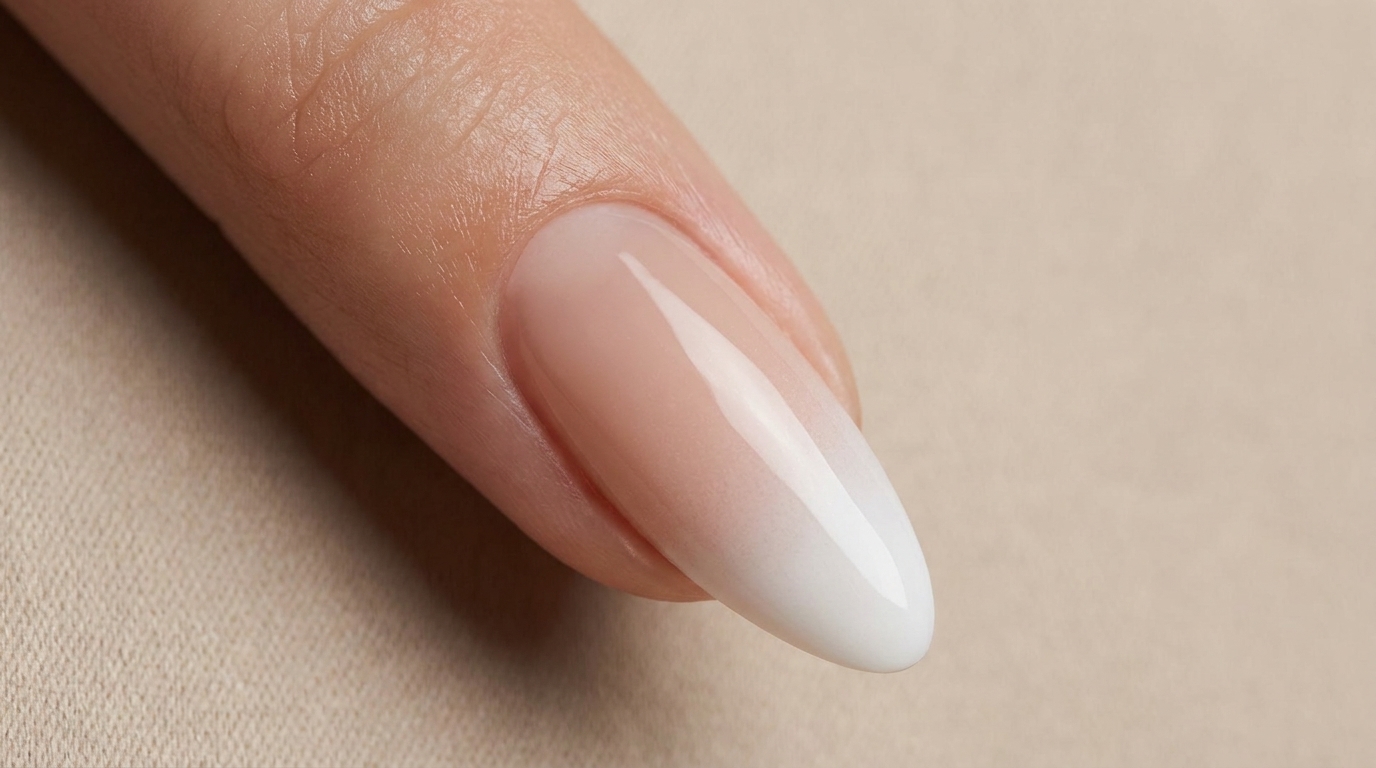
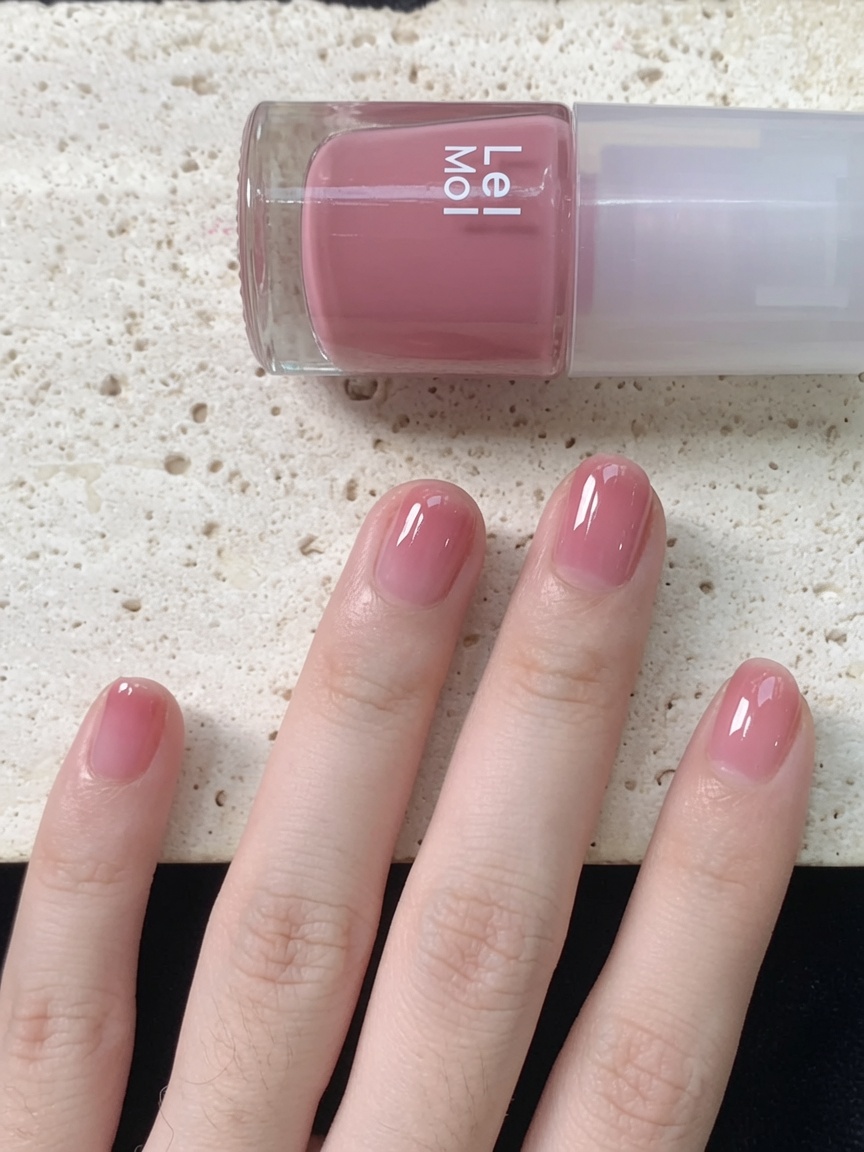
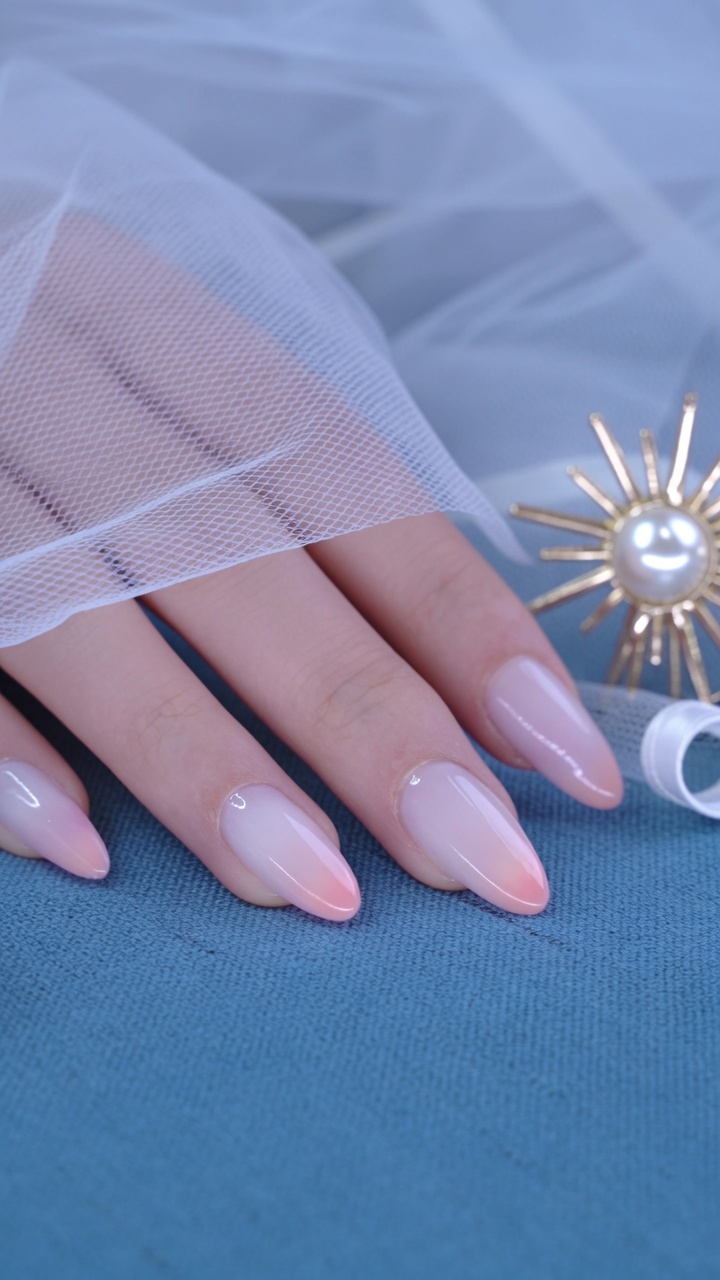
Jelly gradient nails offer a soft, translucent finish that is perfect for a clean and elegant aesthetic. By using a light dabbing motion with a makeup sponge, you can achieve a seamless color transition that looks professional without the need for advanced airbrushing skills. This technique relies on thin, buildable layers of gel to create that signature depth and natural fade.
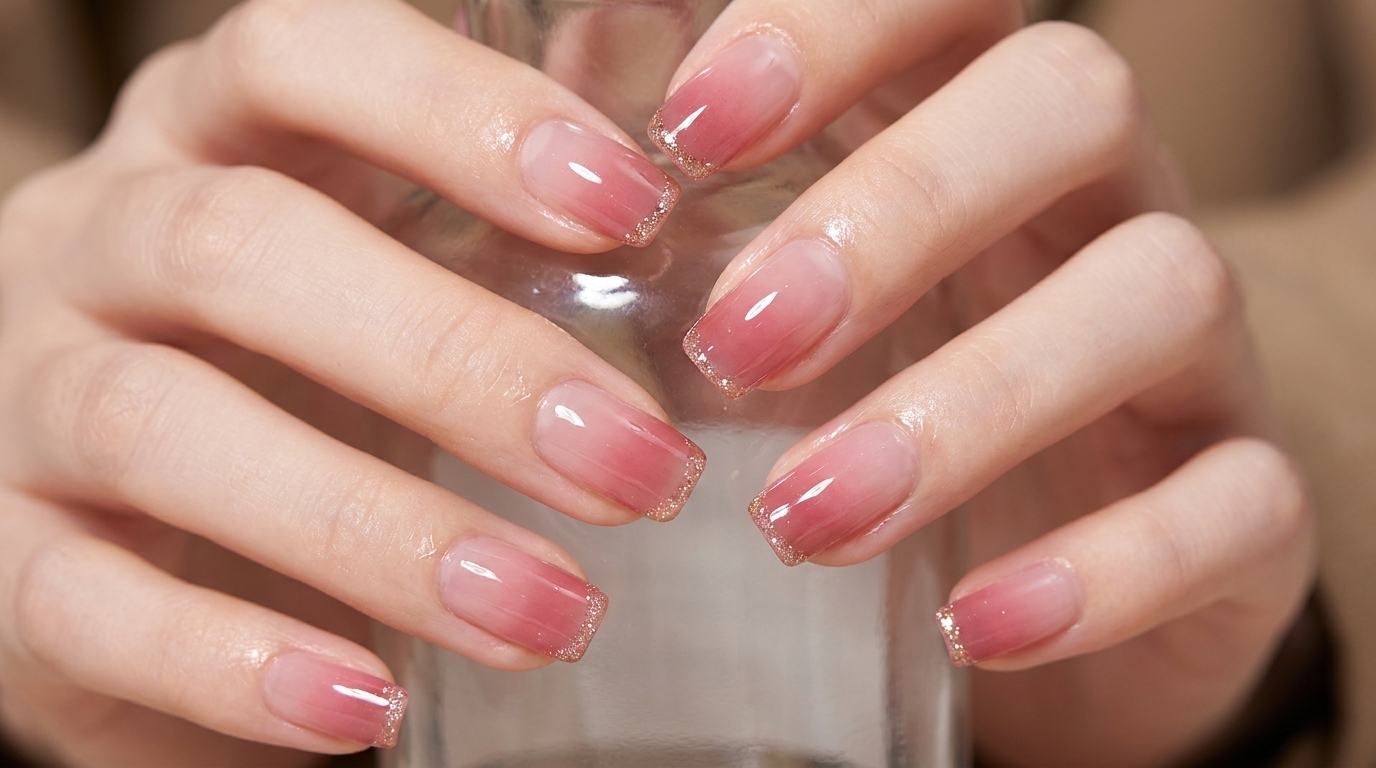
Steps
- 1Scoop gel polish
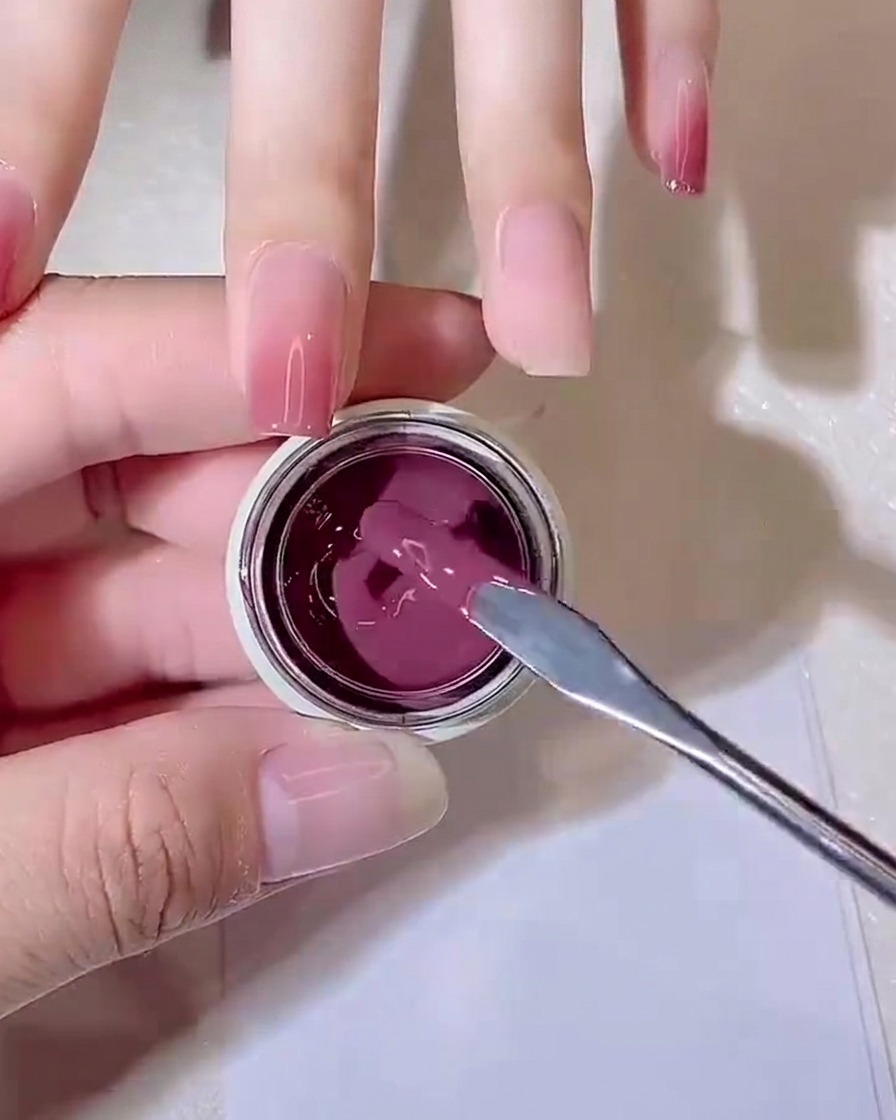
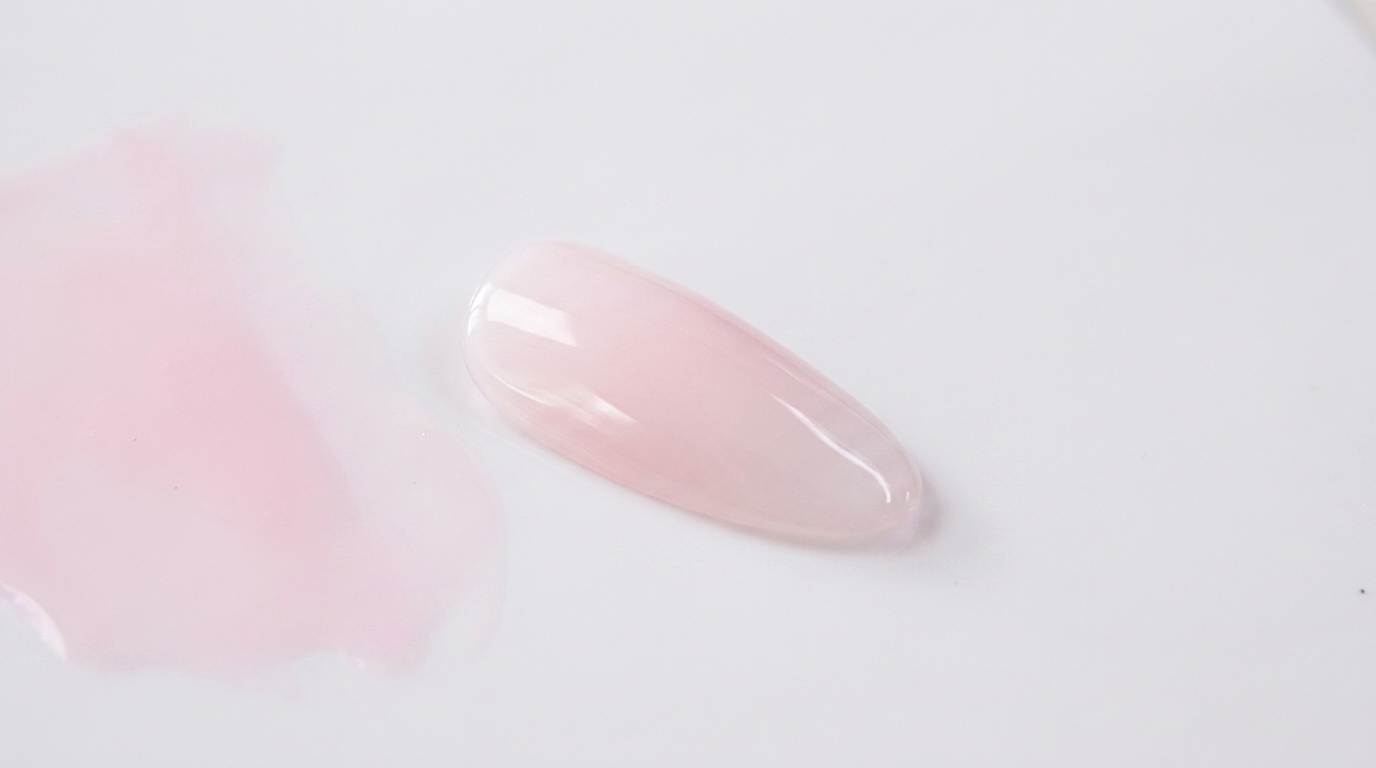
Using a metal mixing stick, carefully scoop a small amount of the jelly purple-pink gel directly from the container. Keep the amount minimal to ensure you can easily manage the gradient application on the nail.
Tip: Only take a small amount of gel at a time; you can always add more, but too much product on the sponge will make the gradient difficult to blend. - 2Apply gel to palette
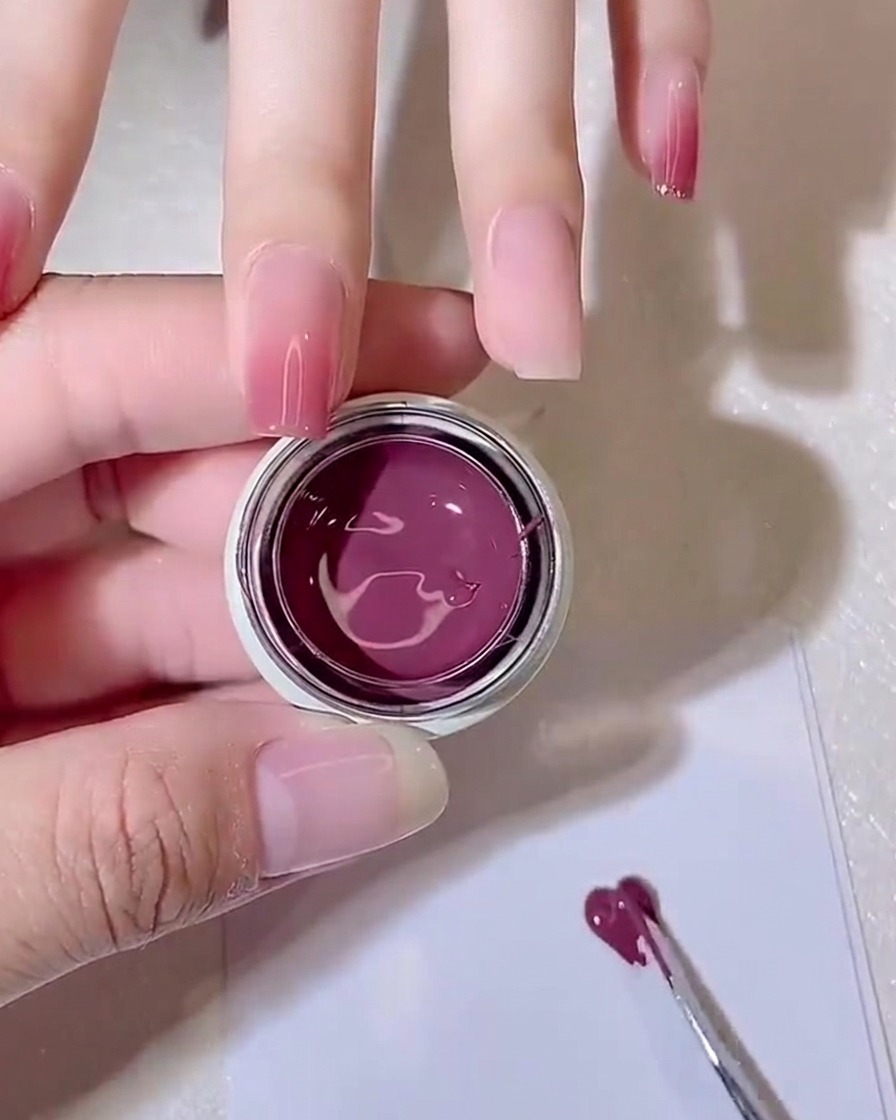
Place the scooped gel onto a piece of palette paper. Spread it into a thin, even layer to make it easy for the sponge to pick up just the right amount of product for a natural-looking gradient.
Tip: Using a thin layer on the palette prevents the sponge from becoming oversaturated, which is key to achieving a smooth gradient effect. - 3Load the makeup sponge
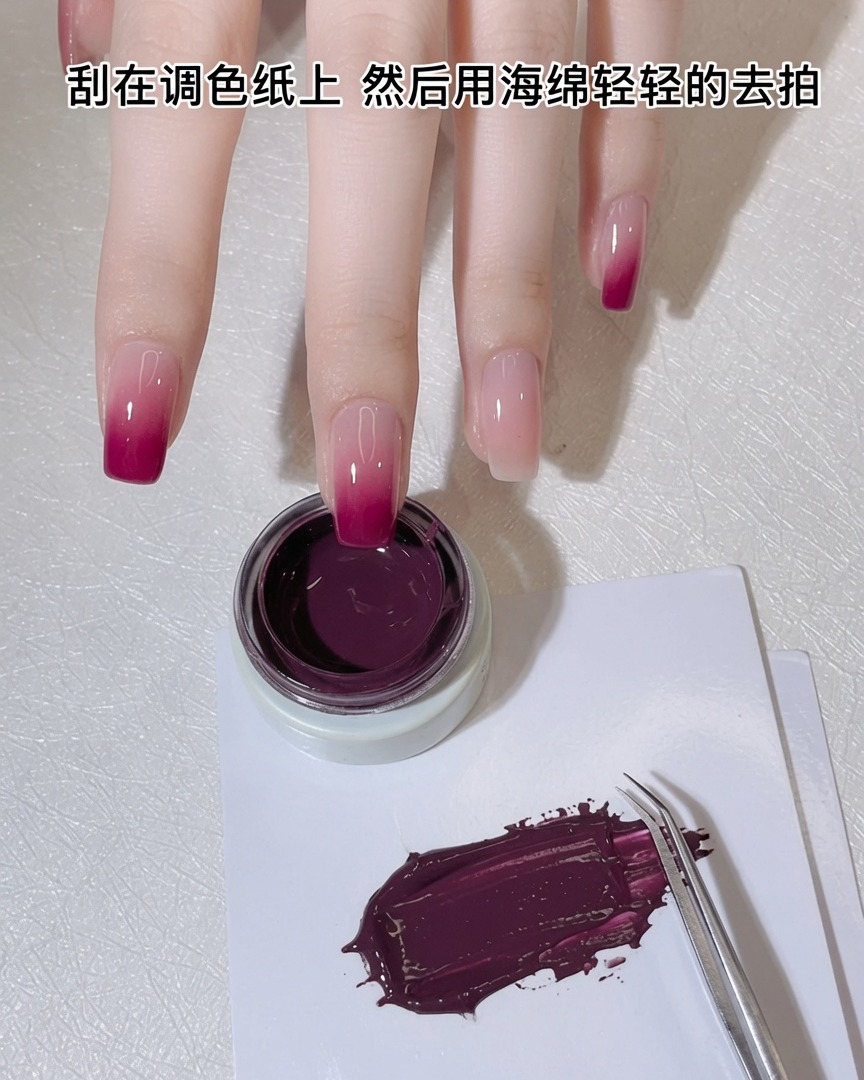
Gently press a clean makeup sponge into the thin layer of gel on your palette. You want the sponge to pick up a light, even coating rather than soaking the product deep into the pores.
Tip: Gently dabbing is better than pressing hard; you want the gel to sit on the surface of the sponge for better transfer to the nail. - 4Begin the gradient application
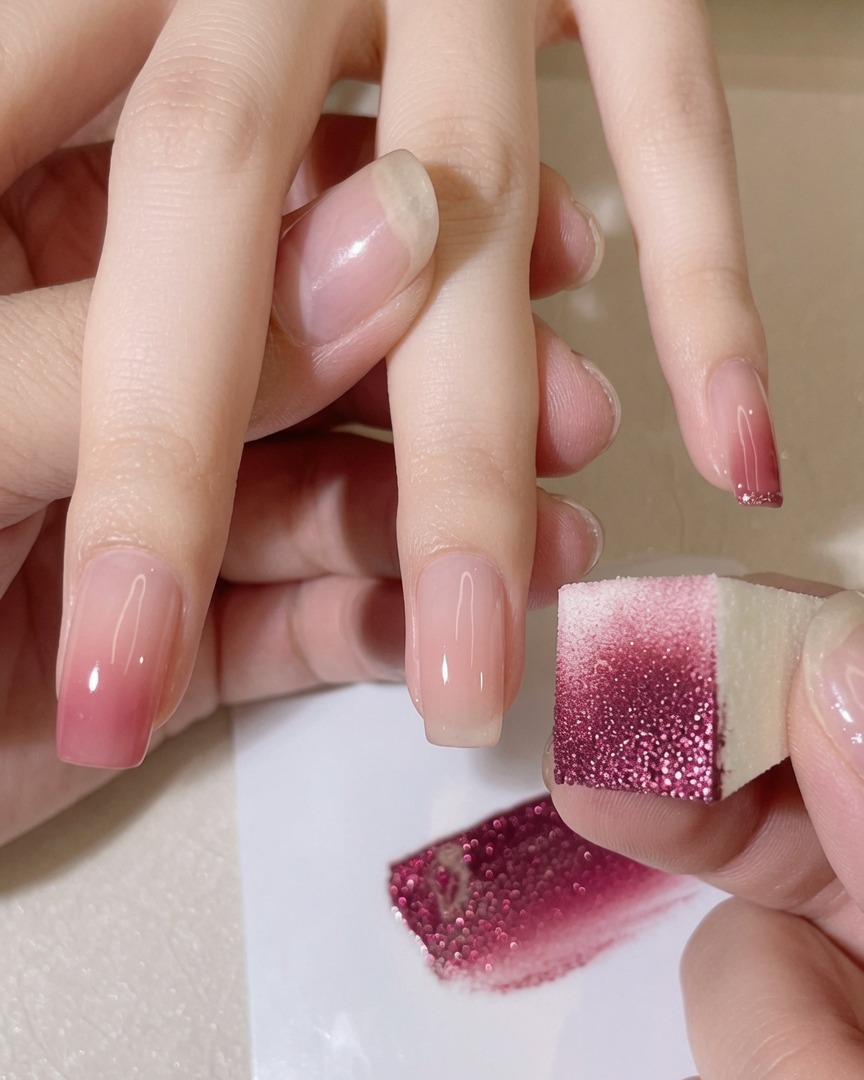
Lightly dab the loaded sponge onto the tip of your nail. Use soft, repeated motions to deposit the color, keeping the highest density of pigment at the very free edge to establish the gradient.
Tip: Dabbing with the sponge rather than swiping helps create a soft, natural transition rather than a harsh line. - 5Build color density
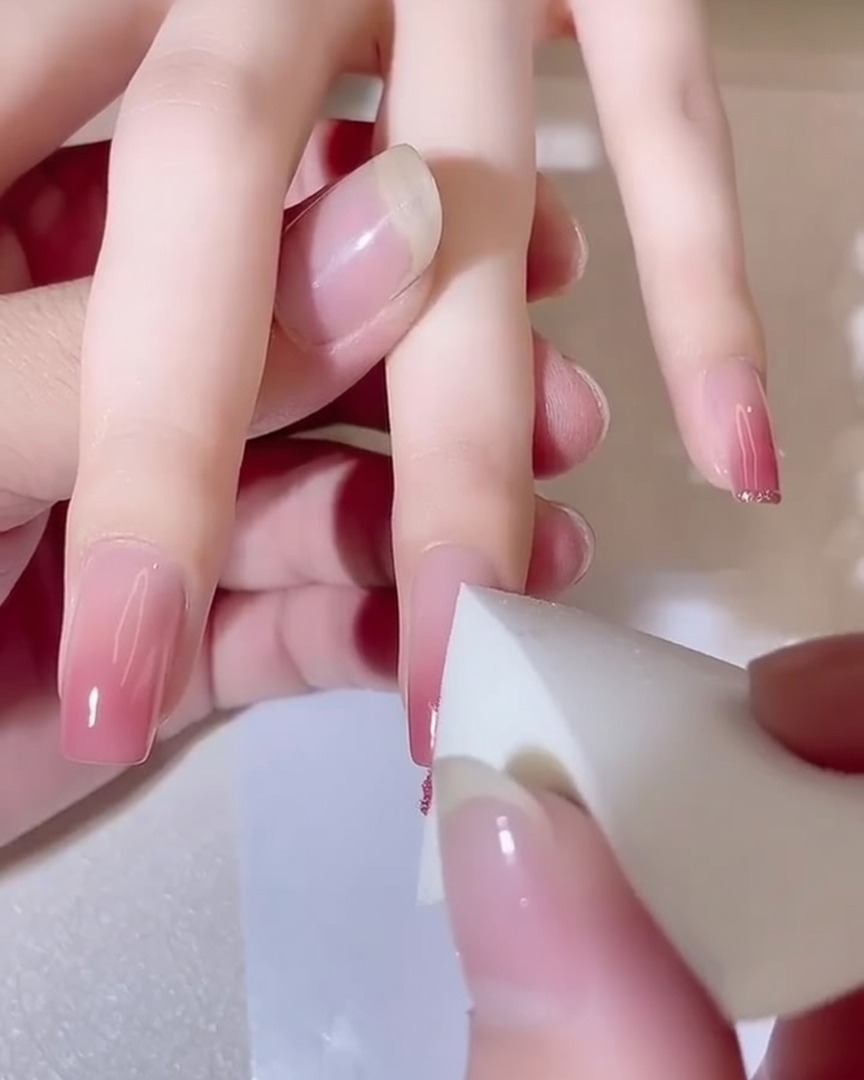
Continue to dab the sponge over the nail tip, building up the color intensity until you achieve your desired look. Maintain a light touch to keep the gradient blended and smooth.
Tip: Build the color gradually; layering thin amounts of gel ensures the transition remains seamless and the finish is professional. - 6Cure the layer
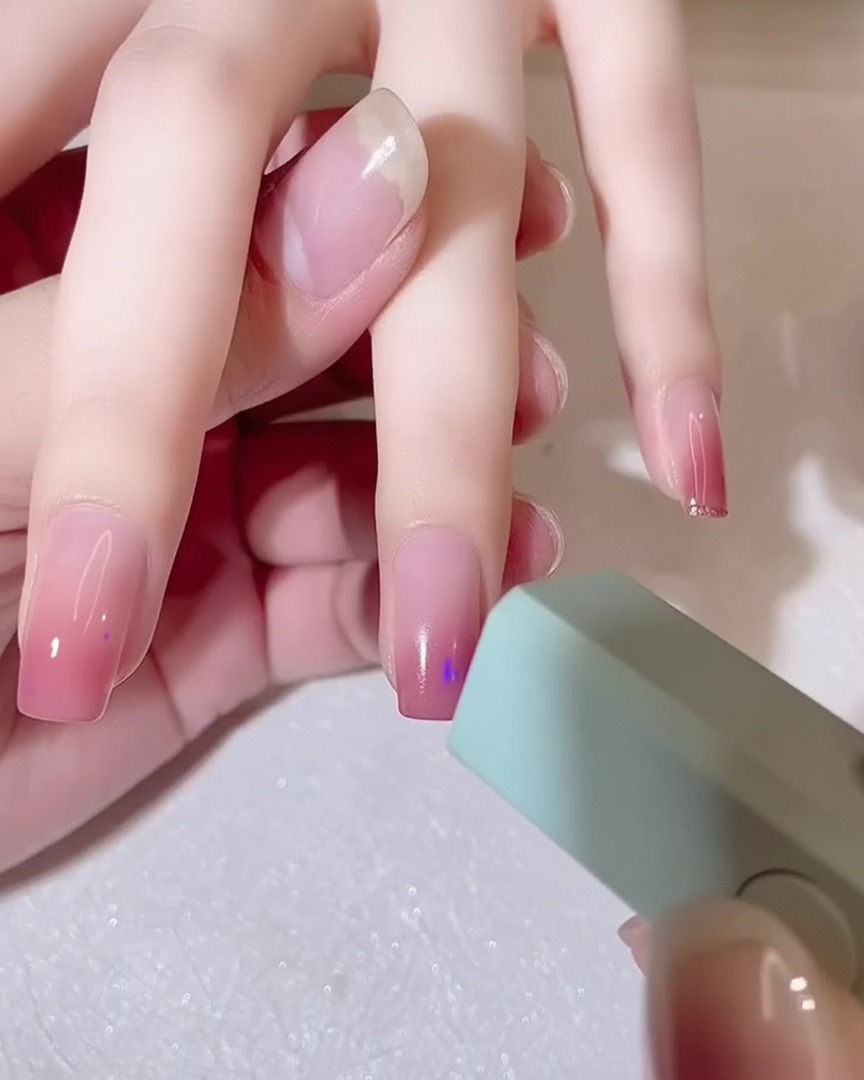
Once you are satisfied with the gradient, place your hand under your UV or LED lamp to cure the gel. Ensure the entire nail surface is exposed to the light for the manufacturers recommended time to set the product.
Tip: Proper curing is essential for long-lasting results and to prevent any stickiness or unevenness in the finished gradient. - 7Deepen the gradient
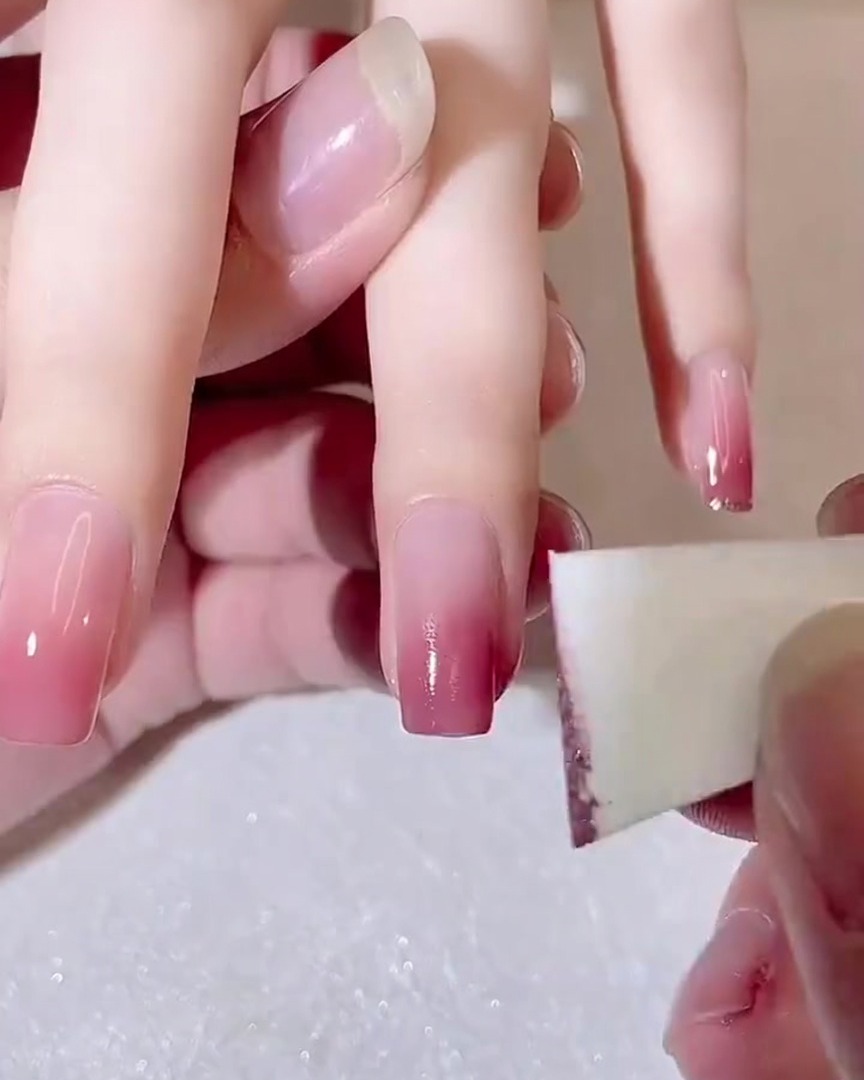
To build a richer color intensity, apply a second thin layer of the same gel color onto your mixing palette. Using your sponge, gently dab the gel onto the already-cured gradient area. This second application creates a more seamless and opaque transition for a professional-looking ombre effect.
Tip: Always work in thin layers to prevent the gel from pooling or looking bulky. - 8Blend the gradient
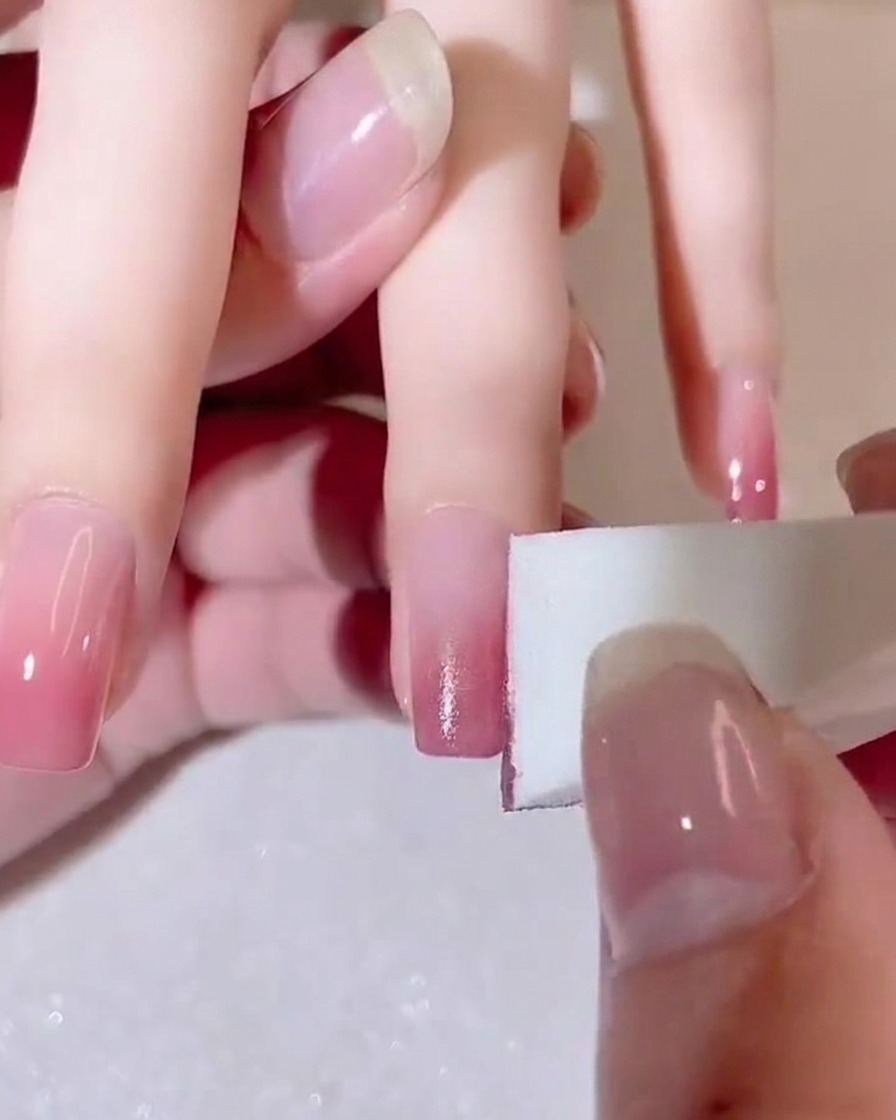
After applying the second layer, continue to lightly tap the sponge over the transition zone. This blending motion helps marry the new color with the base, ensuring a smooth, airbrushed fade from the tip toward the center of the nail.
Tip: Use a light tapping motion rather than pressing down hard to keep the color transition airy and soft. - 9Add a glitter accent
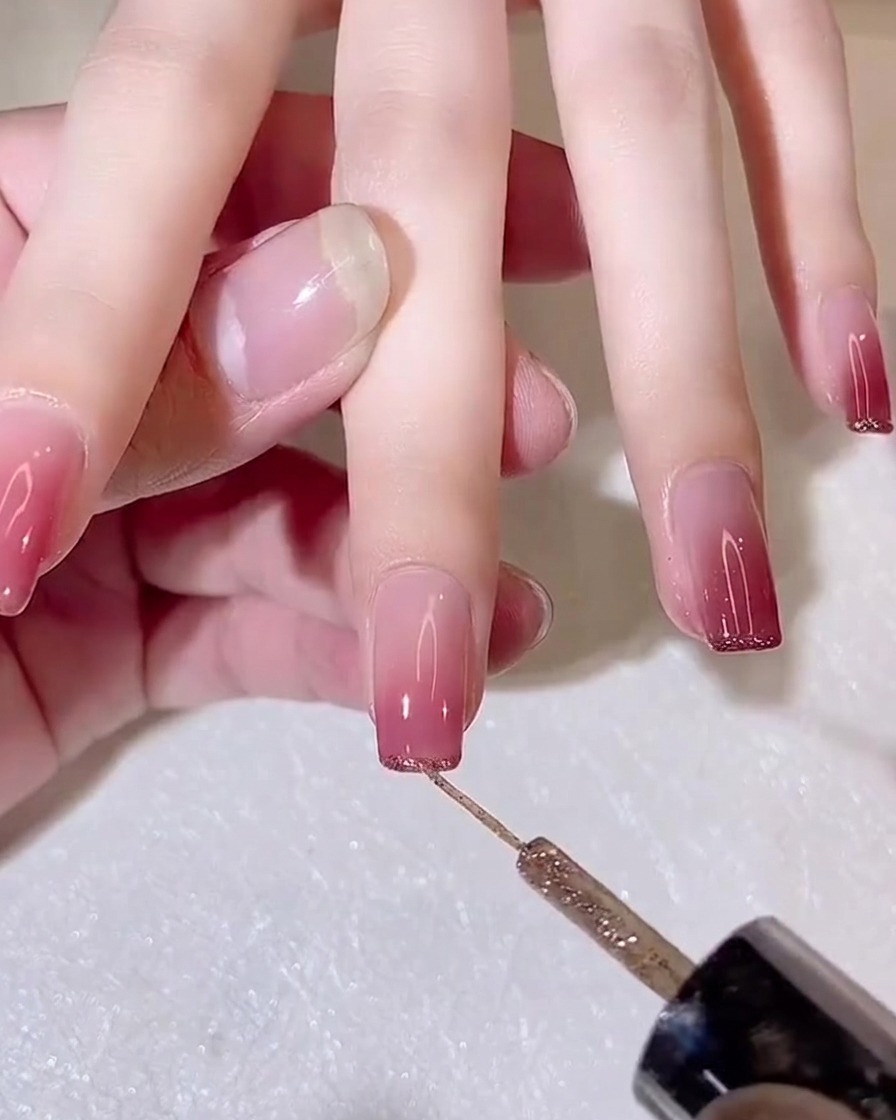
To add a refined finish, take a thin liner brush and pick up a small amount of gold glitter gel. Carefully draw a fine, delicate line across the very edge of the nail tip. This adds a subtle touch of glamour that highlights the free edge of the manicure.
Tip: Keep your hand steady and use only the tip of the brush to ensure the line remains thin and precise.