Custom Milky Pink Nude Gel: A Step-by-Step Color Mixing Guide
Master the art of creating your own bespoke milky pink nude gel. Learn how to balance tone, warmth, and translucency for a sophisticated, salon-quality finish.
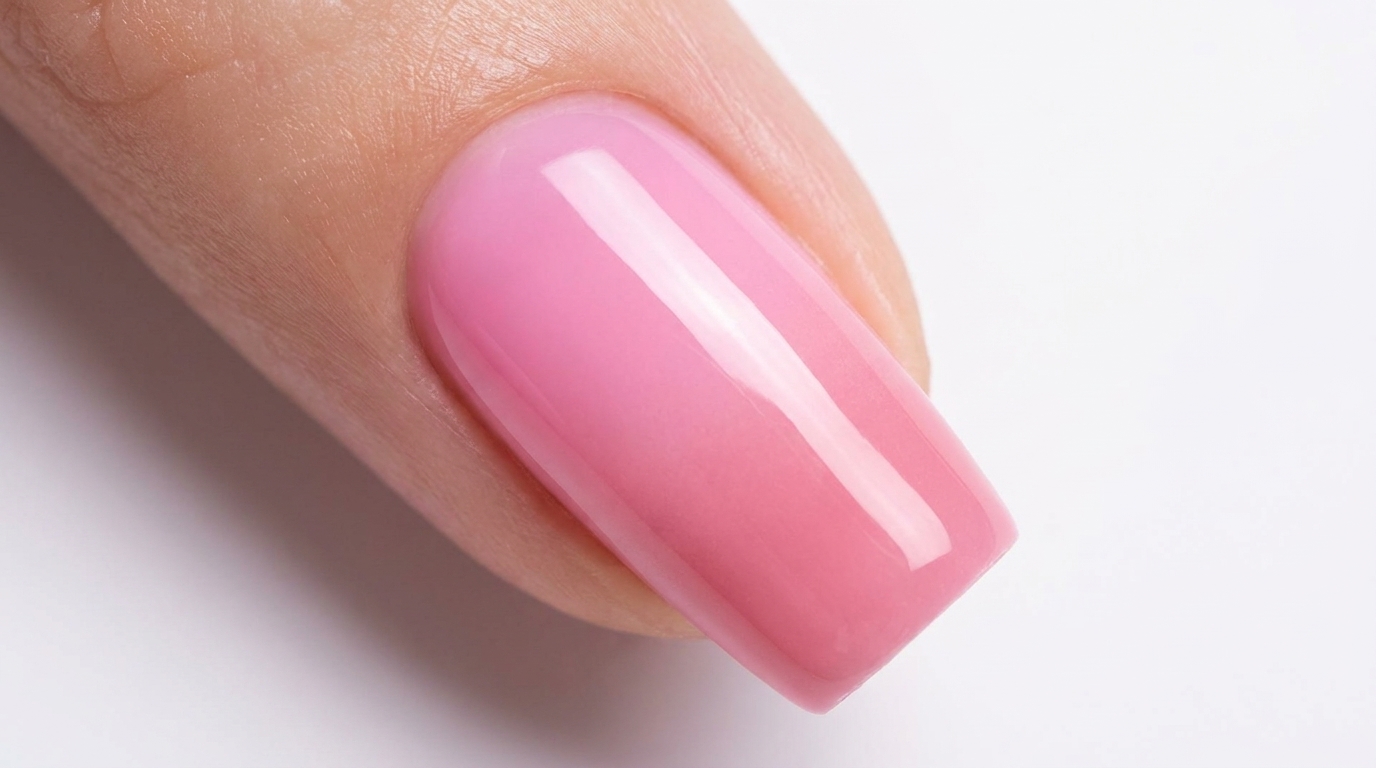
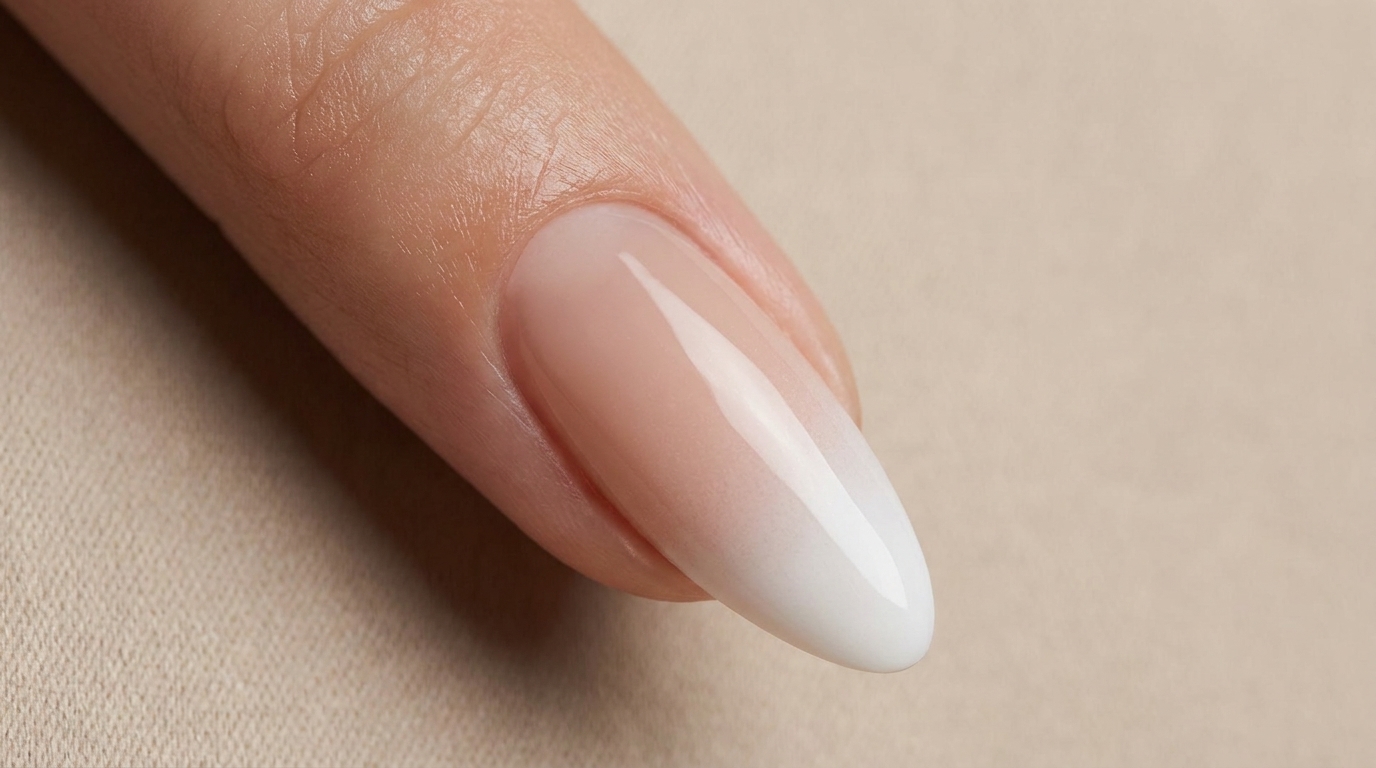
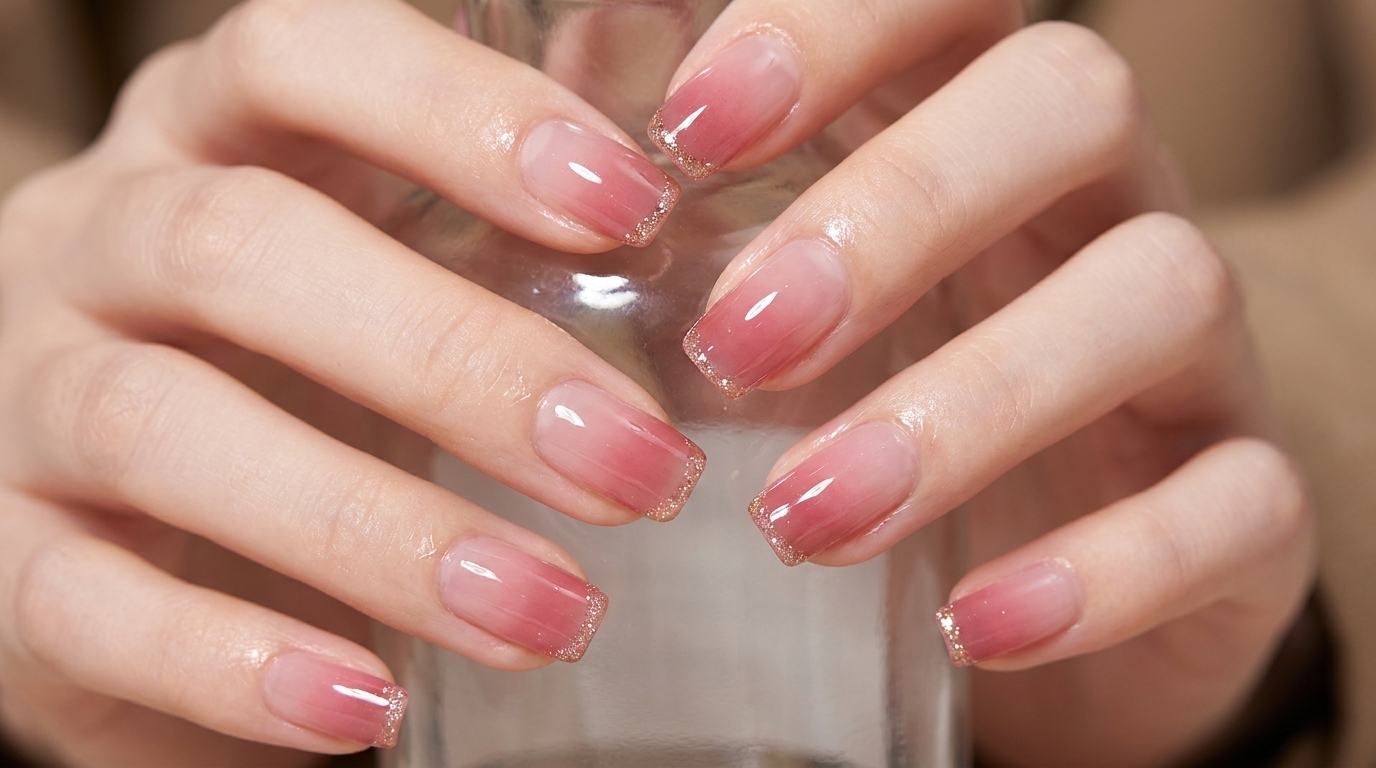
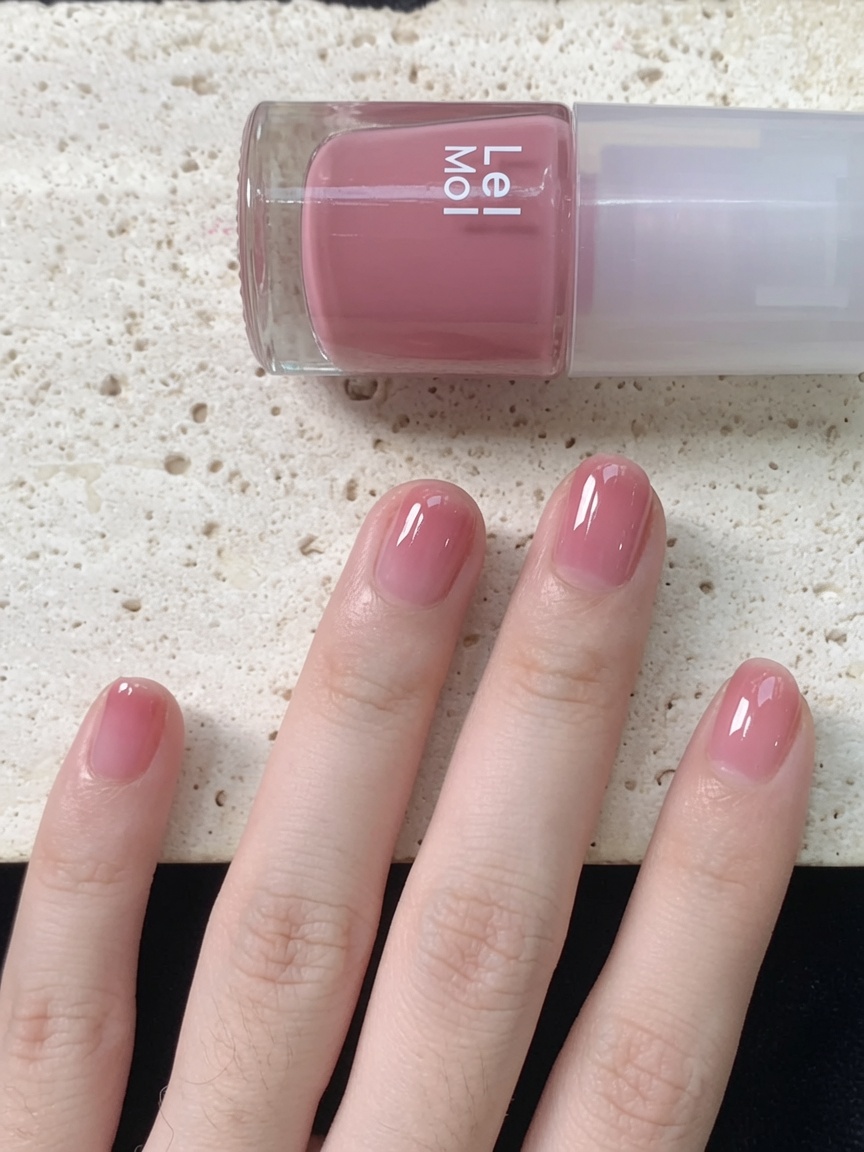
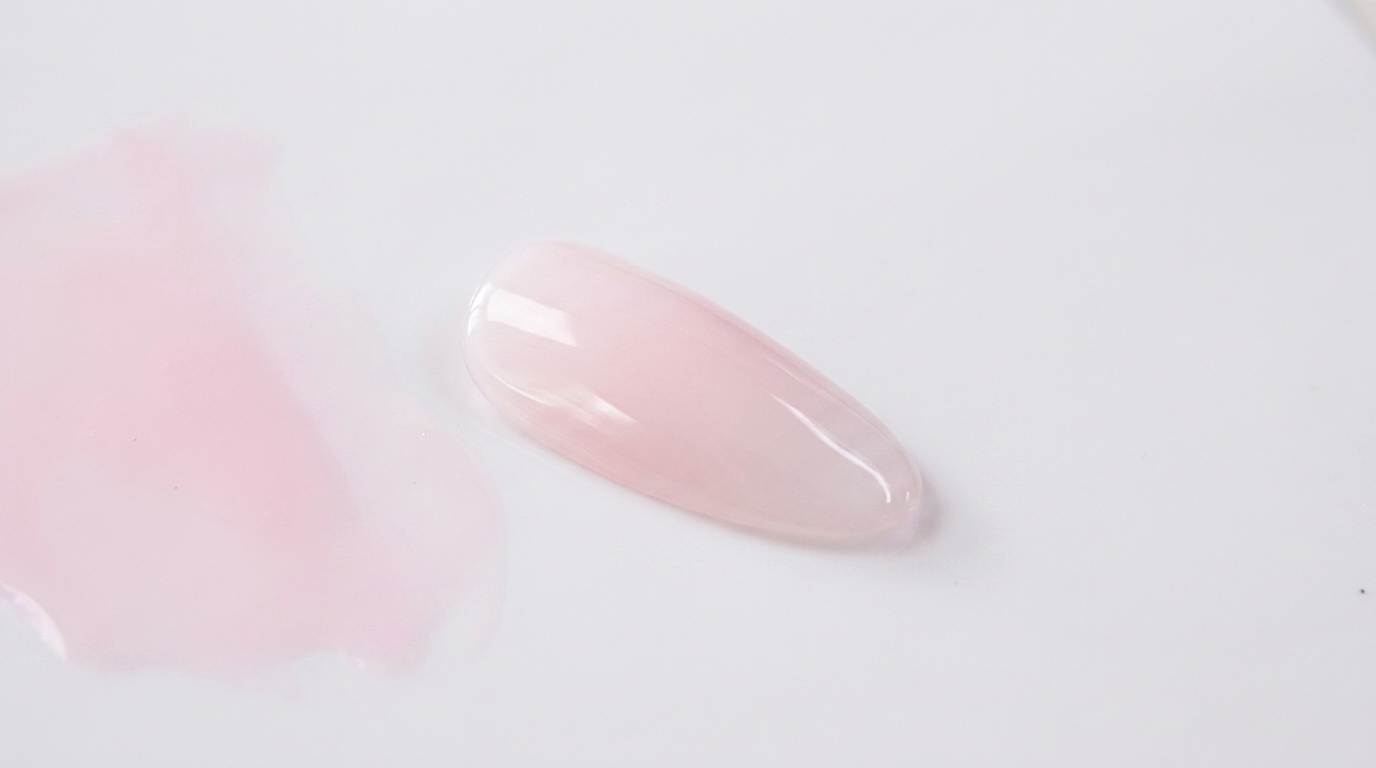
Achieving the perfect milky nude can be surprisingly difficult with pre-bottled colors. This technique empowers you to customize your own shade by blending pigments to suit your specific skin tone perfectly. By layering color with clear gel, you create a sophisticated, translucent finish that looks naturally elegant and professional.
Steps
- 1Create the Pink Base
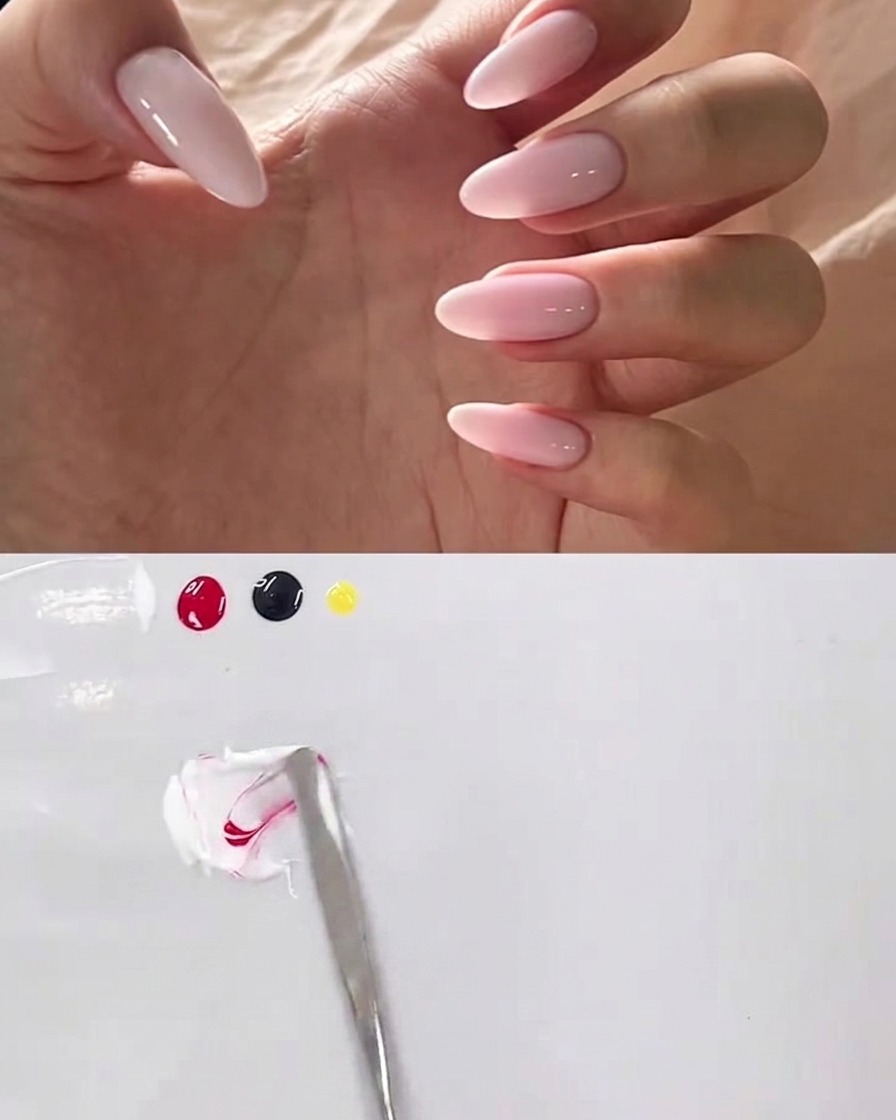
Place a dollop of white gel and pink gel onto your mixing palette. Use your metal spatula to blend the two colors thoroughly until you reach a consistent, soft milky pink shade.
Tip: Ensure the mixture is smooth and free of air bubbles for a flawless application. - 2Add Depth with Black
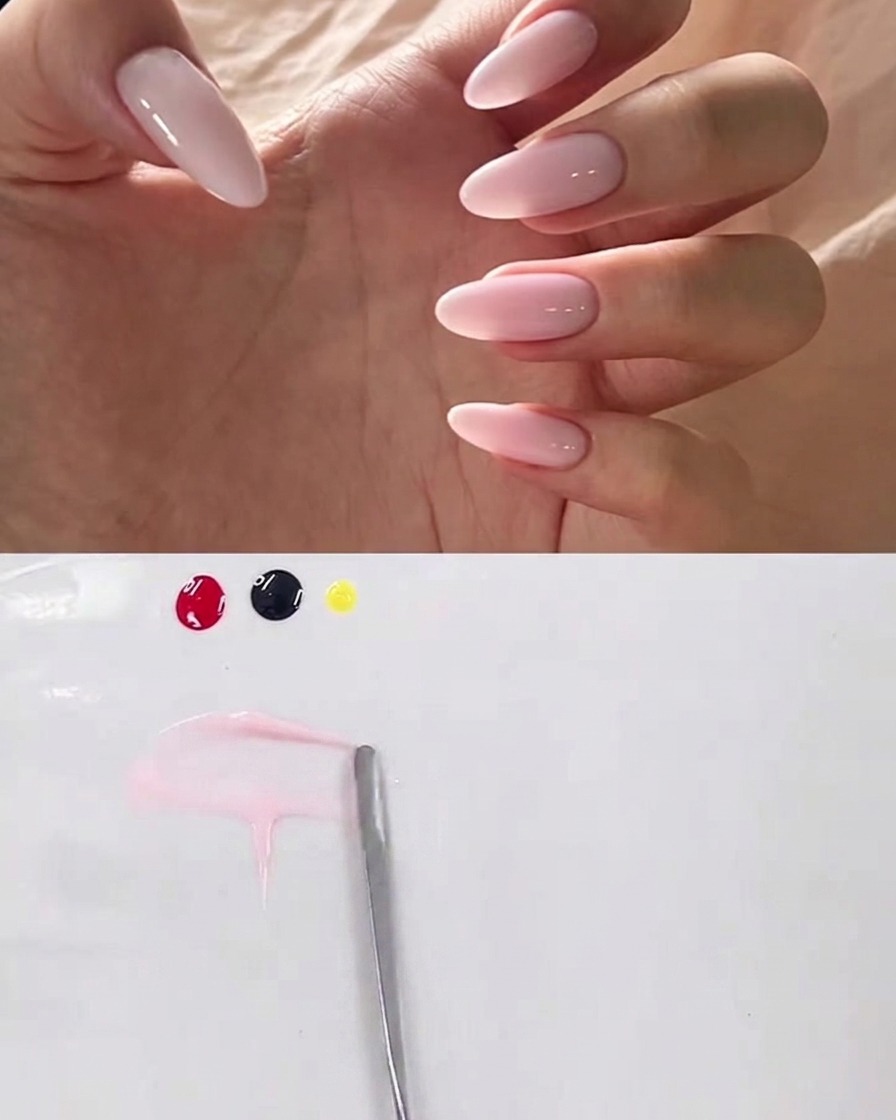
Add a tiny, pin-head sized amount of black gel to the side of your pink base. Using the smallest amount of black possible is key to achieving a sophisticated, muted grayish-pink tone without making the color look muddy.
Tip: A little black goes a long way. Start with the smallest amount possible and add more only if needed. - 3Blend to a gray-pink
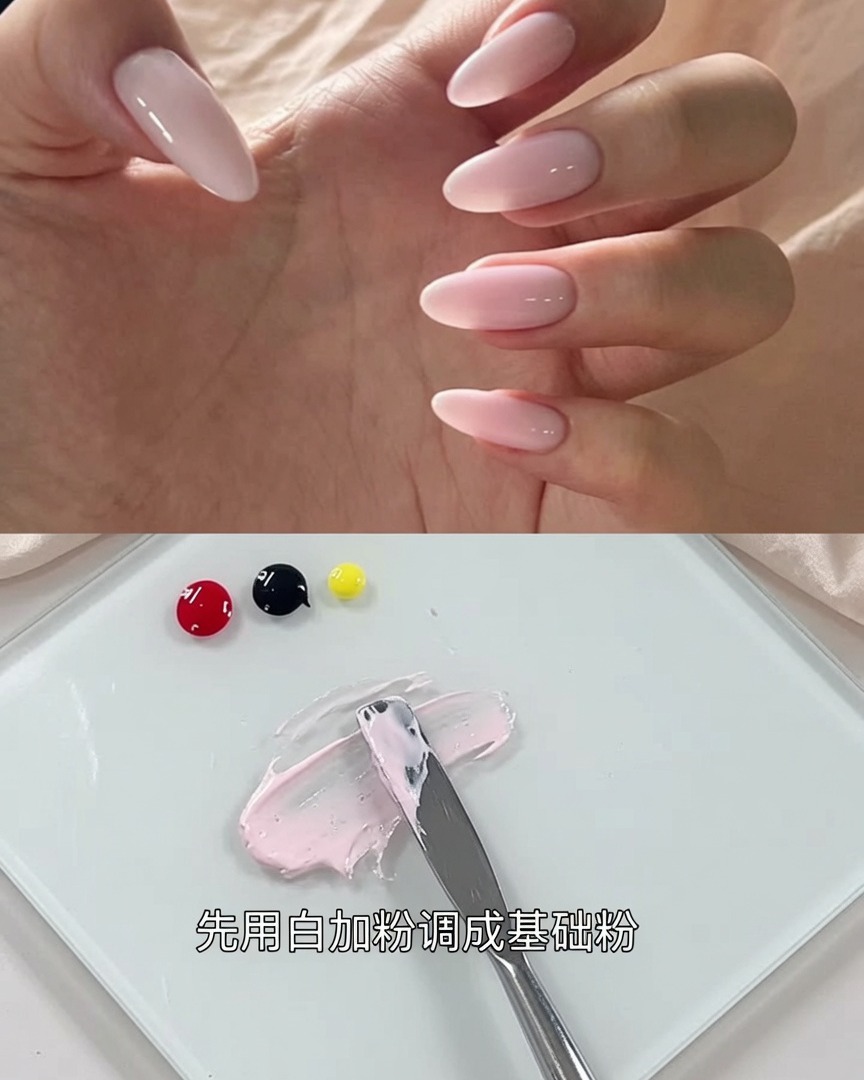
Fold the black gel into your pink base using the spatula. Mix until the color is completely uniform and has transformed into a soft, muted grayish-pink.
Tip: Clean your spatula between color additions if necessary to keep your mixtures pure. - 4Adjust for Warmth
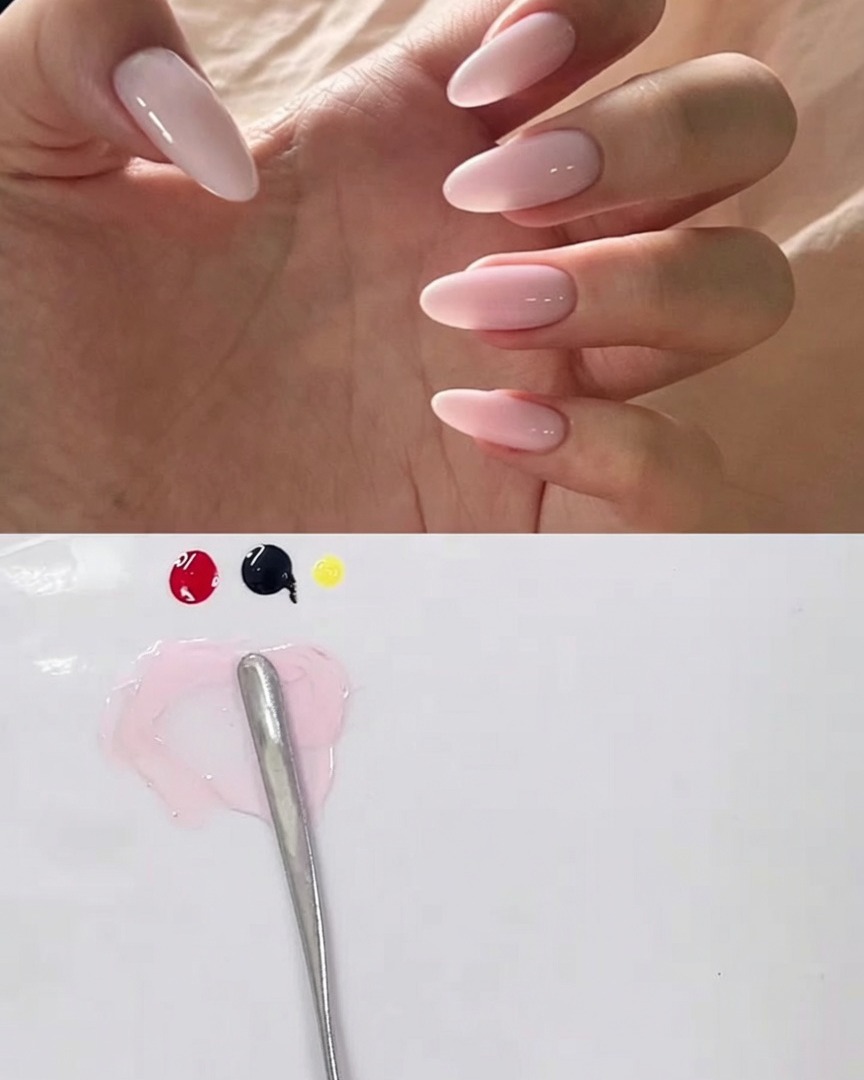
Carefully incorporate a very small amount of yellow gel into your mixture. This hint of yellow helps the final shade appear more natural and flattering against the skin.
Tip: Be cautious with the yellow; you only need a hint to adjust the warmth, not enough to turn the color orange. - 5Incorporate the warmth
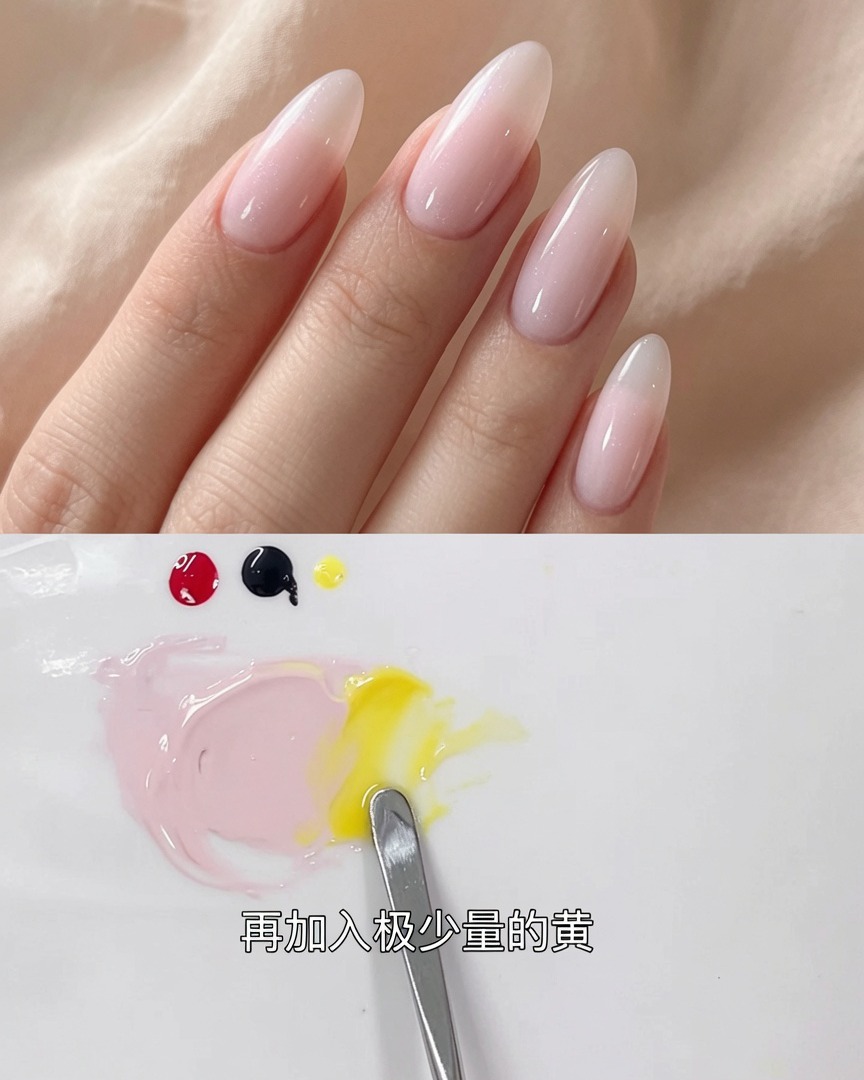
Gently blend the yellow gel into your grayish-pink mixture. Take your time to ensure the color is perfectly balanced and that no streaks of yellow remain.
Tip: Take your time blending to ensure no streaks of yellow remain in the mixture. - 6Adjust Translucency
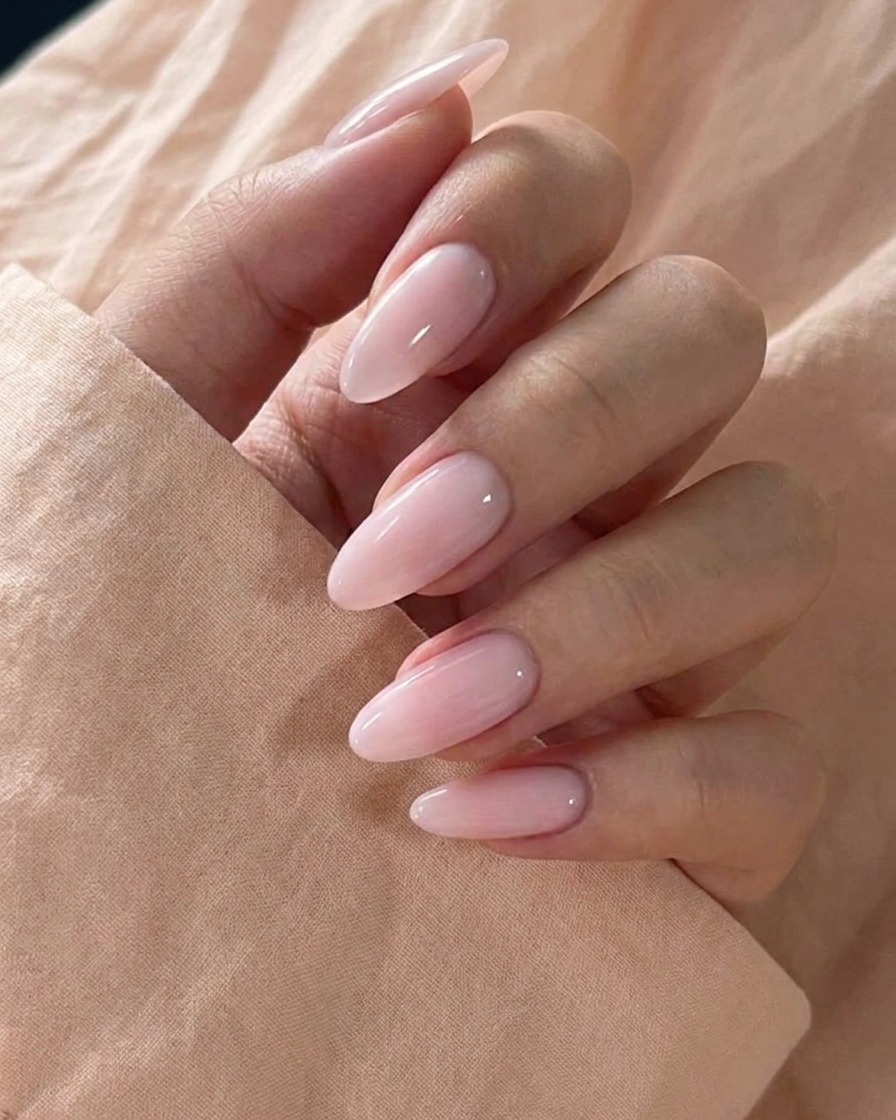
Add a portion of clear top coat or adjustment gel to your mixture. This acts as a diluent, thinning the heavy pigment to create that signature translucent, milky finish.
Tip: Add the clear gel gradually until you reach the level of transparency you prefer for the look. - 7Final blending for consistency
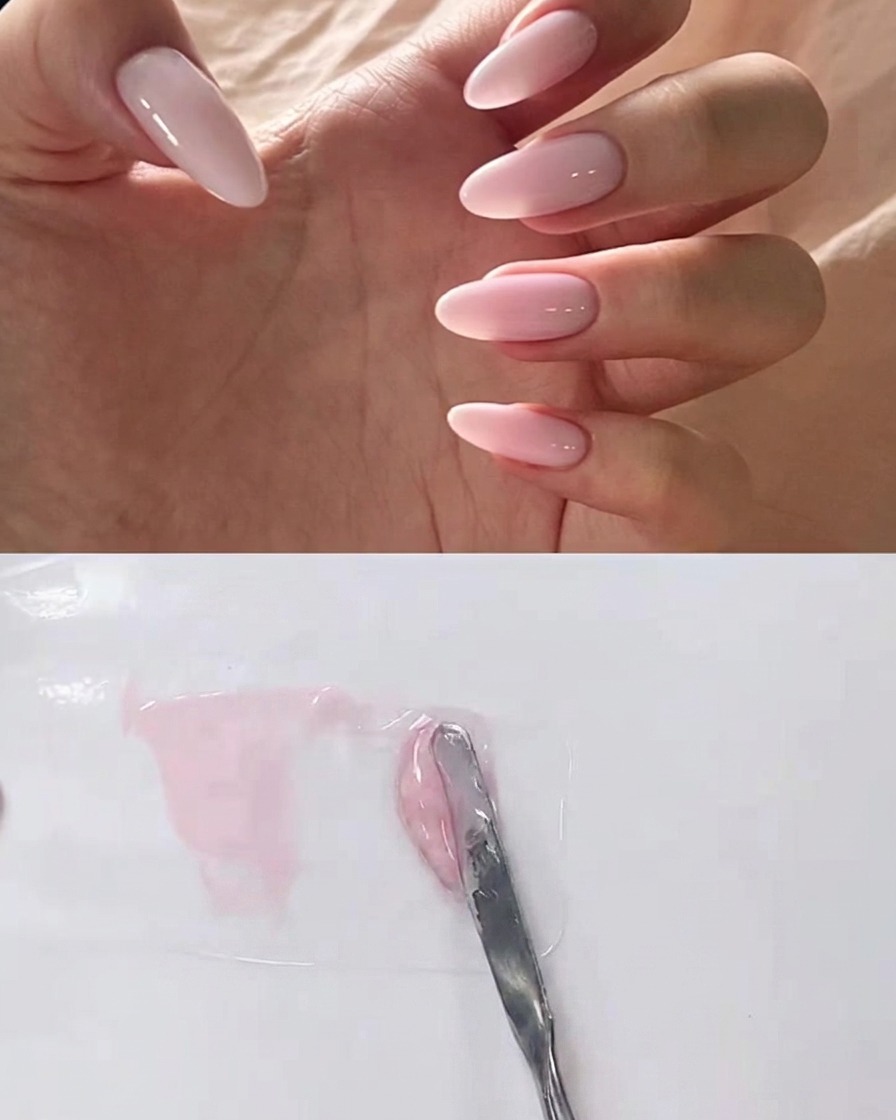
Use your metal spatula to gently fold and blend the clear gel into your color mixture. Continue until the consistency is smooth and reaches your preferred level of transparency.
Tip: Mix slowly to avoid introducing air bubbles, which can cause imperfections in the final gel layer.