Perfect Pink Gradient Gel Ombre Nails — Step-by-Step Tutorial
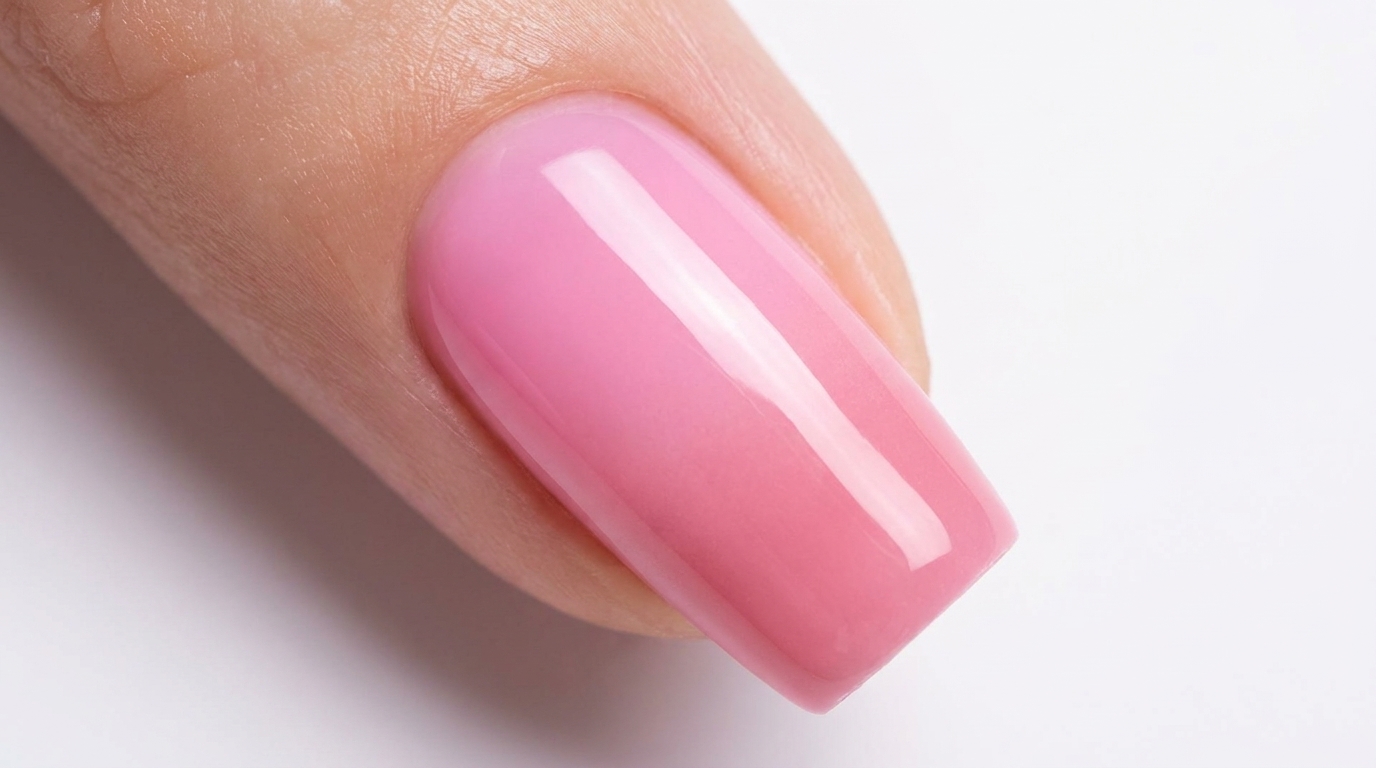
Learn how to create a flawless pink gradient ombre effect using gel polish. This step-by-step tutorial guides you through blending a seamless color transition.
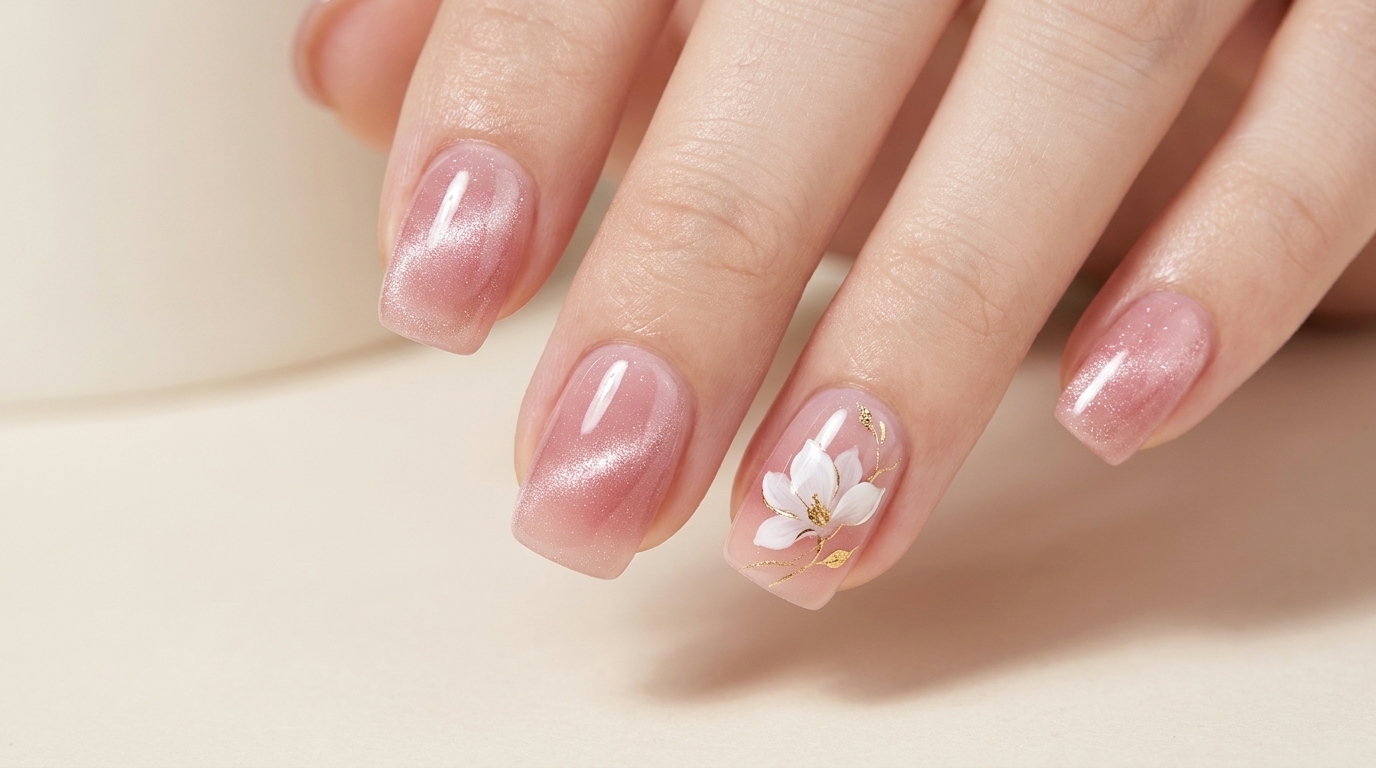
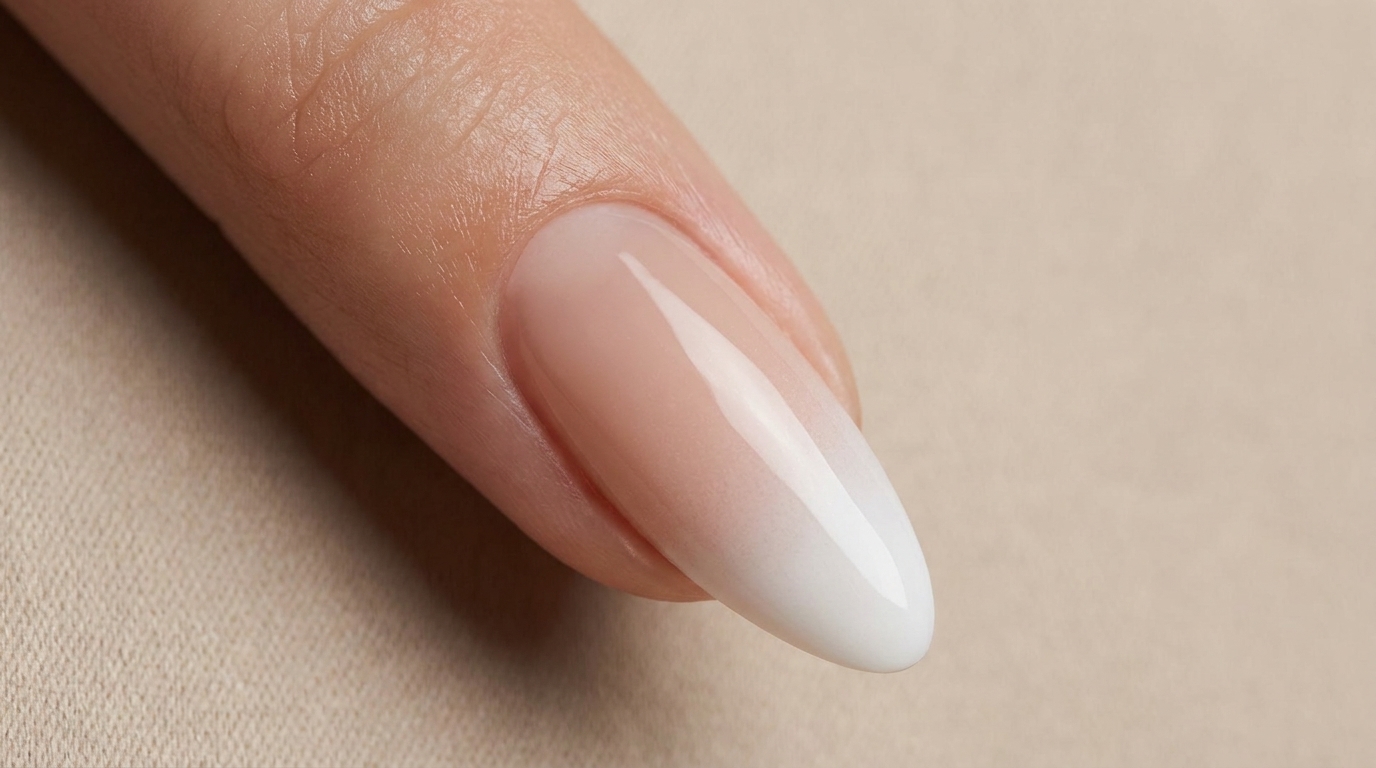
Ombre nails are a timeless classic, and the soft pink gradient is one of the most elegant variations you can wear. While creating a seamless blend with gel polish can seem intimidating, the secret lies in using a light hand and a clean blending brush. This tutorial breaks down the exact technique to achieve a flawless, salon-quality pink ombre right at home.
Steps
- 1Prepare base coat
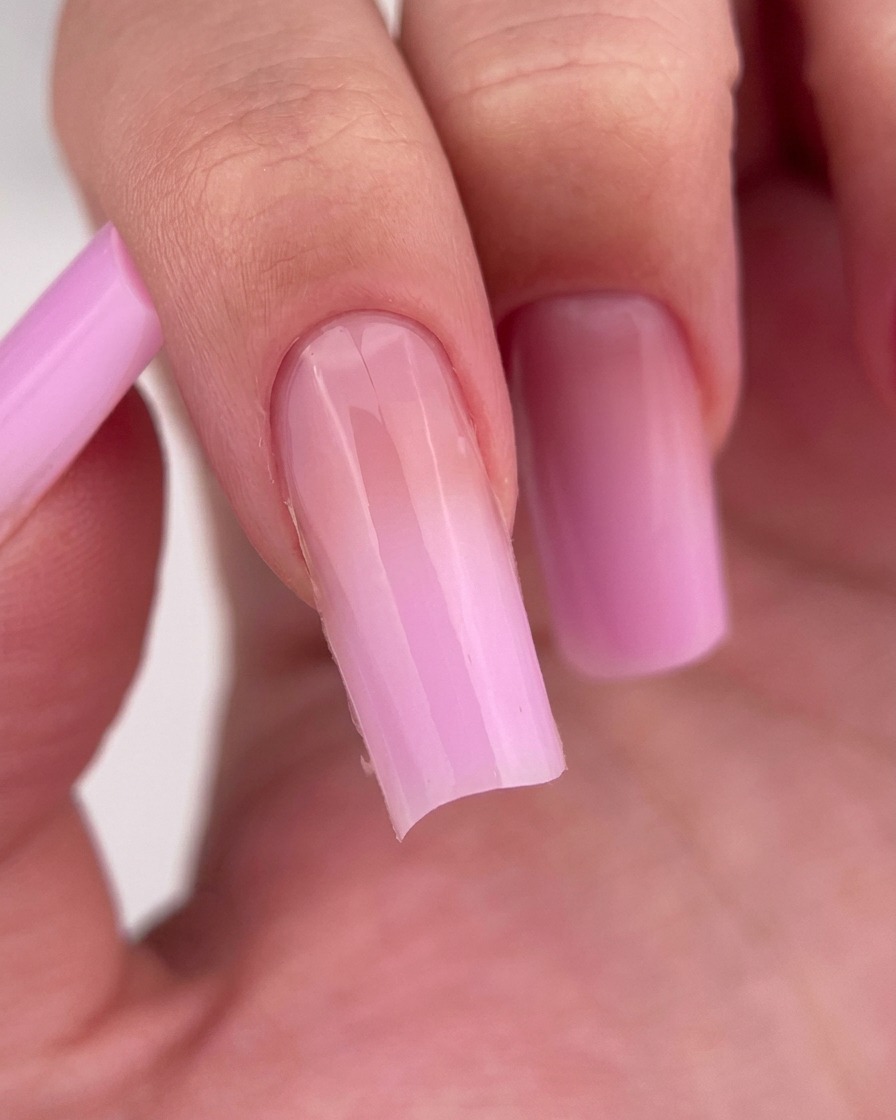
Ensure the nail is clean and prepped before applying a smooth, even layer of clear base coat. This creates a foundation for the ombre effect, ensuring the gel adheres properly without flooding the cuticles.
Tip: Apply a thin, uniform layer to prevent bulkiness. - 2Apply pink gel to the tip
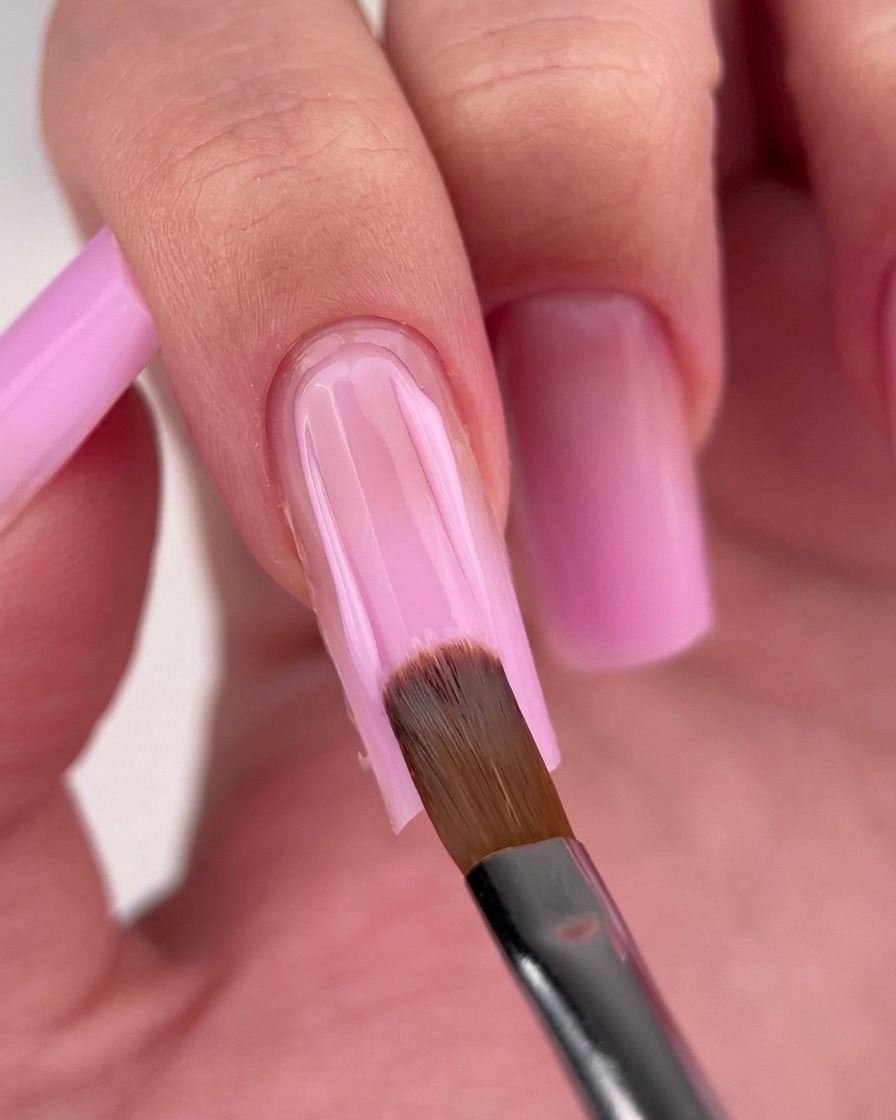
Using a gel brush, apply your chosen pink polish to the bottom half of the nail. Focus on achieving even coverage, especially around the free edge, to create a solid base for the transition.
Tip: Keep the layer thin to make blending easier later. - 3Apply lighter pink near cuticle
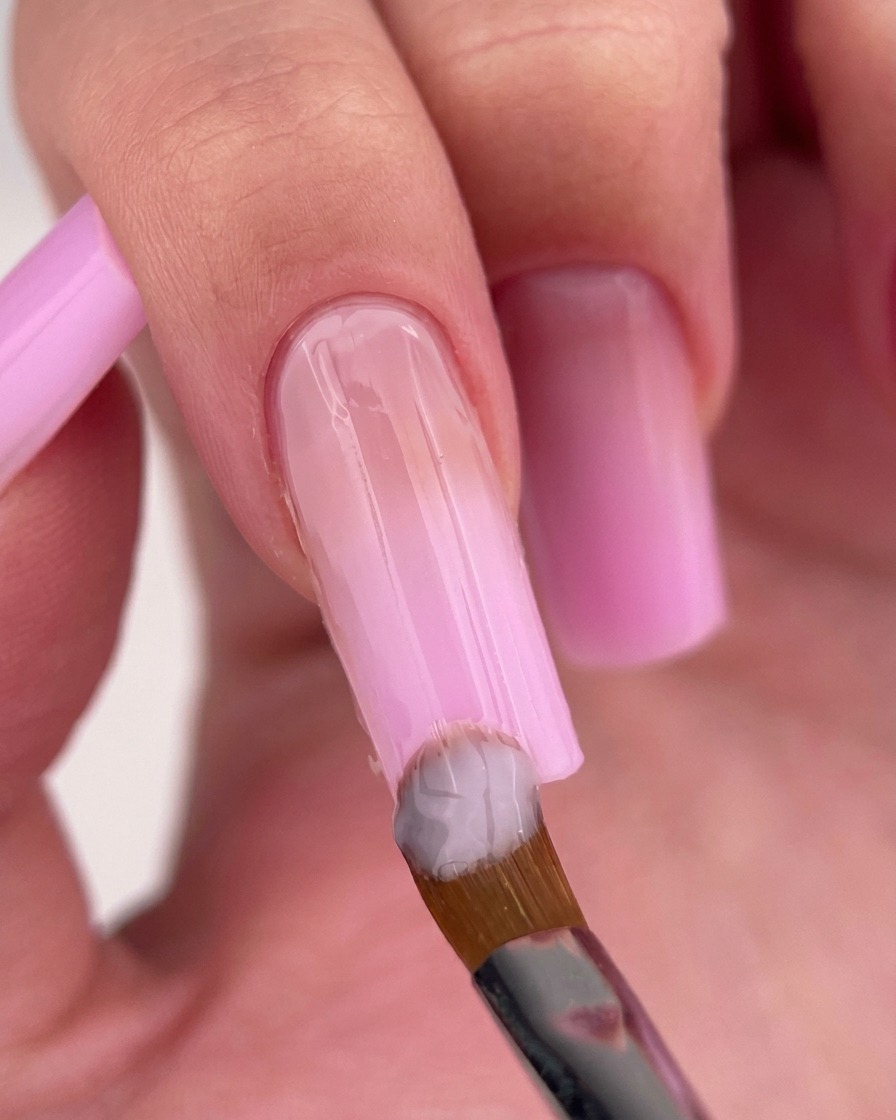
Apply a lighter, milky pink gel to the top half of the nail near the cuticle. Carefully paint toward the previously applied pink color without overlapping too much, preparing the surface for the blend.
Tip: Avoid getting gel on the skin around the cuticle. - 4Blend the colors
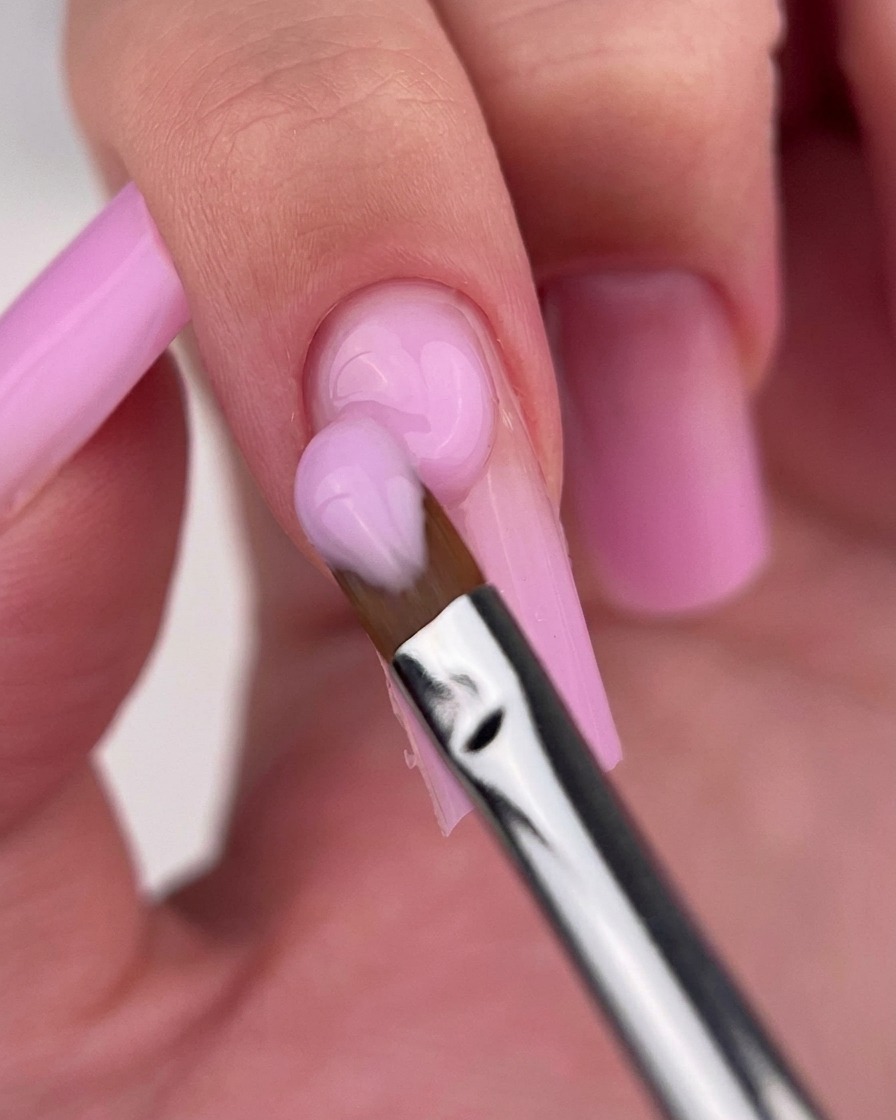
Using a clean, dry gel brush, lightly tap and pull at the boundary where the two colors meet. Work gently to pull the colors into one another, creating a seamless, soft gradient transition.
Tip: Wipe your brush on a lint-free cloth frequently while blending to keep it clean. - 5Refine the gradient
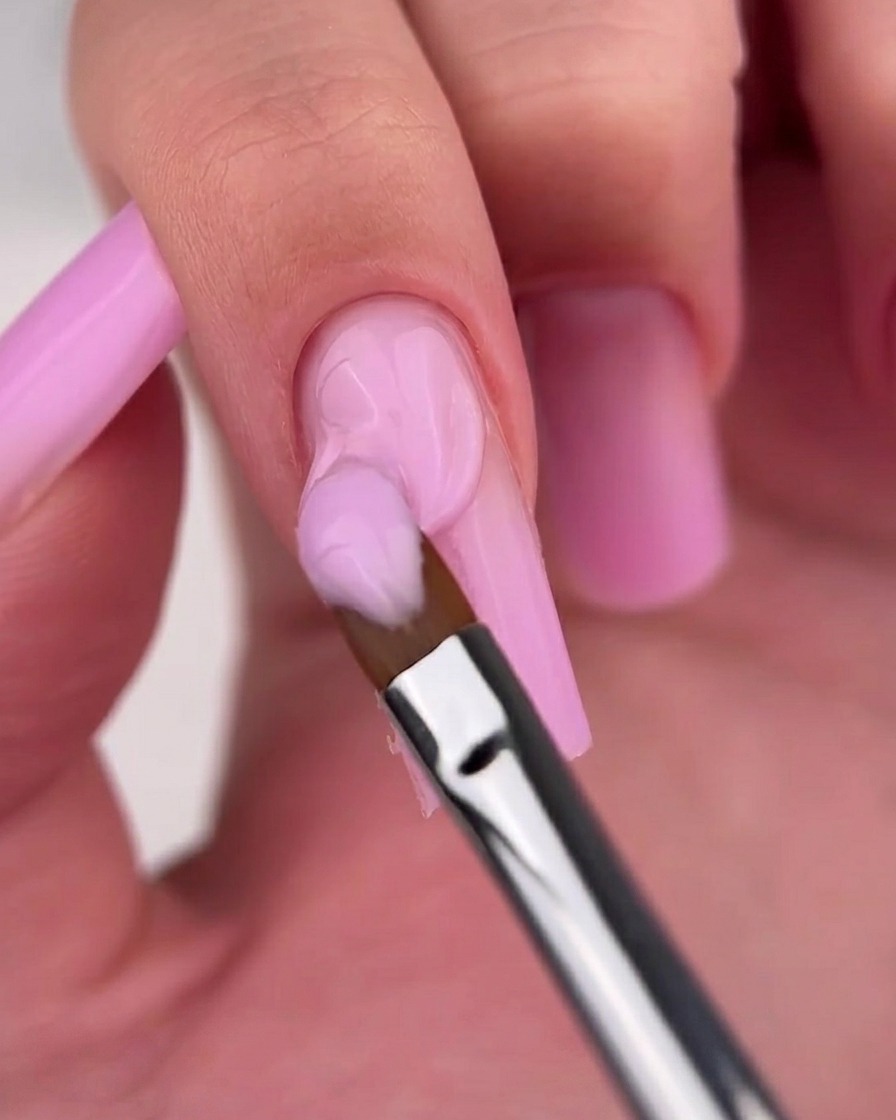
Continue using your brush with soft, sweeping motions to perfect the ombre transition. Ensure the blend between the dark and light pink is smooth and free of harsh lines.
Tip: Do not overwork the gel, as this can cause it to become streaky. - 6Perfect the cuticle line
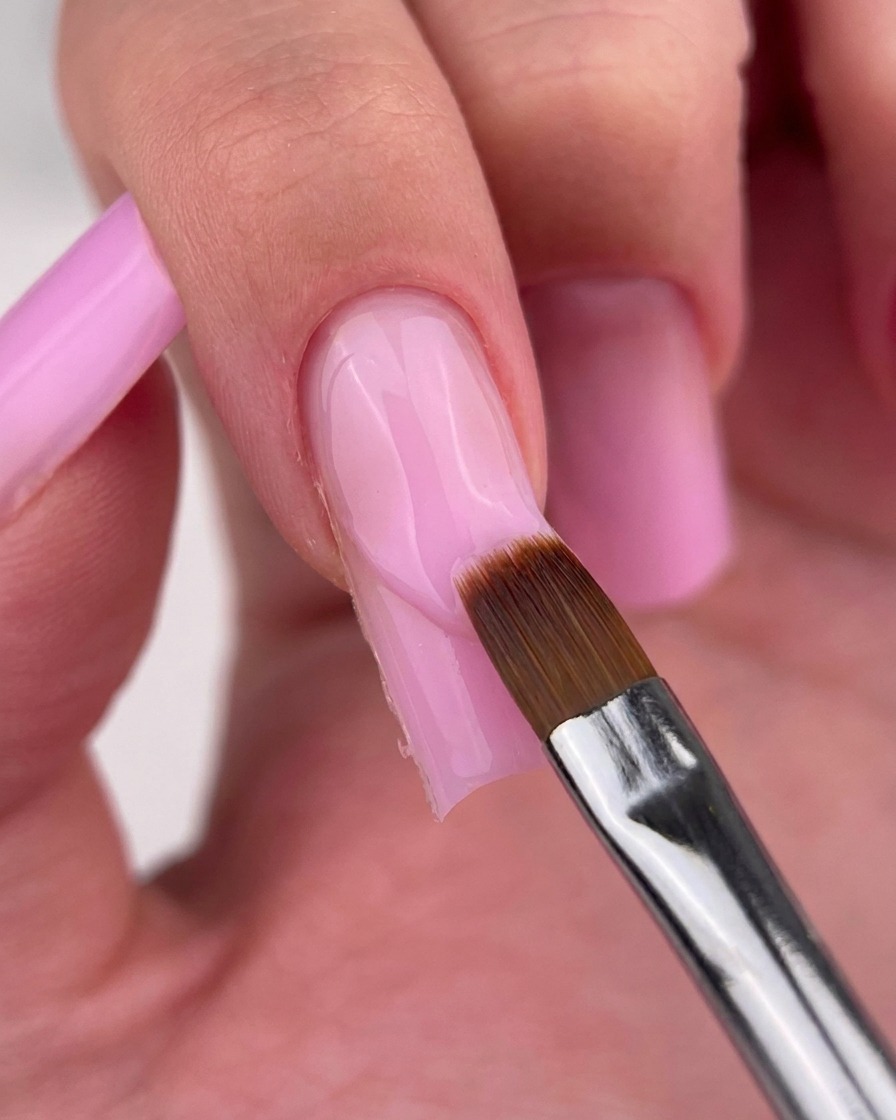
Use a fine liner brush to carefully pick up a small amount of gel and trace along the cuticle line. This ensures a clean, crisp finish where the color meets the skin.
Tip: Steady your hand by resting it on the table for better control. - 7Apply glossy top coat
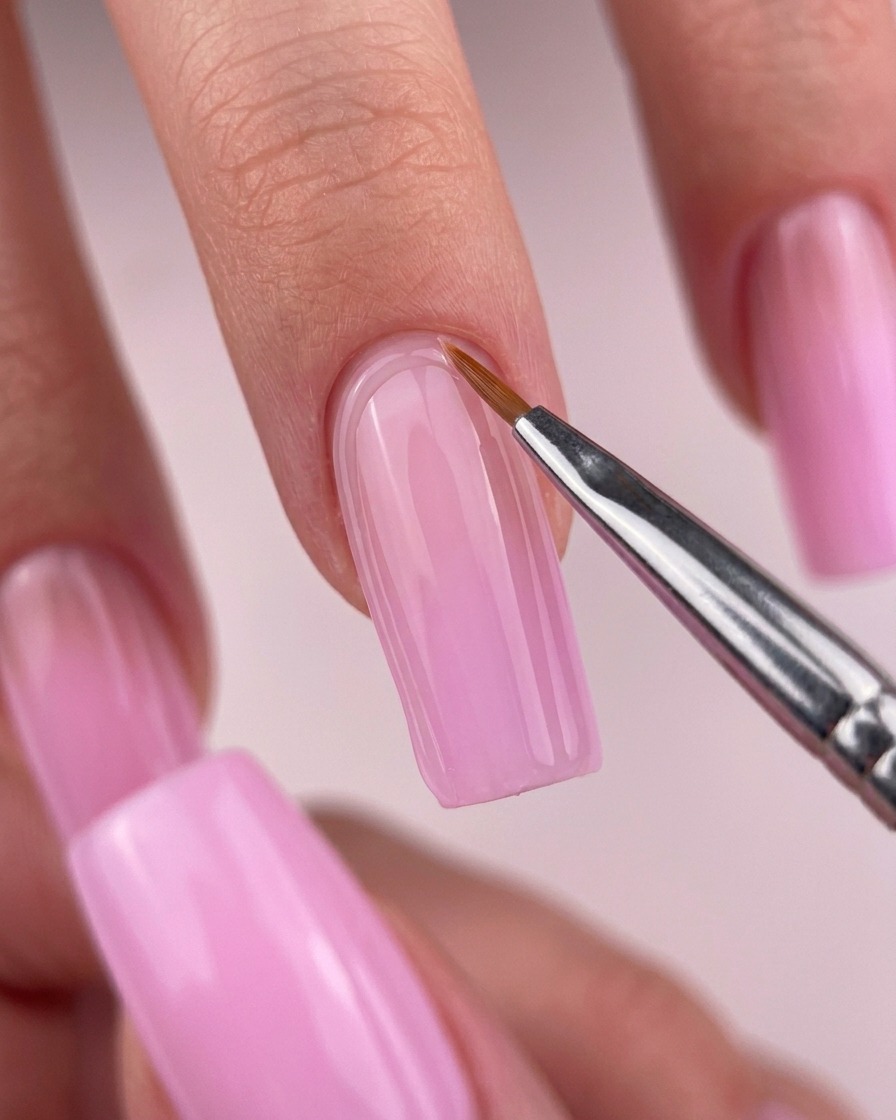
Apply a layer of glossy top coat over the cured pink base to seal your work and add a brilliant shine. For precise application near the cuticle and sidewalls without flooding the skin, use a fine liner brush to guide the gel perfectly into place. Once applied evenly across the entire nail, cure fully under your UV or LED lamp.
Tip: Using a detail brush for your top coat around the edges ensures a crisp, clean finish and helps prevent premature lifting. - 8Refine the free edge
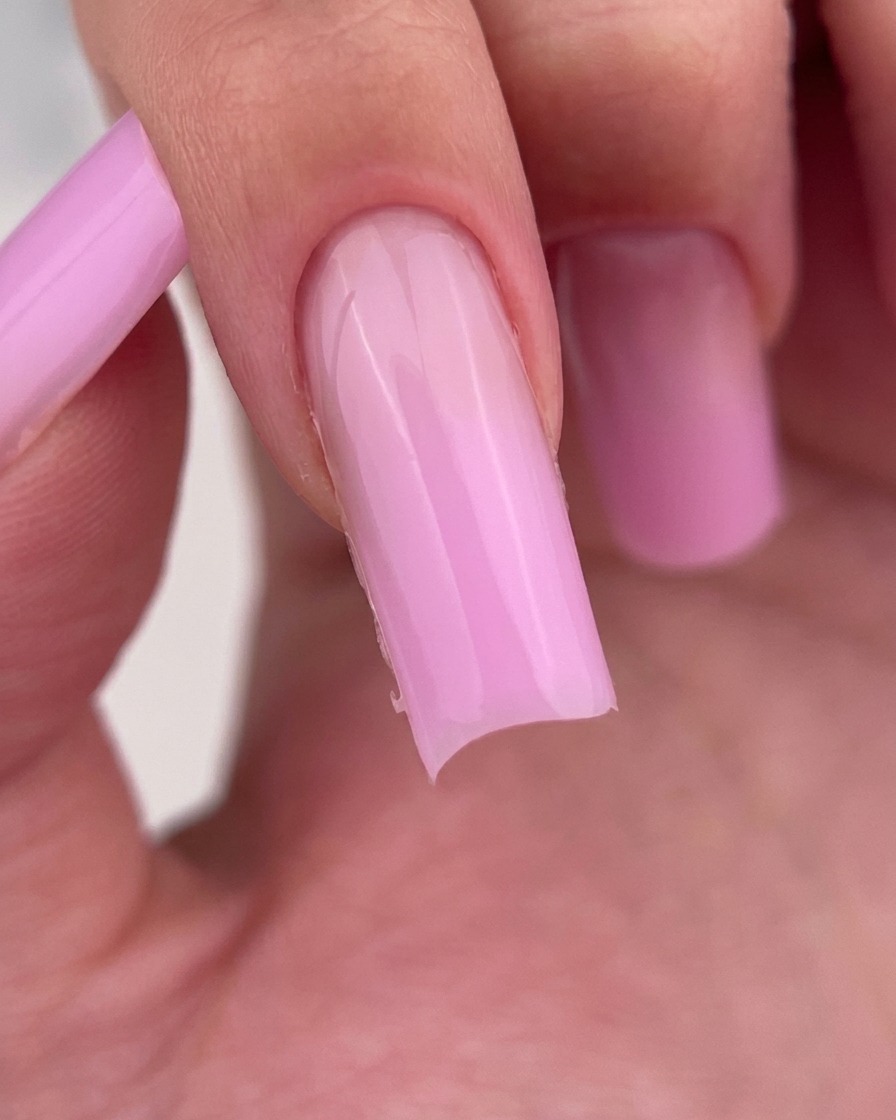
Using a nail file, gently refine the free edge of the square-shaped nail. Maintain a light touch to ensure the shape remains sharp and clean without removing too much length. This step helps to smooth out any imperfections left after the initial shaping, ensuring a polished, professional look for the final manicure.
Tip: Keep your file perpendicular to the nail edge to maintain a perfect square shape. - 9Remove the inhibition layer
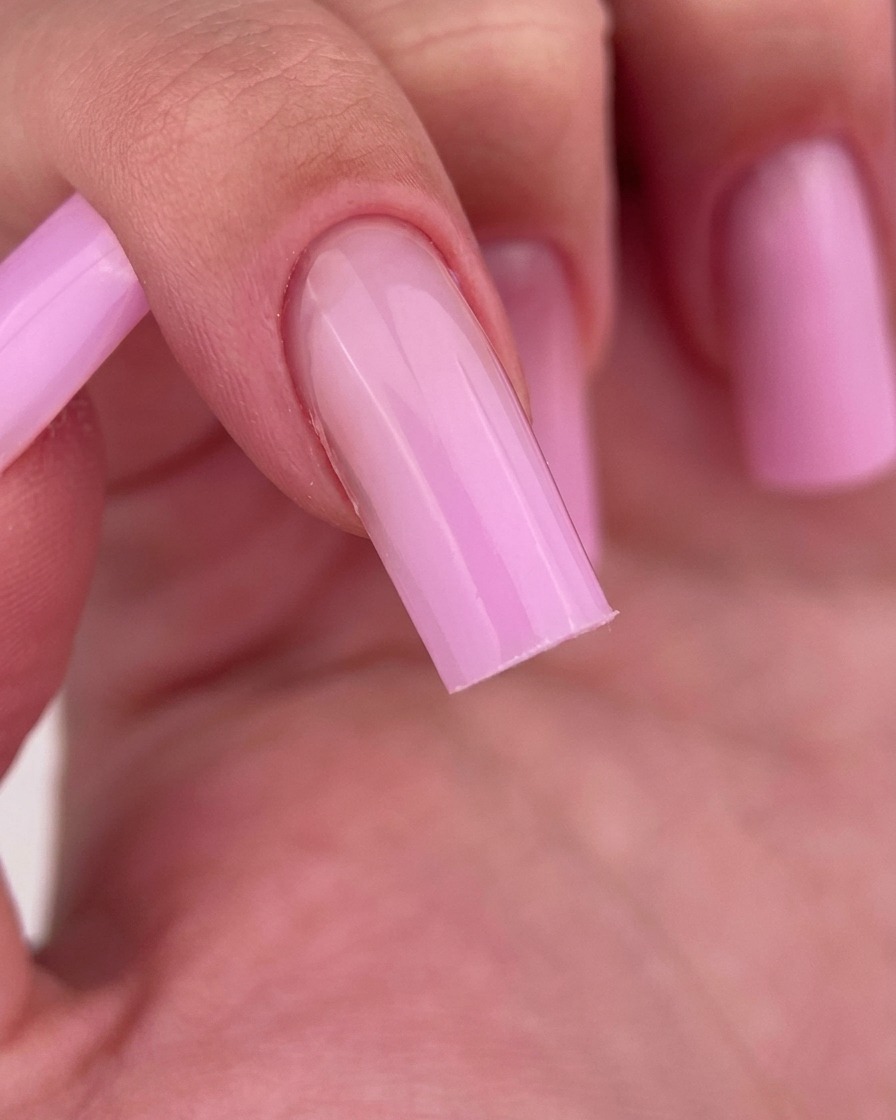
Using a lint-free pad soaked in a small amount of cleanser, gently wipe the surface of the cured nail. This removes the sticky inhibition layer left behind after curing, revealing the final, high-gloss finish of the manicure. Ensure you cover the entire nail surface and the free edge for a streak-free result.
Tip: Use a fresh section of the lint-free pad for each nail to avoid spreading the sticky residue.