Pink Magnolia Gradient Cat-Eye Nails — Step-by-Step Tutorial
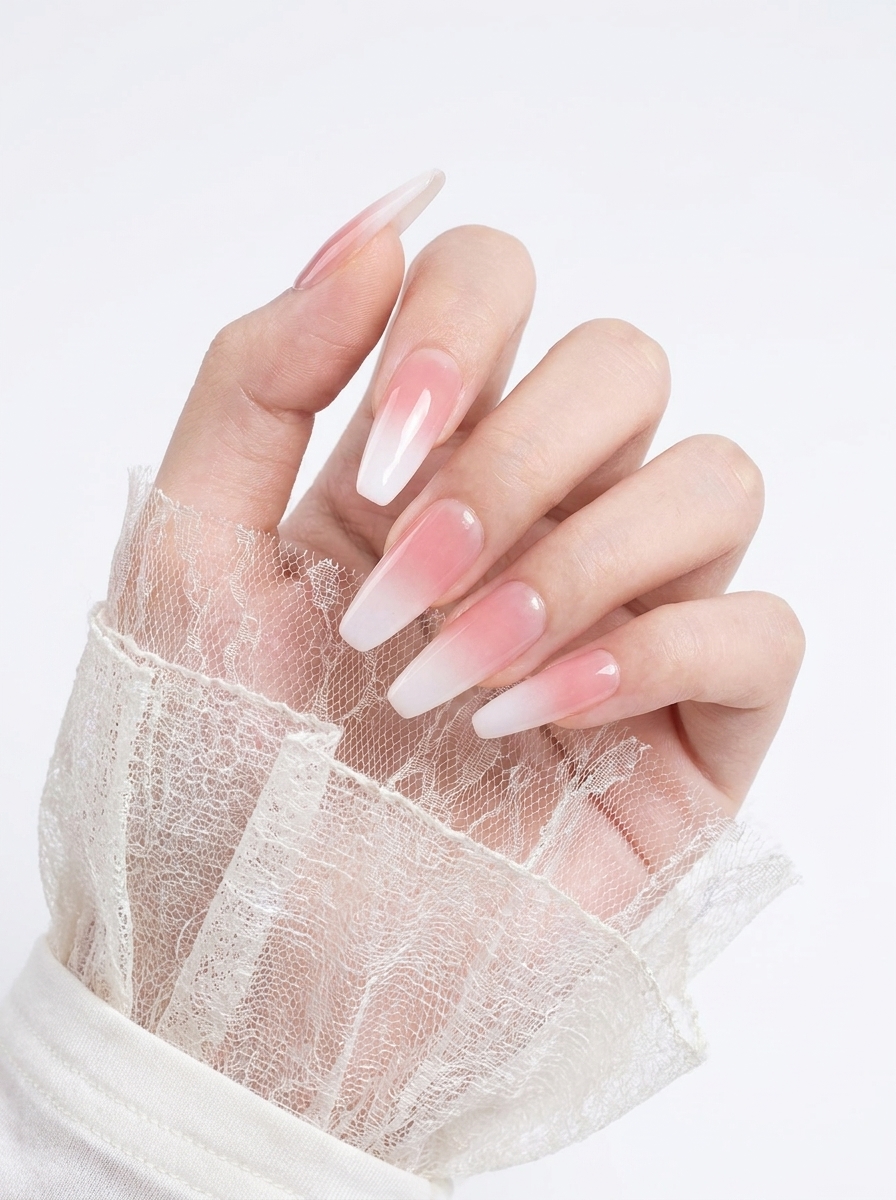
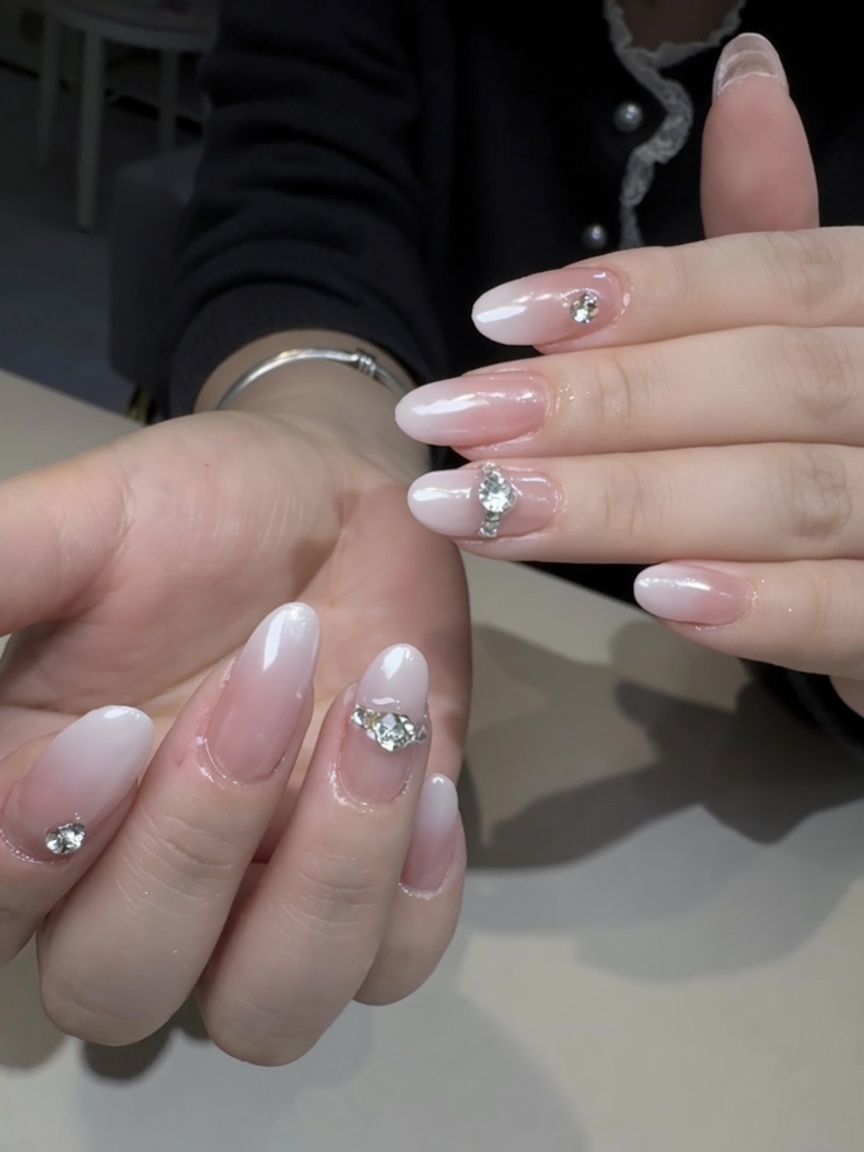
Create a dreamy look with this pink magnolia gradient cat-eye manicure. Master the magnetic shimmer effect and delicate floral nail art in this easy tutorial.
This delicate pink magnolia design combines two stunning techniques: a shimmering magnetic cat-eye gradient and hand-painted floral art. The style is perfect for creating a dreamy, atmospheric look that feels both elegant and modern. By layering sheer magnetic gel and soft white petals, you can achieve a sophisticated, dimensional manicure that looks professionally done.
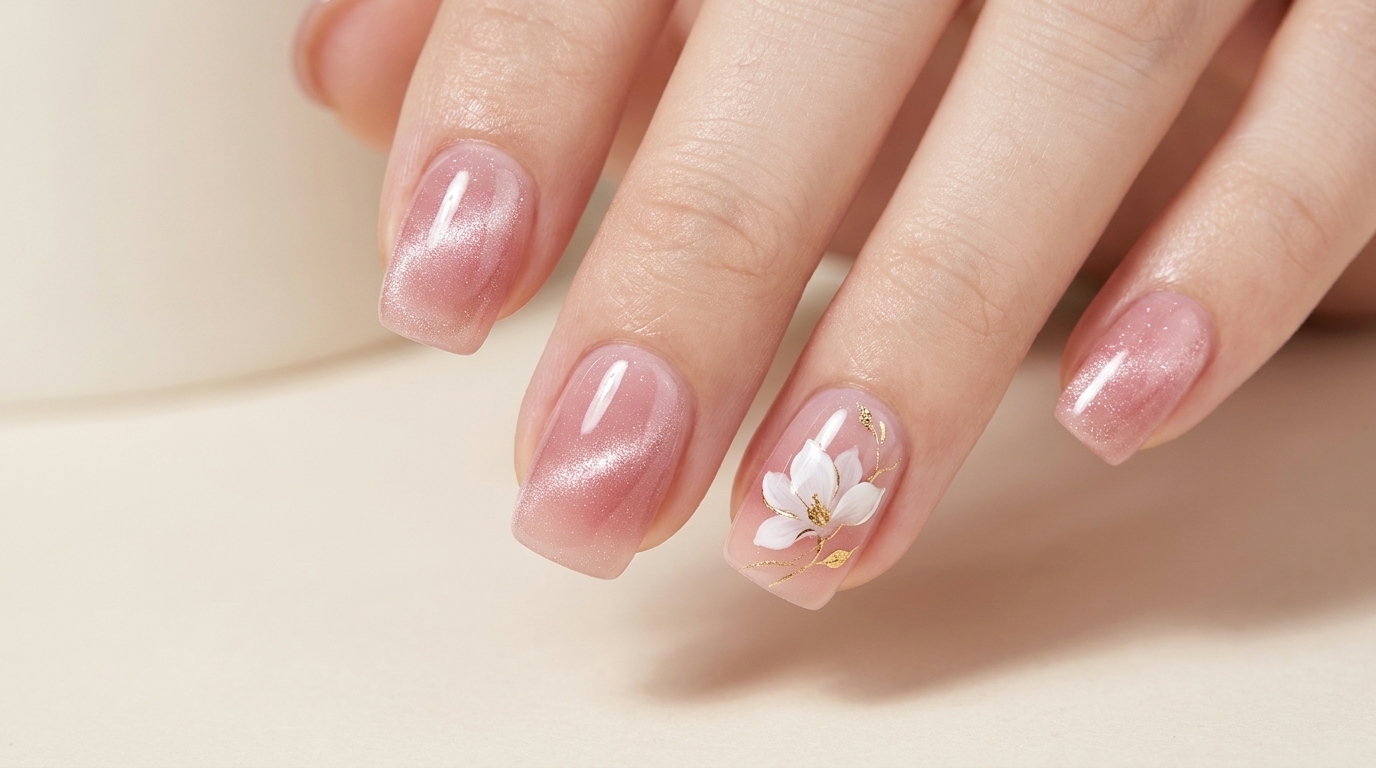
Steps
- 1Apply clear base coat
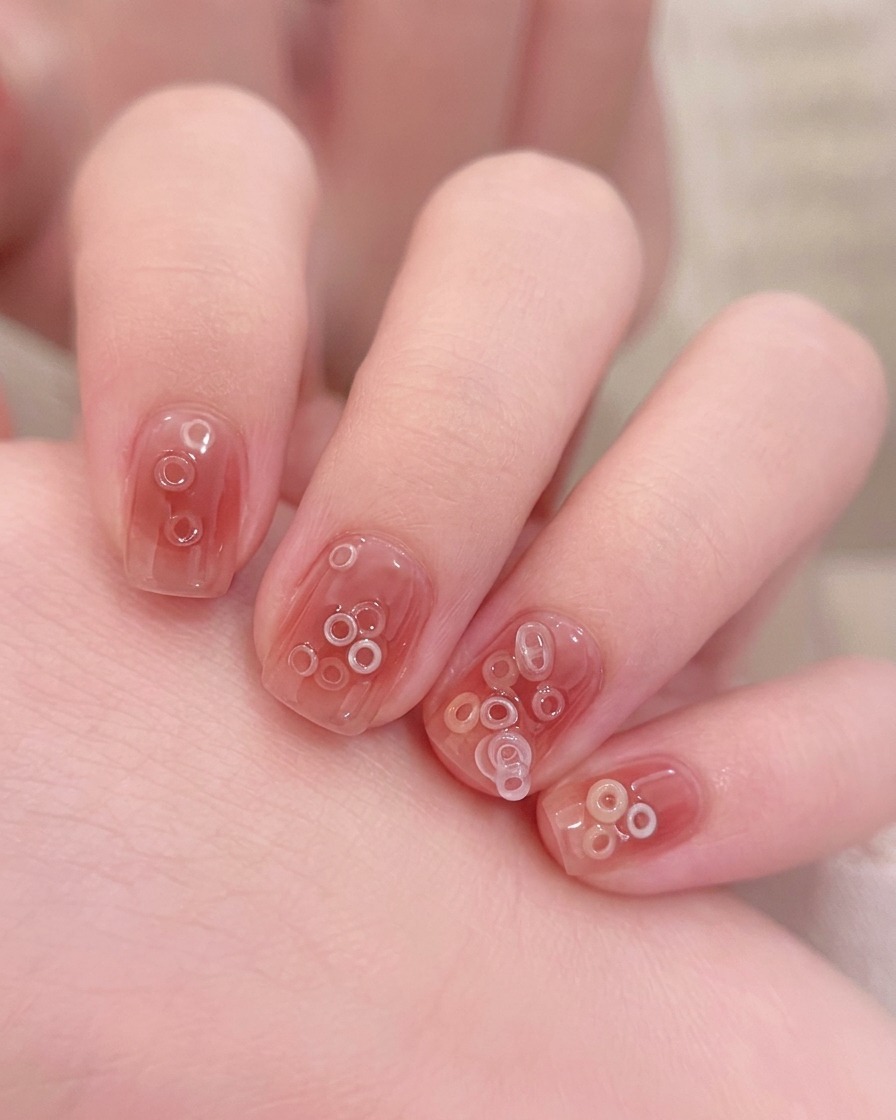
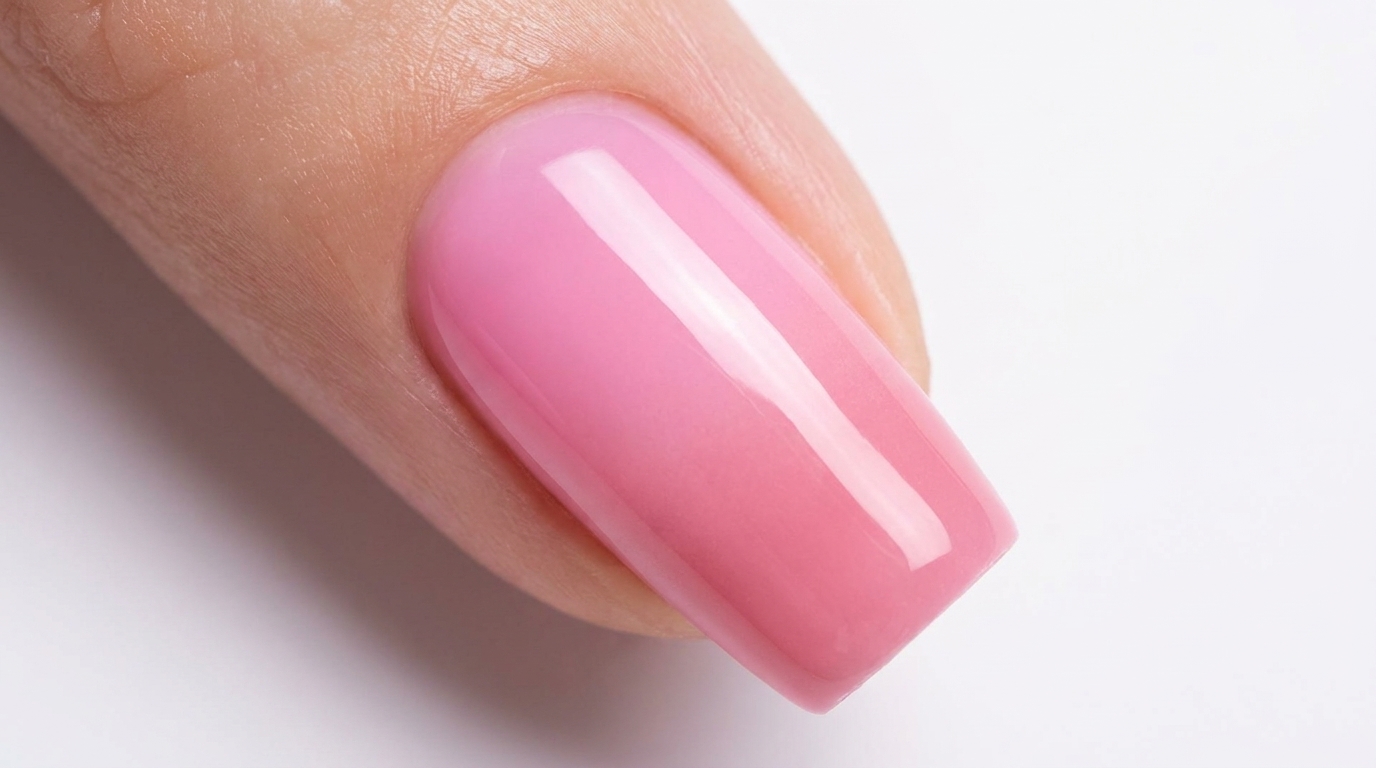
Apply a thin, even layer of clear base coat to the entire nail plate. Ensure you cap the free edge to prevent lifting and promote long-lasting adhesion for the gel layers.
Tip: Be careful not to touch the cuticle or side skin with the base coat to avoid potential lifting. - 2Apply first layer of magnetic gel
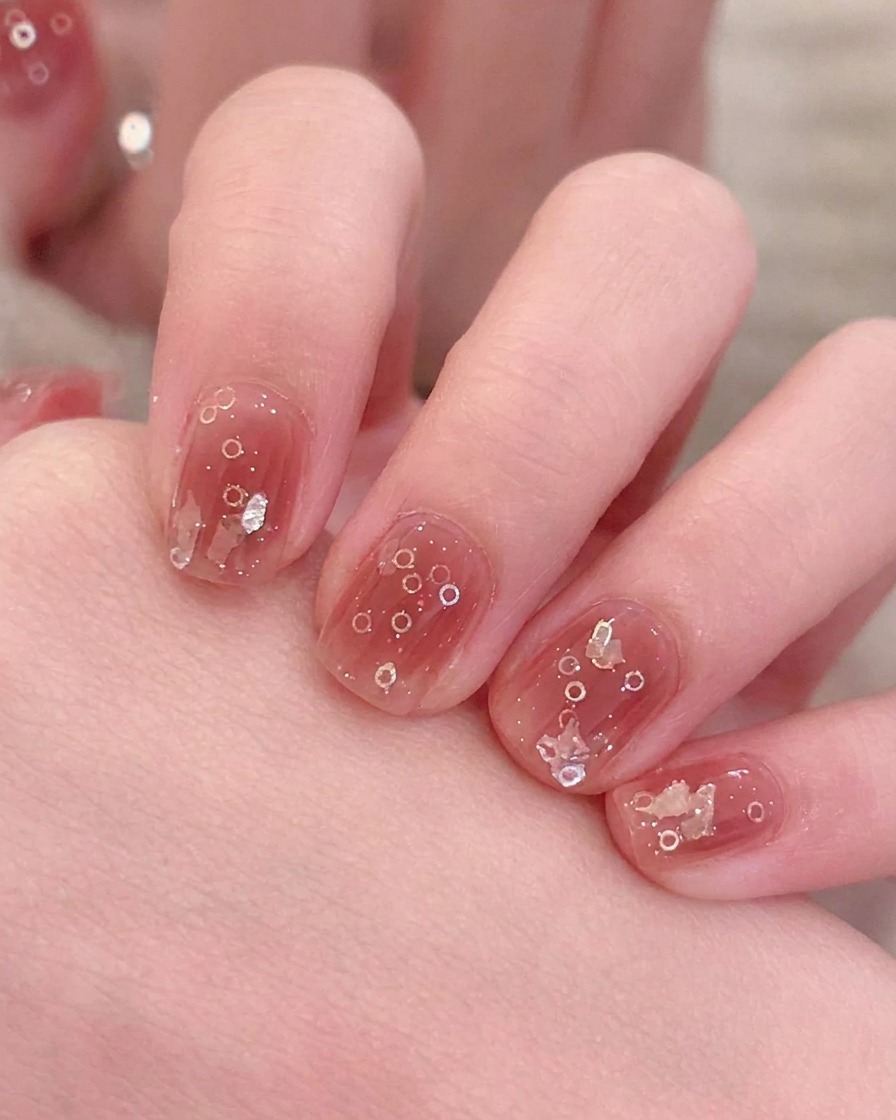
Apply a thin, uniform layer of the pink cat-eye magnetic gel over the base coat. This initial layer establishes the color base before the magnetic effect is fully defined.
Tip: Keep this layer thin to ensure it cures properly without wrinkling. - 3Apply second layer of magnetic gel
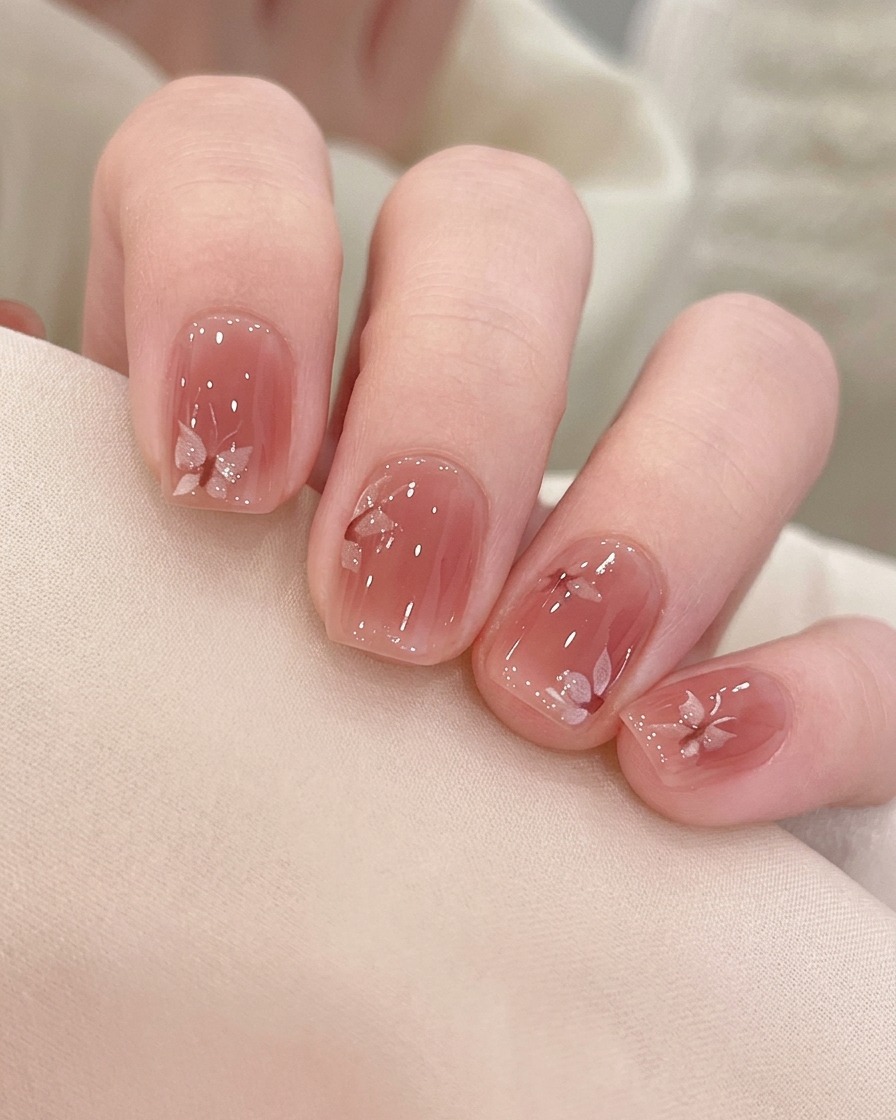
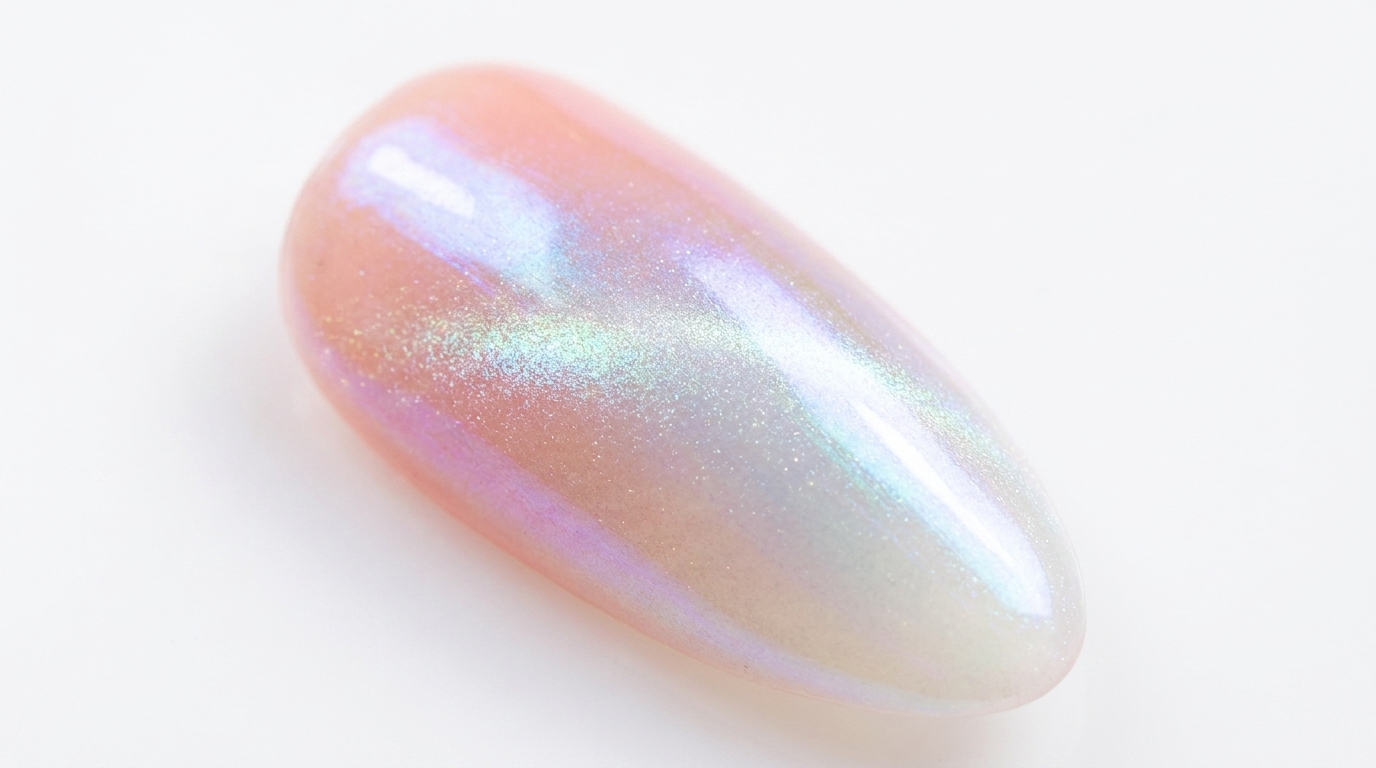
Apply a second, slightly thicker layer of the cat-eye gel. This layer provides the necessary volume of metallic particles required to create the deep shimmer effect when the magnet is applied.
Tip: Applying this while the first layer is still wet can help create a smoother gradient. - 4Create the cat-eye effect
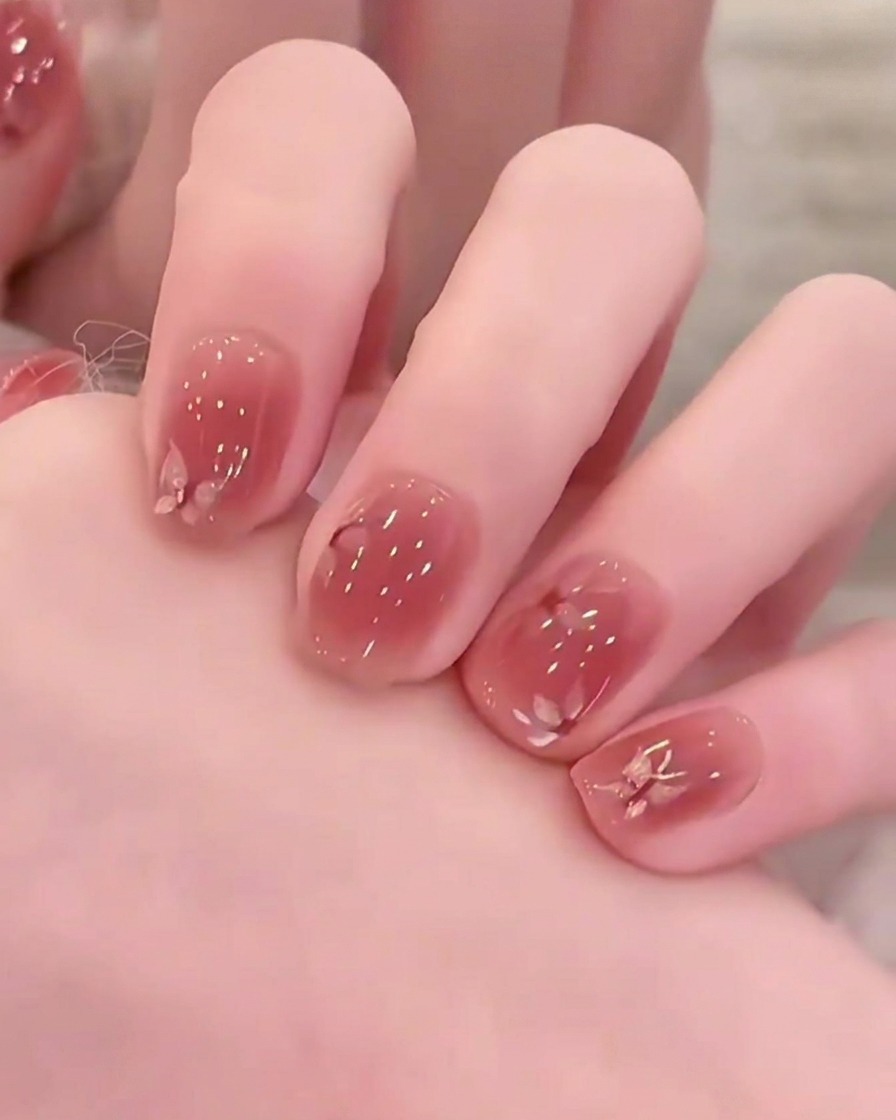
Before curing, hold the magnetic wand close to the nail surface for 5–10 seconds. Move the magnet to manipulate the metallic particles, forming the signature cat-eye shimmer line or pattern.
Tip: Hold the magnet steady to ensure the particles settle into a crisp, sharp line. - 5Cure the gel polish
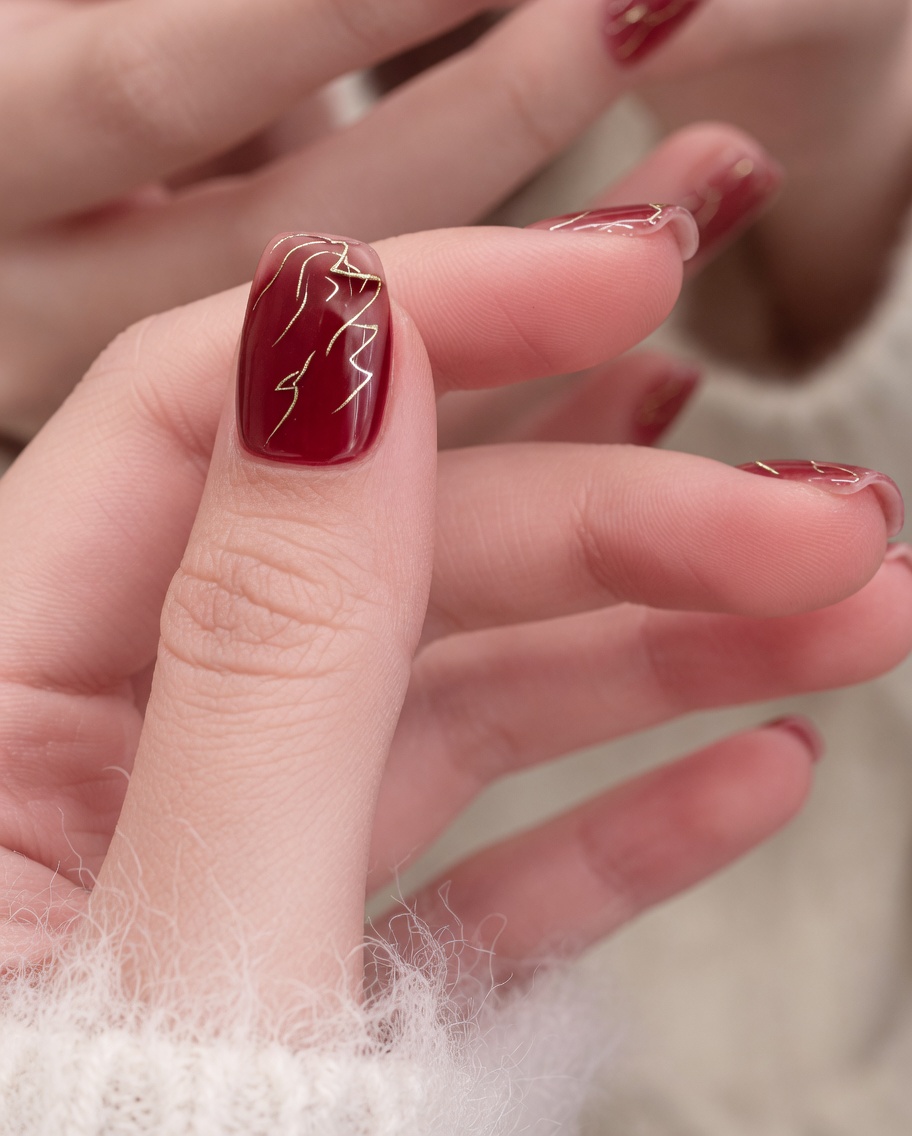
Place your hand under the UV/LED lamp and cure for the manufacturers recommended time. This locks the magnetic particles in place and hardens the gel.
Tip: Ensure your hand is placed flat in the lamp to prevent shadows or uneven curing. - 6Paint magnolia flower petals
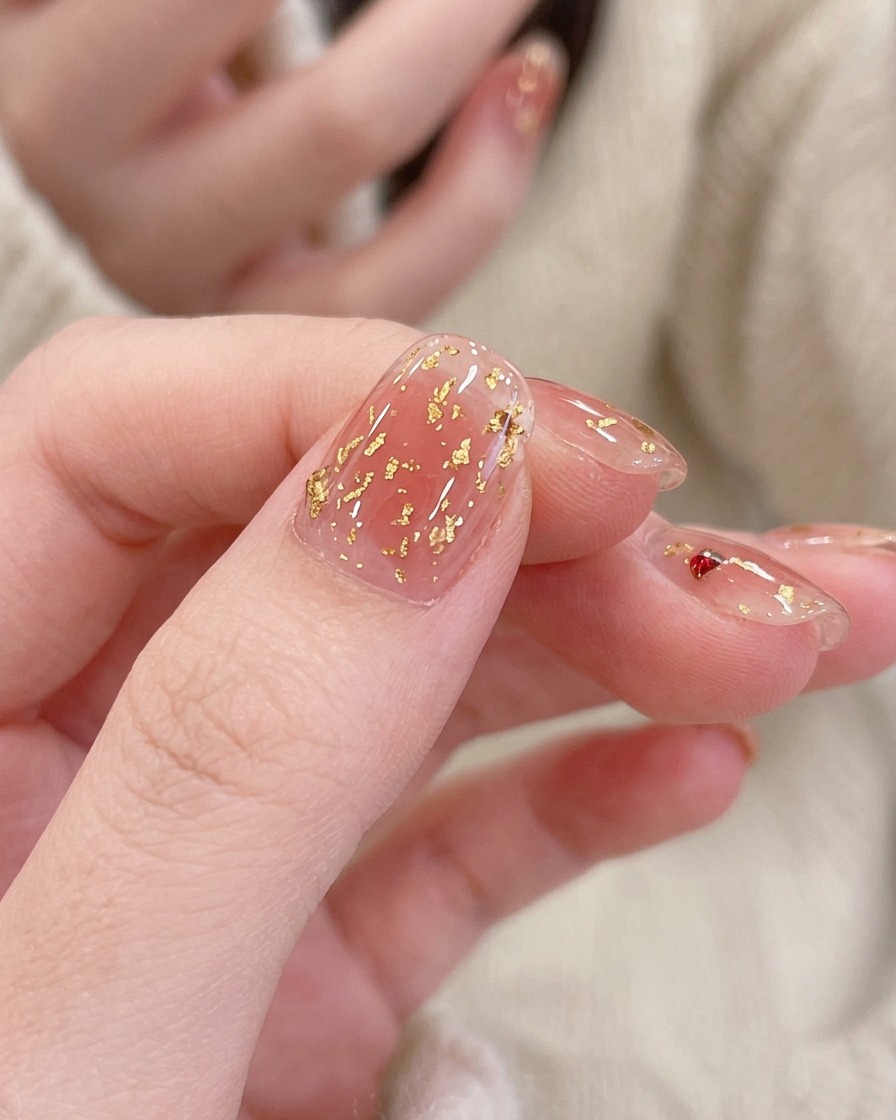
Using a thin liner brush and white gel, carefully draw the base shapes of the magnolia flower petals over the cured cat-eye base. Focus on creating delicate, soft edges to maintain the designs refined look.
Tip: Use very little product on the tip of the brush to achieve fine, precise lines for the petals. - 7Add depth to petals
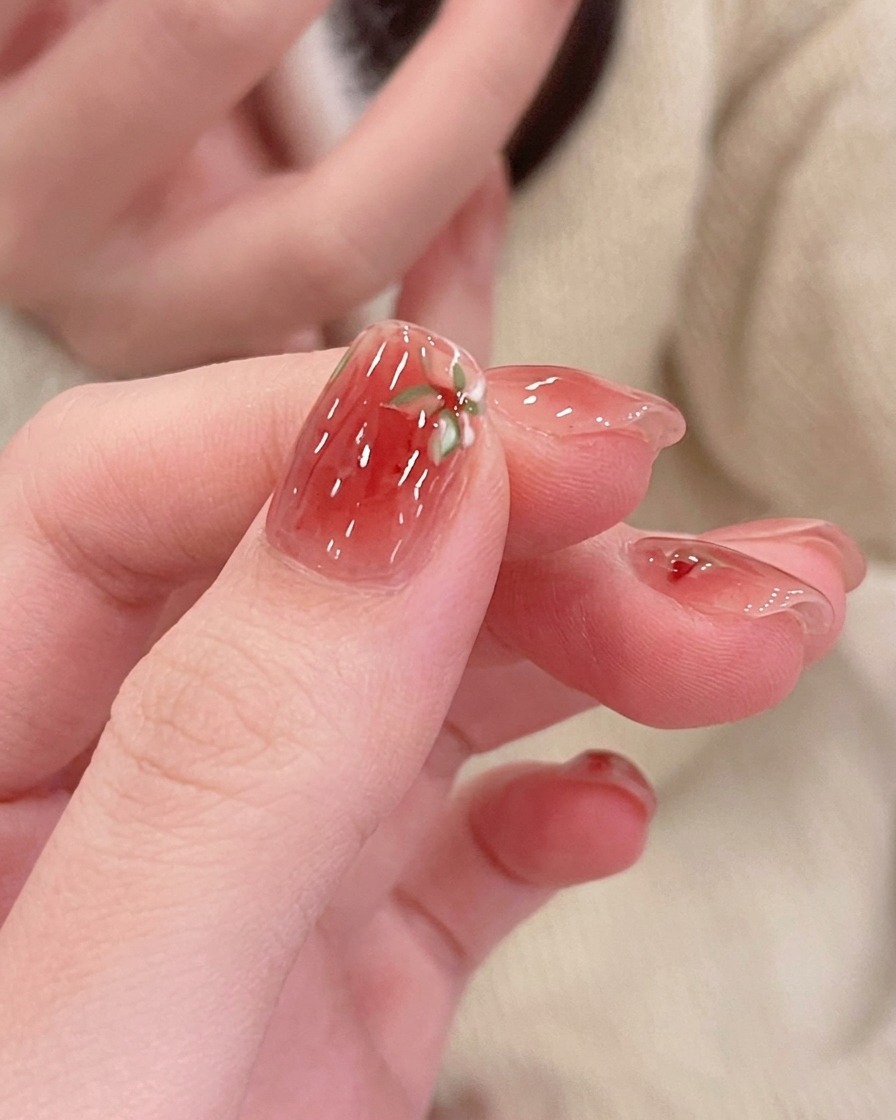
Using a fine-point brush and a darker shade of pink, add subtle shading at the base of the magnolia petals to create dimension. This contrast helps the flower appear more three-dimensional and realistic against the sheer base.
Tip: Work with a very small amount of pigment to maintain the delicate, translucent look of the magnolia. - 8Add highlights and details
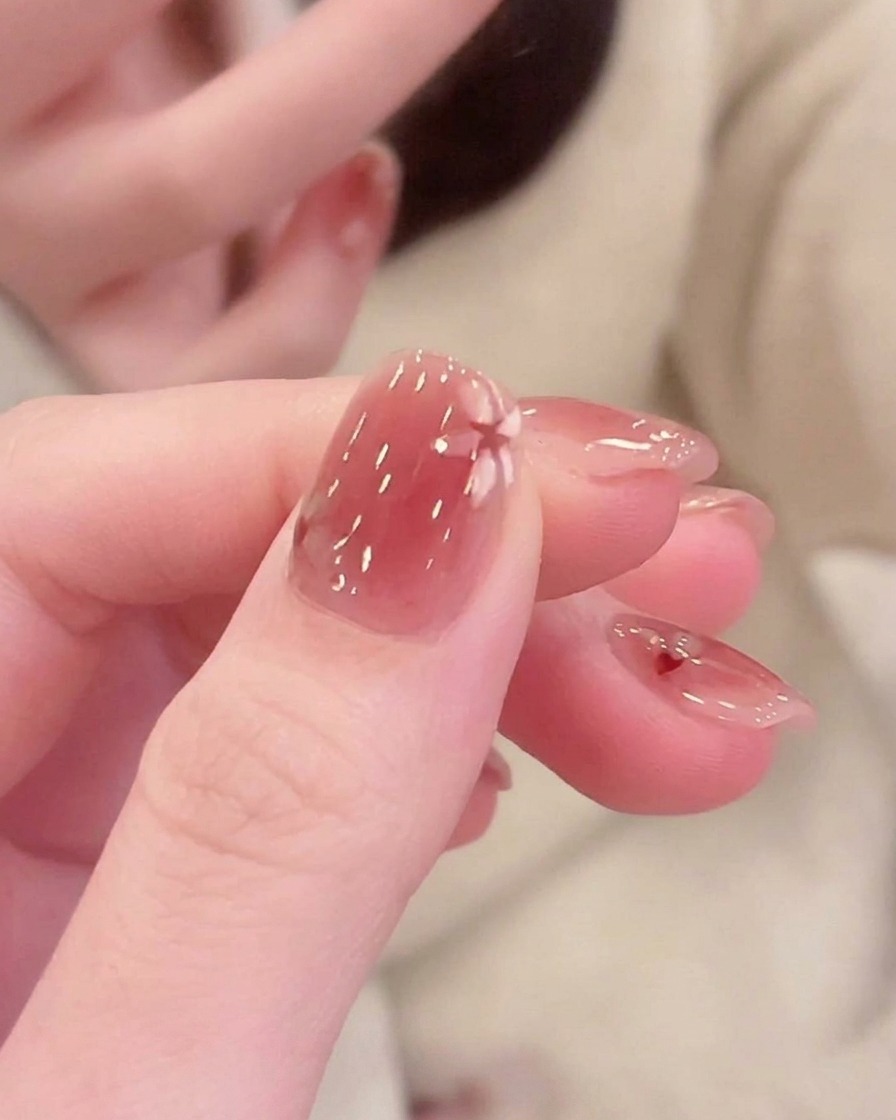
With a fine liner brush and white gel polish, carefully add delicate highlights to the tips and edges of the petals. Finish by placing small, crisp dots or thin lines at the center of the magnolia to represent the stamens.
Tip: Keep your lines extremely thin for the highlights to avoid overpowering the soft pink background.