Aurora Glazed Donut Ombre Nails
Rhinestones — Step-by-Step Tutorial
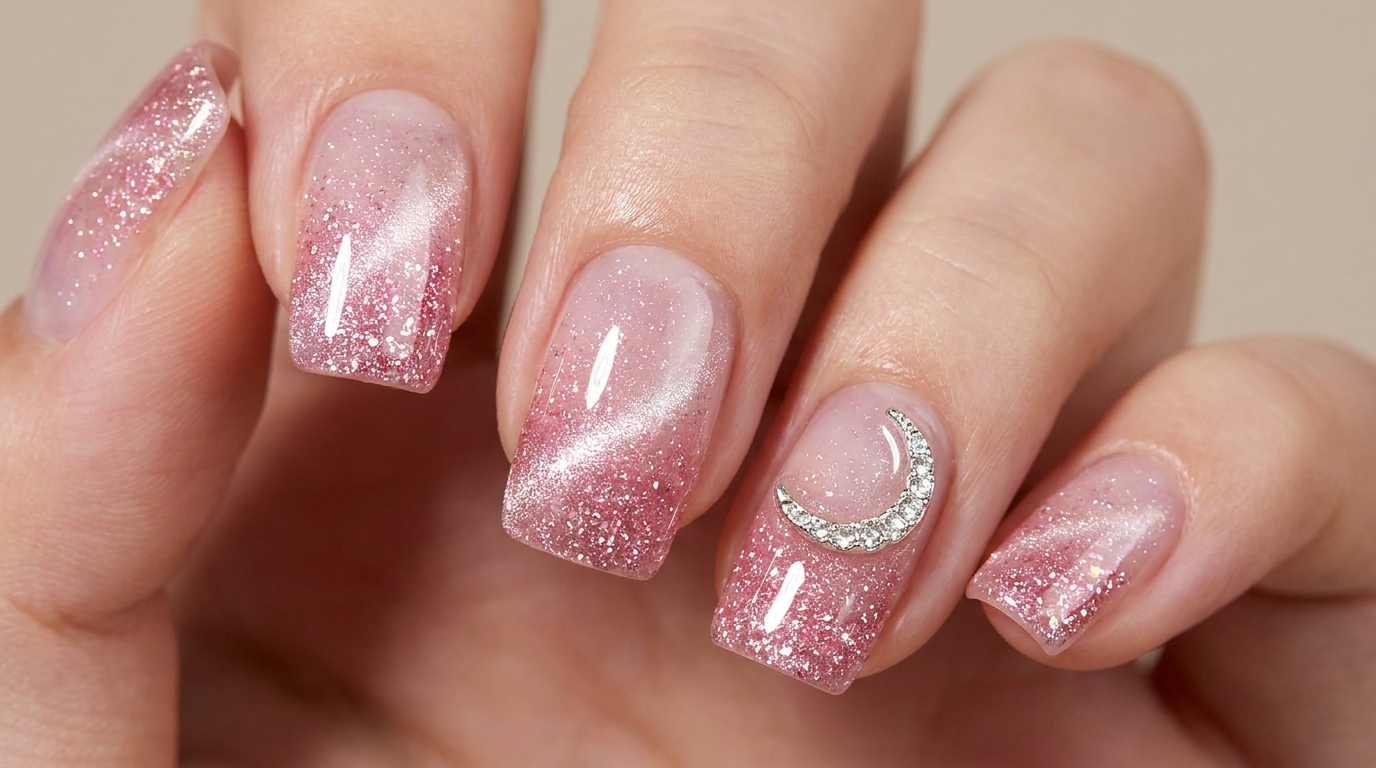
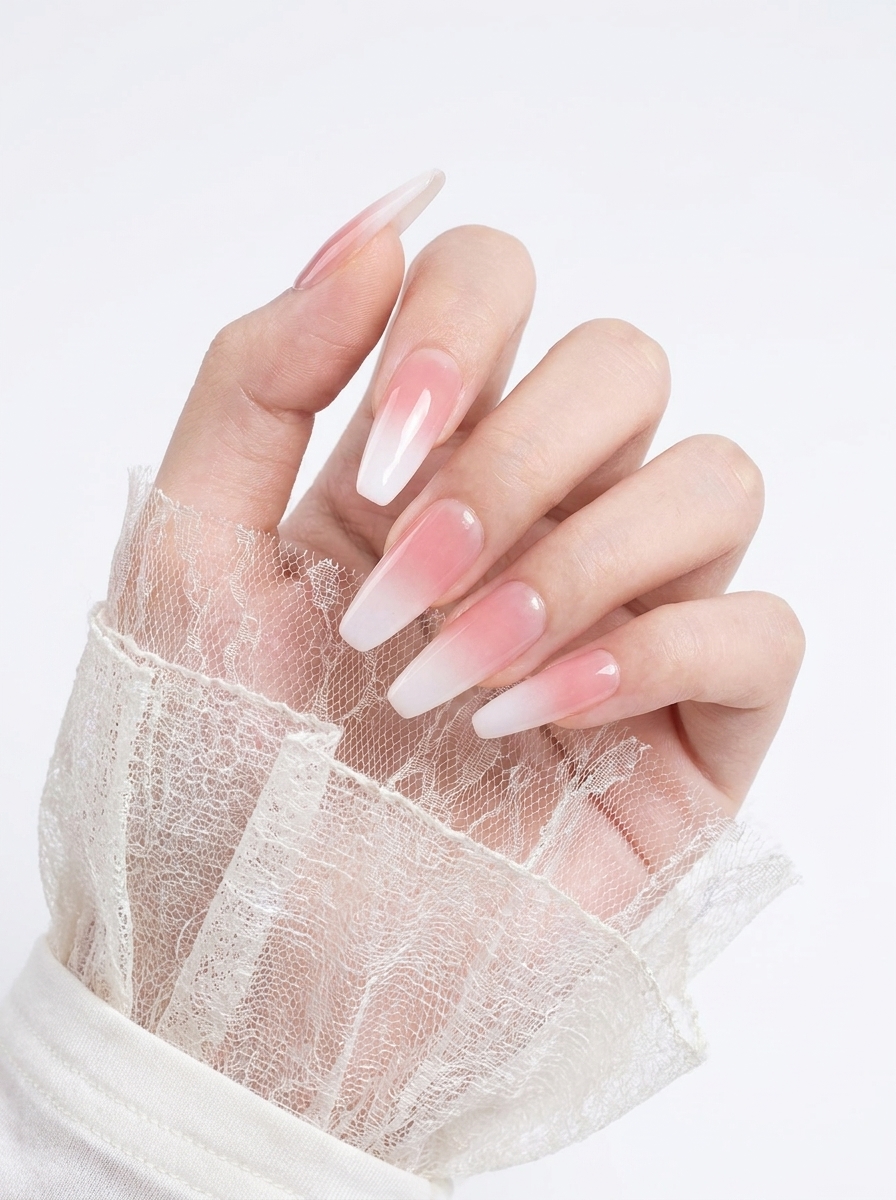
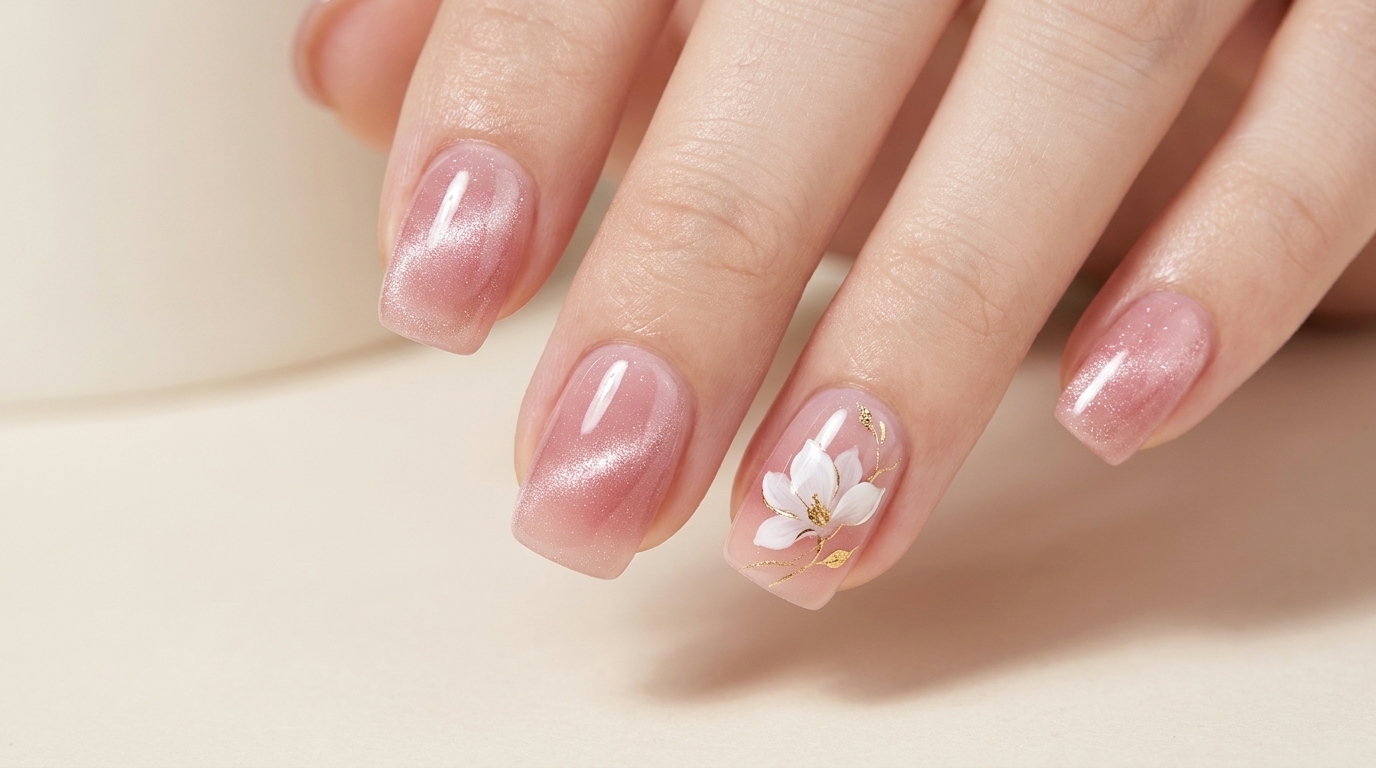
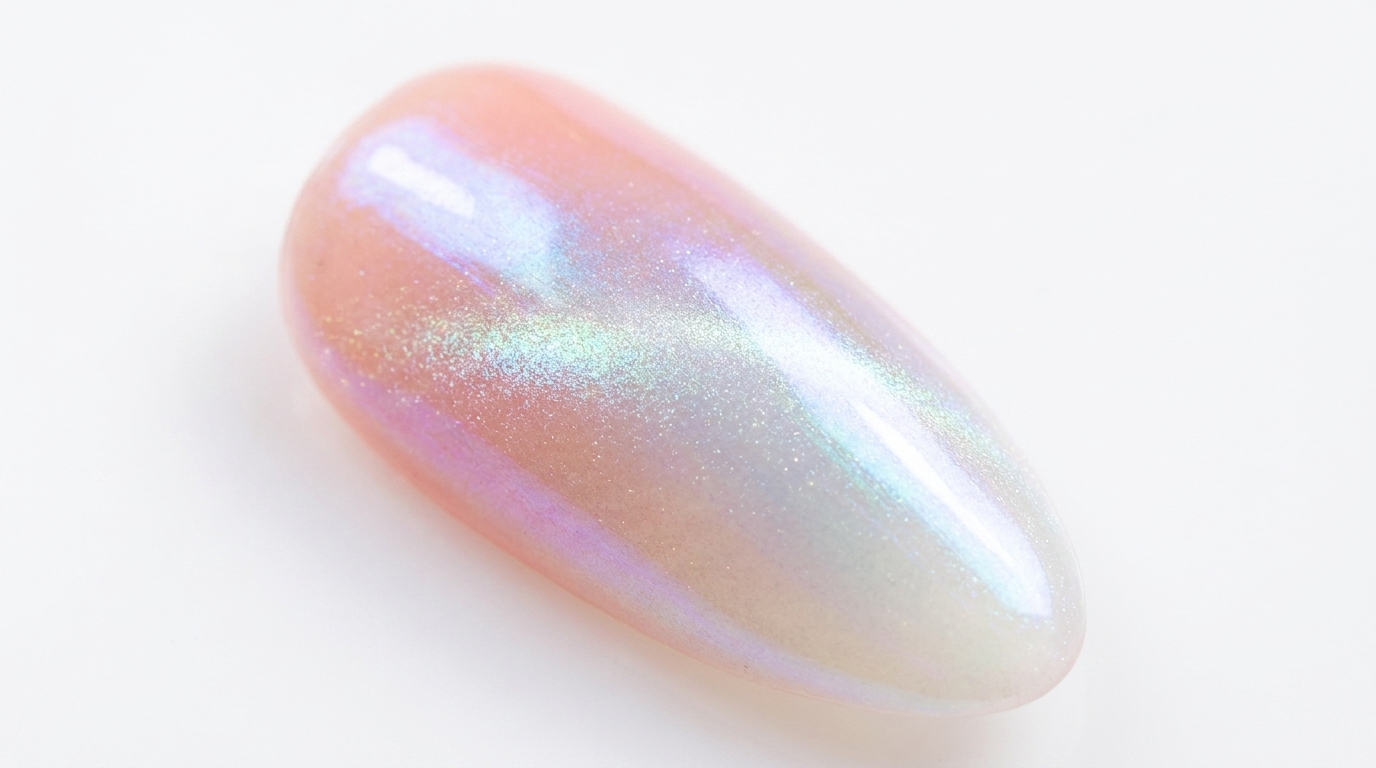
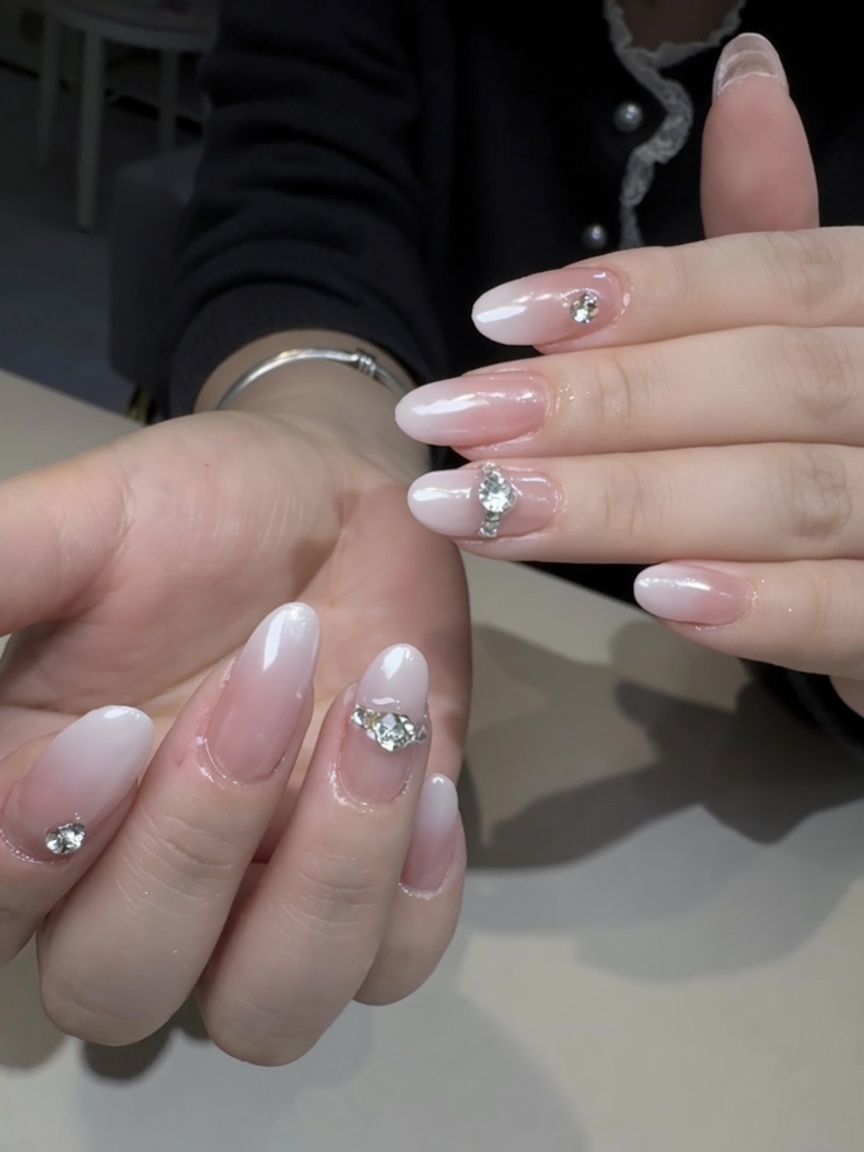
Achieve a timeless, elegant look with this aurora glazed donut ombre tutorial, featuring a soft white gradient, pearlescent chrome finish, and dazzling rhinestone accents.
The glazed donut trend continues to evolve, and pairing it with a classic white French ombre creates a truly timeless manicure. This elegant look combines the soft, milky transition of a gradient with the magical, pearlescent shimmer of aurora chrome powder. By finishing the design with striking rhinestone charms, you elevate a simple ombre into a stunning, statement-making set perfect for weddings, holidays, or any special occasion.
Steps
- 1Remove old gel polish
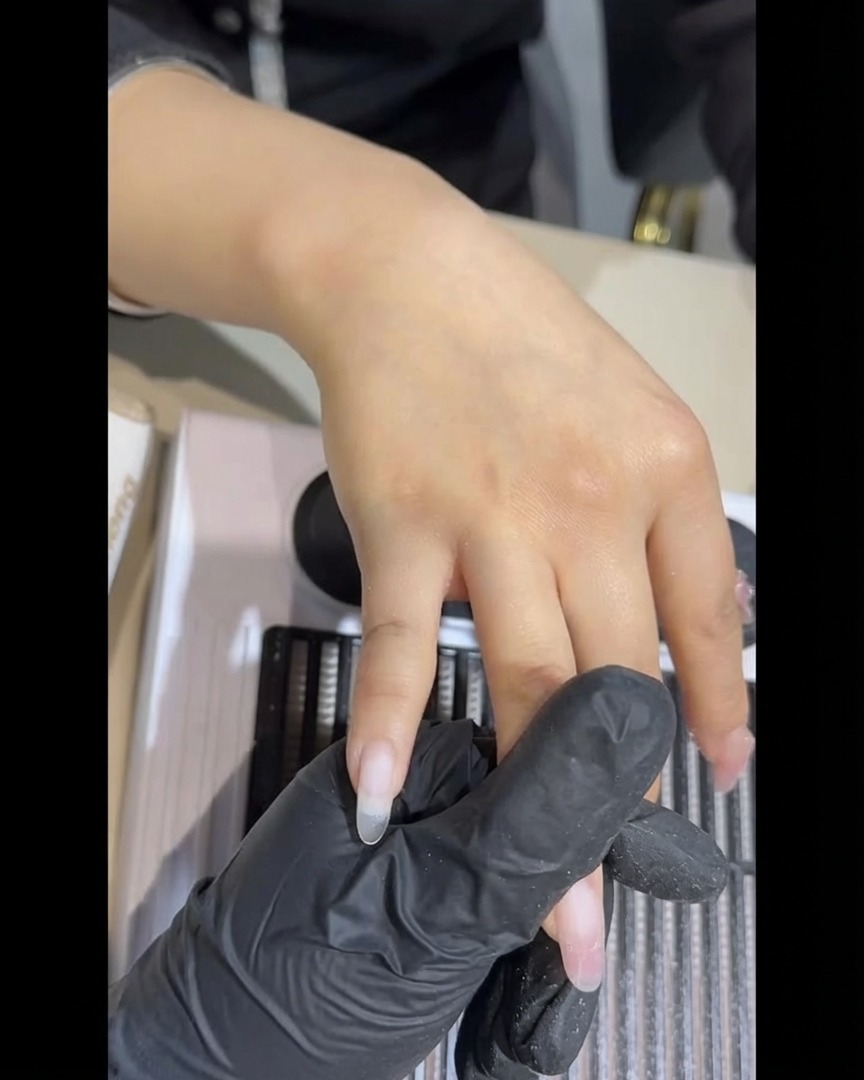
Using an electric nail drill with a sanding band, gently remove the remaining old gel polish from the nail plate. Maintain a steady, light pressure, keeping the bit moving constantly to prevent heat buildup and avoid damaging the natural nail surface.
Tip: Keep the drill bit moving to avoid creating hot spots on the nail. - 2File and shape nails
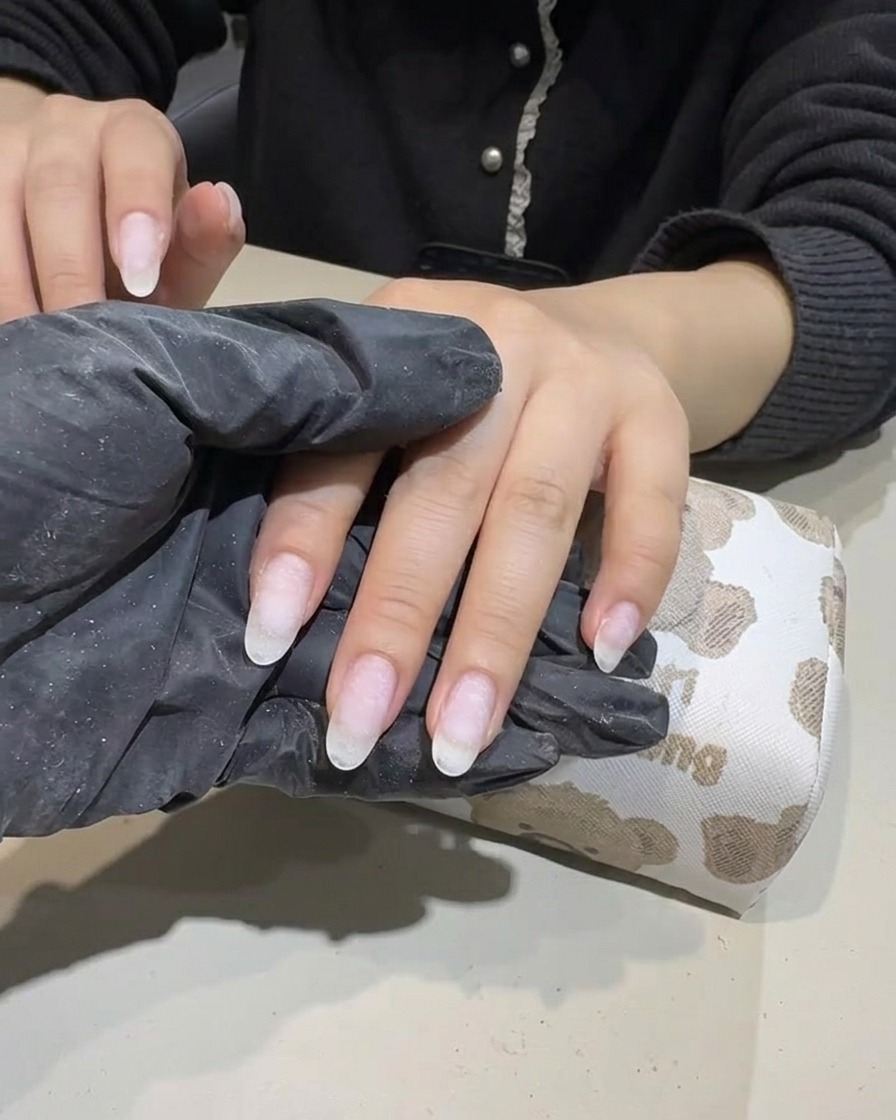
Use a nail file to carefully refine the shape of each nail edge. Ensure all nails have a consistent shape and smooth edges, which prepares them for the next stage of the manicure.
Tip: Shape the nails in one direction to maintain the integrity of the nail edge. - 3Apply base coat
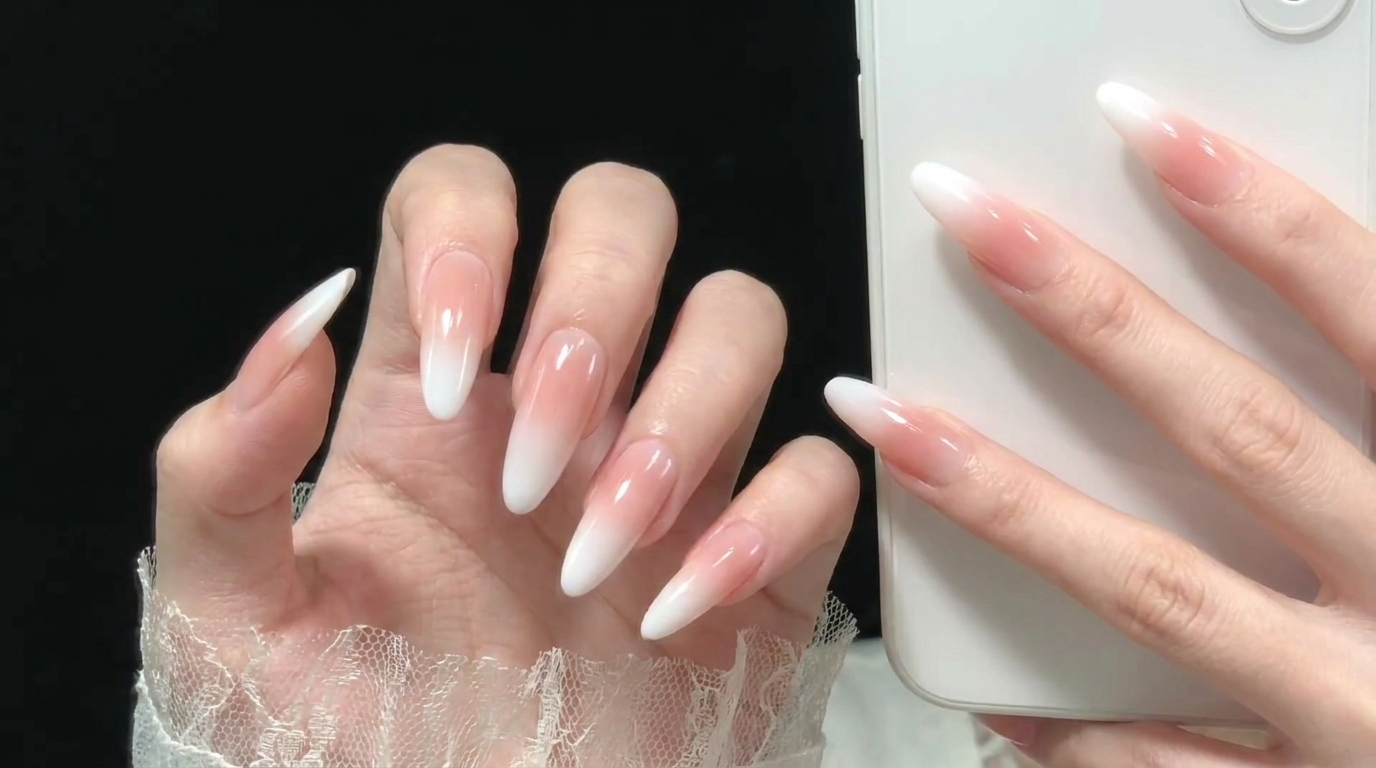
Apply a layer of clear base coat to the prepared nail plate. This layer provides a smooth foundation for the subsequent gradient application and helps improve adhesion.
Tip: Ensure the base coat is applied thinly and evenly across the entire nail surface. - 4Create white gradient
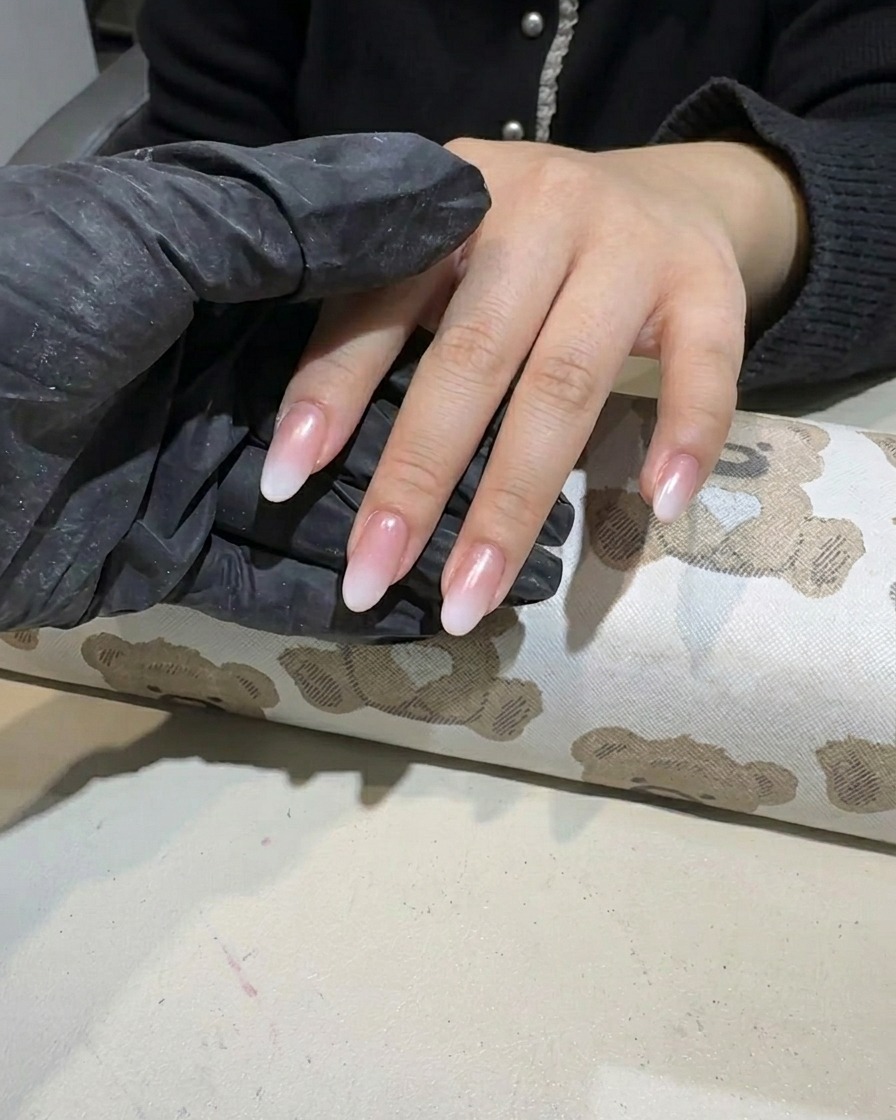
Dab a small amount of white gel polish onto the nail tip, blending it upward towards the center of the nail. Use a dabbing motion to create a smooth, soft ombre transition.
Tip: Focus the densest amount of color at the tip and fade it out as you move toward the cuticle. - 5Cure gradient layer
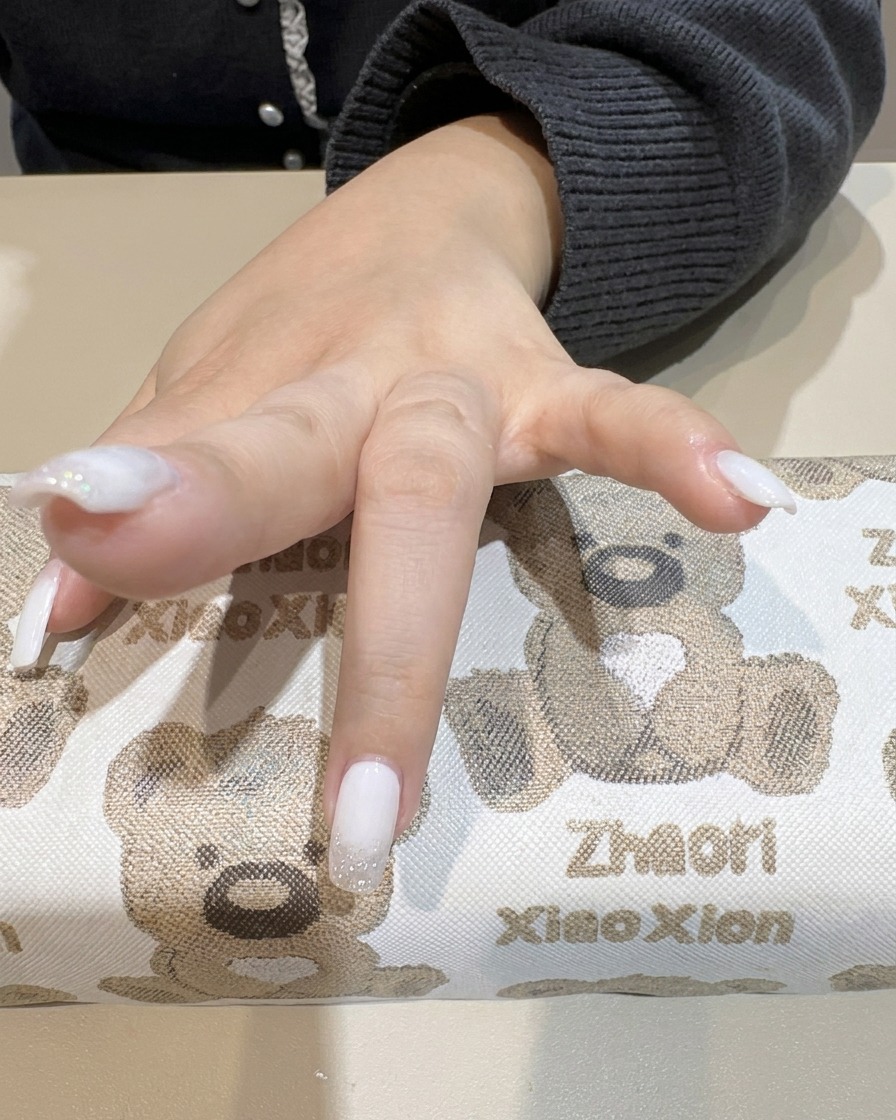
Place the hand under the UV lamp to cure the white gradient layer. Ensure all nails are properly positioned so the light covers them evenly for a complete cure.
Tip: Do not move the hand while curing to ensure the gel sets perfectly. - 6Apply aurora powder
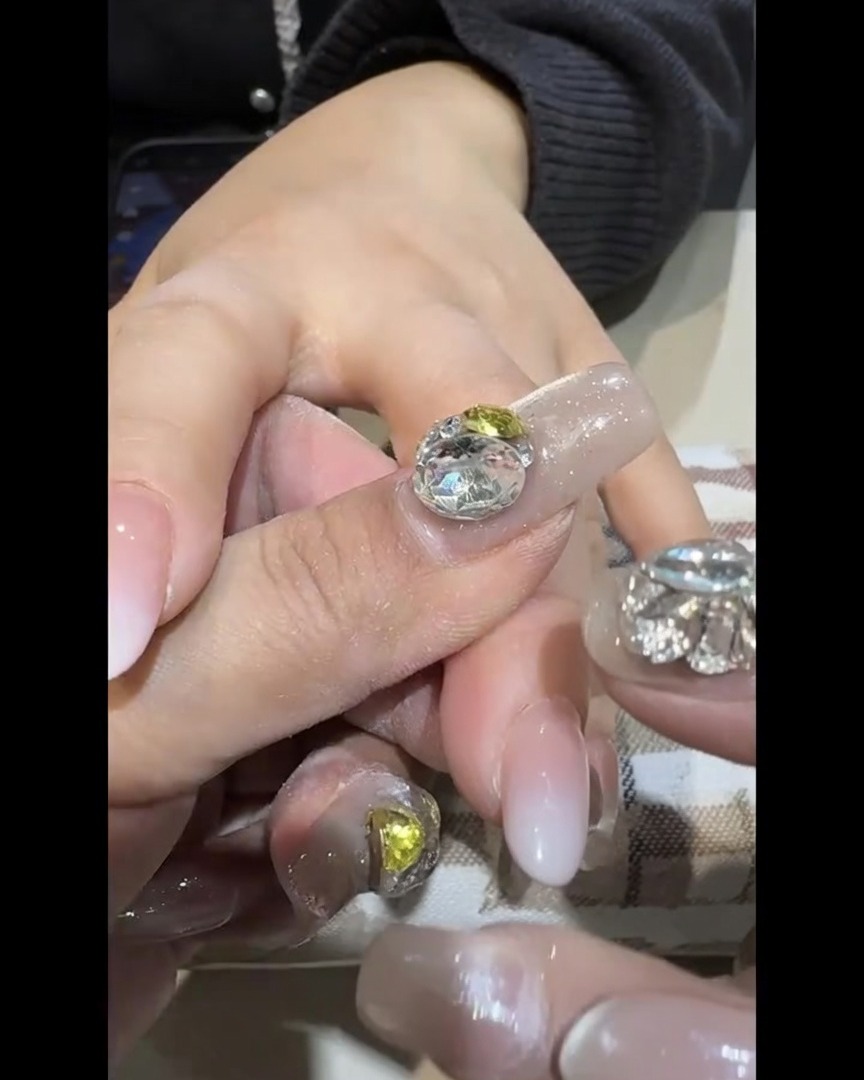
Gently rub the aurora glitter powder over the surface of the nails using a sponge applicator. Apply it evenly to ensure a consistent, shimmering effect across the entire nail.
Tip: A light touch is best to build up the aurora effect smoothly. - 7Dust off excess powder
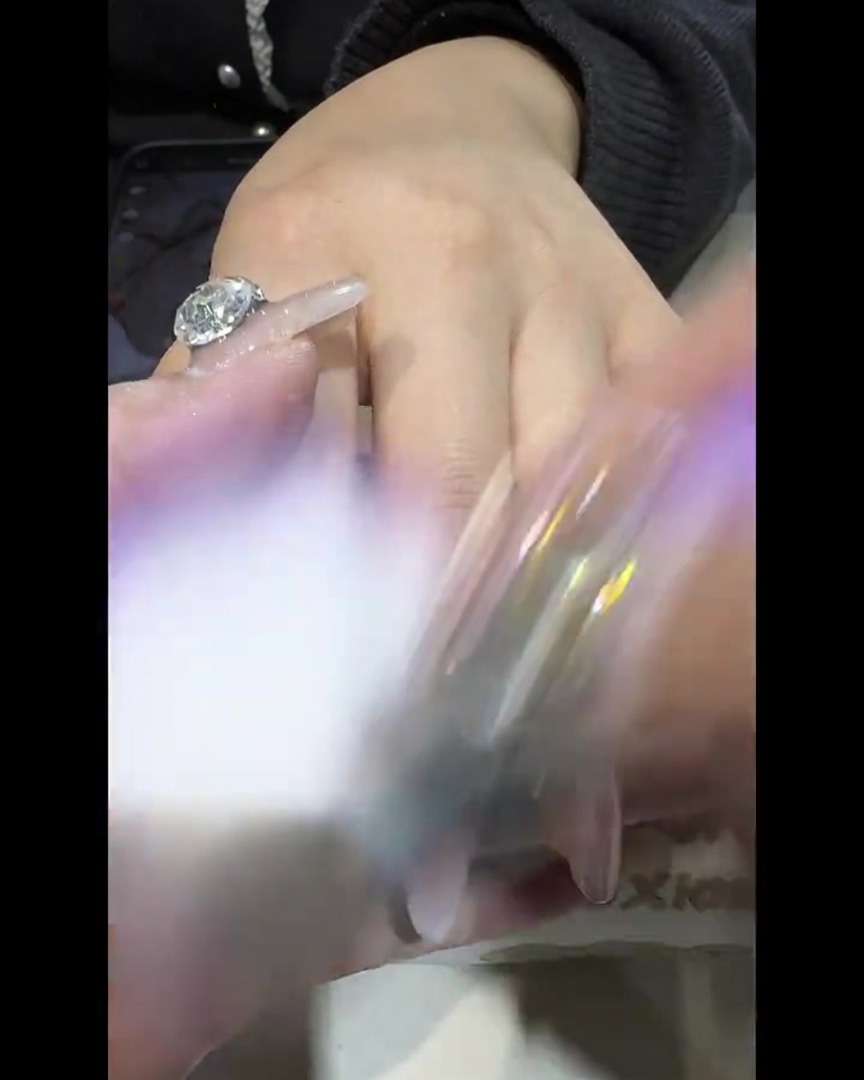
Using a soft, fluffy nail or makeup brush, gently sweep across the nail plate to remove any loose aurora powder. Be sure to dust thoroughly around the cuticles and sidewalls to ensure a clean surface before sealing the design. This step prevents rogue glitter particles from contaminating your gel brush or affecting the adhesion of the next layer.
Tip: A clean cosmetic brush works perfectly for this step if you do not have a dedicated nail duster. - 8Seal aurora powder with base gel
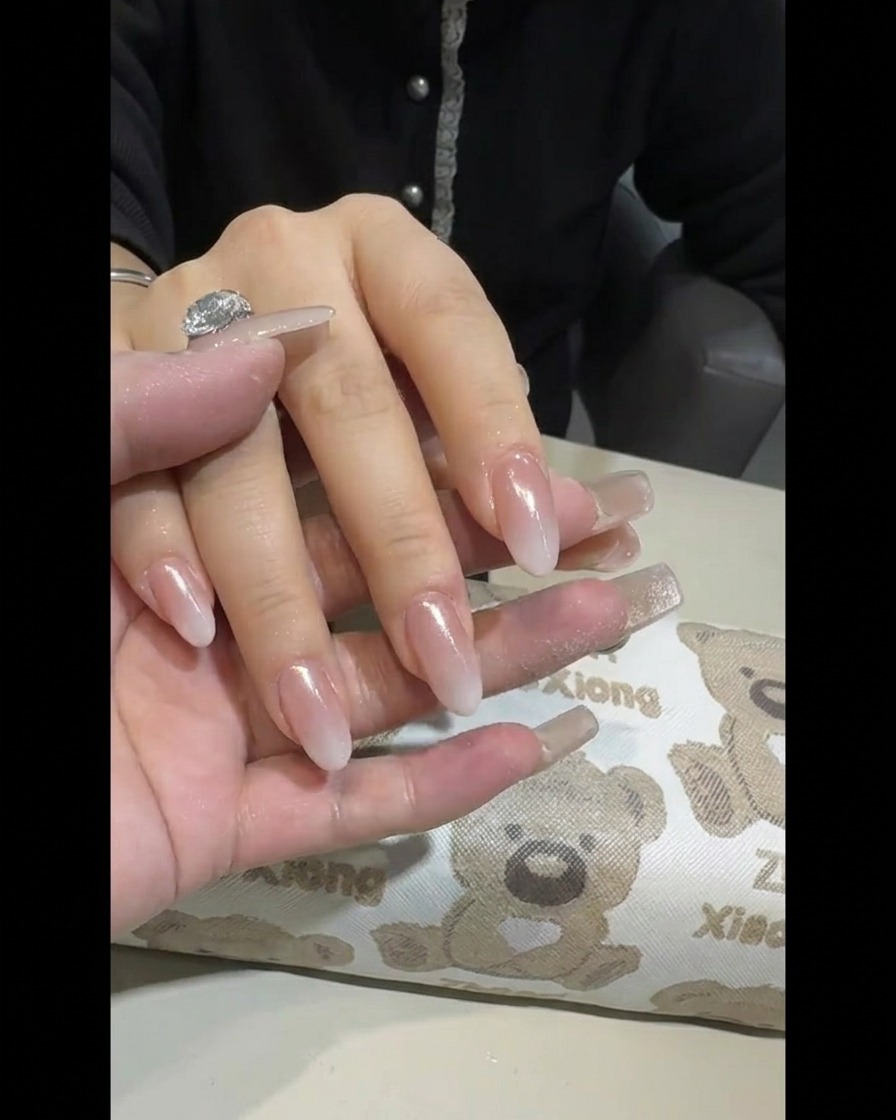
To ensure the longevity of the aurora powder, apply a thin, even layer of gel base coat over the entire nail surface. This seals the powder in place and provides a smooth, protected layer before the final top coat application.
Tip: Be gentle with your brush strokes to avoid dragging or smudging the delicate powder effect. - 9Cure the base coat
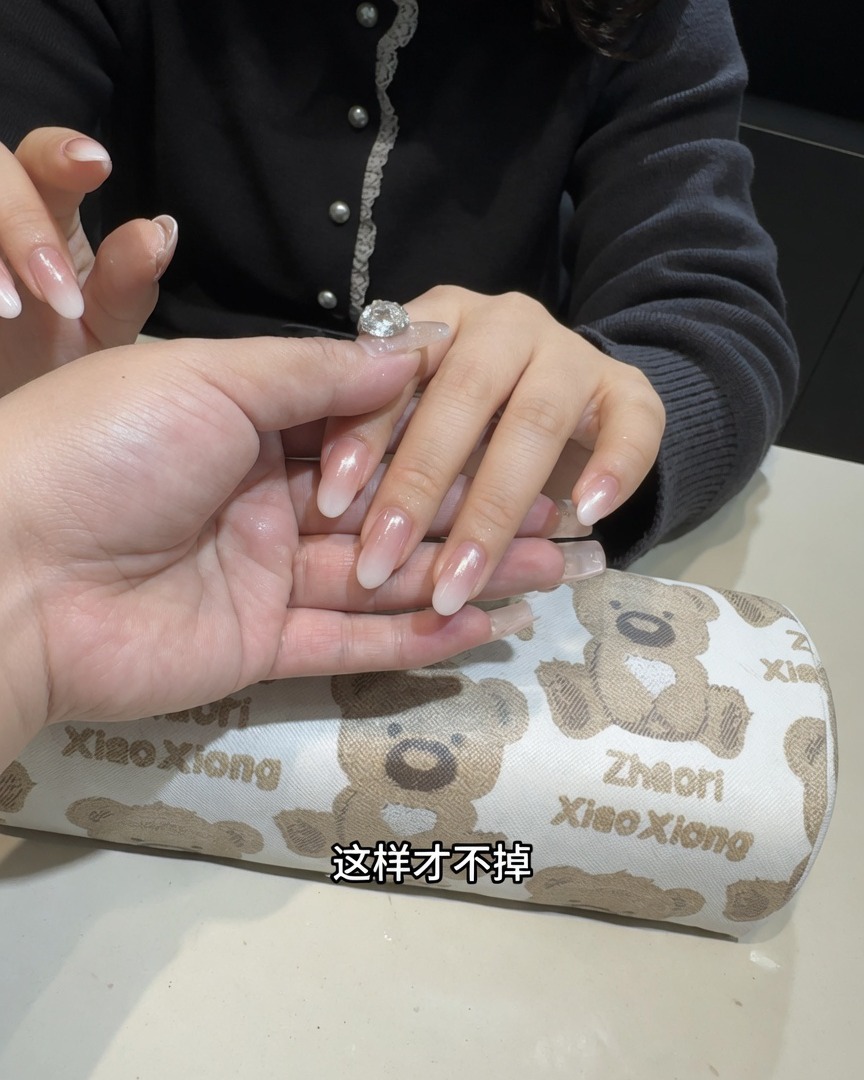
Place the nails under your UV or LED lamp to fully cure the layer of base gel you just applied. Follow the recommended curing time for your specific gel product to ensure a durable, long-lasting finish.
Tip: Ensure the entire nail surface, including the edges, is evenly exposed to the lamp light to avoid under-curing. - 10Apply rhinestone adhesive
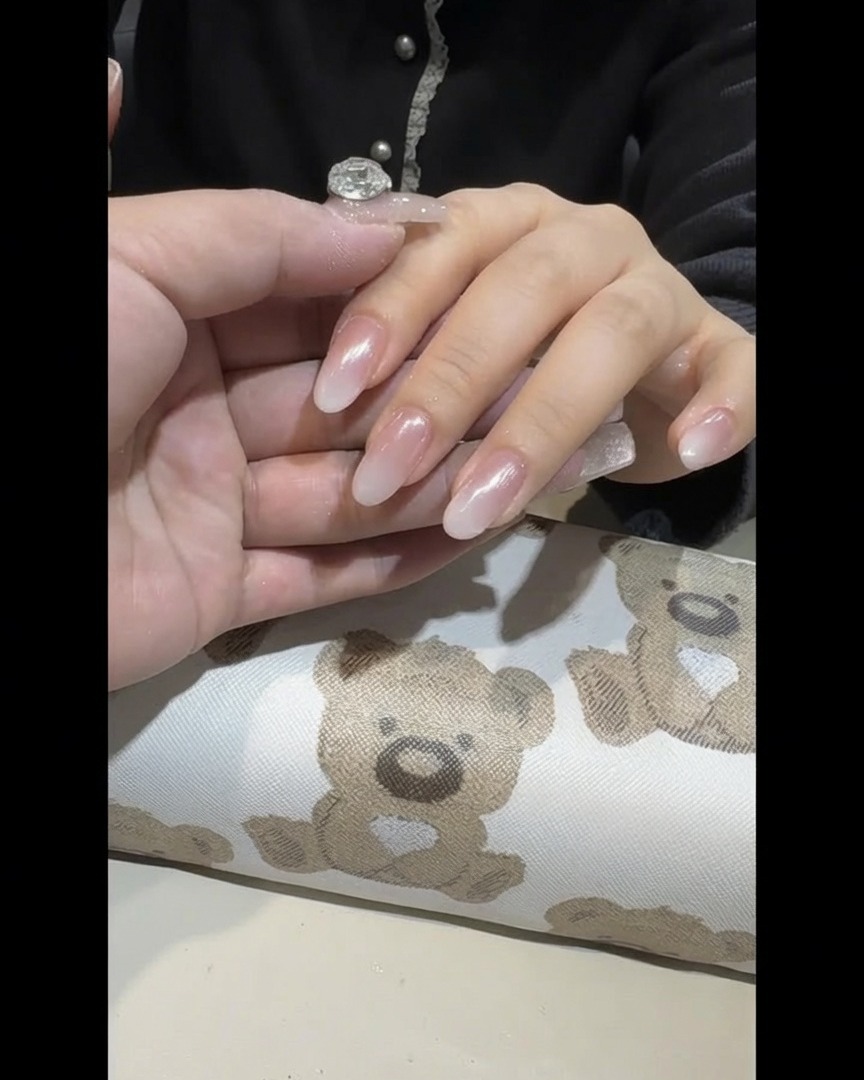
Apply a small, strategic dot of thick rhinestone adhesive gel to the base of the nail where you plan to place the embellishment. This provides a strong anchor to keep the jewelry securely in place.
Tip: Use a small dotting tool or a fine brush to apply the adhesive precisely where needed to avoid excess mess.