Peach Aurora Cat-Eye Gradient Nails — Step-by-Step Tutorial
Create stunning peach aurora cat-eye gradient nails with this step-by-step tutorial. Combine a creamy milky ombre base, iridescent chrome, and magnetic gel.
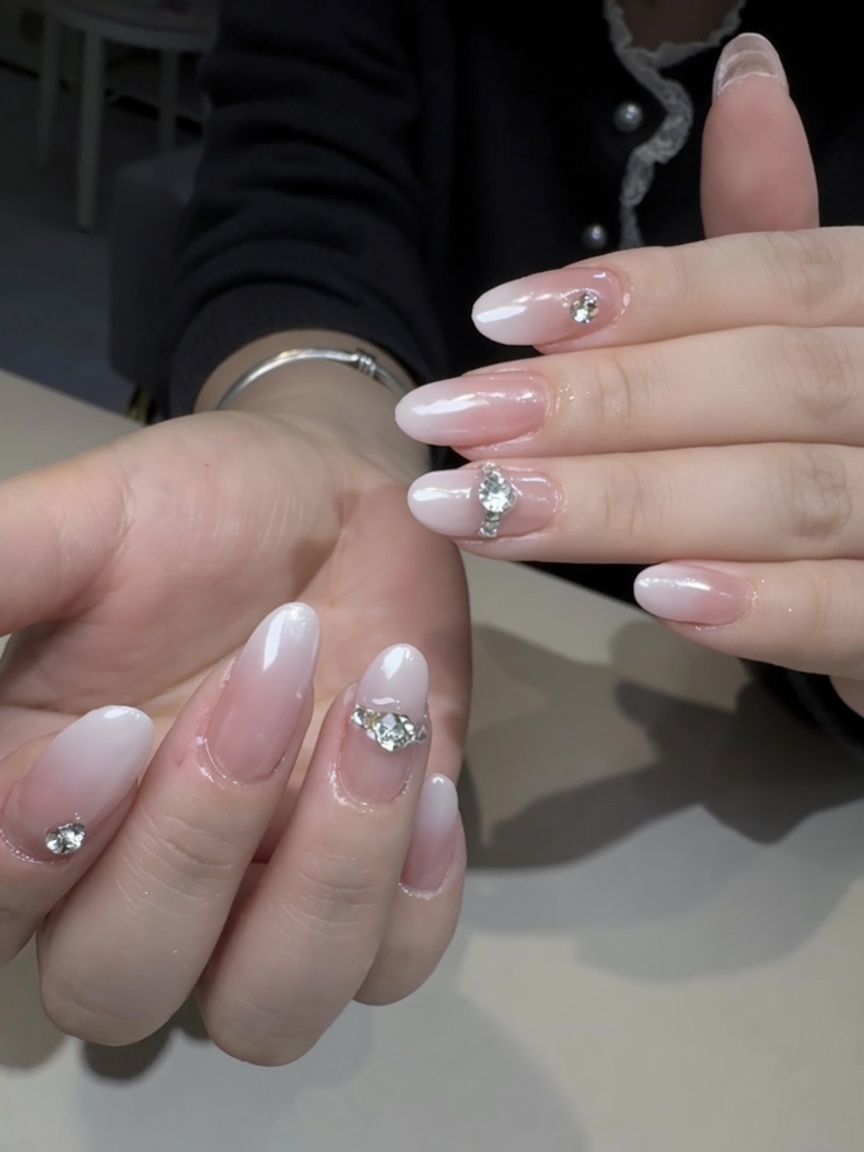
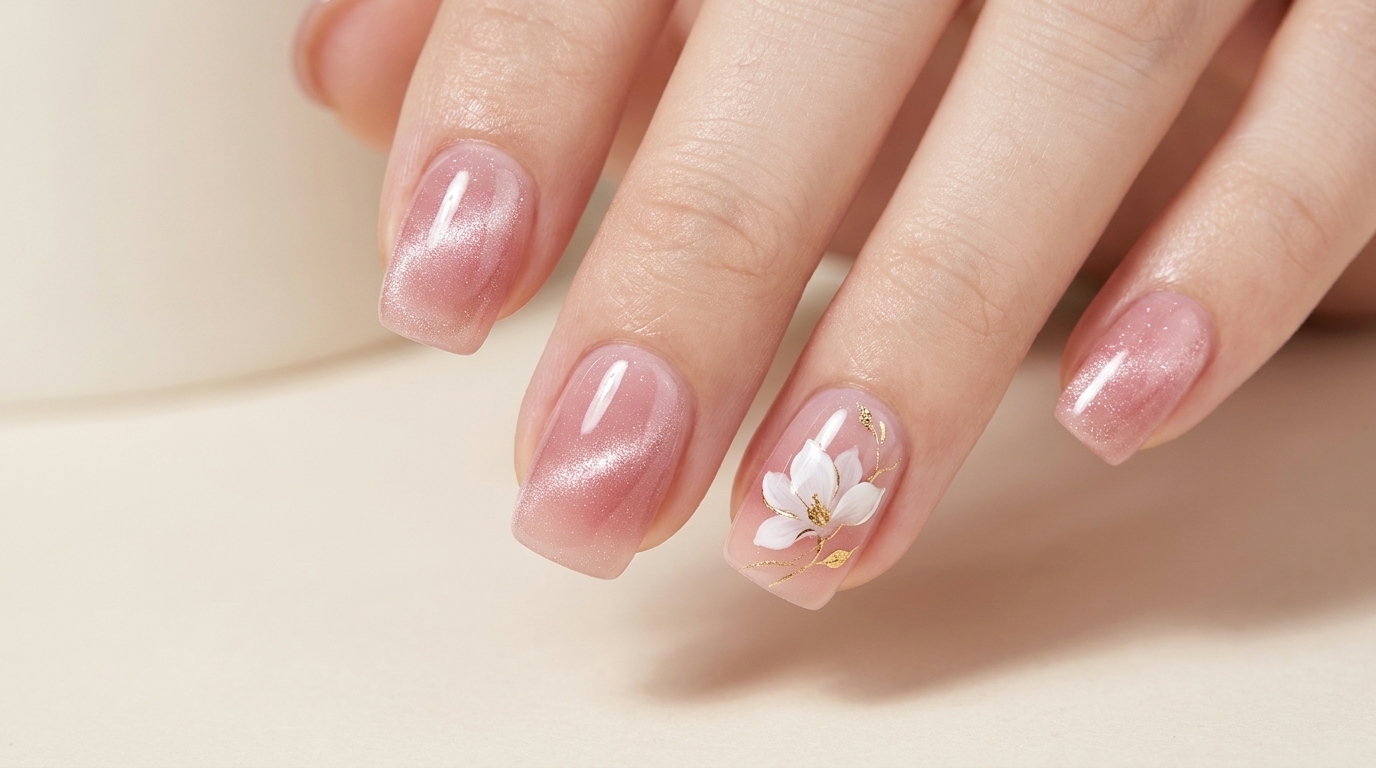
This ethereal nail look combines some of the most sought-after techniques in the salon today. By layering a soft milky-peach gradient under iridescent aurora chrome and finishing with a magnetic cat-eye gel, you create an incredible multi-dimensional finish that catches the light from every angle. It is the perfect dreamy manicure for a special occasion or whenever you want your nails to truly glow.
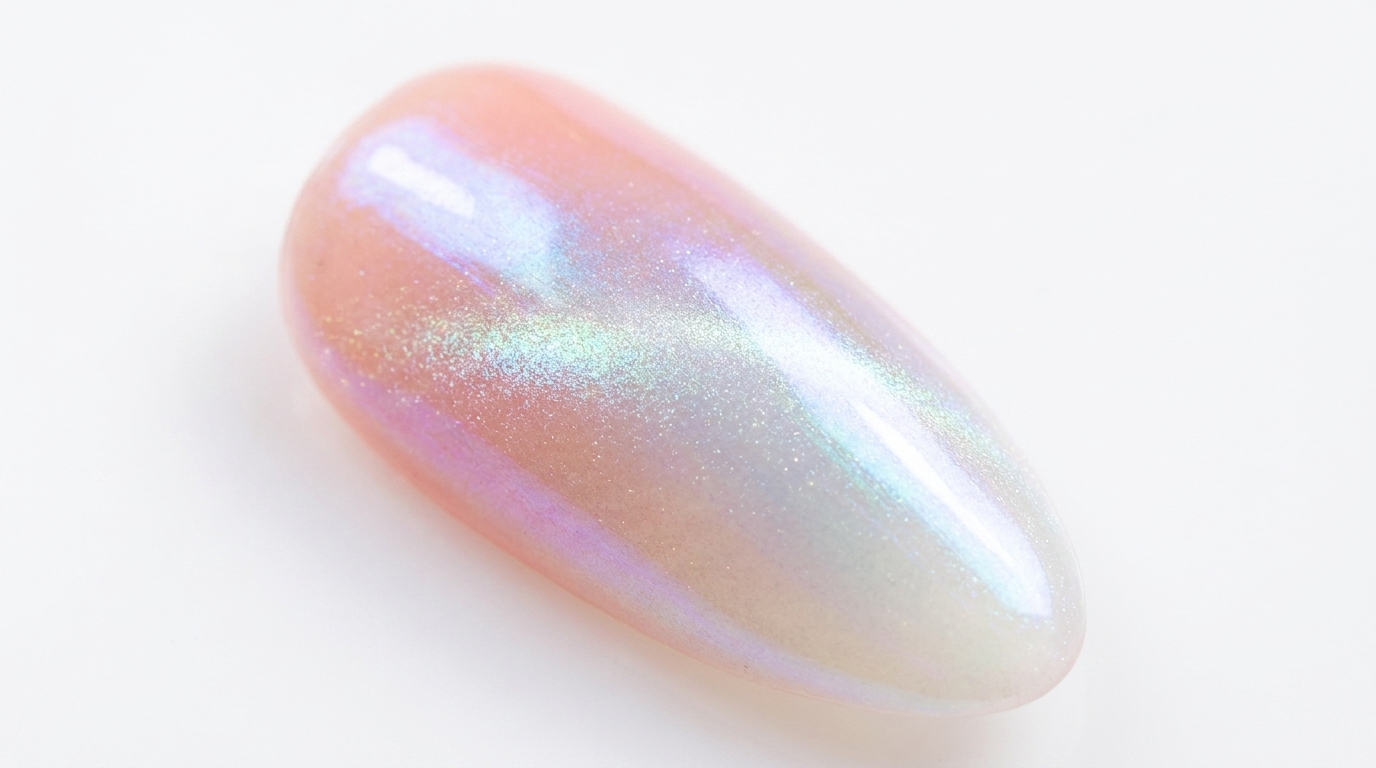
Steps
- 1Apply peach-pink gel
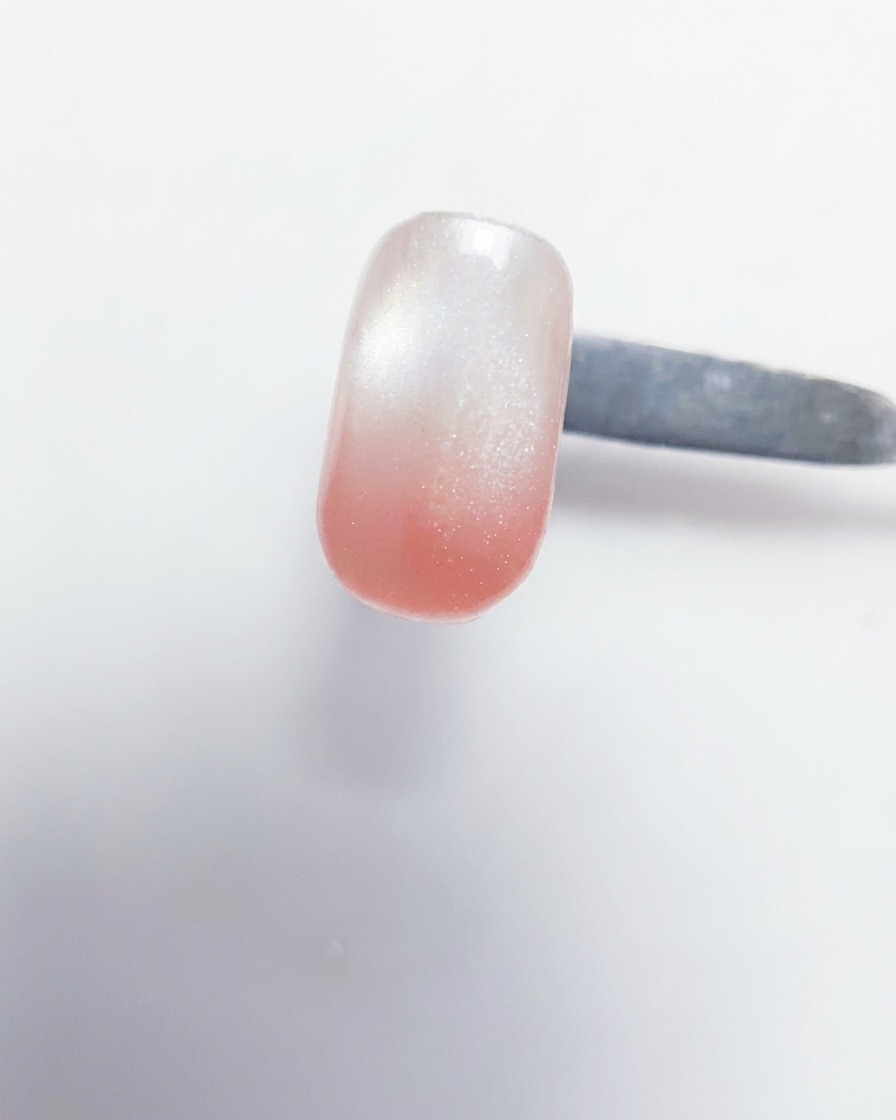
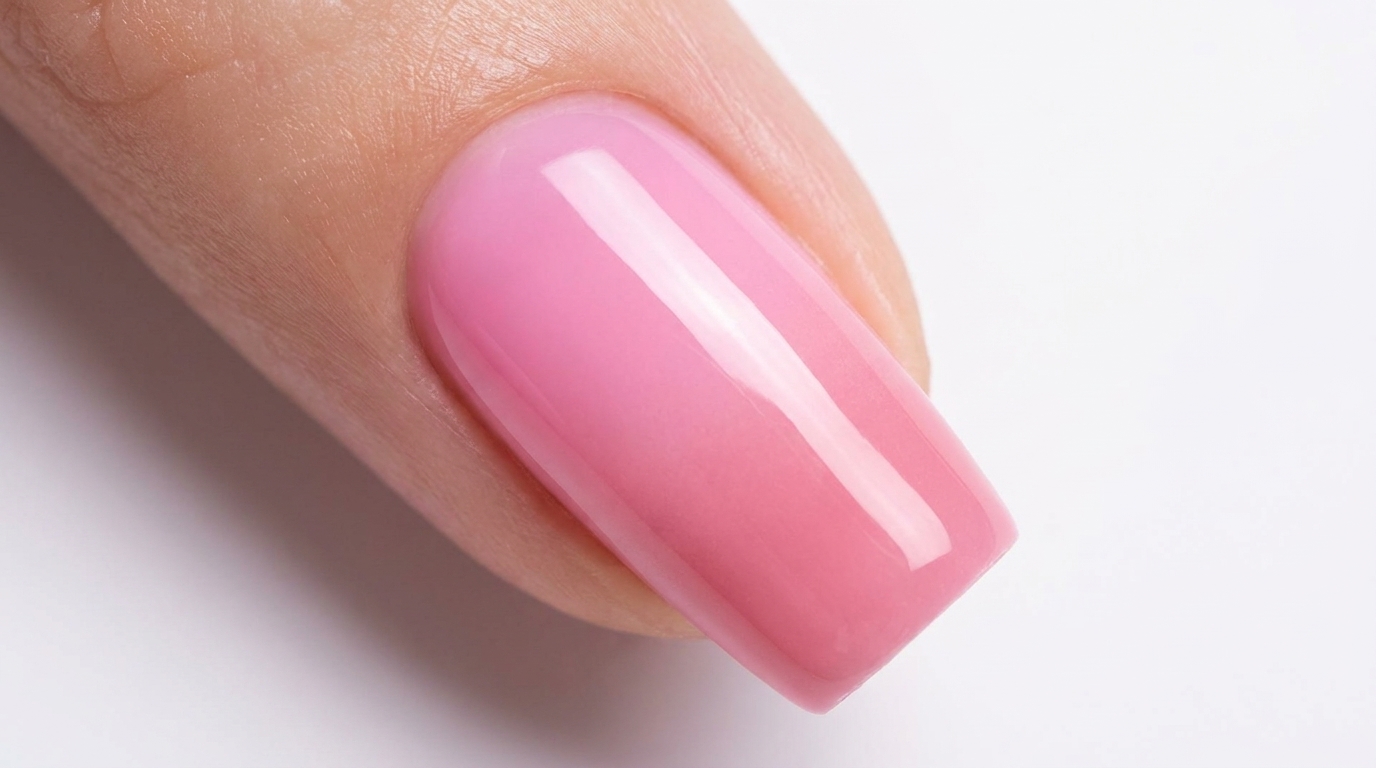
Using a flat gel brush, carefully apply a layer of peach-pink gel to the free edge of the nail. The nail should already have a base of milky white gel. Ensure the application is smooth to prepare for the gradient effect.
Tip: Work with a light touch to keep the product layer thin and easy to blend. - 2Blend the gradient
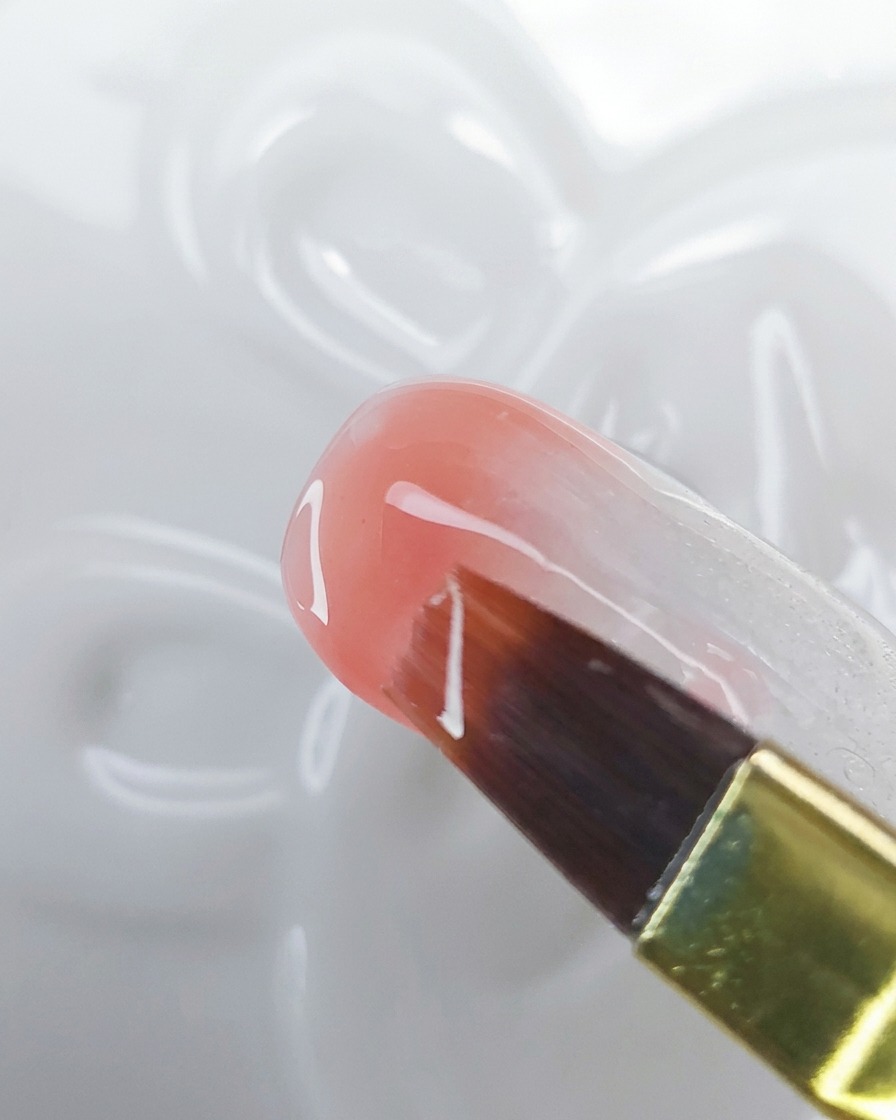
With the flat brush, gently pull the peach-pink gel upwards toward the center of the nail. This action creates a seamless transition between the white base and the pink tip, forming the ombre effect.
Tip: Use a feathering motion with the brush to soften the line between the two colors. - 3Perfect and cure the ombre blend
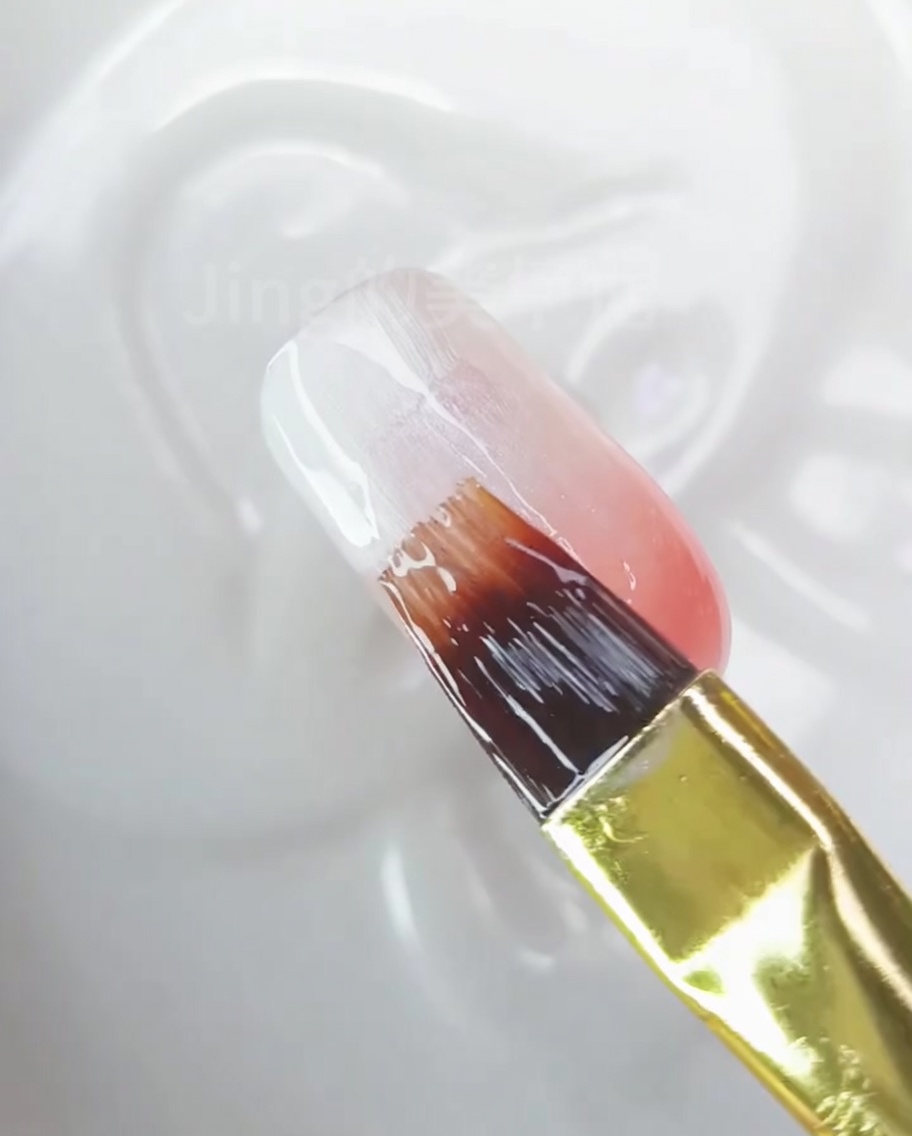
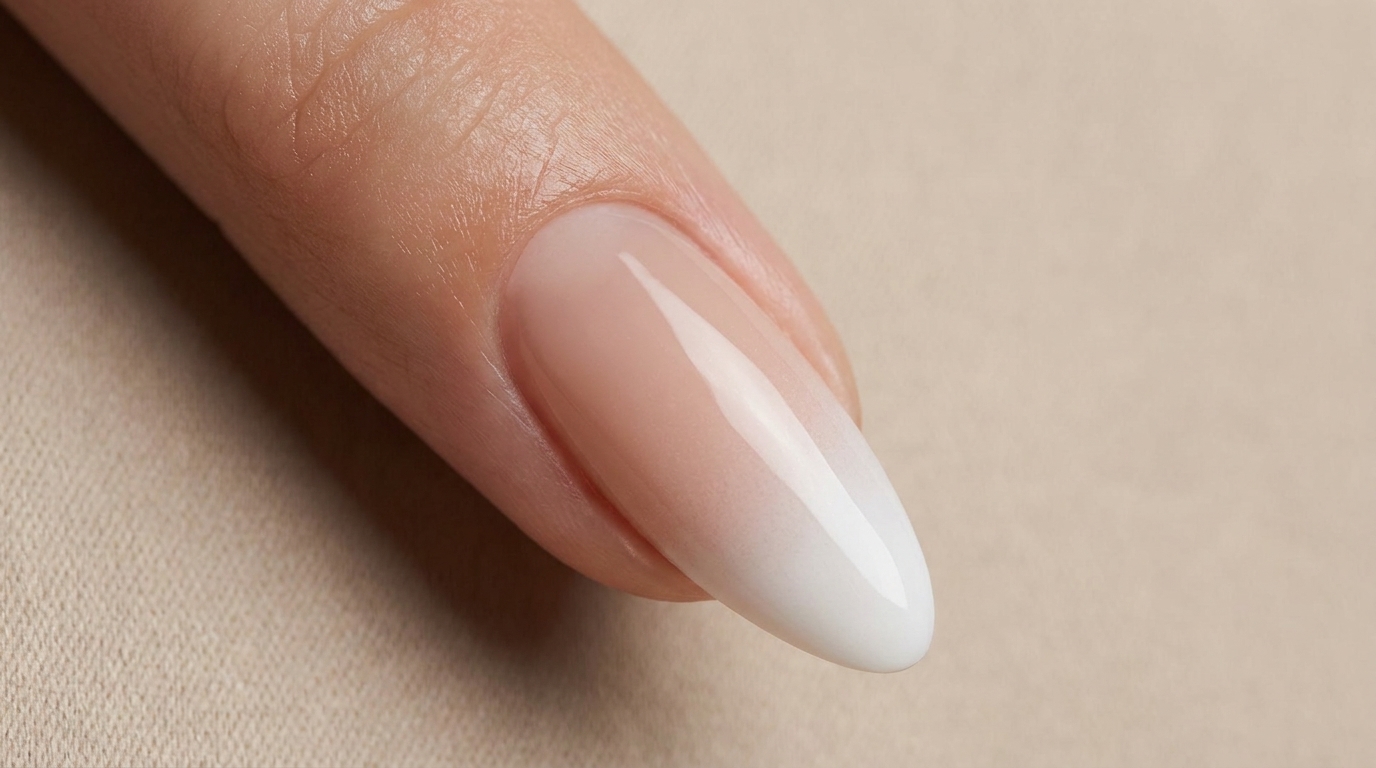
Ensure the gradient is fully blended, showing a smooth, seamless transition from the milky white at the cuticle area to the peach-pink at the tip. Verify there are no harsh lines remaining, then fully cure the nail under your LED/UV lamp.
Tip: If any patches remain, lightly tap the brush over the transition area to smooth it out further. - 4Apply no-wipe top coat
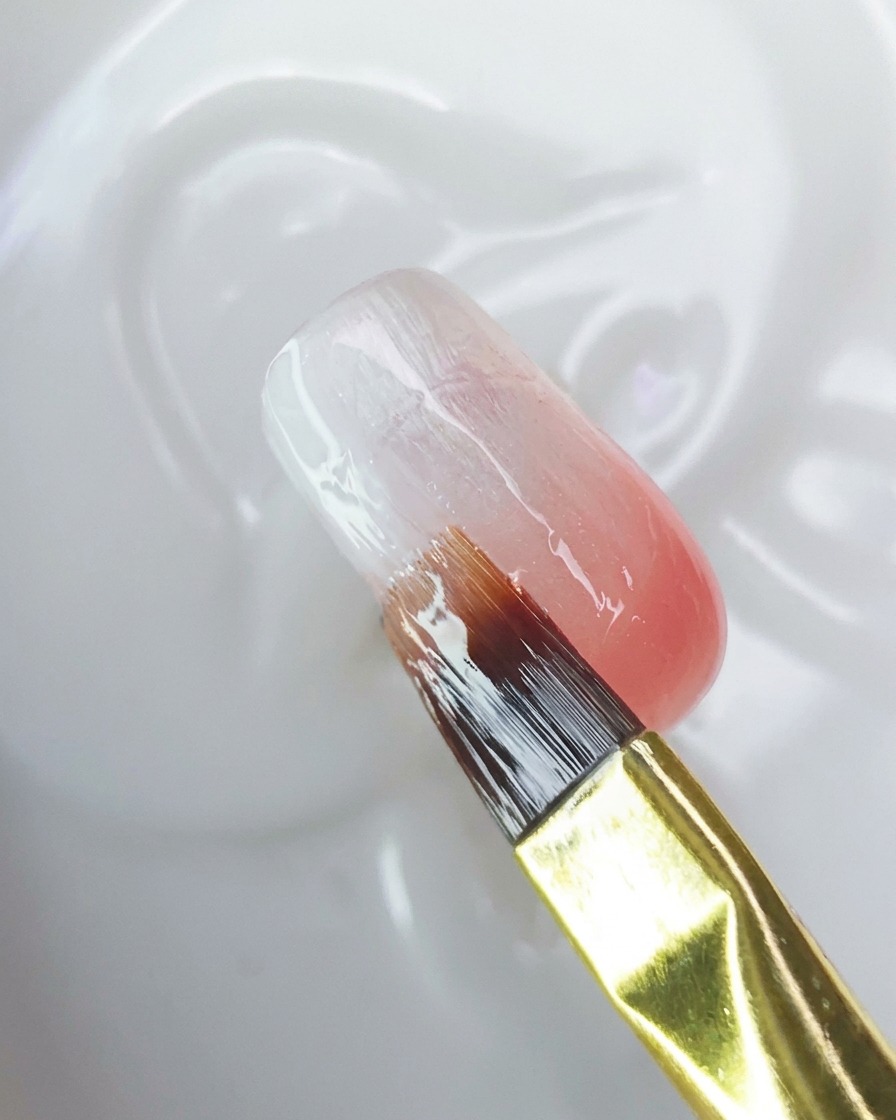
Apply an even layer of clear no-wipe top coat over the entire nail surface. This step is crucial for providing a smooth, tacky-free base for the aurora chrome powder application.
Tip: Ensure full coverage and smooth leveling for the best chrome finish. - 5Apply aurora chrome powder
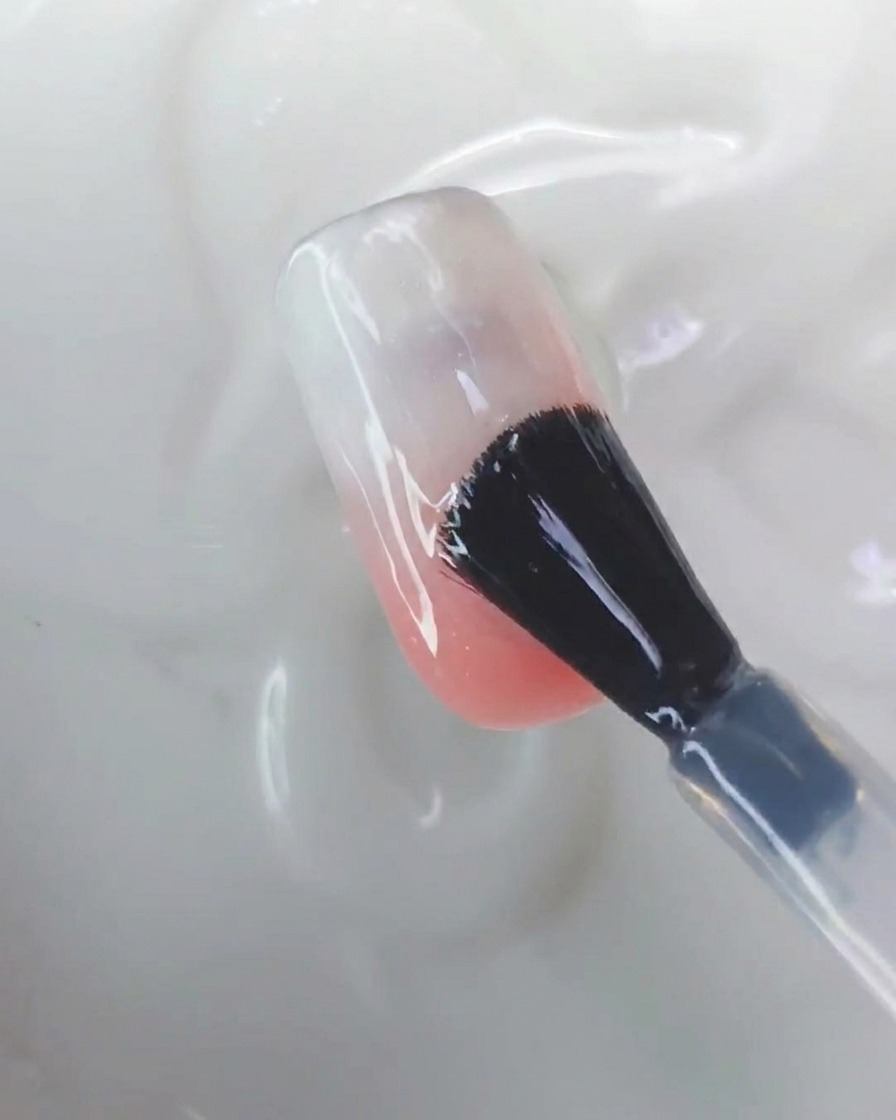
Using a silicone applicator tool, gently rub the iridescent aurora chrome powder onto the cured top coat. Work the powder into the surface until you achieve a consistent, shiny, reflective finish.
Tip: Apply the powder while the surface is slightly warm after curing for easier application. To protect the delicate chrome finish, you can add a thin layer of clear base gel over the powder before applying the magnetic gel. - 6Apply magnetic cat-eye gel
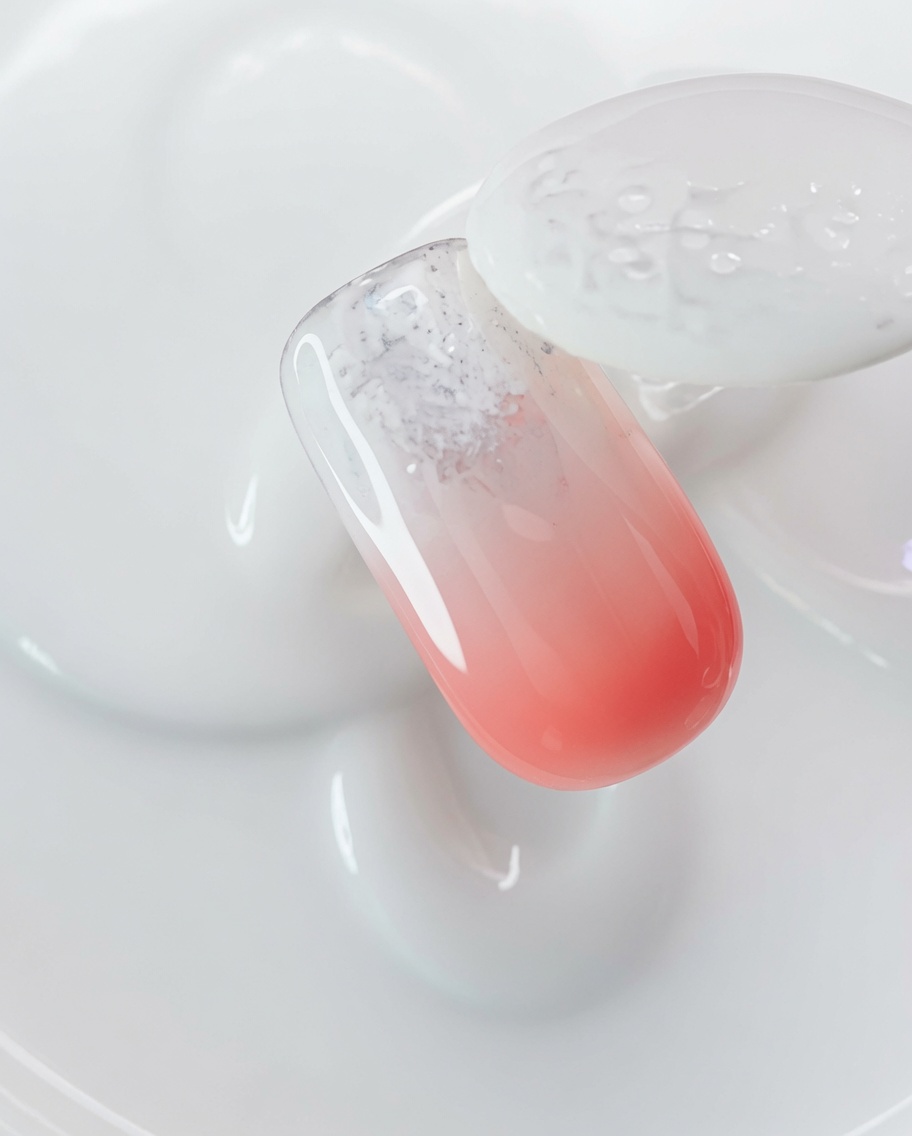
Apply a layer of clear magnetic cat-eye gel over the burnished aurora powder. This layer will provide the base for creating the cat-eye magnetic effect in the next step.
Tip: Apply an even layer to ensure the magnetic particles have enough product to move through. - 7Create the cat-eye effect
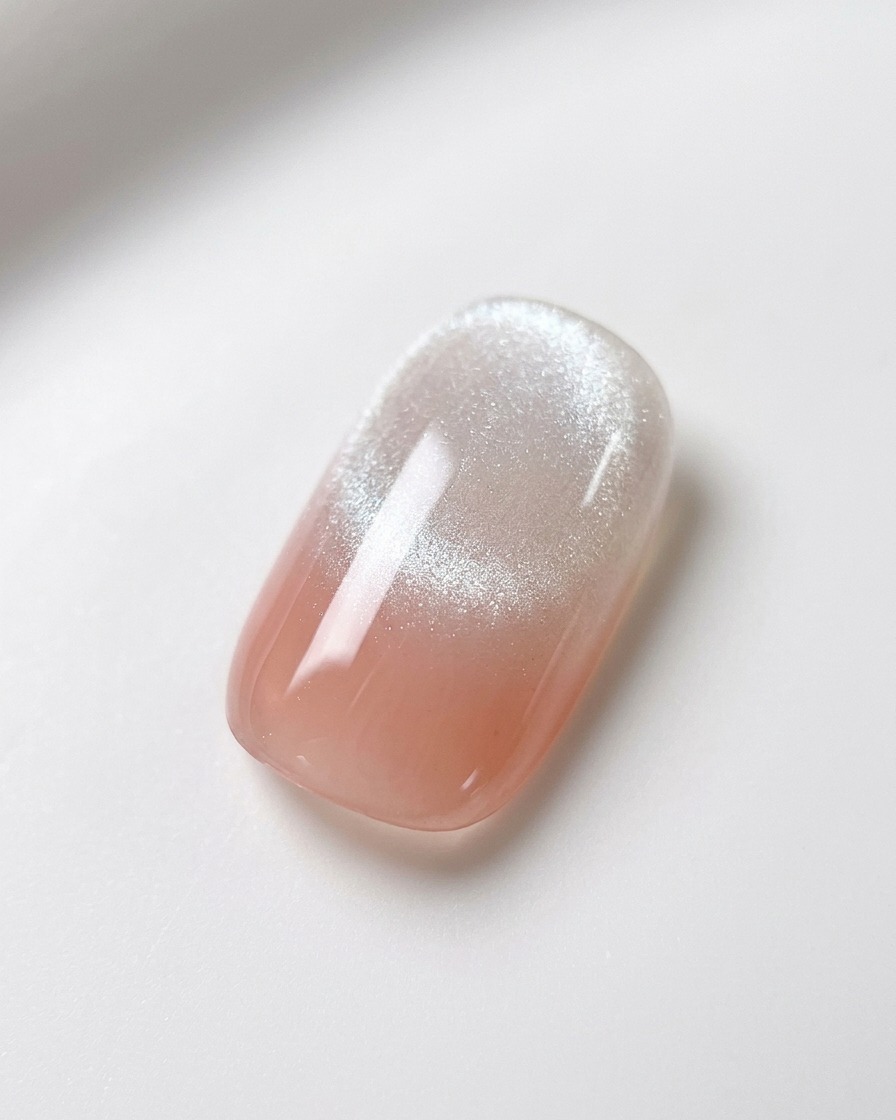
Before curing the magnetic gel, hover your magnet closely over the center of the nail for a few seconds to attract the metallic particles. The magnetic pigment will shift to form a concentrated, luminous streak across the gradient background. Once the desired cat-eye effect is achieved, cure the nail under your UV/LED lamp to lock the particles in place.
Tip: For the crispest cat-eye line, ensure the magnet is close to the nail surface without actually touching the wet gel.