Seamless Nude-to-White Gel Ombré — Professional Step-by-Step Tutorial
Achieve a flawless, professional-grade gradient with this simple patting sponge technique. Master the seamless transition from nude to crisp white.
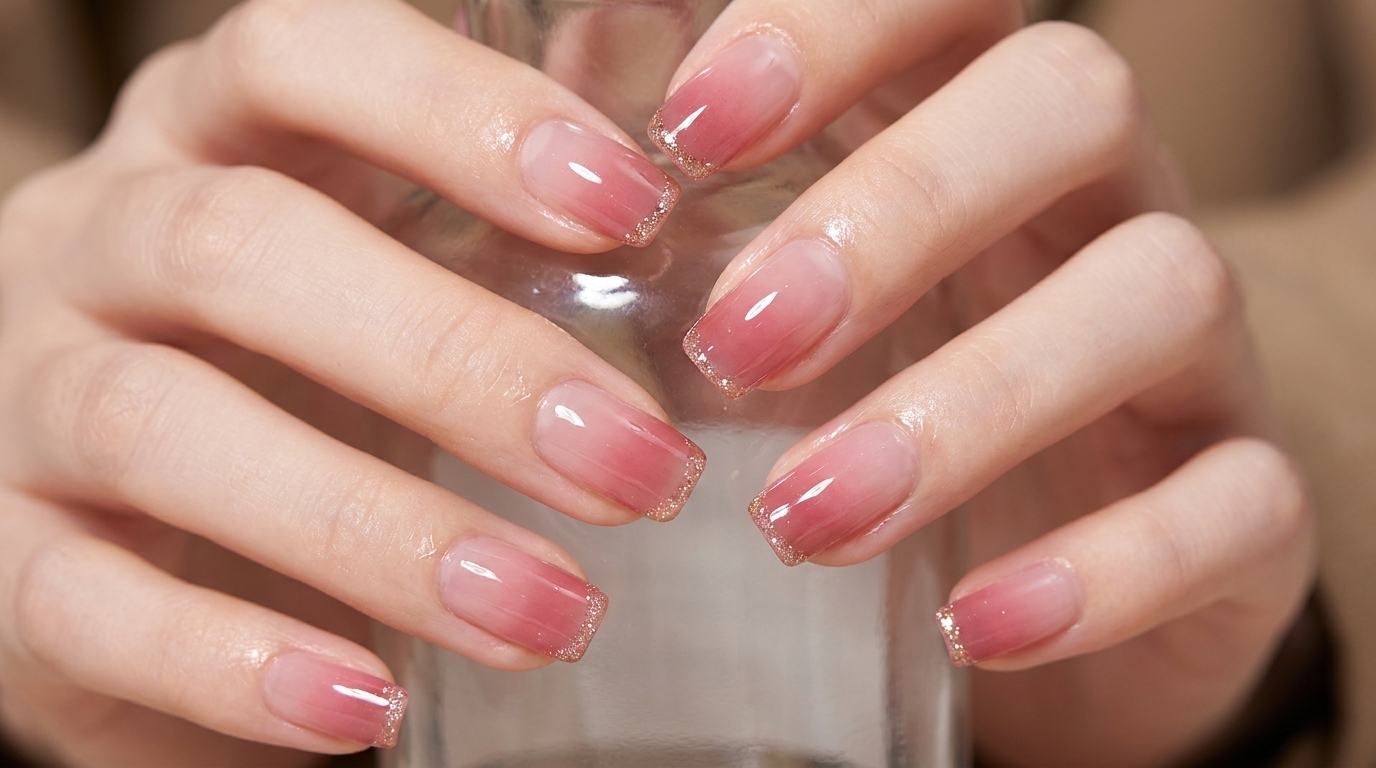
The nude-to-white ombré is a timeless, sophisticated look that perfectly balances natural elegance with a clean, modern aesthetic. Achieving that signature seamless transition doesnt require complex tools; by using a patting technique with a clean sponge and proper surface preparation, you can create a smooth gradient that looks salon-fresh every time.
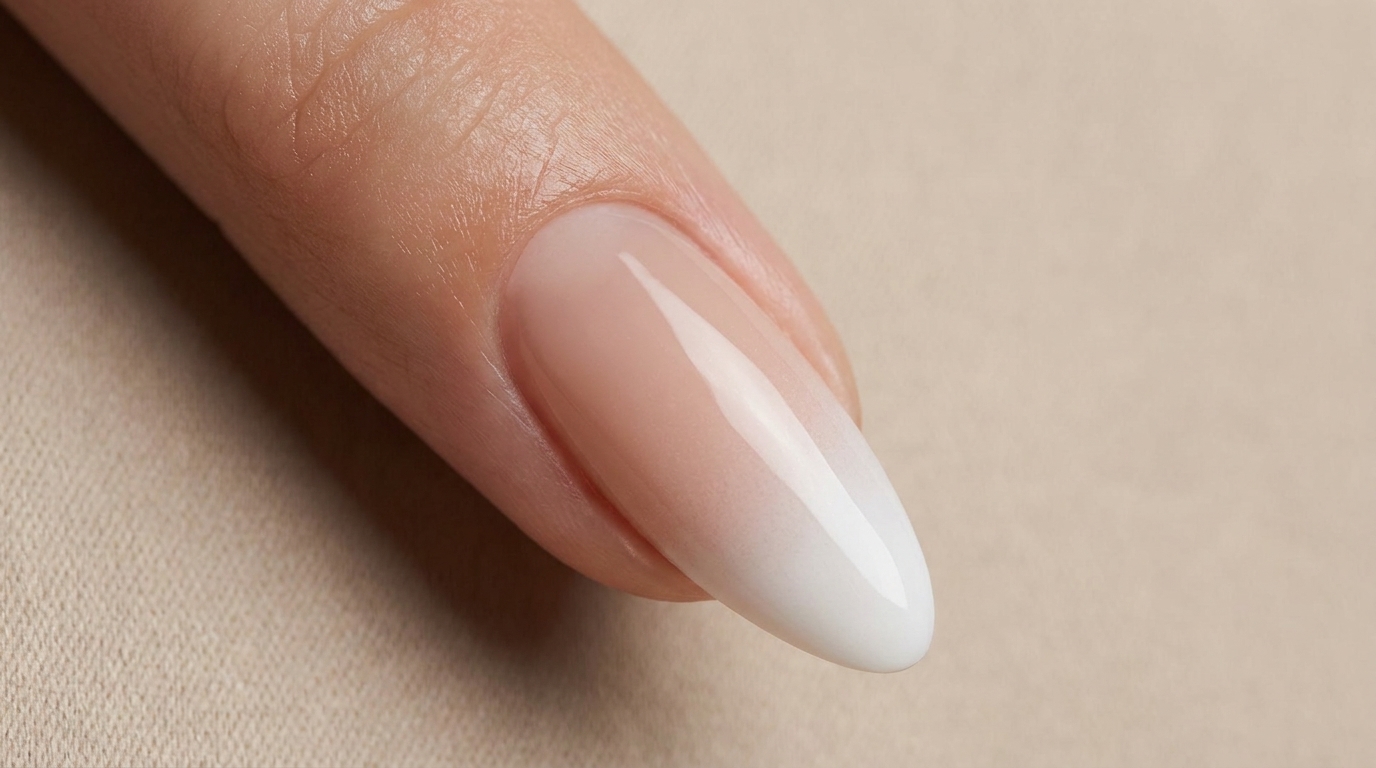
Steps
- 1Clean and prep the nail surface
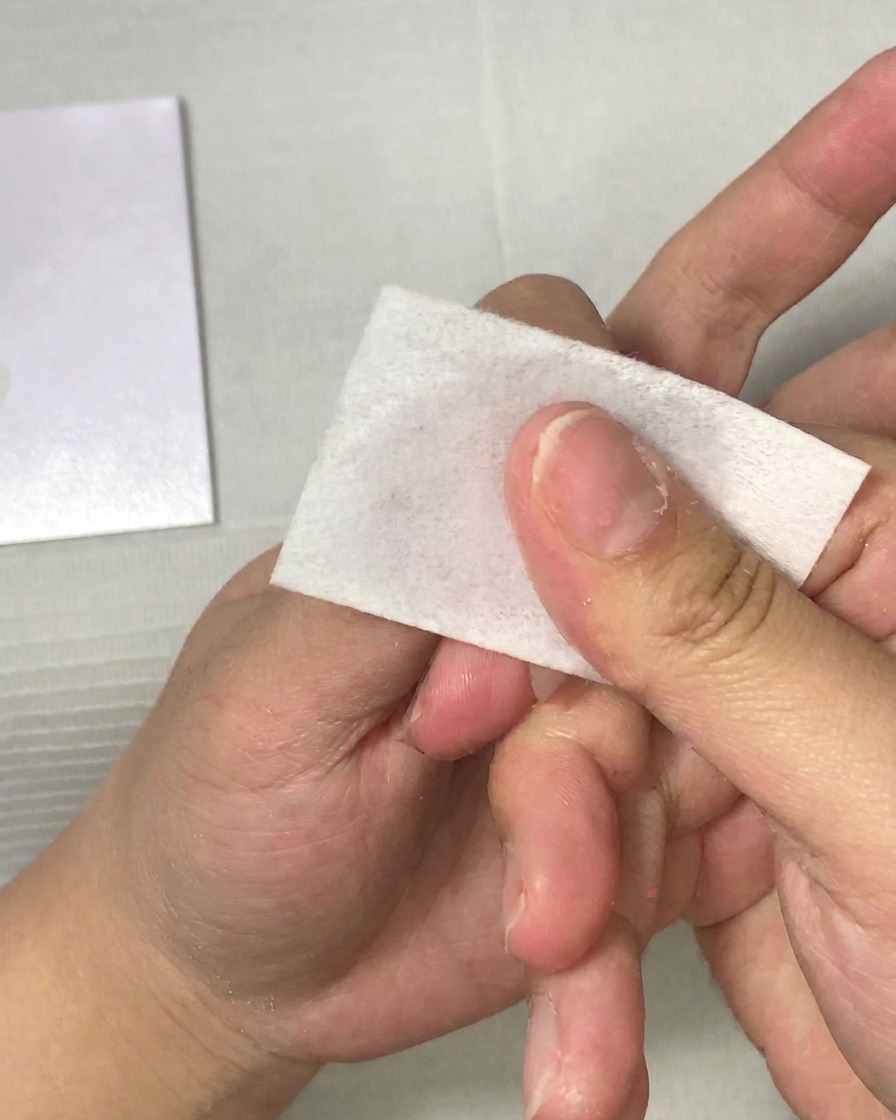
Thoroughly clean the nail surface with a lint-free wipe saturated with cleanser. Removing all floating dust and debris is essential for achieving a perfectly smooth foundation and ensuring long-lasting gel adhesion.
Tip: A clean surface is crucial for proper gel adhesion and preventing bubbles in your finish. - 2Clean the patting sponge
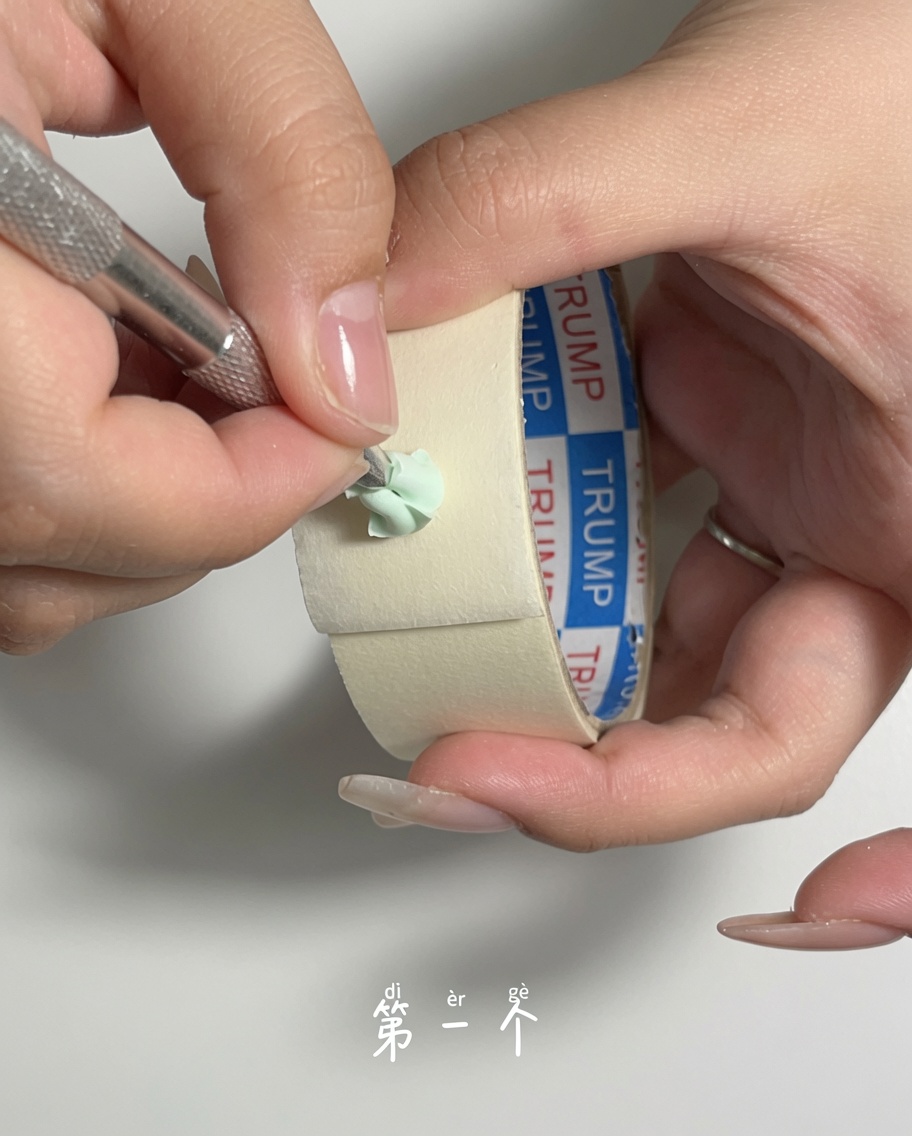
Before starting the gradient, ensure your patting sponge is clean. Use a metal pusher to carefully lift and remove any lingering dust or debris from the surface of the sponge block.
Tip: Keep your tools clean throughout the process to avoid transferring dust onto your fresh gel layer. - 3Remove fine debris with tape
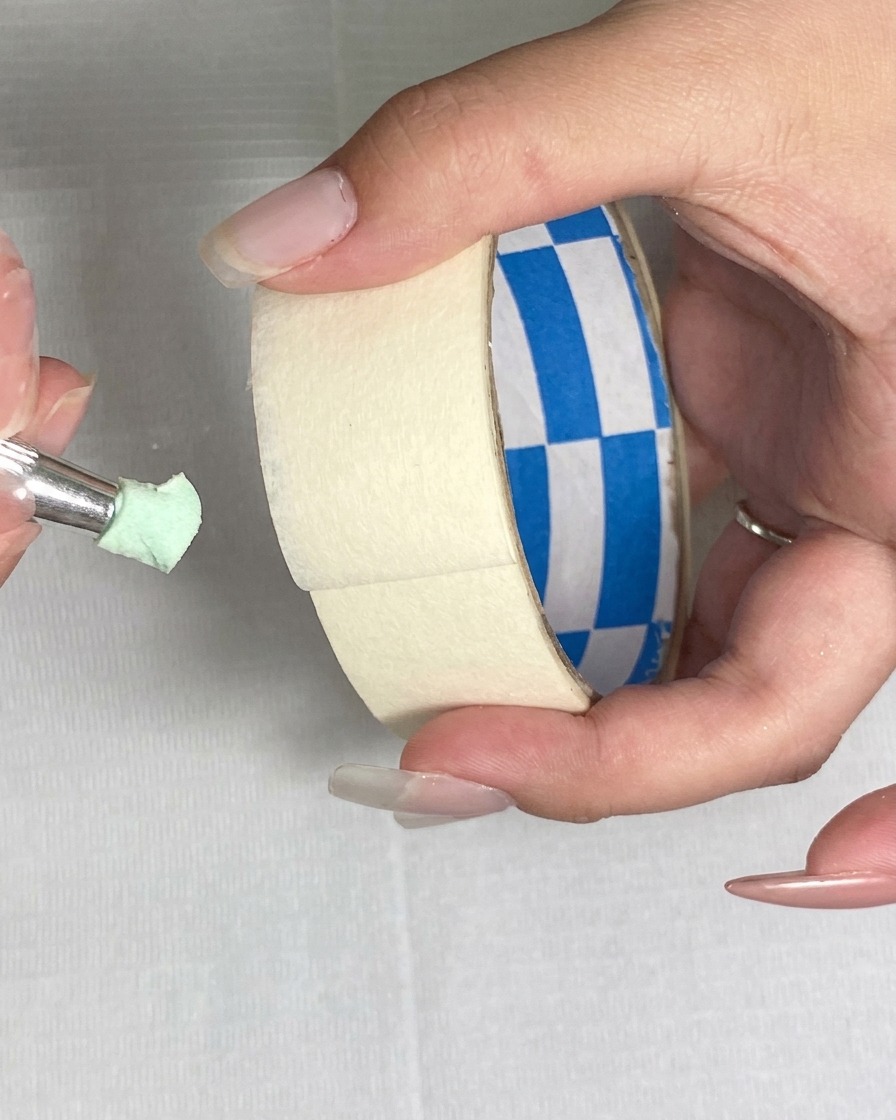
After using a tool to lift debris, use a piece of adhesive tape to pick up any remaining fine dust or lint from the patting sponge surface. This ensures a perfectly clean applicator for your gel.
Tip: Press the tape firmly but gently onto the sponge surface to capture all loose particles. - 4Apply and cure base gel color
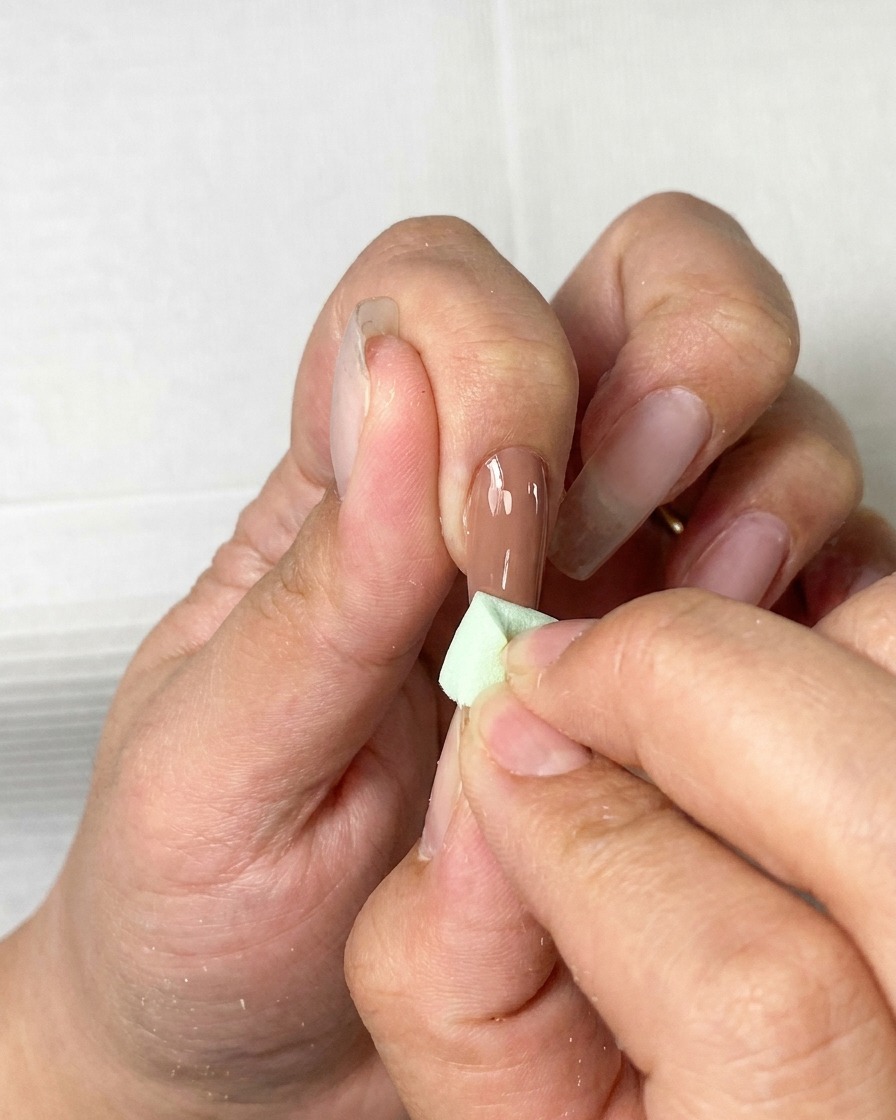
Apply a thin, even coat of your chosen base color to the entire nail. Using a thin layer prevents the gel from pooling and guarantees a consistent, stable base for your gradient application.
Tip: Working in thin layers prevents the gel from pooling and ensures a smoother cure. - 5Remove the inhibition layer
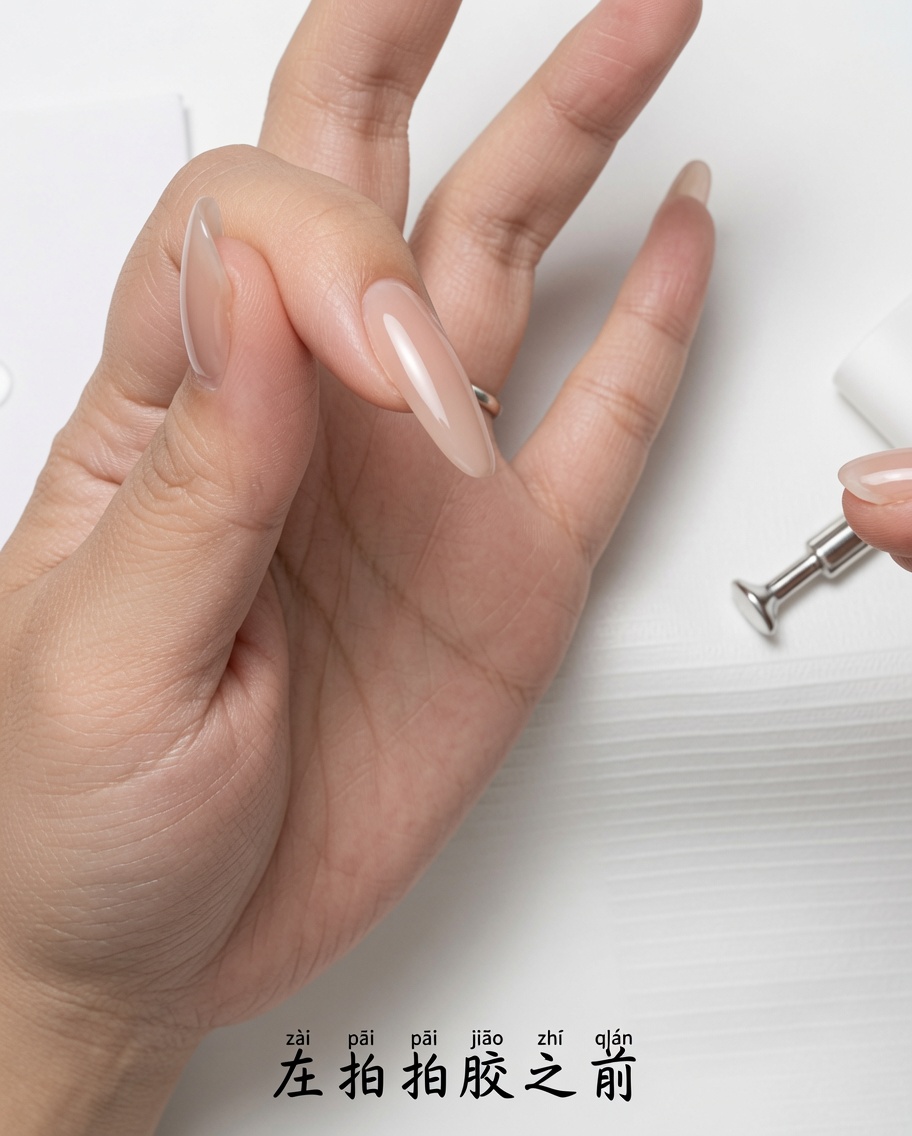
After curing the base color, wipe the surface with a cleansing wipe. Removing the tacky inhibition layer creates a clean, dry surface that allows your gradient colors to blend smoothly without dragging.
Tip: Check that the surface is completely dry after wiping before you begin patting the gradient. - 6Apply matte top coat base
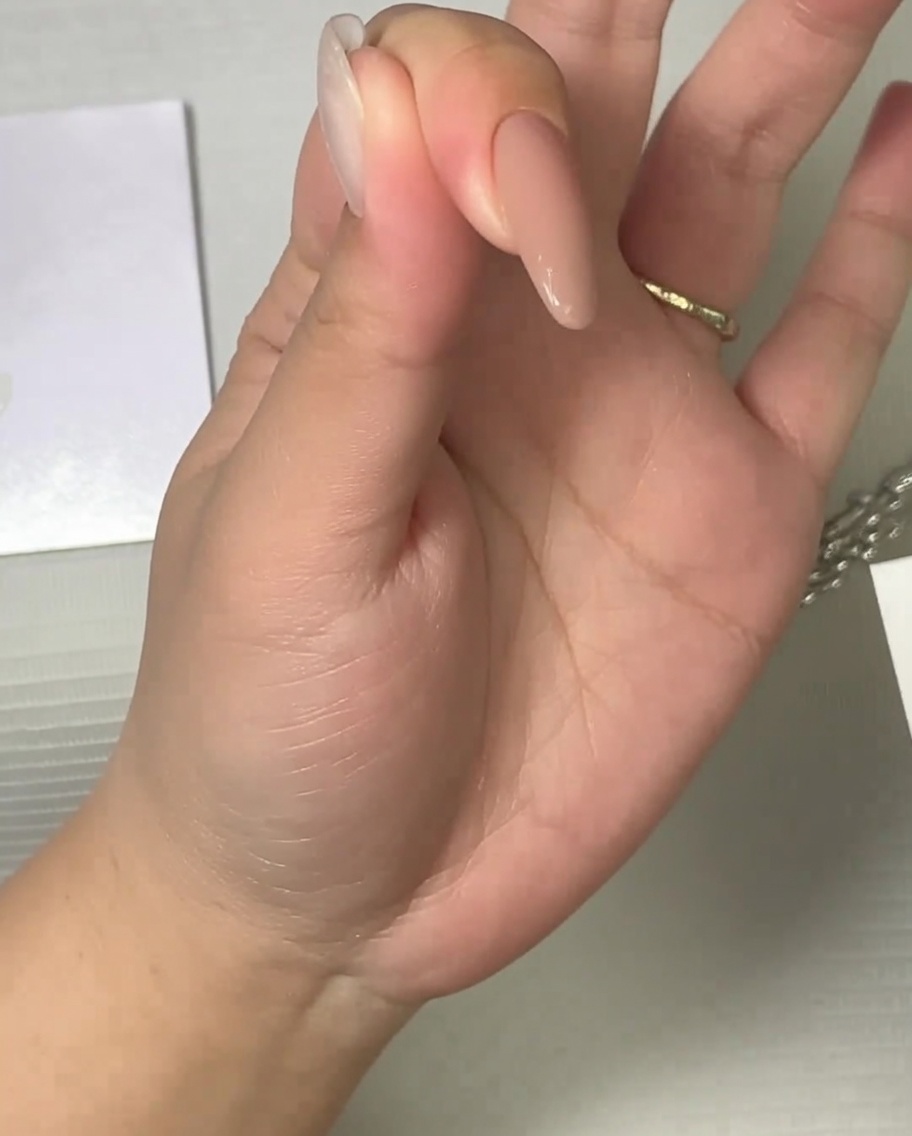
Apply a layer of matte top coat over the base color and cure. This creates a slightly textured, non-slick surface that provides better control and grip for the pigment when you begin the patting process.
Tip: A matte finish provides better control for pigment placement than a slick, glossy surface. - 7Clean the sponge with tape
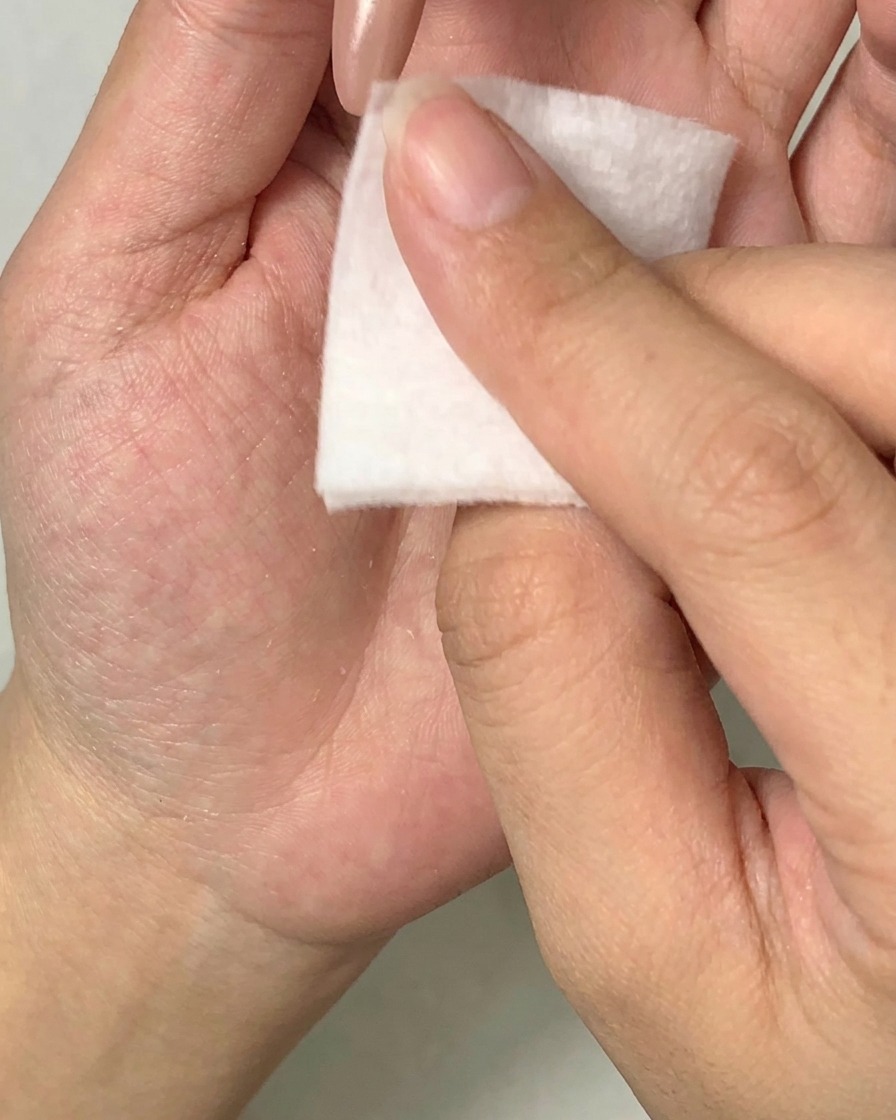
Using a piece of adhesive tape, gently press it against the surface of the makeup sponge to lift and remove any lingering dust or debris. This is a critical step to prevent imperfections from transferring onto the nail surface during the patting process.
Tip: Be thorough with the tape; any microscopic particles left on the sponge will show up as bubbles or texture in your smooth gel gradient. - 8Prepare a clean palette
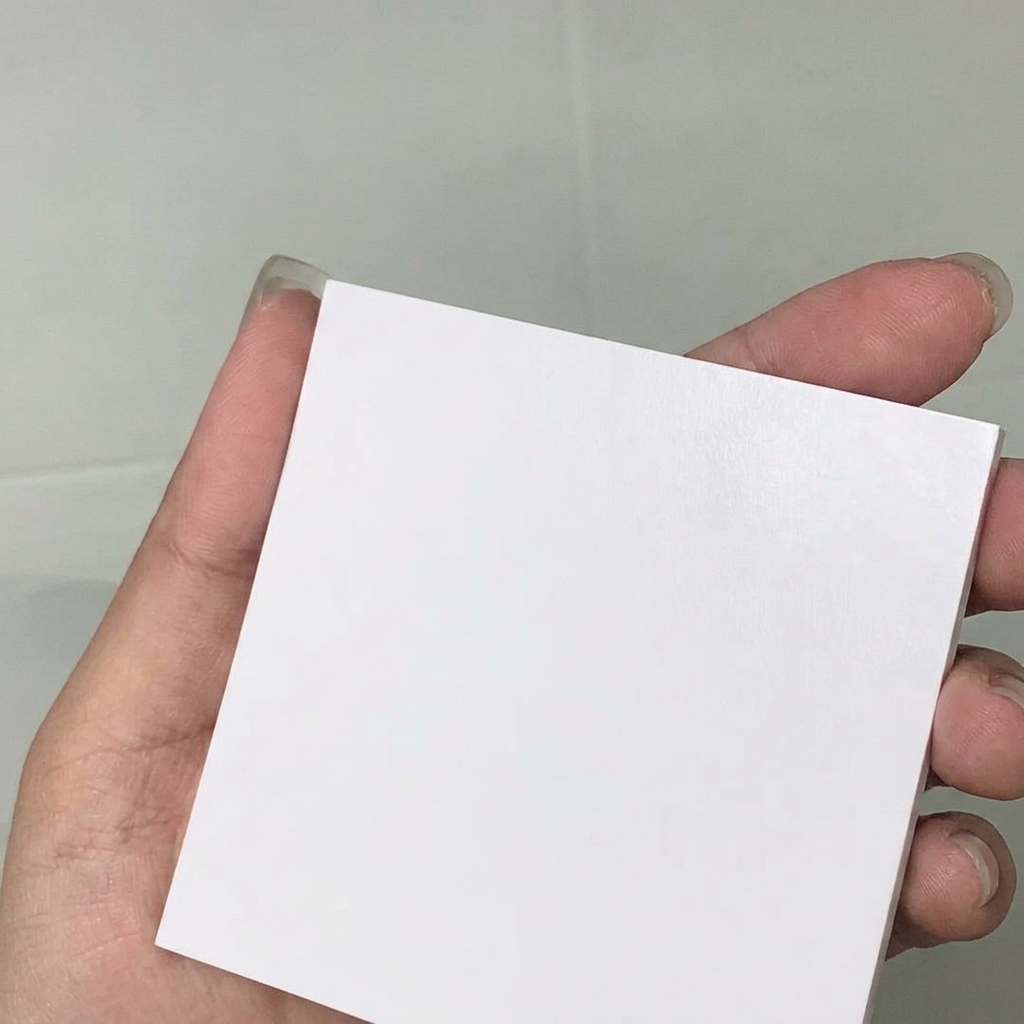
Select a fresh, clean piece of palette paper. Ensure the surface is entirely free of dust, lint, or dried gel remnants. A clean palette is essential for maintaining the purity of your colors as you prepare them for blending.
Tip: If you dont have specialized palette paper, a piece of smooth, non-porous plastic or glass also works well as long as it is sanitized. - 9Load the sponge with gel
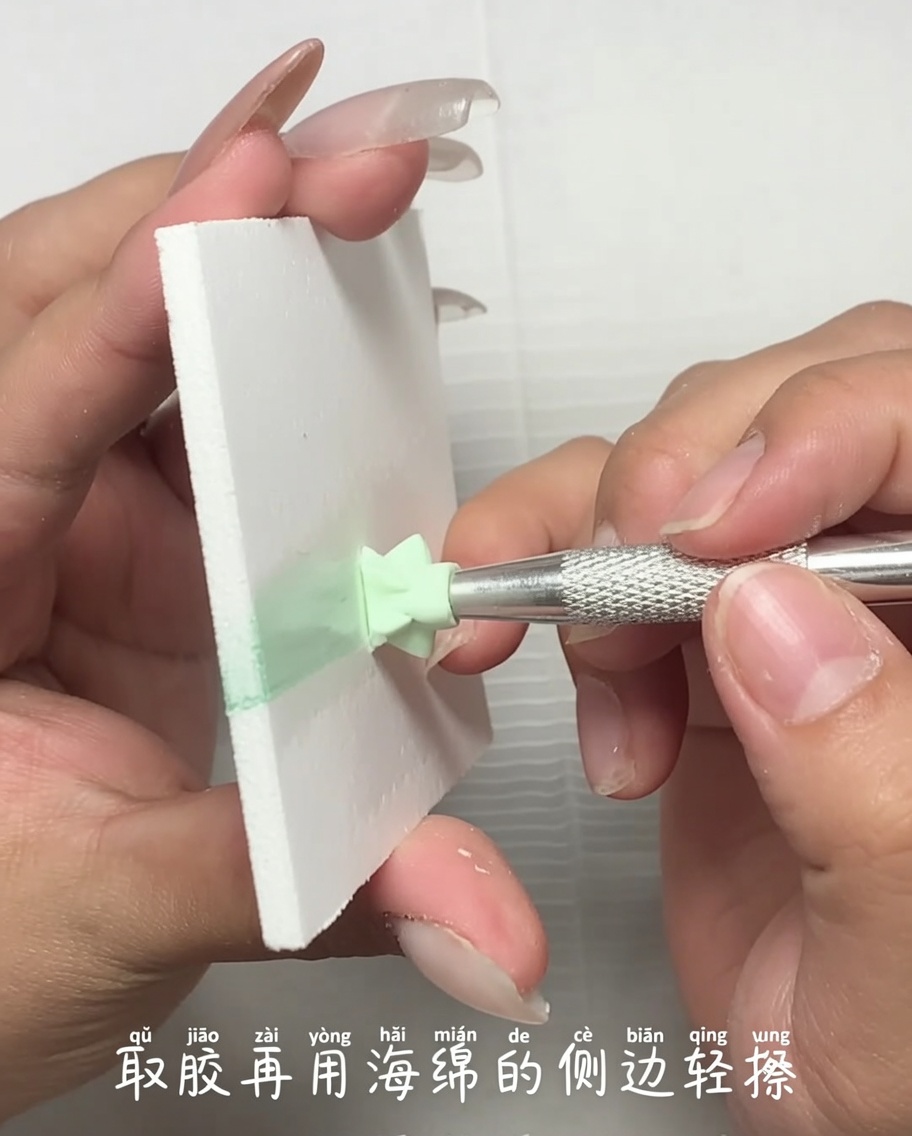
Gently press the side of your makeup sponge into the dollop of gel polish on your palette. Use a light touch to pick up just enough product to cover the surface of the sponge without oversaturating it.
Tip: Less is more when loading the sponge; too much gel will lead to pooling and uneven application on the nail. - 10Blend colors on palette
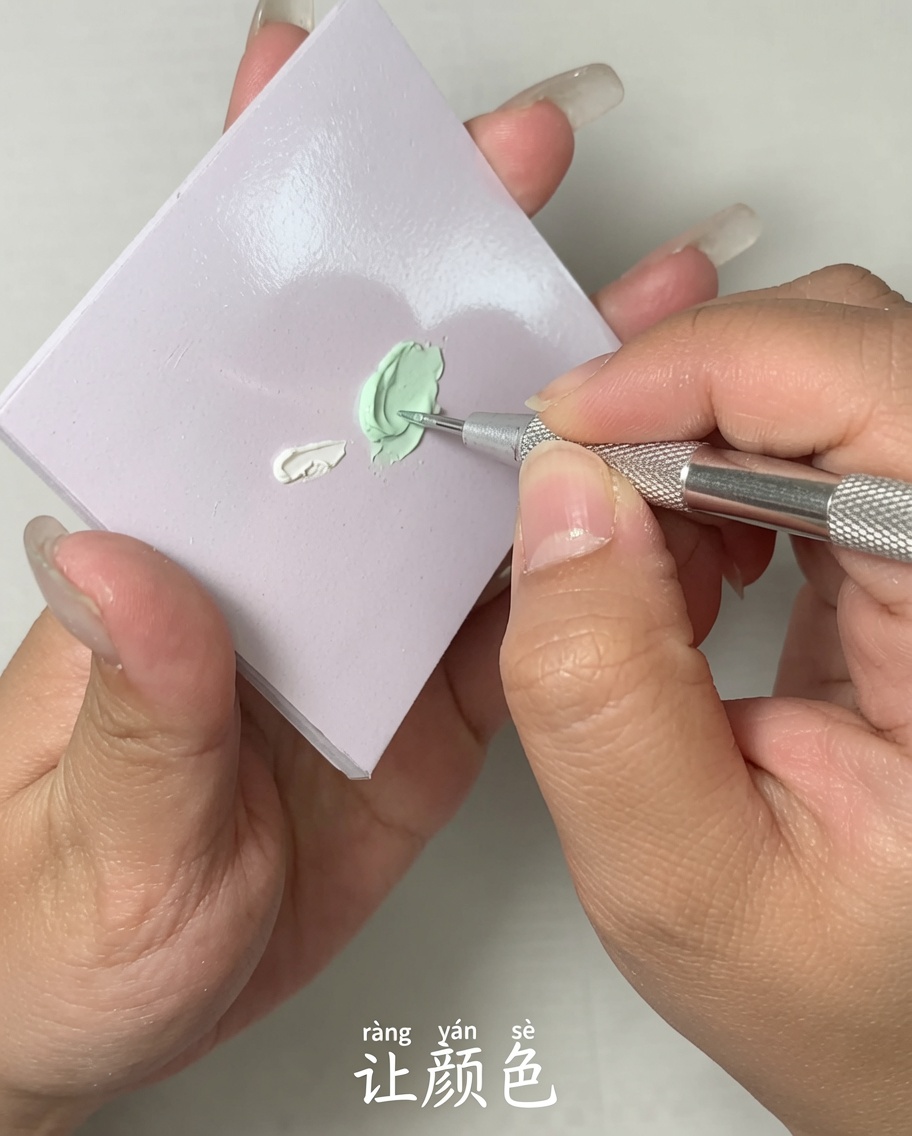
Place small amounts of your gel colors on your palette. Use a metal spatula or dotting tool to pre-blend the colors where they meet. This ensures a smoother transition on the sponge before you touch the nail.
Tip: Work quickly once you begin mixing to prevent the gel from self-leveling too much on the palette before you can apply it.