Gradient Jelly Rose Pink Nails — Easy Step-by-Step Tutorial
Achieve a trendy, translucent jelly gradient look at home with our simple layering technique. Perfect for a soft, glossy, and juicy nail finish.
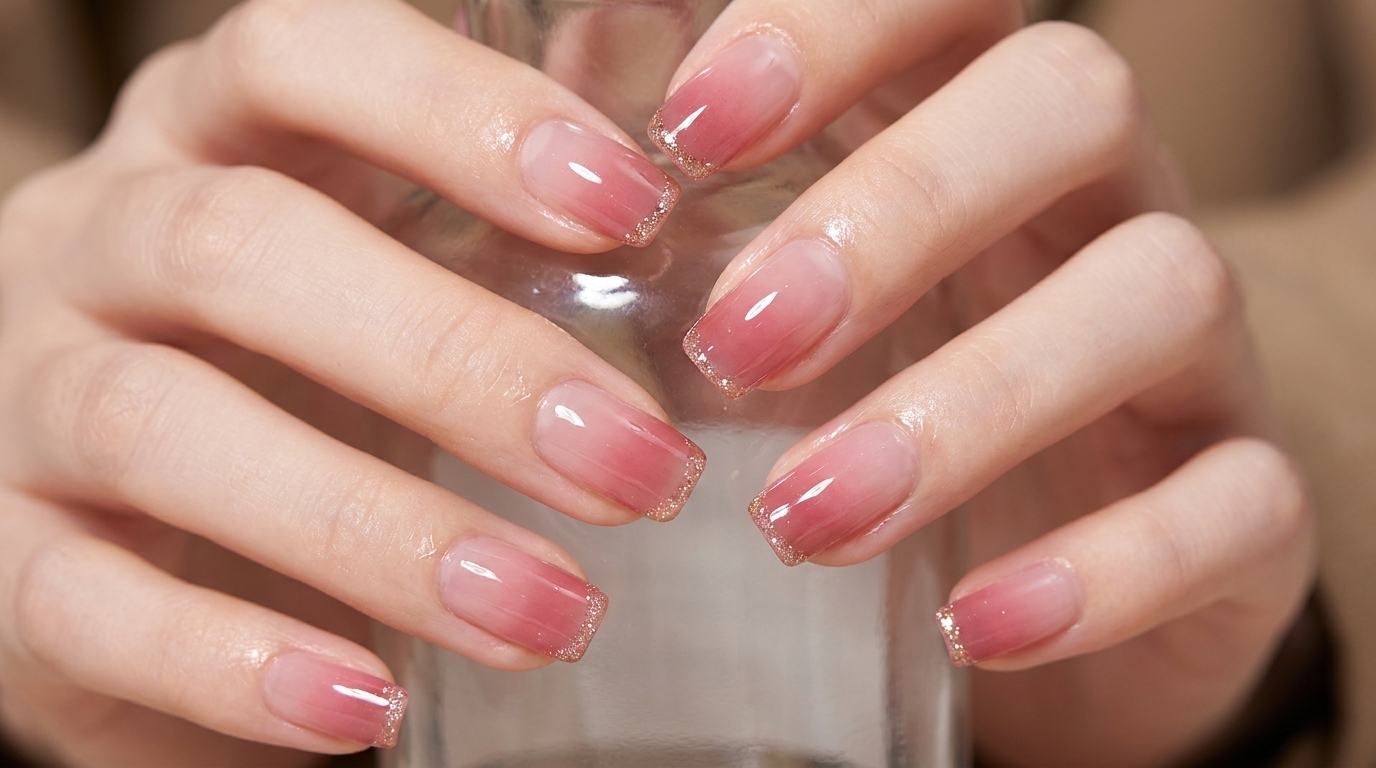
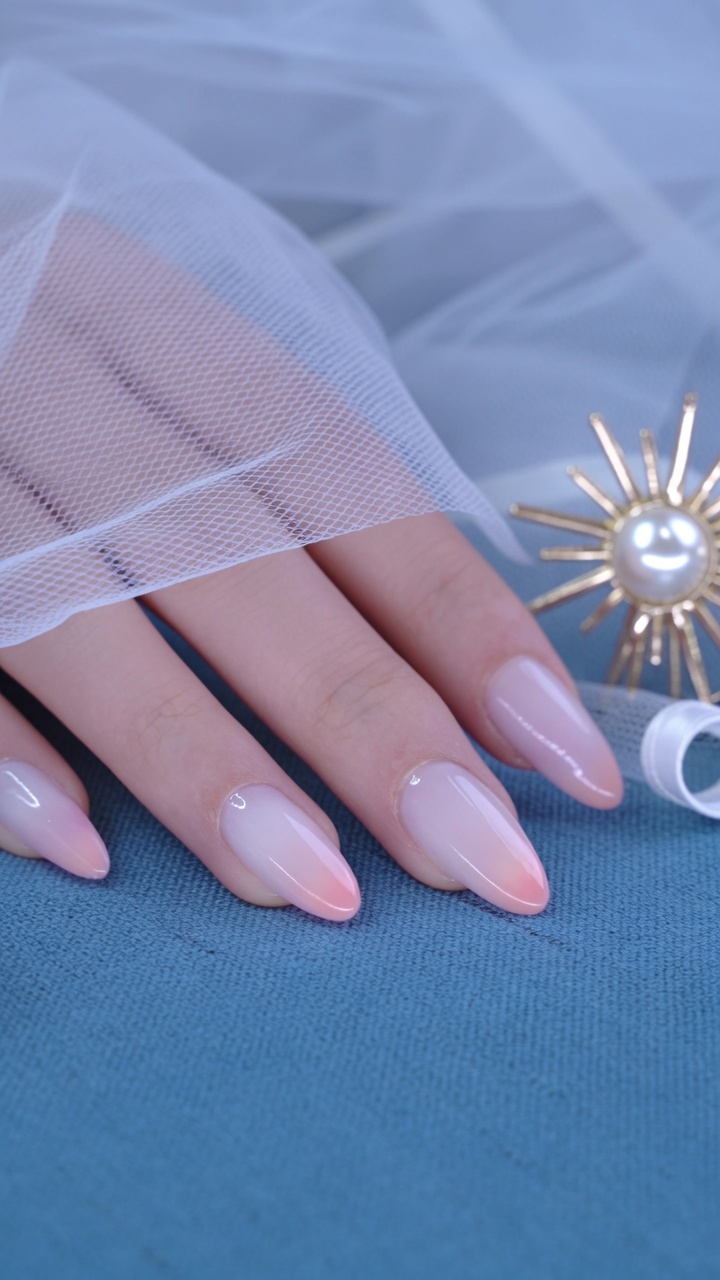
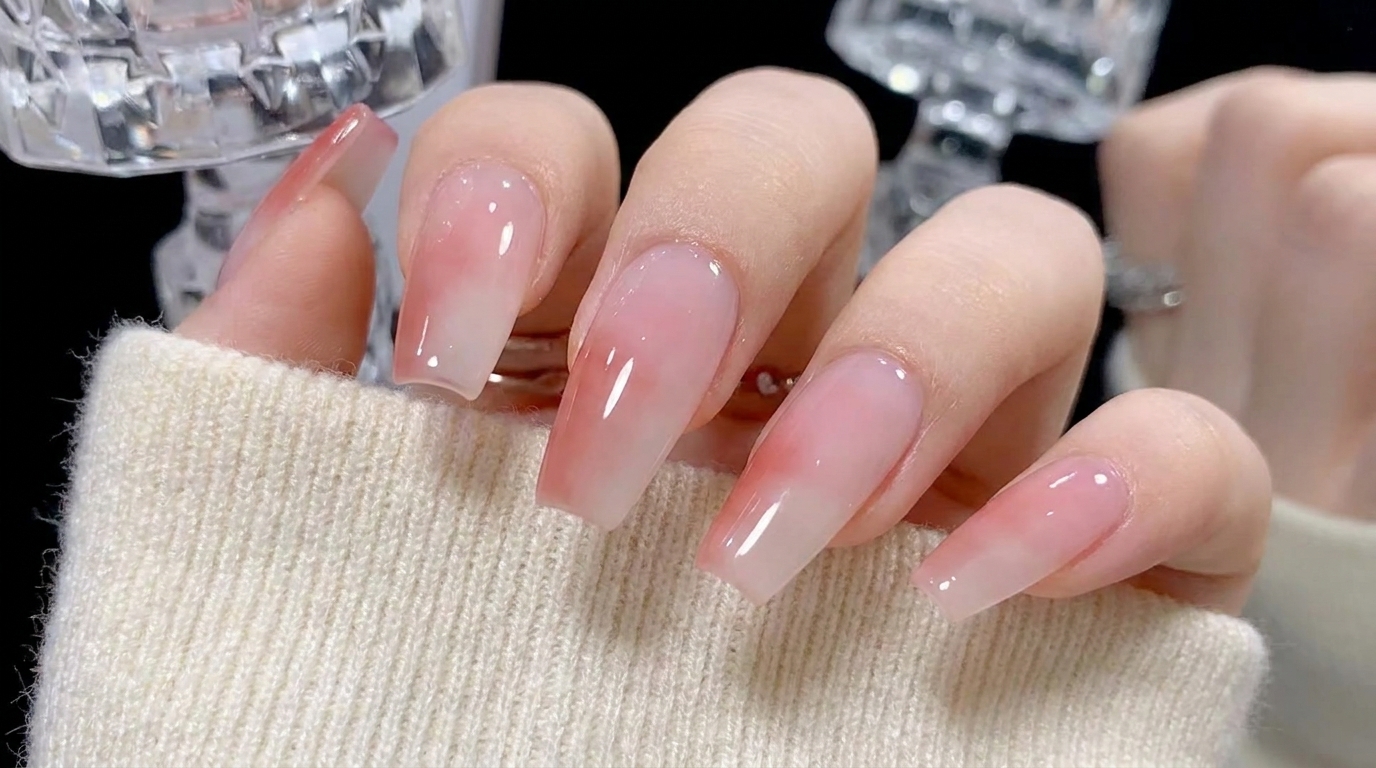
The jelly nail trend continues to captivate with its sheer, glass-like finish that looks incredibly clean and sophisticated. This gradient rose pink variation builds depth through strategic layering, allowing the natural nail to peek through at the cuticle for a soft, ethereal transition. It is an excellent technique for beginners because it relies on the translucency of the polish to do the blending work for you, creating a seamless ombre effect without the need for sponges or complicated tools.
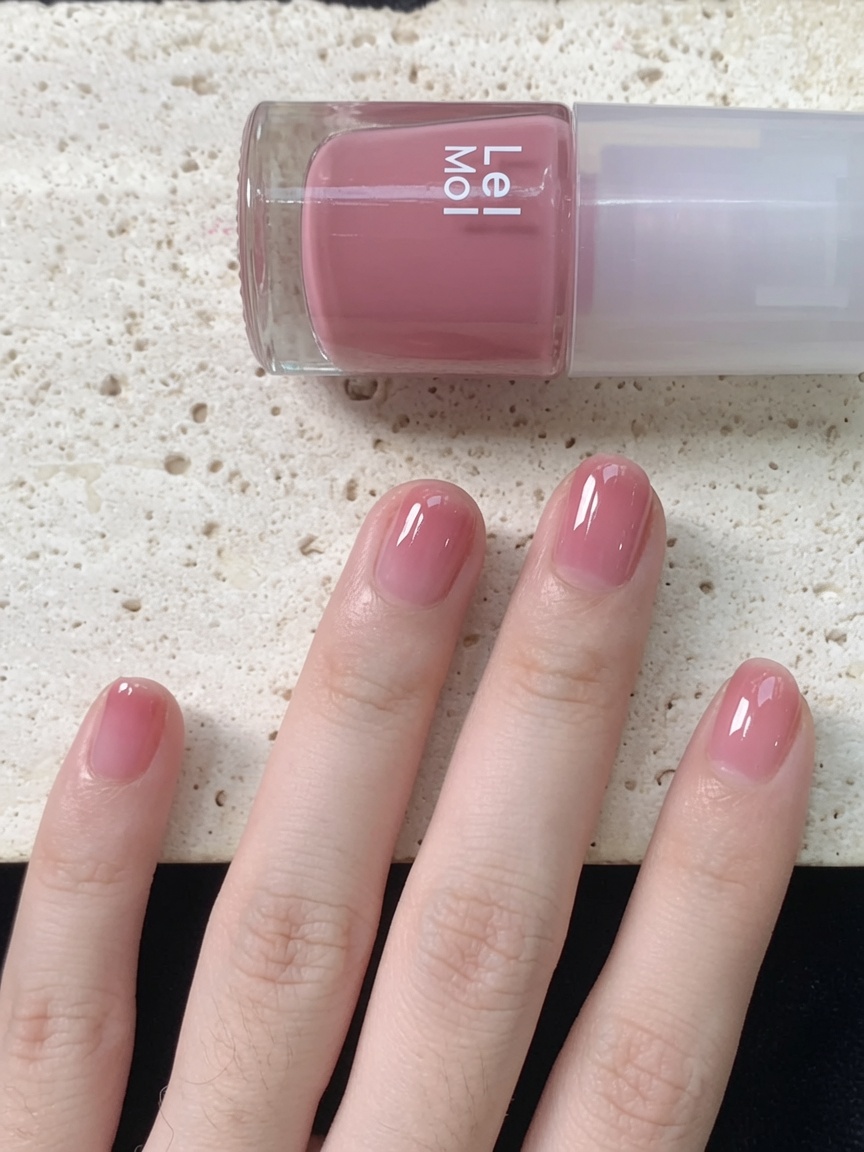
Steps
- 1Apply first layer of pink polish
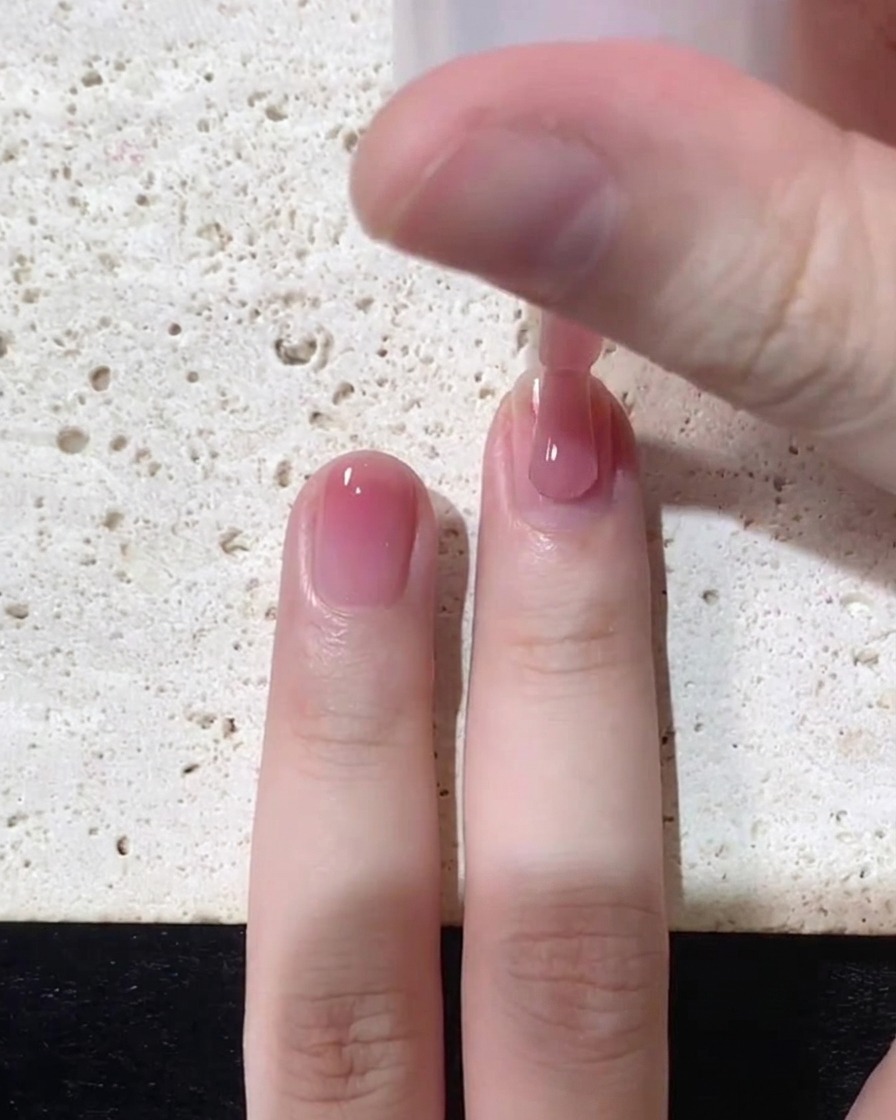
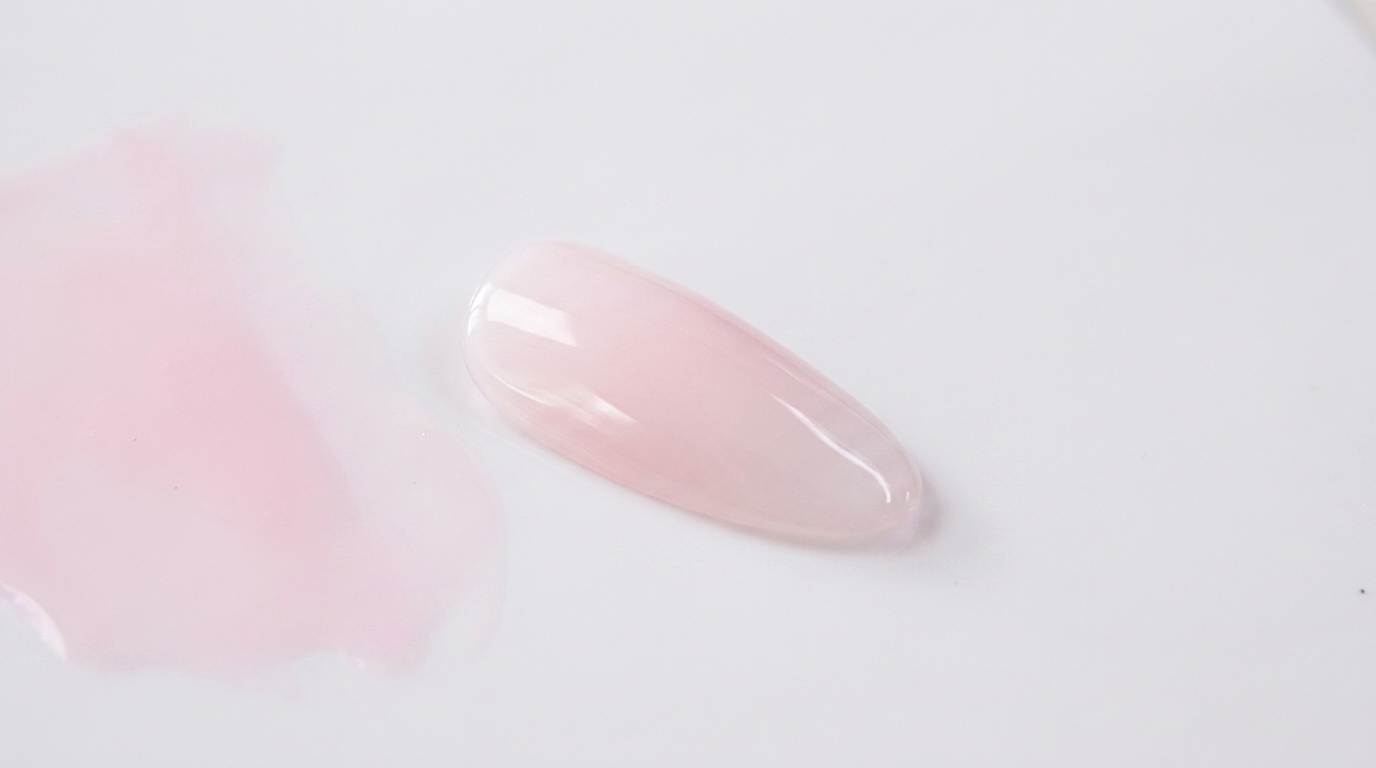
Begin by applying a thin and even layer of sheer pink jelly polish over the entire nail plate. Start near the cuticle area and gently work the polish down towards the free edge.
Tip: Keep this first layer very thin to ensure an even sheer base for your gradient and to prevent the polish from pooling at the cuticles. - 2Apply second layer of pink polish
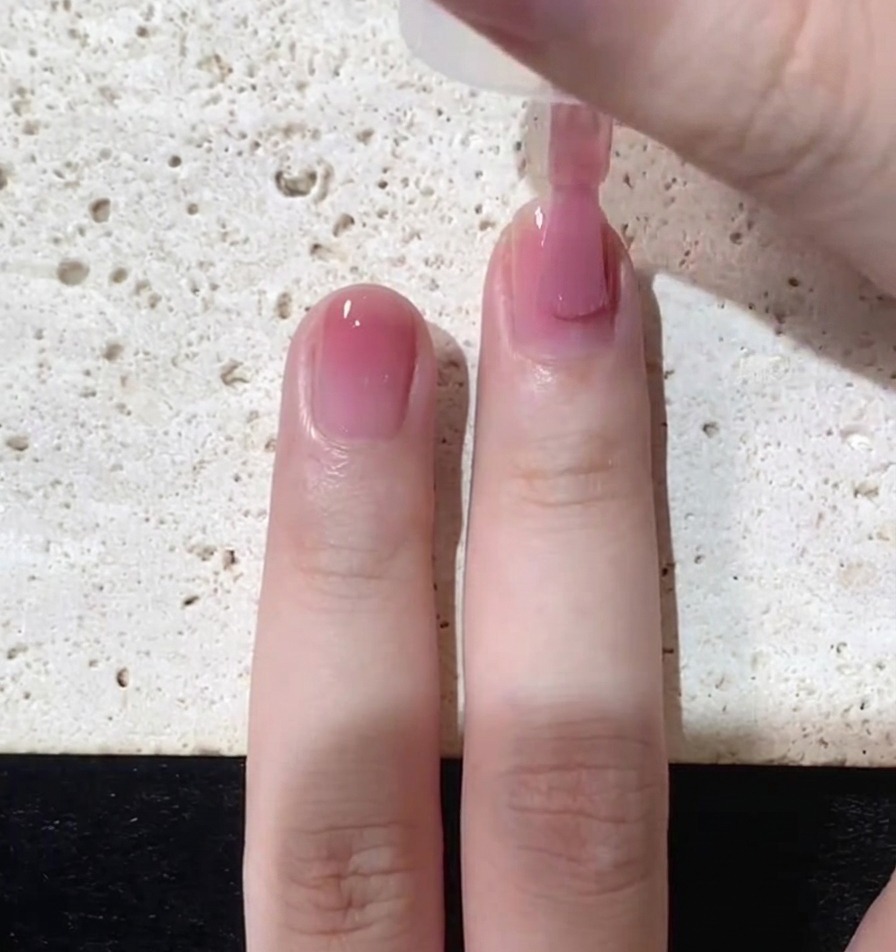
Apply a thin and even layer of your jelly pink polish to the entire nail plate. Start the stroke slightly away from the cuticle, push gently towards it, and then pull the brush smoothly down to the free edge to ensure full and streak free coverage.
Tip: Keep the layer thin to prevent pooling at the cuticles or sidewalls which helps create a cleaner look for the gradient. - 3Refine the first coat
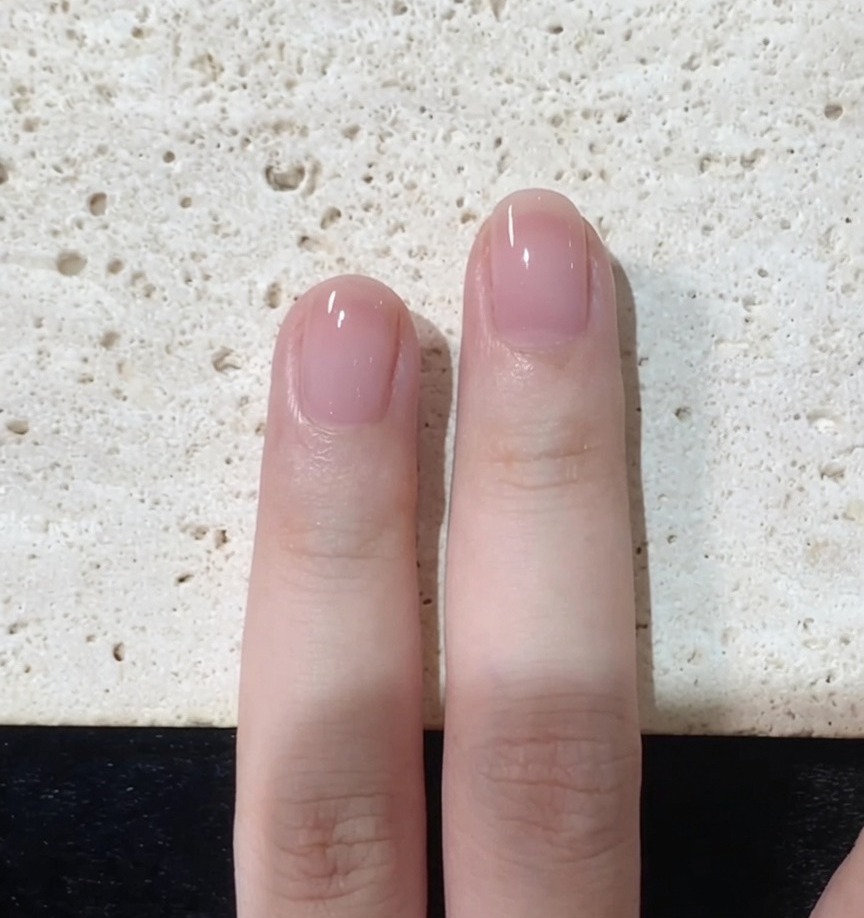
Before curing, use the brush to lightly touch up the tip and sides of the nail. Ensure the polish is evenly distributed and that you have capped the free edge to seal the color and prevent premature chipping.
Tip: A quick check of the sides ensures no polish has flooded the skin, making for a much neater final result. - 4Apply second gradient layer
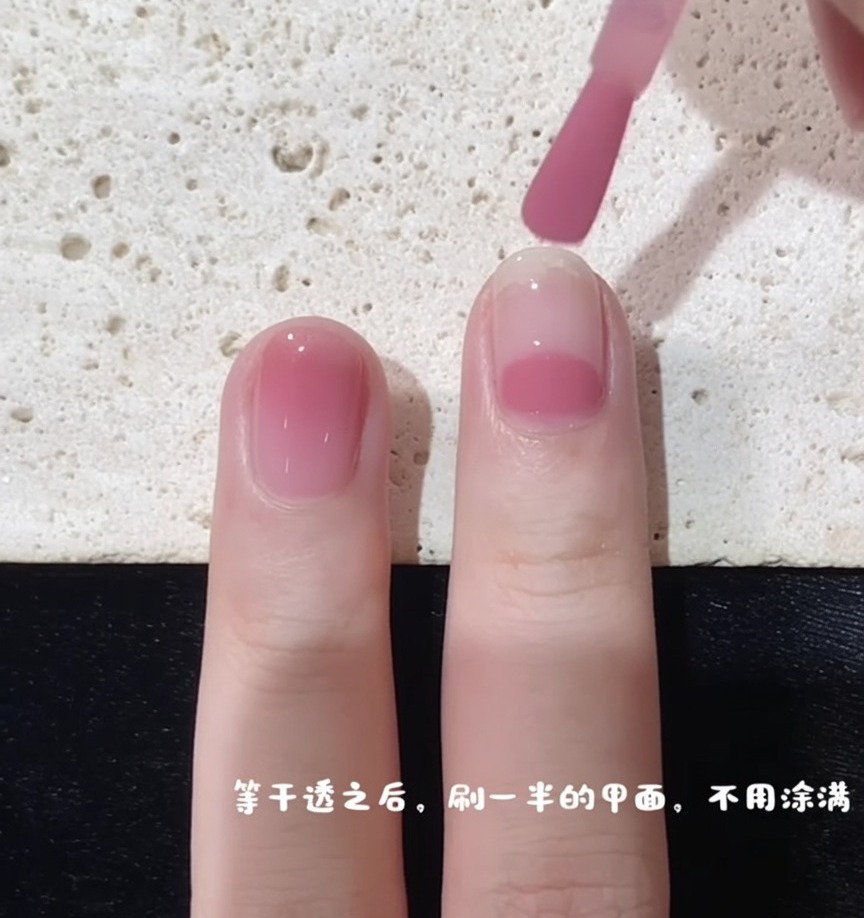
Once the first coat is fully dry, take your jelly pink polish and apply a second layer starting from the midpoint of the nail, pulling down to the tip. By starting at the middle, you begin to build depth and intensity toward the free edge.
Tip: Do not take this layer all the way to the cuticle; leaving the base sheer creates the natural gradient effect. - 5Sweep polish to the free edge
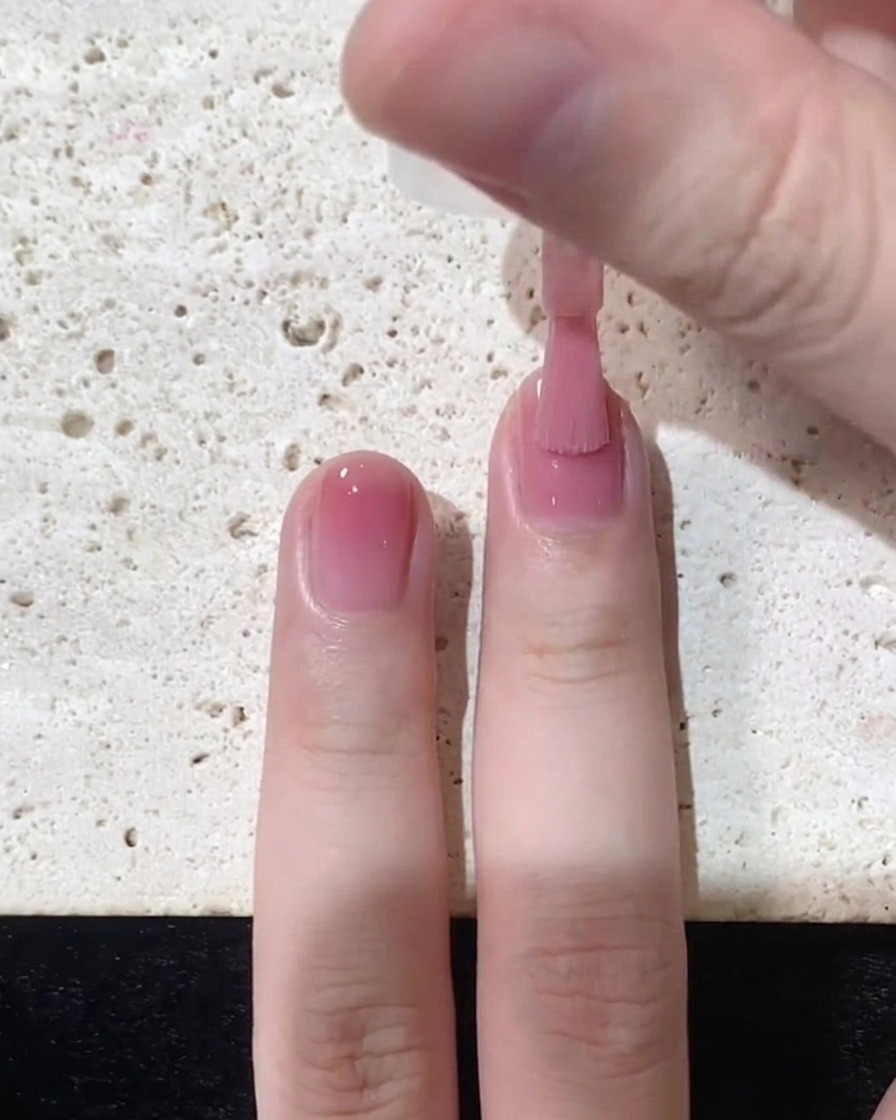
Sweep the second layer of polish evenly down to the free edge of the nail. Make sure the entire top half is covered smoothly, emphasizing the color transition from the sheer cuticle area to the more pigmented tip.
Tip: Keep your brush strokes smooth and fluid to prevent streaking in the semi-sheer polish. - 6Intensify color at the tip
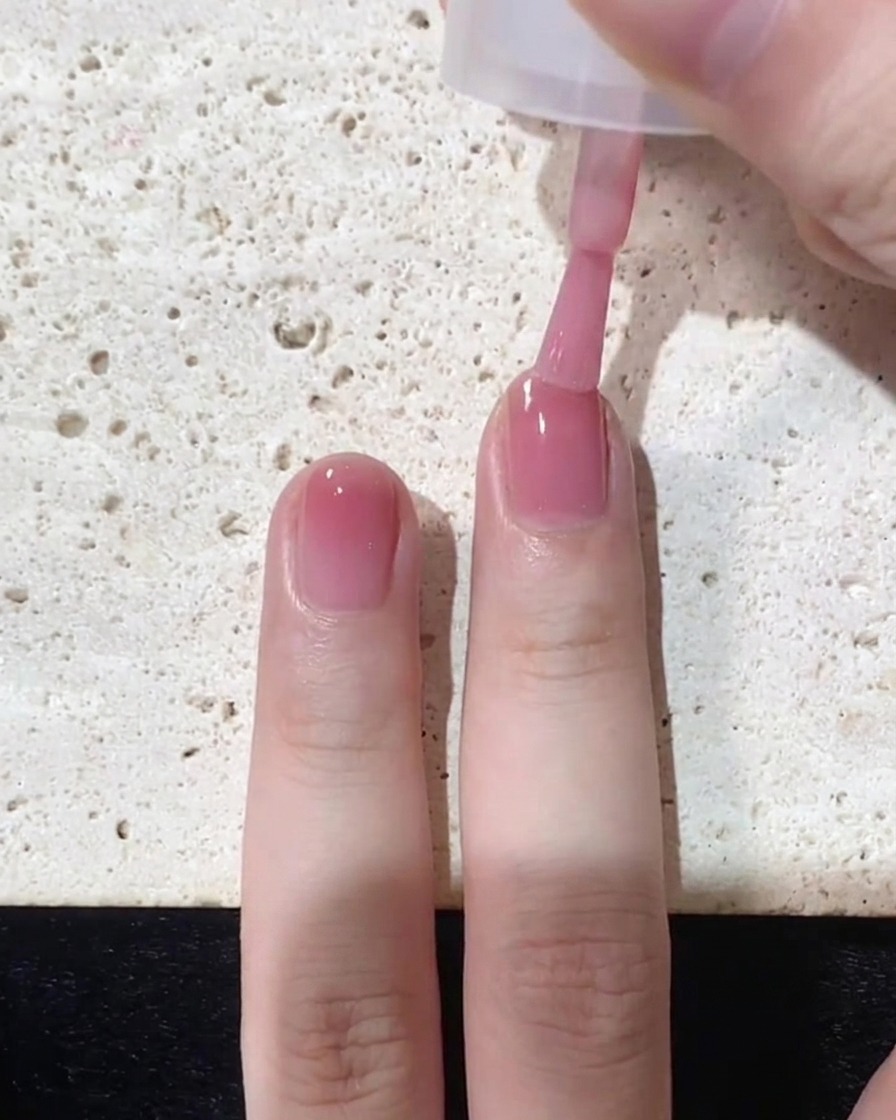
Apply a third, concentrated layer of the jelly pink polish directly onto the very tip of the nail. This final layer deepens the color at the free edge, completing the seamless jelly gradient effect.
Tip: Focus this layer only on the upper third or quarter of the nail so you dont lose the gradient effect built by the previous layers. - 7Apply top coat
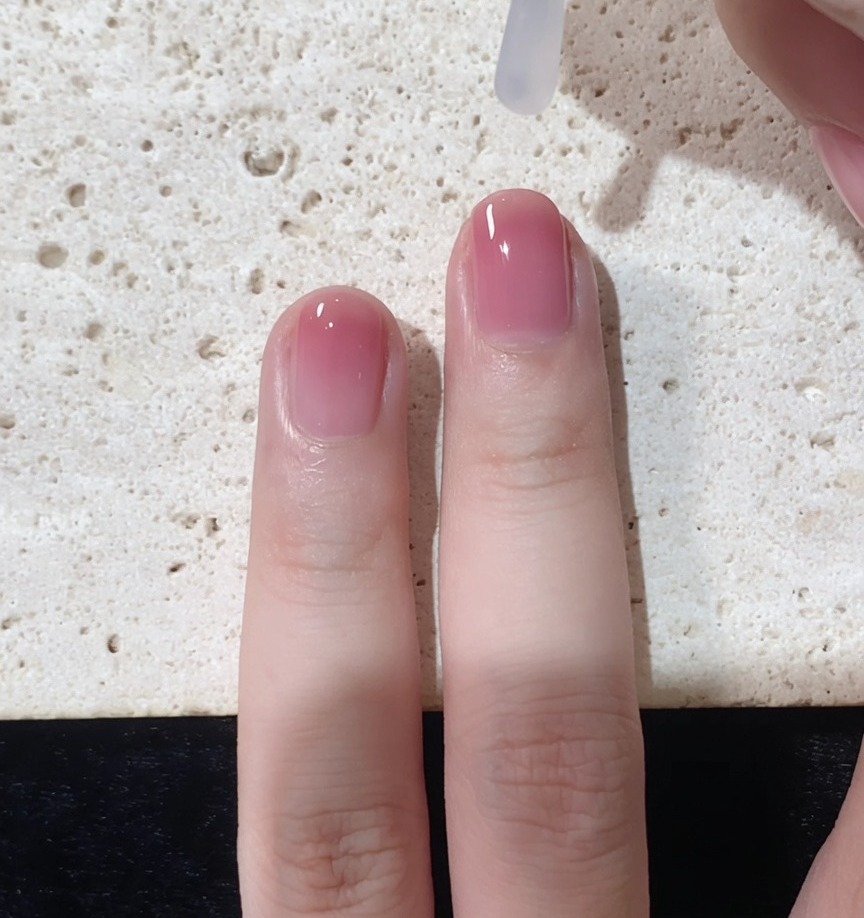
Apply a generous layer of clear glossy top coat over the entire nail. Start your application near the cuticle and drag the brush smoothly over the nail to blend the layers and unify the gradient transition.
Tip: A wet layer of top coat helps blur any visible lines between the different gradients for a seamless, professional finish. - 8Seal with top coat
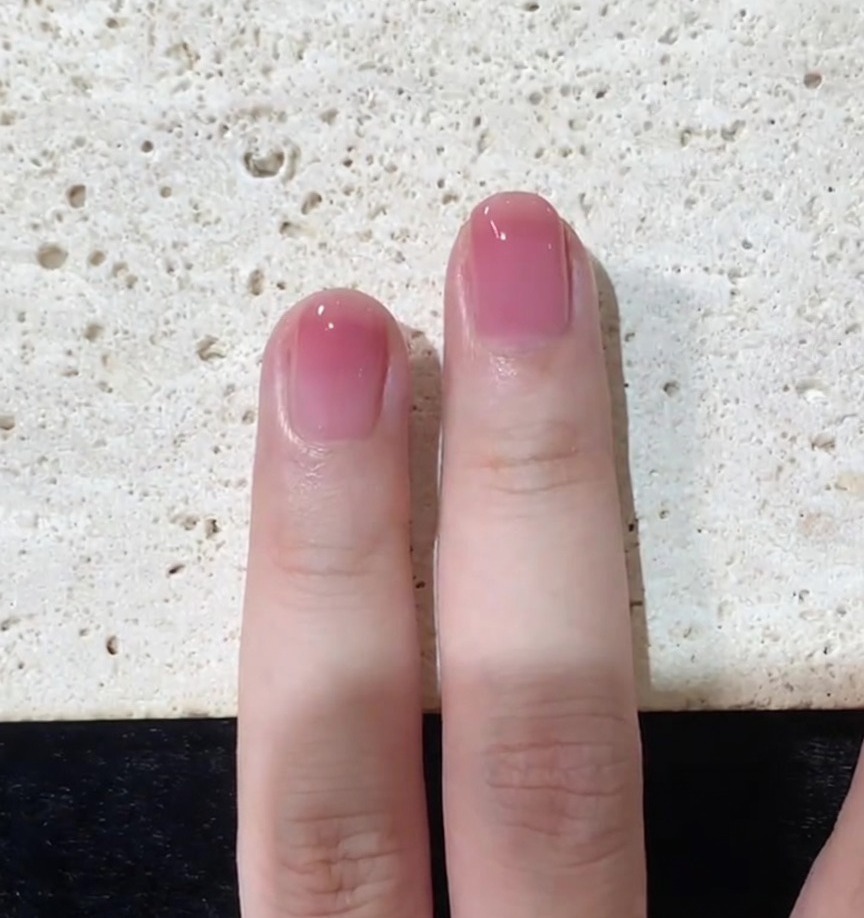
Perform a final sweep with your top coat brush to ensure every part of the nail is coated and sealed. This step locks in the gradient color and provides a durable, high-shine finish that brings the whole look together.
Tip: Ensure you cap the free edge with the top coat as well, which is essential for the longevity of your manicure.