Chrome Aurora Gradient Nails — Ethereal Pastel Step-by-Step
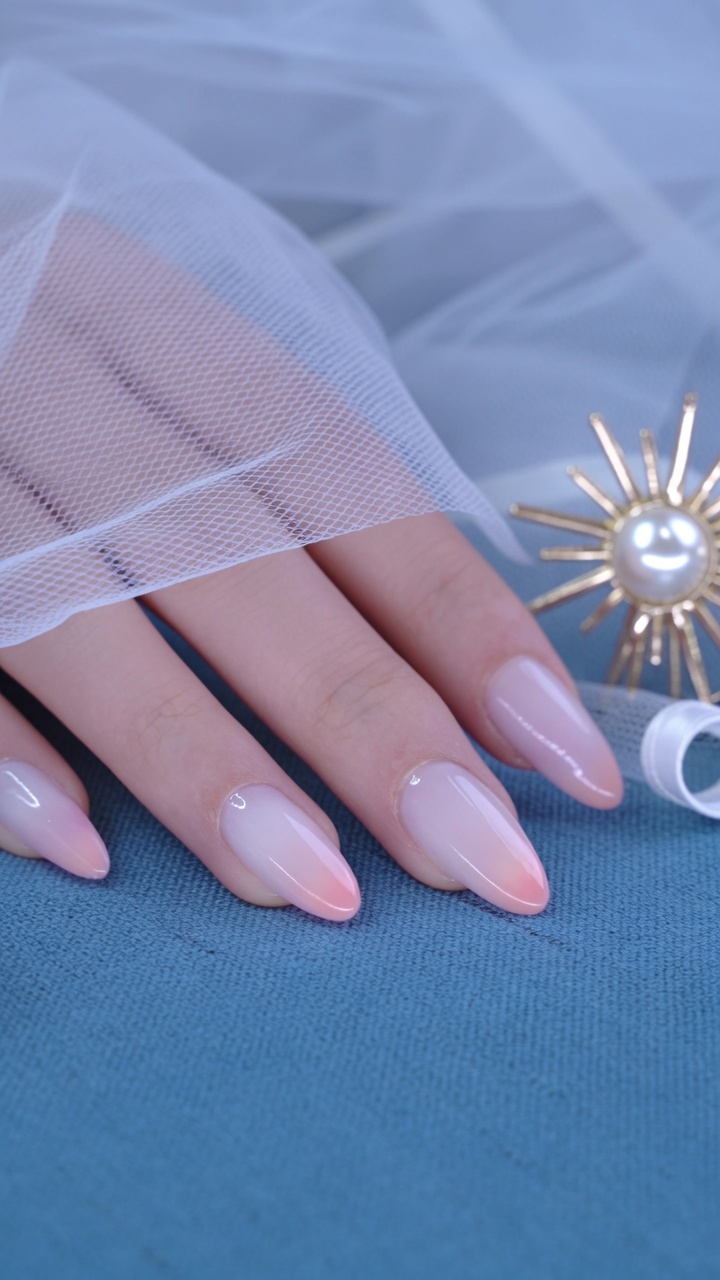
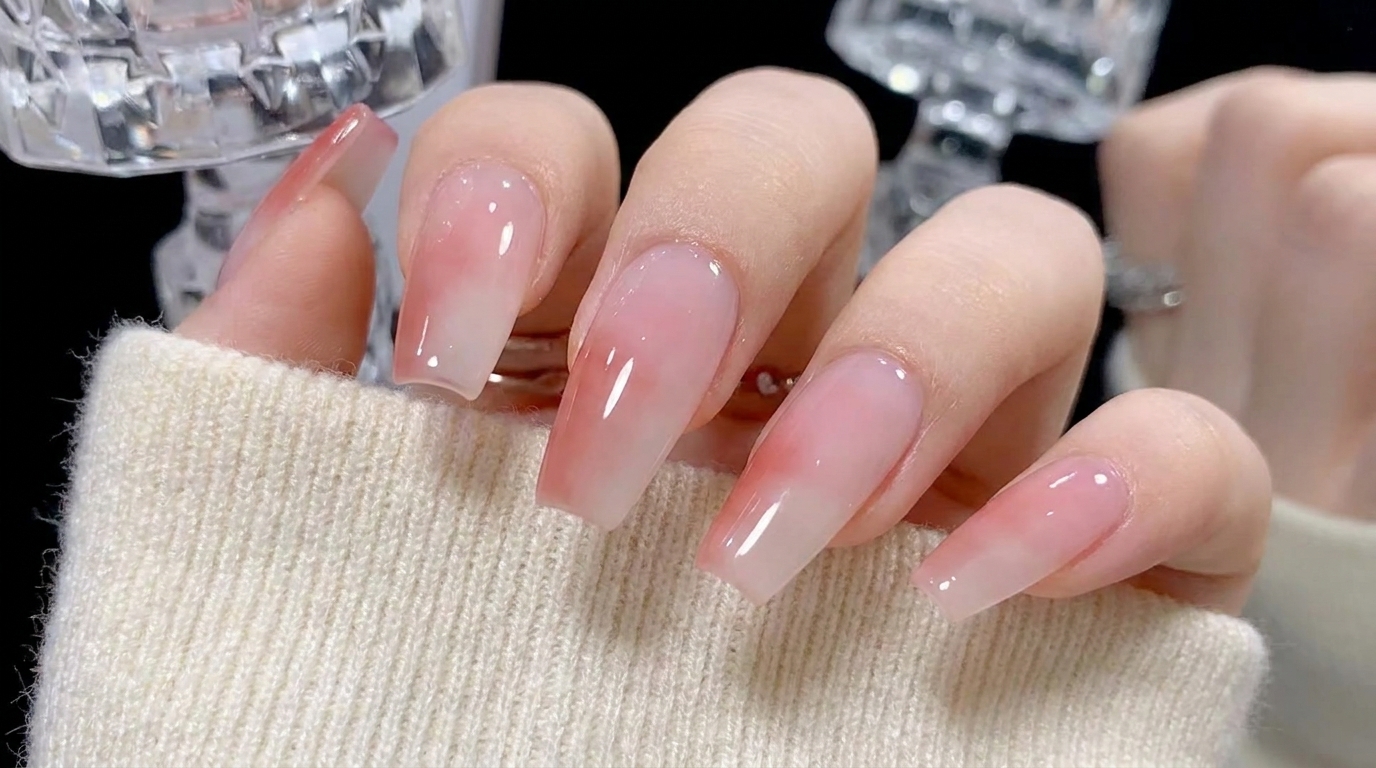
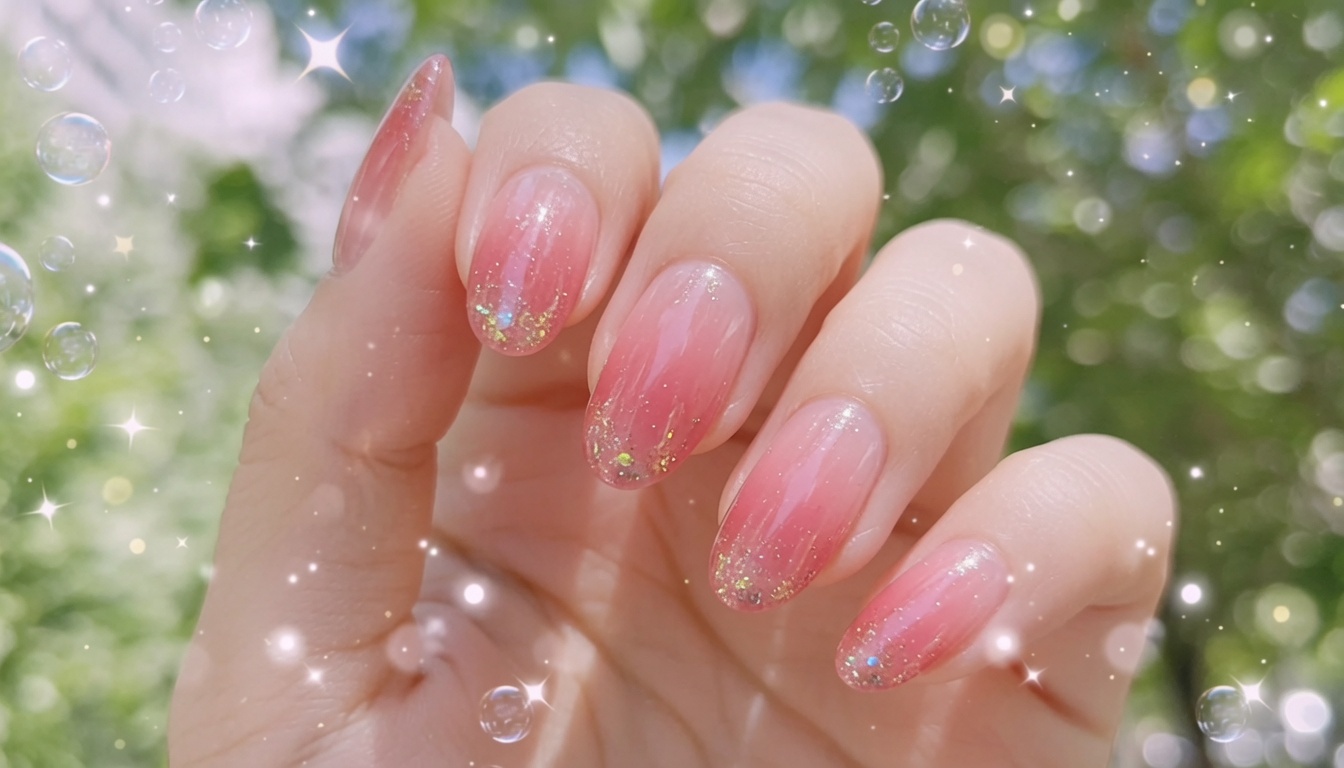
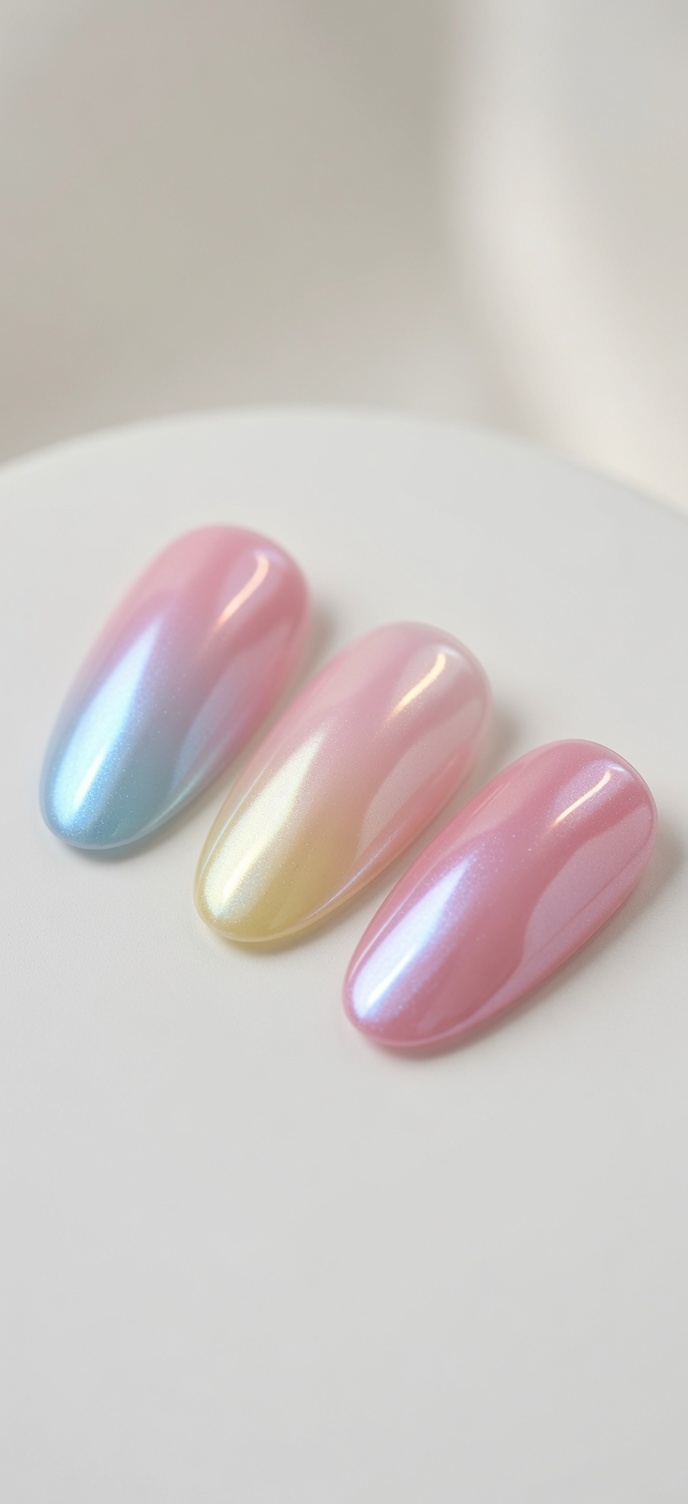
Achieve a stunning, mirror-like aurora finish with this easy pastel gradient chrome nail tutorial. Perfect for a dreamy, high-gloss salon look at home.
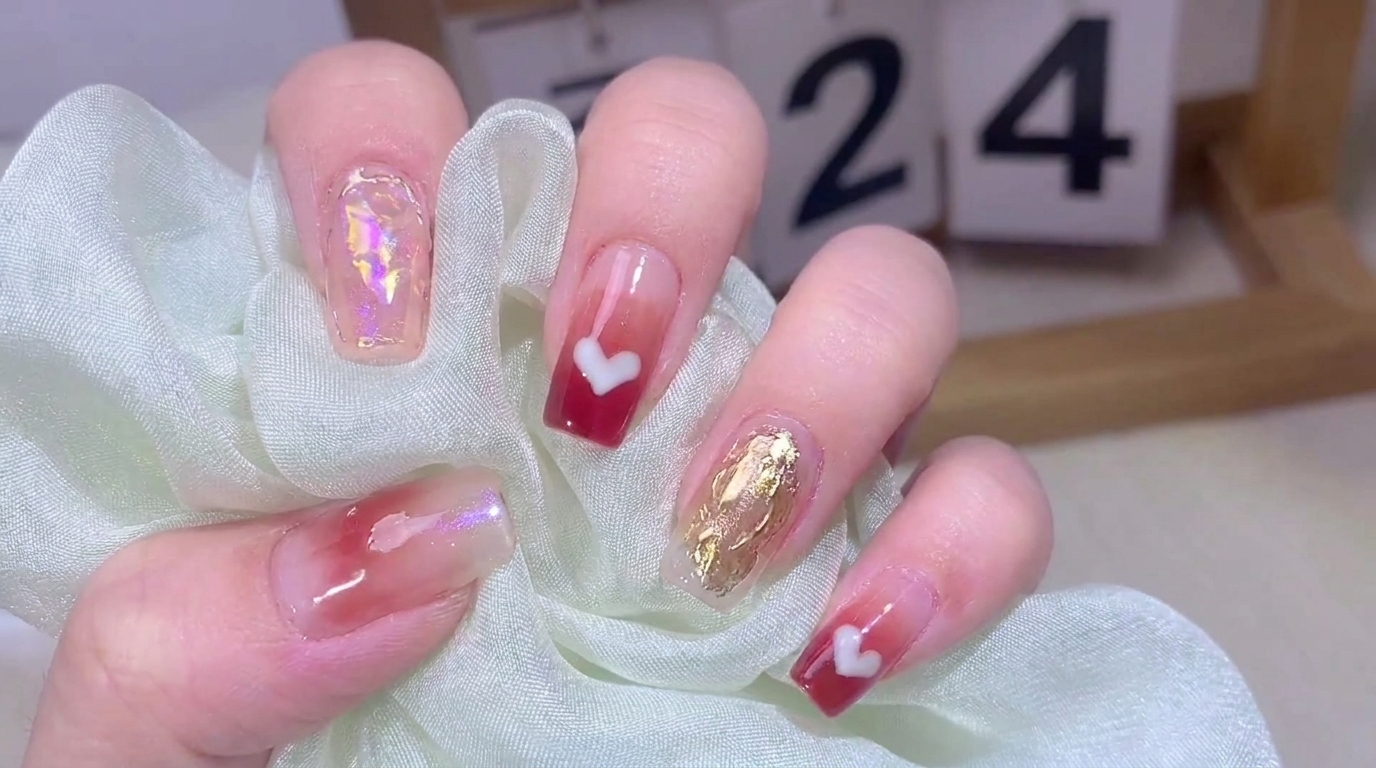
The aurora chrome trend brings a magical, pearlescent glow to your fingertips, combining soft pastel gradients with a high-shine mirror finish. This look is surprisingly achievable using a simple sponge technique that blends colors seamlessly before the powder application. Follow along to master this ethereal effect that catches the light beautifully from every angle.
Steps
- 1Apply universal nude base
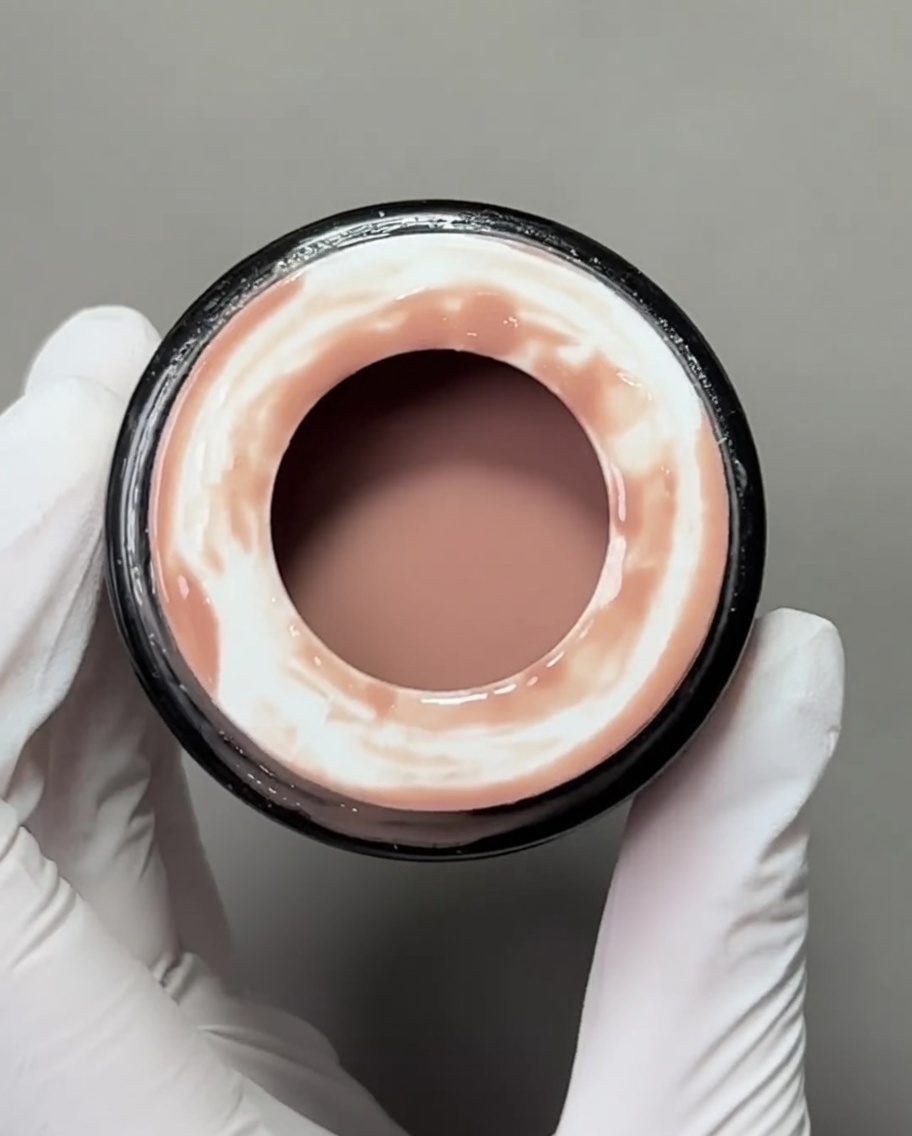
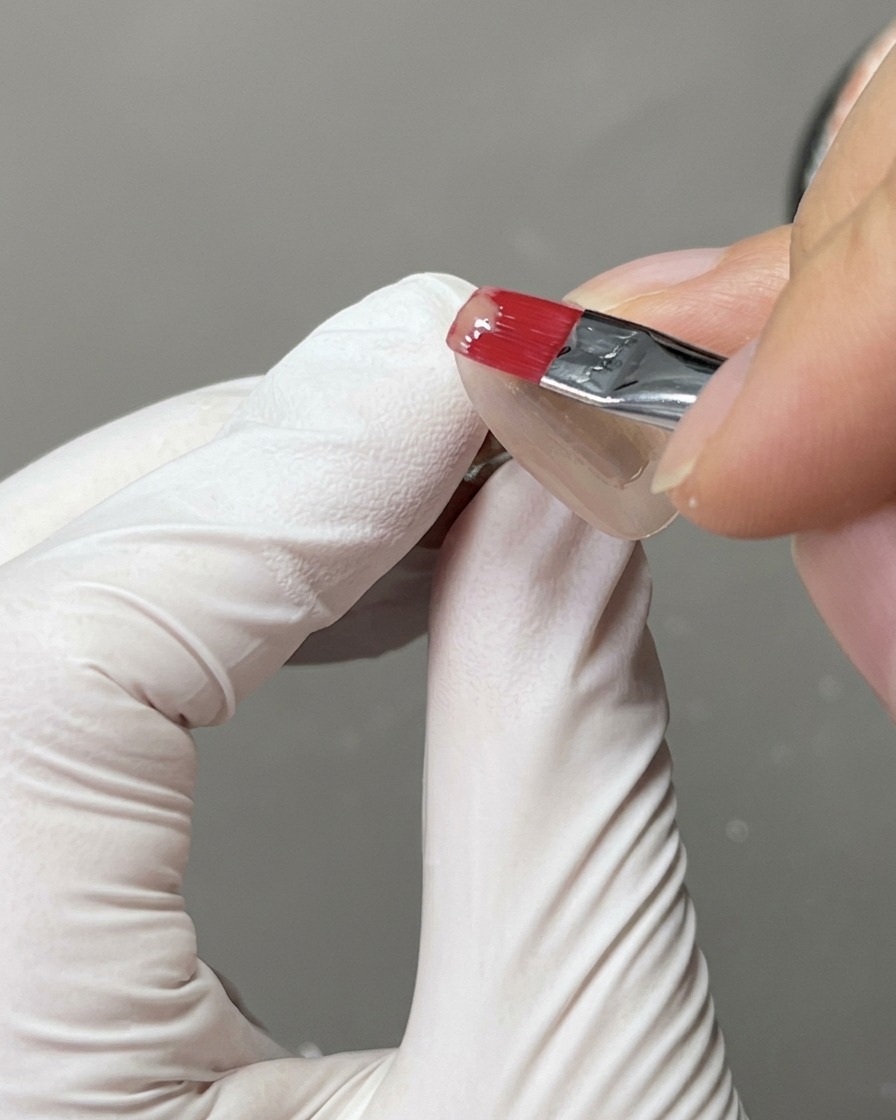
Using a flat gel brush, apply a thin, even layer of universal nude base gel onto the nail tip. Ensure complete coverage across the nail plate for a smooth, uniform surface that will serve as the canvas for your pastel gradient.
Tip: Work in thin layers to ensure the base gel self-levels without pooling at the cuticles. - 2Cure the base coat
Place the nail tip under your UV or LED lamp to cure the base coat. Ensure the nail is positioned directly under the light source for the manufacturer-recommended time to guarantee proper polymerization.
Tip: If using a low-wattage lamp, increase the cure time slightly to ensure the gel is fully set. - 3Prepare pastel gels
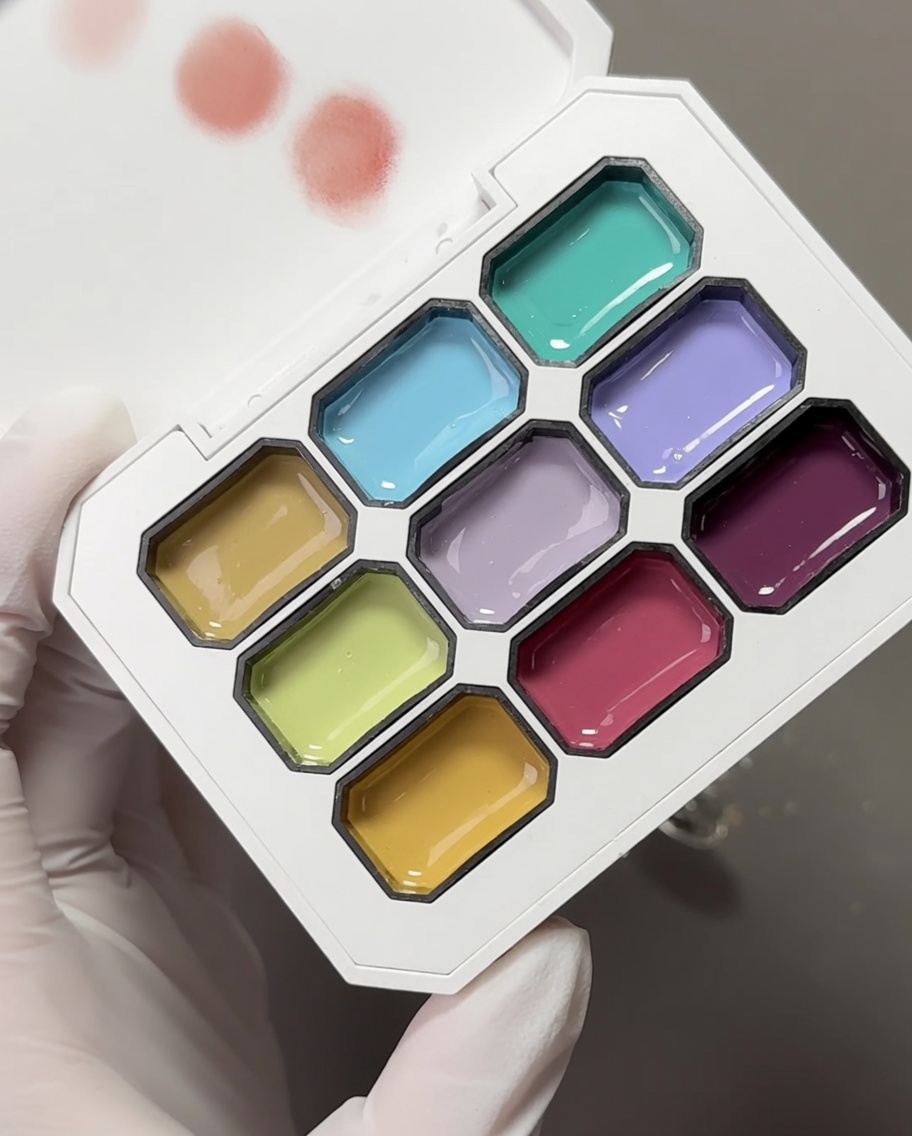
Dab your selected pastel color gels—pink, yellow, and blue—onto a mixing palette. Take a clean makeup sponge and gently pick up small amounts of each color, positioning them side-by-side on the sponge surface to prepare for the gradient application.
Tip: Use a light tapping motion when picking up the gel to avoid oversaturating the sponge. - 4Create the gradient
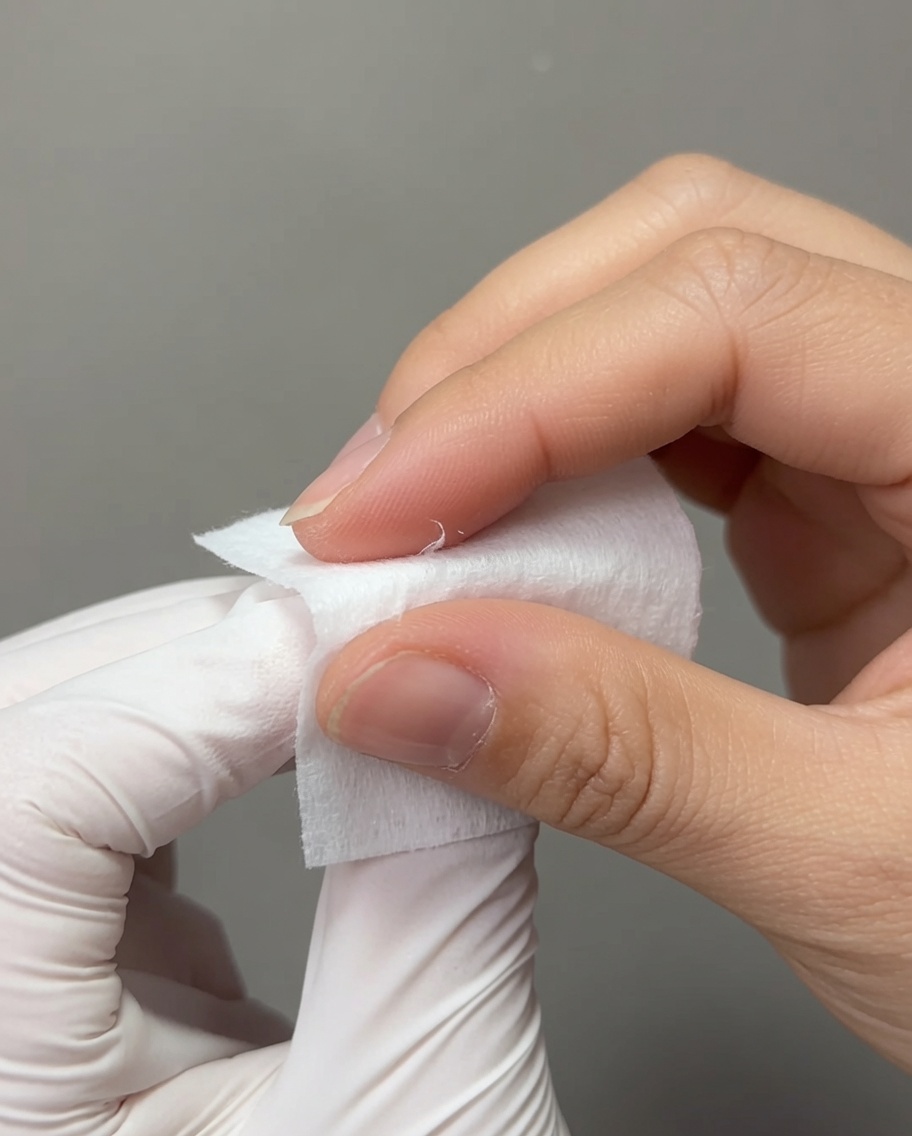
Using the sponge prepared with pastel colors, gently dab the colors onto the nail tip. Repeat the dabbing motion until the colors blend seamlessly together, creating a soft, aurora-style pastel gradient across the surface.
Tip: Apply with a light, airy touch to avoid creating harsh lines or texture from the sponge. - 5Verify gradient base
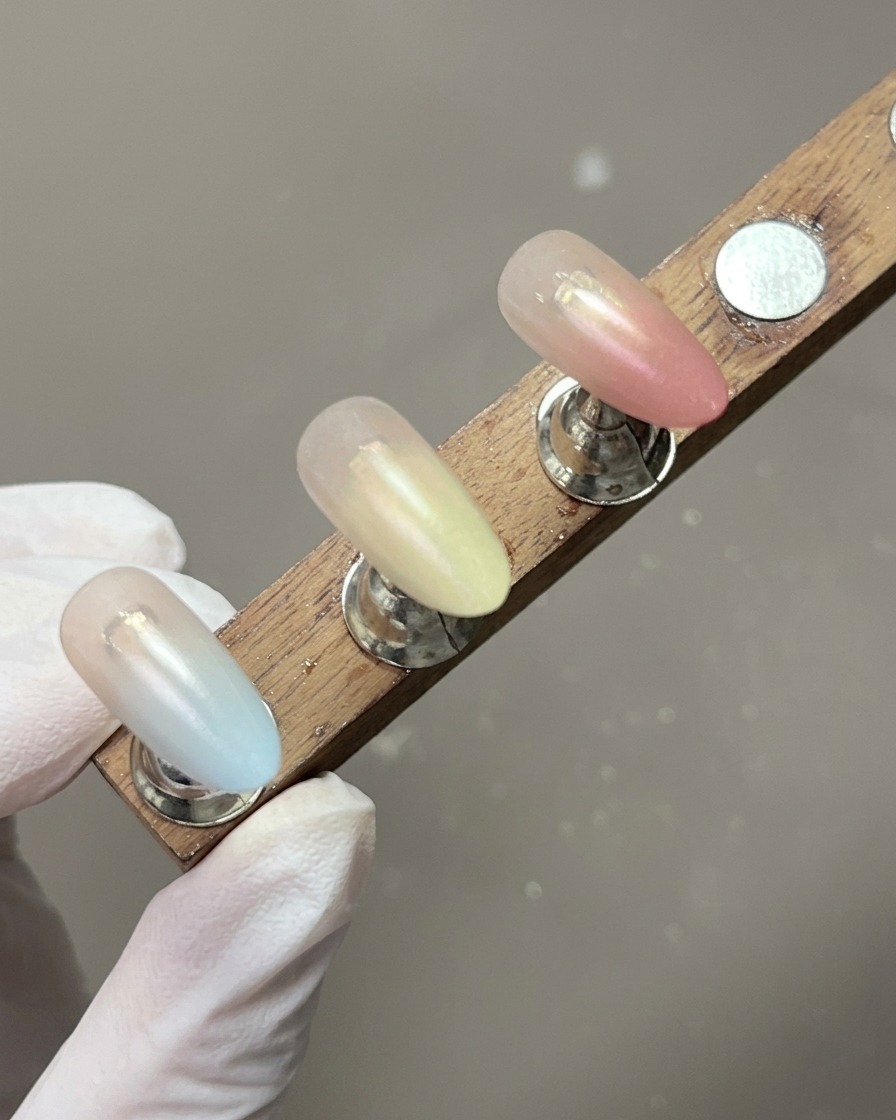
Inspect the pastel gradient base to ensure the colors are blended evenly and appear soft before proceeding to the chrome application. The finish should look smooth and well-pigmented.
Tip: If the gradient needs more opacity, cure, then apply a second layer of the sponged colors before the chrome. - 6Apply no-wipe top coat
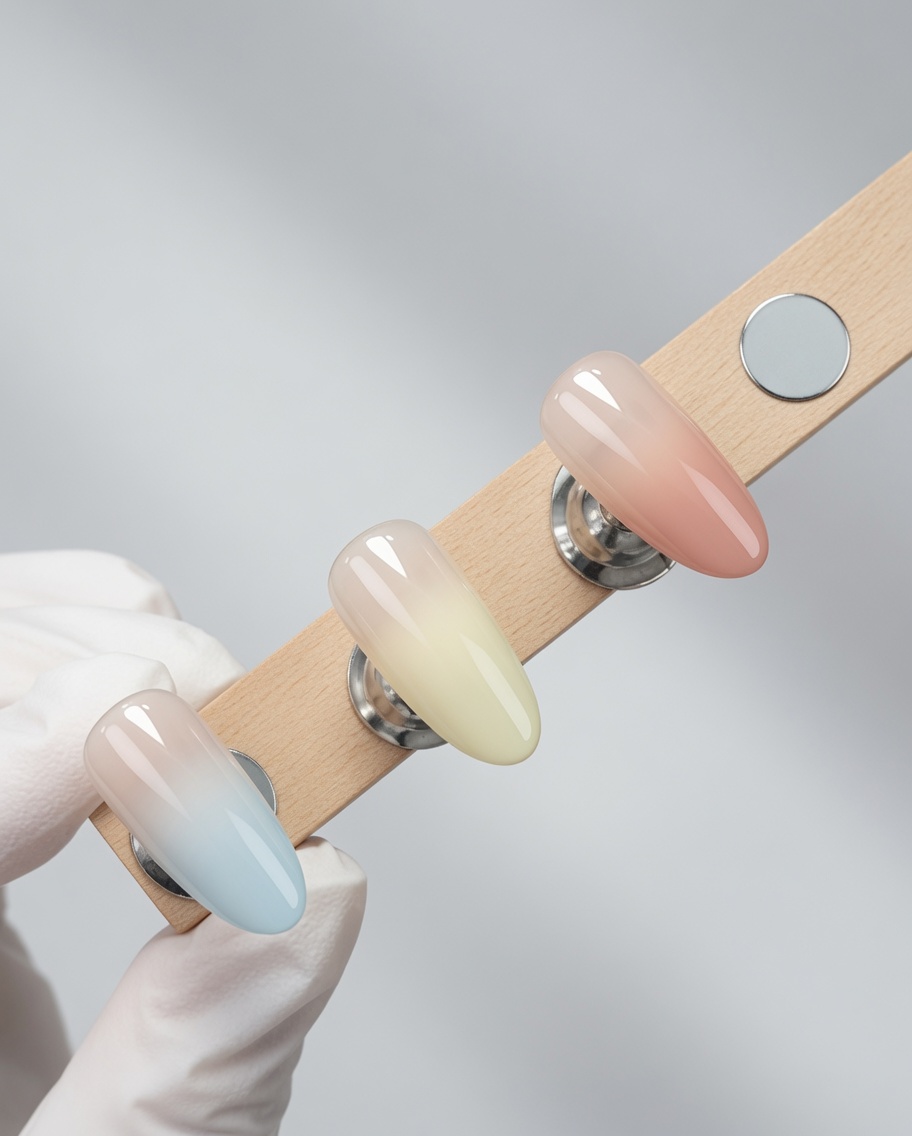
Apply a thin layer of no-wipe top coat over your cured pastel gradient. This provides a perfectly smooth, non-tacky surface essential for the chrome powder to adhere properly and achieve a high-shine mirror finish.
Tip: Ensure the entire surface is covered, as any tacky spots will cause the chrome powder to clump. - 7Cure the top coat
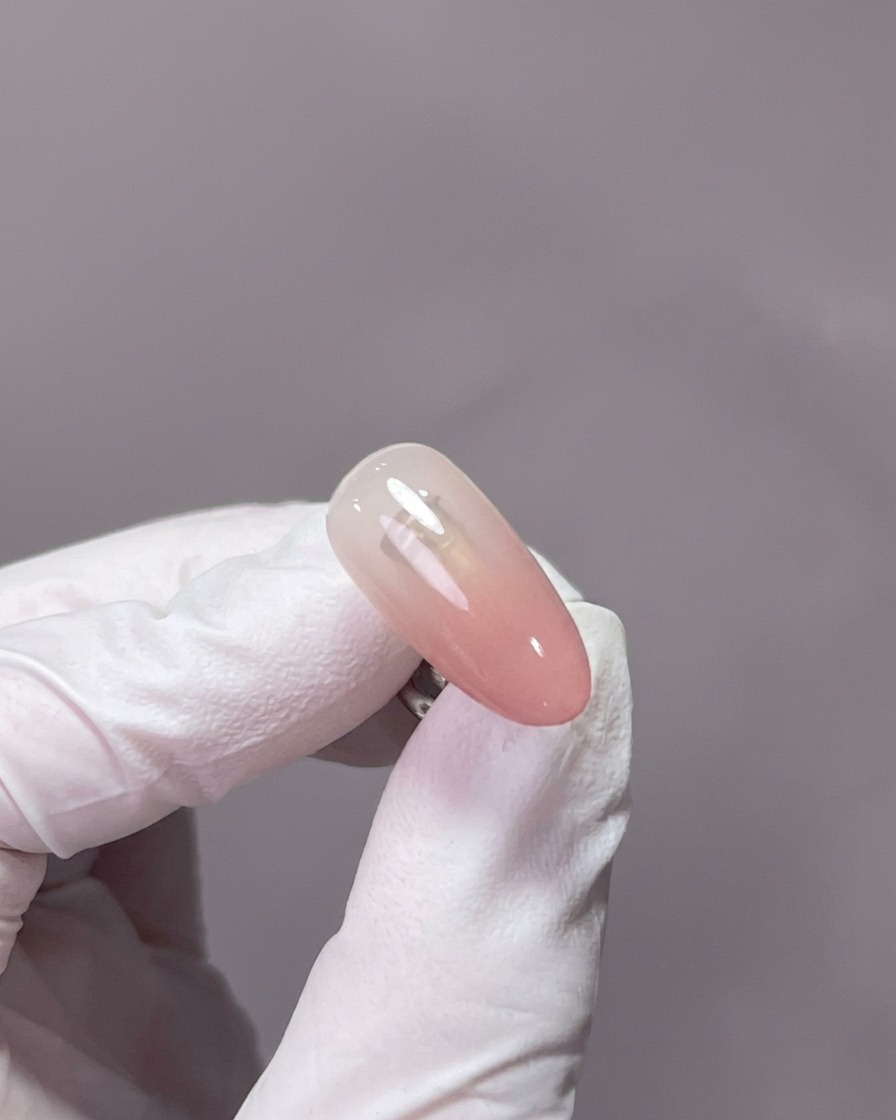
Place your nails under the UV or LED lamp to cure the no-wipe top coat. Ensure your hand is positioned correctly inside the lamp for the full 30-60 seconds to guarantee a durable, high-gloss finish.
Tip: Keep your hand flat and steady under the lamp to ensure even curing across all fingers and to prevent the gel from pooling. - 8Load the chrome powder
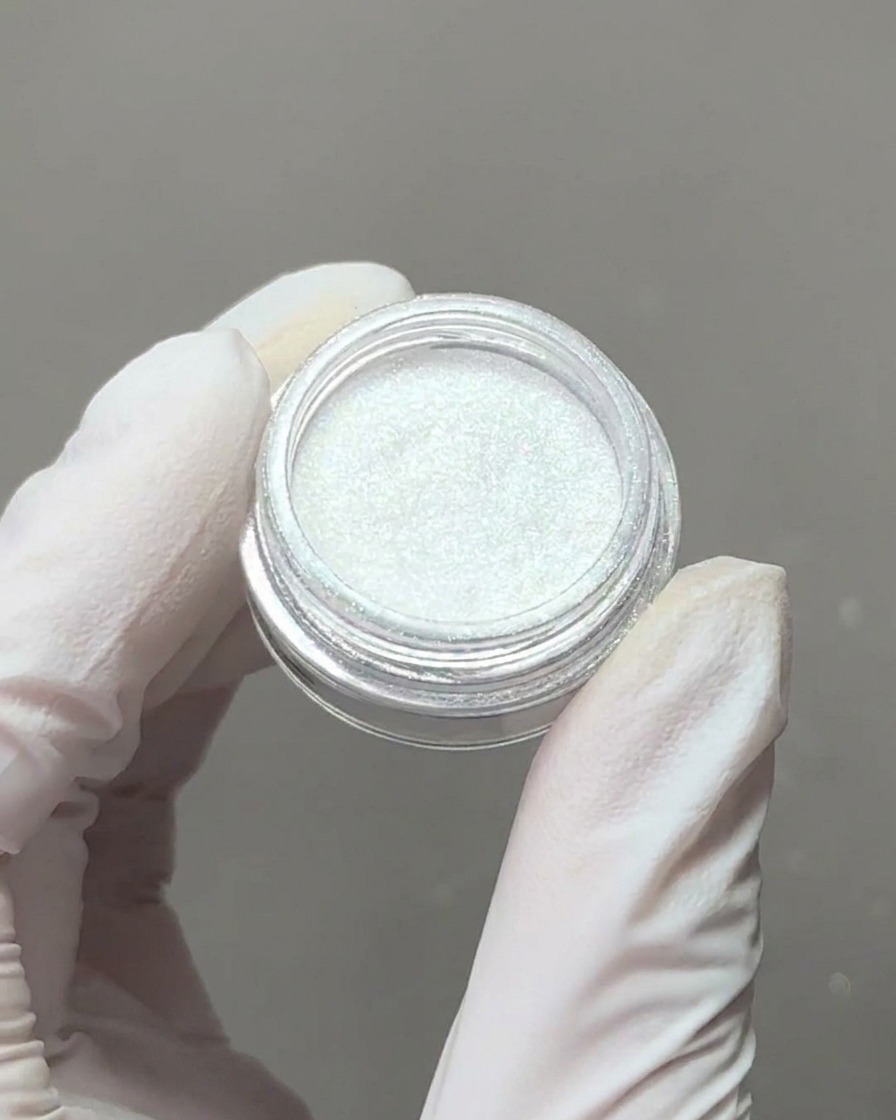
Dip your sponge applicator into the aurora chrome powder to pick up a small amount of product. You only need a thin layer of powder to achieve the desired effect, as it is highly pigmented.
Tip: Start with a light amount of powder; you can always add more, but it is difficult to remove excess once its rubbed into the nail. - 9Apply the aurora chrome
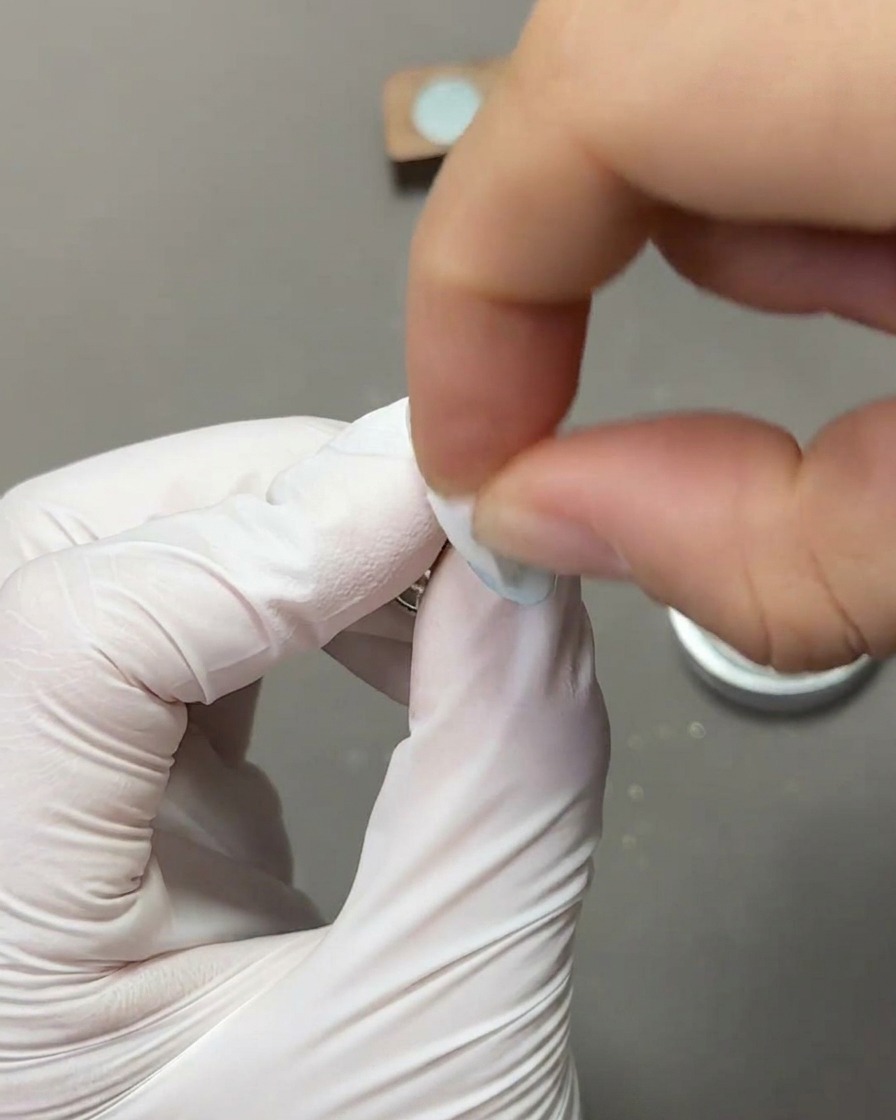
Gently rub the sponge applicator loaded with chrome powder over the cured nail surface. Use smooth, circular motions to ensure even coverage across the entire nail.
Tip: Apply the powder while the nail surface is still warm from curing for the best adhesion and mirror-like effect. - 10Buff to a mirror finish
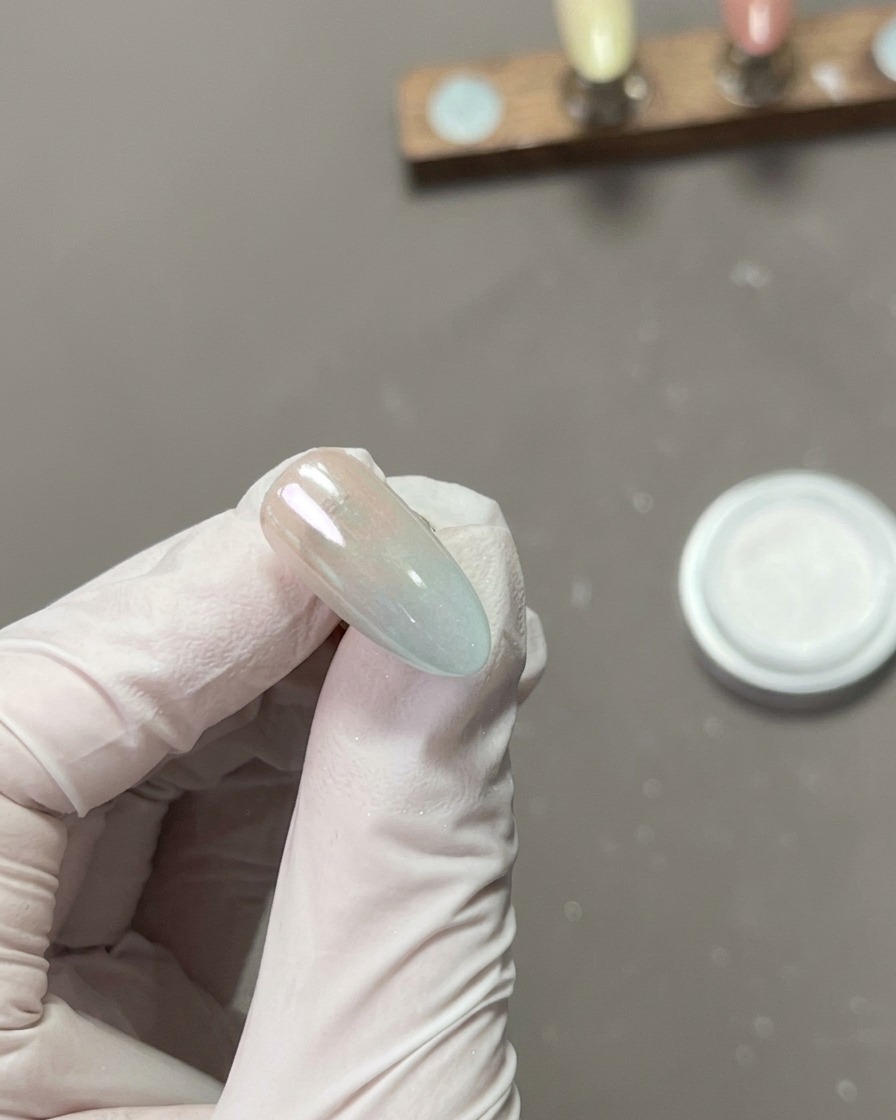
After initial application, use a clean finger or a fresh sponge to buff the powder into the nail surface. This step compresses the particles, transforming the finish from a shimmering layer into a smooth, reflective mirror look.
Tip: Buff with light pressure to avoid rubbing off the powder; the goal is to smooth the finish, not remove it. - 11Clean up the edges
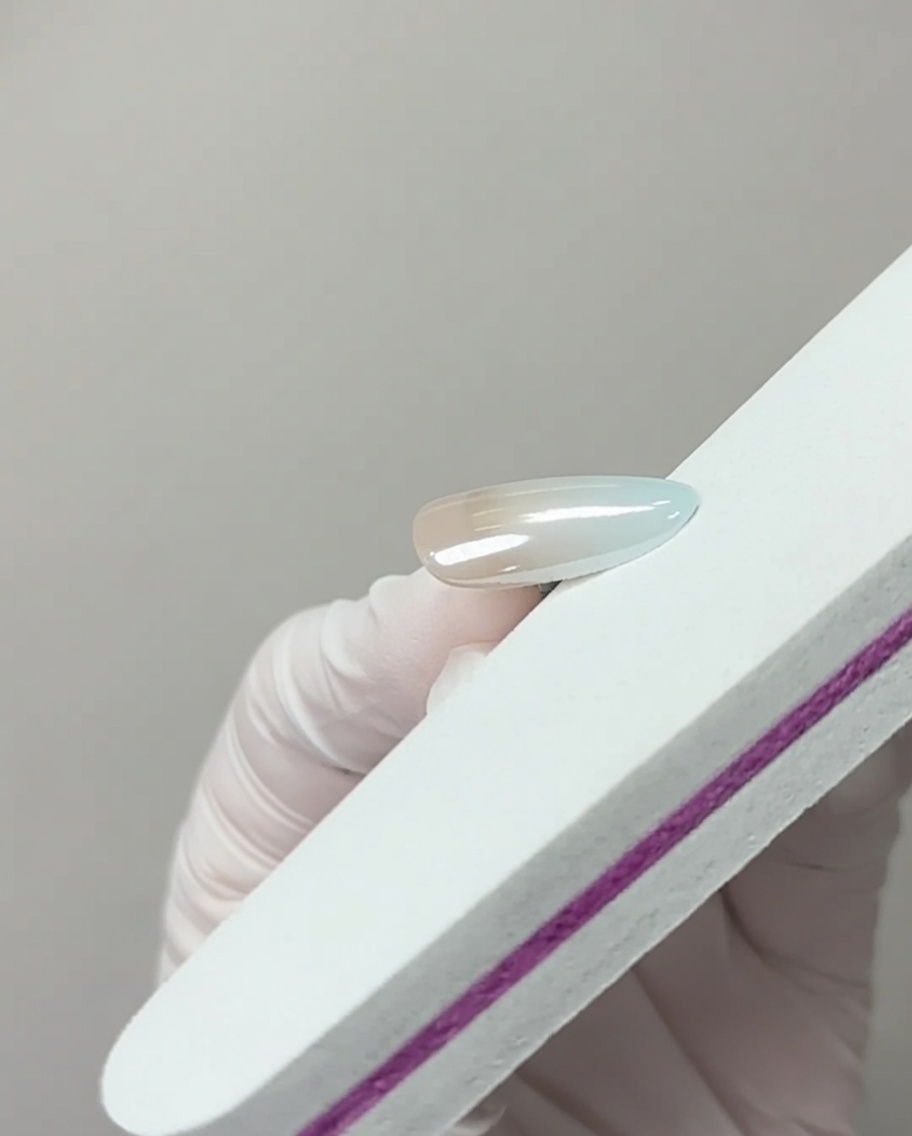
Using a fine-grit nail file, gently run the file along the free edge of the nail. This removes any excess chrome powder that may have settled on the tips, ensuring a clean, sharp look.
Tip: Use a light touch to avoid filing away the actual nail tip or the gel structure. - 12Dust off excess
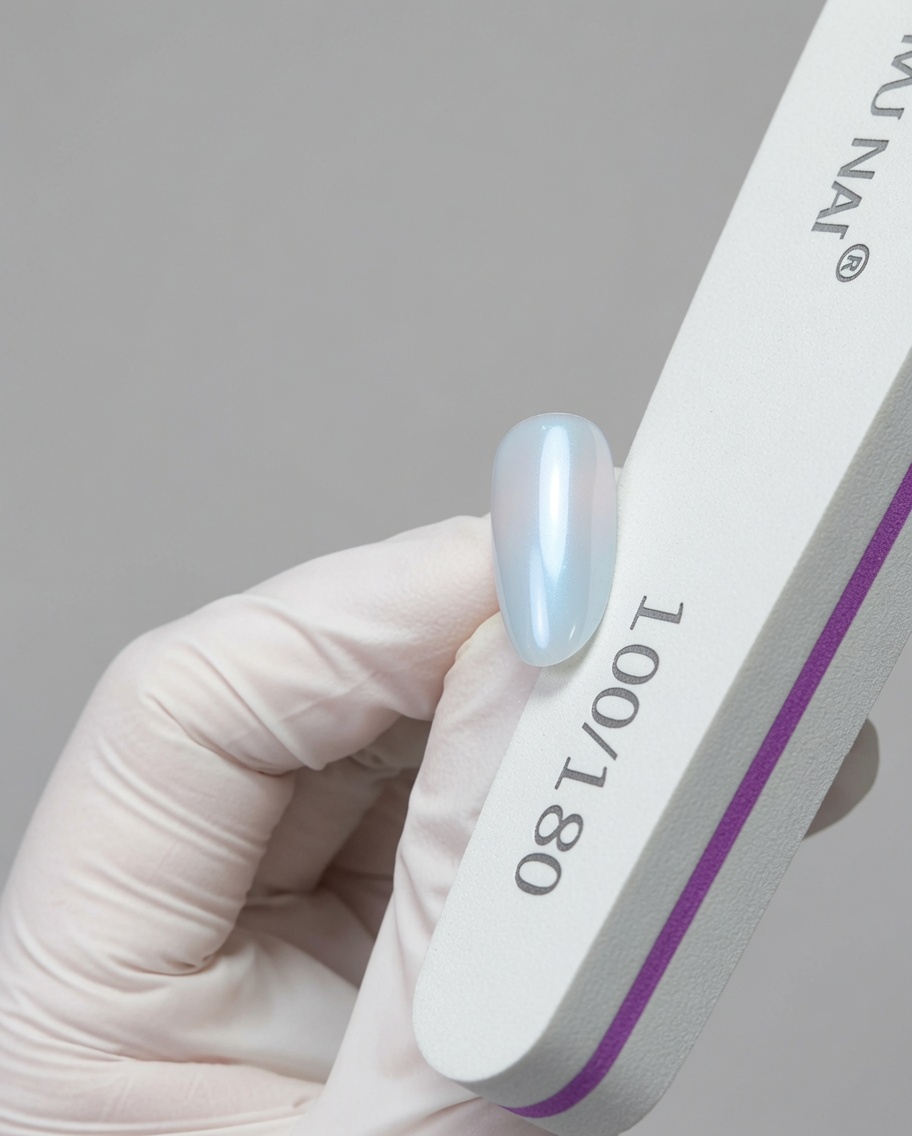
Use a soft, fluffy brush to gently sweep away any loose chrome particles from the nail surface and surrounding skin. This prevents the powder from getting trapped under the final top coat.
Tip: Ensure the brush is completely clean and dry so it does not smear the chrome finish. - 13Seal the free edge with extension gel
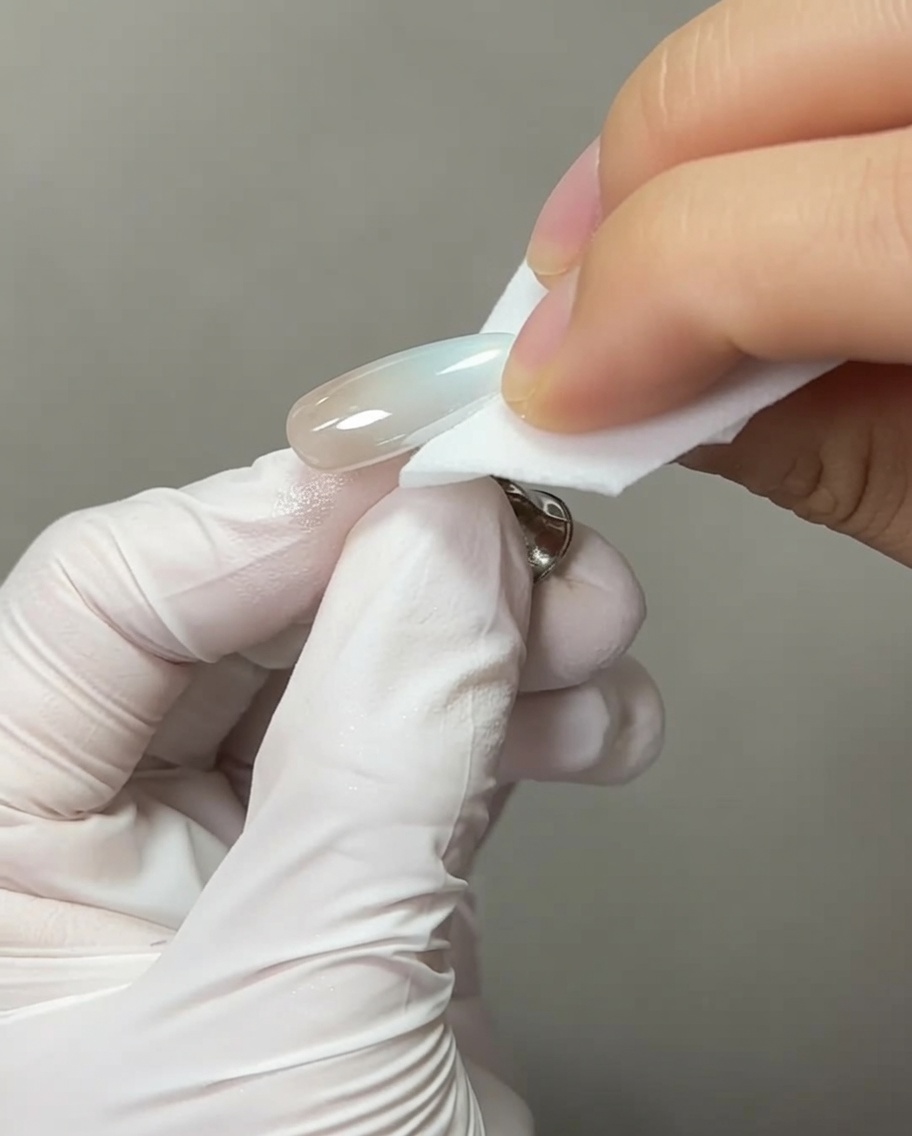
Apply a precise layer of extension gel along the free edge of the nail. This step is crucial for sealing the chrome powder, which is prone to chipping at the tips. Ensure the gel fully covers the edge to provide a durable, protective barrier.
Tip: Be careful not to apply too much gel, as this can create bulk at the tip; keep the application thin and even. - 14Cure the extension gel
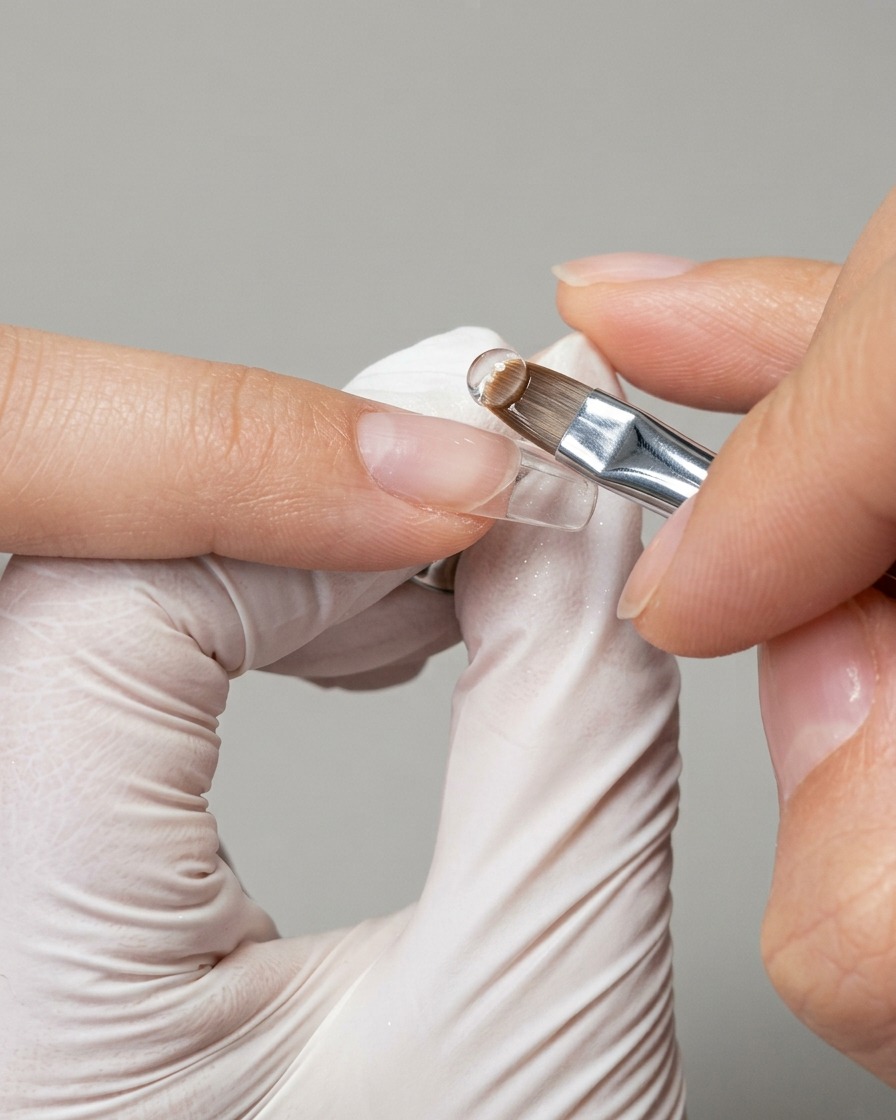
Place the nail into the UV or LED lamp to cure the extension gel seal. Curing at this stage ensures the protective layer hardens completely, effectively locking in the chrome finish and preventing early wear or lifting at the free edge.
Tip: Ensure the nail is positioned correctly in the lamp for the full recommended duration to achieve a complete, hard cure.