Soft Pink Ombre Cat Eye Nails — Step-by-Step Gel Tutorial
Create stunning soft pink ombre cat eye nails with this gel tutorial. Learn to blend the perfect gradient and activate magnetic shimmer for a flawless finish.
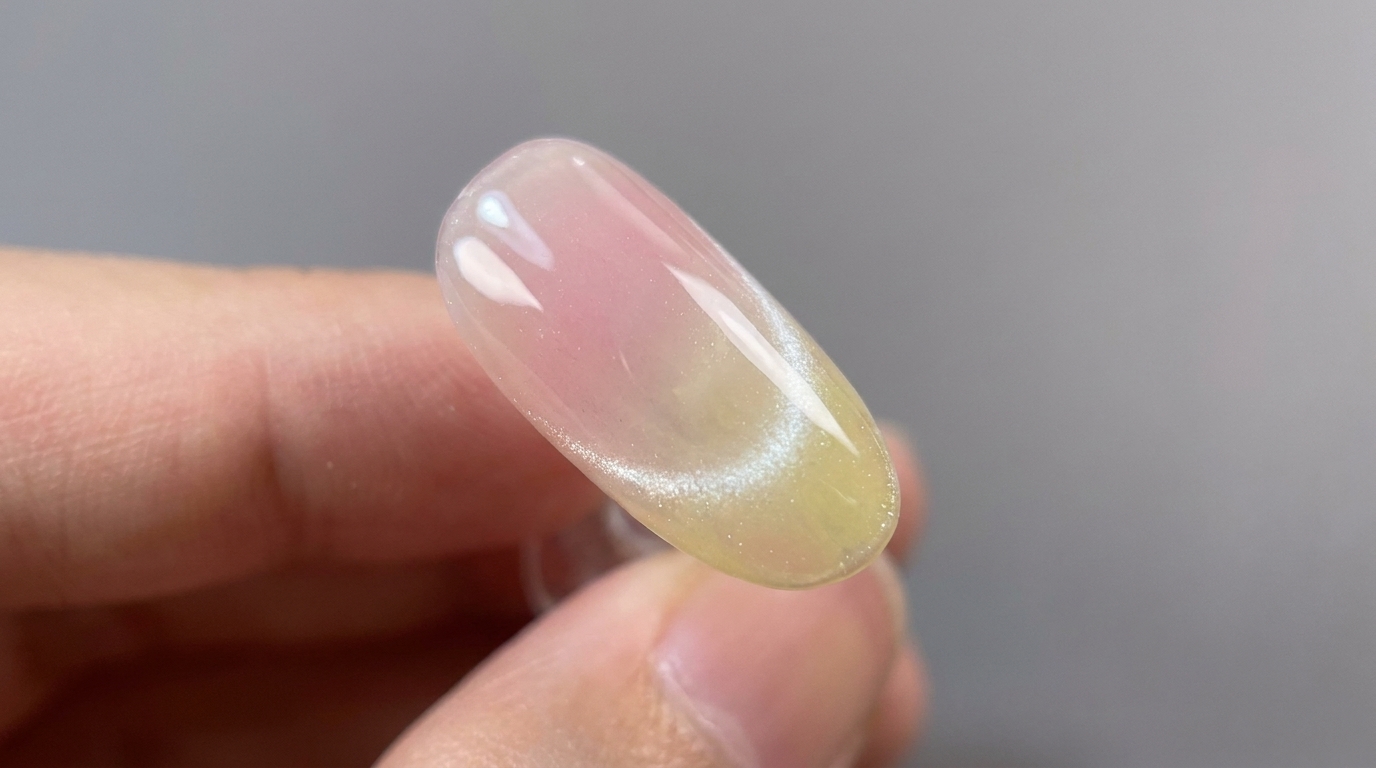
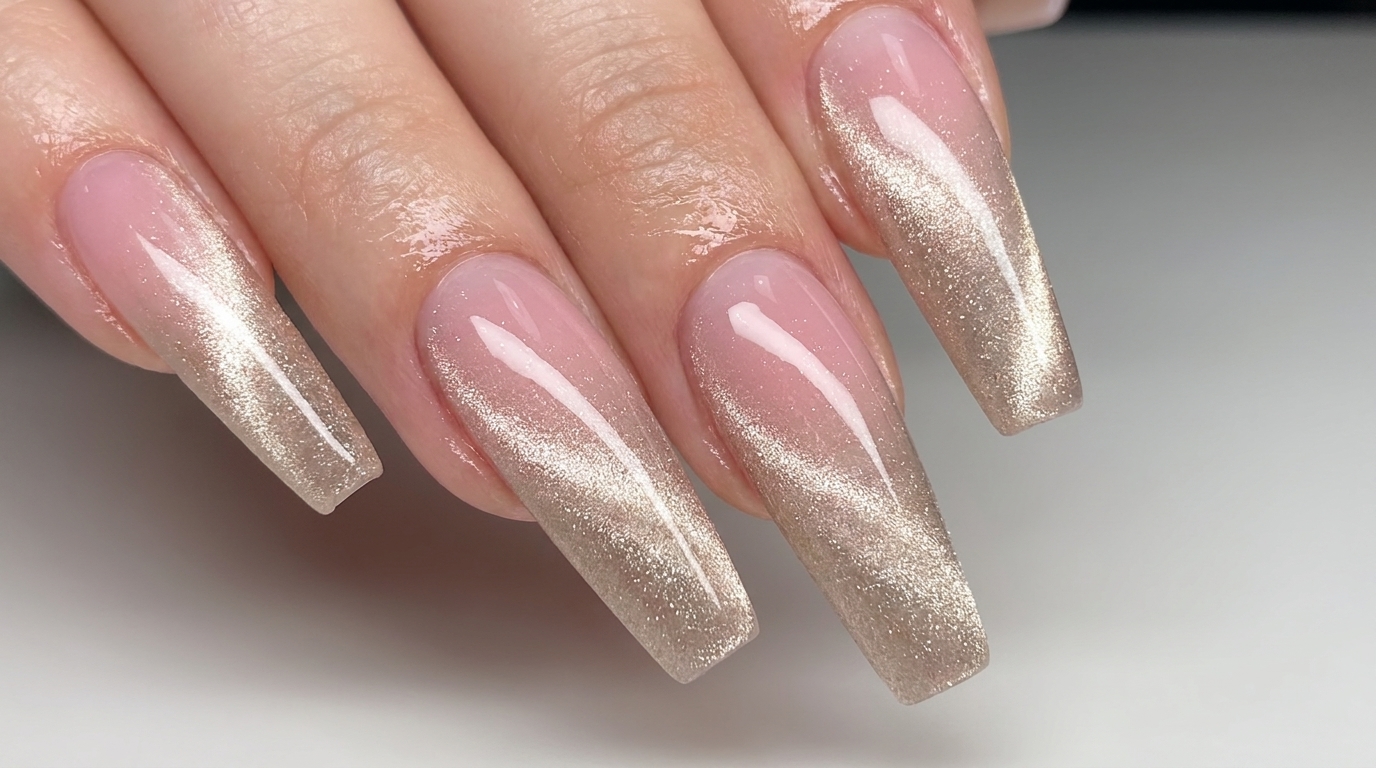
Welcome back! Today we are creating a mesmerizing soft pink ombre cat eye manicure that combines a delicate gradient with an eye-catching magnetic shimmer. This technique layers a flesh-pink base with a beautifully blended tip, topped off with a light champagne cat eye gel. It is the perfect elegant look that catches the light from every angle.
Steps
- 1Apply flesh-pink base color
Begin by applying a thin, even layer of flesh-pink gel color to the entire nail plate, ensuring smooth coverage from the cuticle to the free edge. Avoid flooding the cuticles by leaving a tiny gap, which helps prevent lifting later.
Tip: Apply in thin layers to ensure the color cures thoroughly without wrinkling. - 2Cure the base color
Place your nails under the UV/LED lamp to cure the flesh-pink base layer. Ensure your hand is positioned correctly so that all parts of the nail receive even exposure to the light for the manufacturers recommended time.
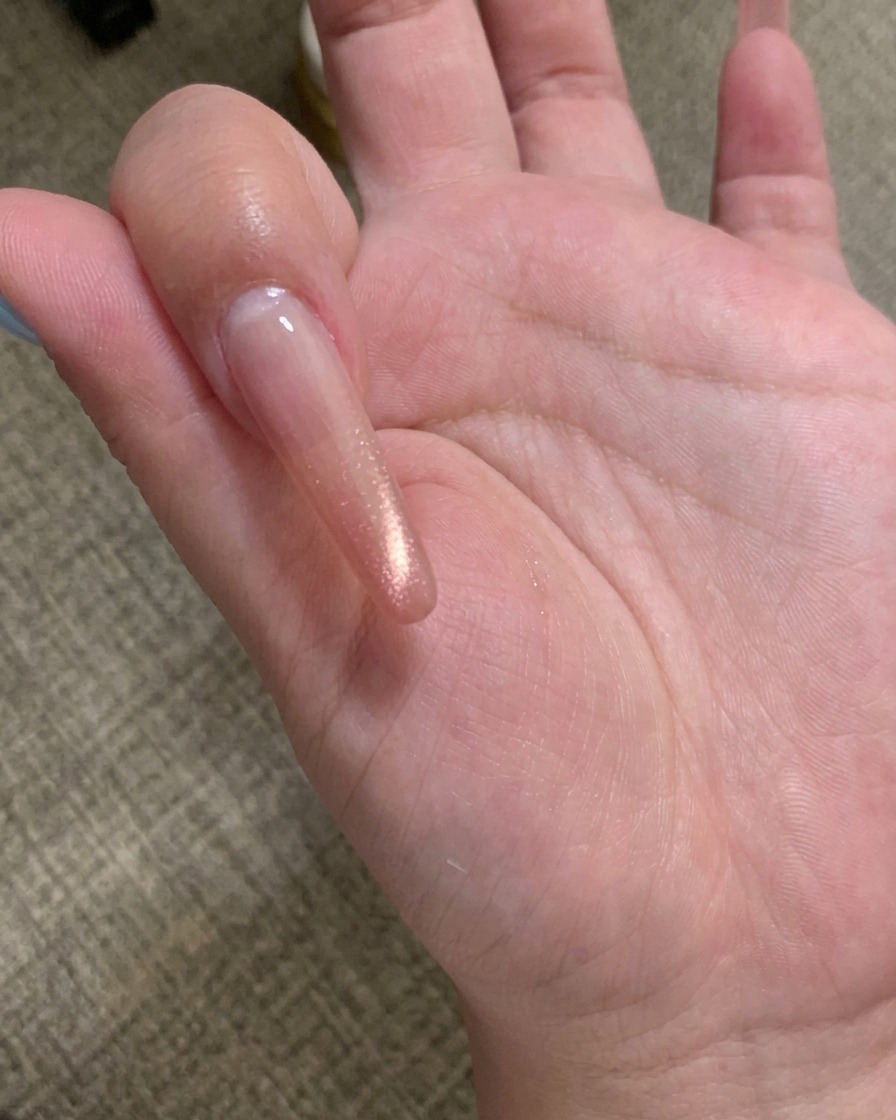
Tip: Make sure your fingers are flat and not tilted to avoid uneven curing. - 3Apply gel for ombre effect
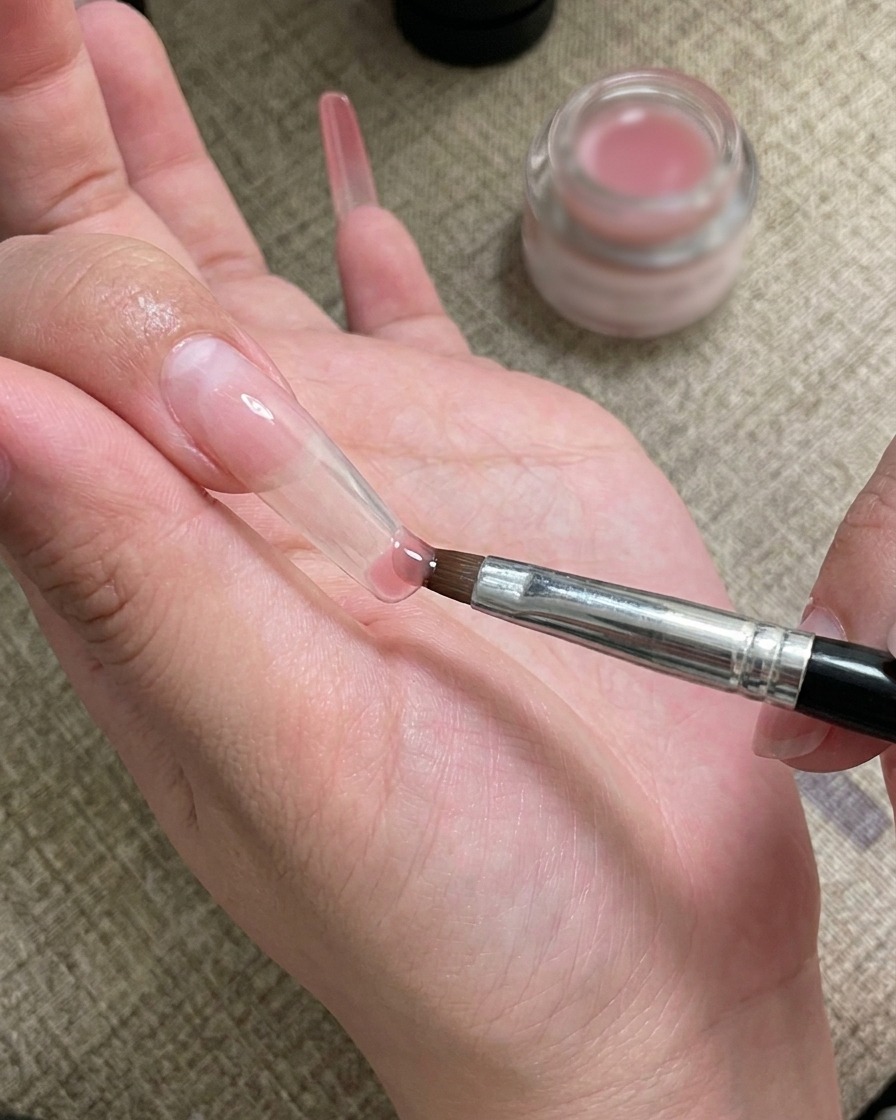
Apply a small amount of number 12 adhesive gel specifically to the tip of the nail. Use your brush to gently blend the gel upward toward the center, creating a soft gradient transition from the tip into the pink base.
Tip: Use a light, feathering motion with your brush to achieve a smooth, seamless ombre blend. - 4Cure the ombre layer
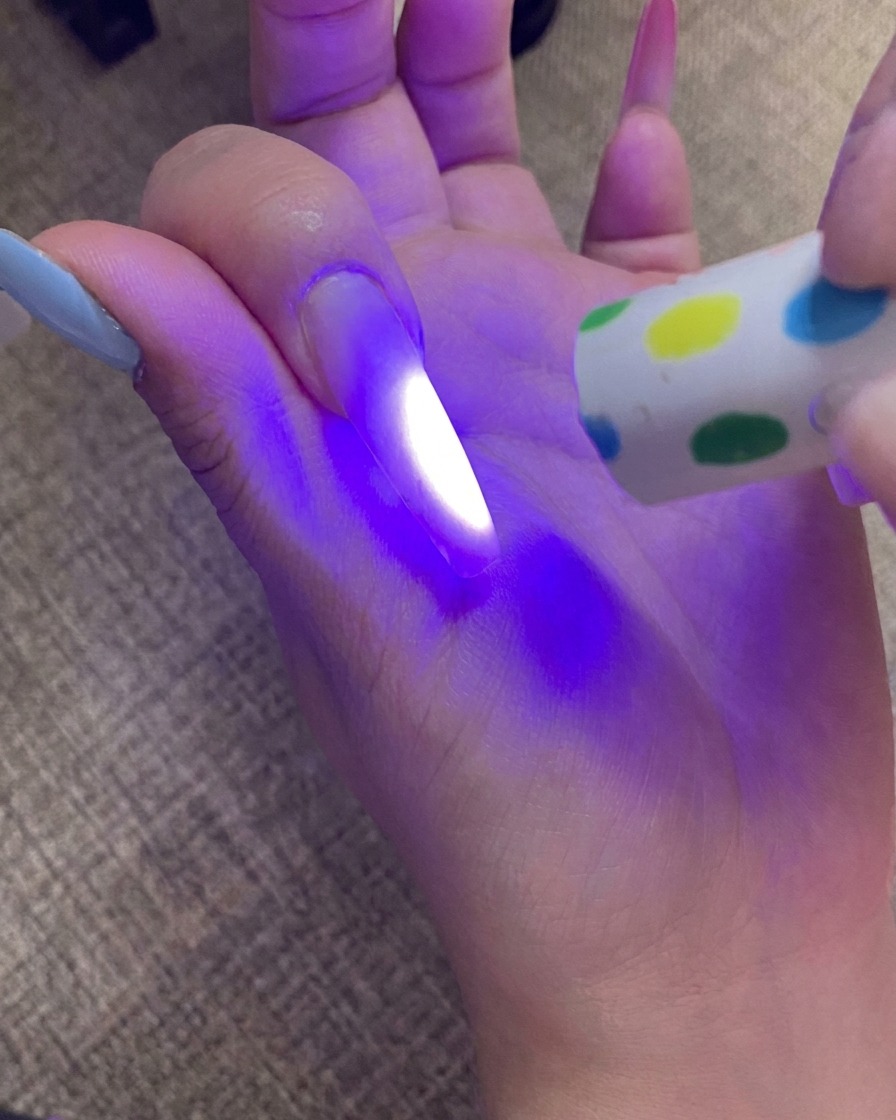
Once the ombre gradient is blended to your satisfaction, place the nail under the UV/LED lamp to cure the number 12 gel layer. This will lock in the gradient effect before proceeding to the next step.
Tip: Ensure the nail stays still under the lamp to maintain the blended ombre transition. - 5Apply and cure base coat
Apply a thin layer of clear base coat over the entire nail to provide a smooth, tacky surface for the cat eye gel. Once applied smoothly, cure the base coat completely under your UV or LED lamp.
Tip: Cap the free edge of the nail with the base coat to seal the layers and increase longevity. - 6Apply cat eye gel
Apply a layer of the light champagne-colored cat eye gel over the nail. Do not cure yet; this gel contains magnetic particles that need to be manipulated to create the cat eye effect while the product is still wet.
Tip: Ensure the layer is even to allow the magnetic particles to move uniformly when you use the magnet. - 7Create the cat eye effect
While the cat eye gel is still wet, hold your magnetic tool over the nail for a few seconds to shift the magnetic particles into your desired pattern. Move the magnet at different angles to create deep, shimmering lines or gradients. Once you are happy with the cat eye design, place your hand into the UV or LED lamp to cure the gel and lock the effect in place.
Tip: For a sharper line, hold the magnet closer to the nail surface, but be careful not to touch the wet gel. - 8Cleanse the nail
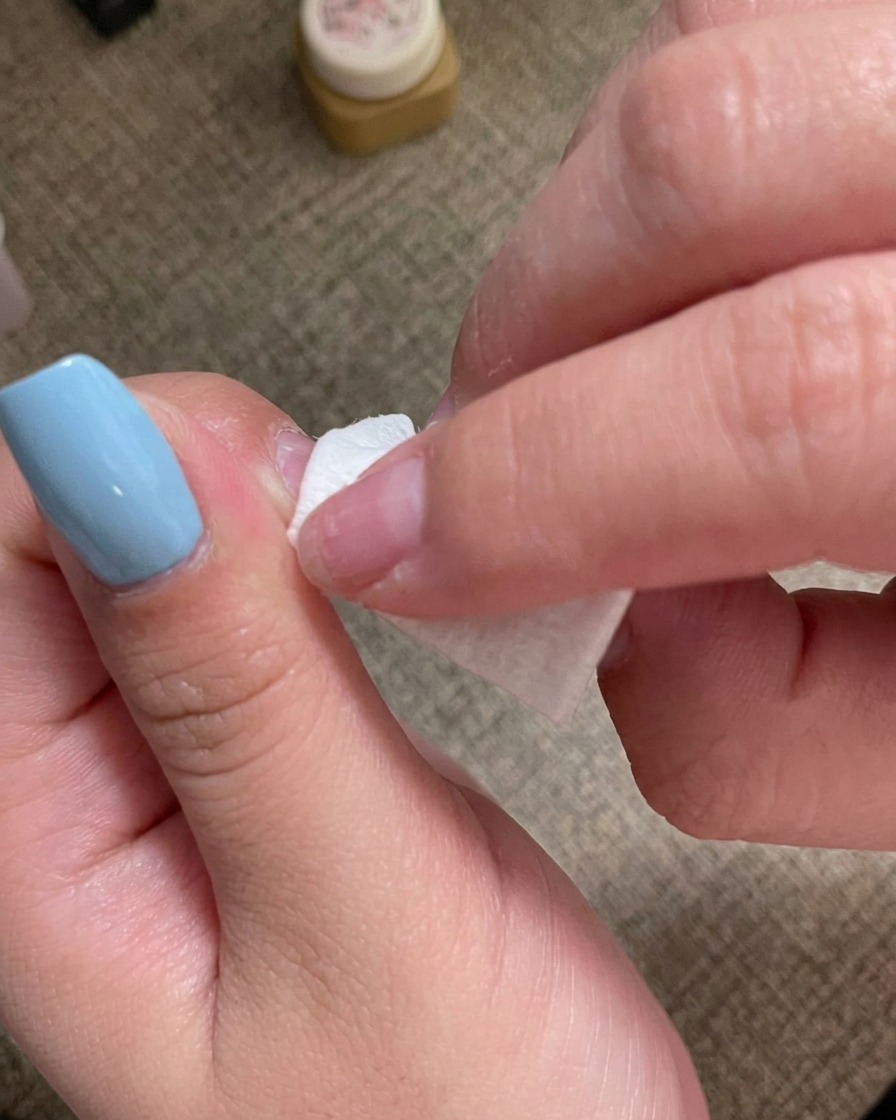
Using a lint-free wipe dampened with cleanser or high-percentage isopropyl alcohol, gently wipe away the tacky inhibition layer from the surface of the cured nail. This ensures a smooth, non-sticky finish and allows you to see the true clarity and color of your manicure.
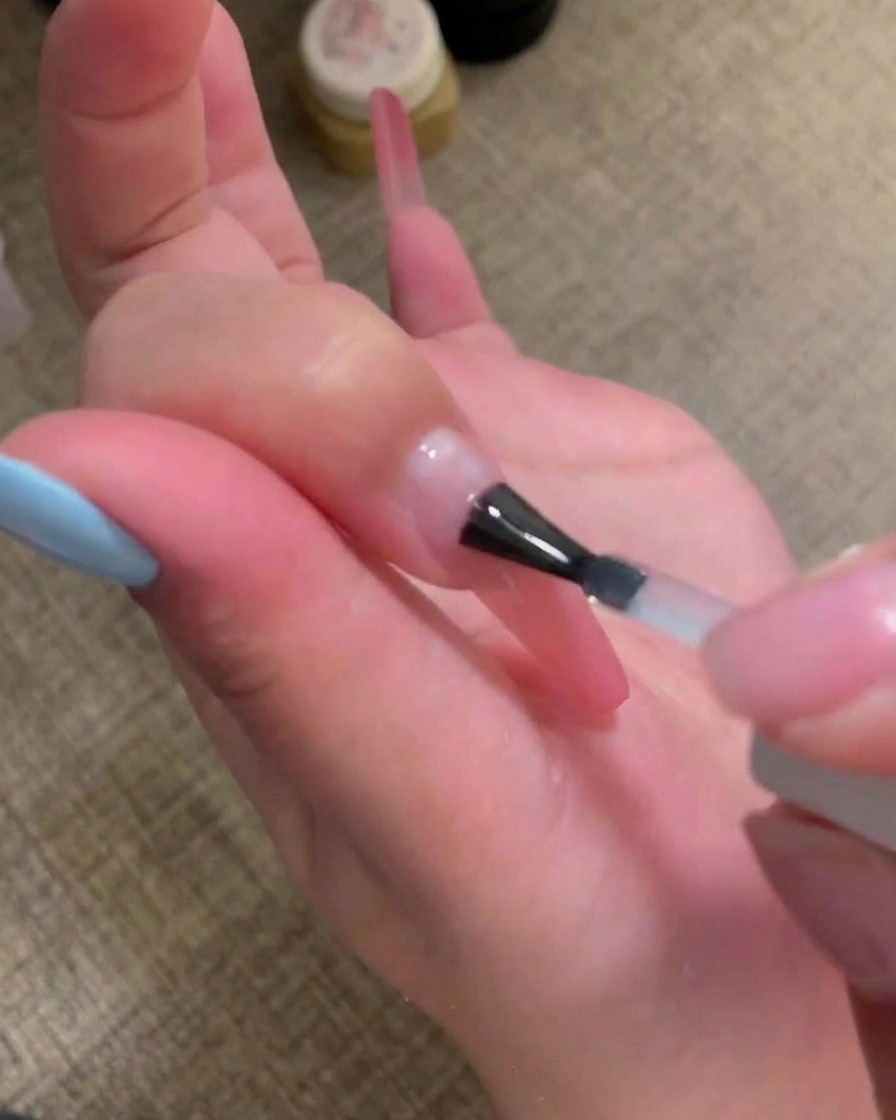
Tip: Use a fresh section of the wipe for each nail to avoid spreading the sticky residue back onto the surface. - 9Seal the tips
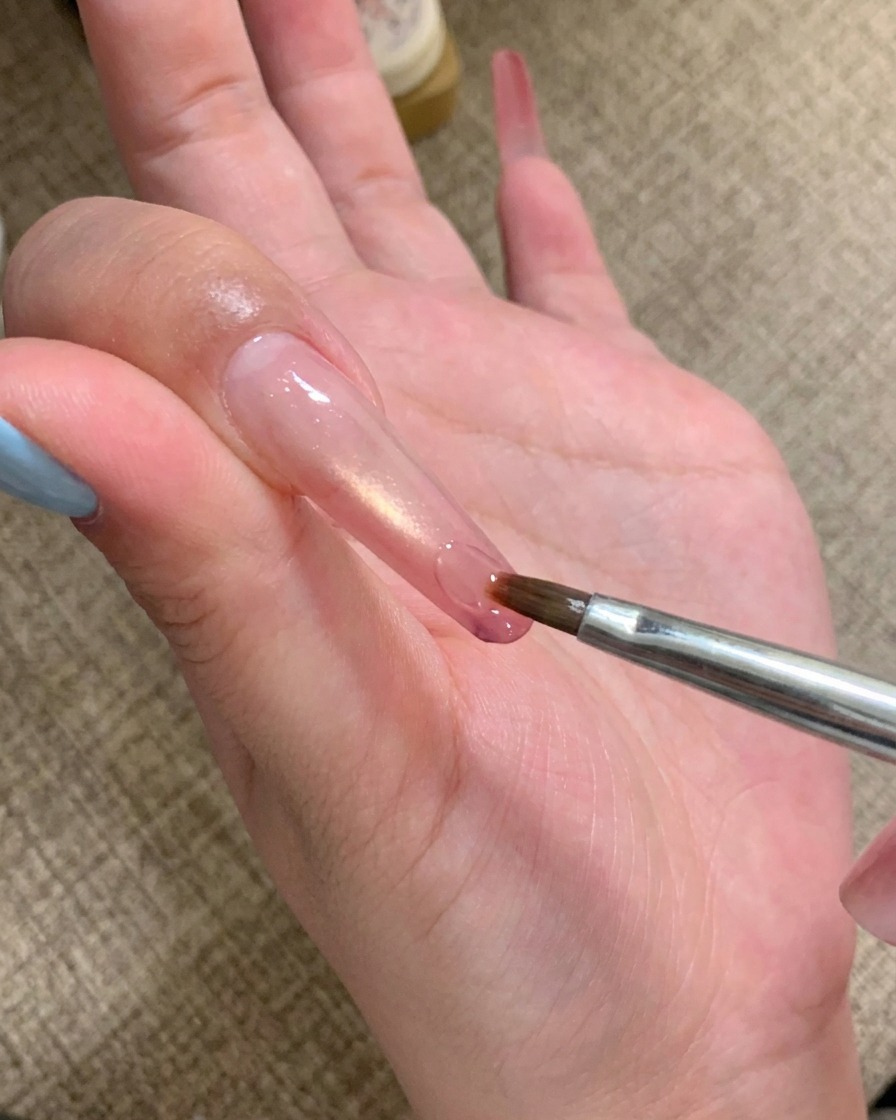
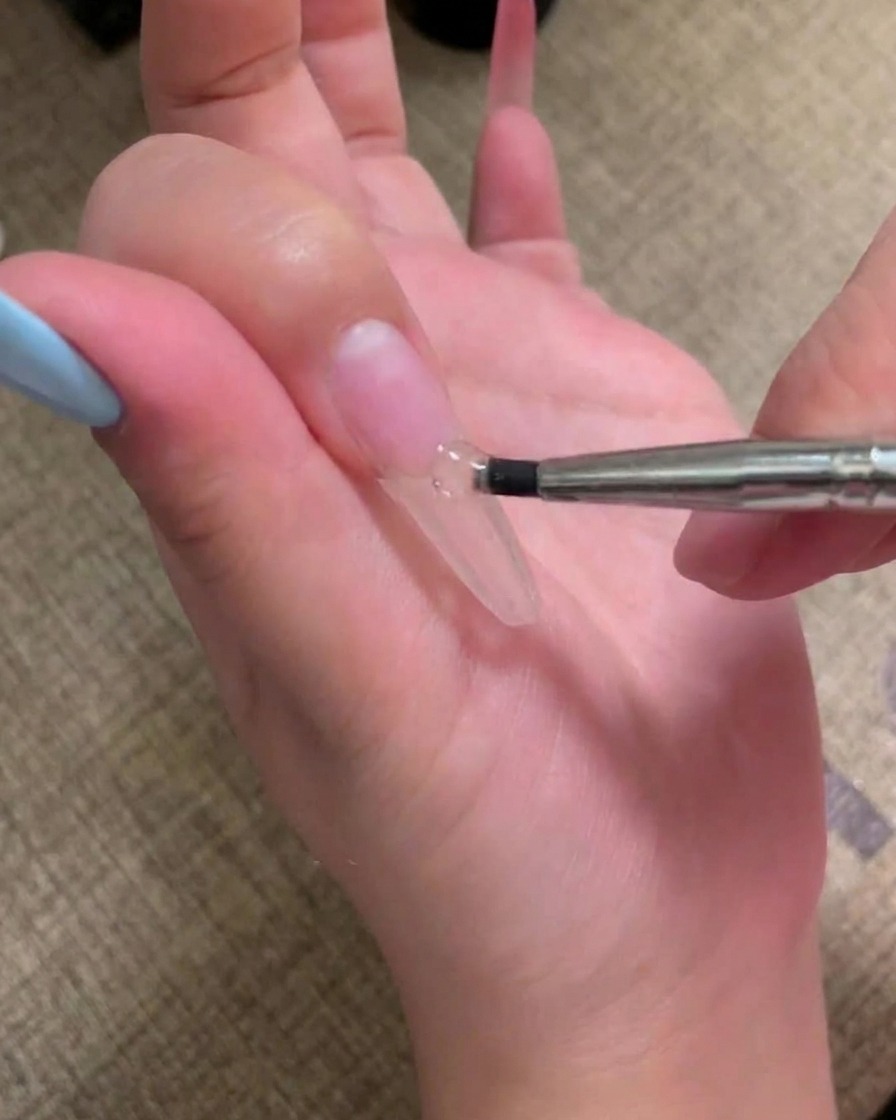
Using a fine-detail brush, apply a controlled, small amount of adhesive gel specifically to the free edge or tips of the nails. This step seals the tip and secures the structure at the edge, ensuring durability for the finished look.
Tip: Keep the layer thin to avoid bulkiness at the tip, which can cause the nail to look rounded or uneven. - 10Final cure
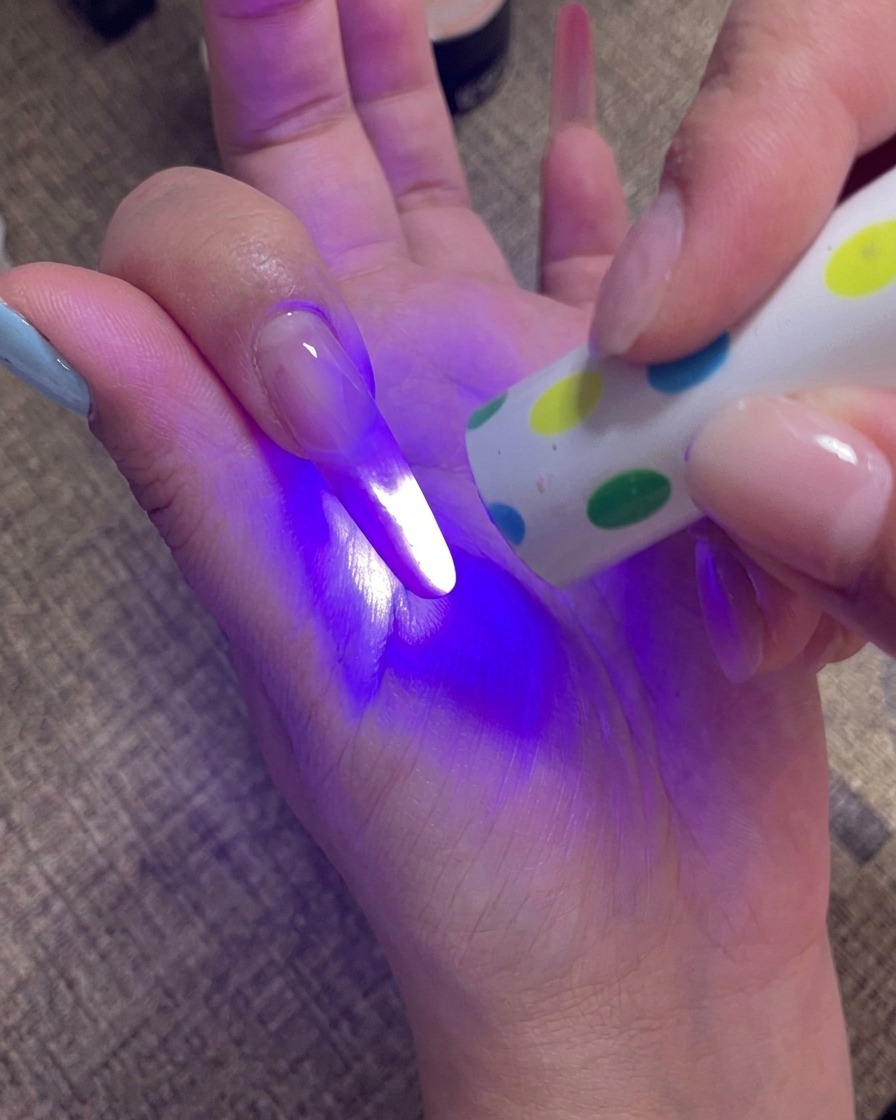
Place your nails under the UV/LED lamp for the final cure. This step locks in the adhesive and ensures the entire manicure is fully set, hardened, and ready for daily wear.
Tip: Ensure your fingers are positioned directly under the light source for an even, thorough cure across all nails.