Nude Pink Ombre Nails — Beginner Step-by-Step Tutorial
Achieve a salon-quality nude pink ombre manicure at home with this easy sweeping brush technique. This soft, gradient look is perfect for any occasion.
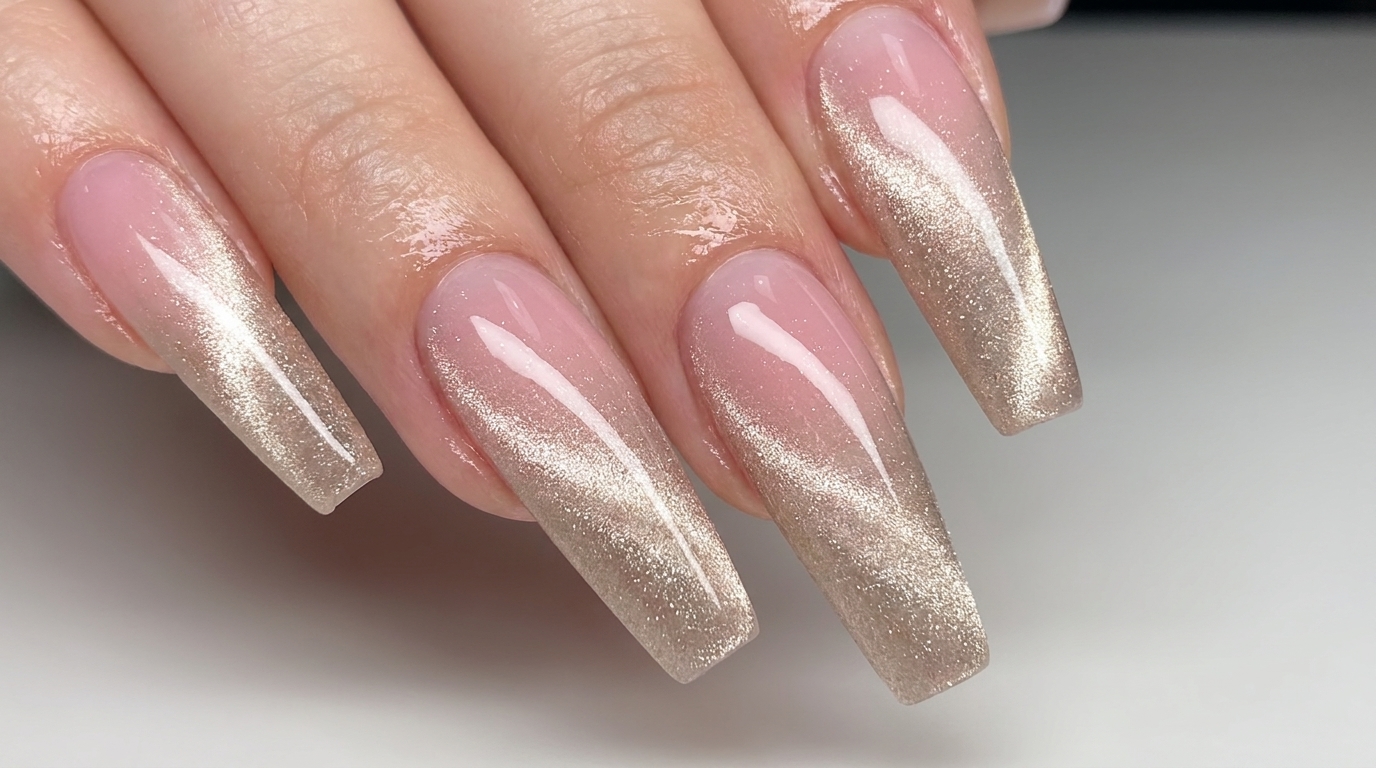
The nude pink ombre look is a timeless, sophisticated choice that elevates your natural nails with a subtle, gradient finish. By mastering the art of the sweeping brush technique, you can create a seamless transition between sheer and opaque tones without needing professional equipment. This tutorial guides you through the layering process to ensure a professional, glossy result every time.

Steps
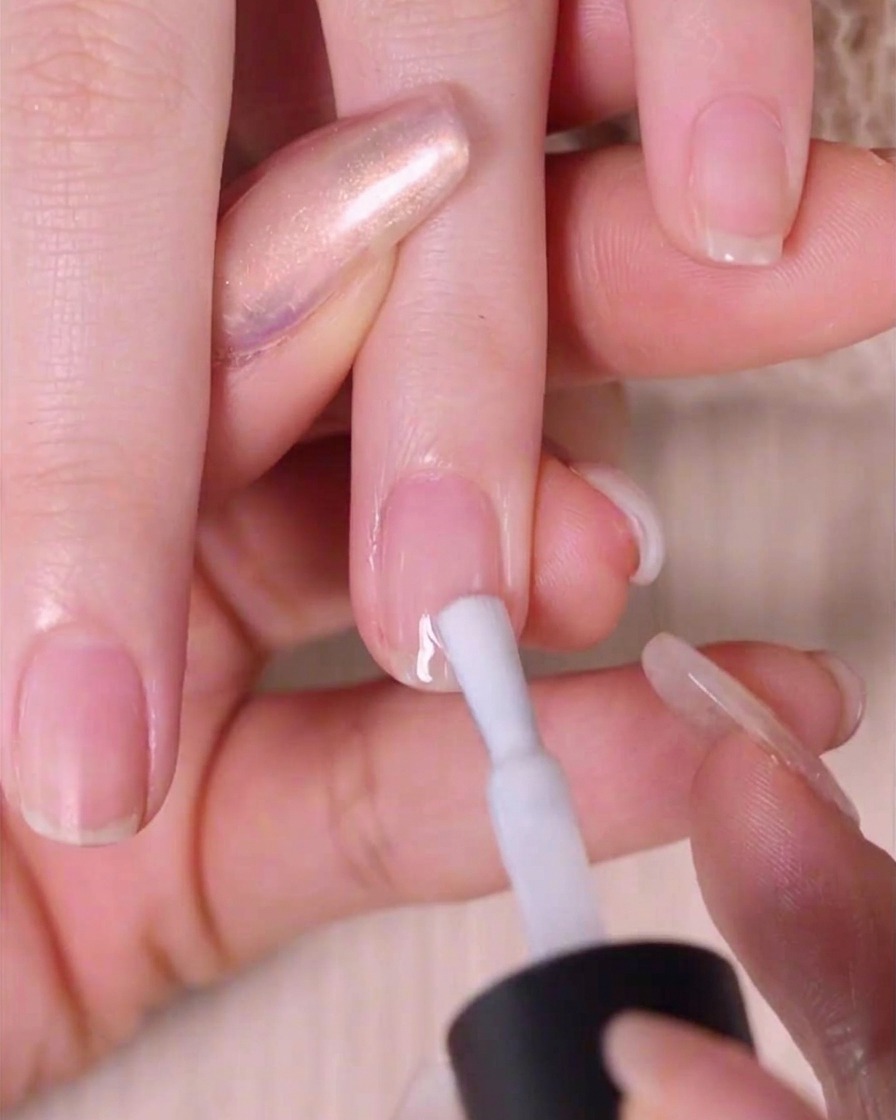
- 1Apply a clear base coat
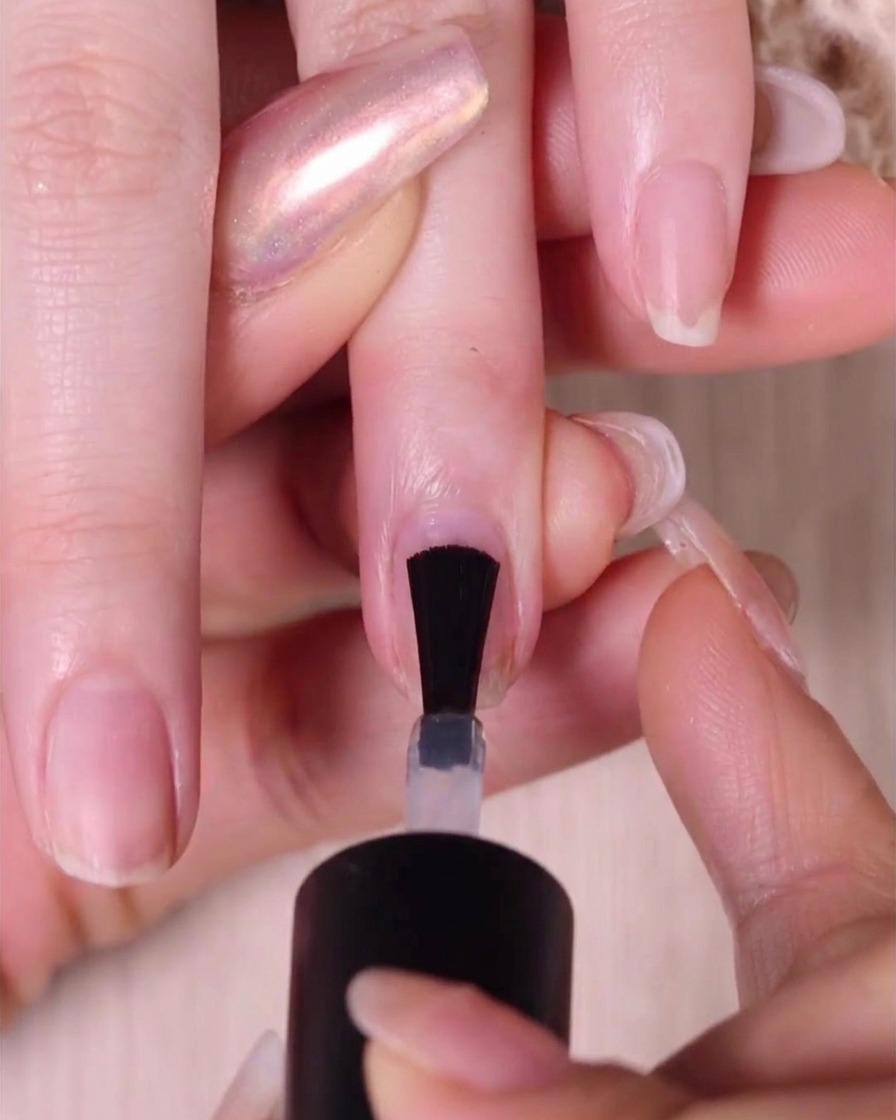
Begin by applying a thin, even layer of clear base coat across the entire natural nail. This step creates a smooth foundation for your color, improves polish adhesion, and protects the natural nail plate from any potential staining.
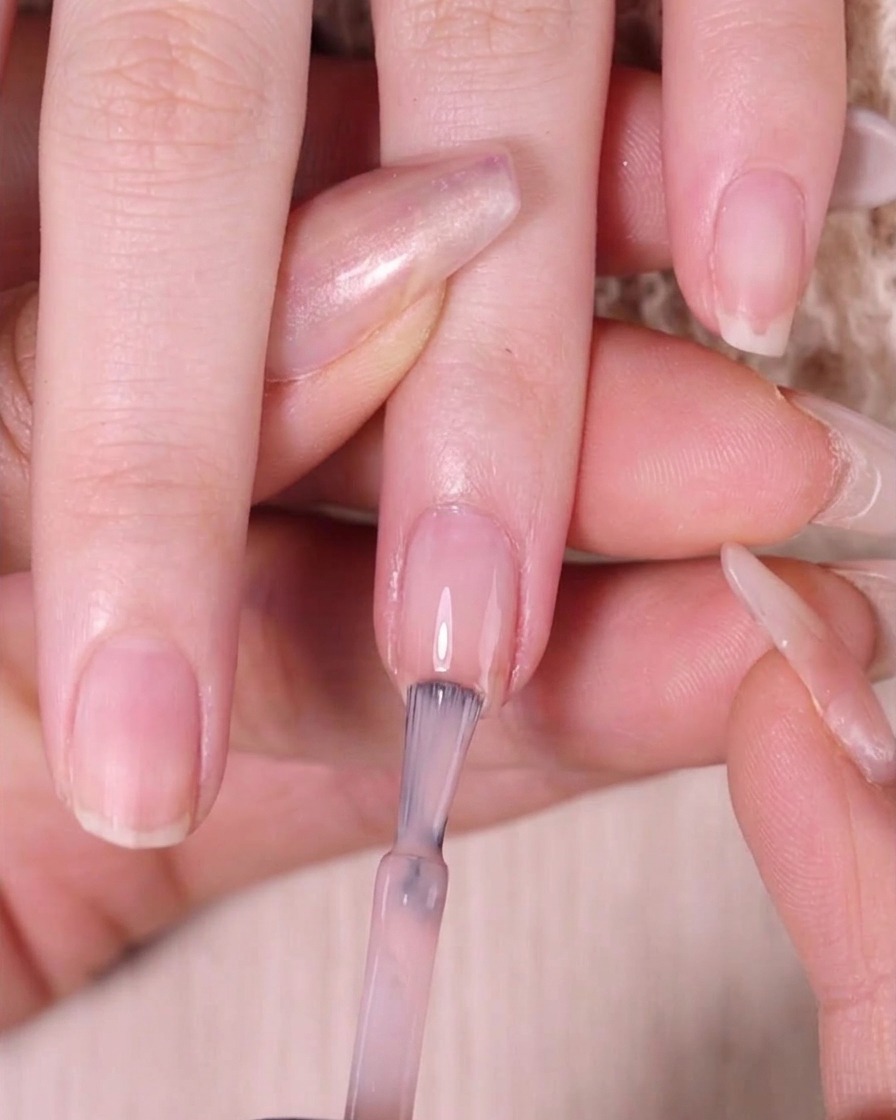
Tip: Allow the base coat to dry completely before proceeding. You can use a hair dryer on the cold setting to speed up this process. - 2Apply sheer white base color
After applying a layer of base coat and letting it dry, apply one or two thin layers of sheer white polish to serve as the base color for your gradient. If you have naturally pale nails, you can skip this step. Let the polish dry completely; you can use a hair dryer on the cold setting to speed up the drying process.
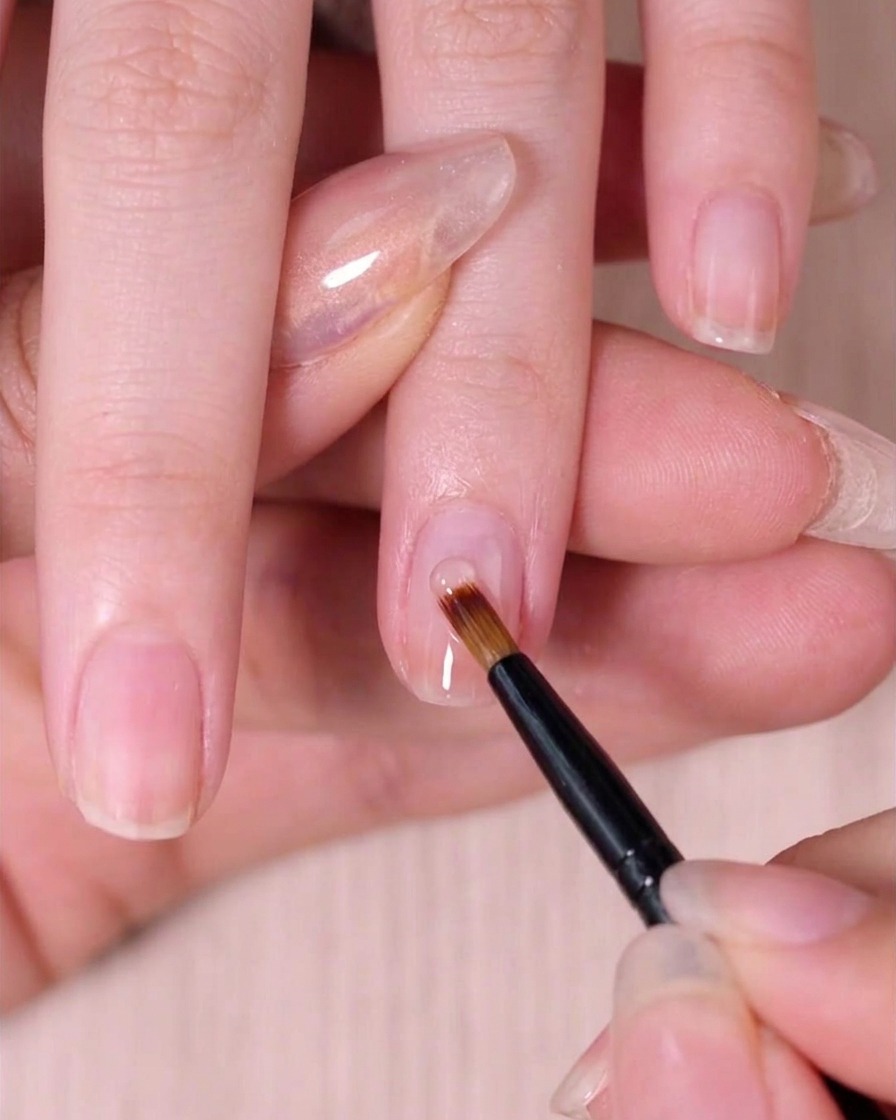
Tip: Using a cold hair dryer is a great trick to set regular polish faster between gradient layers without causing bubbles. - 3Apply the first color layer
Take your nude pink polish and apply it to the top third of the nail near the cuticle area. Focusing the color here allows you to pull it downward, creating the foundation for your gradient.
Tip: Apply this layer thinly to ensure it blends effortlessly without creating a bulky ridge on the nail. - 4Blend to create a gradient
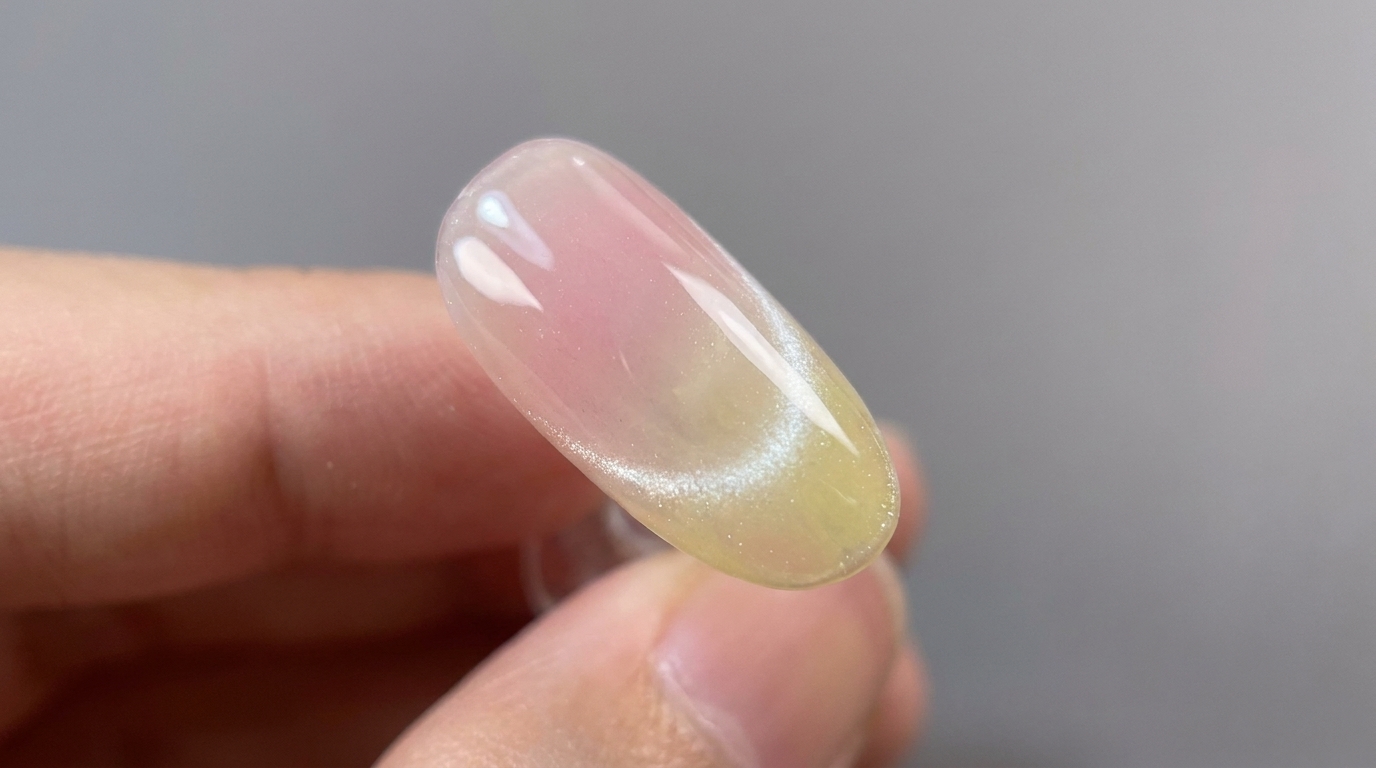
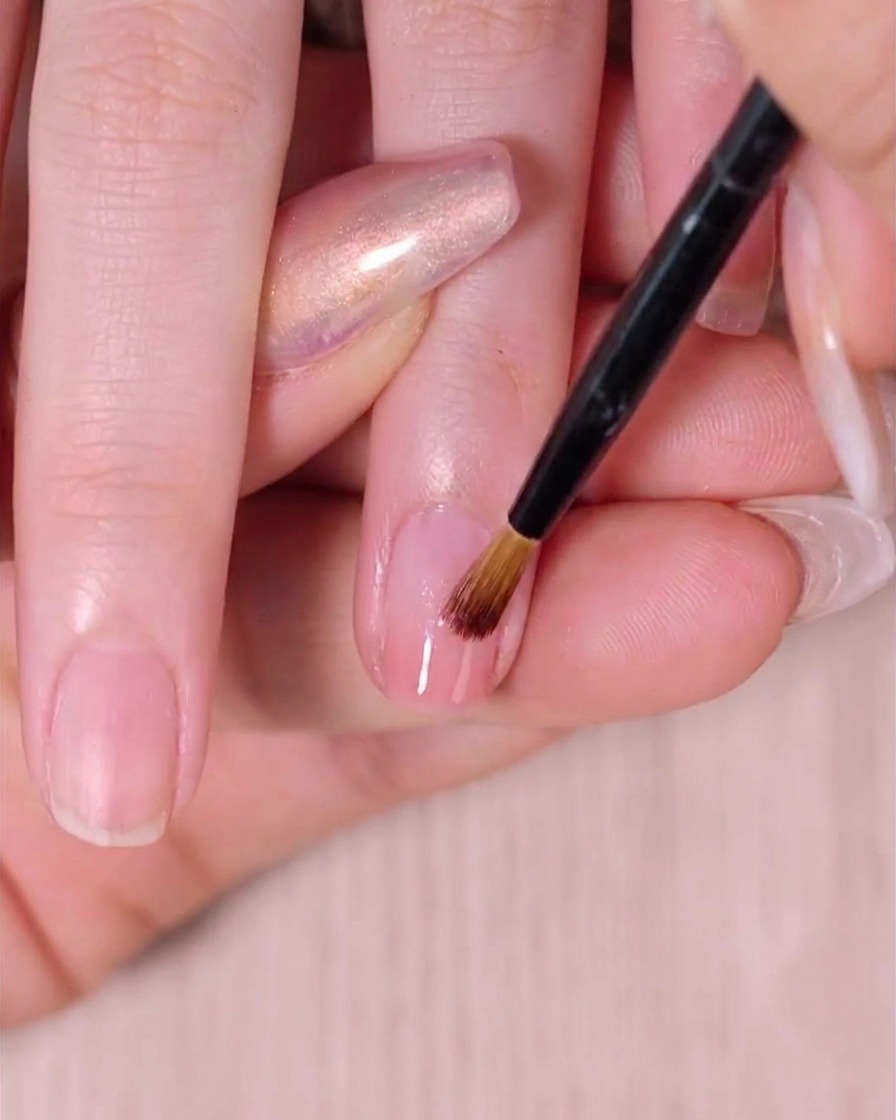
While the nude pink polish is still wet, take a clean sweeping brush and gently pull the color downward toward the tip of the nail. Use light, feathery strokes to diffuse the harsh line into a seamless, faded gradient.
Tip: Work quickly while the polish is still wet to get the smoothest transition possible. - 5Apply the second color layer
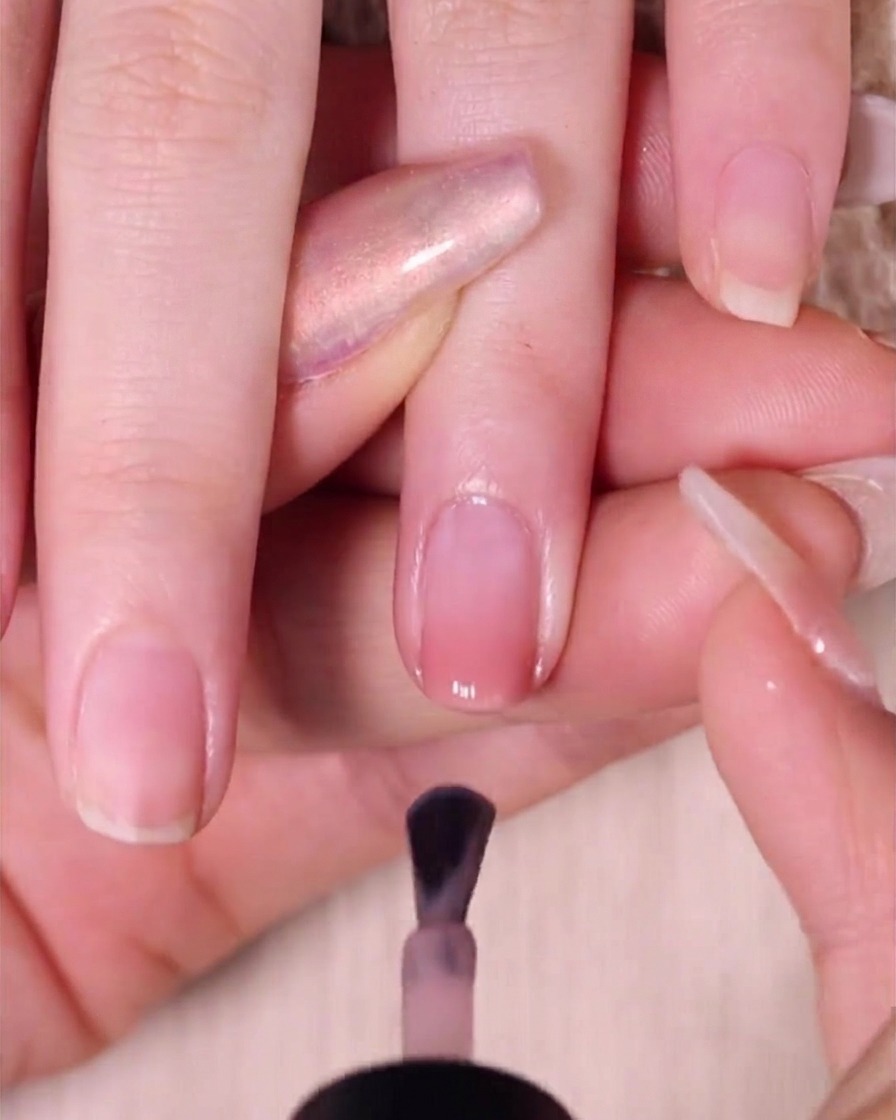
Once the first layer is dry, apply a second coat of the nude pink polish. Bring this coat down to cover about the top half of the nail to build depth and opacity toward the base.
Tip: Building the color gradually in layers gives the most natural and flawless ombre result. - 6Deepen the gradient blend
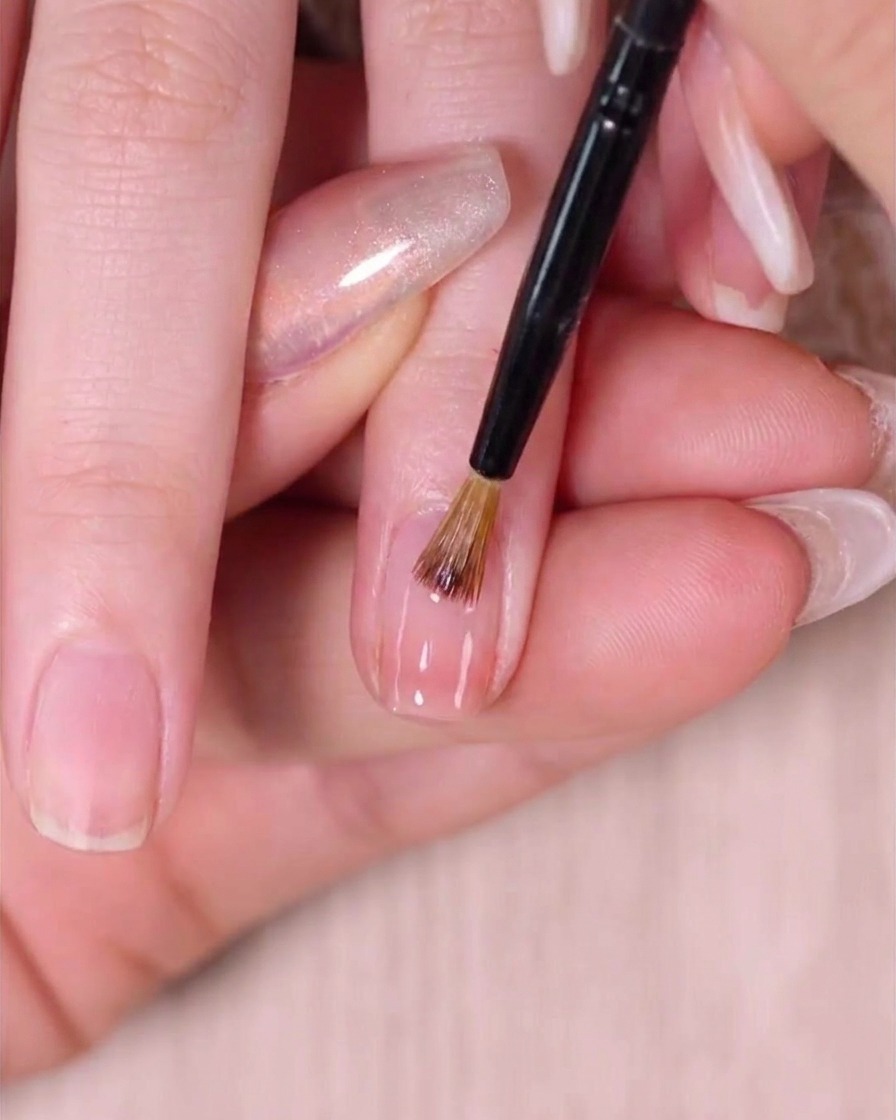
Immediately after applying the second color layer, use your sweeping brush again to blend the polish downward. This second pass intensifies the nude pink hue near the cuticle while maintaining the soft, diffused look at the tip.
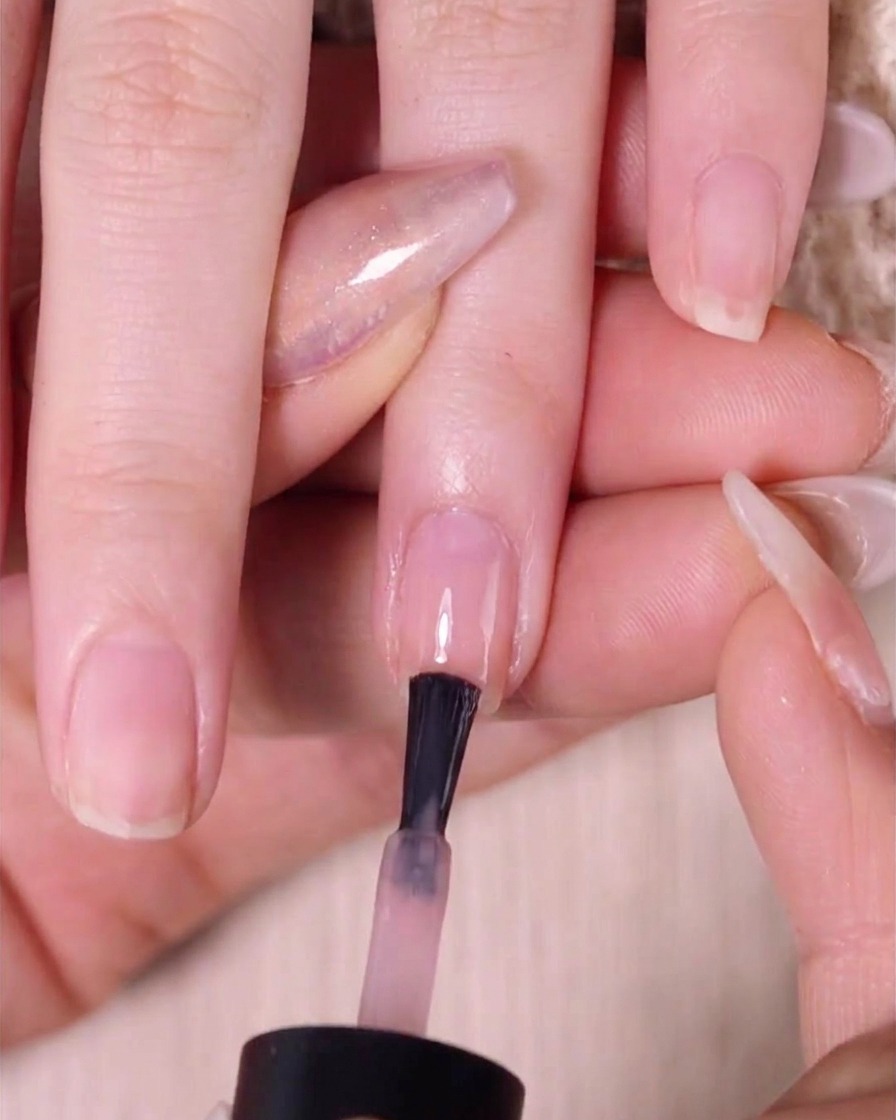
Tip: Use a very light touch so you do not drag the polish too far down and lose the sheer effect at the free edge. - 7Apply a full layer of color
After the gradient layers on the tip have dried, apply a thin, even layer of the nude pink polish over the entire nail. Carefully avoid the cuticle area to ensure a clean, professional finish.
Tip: Applying the polish slightly away from the cuticle and carefully pushing it back helps prevent pooling at the nail base. - 8Blend the final color layer
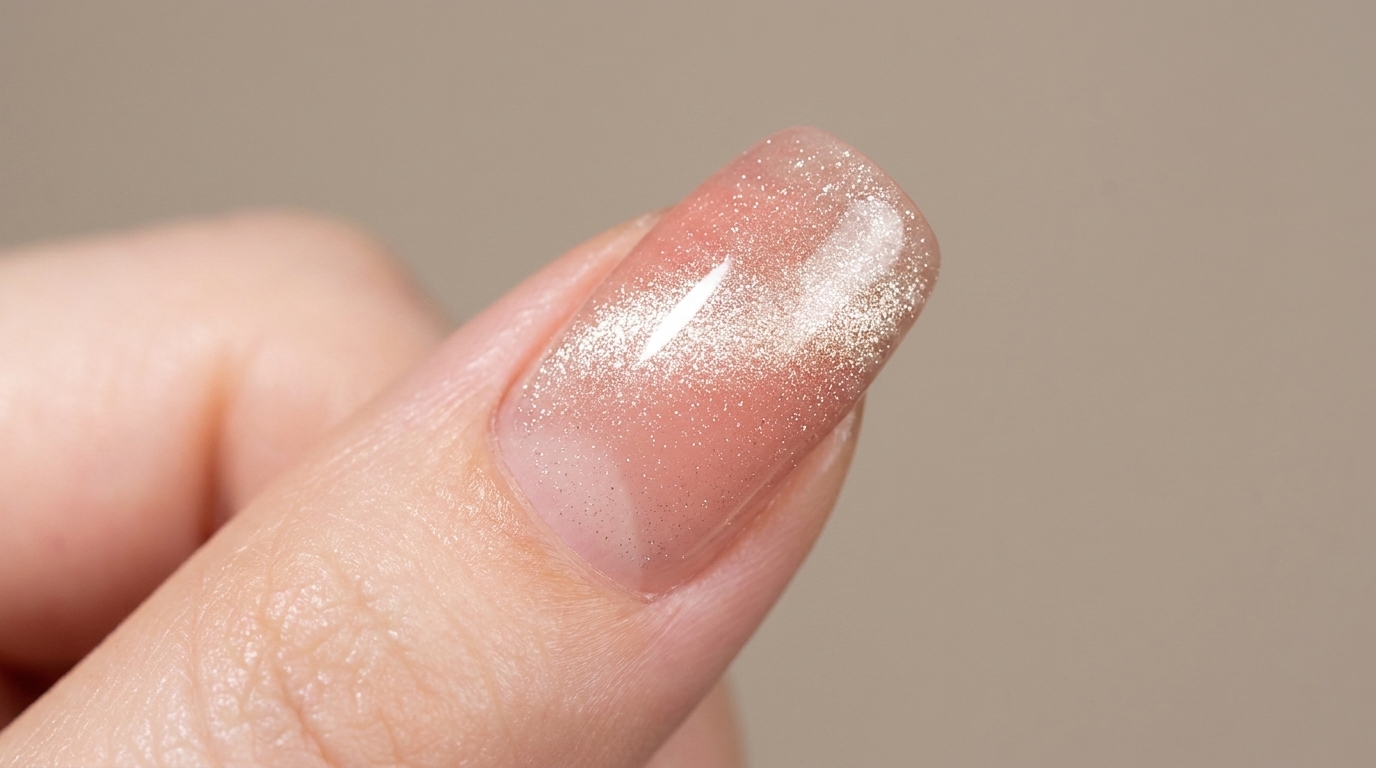
Without waiting for the full layer of color to dry, use a sweeping brush to gently blend the polish at the base and midsection of the nail. This final blending step ensures the color transitions seamlessly and creates a natural-looking gradient finish.
Tip: Keep a very light touch with the sweeping brush so you only feather the top layer of polish without dragging the base colors underneath. - 9Seal with a top coat
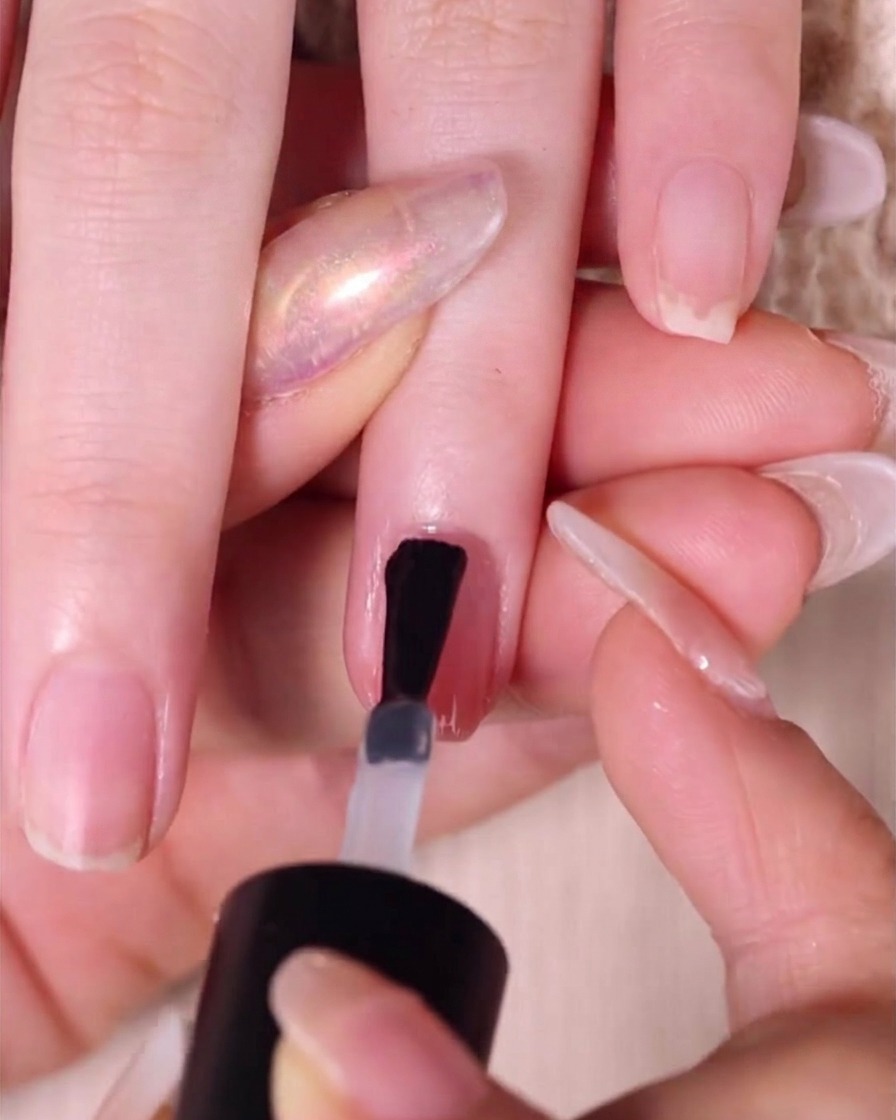
Wait for the entire ombre design to dry completely. Finally, apply a generous layer of clear glossy top coat over the entire nail to smooth out any ridges from the gradient blending, seal in the color, and finish your manicure with a beautiful shine.
Tip: Always cap the free edge of your nail with the top coat to prevent the polish from chipping prematurely.