Dopamine Macaron Rainbow Cat-Eye Nails — Step-by-Step Tutorial
Create a dreamy, multi-dimensional rainbow effect with this sweet macaron-inspired cat-eye nail art tutorial, perfect for a soft and playful finish.
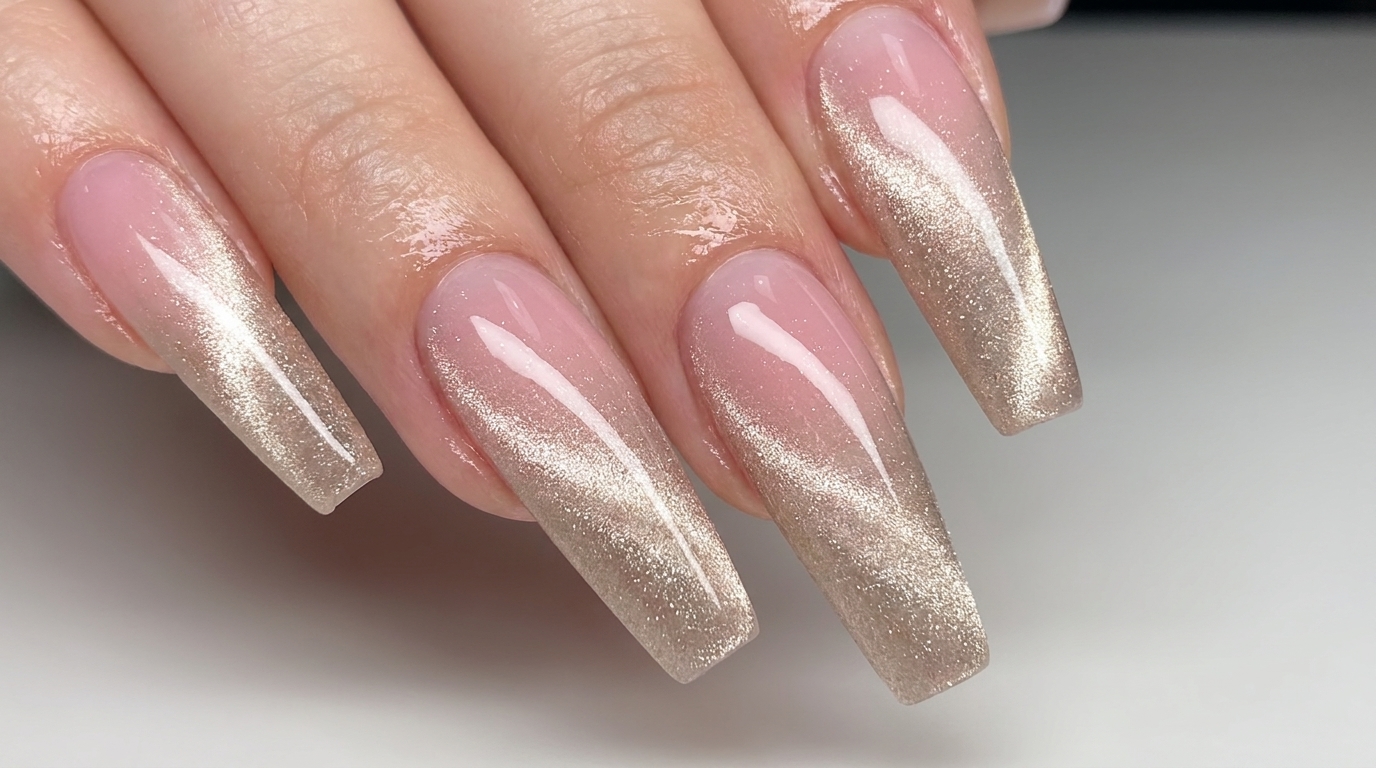
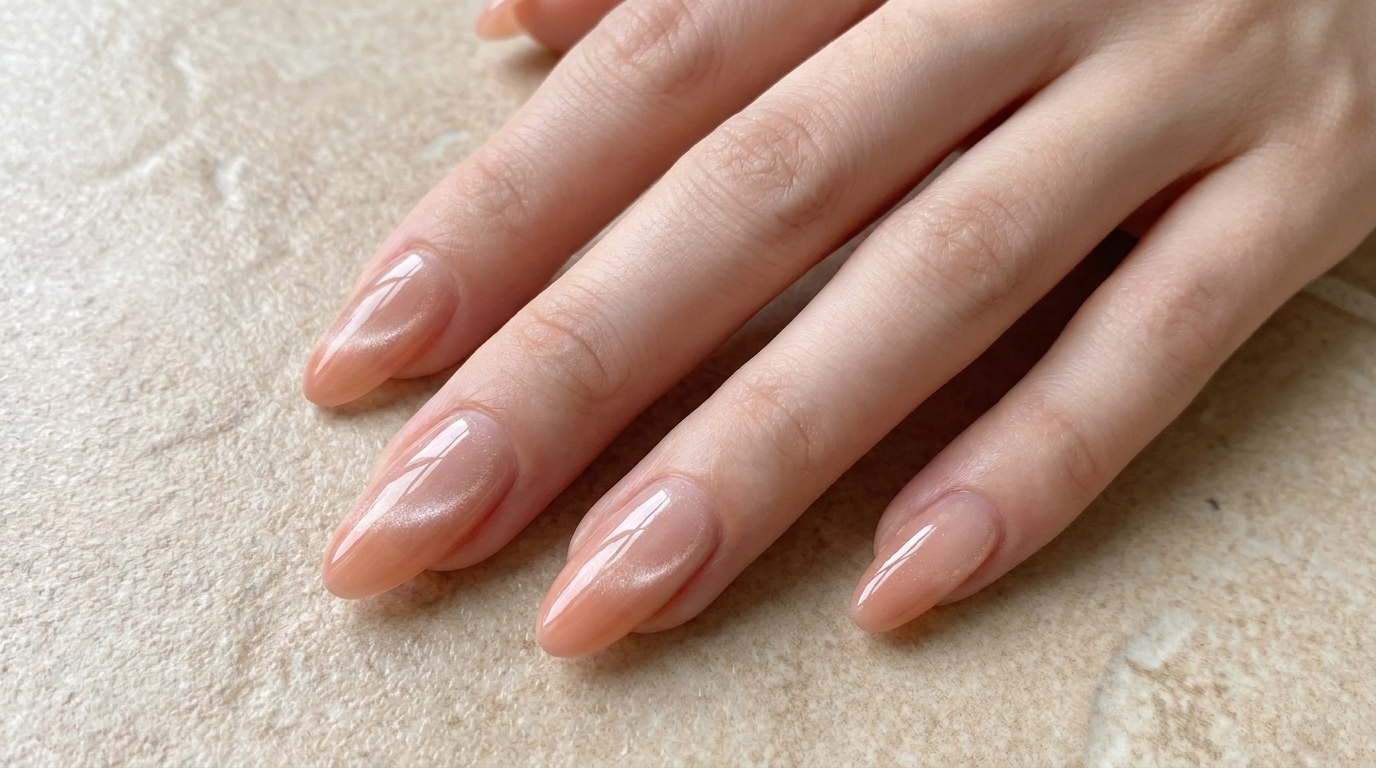
The macaron-inspired trend brings a soft, candy-colored aesthetic to your fingertips, combining delicate pastel gradients with the high-tech depth of magnetic cat-eye polish. This look captures a playful, dreamy rainbow effect that is both sophisticated and fun. Follow along as we master the technique of layering sheer colors and magnetic pigments to achieve this mesmerizing light-catching finish.
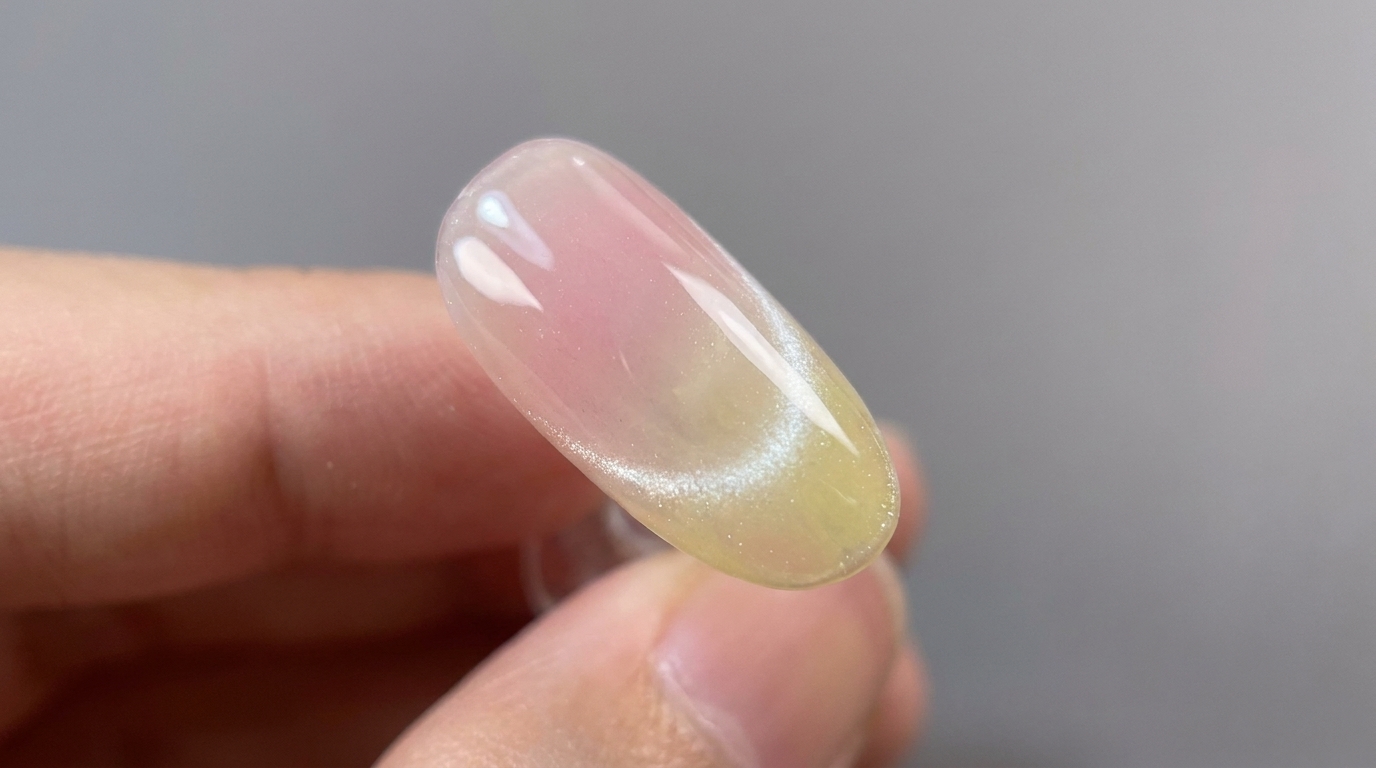
Steps
- 1Dab on blush pink base
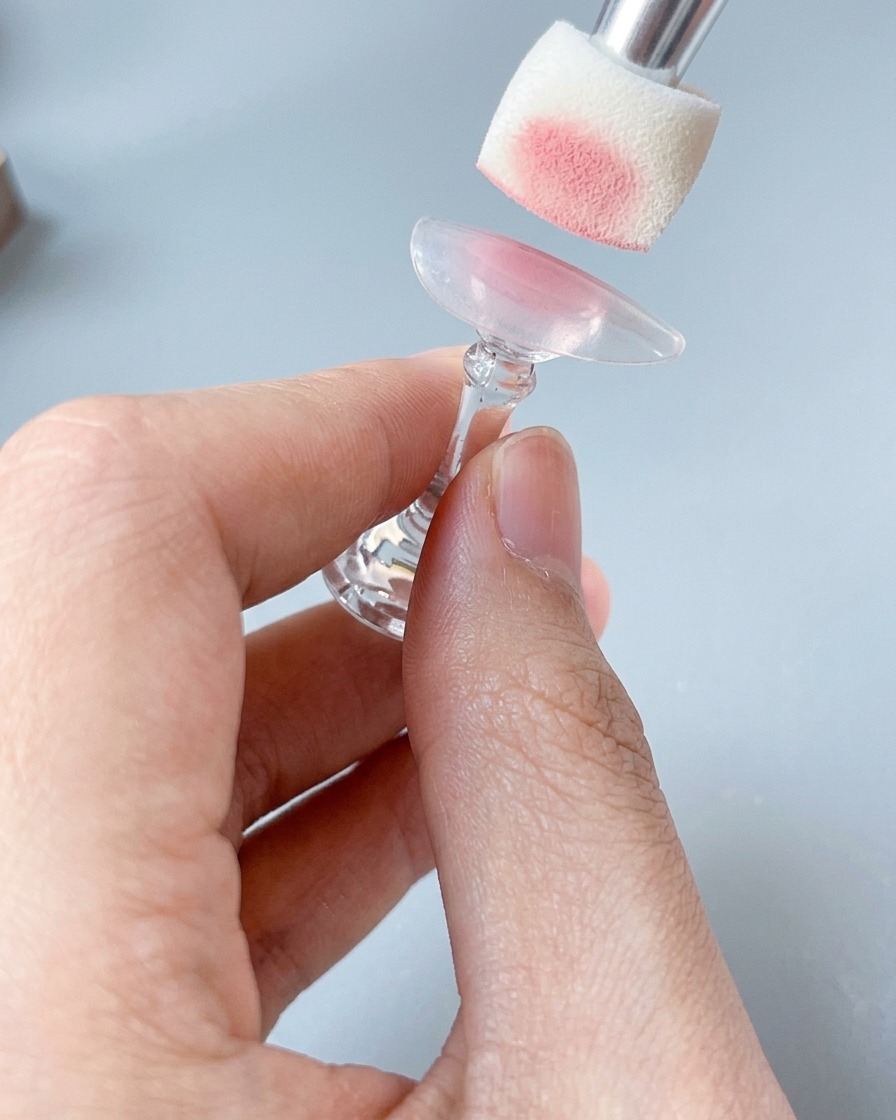
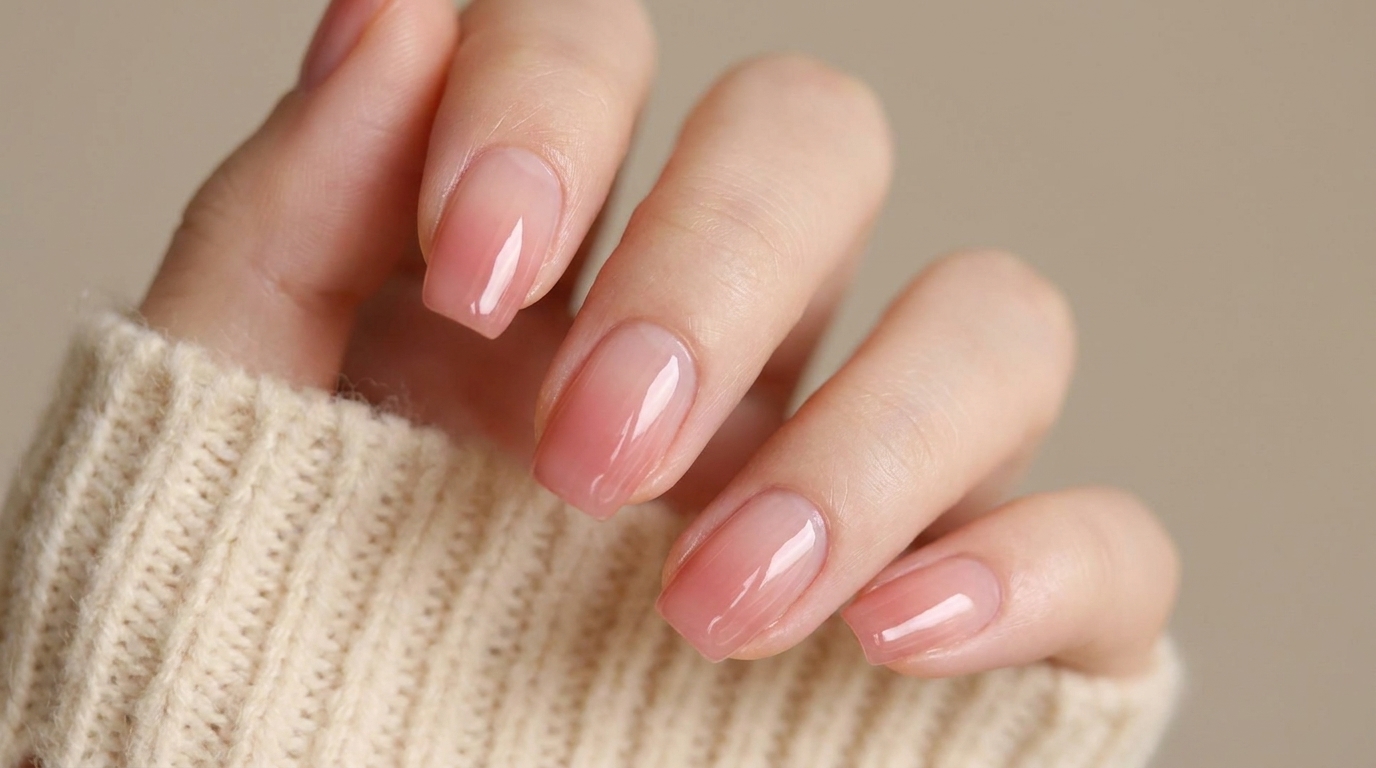
Using a sponge applicator, lightly dab your chosen blush pink gel color onto the nail surface. Focus the pigment towards the center of the nail to create a soft, diffused color base. Ensure the layer is thin to allow for even curing before moving to the next step.
Tip: Use a light tapping motion with the sponge to achieve a smooth, airbrushed look without harsh texture. - 2Apply sheer nude color
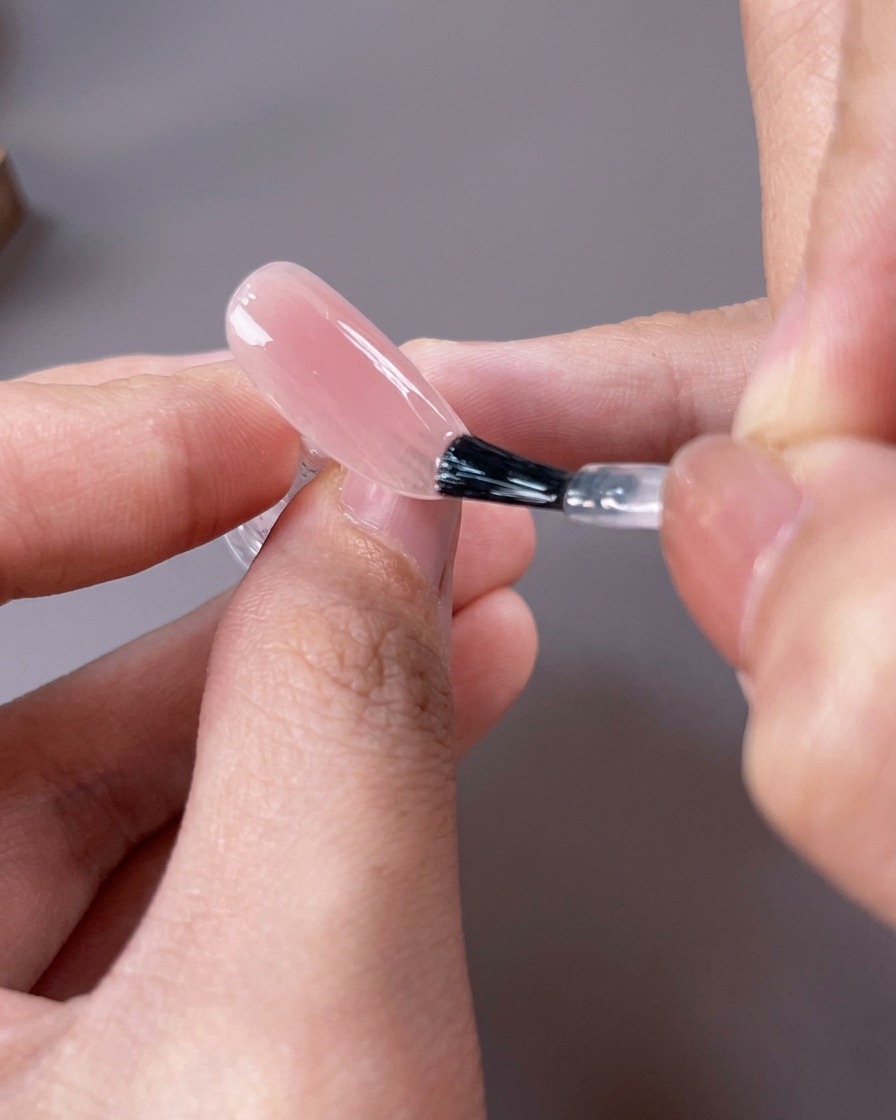
Once the initial pink layer is cured, apply a thin, even coat of sheer nude gel over the entire nail. This layer helps to soften the transition and blends the previous color, providing a clean, professional finish for the next stage of the design.
Tip: Apply the sheer color with long, smooth strokes to avoid streakiness. - 3Create a yellow gradient tip
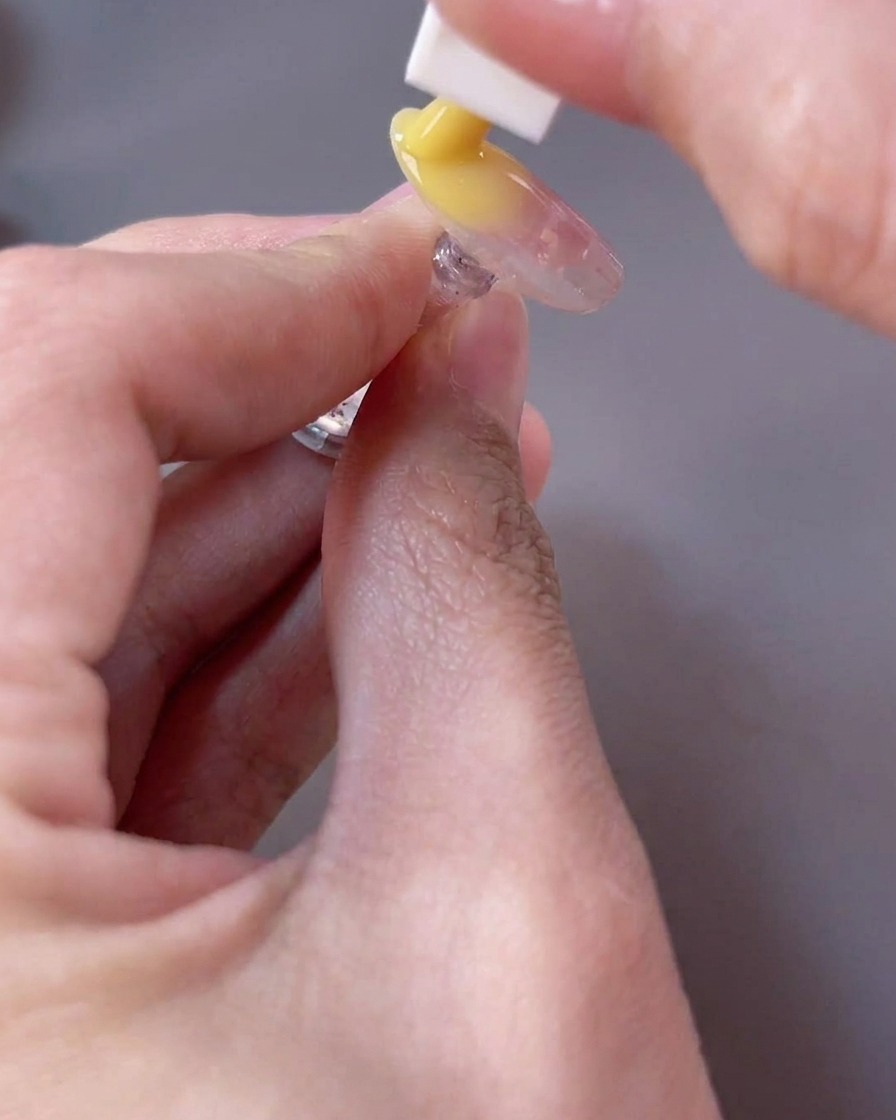
Apply yellow blooming gel specifically to the tip of the nail. Use a dabbing motion to concentrate the pigment at the very edge, allowing the gel to naturally bloom and create a soft, seamless gradient transition toward the center of the nail.
Tip: Blooming gel spreads on its own; apply a small amount first to control how far the color travels. - 4Apply clear base coat
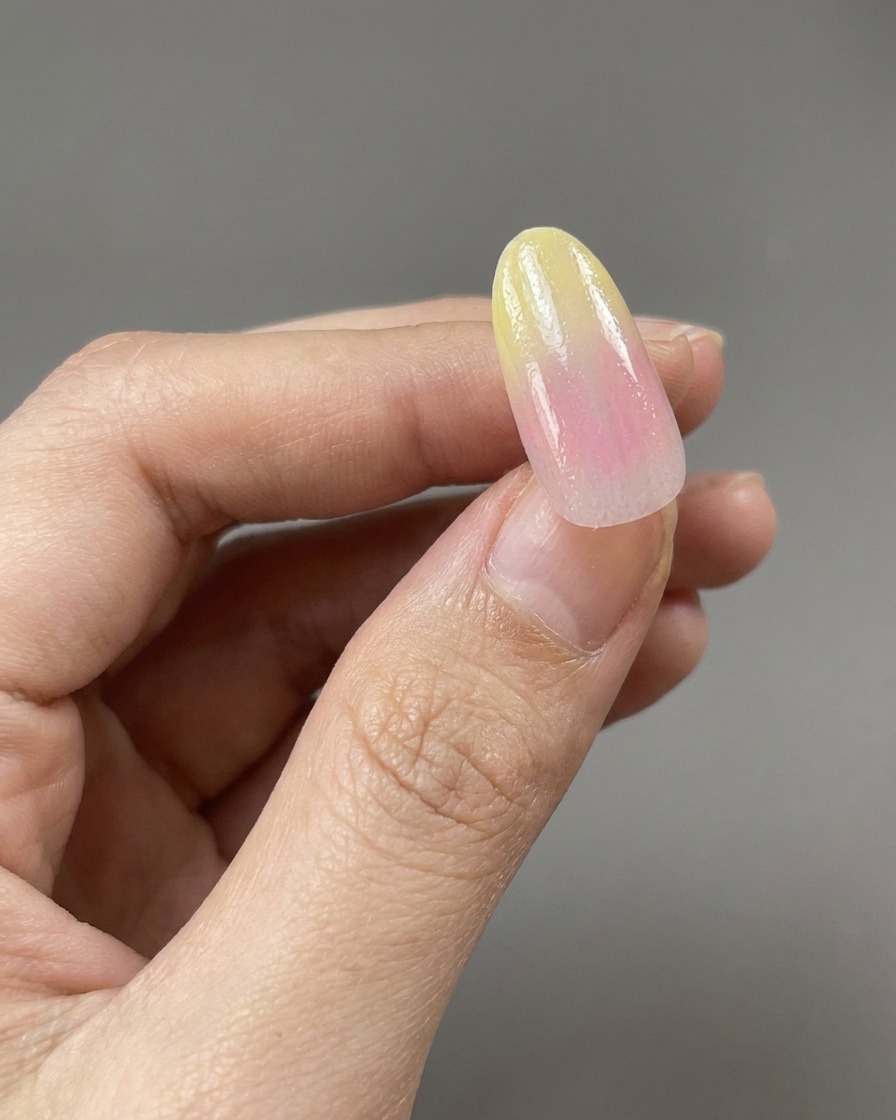
After the gradient is set, apply a thin layer of clear base coat over the entire nail. This step seals the design and provides a smooth, tacky surface for applying the subsequent cat-eye gel layer, ensuring optimal adherence and longevity of the manicure.
Tip: Cap the free edge with the base coat to prevent chipping. - 5Apply white cat-eye gel
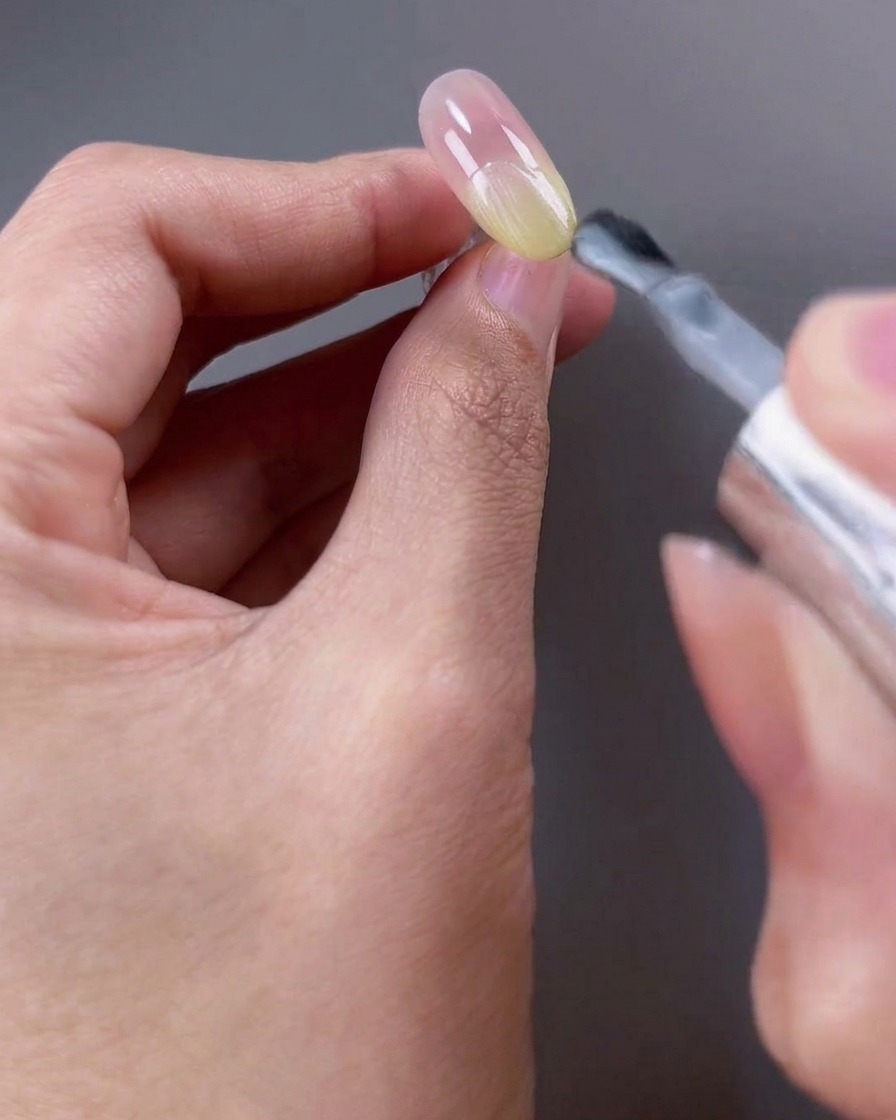
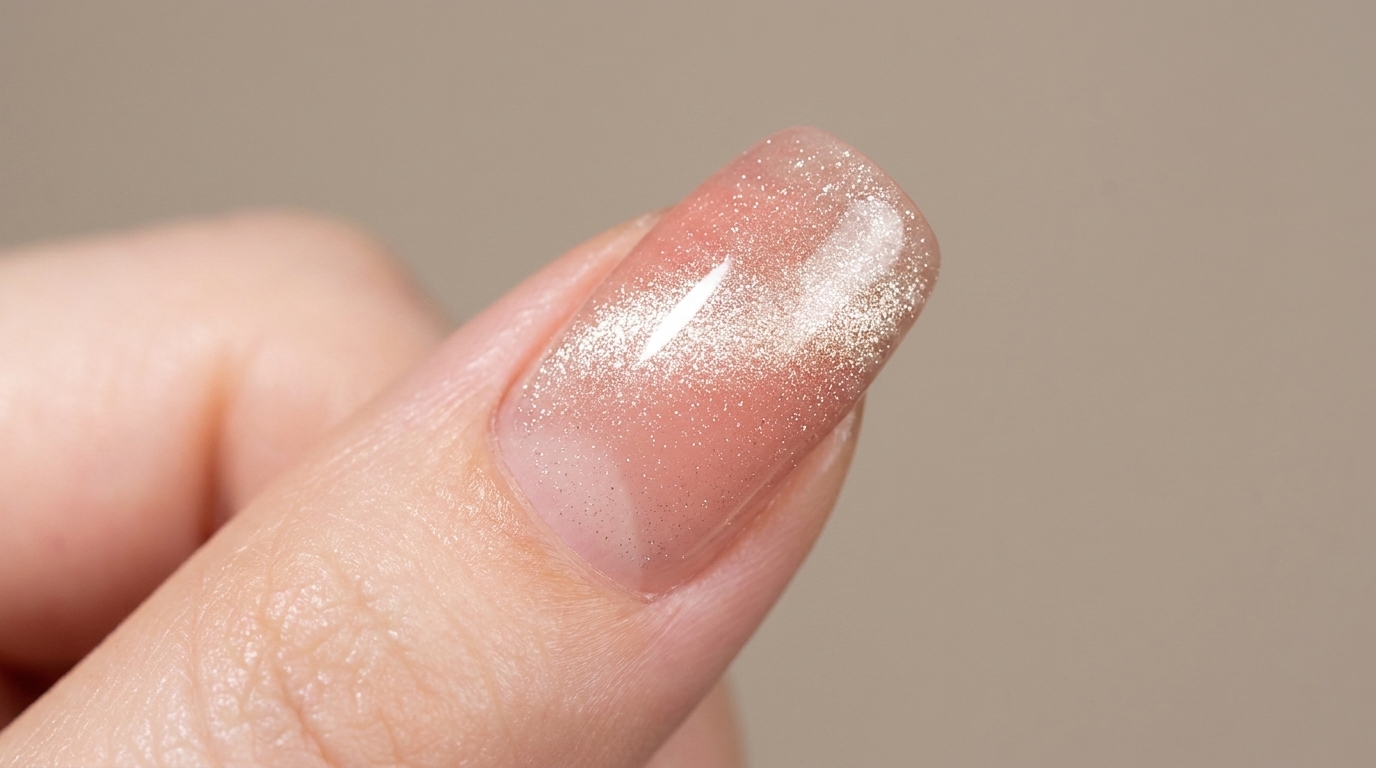
Carefully apply a layer of white sheer cat-eye gel to the outer half of the nail. This specific placement sets the stage for creating the cat-eye magnetic effect, allowing you to manipulate the shimmer particles to create a soft, dimensional gradient across the nail surface.
Tip: Keep the layer thin to ensure the magnetic particles can move freely within the gel. - 6Blend the cat-eye gradient
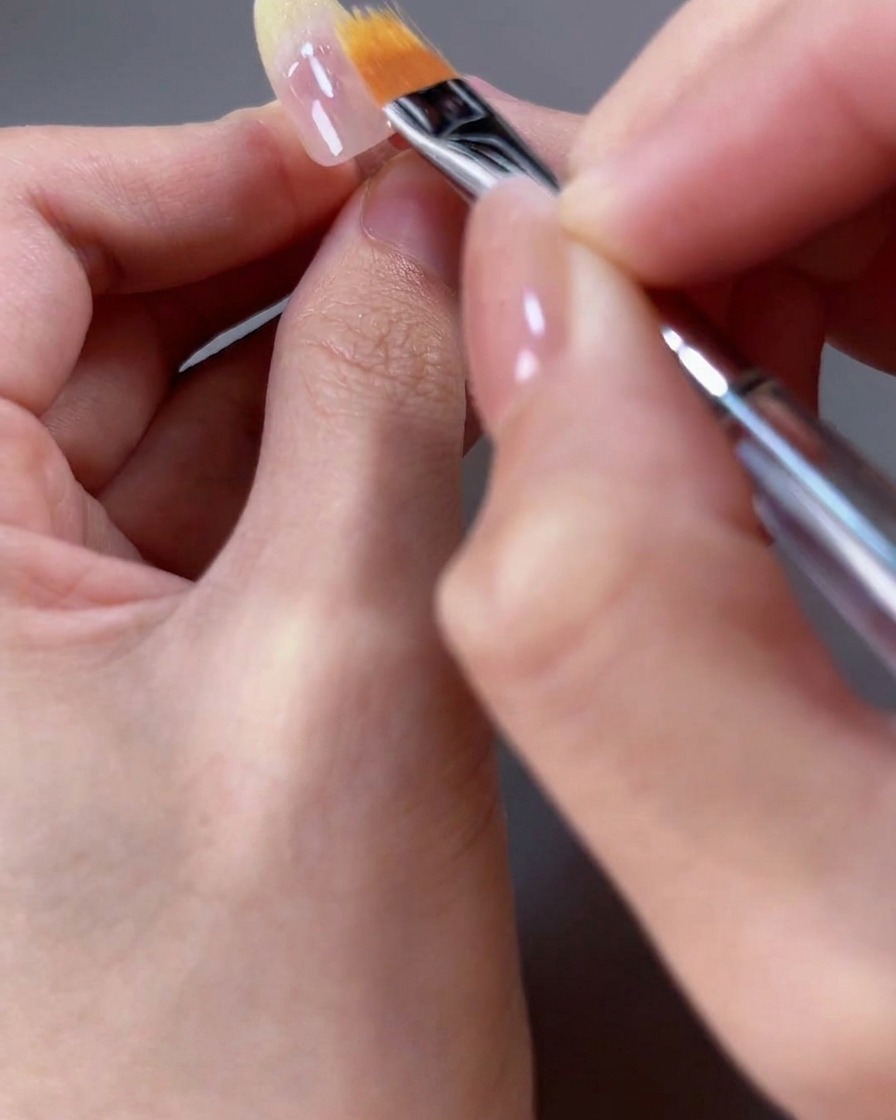
Using a clean, flat nail art brush, gently blend the edges of the applied cat-eye gel toward the center of the nail. Soften the transition line to ensure the cat-eye shimmer blends perfectly into the existing gradient, creating a seamless and sophisticated look.
Tip: Wipe your brush frequently on a lint-free wipe to keep the blending process clean and prevent clumping. - 7Create the wide cat-eye effect
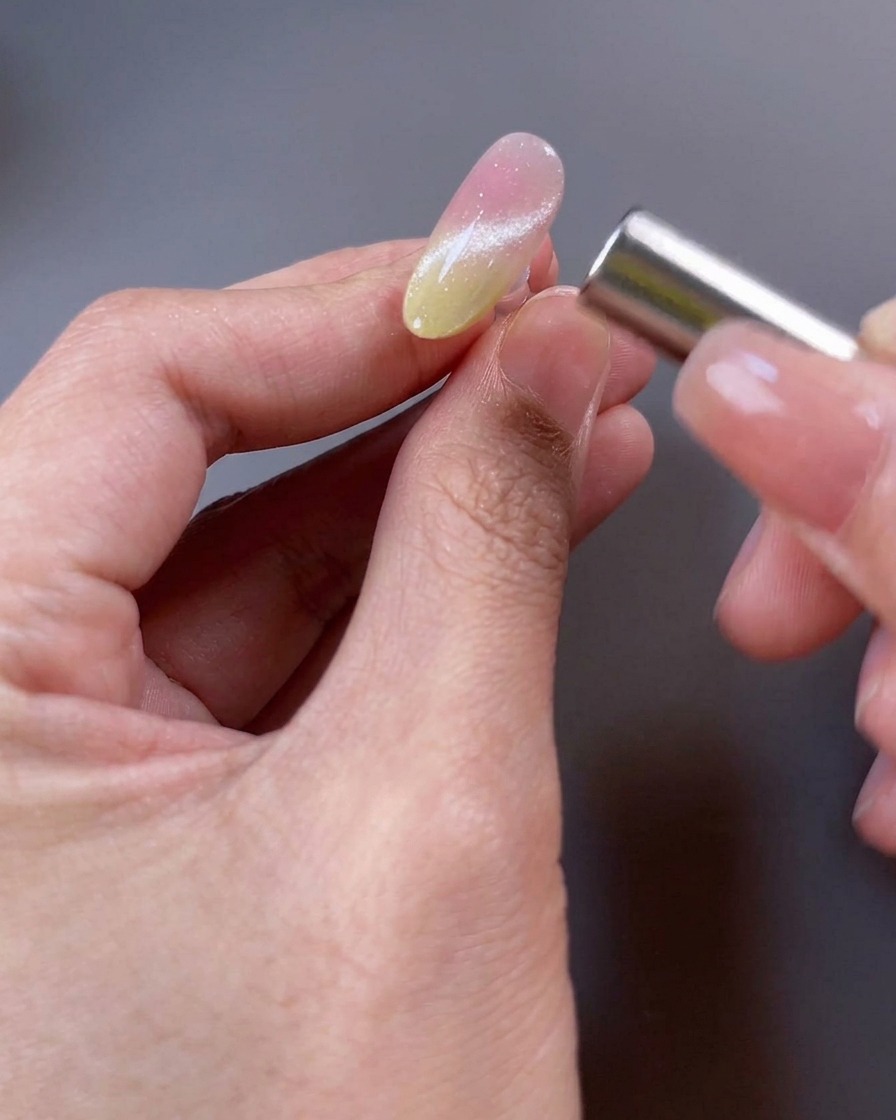
With the cat-eye gel still wet on the nail, hold a magnet parallel to the nail surface to attract the magnetic particles, creating a soft, wide beam of light across the nail. Once you achieve the desired placement of the shimmer, flash cure it immediately to lock the effect in place.
Tip: Move the magnet slowly to watch the magnetic particles shift, giving you better control over the light beams shape. - 8Refine the French cat-eye tip
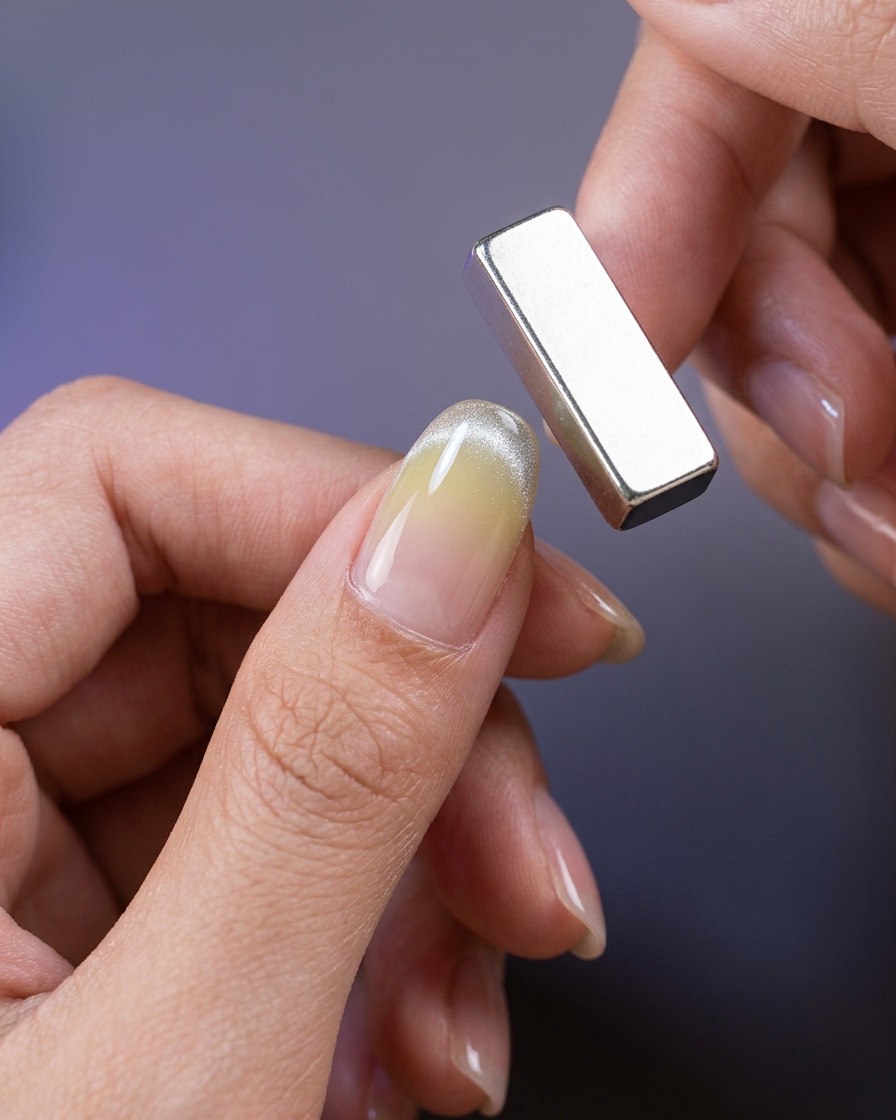
Position a thin strip magnet close to the free edge of the nail to pull the magnetic particles into a sharp, crisp French tip line. This creates a high-contrast, defined shimmer effect at the tip that complements the wider light beam on the rest of the nail.
Tip: Ensure the strip magnet is parallel to the nail tip for the cleanest, most precise cat-eye line. - 9Apply glossy top coat
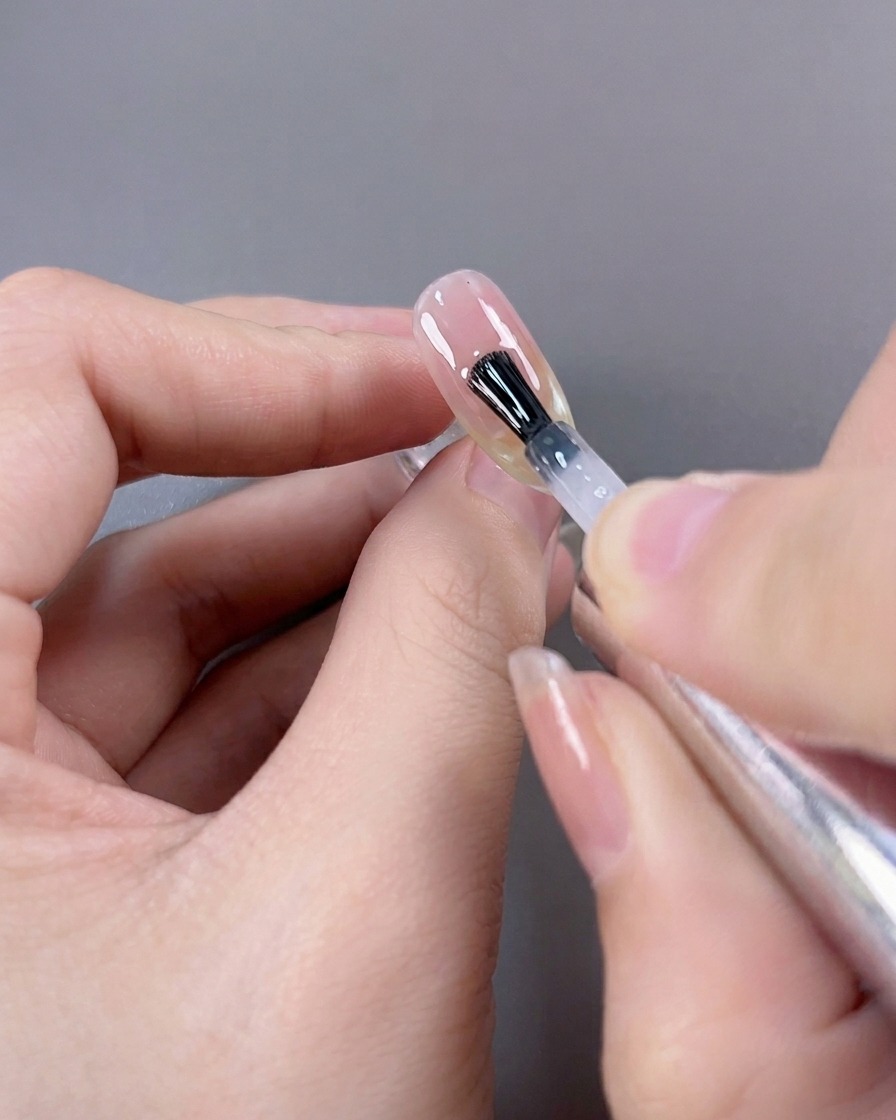
Apply a final layer of glossy top coat to seal in your nail art and provide a durable, shiny finish. Ensure you cap the free edge of the nail to prevent chipping and enhance longevity. Cure completely under a UV/LED lamp as directed by the product instructions.
Tip: Use a generous but even amount of top coat to ensure a smooth, glass-like surface over the cat-eye effect.