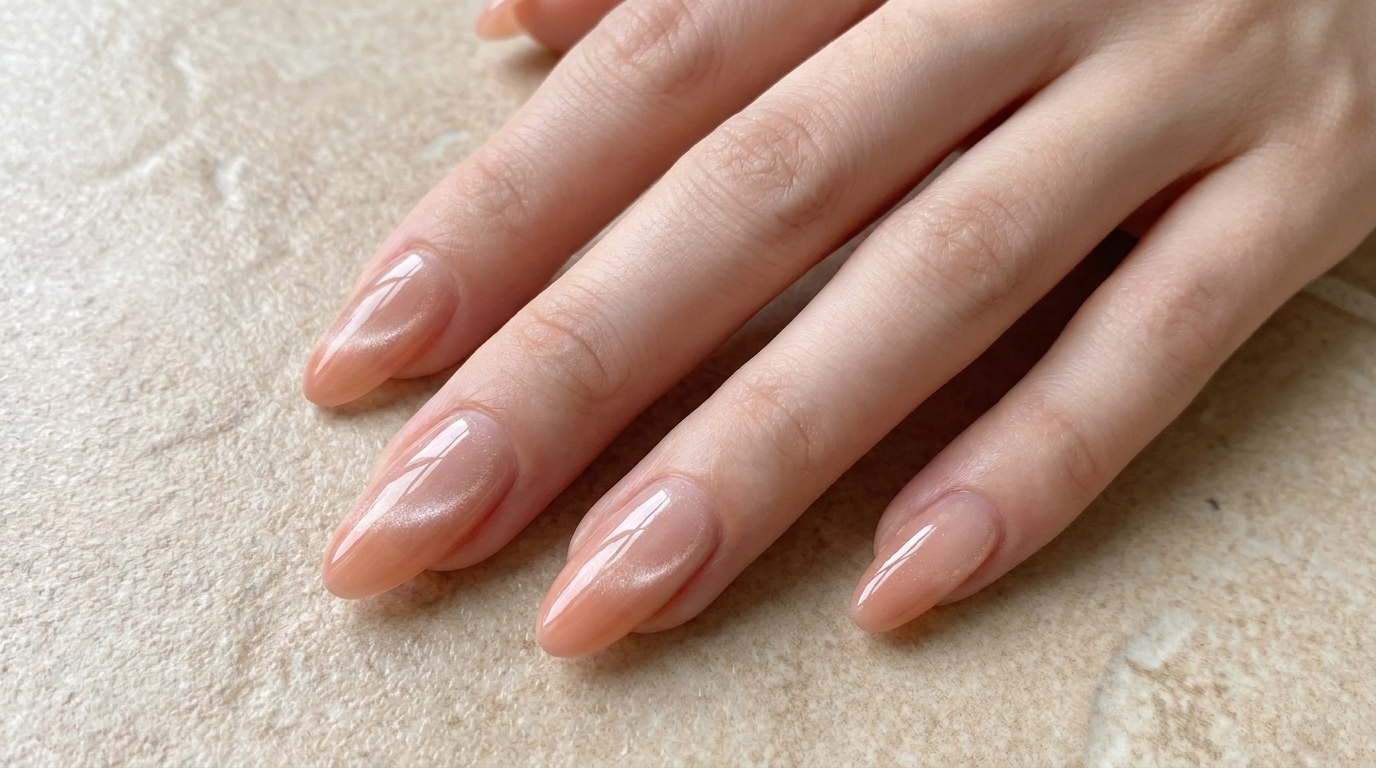
Peach Gradient Glass Bead Cat-Eye Nails — Step-by-Step Tutorial
Master the trendy glass bead cat-eye look with this easy peach gradient tutorial. Achieve a stunning, luminous 3D effect in just a few simple steps.
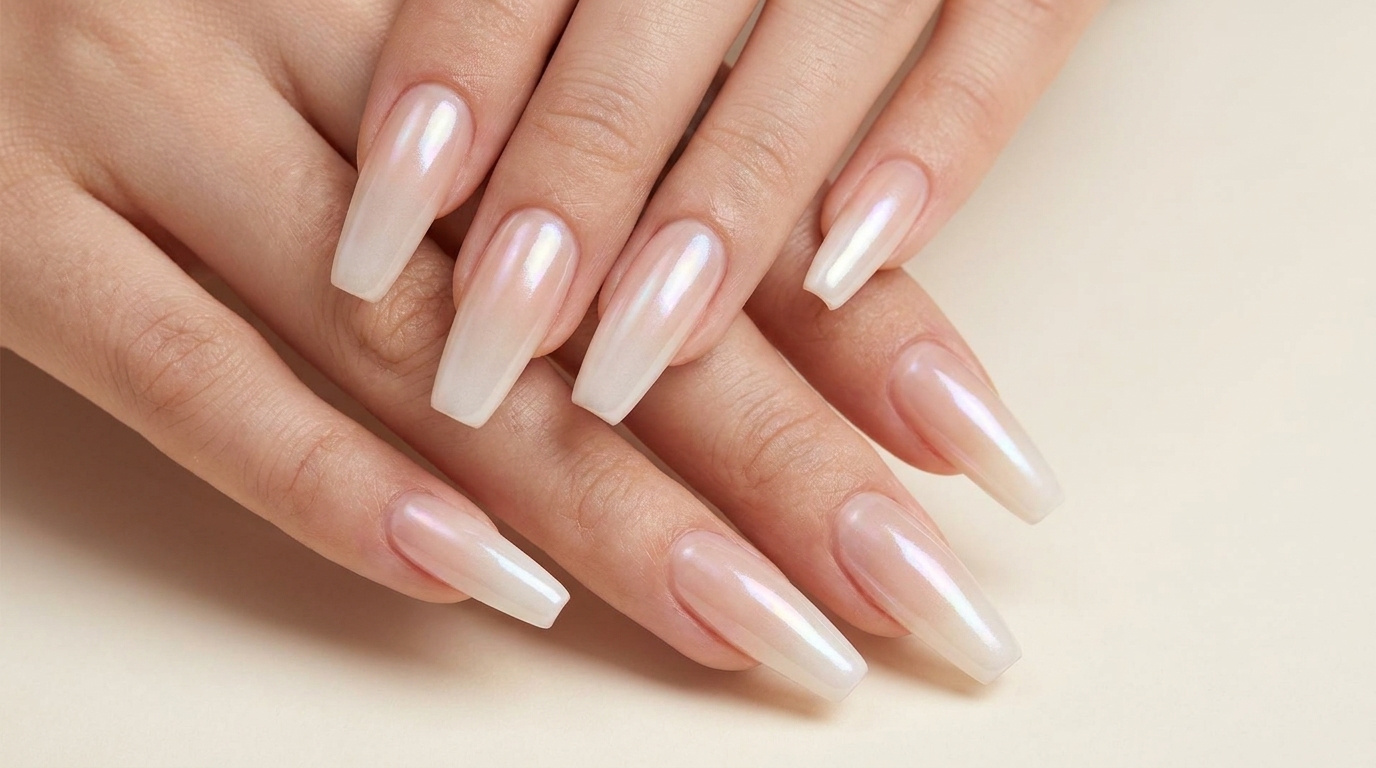
The glass bead cat-eye look has taken the nail world by storm, offering a mesmerizing, deep, and luminous finish that mimics the look of high-end gemstones. This tutorial breaks down the technique into manageable steps, combining a soft peach gradient base with the multidimensional pull of magnetic gel. Perfect for those who want a sophisticated, editorial-inspired manicure that catches the light from every angle.
Steps
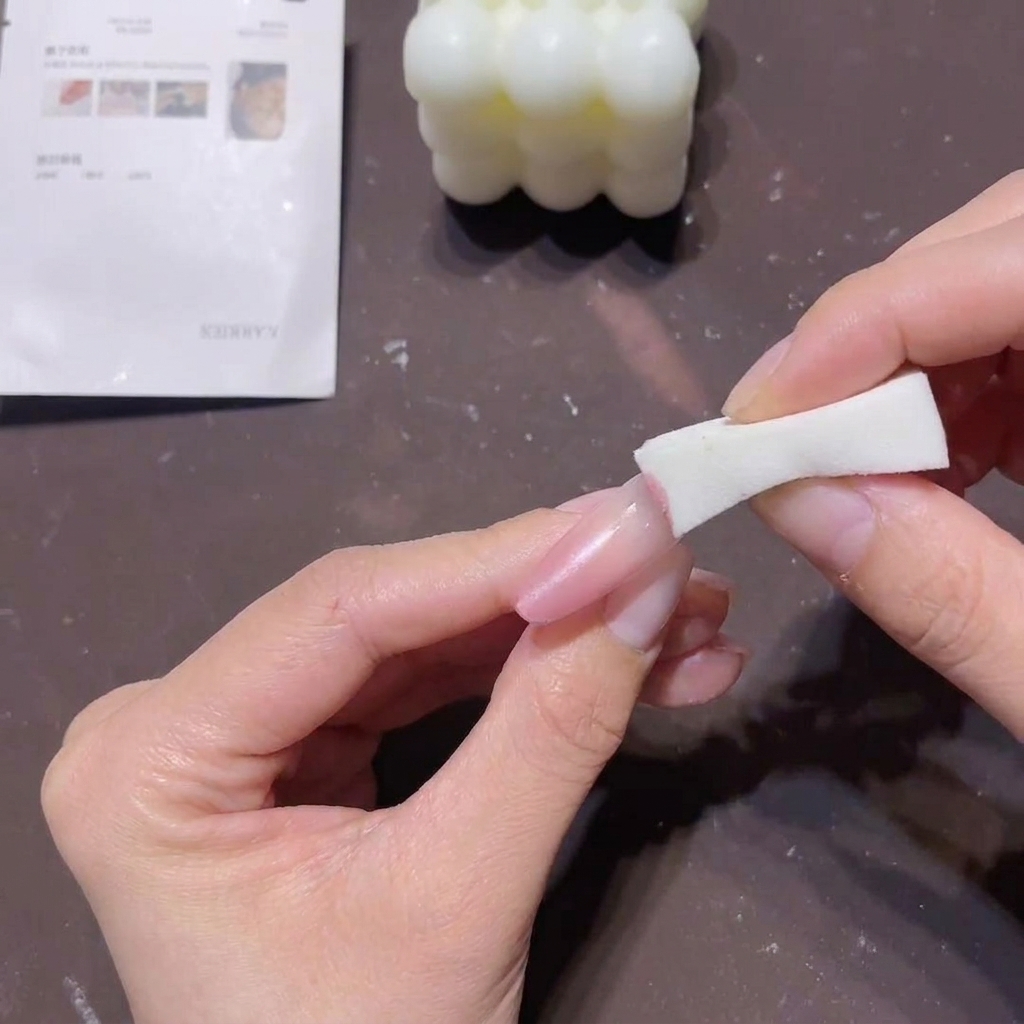
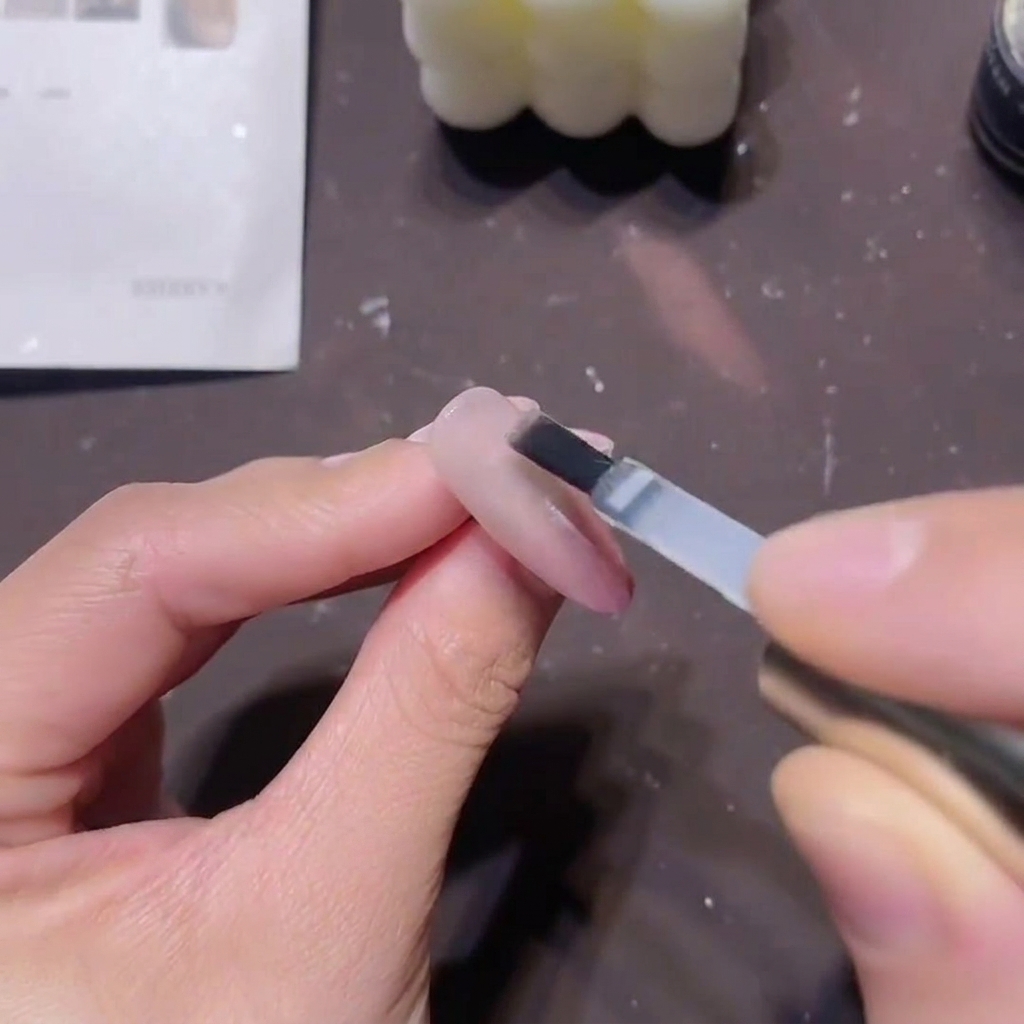
- 1Apply concealer gel to the free edge
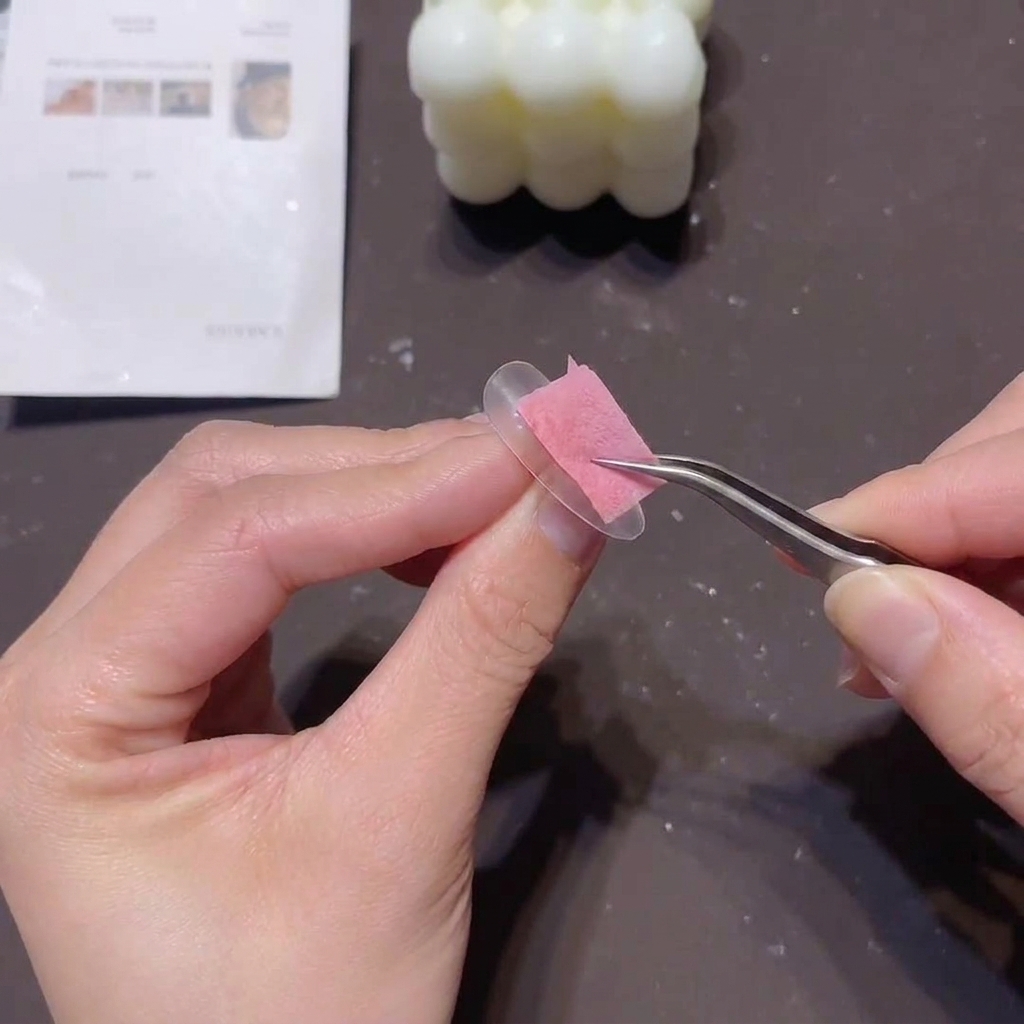
Begin by taking a small piece of sponge and use it to gently dab a light concealer gel along the free edge of the clear nail tip. This provides a soft, opaque foundation for the upcoming gradient while keeping the application thin and even.
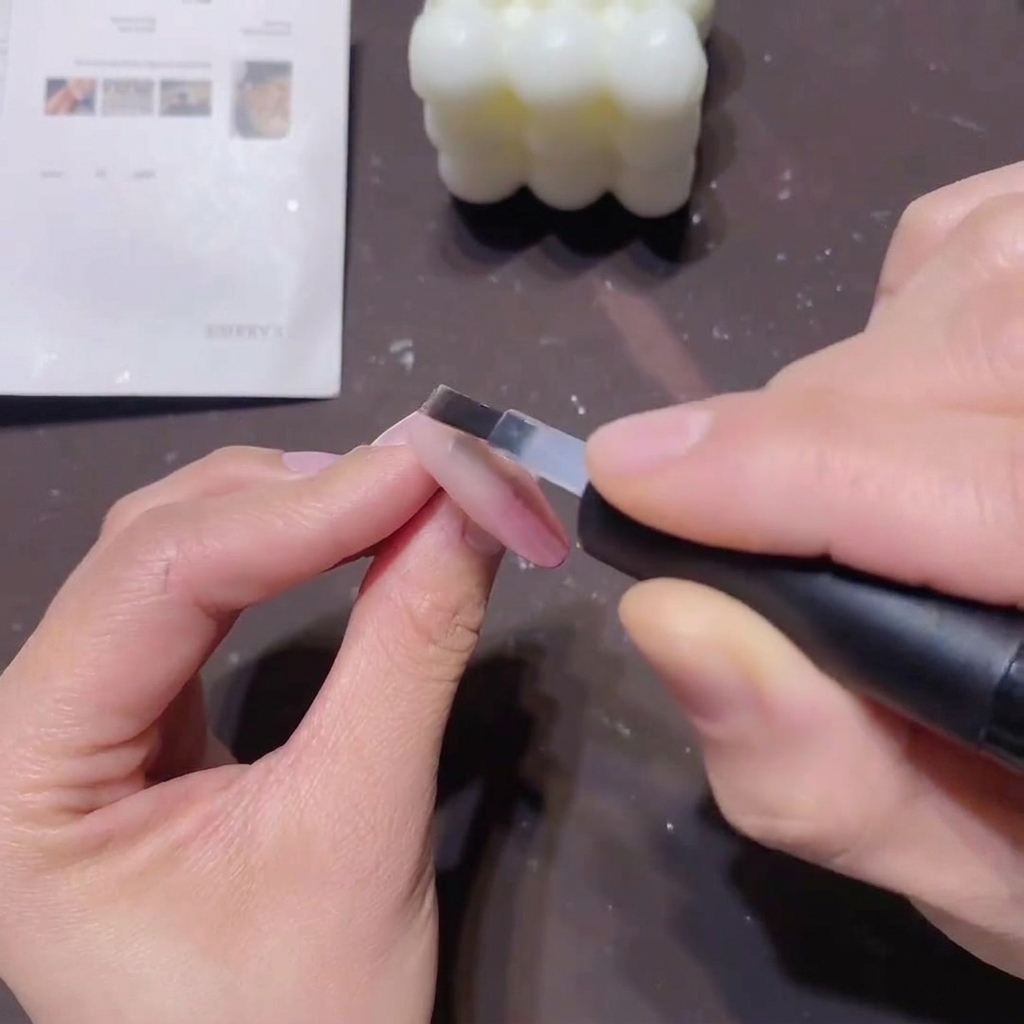
Tip: Using tweezers to hold the small sponge piece gives you more precise control and keeps your fingers clean. - 2Apply sheer pink-nude base color
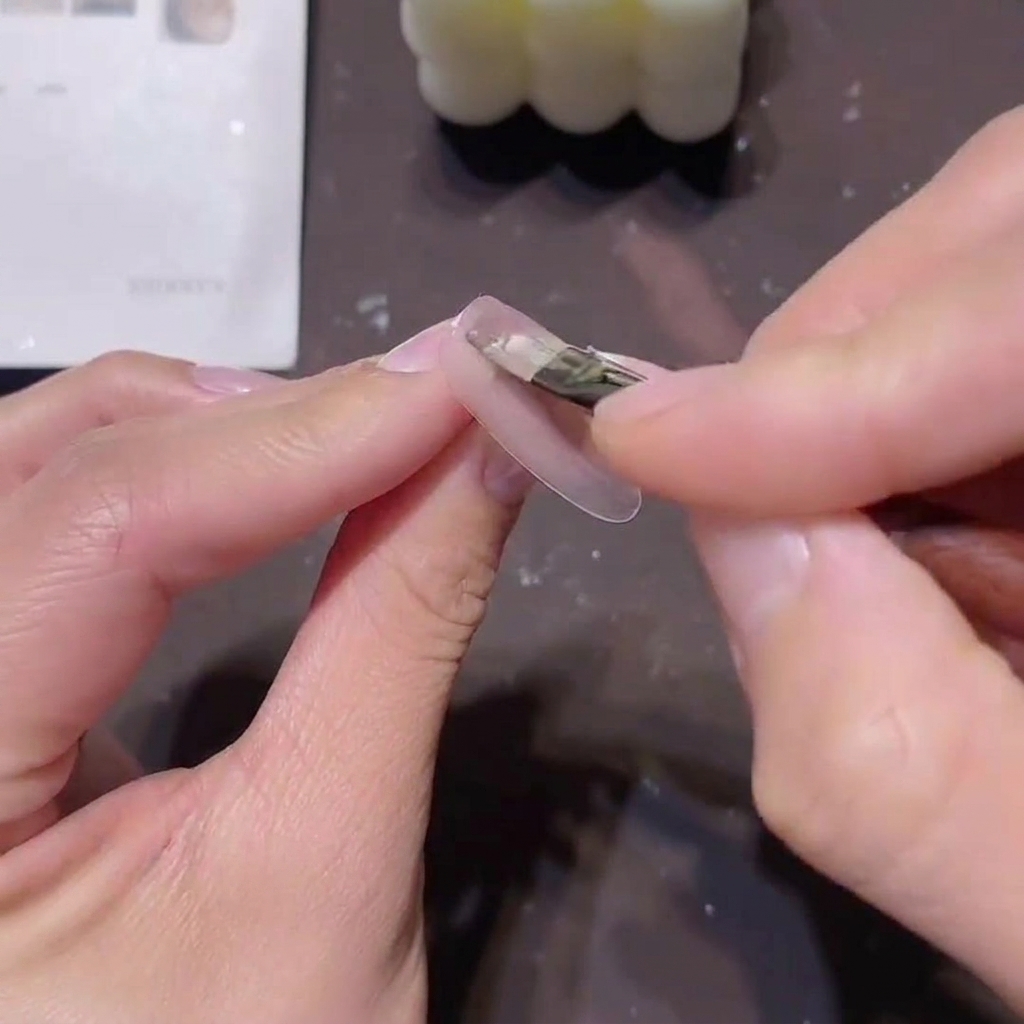
Apply a thin, even layer of a sheer, light pink-nude base color over the entire nail surface. This acts as the foundation for your design. Make sure the application is smooth and even, then cure it completely under your lamp.
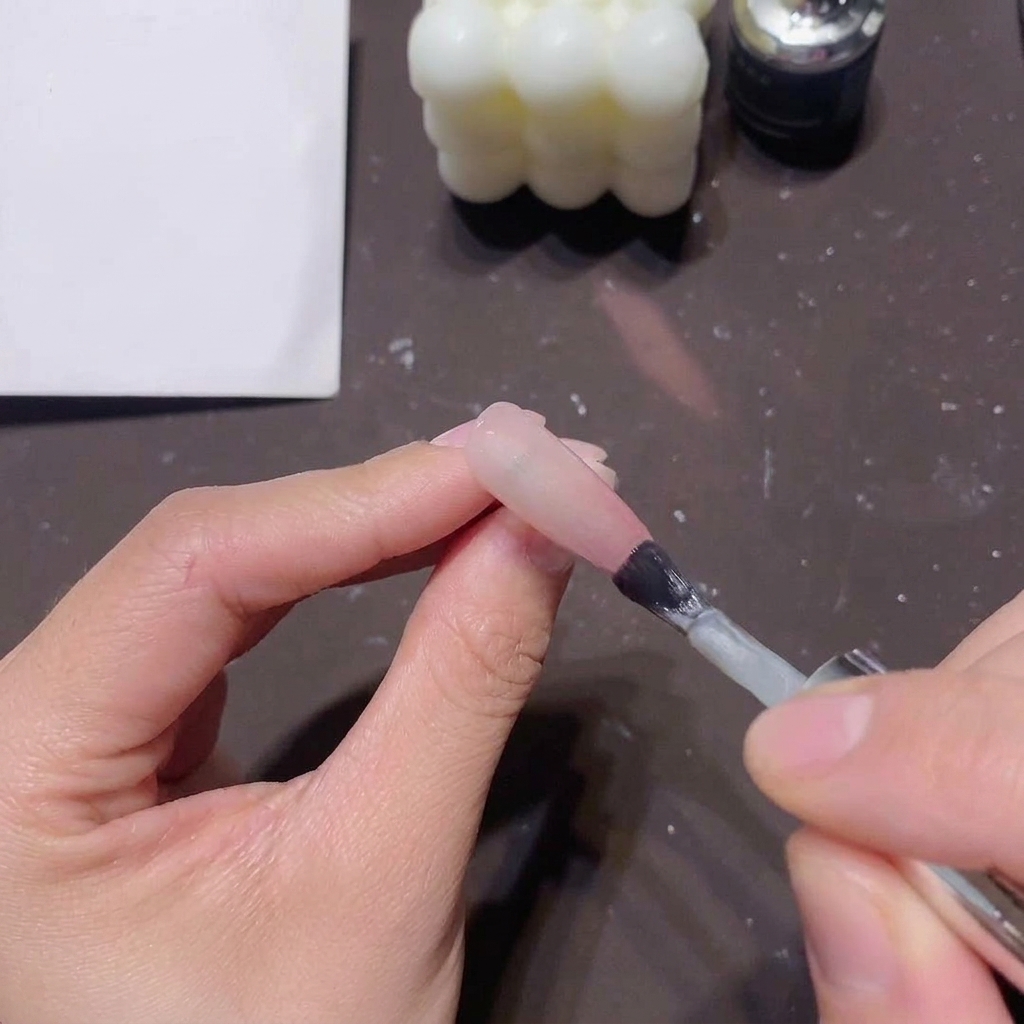
Tip: Applying the base color thinly prevents a bulky finish once the remaining gradient and top coat layers are added. - 3Dab the gradient color
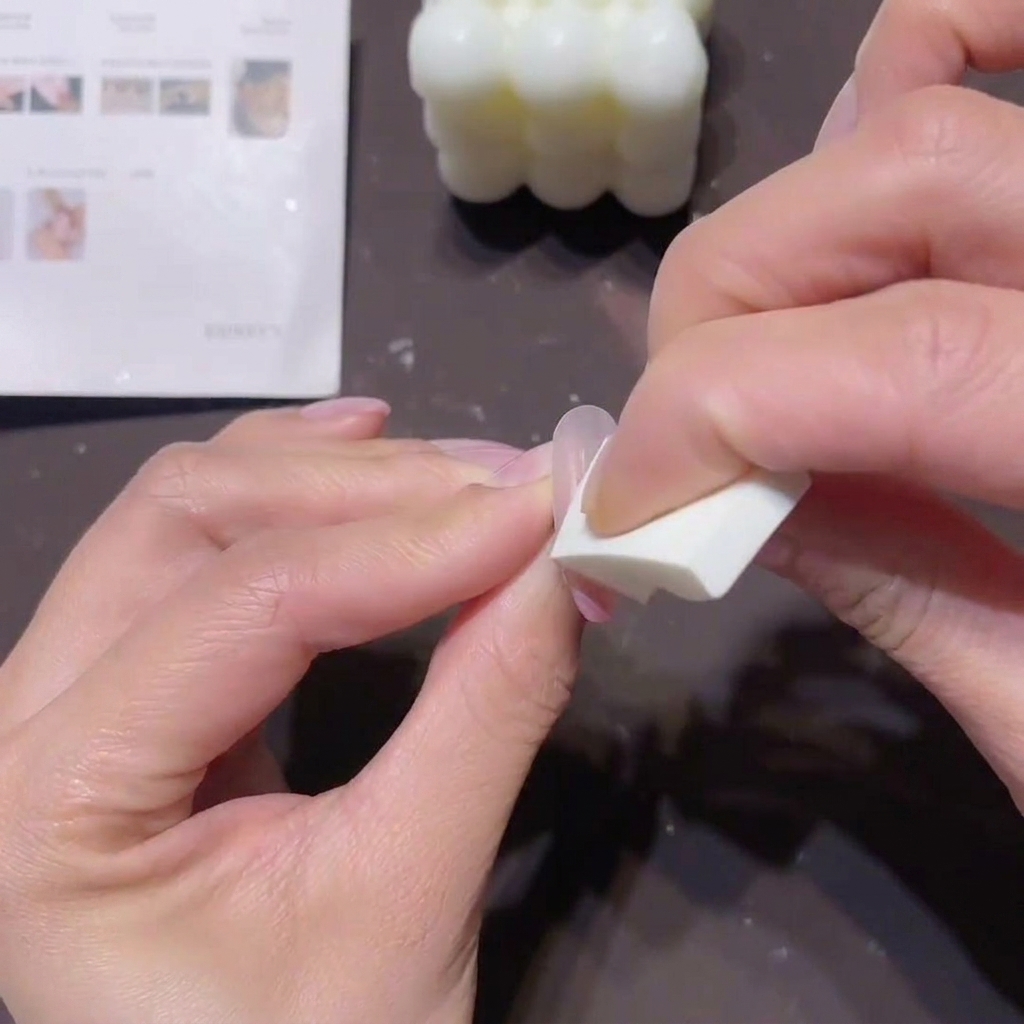
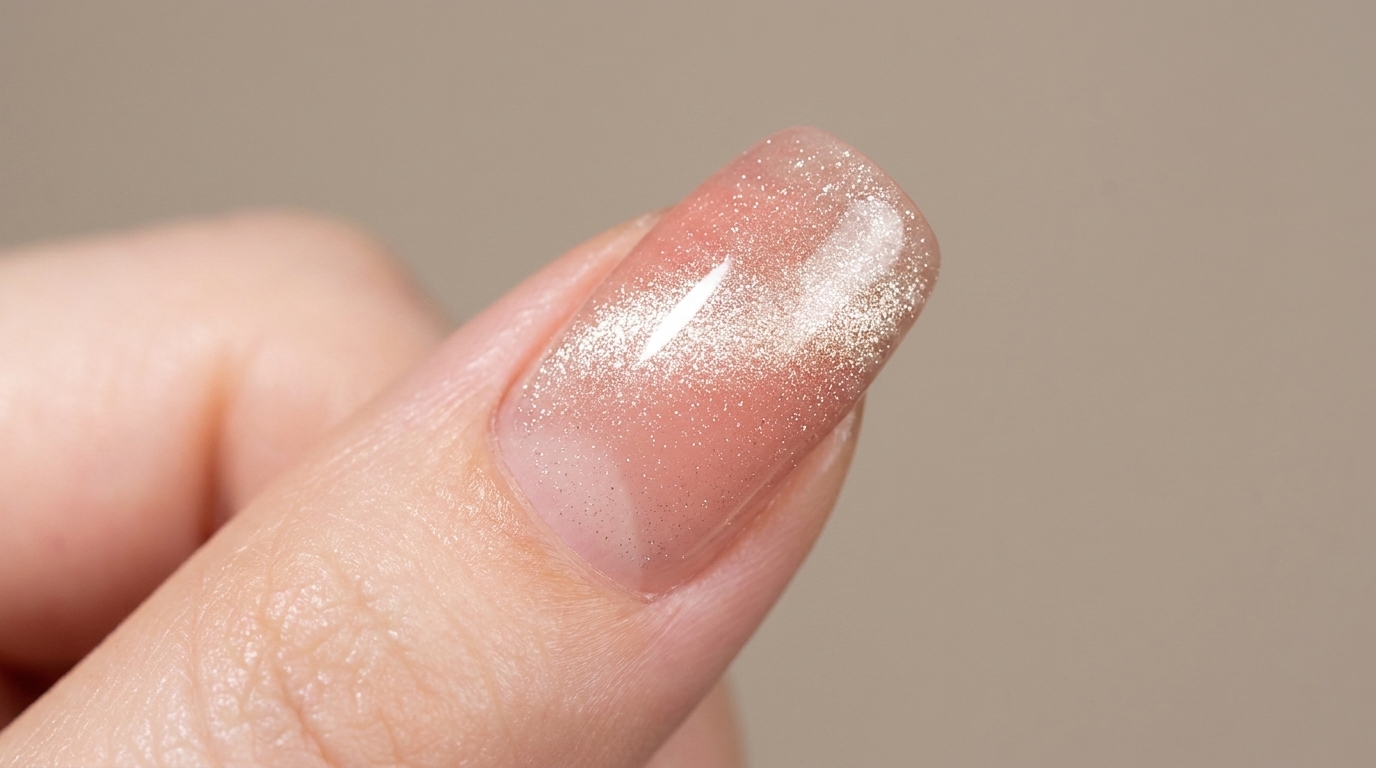
Use a small makeup sponge to dab your preferred darker peach-pink gradient color onto the fingertip. Make sure the gradient doesnt go past the halfway point of the nail. For the second layer, focus on deepening the color right at the tip to create a smooth transition.
Tip: Remember to cure your nail under the lamp after every single sponge application. - 4Deepen the gradient at the tip
Apply a second pass of the darker peach-pink gel using your sponge. For this layer, focus the color entirely on the very tip of the nail to deepen the gradient and create a more intense fade. Remember to cure the nail after this sponge application.
Tip: Concentrate your dabbing motion right at the edge, lightly blending upwards only slightly to avoid overriding the first gradient layer. - 5Seal the gradient with base coat
Once your sponged layers are fully cured, brush a layer of clear base coat over the entire nail. This step seals in the textured sponged color layers, preventing them from peeling, and creates a perfectly smooth, even surface for your next steps.
Tip: Ensure the base coat is applied thinly so you dont add unnecessary bulk to the nail structure. - 6Apply clear magnetic cat-eye gel
Paint a generous, even layer of a clear, fine-magnetic universal cat-eye gel polish over the entire nail. The sheer formula will allow the pink gradient underneath to show through beautifully while preparing the nail for the magnetic glass-bead effect.
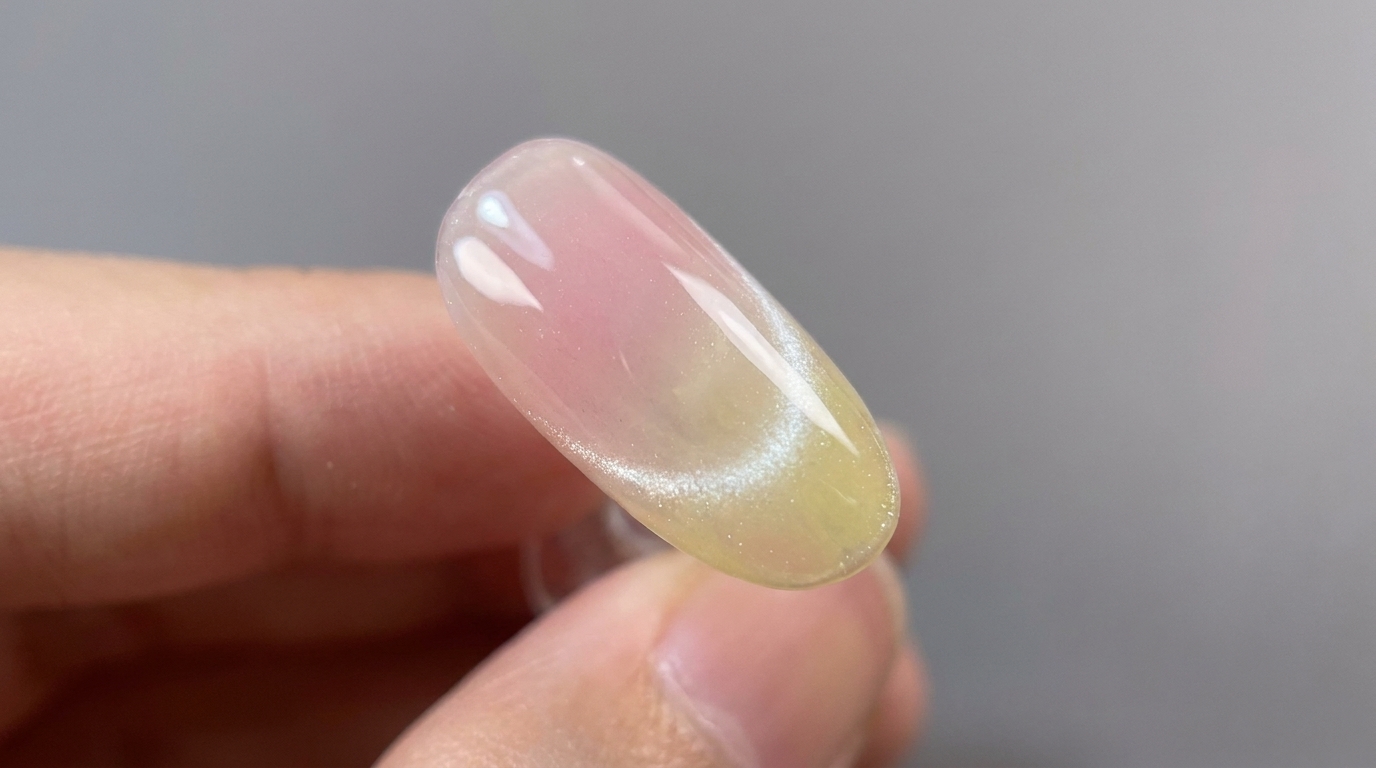
Tip: A soft brush is ideal for applying magnetic gels smoothly without dragging or disturbing the base layers. - 7Activate the magnetic glass-bead effect
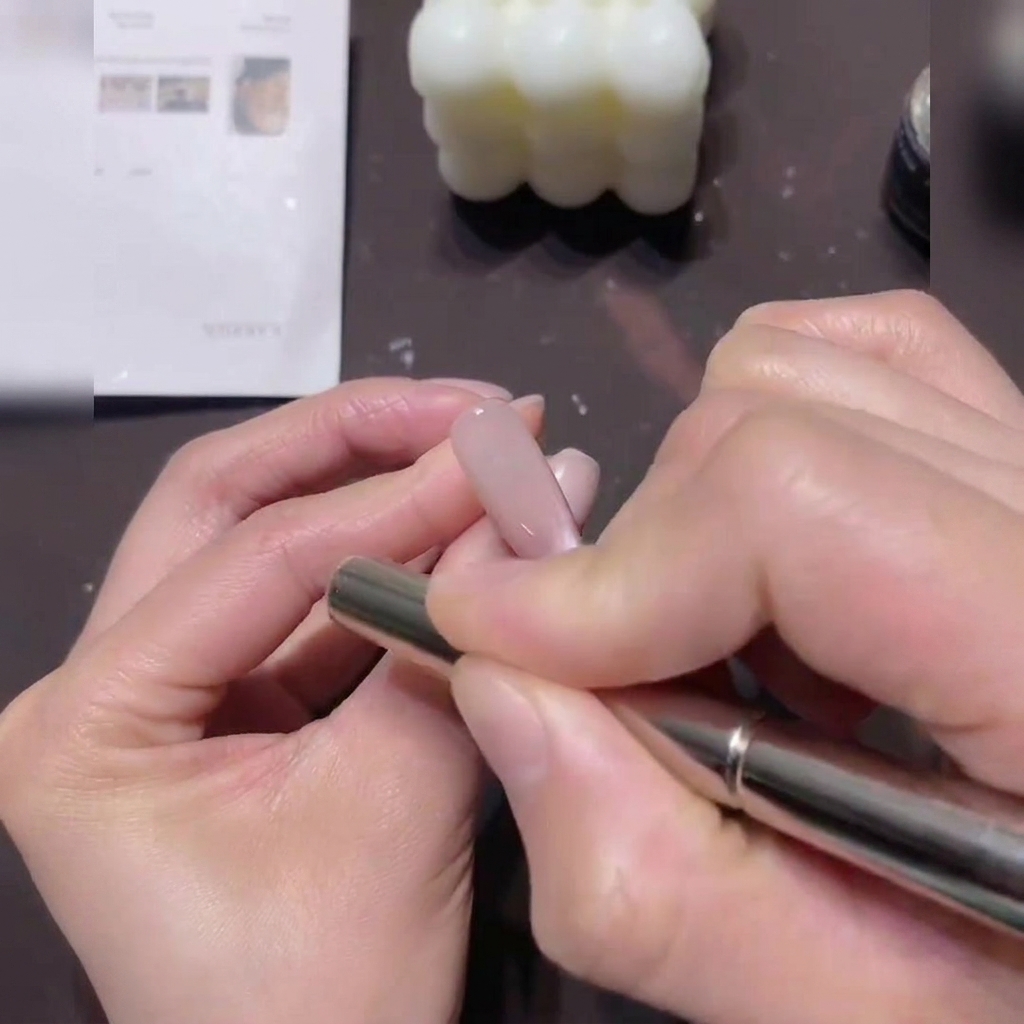
Paint a layer of clear, fine-magnetic universal cat-eye gel over the entire nail. Immediately take a round magnet and hover it in circular motions around the edges of the nail. This will pull the magnetic particles toward the center to create a stunning 3D glass-bead effect. Cure once you are satisfied with the shift.
Tip: Keep the magnet as close to the nail as possible without touching the wet gel to get the sharpest and most dynamic magnetic pull. - 8Apply builder top coat
Finish the look by applying a generous layer of builder top coat over the nail. This step is essential as it encapsulates the magnetic design, adds necessary structure, and provides a brilliant, long-lasting glossy finish. Cure it fully under your lamp.
Tip: Remember to cap the free edge of the nail with your top coat to seal in all the layers and prevent premature chipping or peeling.