Kawaii Pink Gradient Polka Dot Nails — Step-by-Step Tutorial
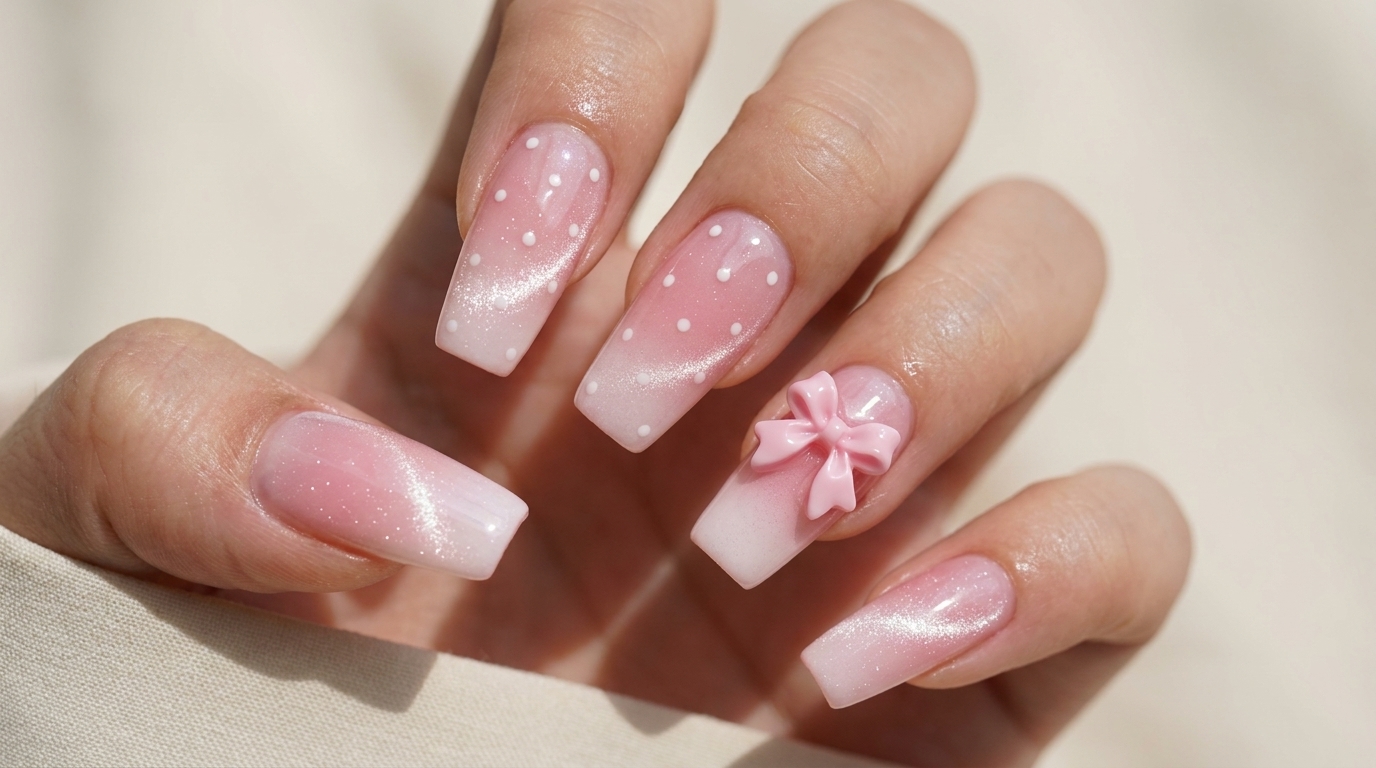
Achieve a sweet, girlish look with this pink gradient nail tutorial featuring delicate polka dots, a mesmerizing cat-eye effect, and 3D bow accents.
Embrace a charming and playful aesthetic with this Kawaii-inspired pink manicure. Combining soft gradients, precise dot work, and the unique dimension of cat-eye polish, this look is perfect for anyone wanting to add a touch of whimsy to their style. With the addition of a delicate 3D bow, these nails become a truly standout accessory.
Steps
- 1Apply base coat

Apply two thin, even layers of base coat to prime the nail surface for the gel design. Ensure you cap the free edge of each nail to seal the application and help prevent premature lifting. Cure each layer thoroughly under your UV lamp to create a strong foundation for the gradient and nail art.
Tip: Apply in thin, controlled layers to ensure even curing and better long-term durability. - 2Create pink gradient
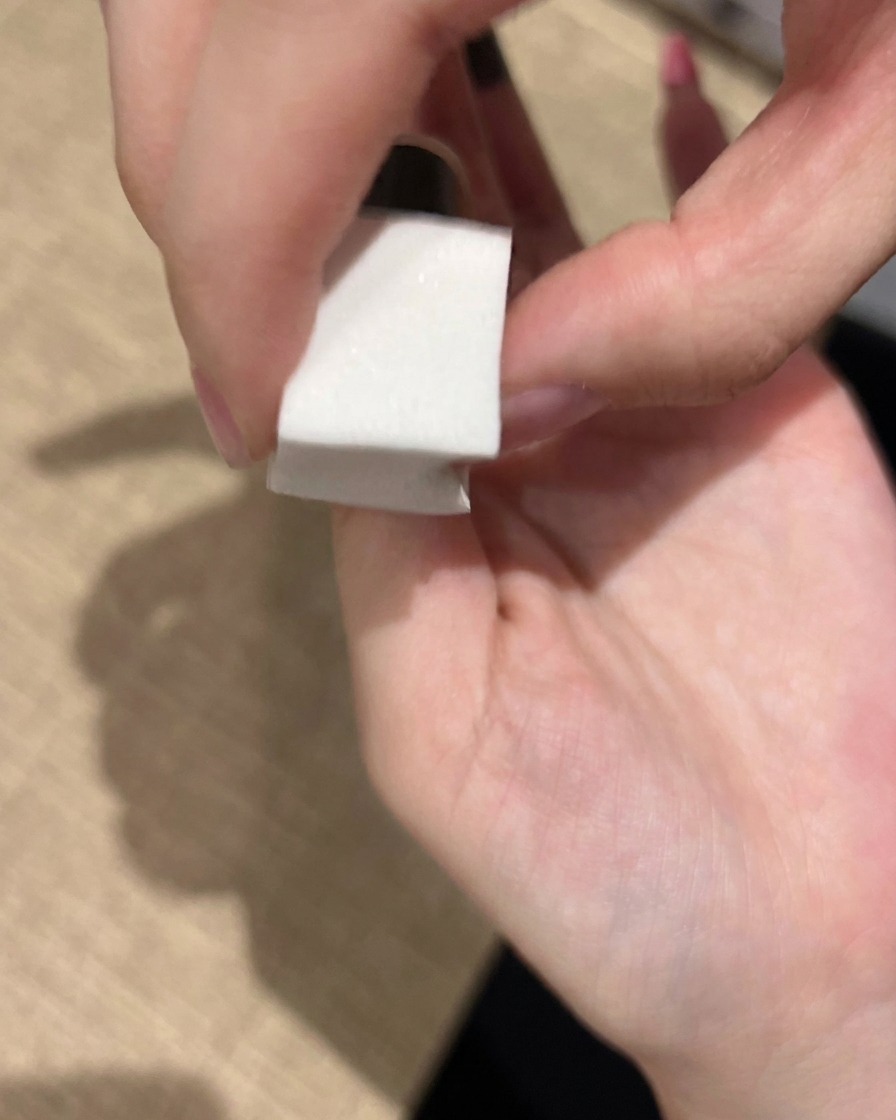
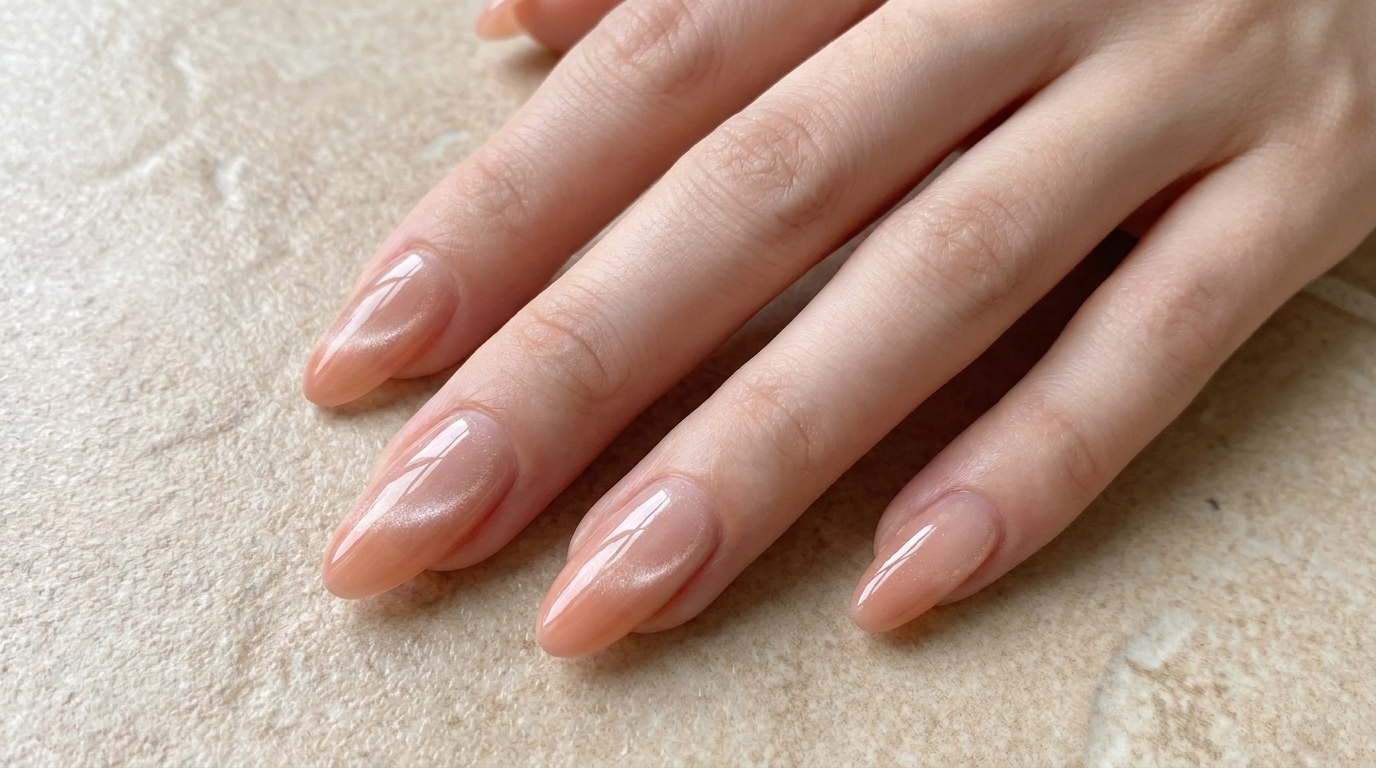
Apply your chosen pink gel polish onto a makeup sponge, then gently dab it onto the nail surface to build up a soft, seamless gradient effect. Repeat this process as needed to reach the desired opacity and blend. Cure the nail once the gradient looks smooth and even.
Tip: Dab lightly and consistently to keep the color transition smooth and avoid visible texture from the sponge. - 3Add polka dot details
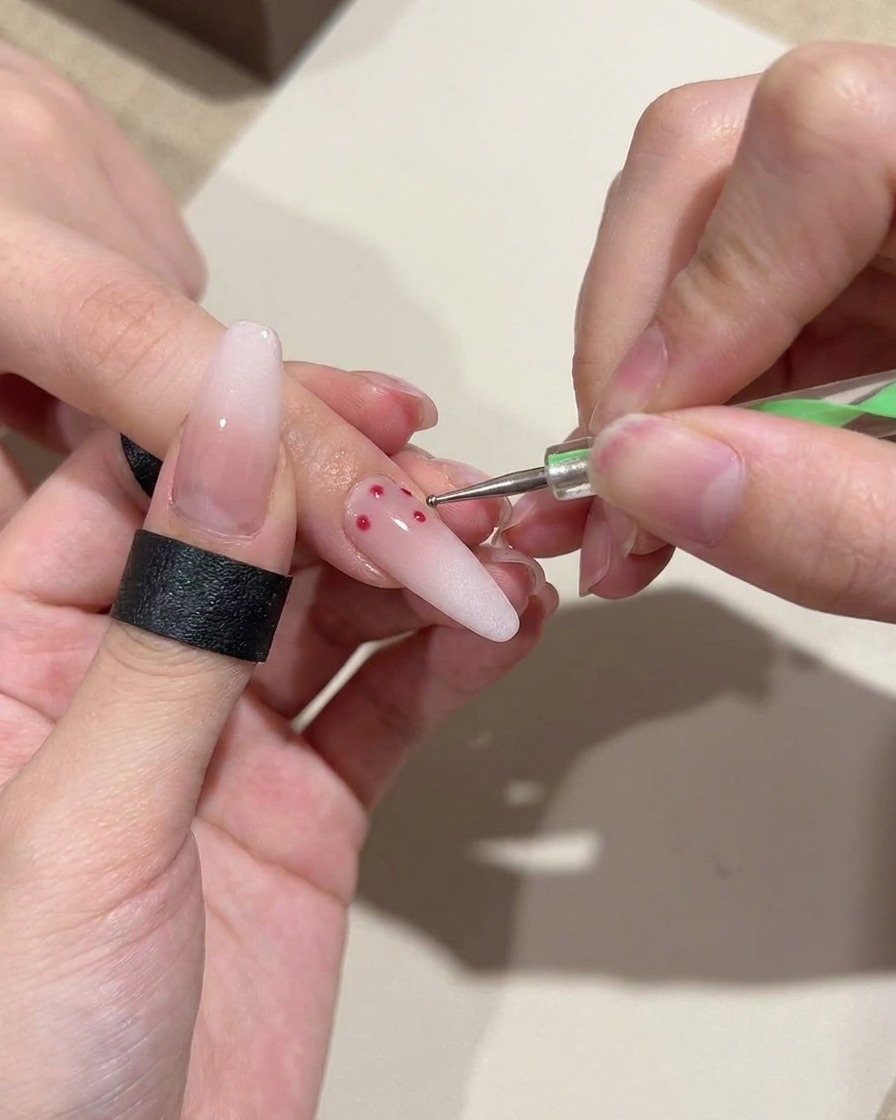
Using a fine-tipped dotting tool, carefully place small, precise polka dots onto your cured gradient base. Space them evenly to achieve the desired look, then cure the nails to lock the design in place. Seal the entire design with a clear top coat to protect the art and add shine.
Tip: For consistent dot size, maintain the same pressure on the dotting tool for each point. - 4Apply cat-eye polish
Apply a layer of cat-eye gel polish over the entire surface of the nail. Before curing, you will use magnets to manipulate the magnetic particles within the polish to create your desired effect. Ensure even coverage for the best interaction with the magnet.
Tip: Work on one or two nails at a time before curing to keep the polish wet while you use the magnet. - 5Activate cat-eye effect
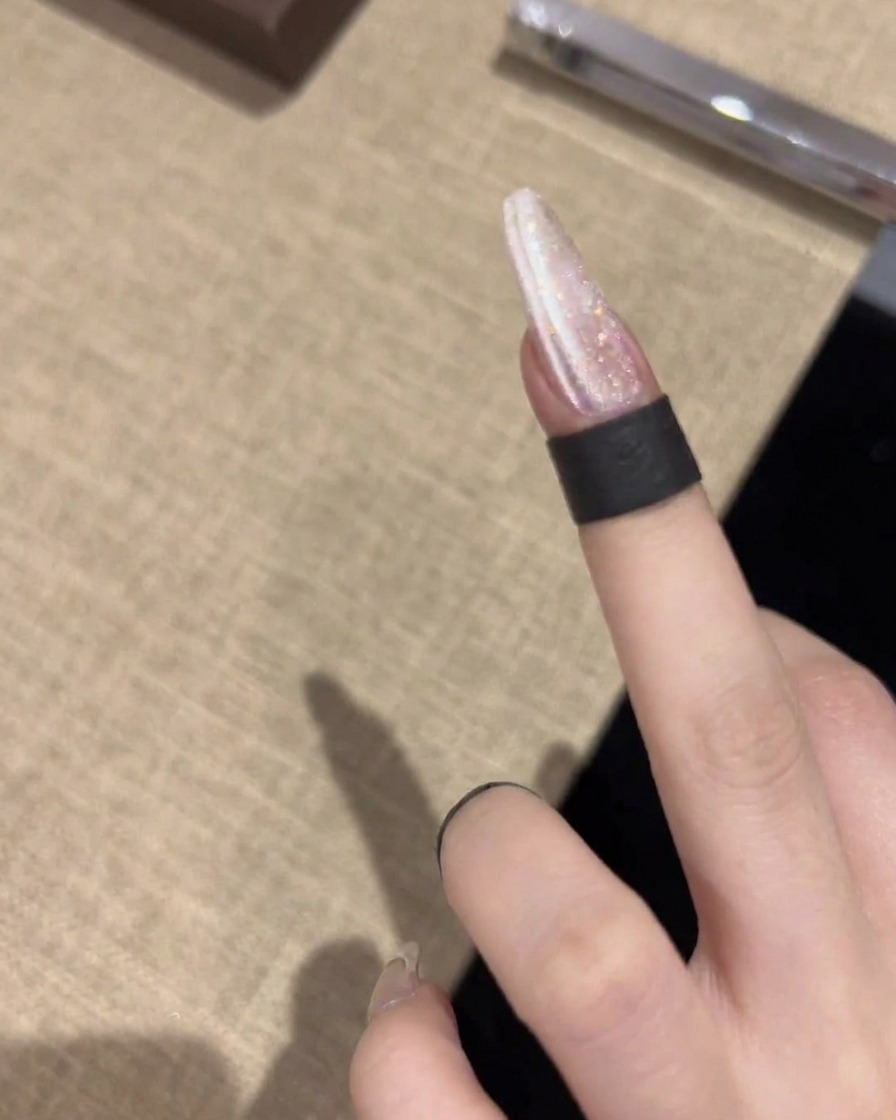
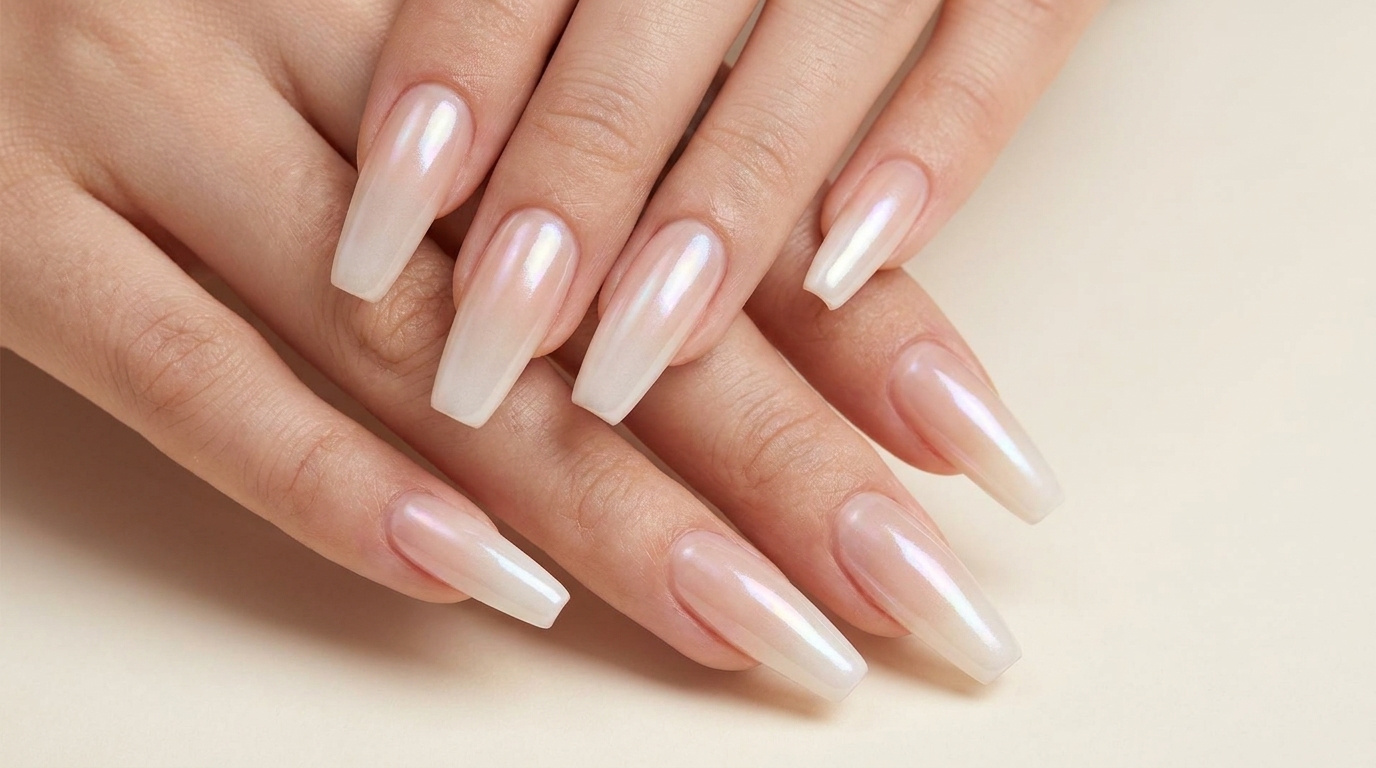
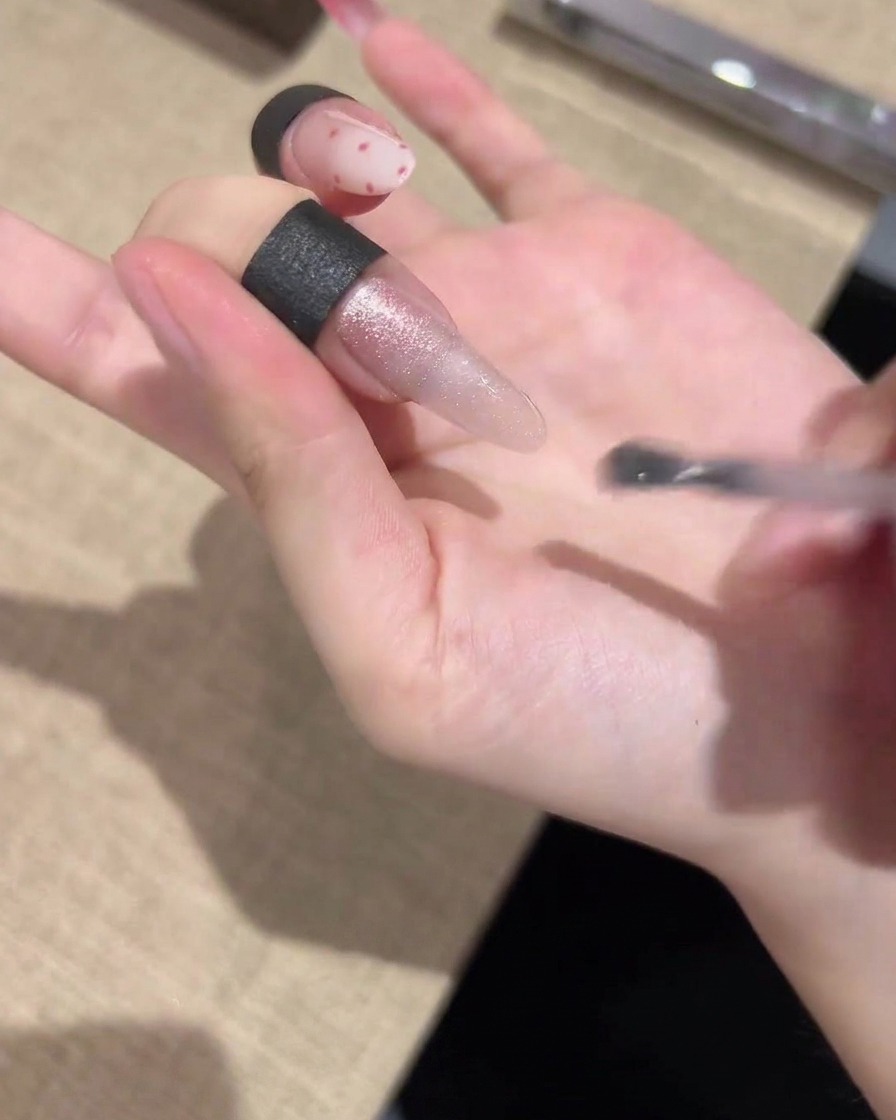
While the cat-eye polish is still wet, hold a flat magnetic tool parallel to the nail surface. This pulls the metallic particles to form a sharp, wide cat-eye line. For added depth, use a circular magnet afterwards to create a unique glass bead effect before curing the nail.
Tip: Keep the magnet very close to the nail without touching it for the strongest, most defined effect. - 6Refine tip color
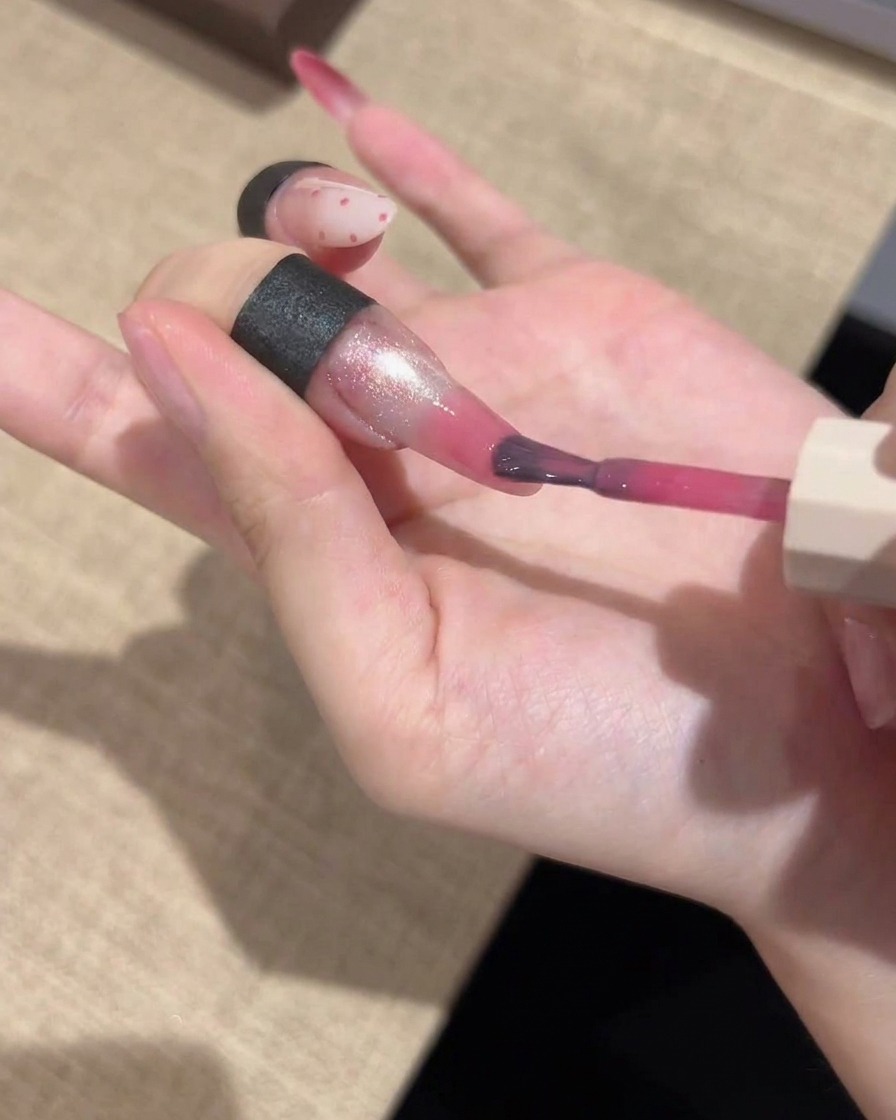
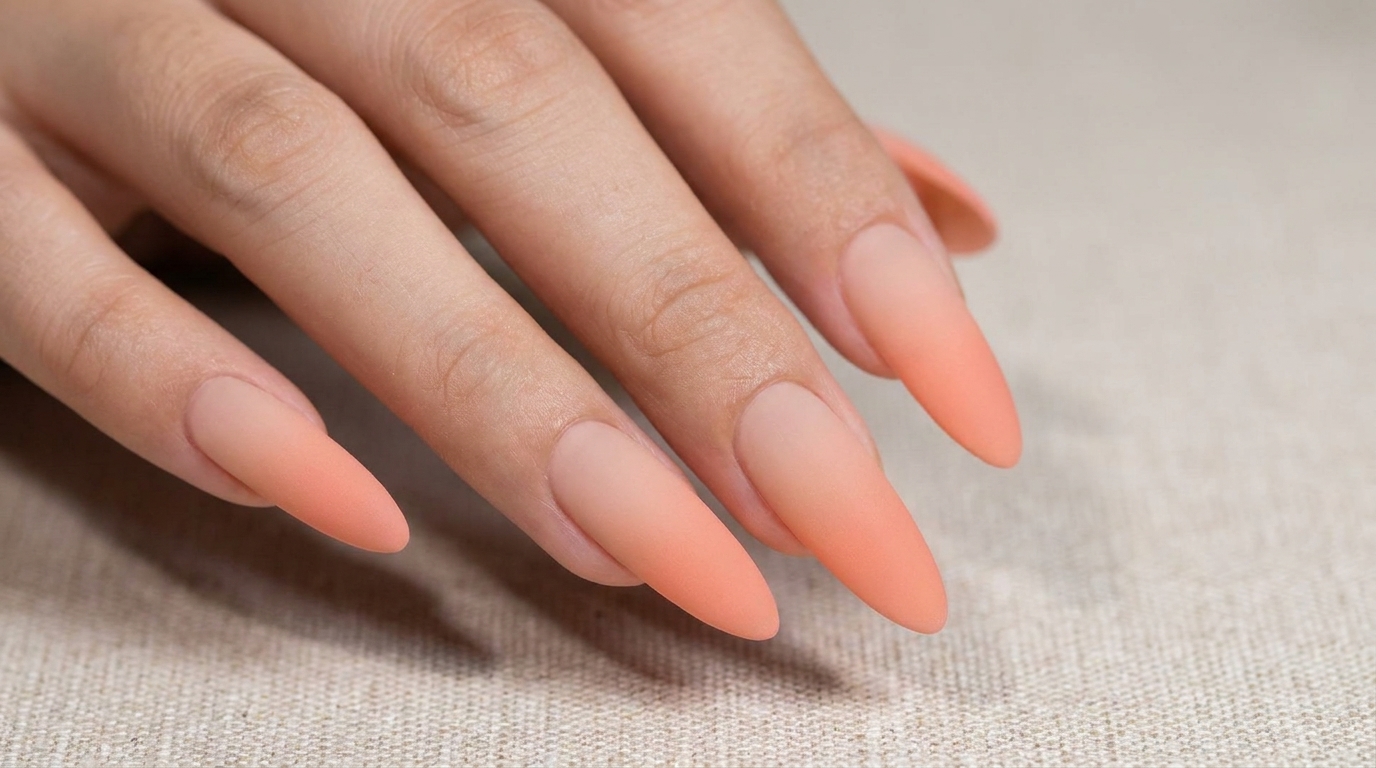
Using a detailing brush, apply a concentrated pink gradient color specifically to the tips of the nails to deepen the sweet, girlish aesthetic. Blend the color softly upward to maintain the gradient transition. Finish with a final layer of top coat to seal everything and achieve a glossy, high-shine look.
Tip: Use a light touch with the brush to ensure the color transition at the tip remains soft and not streaky. - 7Apply top coat
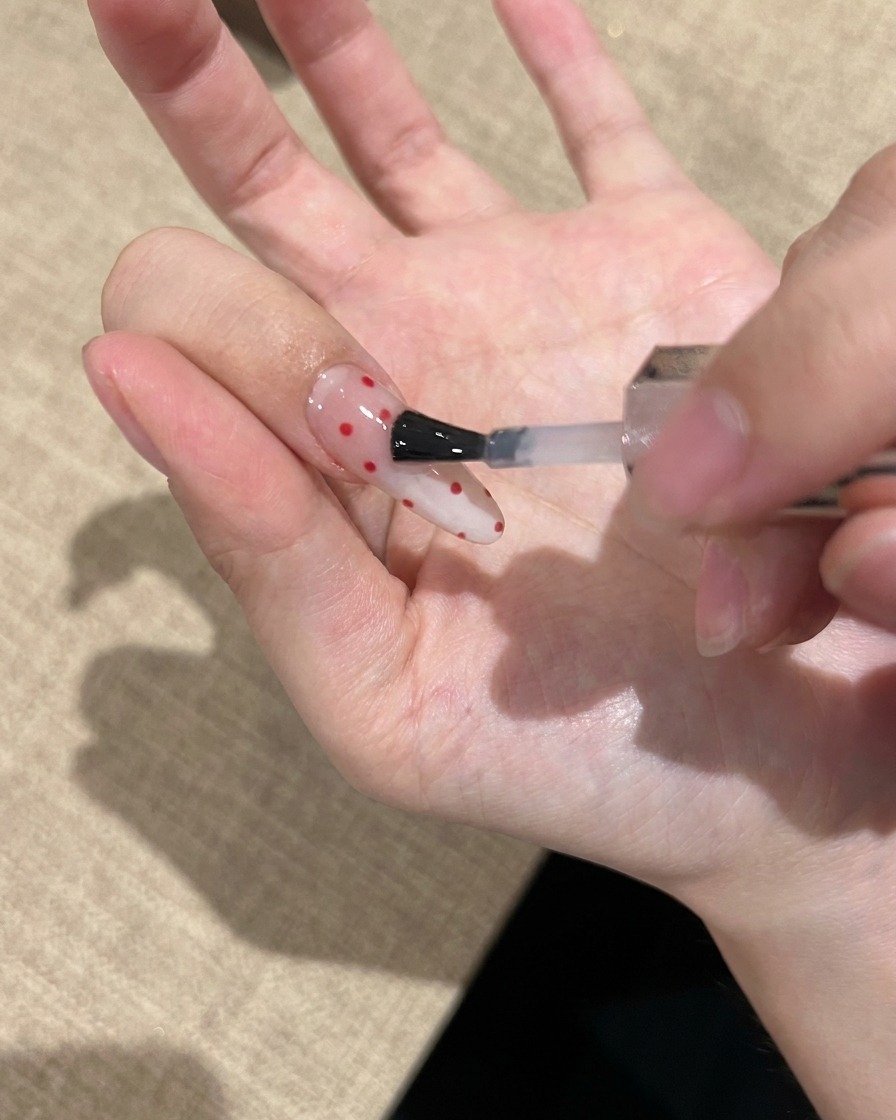
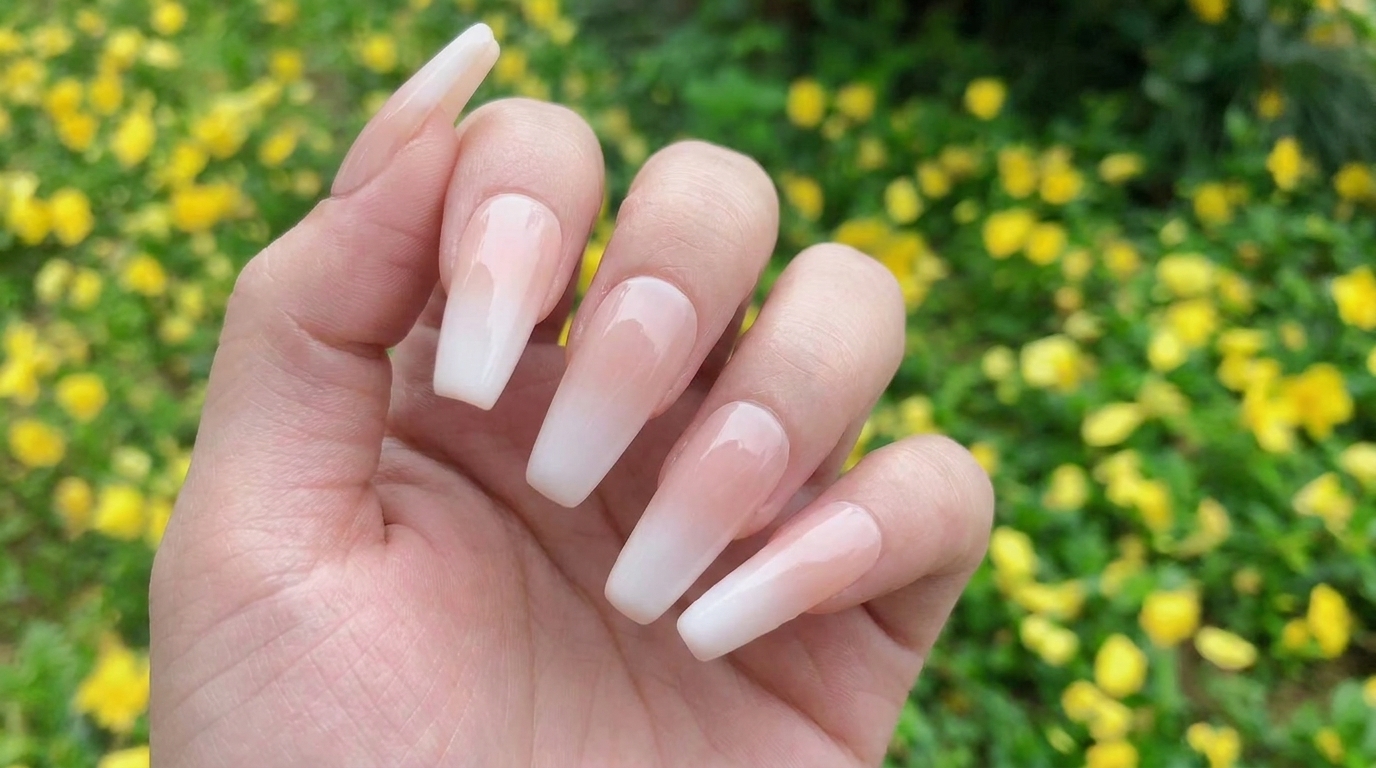
Apply a thin, even layer of clear top coat over the entire nail to seal in the polka dot design and provide a glossy finish. Ensure you cap the free edge of the nail to prevent chipping. Cure under your UV or LED lamp for the time recommended by the product manufacturer.
Tip: Applying a top coat not only protects your nail art but also smooths out any texture created by the dotting tool, ensuring a perfectly glossy result.