Peach Ombre Matte Nails — Step-by-Step Tutorial
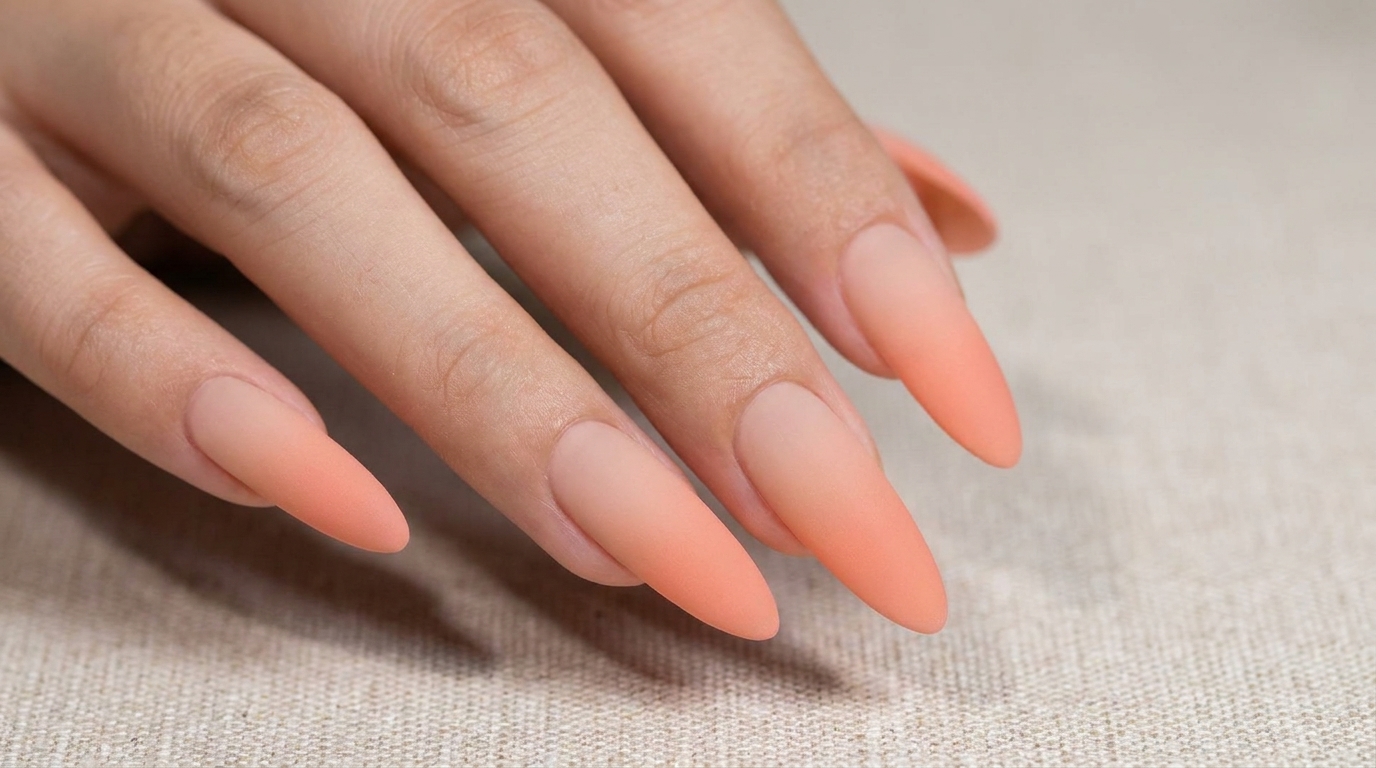
Master the perfect gradient with these elegant peach ombre matte nails. This easy sponge technique creates a seamless transition for a sophisticated, soft finish.
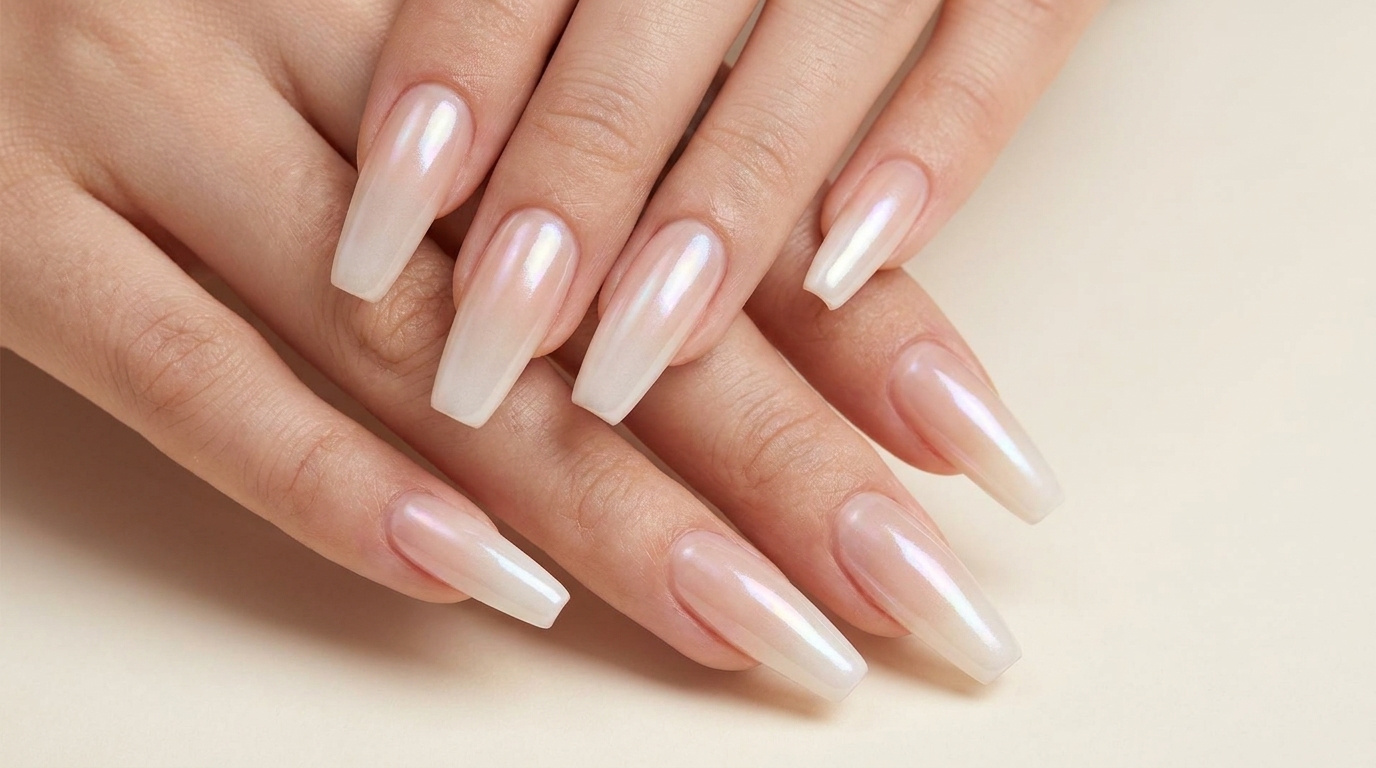
The ombre gradient remains a timeless favorite in the nail world, offering a soft yet striking look that works for any occasion. By pairing a warm peach transition with a velvety matte top coat, you elevate the classic design into something modern and chic. This tutorial guides you through achieving a smooth, professional-looking blend right at home.
Steps
- 1Apply nude pink base coat
Apply two thin layers of a nude pink base color to the nail, curing between each application according to your gel polish manufacturers instructions. This creates a smooth, opaque foundation for the ombre effect.
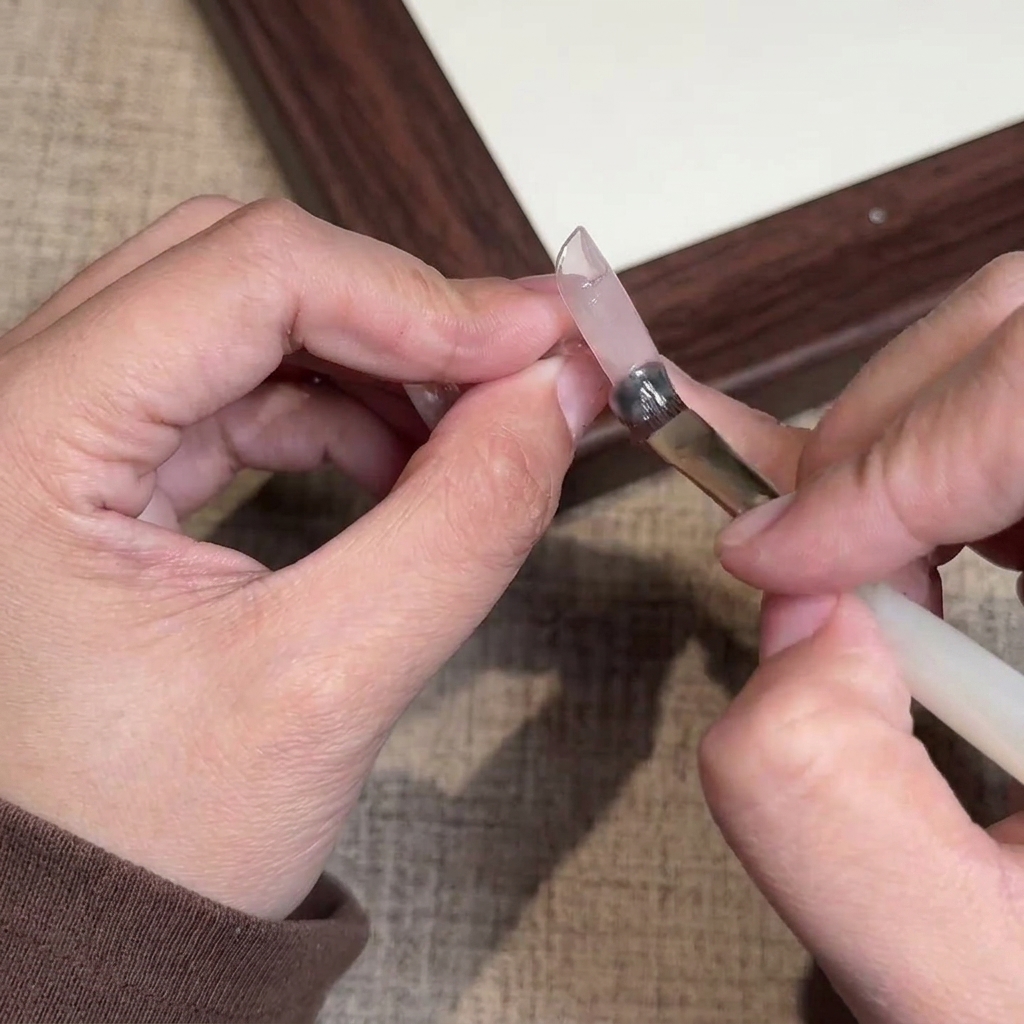
Tip: Ensure your base coats are thin to avoid bulkiness at the nail edges. - 2Dab the first ombre layer

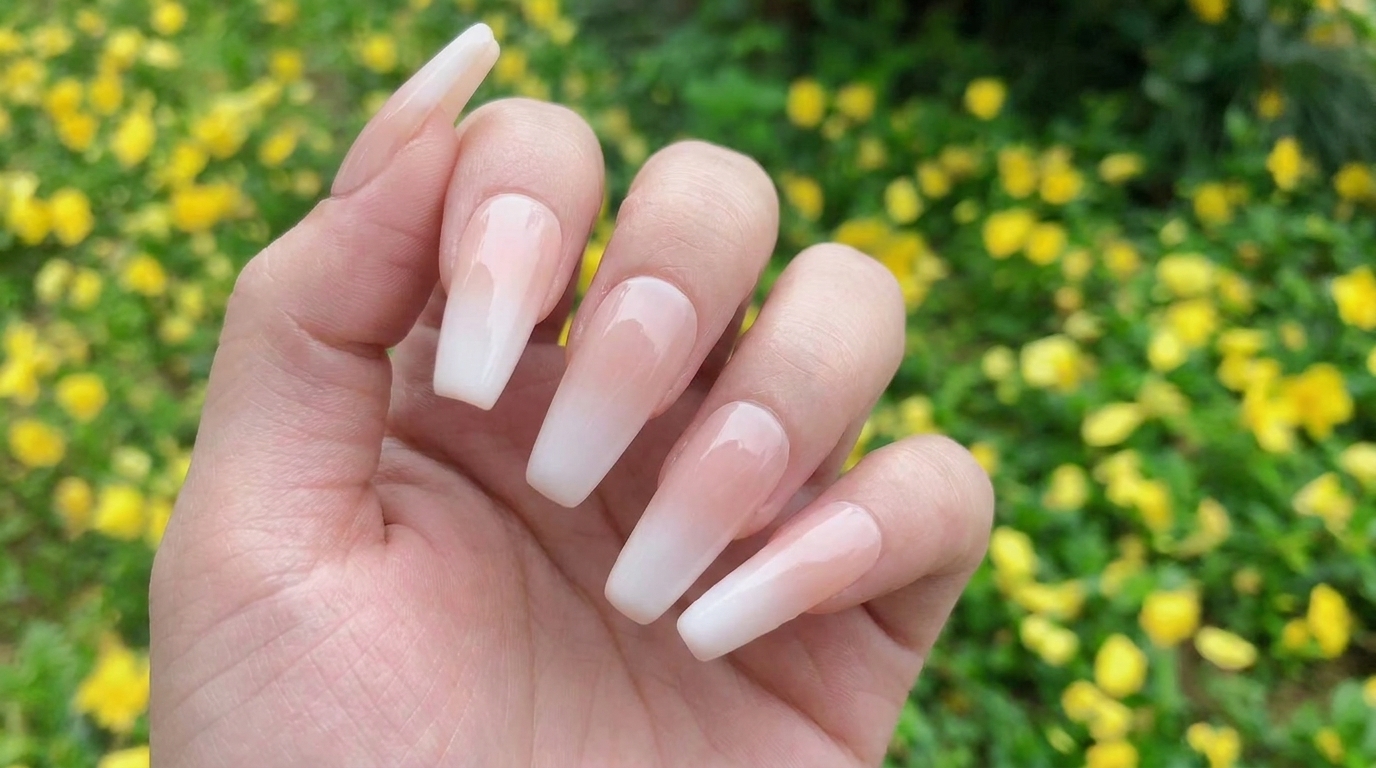
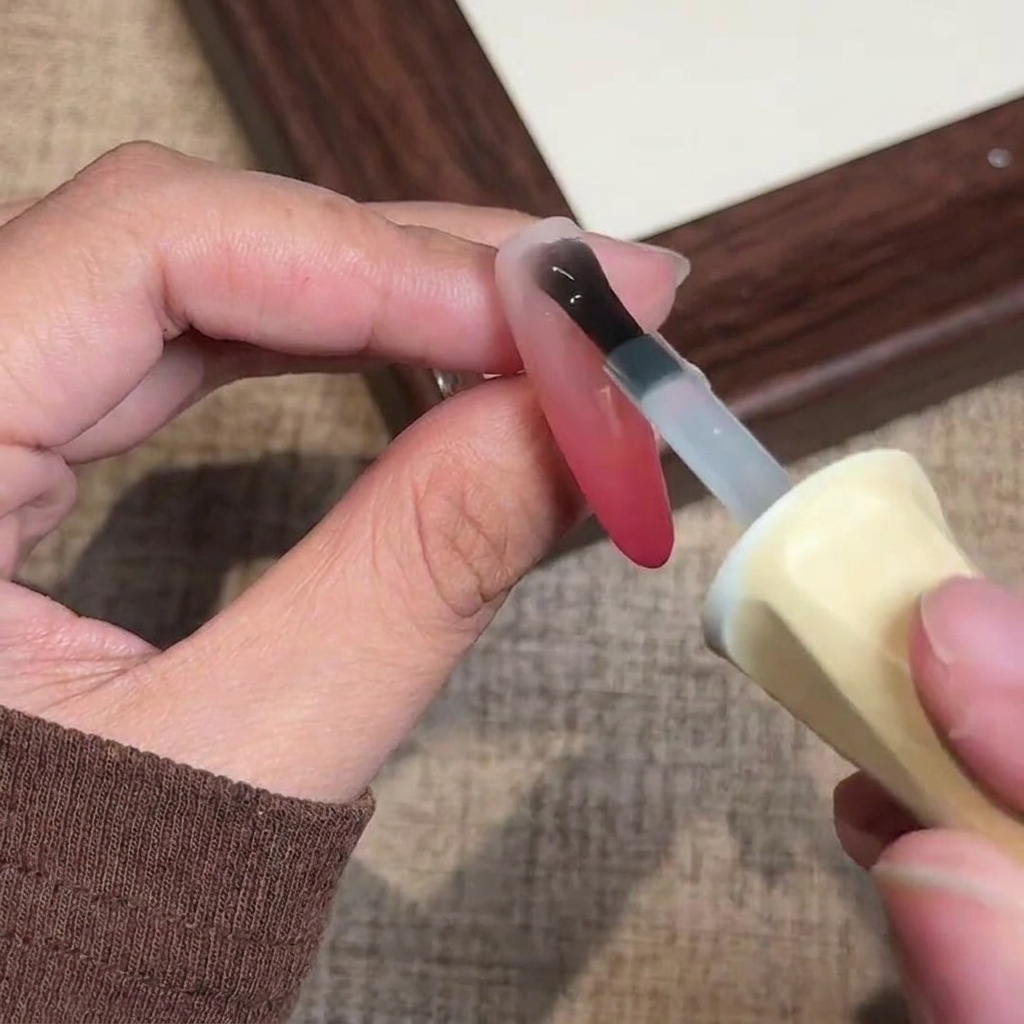
Apply your chosen color to the edge of a makeup sponge and gently dab it onto the nail, starting from the middle and moving toward the tip. This first layer should cover a larger portion of the nail to create a soft, gradient base.
Tip: Use a light, patting motion with the sponge to avoid creating harsh lines or streaks. - 3Dab the second ombre layer
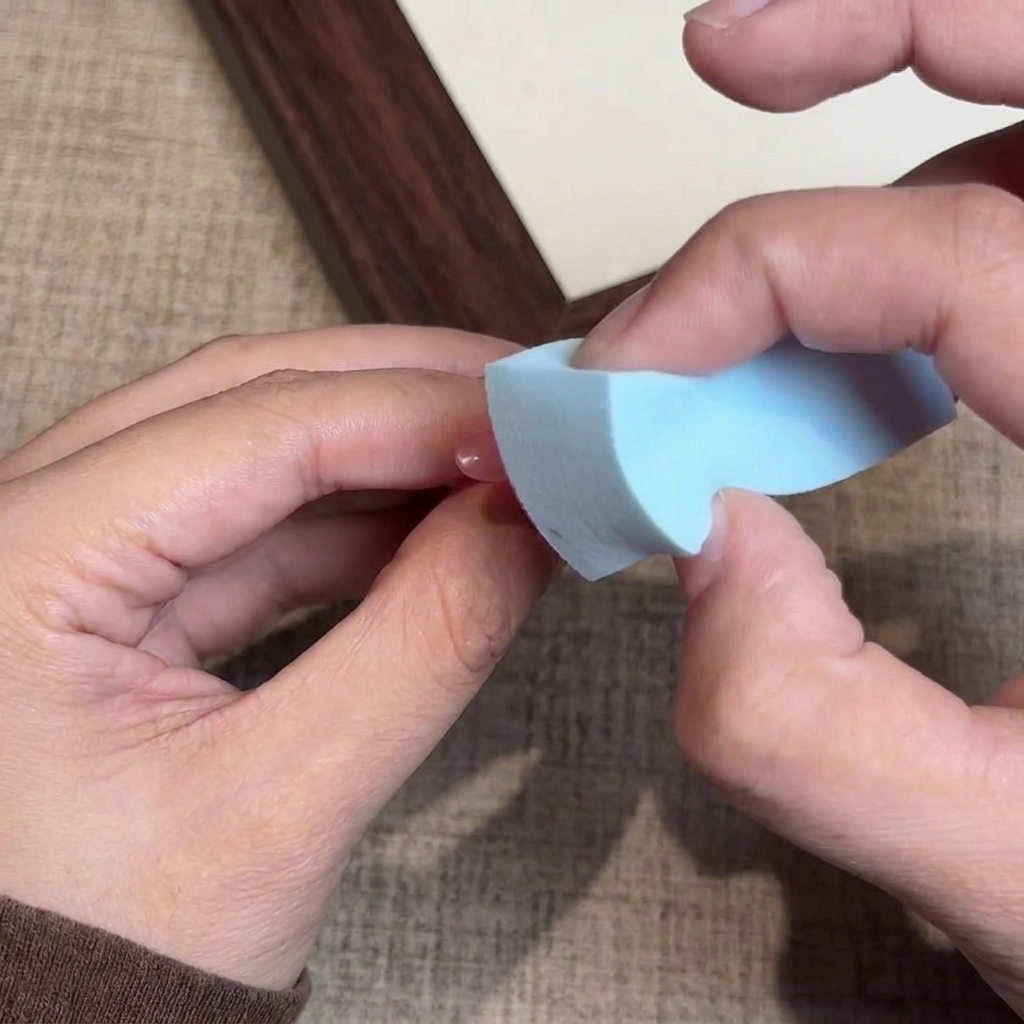
Apply the color again to the sponge and dab it onto the nail, focusing on a smaller area than the first layer, closer to the tip. This builds the intensity and depth of the gradient transition.
Tip: Focus the color concentration primarily on the free edge for the most impact. - 4Build ombre intensity
Continue dabbing additional layers of color onto the tip area using the sponge. Build up the coverage slowly until you achieve your desired ombre intensity; this typically takes a few repetitions.
Tip: Always cure between layers if your technique involves building color density to ensure proper setting. - 5Apply matte top coat
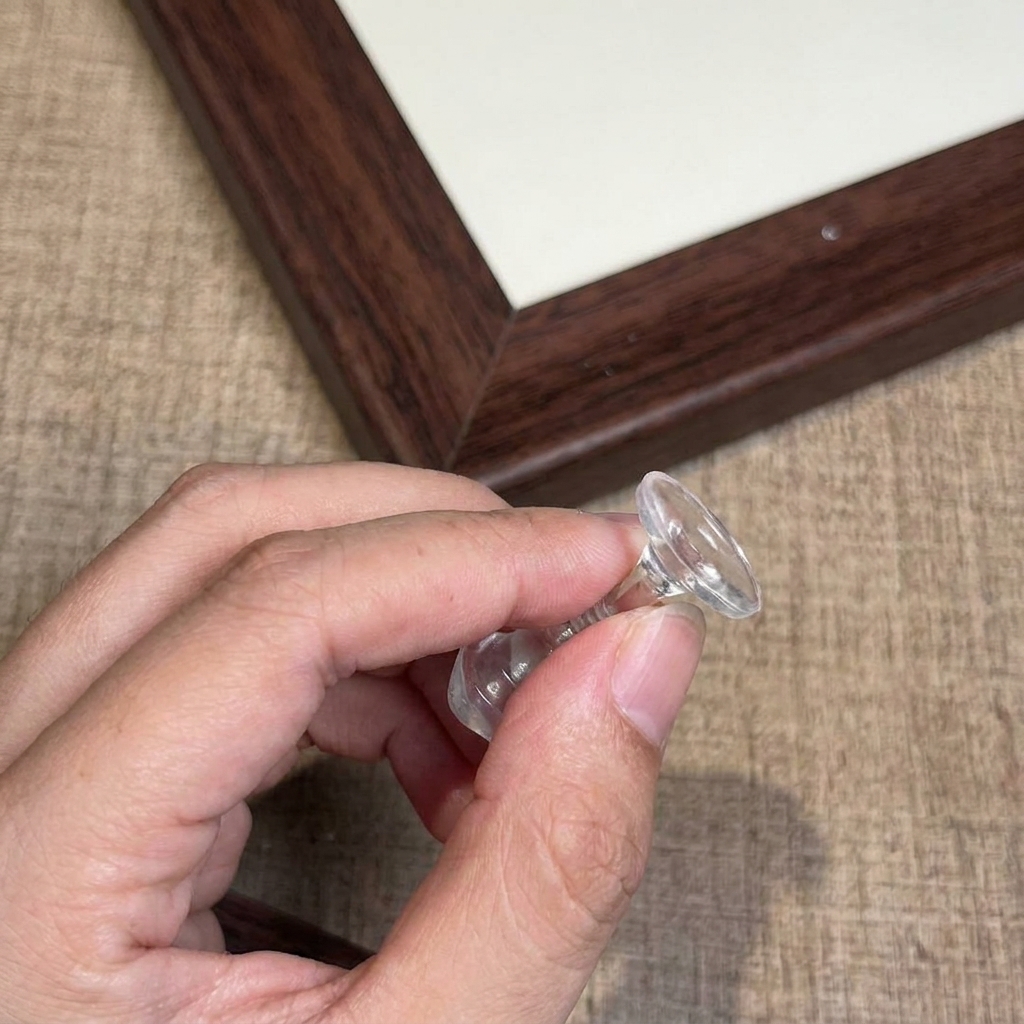
Once the ombre design is complete, apply a final layer of matte top coat over the entire nail. Cure under your nail lamp to lock in the design and achieve the finished look.
Tip: Cap the free edge with the top coat to increase the longevity of your manicure.