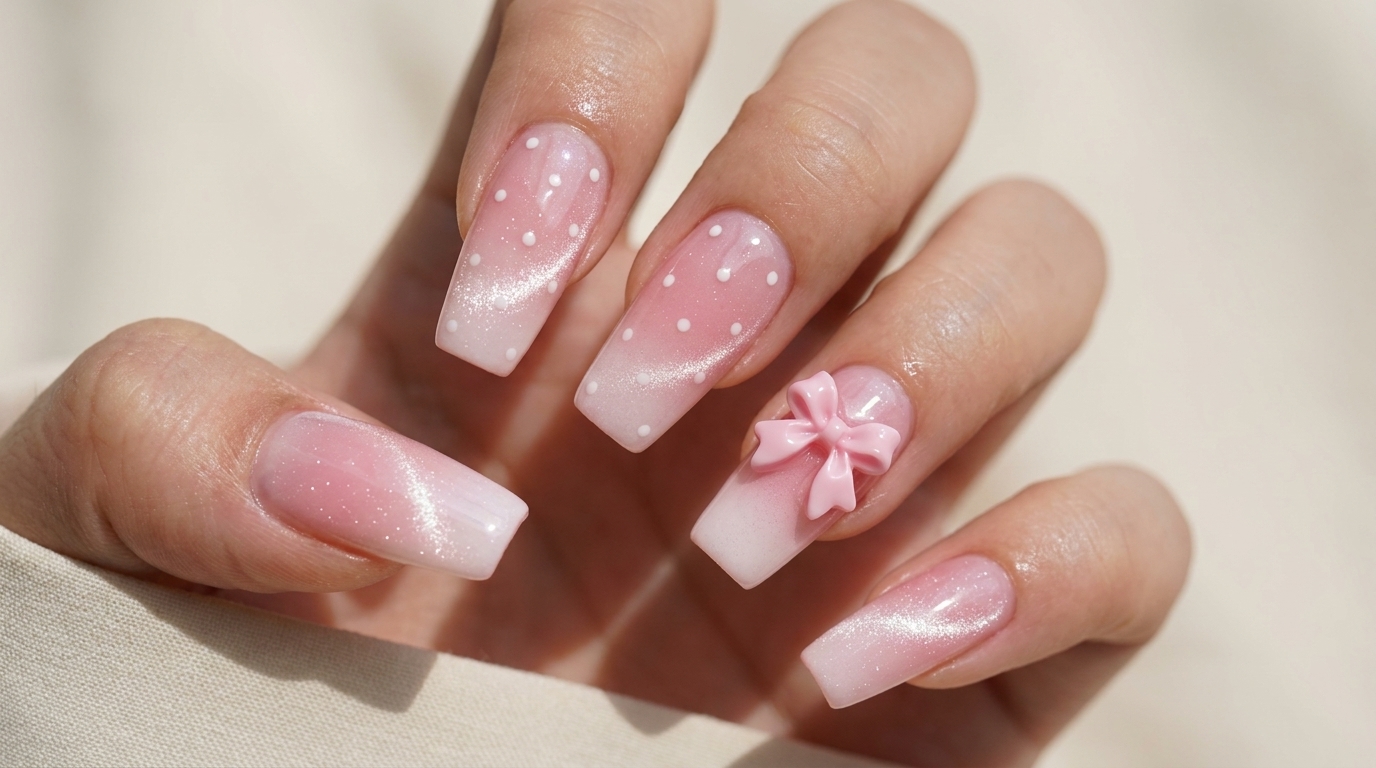
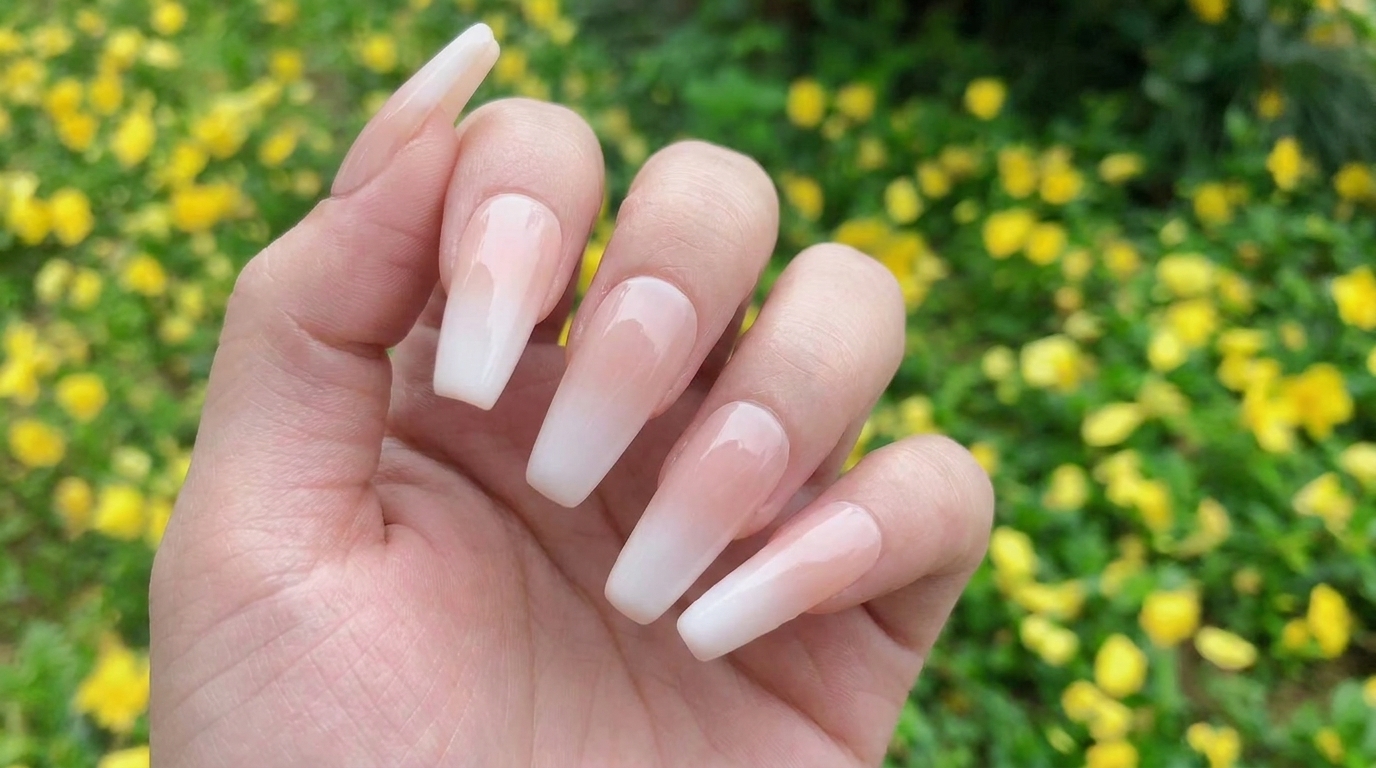
Gentle Nude Pink
White Ombre Nails — Step-by-Step Tutorial
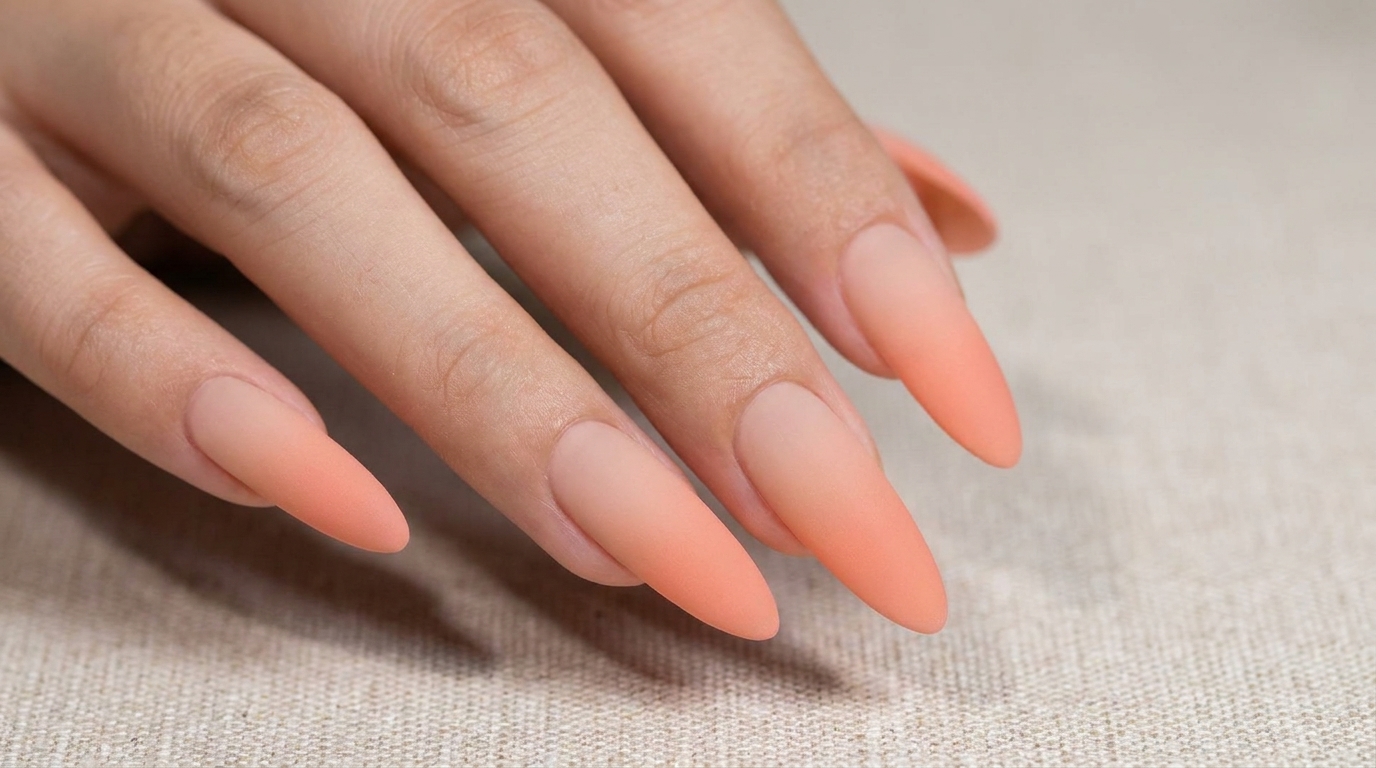
Achieve a soft, sophisticated look with these dreamy nude pink and milky white ombre nails. Learn the simple layering and blending technique for a perfect gradient.
The nude pink and white ombre nail look is a timeless, elegant choice that works for any occasion. By using an ice-transparent base and layering milky white, you can create a soft, seamless transition that looks effortlessly natural. This tutorial will guide you through the precise layering and blending process to help you achieve a professional-quality gradient at home.
Steps
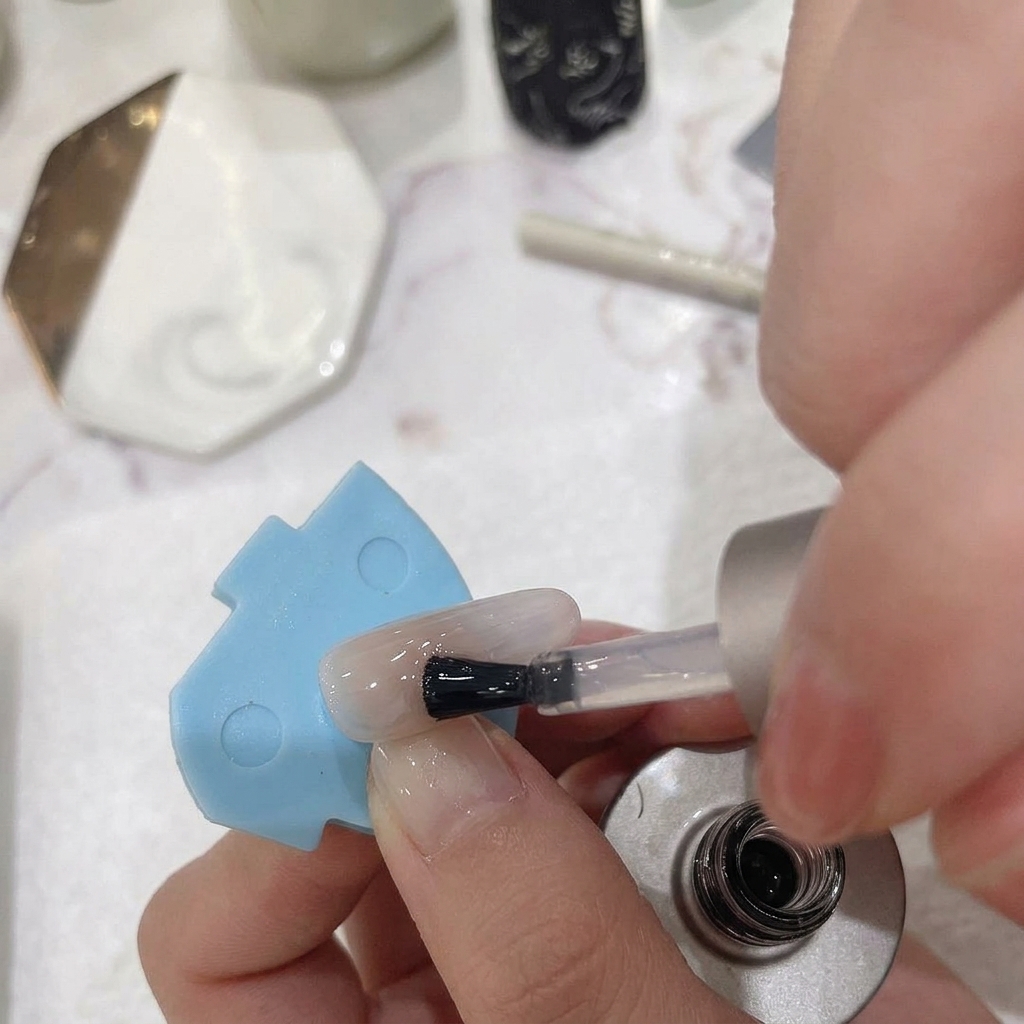
- 1Apply base color
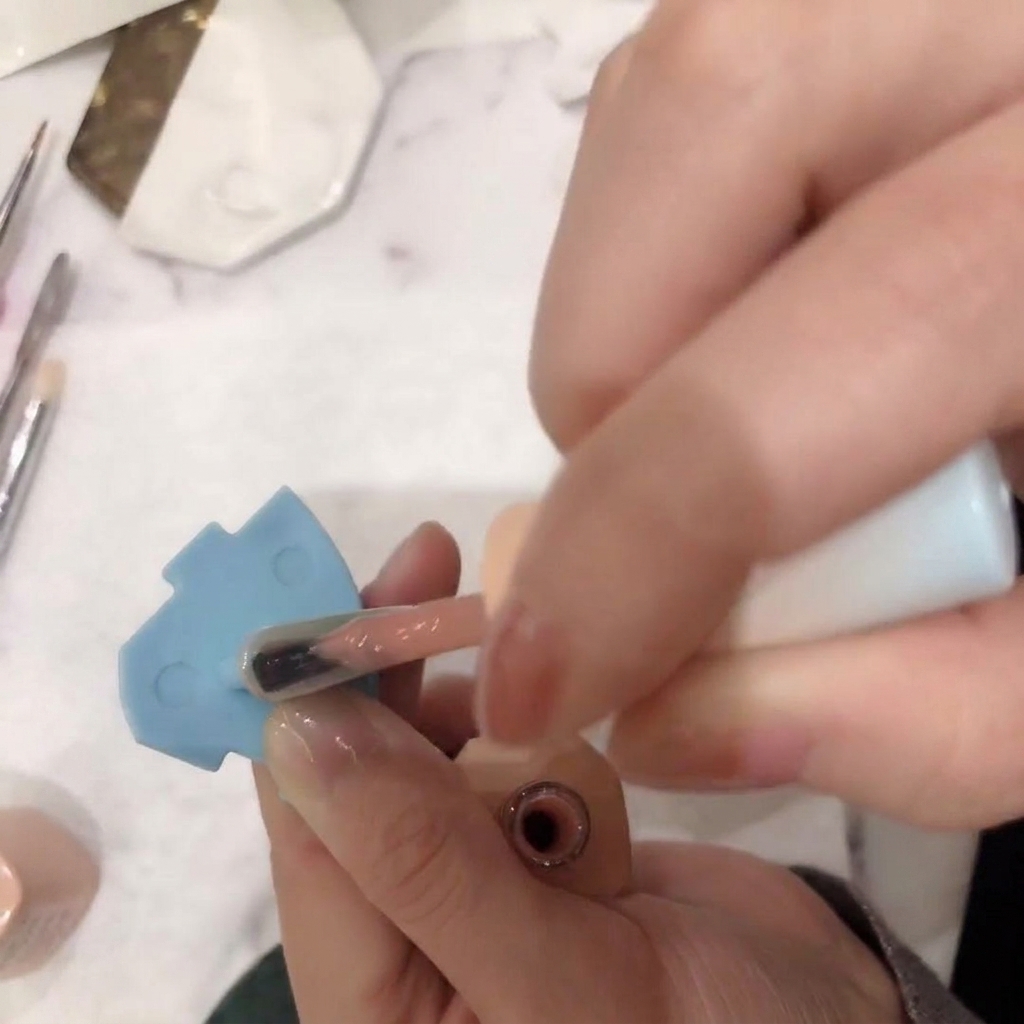
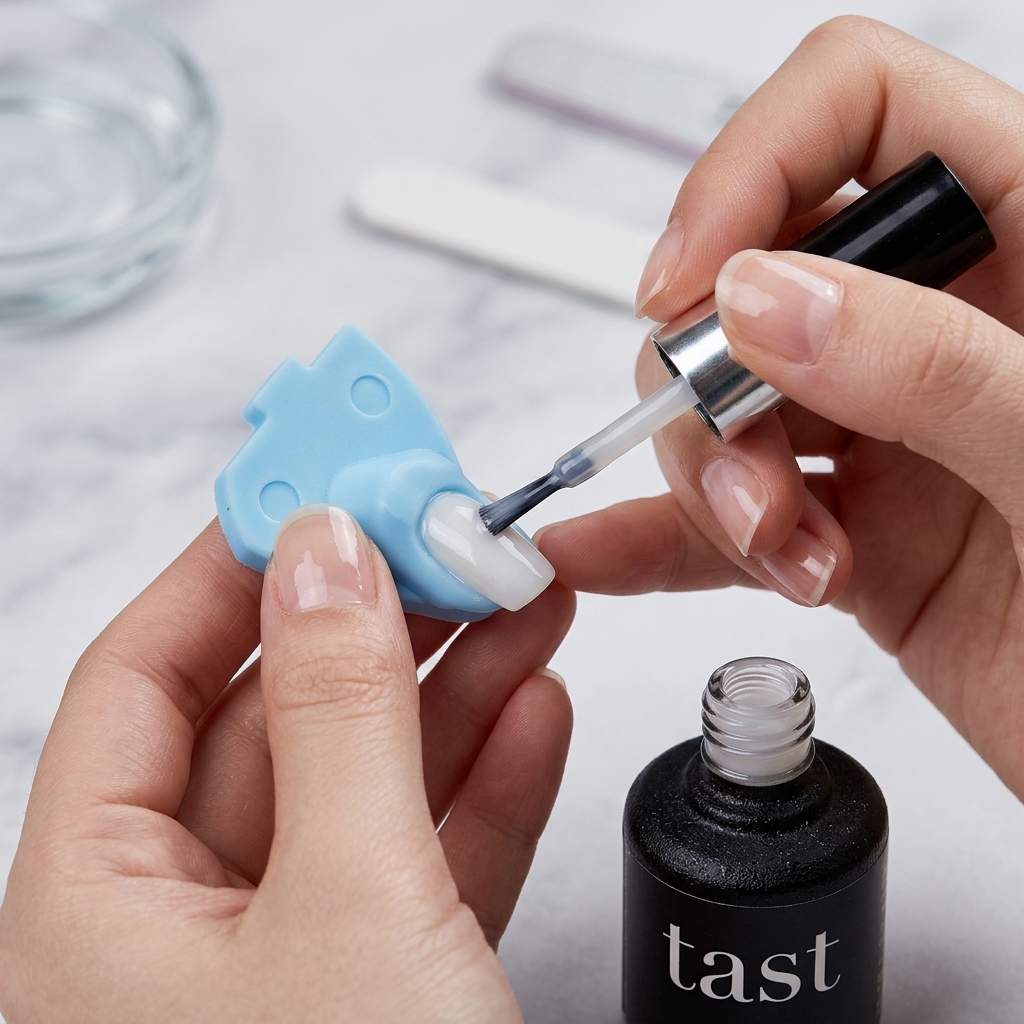
Apply a thin, even layer of ice-transparent nude pink polish to the nail, ensuring smooth coverage from base to tip. Cure the nail under an LED or UV lamp as directed by the product instructions.
Tip: Applying thin layers prevents bubbling and ensures an even, natural look. - 2Apply second base coat
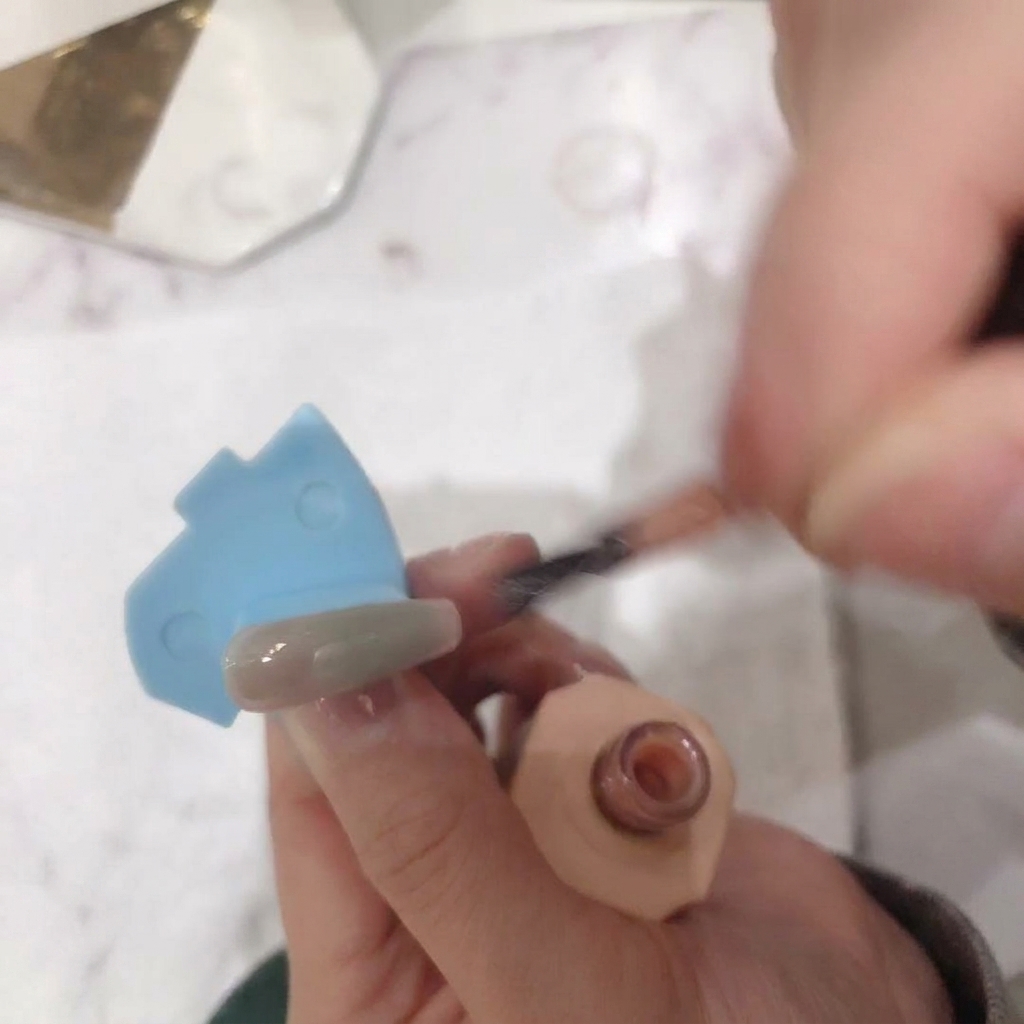
Apply a second layer of the ice-transparent nude pink polish over the cured first layer. This builds opacity and creates a more vibrant base for the ombre effect. Cure the nail completely under the lamp.
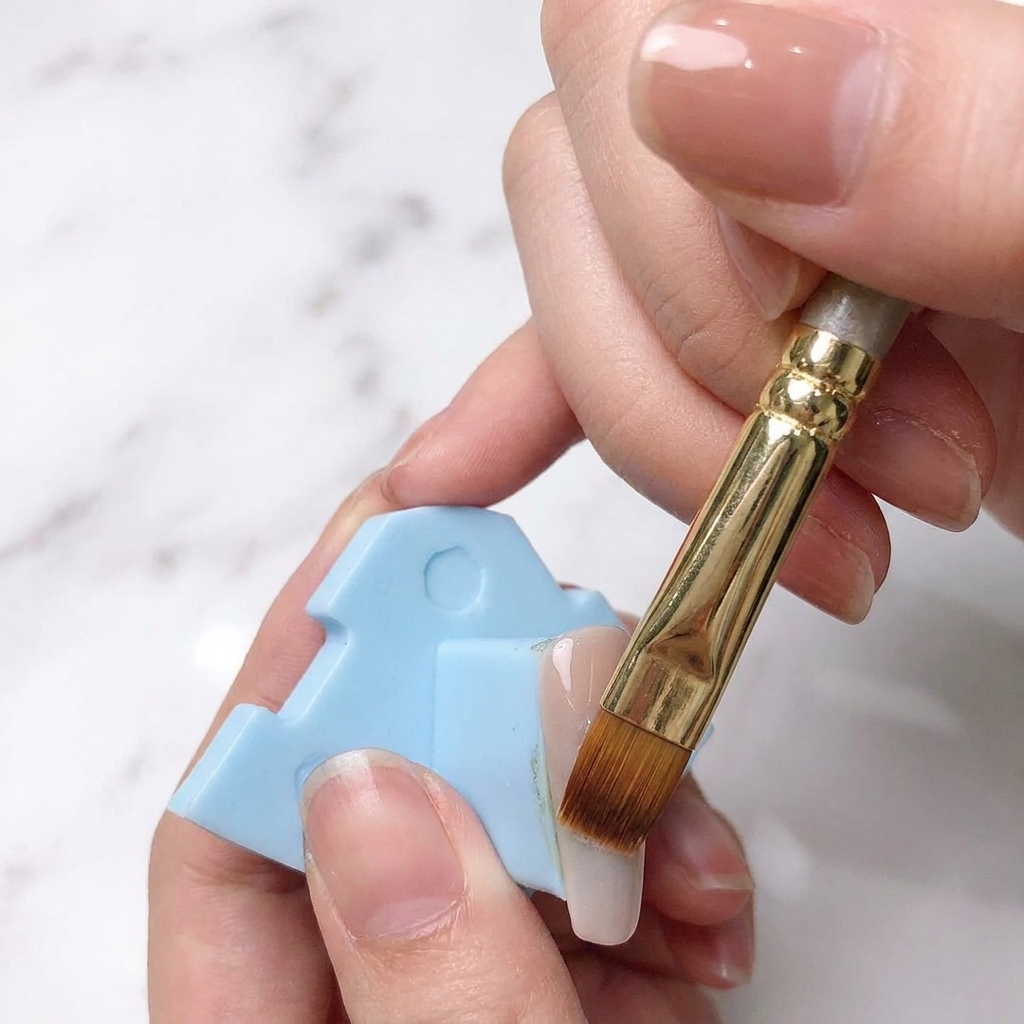
Tip: Curing between layers ensures each coat is fully set before adding more product. - 3Apply milky white to tips
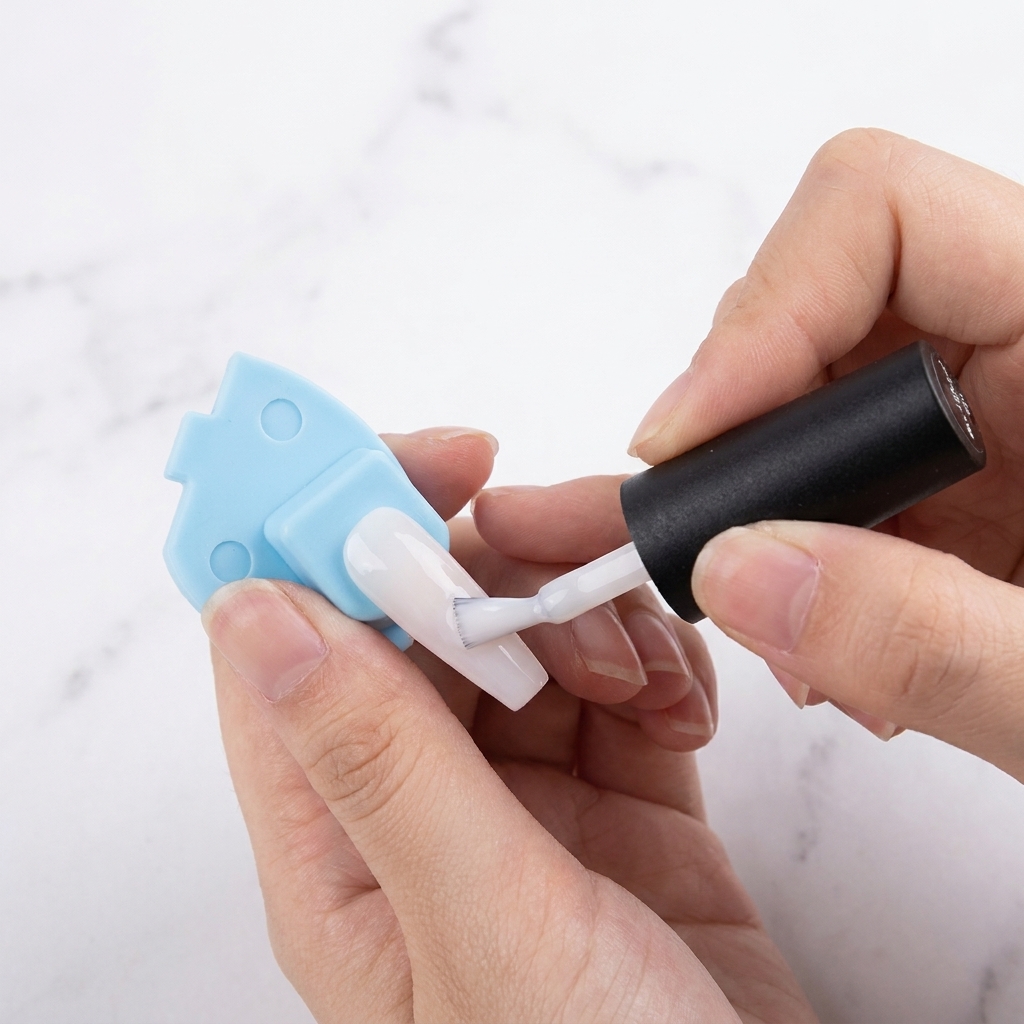
Apply a layer of milky white polish specifically to the tips of the nails, keeping the layer focused on the free edge. Do not cure the polish yet, as it needs to remain wet for blending.
Tip: Keep the white polish layer relatively thin at the edges to make blending easier. - 4Blend the ombre gradient
Using a dry ombre brush, gently tap and sweep the wet white polish back toward the center of the nail. Blend the edge into the pink base to create a soft, seamless gradient. Cure the nail only after the transition looks smooth and well-blended.
Tip: Use a light, tapping motion to avoid dragging too much product and losing the gradient. - 5Deepen the white ombre
Apply a second layer of milky white polish to the tips to intensify the brightness and opacity. Again, keep the polish wet so you can blend it seamlessly into the base color.
Tip: Focusing the second layer on just the very tip helps maintain the gradient. - 6Refine the final blend
Use the ombre brush to sweep upwards, blending the second layer of white polish into the pink base. Continue brushing until the transition is smooth and natural. Note that the final sheer perfecting coat is covered in the following step.
Tip: A final light coat over the whole nail helps unify the color and smooth out the texture. - 7Apply a sheer milky white layer
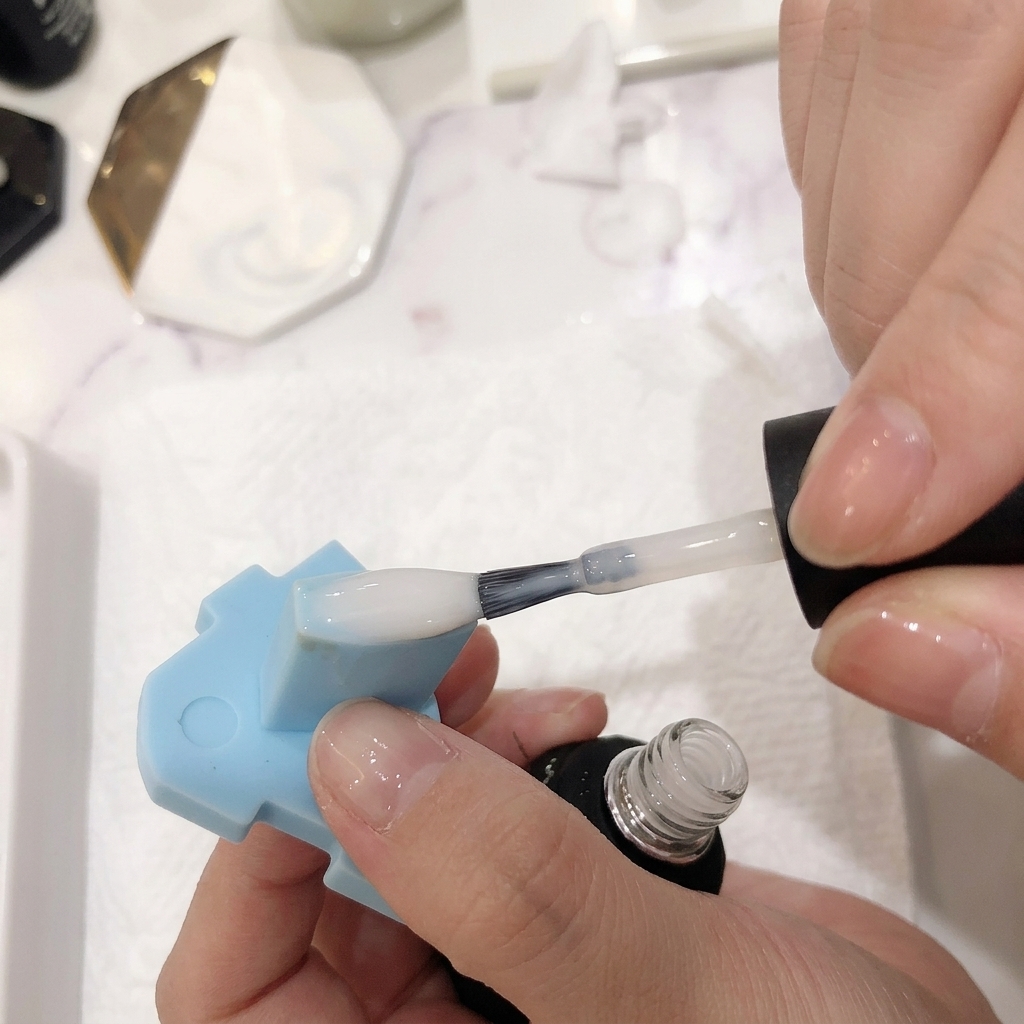
Brush a very thin, even layer of milky white polish over the entire nail surface. This sheer coat acts as a perfecting veil that seamlessly blends the transition area and hides any harsh brush strokes, resulting in a wonderfully soft and natural-looking ombre effect.
Tip: Keep the polish amount on your brush minimal so you dont overpower or muddy the gradient you just created. - 8Apply glossy top coat
Complete the manicure by applying a clear, glossy top coat over the entire nail to seal in the ombre design. Once applied evenly, cure the nail under your LED/UV lamp for a final time until fully dry to achieve a durable, high-shine finish.
Tip: Dont forget to cap the free edge of the nail with the top coat to ensure long-lasting wear and prevent premature chipping.