Purple Aurora Cat-Eye Nails — Step-by-Step Gradient Tutorial
Master the stunning purple aurora cat-eye gradient with this step-by-step tutorial. Learn to blend magnetic silver polish with sheer gel and elegant pearls.
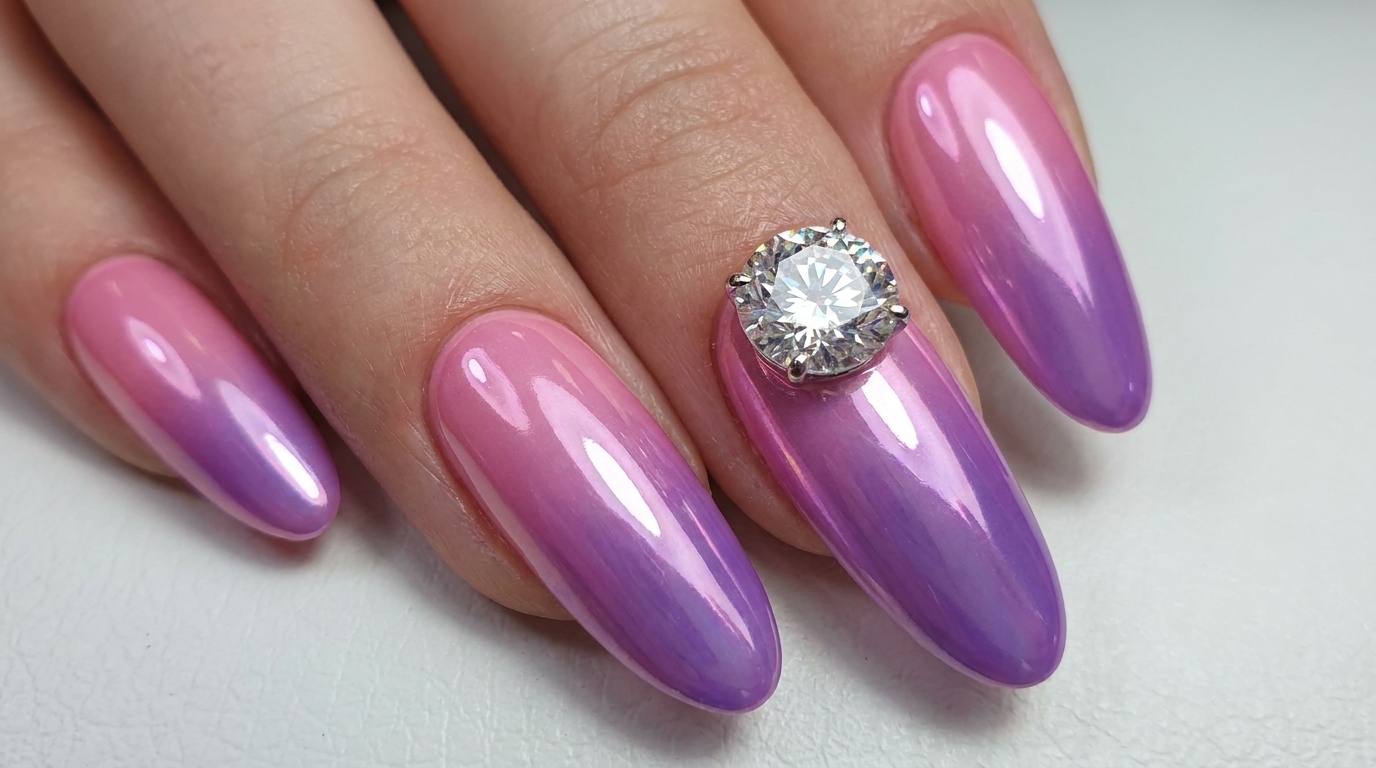
The purple aurora cat-eye design combines the mesmerizing depth of magnetic polish with a soft, jelly-like color gradient. This look elevates the classic cat-eye technique by layering sheer purple gel under a sweeping silver magnetic shimmer, finishing with a beautiful cluster of pearl embellishments at the cuticle. It is a luxurious, multi-dimensional style that brings high-end salon artistry right to your fingertips.
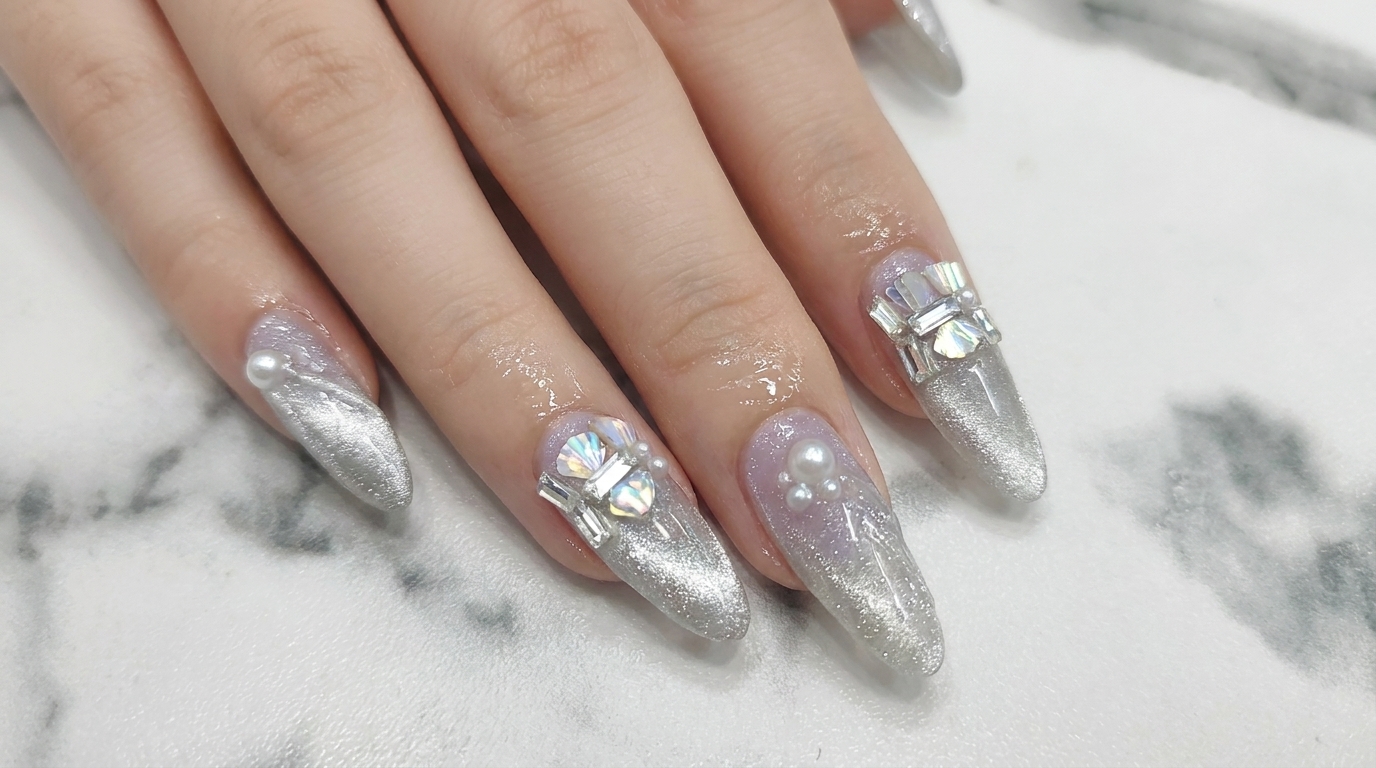
Steps
- 1Apply sheer purple gel
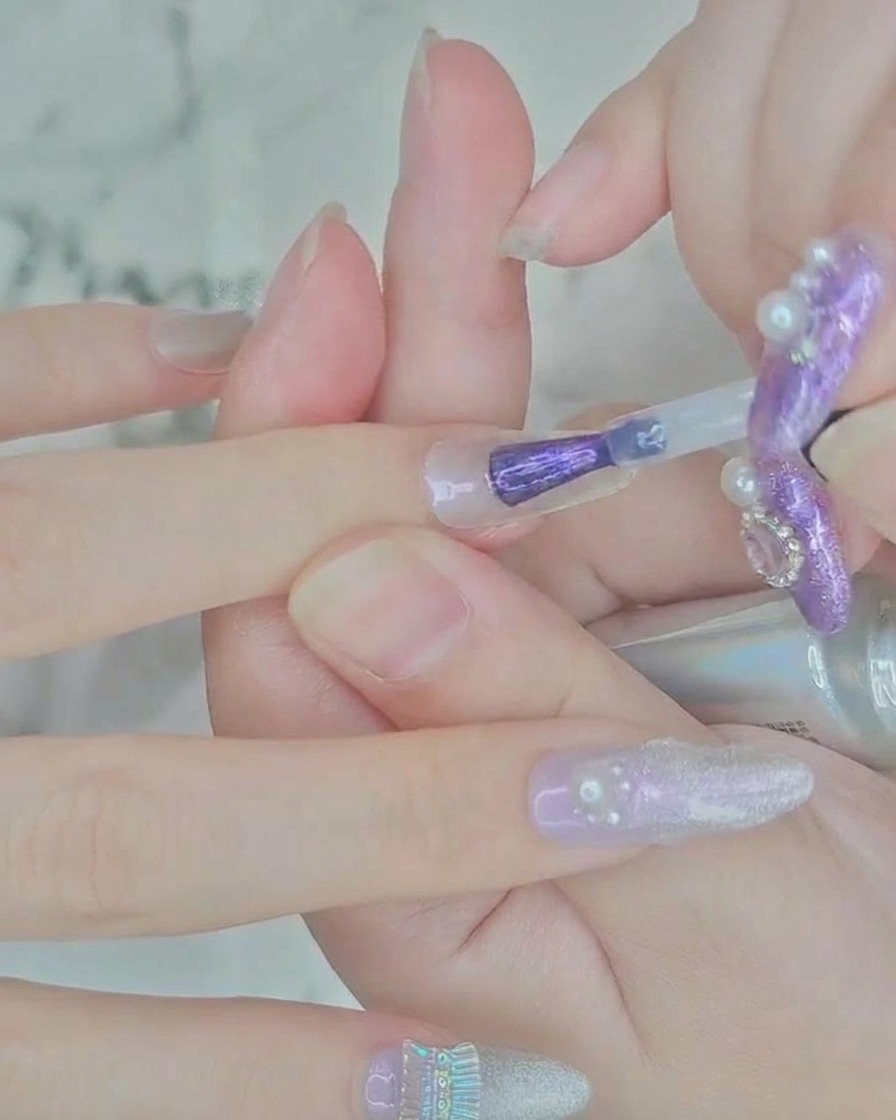
Using a gel brush, apply a layer of sheer purple gel polish to the middle section of the clear nail extension. Focus on achieving an even, smooth application while keeping the color thin to maintain the sheer aesthetic. Ensure the polish is applied neatly without touching the skin.
Tip: Keep the gel layer thin to ensure even curing and prevent pooling at the edges. - 2Apply silver glitter magnetic polish
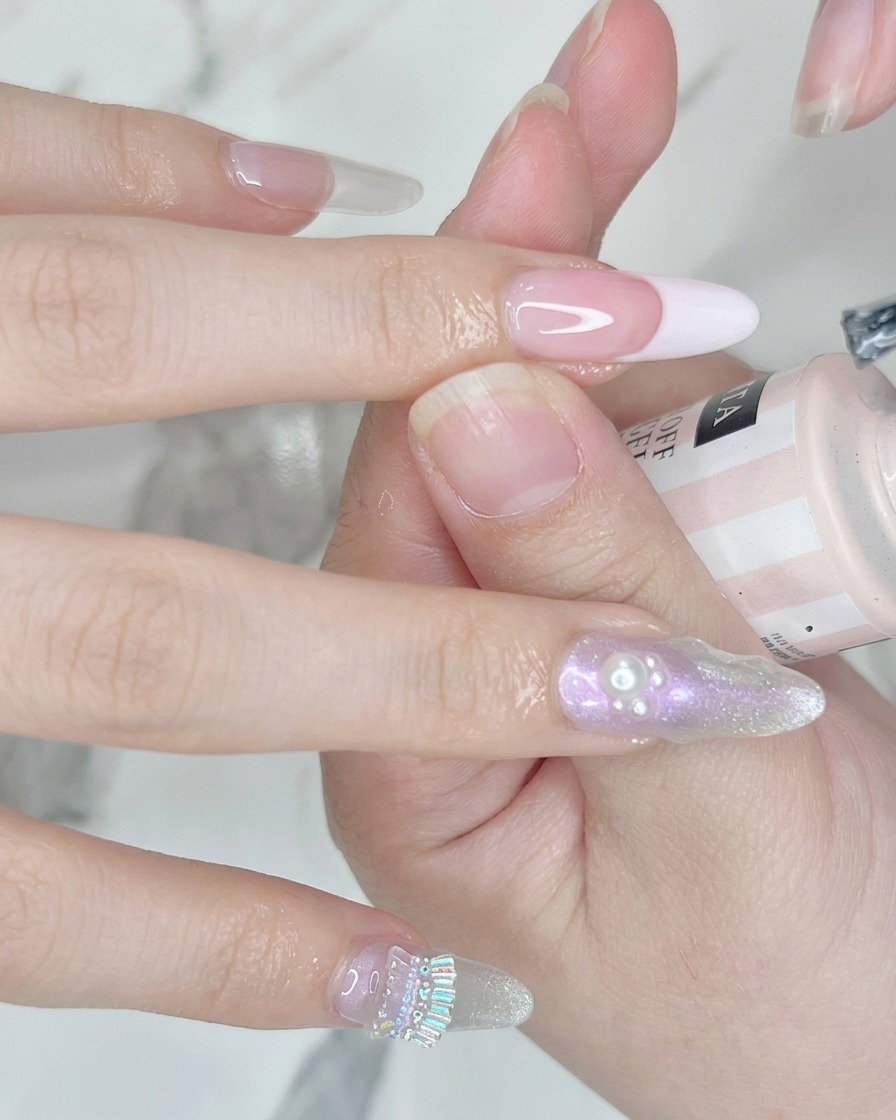
Apply a generous coat of silver glitter magnetic polish over the entire nail surface. Ensure the polish covers the nail evenly, as this layer is crucial for the magnetic particles to create the desired effect.
Tip: Work efficiently with magnetic polish before it starts to dry to get the best results with the magnet. - 3Activate cat-eye effect
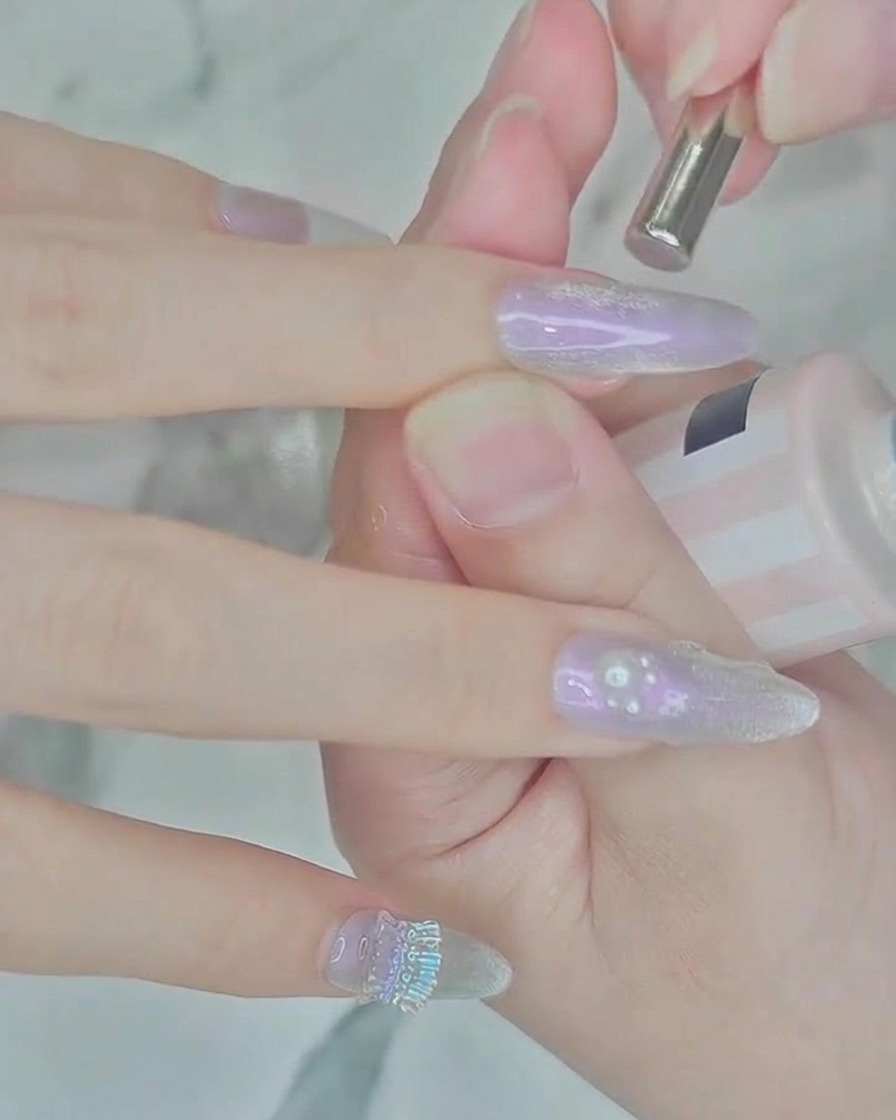
Hold a small cylindrical magnet tool closely over the wet silver polish without touching the surface. Move the magnet around the nail to manipulate the magnetic particles, creating the shimmering cat-eye aurora effect. Cure the nail immediately after achieving your desired design.
Tip: Experiment with the angle of the magnet to create different patterns and depths in the magnetic shimmer. - 4Apply gel for embellishments
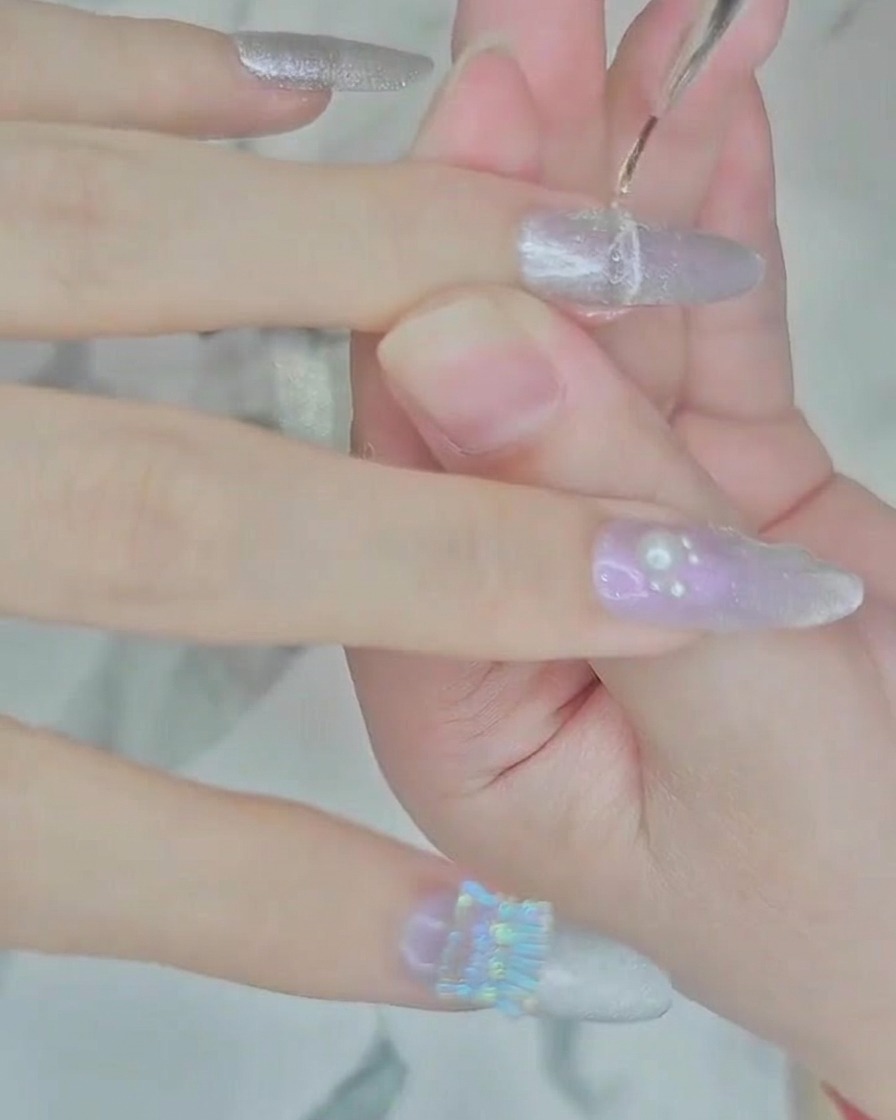
Using a fine detailing liner brush, apply a small, horizontal line of clear builder gel near the cuticle area. This gel will act as the adhesive for the pearl beads.
Tip: Use a minimal amount of builder gel to prevent the beads from sliding or the gel from flooding the cuticle. - 5Place pearl beads
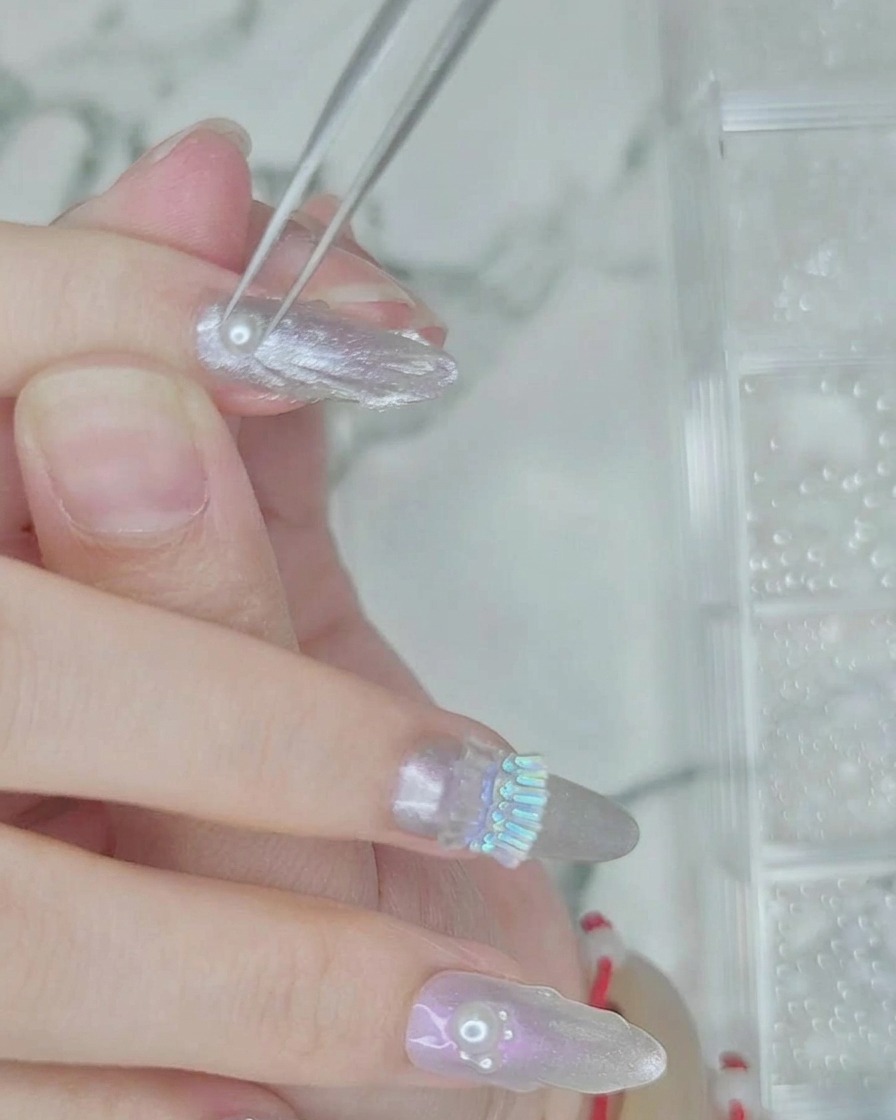
Using fine-tip tweezers, carefully pick up and place small white pearl beads onto the wet line of clear builder gel. Arrange them precisely in a row along the cuticle line before curing the gel to lock them in place.
Tip: Ensure the beads are fully seated in the gel to prevent them from snagging or falling off later. - 6Apply top coat
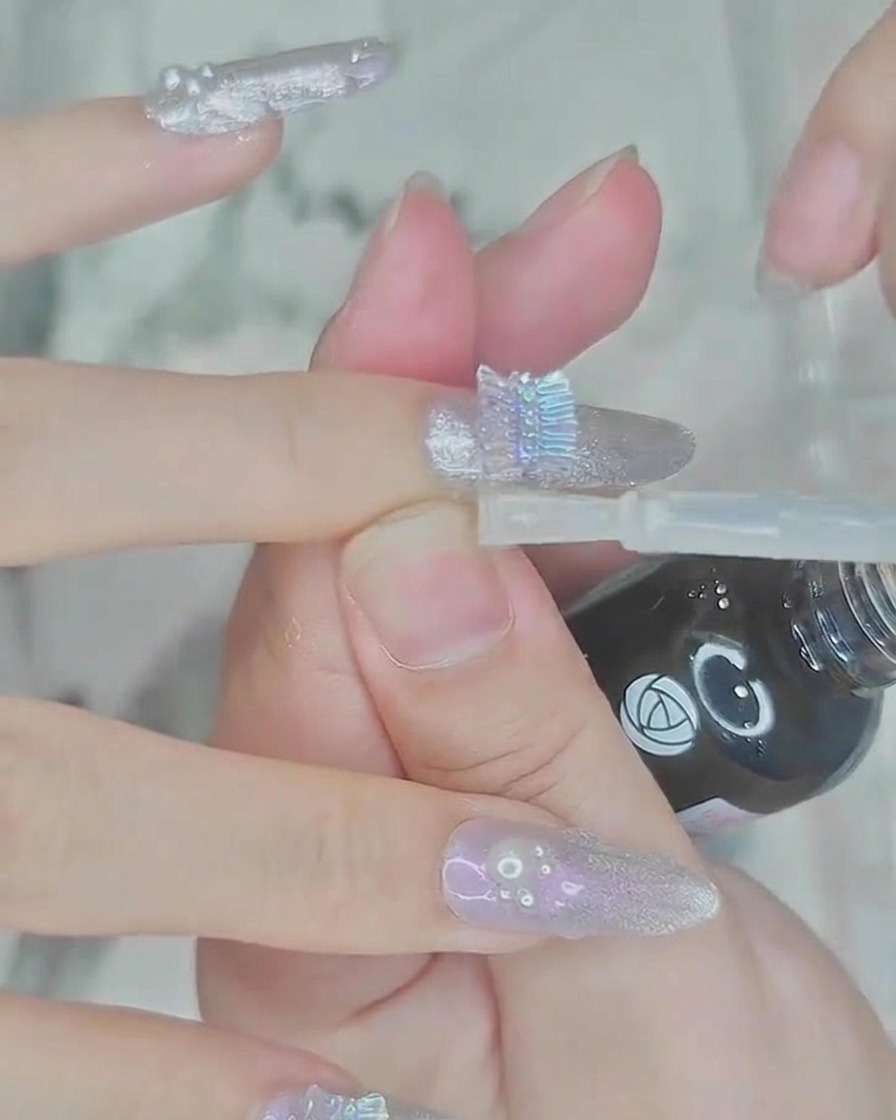
Apply a clear, glossy top coat over the entire nail, ensuring you carefully go around the pearl beads to seal them in place. This final layer protects the design and provides a high-shine finish.
Tip: Cap the free edge with the top coat to increase the longevity of the manicure.