Pink Purple Smoke Cat-Eye Gradient Nails — Step-by-Step Tutorial
Create a dreamy pink and purple smoke gradient with a mesmerizing magnetic cat-eye effect. Follow this easy guide for a glossy, salon-quality manicure.
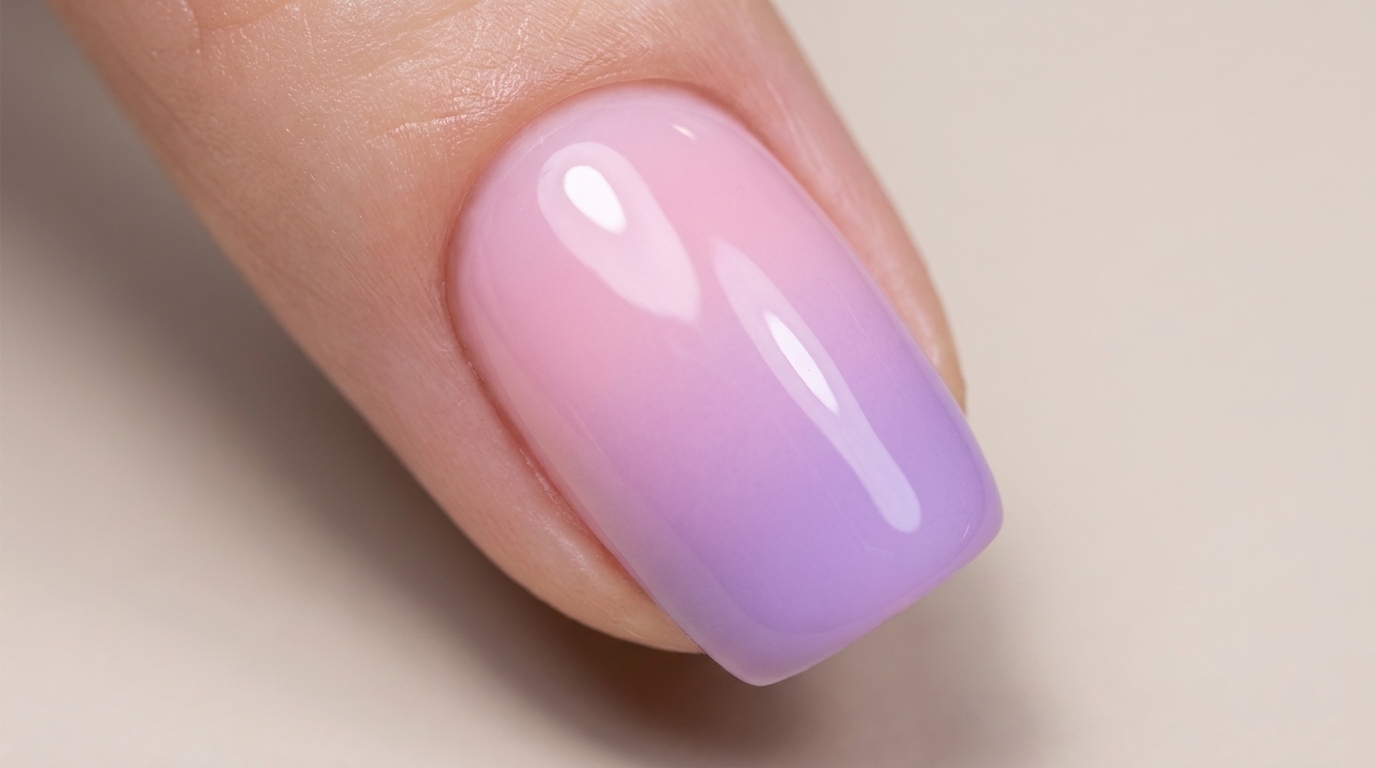
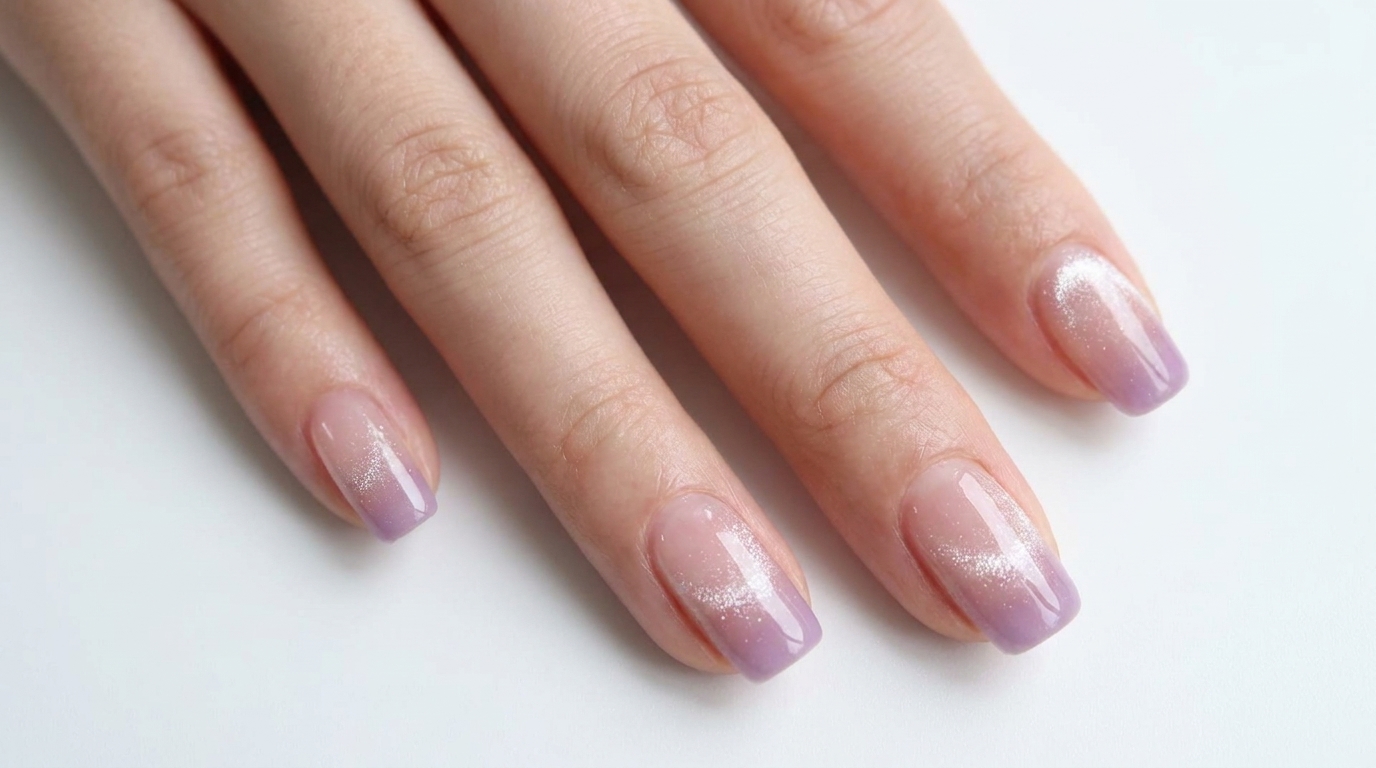
The Pink Purple Smoke look combines the soft, skin-brightening tones of nude pink with a delicate purple gradient for an ethereal finish. By incorporating a magnetic cat-eye effect near the cuticle, this manicure achieves a unique glass-bead depth that elevates standard ombre nails. It is a stunning, sophisticated style that looks equally beautiful for everyday wear or special occasions.
Steps
- 1Apply cat-eye base coat
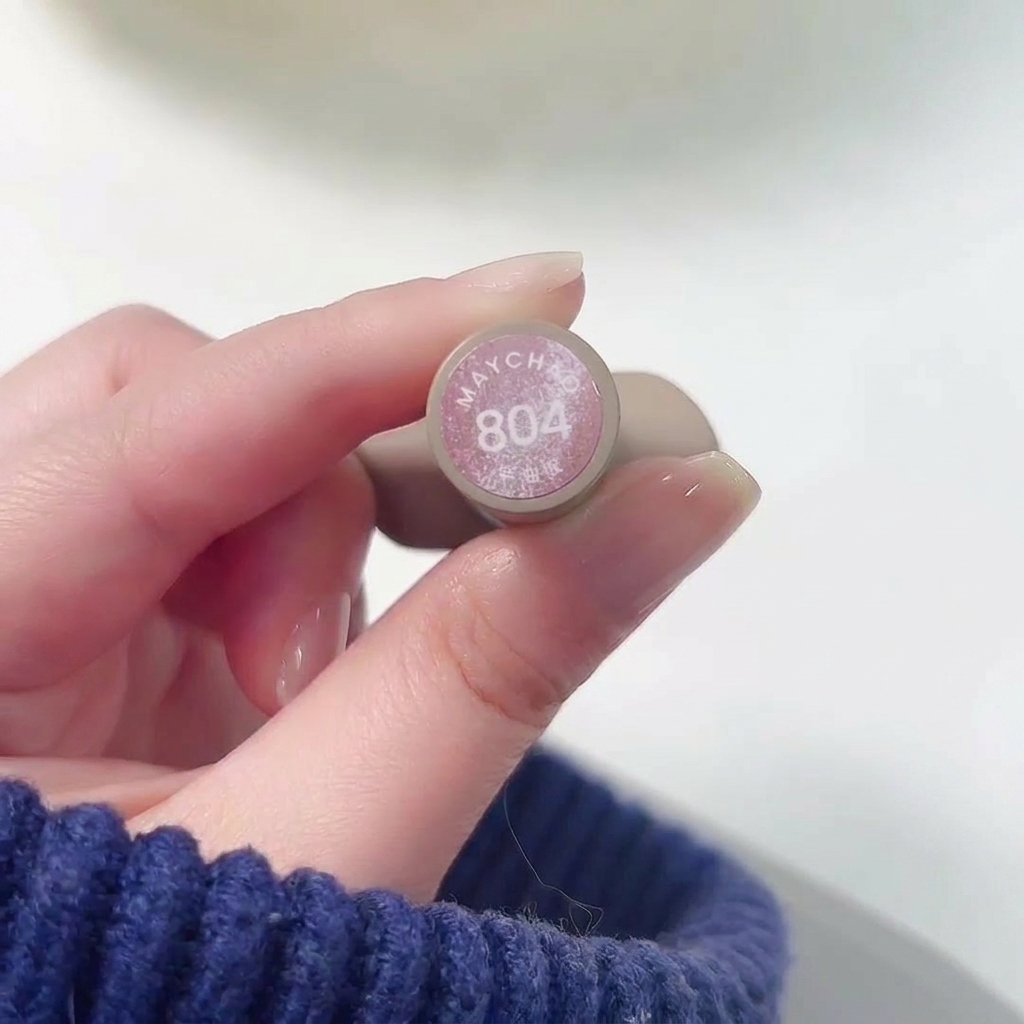
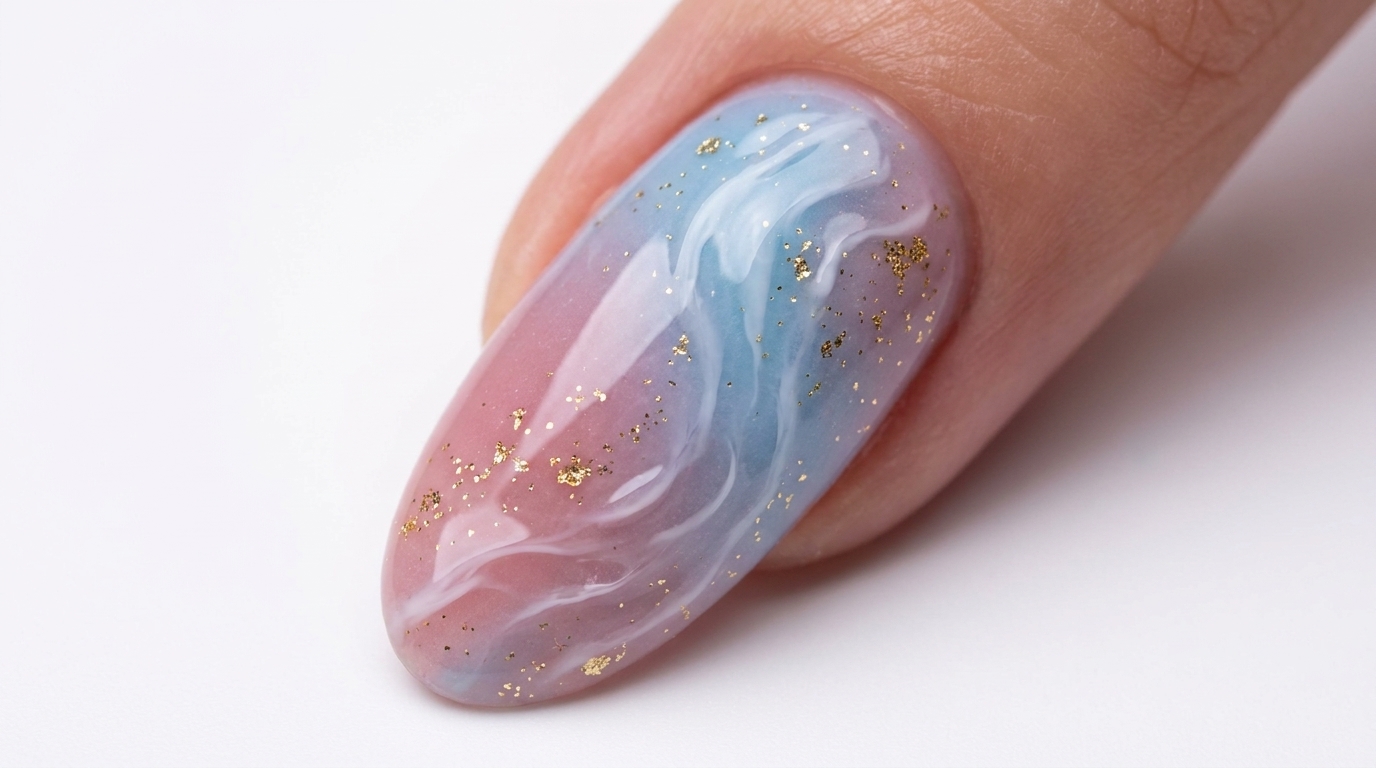
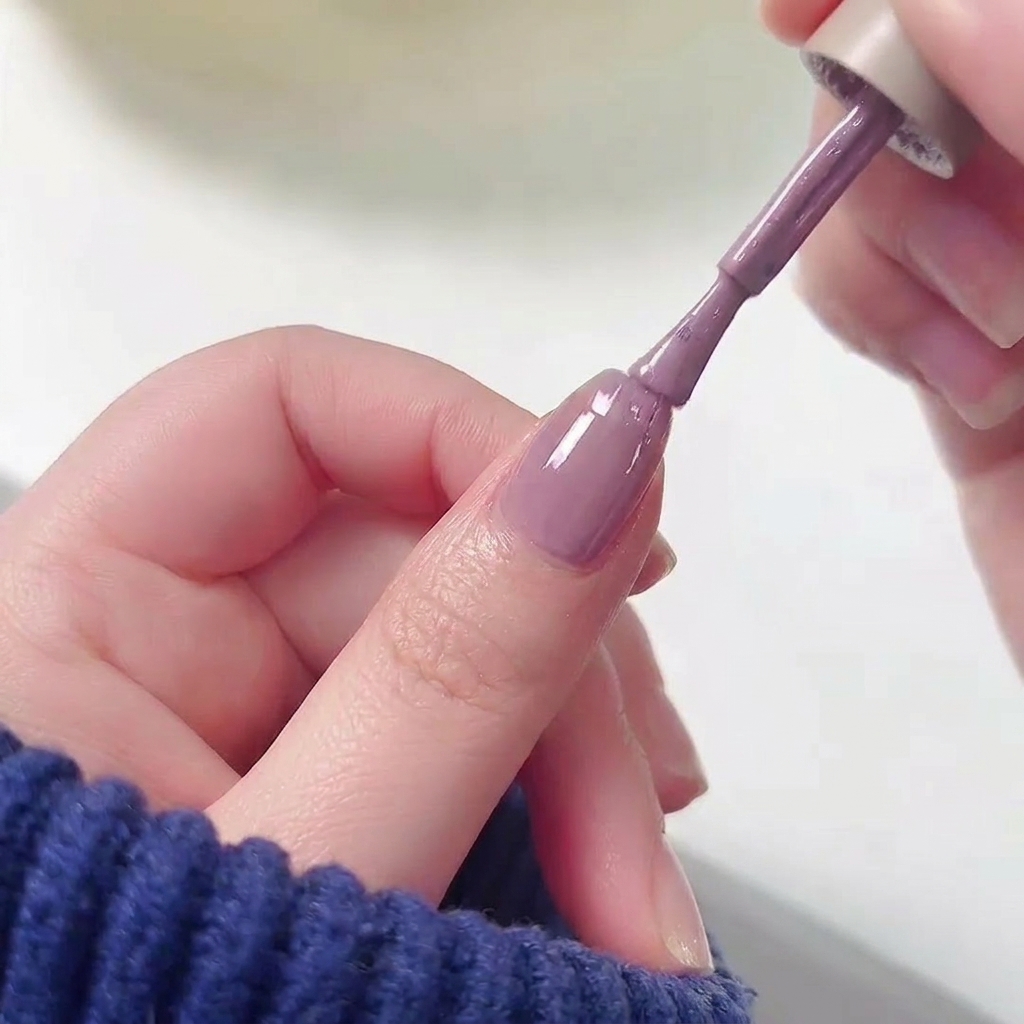
Apply Meichao 804 Taozhi Yaoyao as your base coat. Ensure an even, thin layer across the nail surface before using a magnet near the cuticle to create the signature glass bead cat-eye effect. Once the shimmer is positioned to your liking, cure it under the lamp.
Tip: Move the magnet slowly near the cuticle to draw the magnetic particles upward, enhancing the depth of the glass bead effect. - 2Create the glass bead cat-eye effect
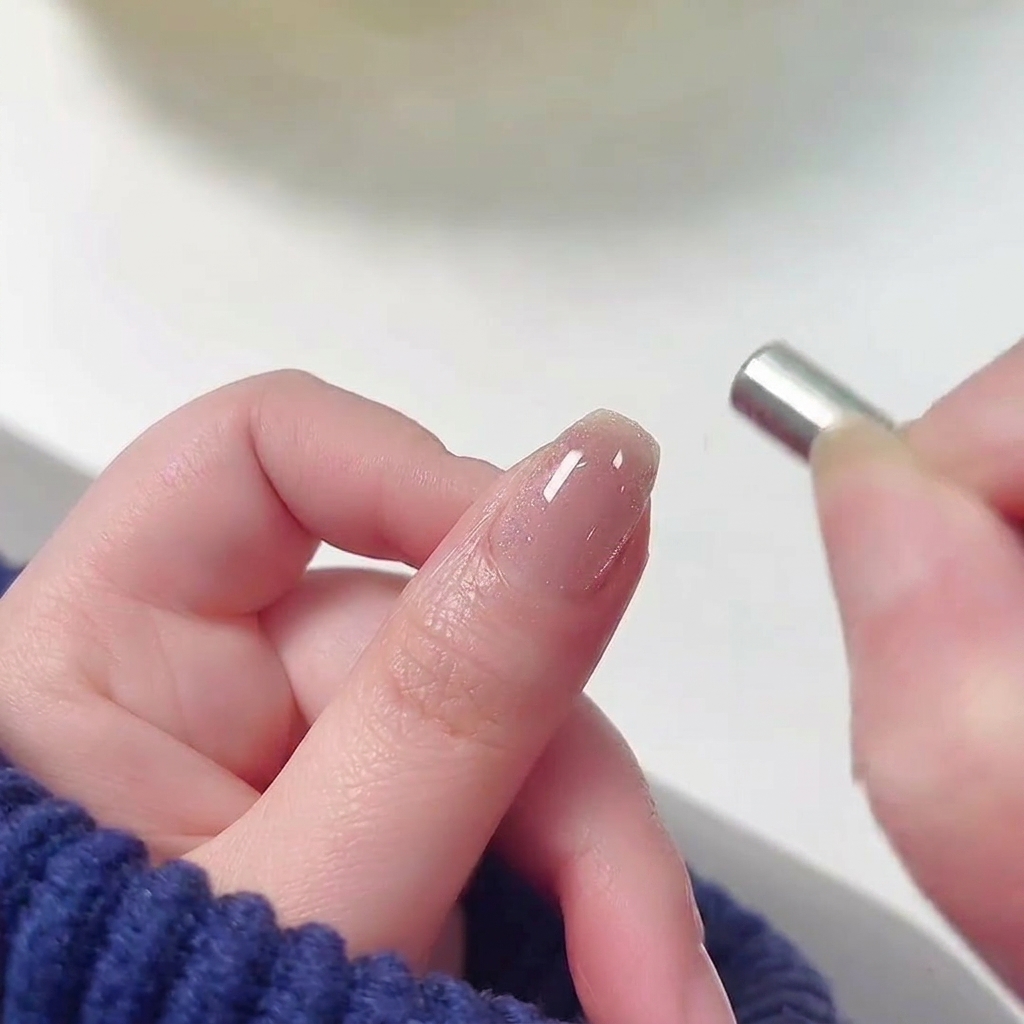
After applying your nude pink cat-eye base coat, do not cure the gel just yet. Hold a cylindrical magnet closely parallel to the cuticle edge of the nail for a few seconds. This action pulls the magnetic particles toward the base, creating a luminous, rounded glass bead effect.
Tip: Keep your hand steady and hold the magnet as close to the nail surface as possible without touching the wet gel. - 3Cure under the lamp
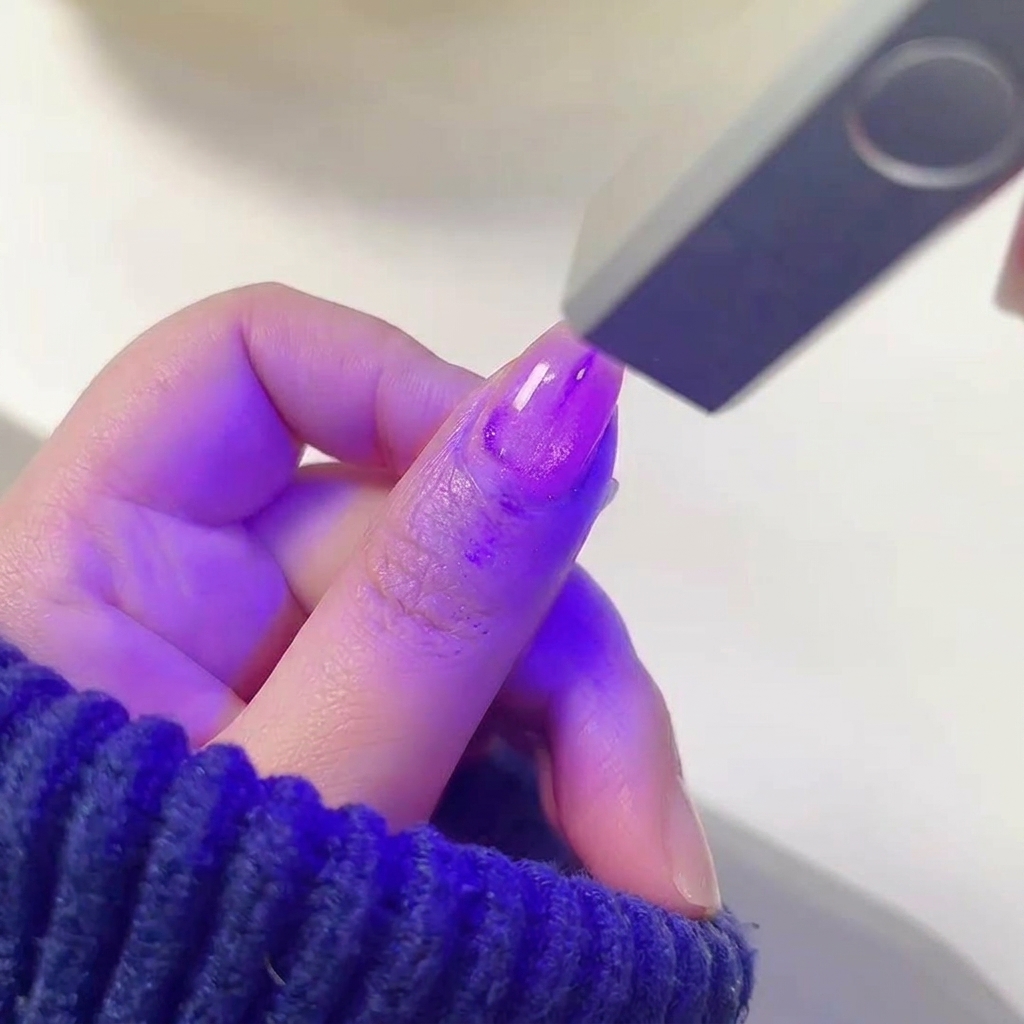
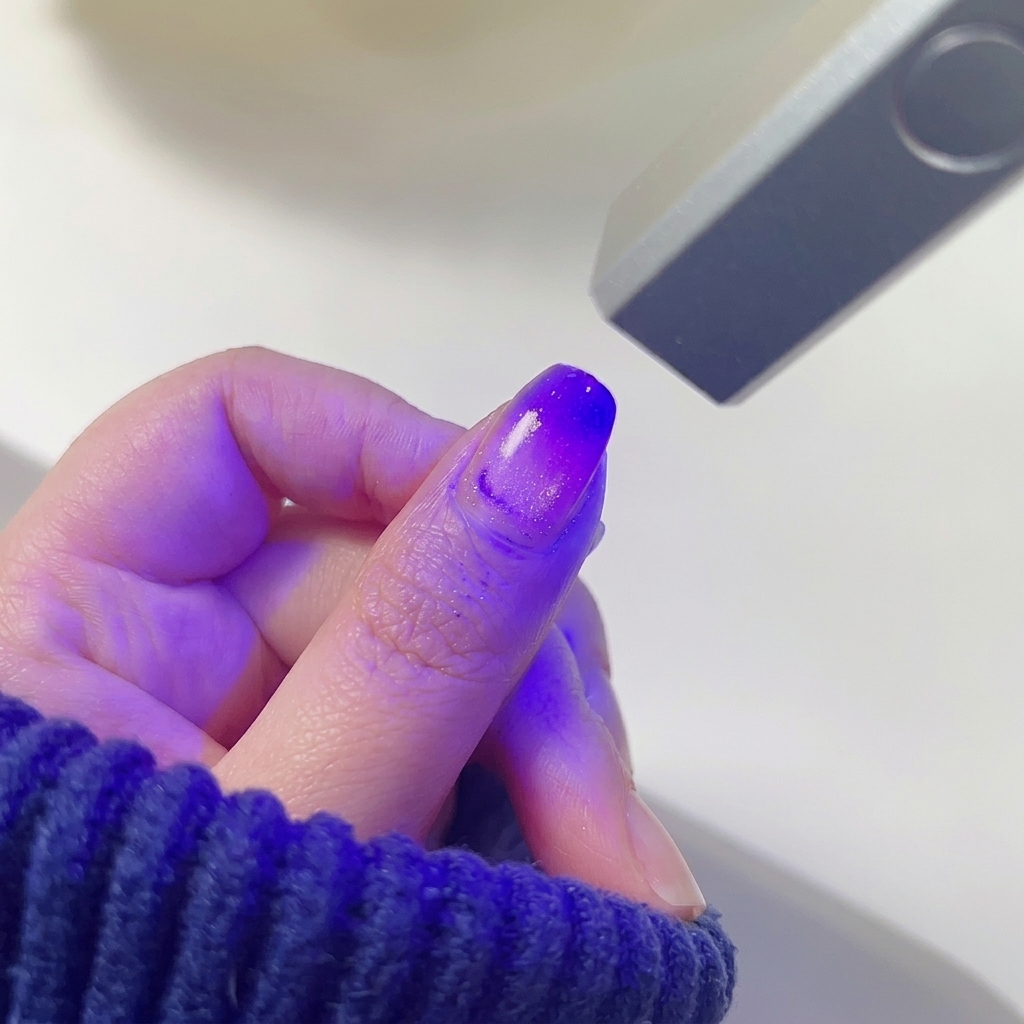
Place the nail inside the UV/LED lamp to cure the gel polish. Ensure the finger is positioned correctly so the light covers the entire nail surface evenly to lock in the cat-eye shimmer and the gradient design.
Tip: Keep your fingers flat inside the lamp to prevent the gel from pooling at the sides during the curing process. - 4Apply purple gel to the tip
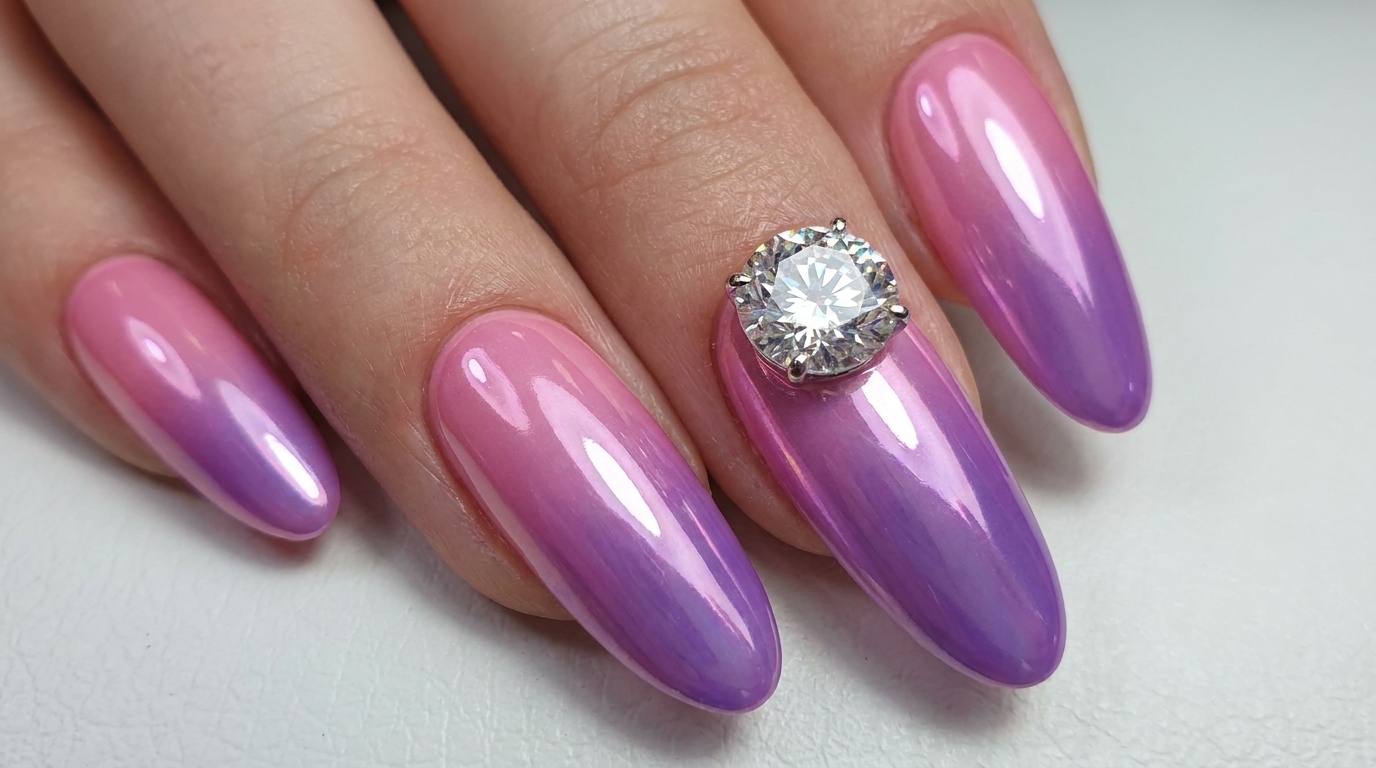
Take a purple gel polish and apply a solid layer onto the top half or free edge of the nail. Do not worry about creating a harsh line across the middle, as this section will be blended out seamlessly in the next step.
Tip: Wipe excess polish off your brush before applying to maintain control over the thickness of the color at the tip. - 5Blend the gradient
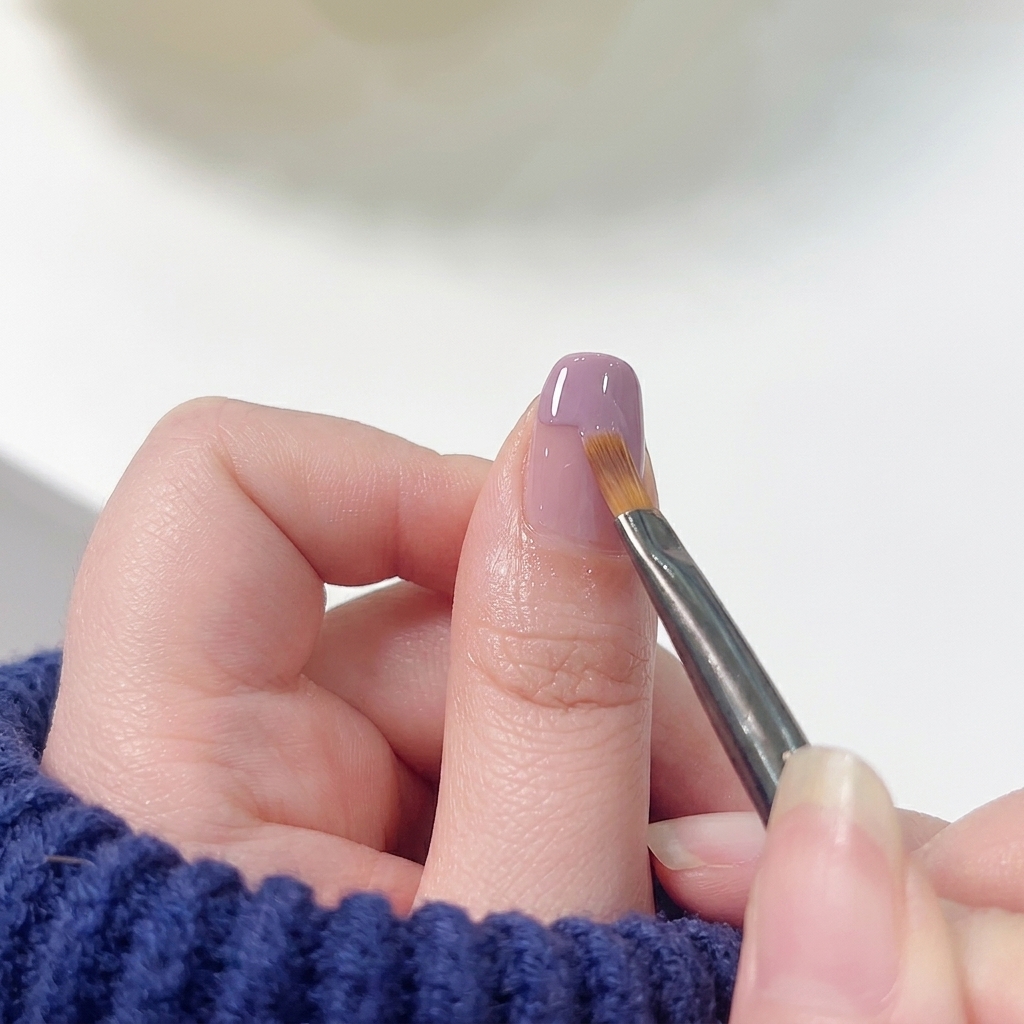
Using a clean, flat gradient brush, gently tap and sweep the edge of the purple polish downwards toward the cuticle. Use light, feathery strokes to drag the pigment softly, blending the purple seamlessly into the pink cat-eye base.
Tip: Clean your gradient brush frequently on a lint-free wipe during blending to avoid pulling too much dark color down the nail. - 6Cure the gradient layer
Once you are satisfied with the smooth transition of your pink and purple gradient, place the nail under a UV or LED lamp to fully cure the gel. Ensure the light covers the entire nail surface to lock the blended design in place.
Tip: If your gradient begins to pool or shift before you can place your hand in a large lamp, use a mini handheld lamp to flash cure it for a few seconds. - 7Apply tempered top coat
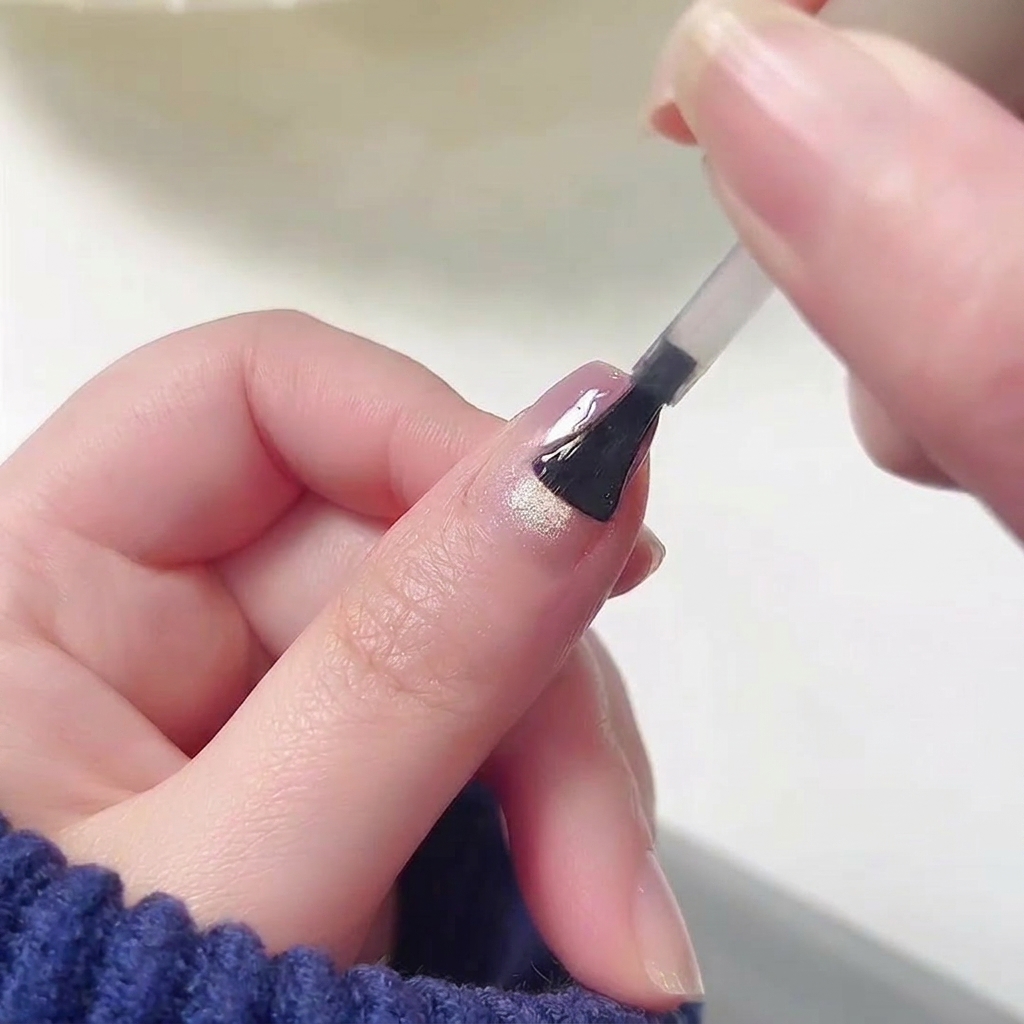
Apply a final layer of tempered glossy top coat over the cured gradient design. This step seals the nail art, adds a durable shine, and provides a smooth, protective finish to the manicure.
Tip: Cap the free edge with the top coat to help prevent chipping and keep your manicure looking fresh for longer.